Photography Tutorial · 2017-06-25
The Must-Know Tool for Post: The ACR Effects Panel
The Effects panel is one of the most easily overlooked workspaces in ACR.
In fact, ACR's Effects panel offers Dehaze (add or remove), Grain, Post Crop Vignetting and more — features that can greatly enhance a photo's atmosphere, like the finishing touch on a painting.
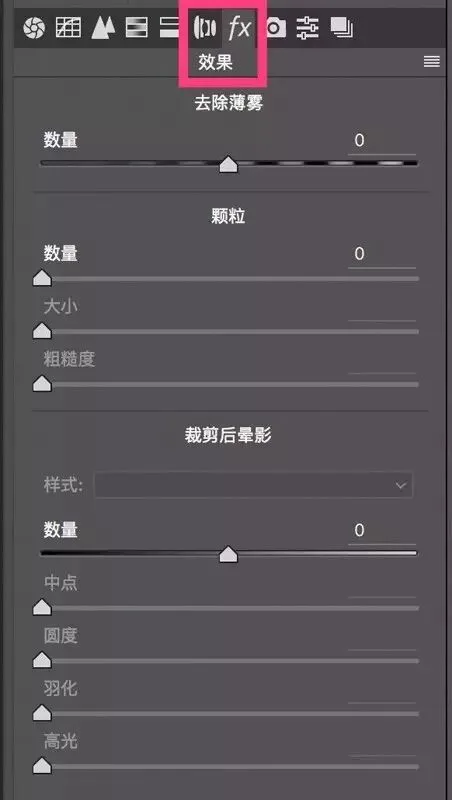
Click the seventh icon in ACR's panel area — an 'fx' logo — to enter the Effects panel. As the name hints, this panel mainly adds special effects to a photo, usually as the last step of ACR processing.
1
Dehaze
The Effects panel's first feature is 'Dehaze'. It's very simple — just one slider.
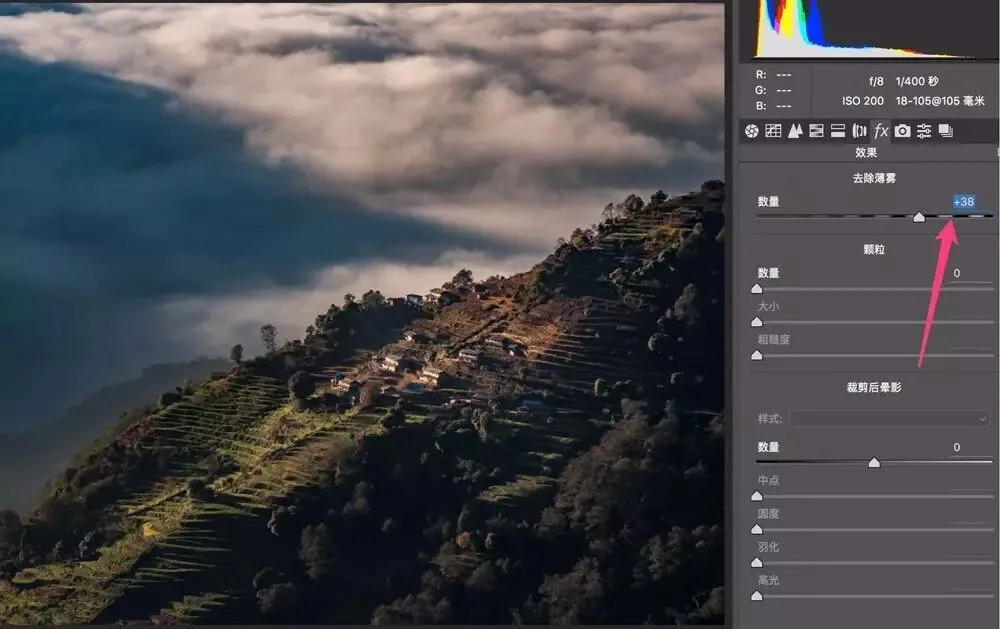
The default Amount is 0. Sliding right increases the photo's clarity, contrast and saturation, removing the hazy feel.
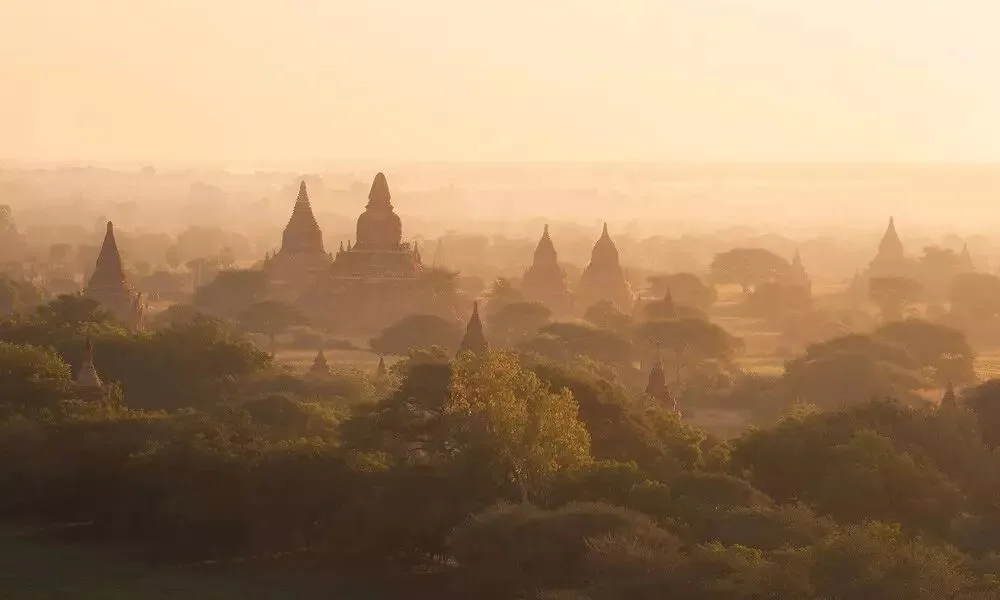
Dehaze can not only remove haze but also add it. Slide left — when Amount is below 0, the photo looks more misty.
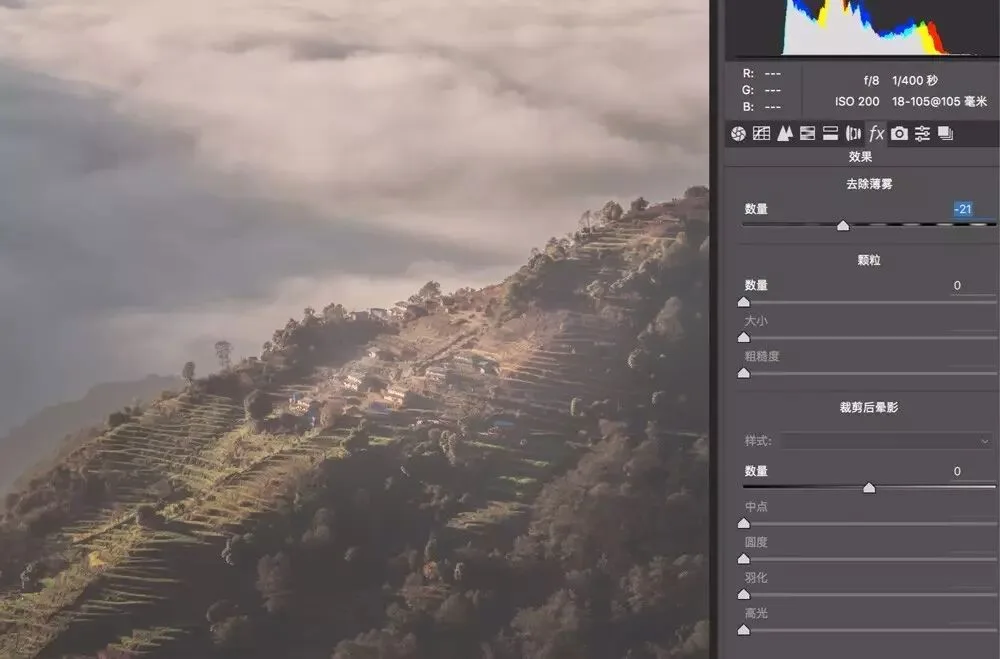
Besides global haze control in the Effects panel, Dehaze also exists in ACR's local adjustment tools: the Brush, Graduated Filter and Radial Filter.
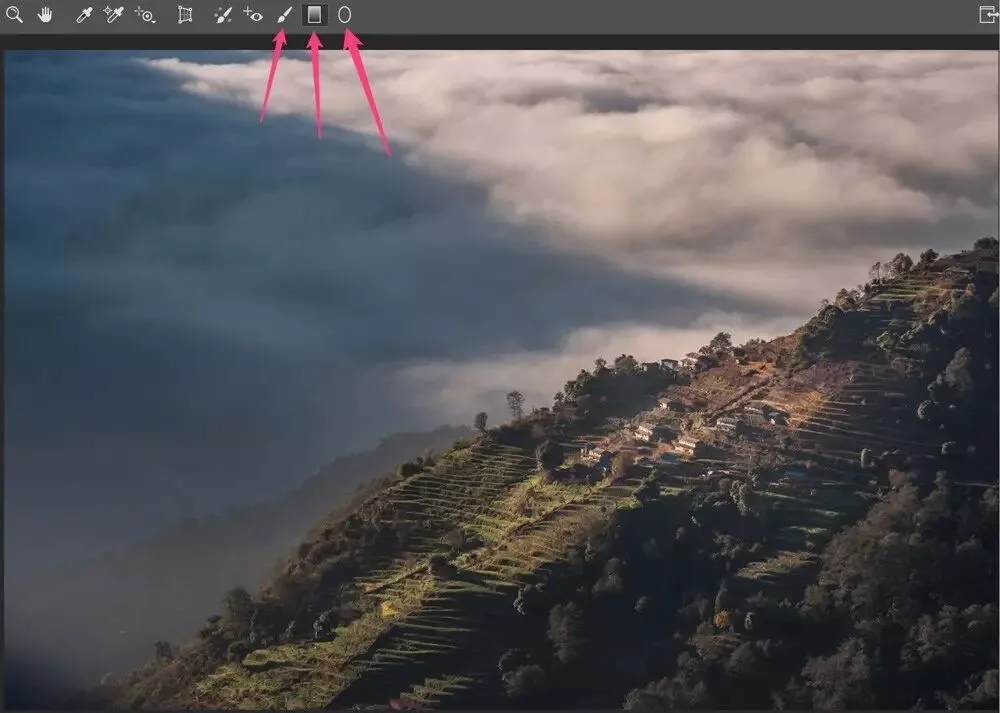
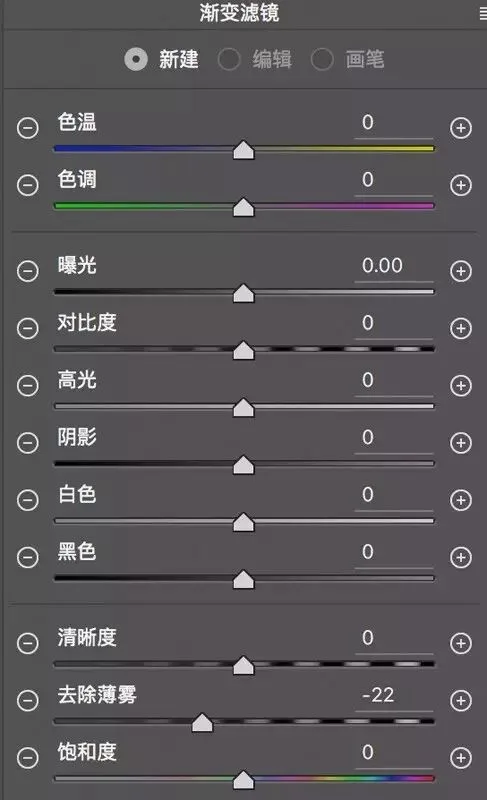
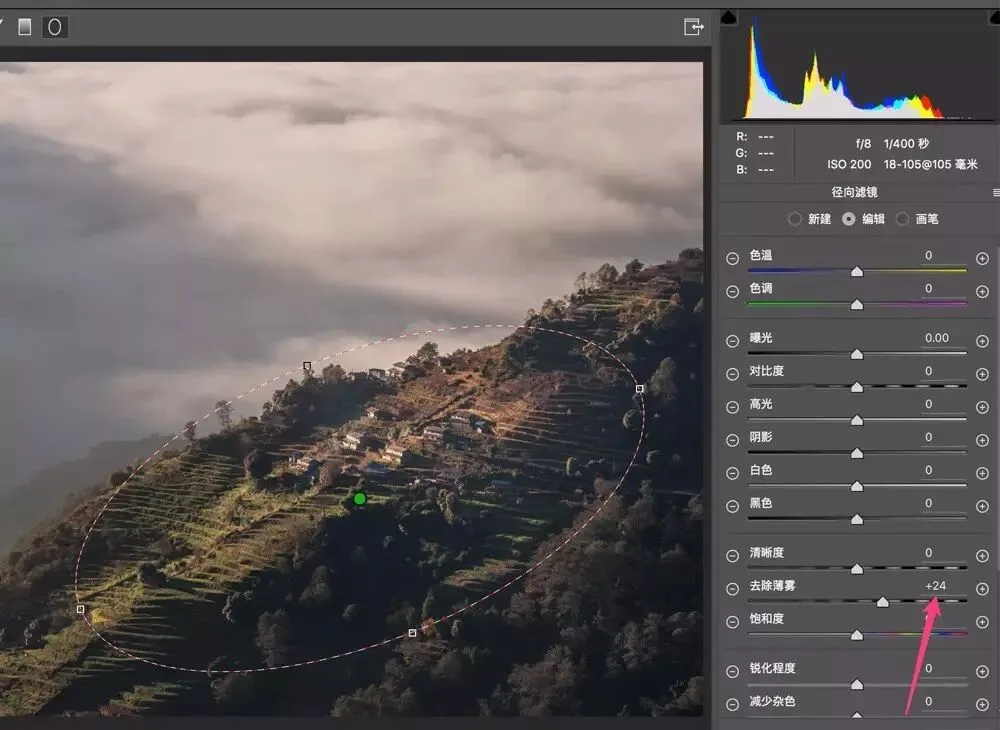
For the photo above, I can treat the foreground terraces and background clouds separately. First I created a graduated filter with Dehaze set to -22 — that is, adding haze.
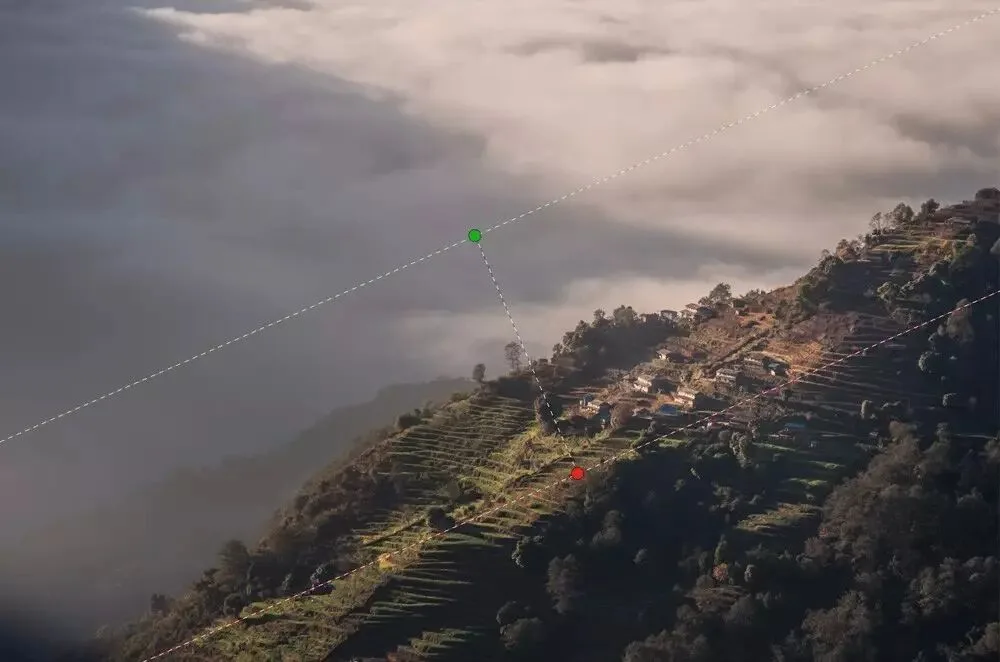
Then I dragged the graduated filter along the boundary between clouds and mountains. The background clouds now look softer and dreamier, while the foreground is unaffected.
Next I created a radial filter around the village with Dehaze at +24, making the village and terraces clearer and stand out against the background.
2
Grain
The Grain feature mainly simulates the graininess of film.
Grain has three sliders; Amount is the core one — when Amount is 0, the Size and Roughness sliders below cannot be adjusted.
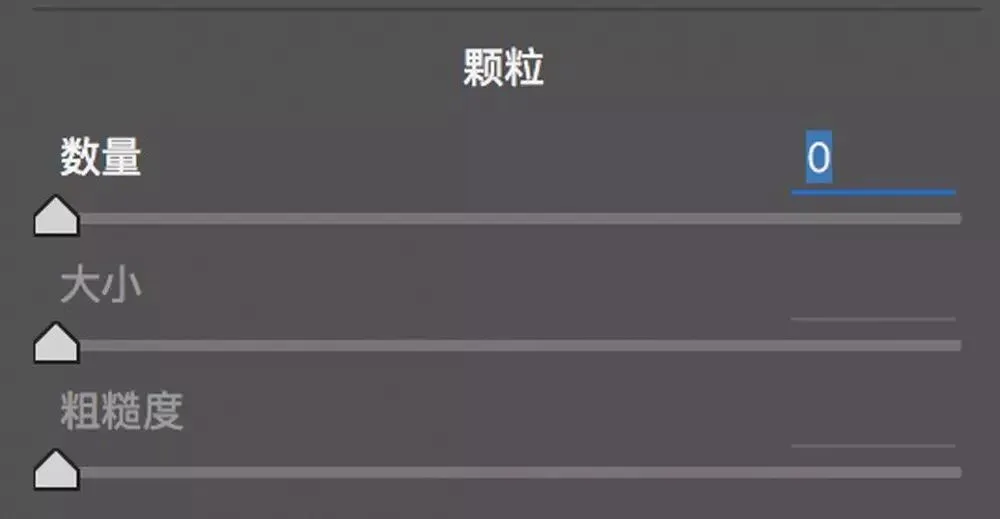
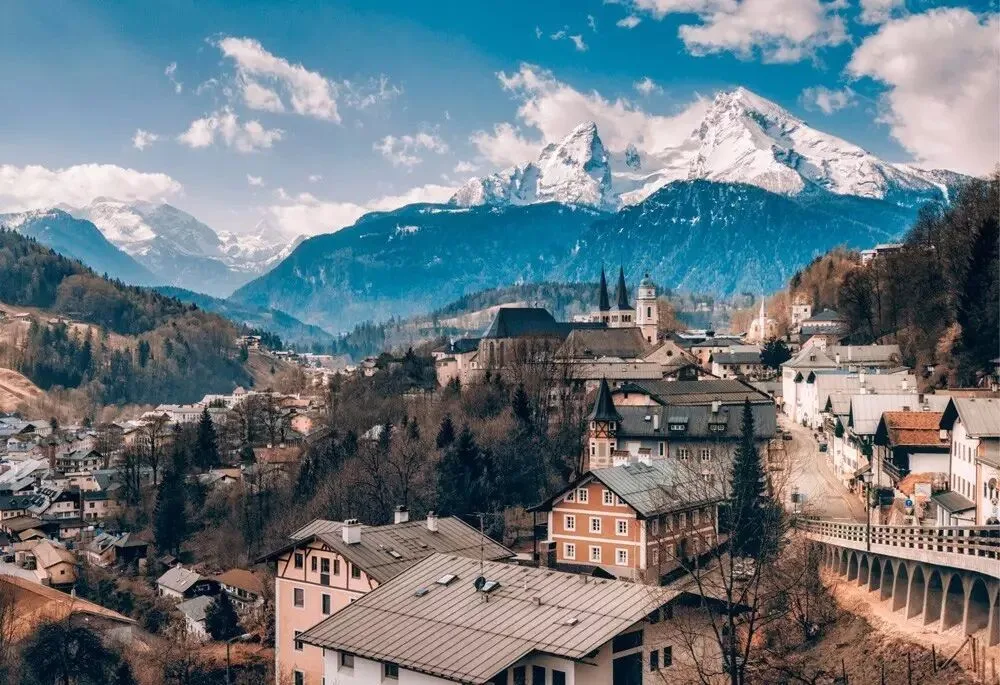
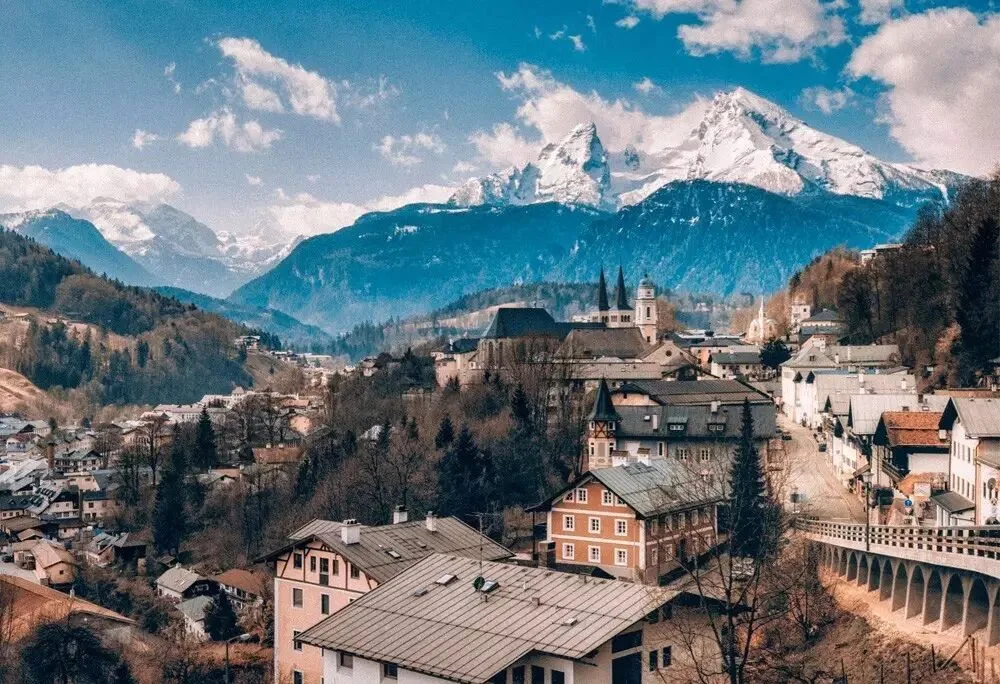
I'll use this film-color-mimicking photo below to demonstrate the 3 sliders.
When we raise Grain Amount, the two sliders below activate — Size defaults to 25, Roughness to 50.
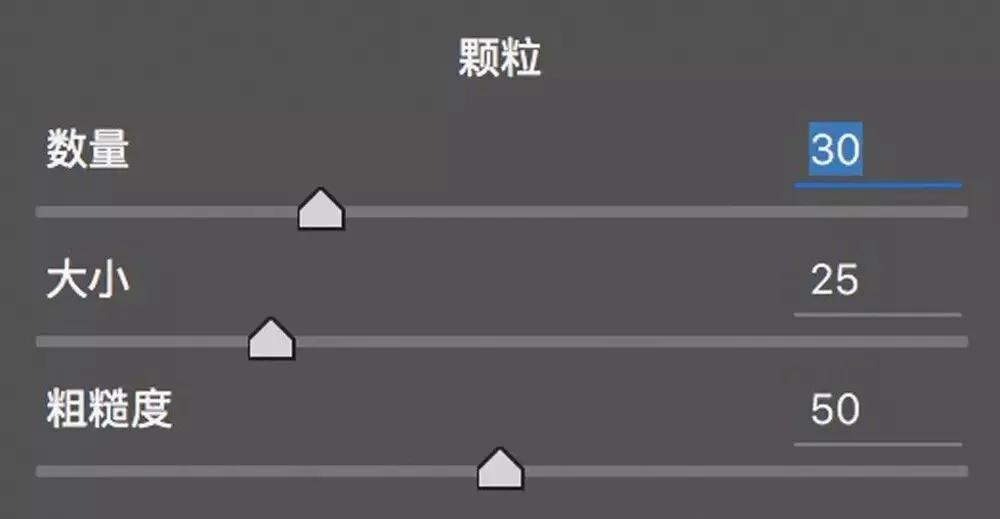
Raising Amount to 30 with Size and Roughness at defaults, the photo already shows some film grain.
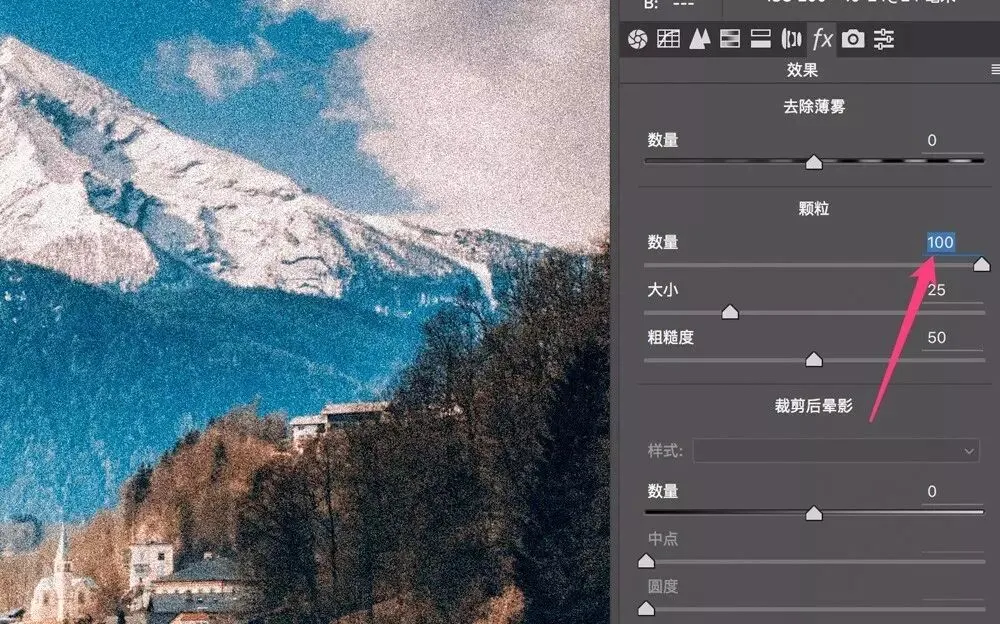
Amount controls how much grain there is — the further right, the more grain in the frame.
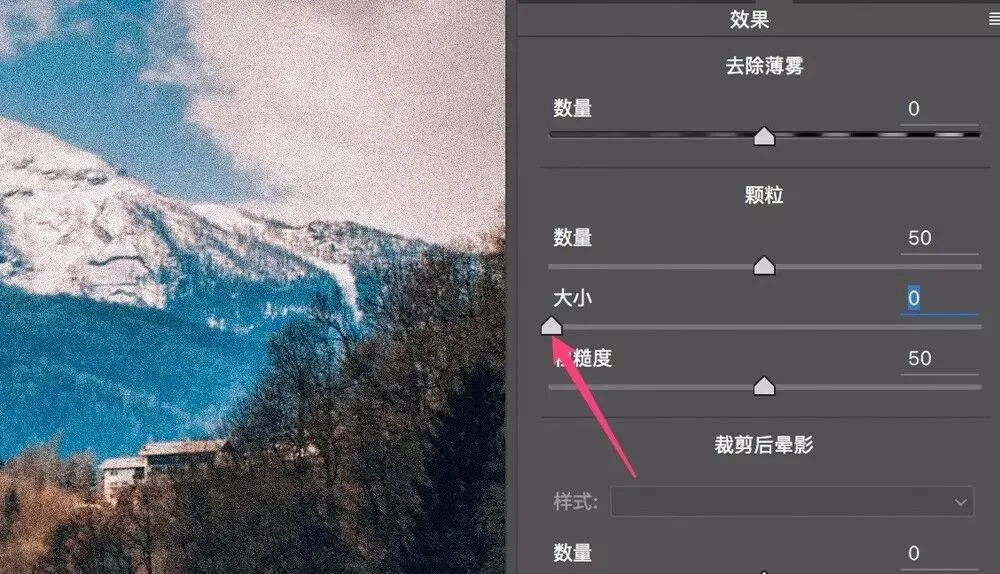
Size controls the grain's dimensions.
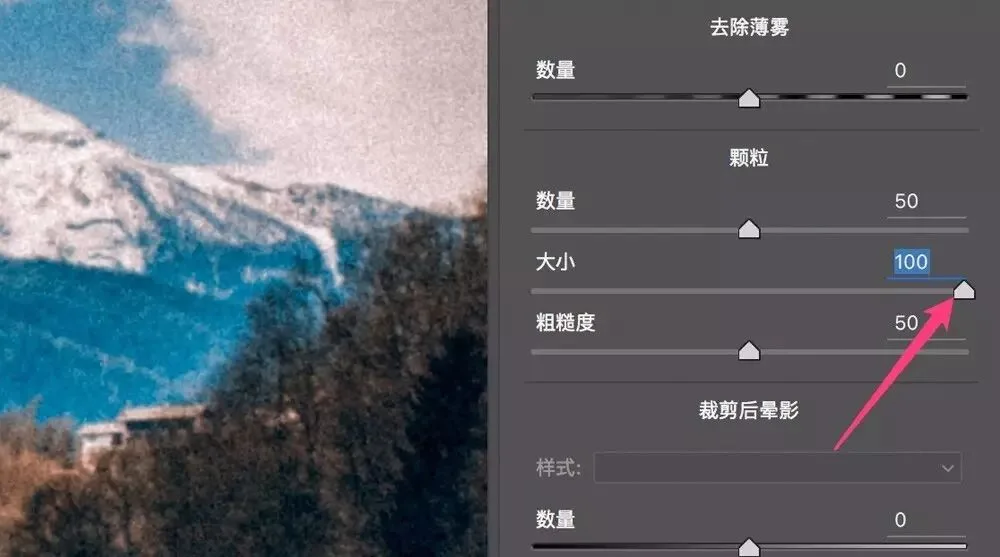
Generally keep grain size under 25 — larger grains give the photo a blurry feel.
Finally, Roughness controls the grain's randomness. At low roughness, the grain size and distribution look neat and uniform.
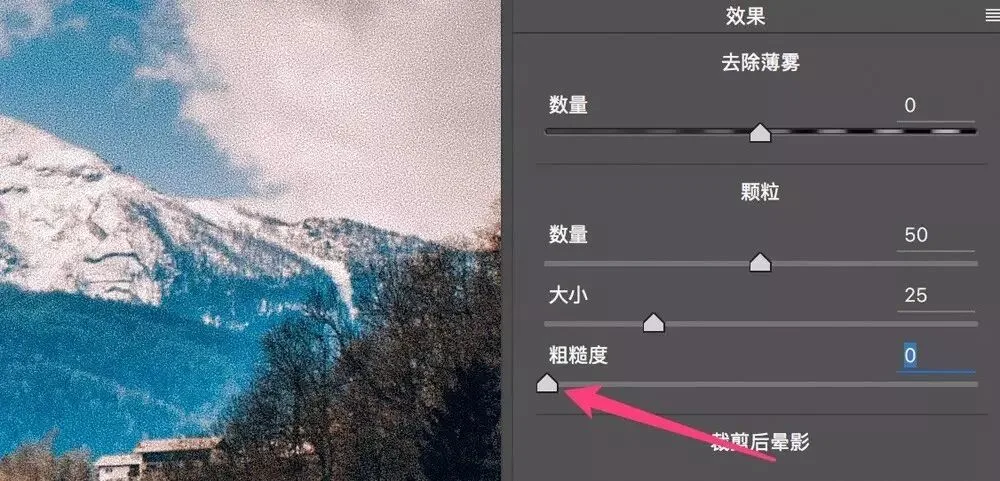
At high roughness, the grain is randomly distributed and looks coarser.
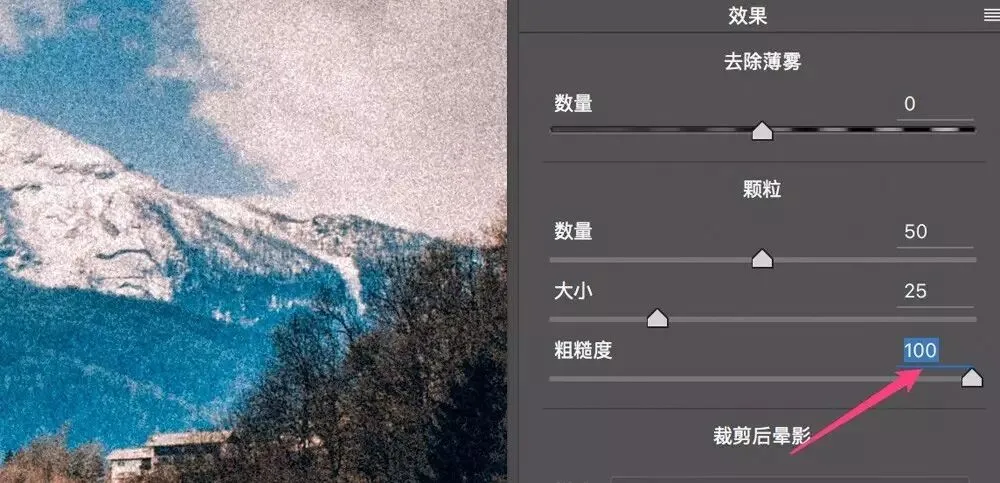
Besides simulating film, grain can also eliminate color banding in photos — see the tutorial 'Don't Let Color Banding Ruin Your Photos' for details.
3
Post Crop Vignetting
Post Crop Vignetting can add dark or light corners ('vignettes') to a photo, enhancing its mood.
Note the words 'Post Crop' — the vignette here is always applied after cropping. So if you re-expand or shrink the frame, the vignette adjusts its range accordingly.
If you instead use the Lens Corrections vignette described in 'Don't Let Distortion Ruin Your Photos — ACR/Lightroom Basic Corrections', it is applied before cropping and won't change range with cropping.
Post Crop Vignetting has one dropdown menu and 5 sliders; when Amount is 0, all other sliders are unavailable.
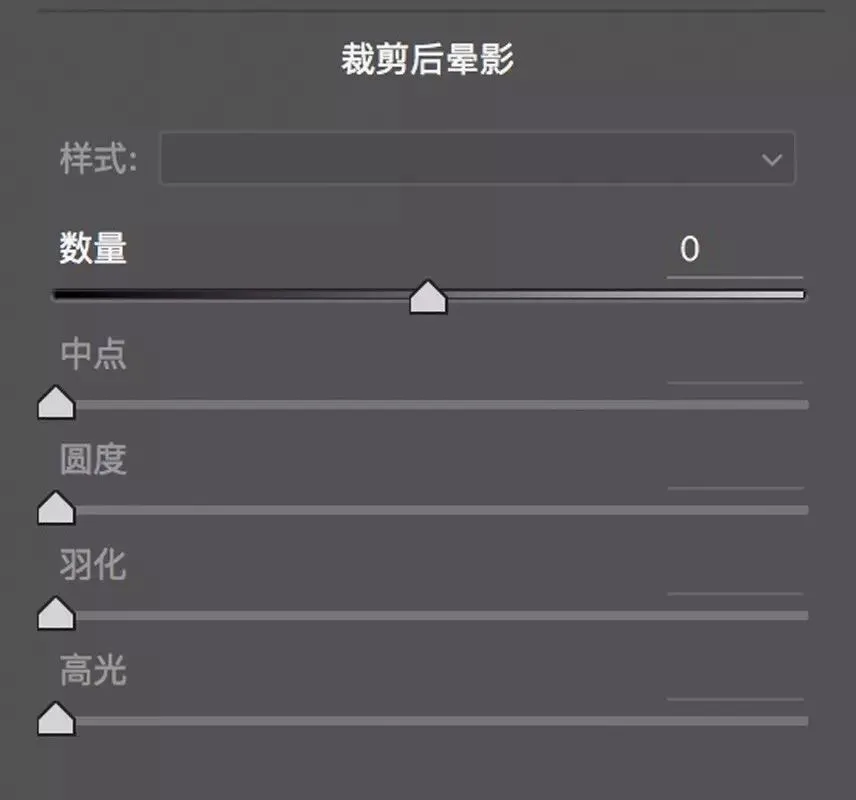
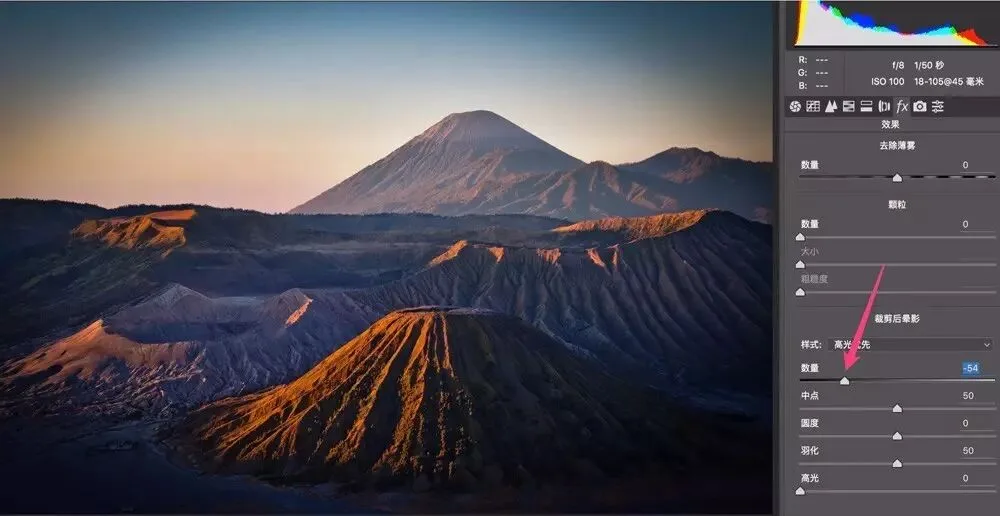
Amount controls the vignette's strength. Slide left (below 0) for a black vignette (dark corners) — the further left, the darker.
Slide right (above 0) for a white vignette (light corners) — the further right, the lighter.
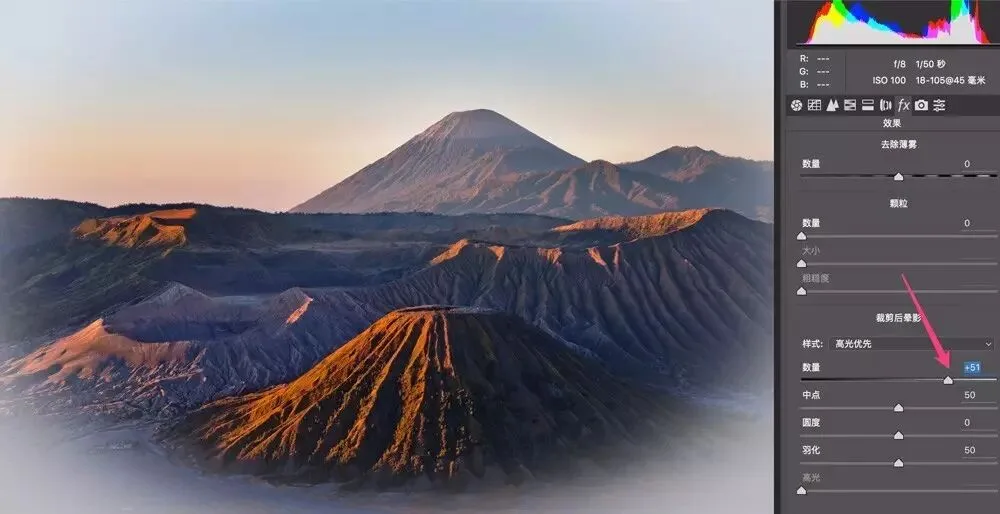
The Midpoint slider controls the vignette's size. Slide left and the vignette area grows, approaching the center.
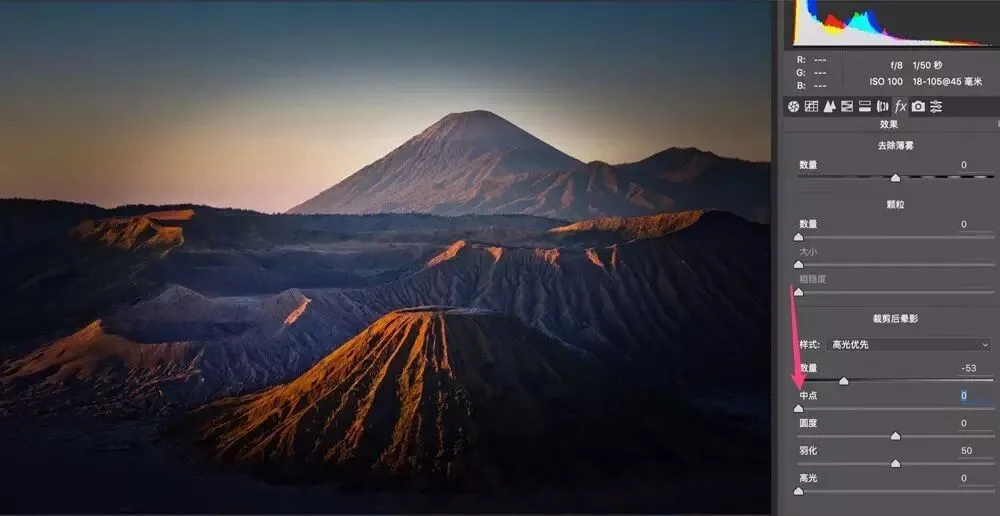
Slide right and the vignette area shrinks, appearing only at the edges.
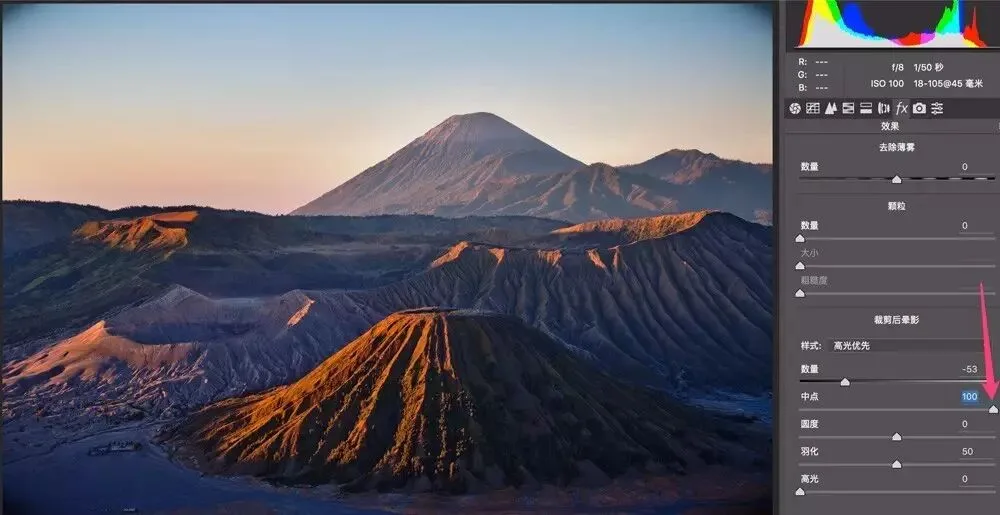
The Roundness slider controls the vignette's shape — right makes it more circular, left more rectangular.
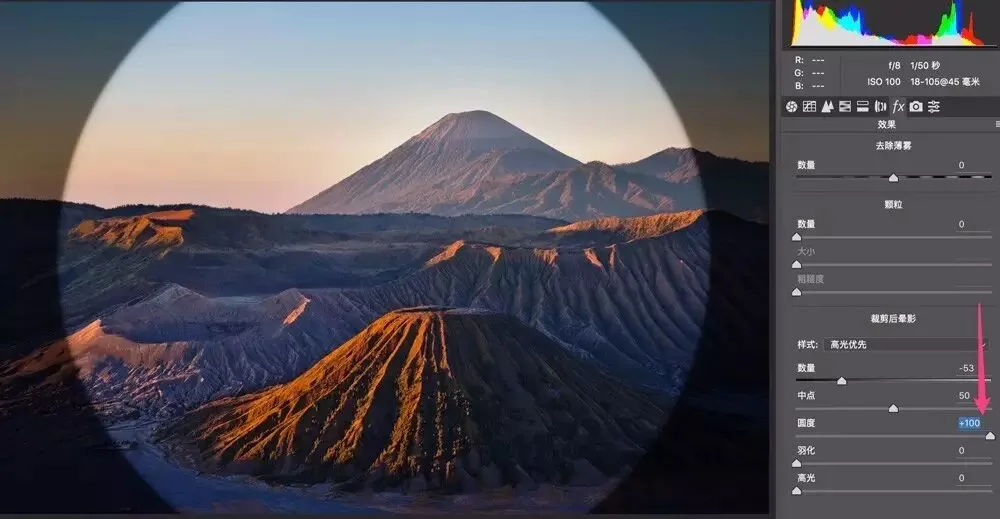
Feather controls the transition from bright to dark at the vignette's edge; a large feather makes the transition smooth.
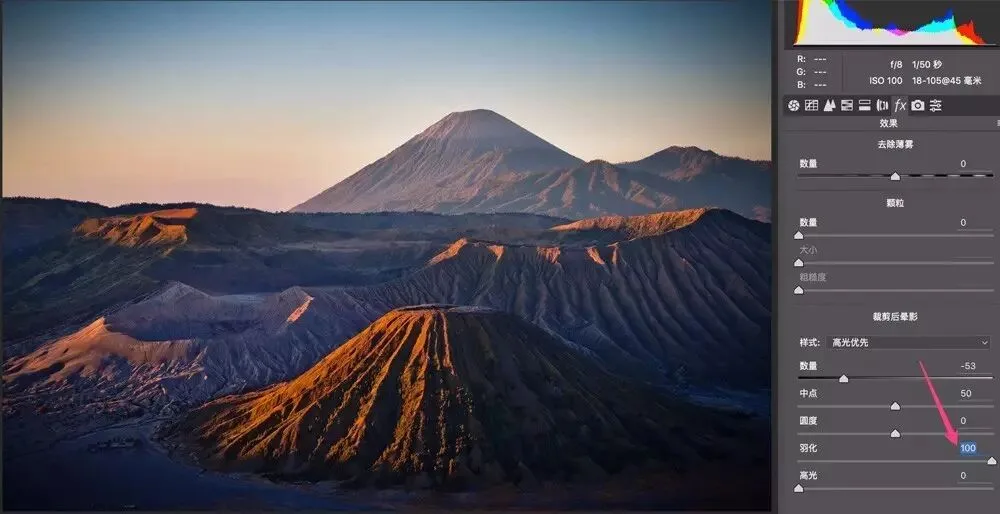
With a small feather, the vignette's edge is more obvious.
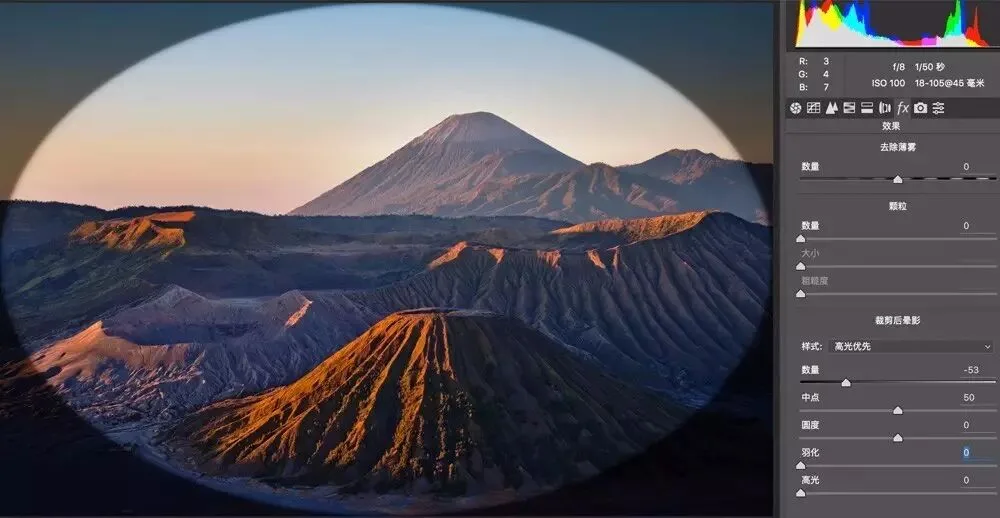
Finally there's the Highlights slider, default 0.
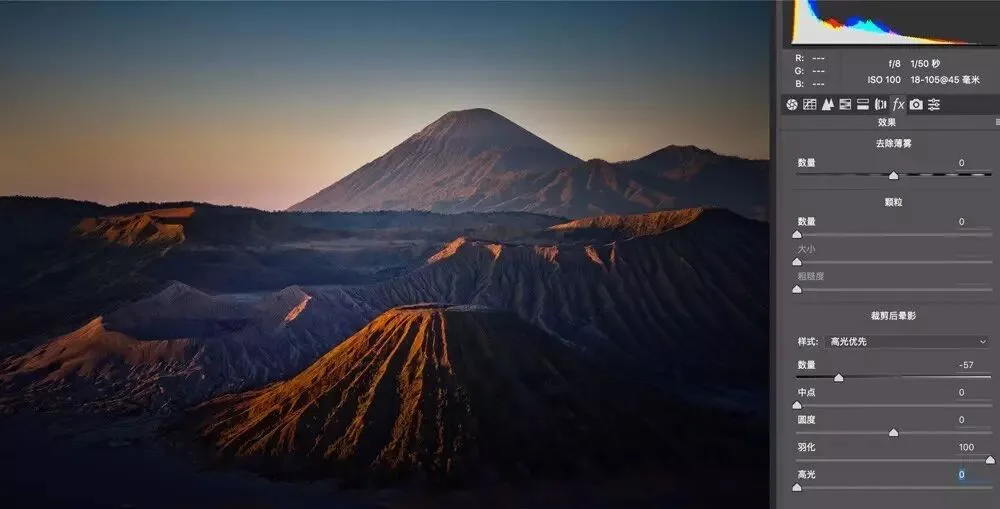
Sliding Highlights right makes ACR recover the brightness of originally bright pixels within the vignetted area.
If adding dark corners has dimmed originally bright objects — the sun, sunlit golden mountains, a sunrise sky — sliding Highlights right recovers the highlights within the vignette. In the image below, Highlights was raised; note the sky in the vignette area brightened.
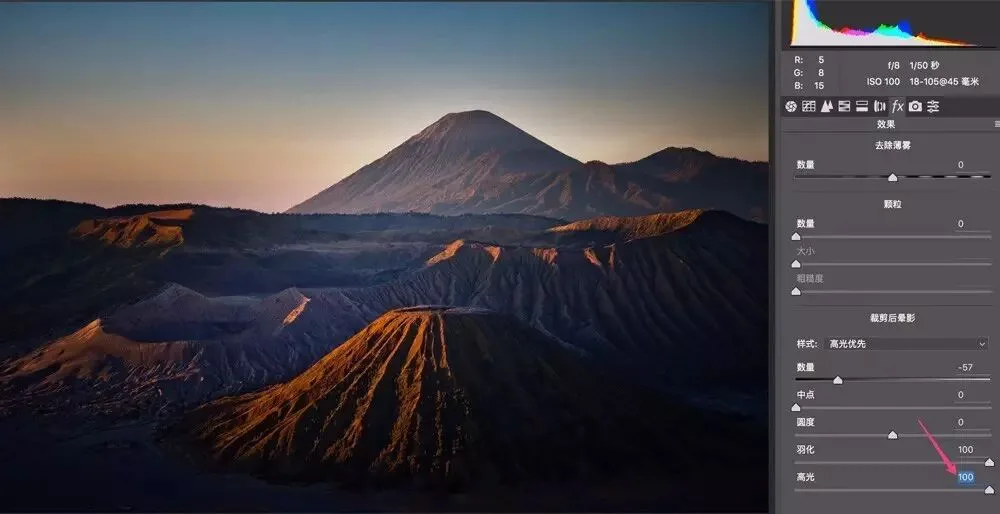
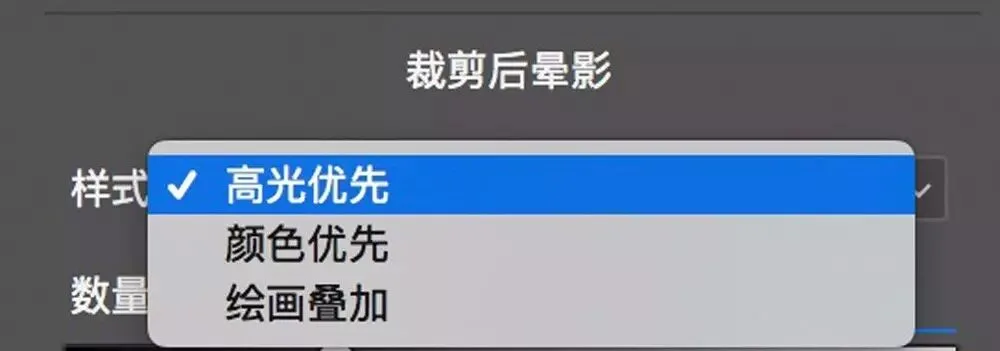
Almost forgot — Post Crop Vignetting also has a dropdown called Style. Generally we only use the default 'Highlight Priority' style.