Photography Tutorial · 2018-04-15
The Most Detailed Astrophotography Beginner's Guide (Part 1)
Introduction
Astrophysics has a romantic saying: the starry sky is the hometown of every atom in your body. If you have ever watched the river of stars flowing across the night sky far from the city, you know the feeling — the brilliant starlight washes your worldly eyes clean, and your mind finds a moment of peace.
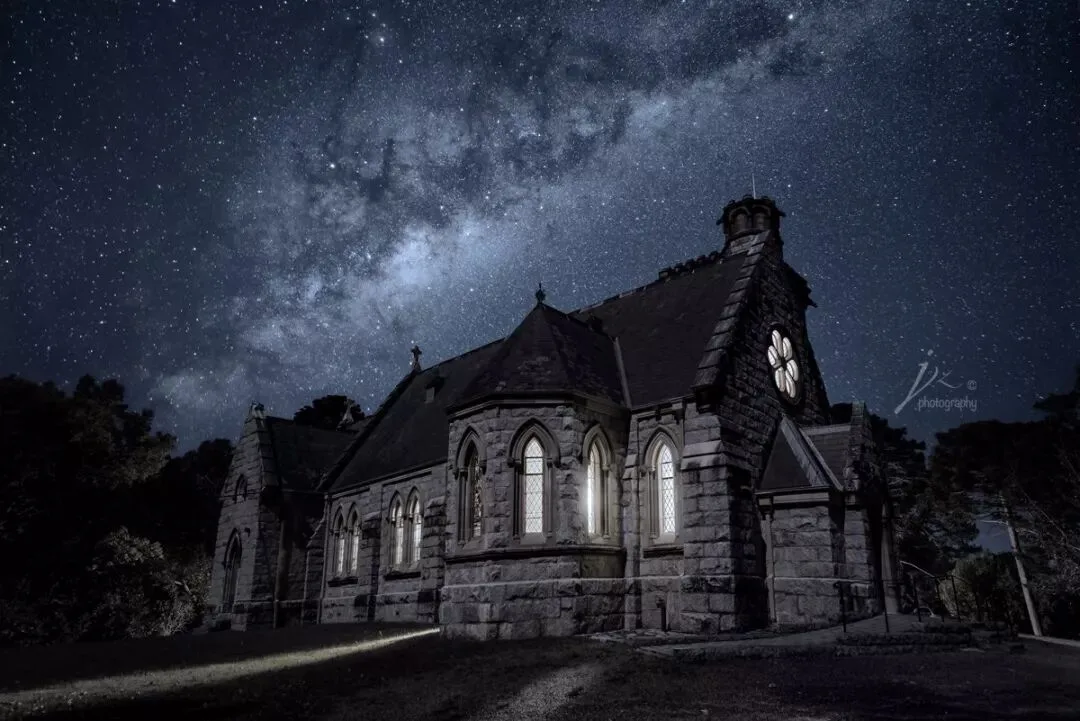
Milky Way season is here again. If you love photography, are you itching to shoot but unsure where to start? The night sky may seem like an advanced subject, but once you master the relevant astronomy knowledge and shooting techniques, even many beginners can succeed. Before the main text, let's enjoy a few beautiful star photos first.
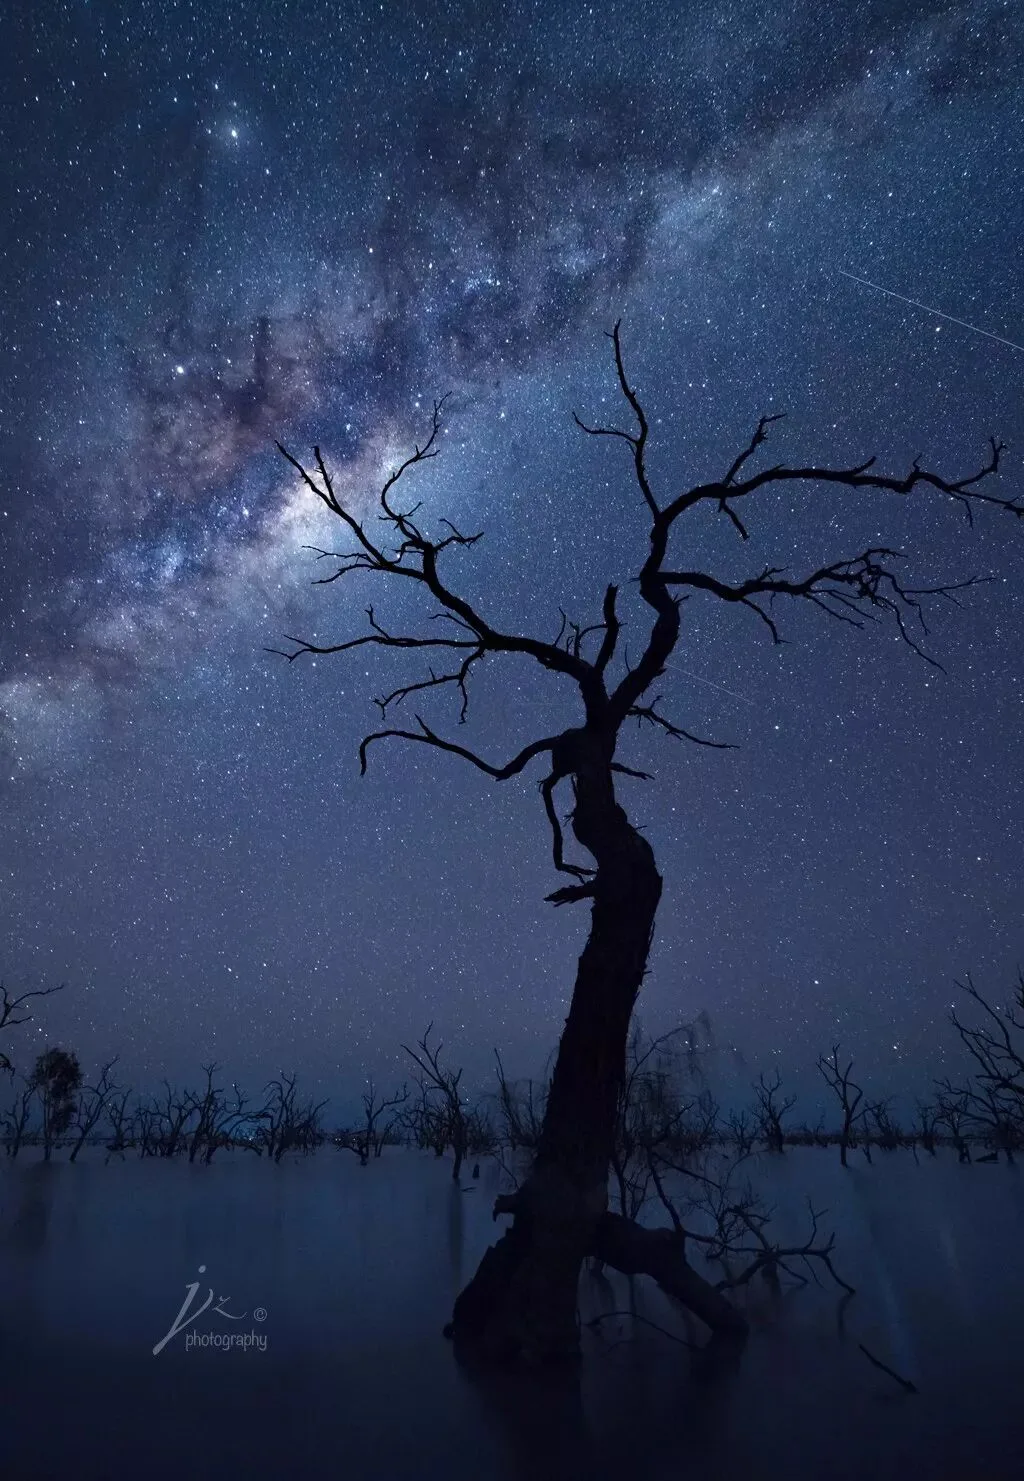
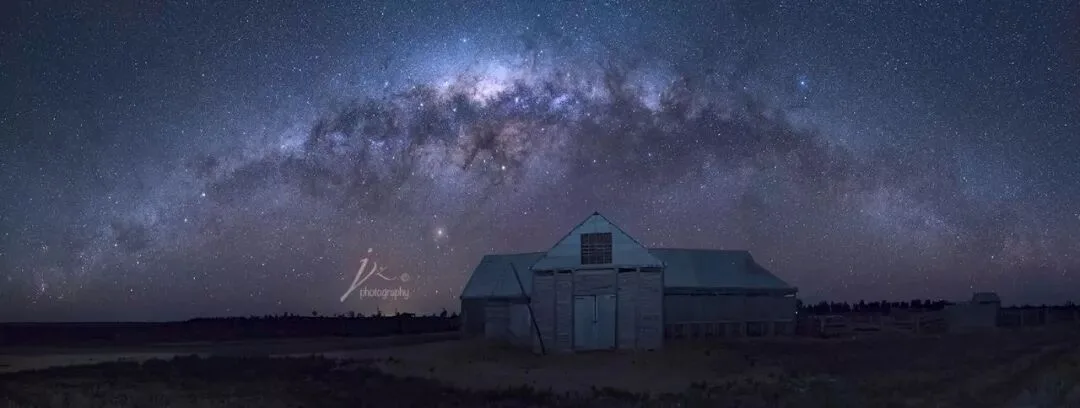
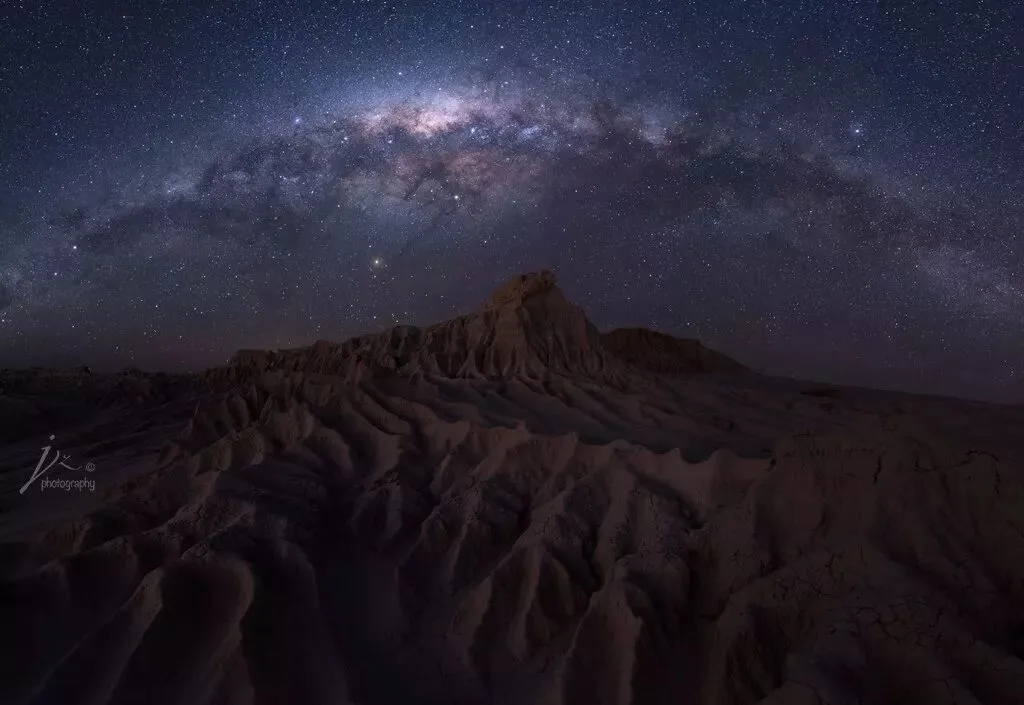
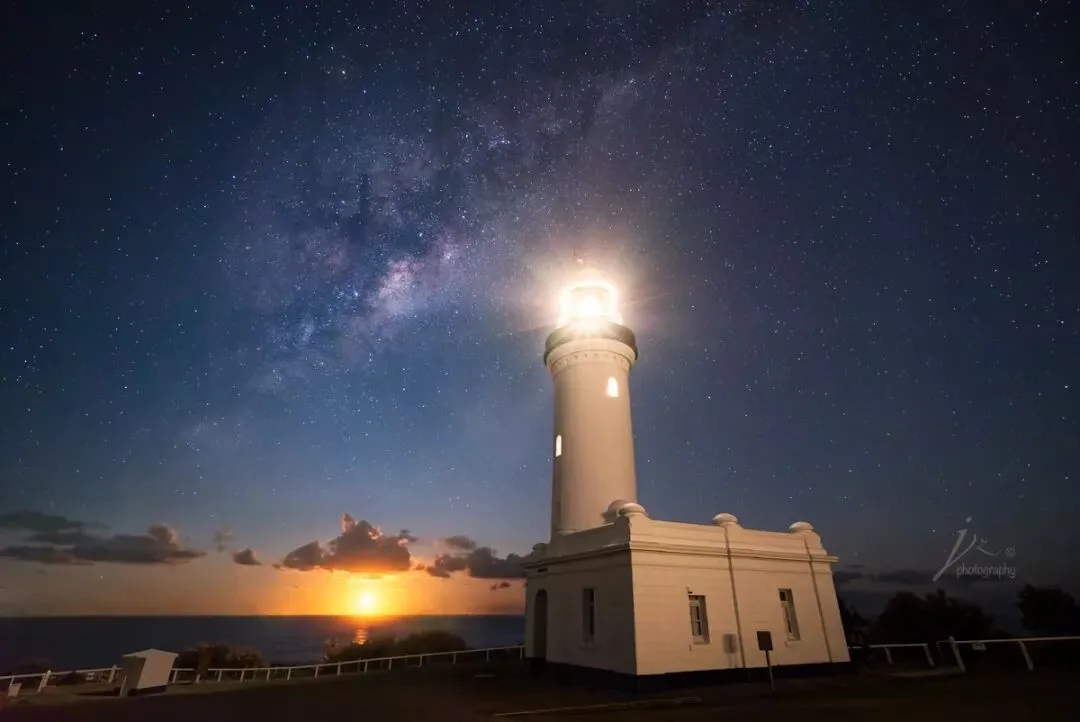
(All night-sky photos in this article were shot by the author. For more, see my Tuchong homepage, ID: JingshuZhu,
or WeChat: JingshuZhu)
There is no shortage of astrophotography tutorials online. I've tried to combine these fragmented bits of knowledge with my own experience into a series of tutorials that systematically explain field technique and post-processing thinking, using real examples to detail every editing step.
The astrophotography tutorial series is planned as:
Astrophotography Techniques Revealed (Part 1)
Astrophotography Techniques Revealed (Part 2)
A Detailed Guide to Night-Sky Panorama Stitching, Field and Post
This article systematically covers the following:
Part 1
Part 2
1. Relevant astronomy knowledge
1. Noise reduction
· Milky Way characteristics and differences between the hemispheres
· Noise types and their traits
· How to use moonlight to enhance your photos
· When to use five common noise-reduction methods
2. Shooting conditions
· A stacking noise-reduction example
3. Shooting gear
2. Star-trail technique
4. Milky Way shooting technique
· Shooting time
· Night-sky camera settings
· Shooting direction
· Four ways to light the foreground
· Shooting gear
· Manual focus technique
· Shooting method
· Focus stacking
· Stacking in post
Astrophotography can be roughly divided into two categories: deep-sky photography (celestial photography) and landscape astrophotography. Deep-sky photography generally aims at deep-sky objects — the Moon, the Sun, nebulae, star clusters — and falls into pure deep-sky and wide-field deep-sky, requiring expensive specialized equipment such as autoguiders, equatorial mounts, cooled CCDs, and telescopes. That subject belongs to astronomical photography and won't be discussed in depth here. Landscape astrophotography mainly combines terrestrial scenery with the night sky (the Milky Way, star trails, meteor showers), and night-sky photography in landscape work usually means this category. Compared with deep-sky photography, its barrier to entry is low, with more emphasis on composition and color grading.
1
Relevant Astronomy Knowledge
Why do other people's photos overflow with stars while your excited Milky Way outing yields sparse, disappointing starlight? The fundamental reason is that the Milky Way simply wasn't in the night sky you shot. Night-sky photography is a special subject: beyond solid field and post technique, understanding the relevant astronomy is the key to success.
Milky Way Characteristics and Differences Between the Northern and Southern Hemispheres
The Milky Way is a milky-white band of light stretching across the sky — light from countless stars. Its width and brightness vary: 4-5° at its narrowest and about 30° at its widest. You can actually see the Milky Way on nights year-round, but since the galactic core is its brightest and most spectacular part, "shooting the Milky Way" in photographic terms usually means shooting the core.
Anyone with night-sky experience knows the galactic core appears in different directions and at different times each month and season, so careful planning before a shoot is the guarantee of success. In the Northern Hemisphere, summer nights reveal the dazzling core, while winter shows only the faint arms — the reverse holds in the Southern Hemisphere. Why these differences in time and direction? First we need to understand the relationship between the Earth, the solar system, and the Milky Way.
Everyone knows the Moon orbits the Earth, the Earth and other planets orbit the Sun, and the Sun and other stars orbit the center of the Milky Way. But the solar system and the Milky Way are not in the same plane, and because of the angle of rotation, the Milky Way's position in our sky changes with the seasons. However, if your shooting spot stays the same, the core appears at essentially the same position at the same time on consecutive days — the tiny daily shift is negligible.
In general, the galactic core can be photographed from most of the Northern Hemisphere between March and October, and from most of the Southern Hemisphere between February and October; in other months only the galactic arms are visible. The shooting window shifts each month, averaging about two hours later per month: in February and March the core rises above the horizon before dawn, while in October it sinks below the horizon after sunset. In the Northern Hemisphere winter and Southern Hemisphere summer, the core rises during daytime so we naturally can't see it — Earth's orbital position puts the Sun in line with the core.
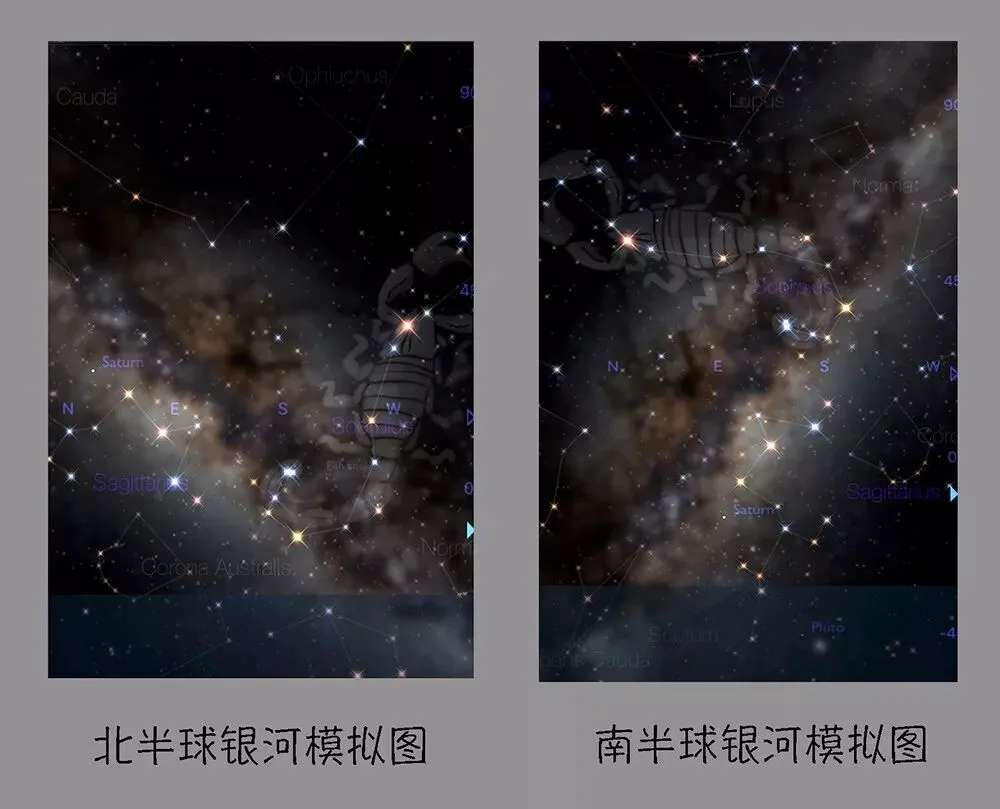
Due to geography and the tilt of Earth's axis, the shape and orientation of the Milky Way differ between the hemispheres. Night-sky photography must obey the laws of nature: the scene in your photo should be one that could actually occur at some moment in nature. Never composite something in post that violates these laws, or you'll make a laughingstock of yourself.
For shooting the Milky Way, the Southern Hemisphere's natural conditions are slightly better than the Northern Hemisphere's. The differences can be summarized as follows:

1
From the equator you can see all constellations; the farther north you go, the less of the southern sky you see, and vice versa. So the Large and Small Magellanic Clouds of the Southern Hemisphere are invisible from the Northern Hemisphere.
2
·
April to July is the best season for shooting the Milky Way — spring/summer in the Northern Hemisphere and autumn/winter in the Southern Hemisphere.
3
In the Southern Hemisphere, the Milky Way appears mirrored when shooting southeast versus southwest, while the Northern Hemisphere only ever shows one orientation.
4
In the Northern Hemisphere, the core's position usually combines well with the foreground. In the Southern Hemisphere, once the core climbs high enough it no longer combines with the landscape, hurting composition. Especially from August to October after dark, the core in the southeast is already far above the horizon — unless your foreground has tall mountains it hardly combines — but you can shoot toward the southwest, where the core's shape appears mirrored.
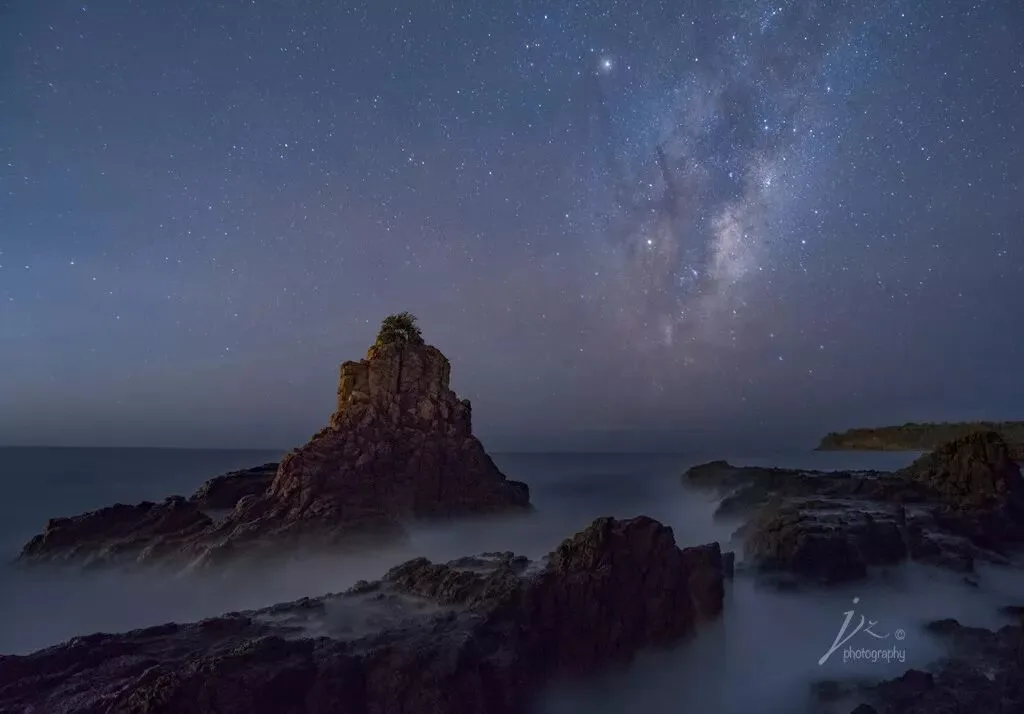
The east-facing Milky Way in the Southern Hemisphere
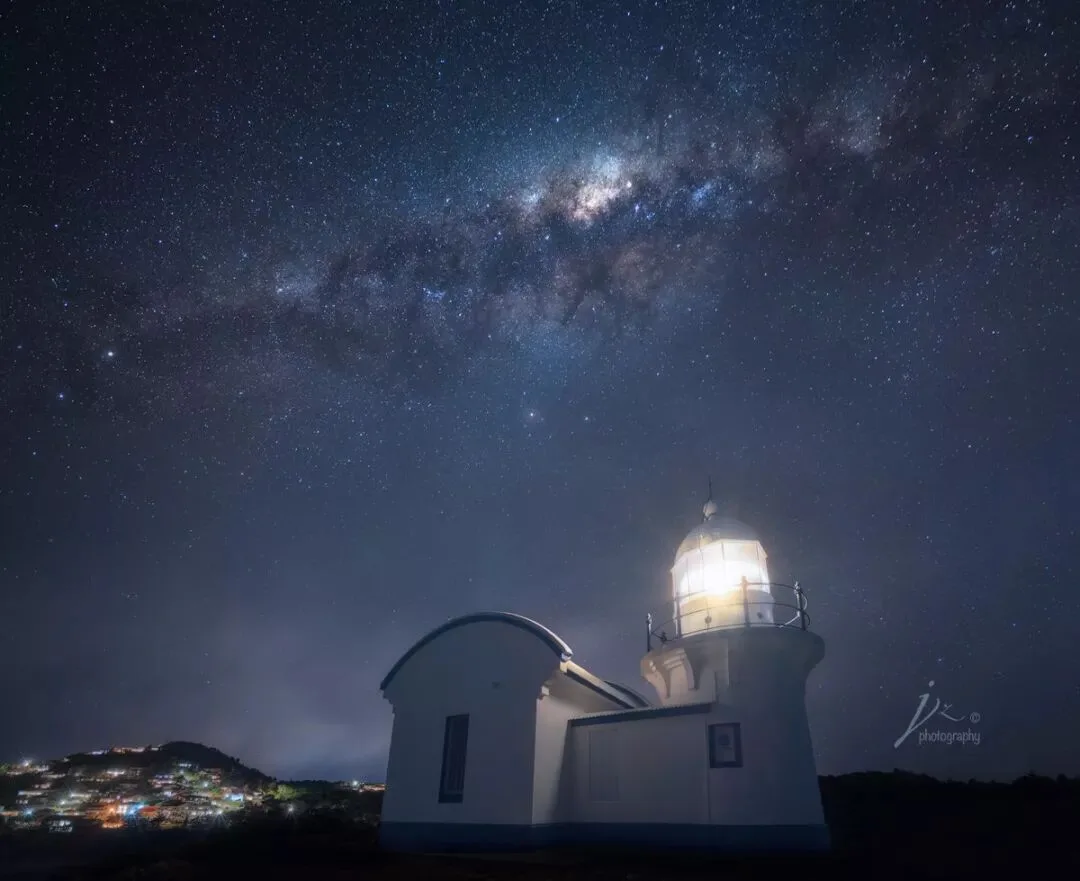
The west-facing Milky Way in the Southern Hemisphere
How to Use Moonlight to Enhance Your Photos
Night-sky photography happens at night, which inevitably involves the Moon. Because moonlight is bright, when a full moon hangs high it overwhelms most stars — only a sparse few remain visible, exactly what the Chinese idiom "bright moon, sparse stars" describes. Shooting the night sky under such conditions, moonlight directly weakens the Milky Way's brightness and the results are far from ideal. To pick the best shooting dates, understanding moon phases is a required course in night-sky photography.
Many people assume the Moon rises at night — that's wrong. Moonrise shifts about 50 minutes later each day, so moonrise and moonset are not synchronized with day and night. Sometimes the Moon rises during the day, which is why you can see the Sun and Moon shining together. Every month includes days with no moon all night, and also nights with a moon all night long.
"People have their sorrows and joys, partings and reunions; the moon has its dark and clear, waxing and waning" — this waxing and waning is the change of moon phases: the different appearances of the sunlit portion of the Moon as seen from Earth. There are eight phases by shape, cycling through one month in order (as shown): new moon → waxing crescent → first quarter → waxing gibbous → full moon → waning gibbous → last quarter → waning crescent → new moon.
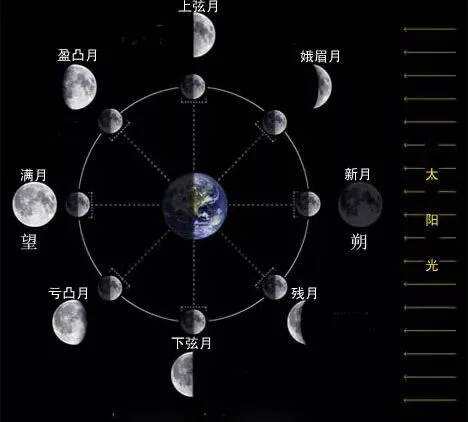
Moon phase diagram
New moon (around the 30th or 1st of the lunar month)
Waxing crescent (around the 3rd-4th of the lunar month)
First quarter (around the 7th-8th of the lunar month)
Waxing gibbous (around the 11th-12th of the lunar month)
Full moon (the 15th or 16th of the lunar month)
Waning gibbous (around the 16th-22nd of the lunar month)
Last quarter (around the 22nd-23rd of the lunar month)
Waning crescent (around the 24th of the lunar month to month's end)
To avoid overly strong moonlight when shooting the Milky Way: first, you can shoot before moonrise or after moonset; second, shoot during the crescent-moon period — my favorite condition — when the moonlight is not too strong, barely affects the Milky Way, and also illuminates the foreground as fill light.
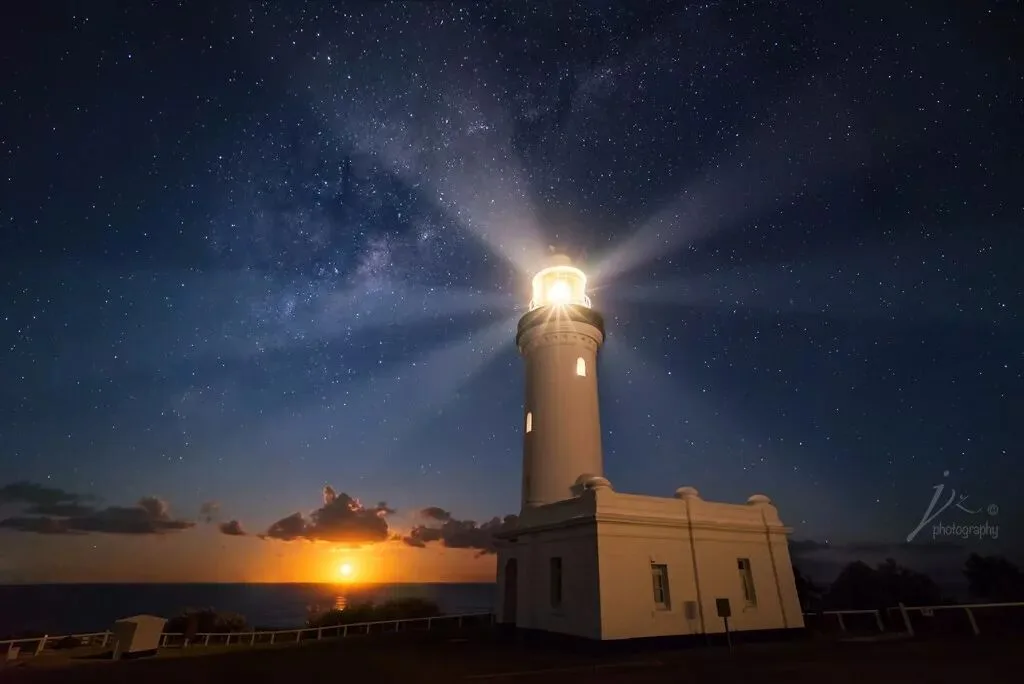
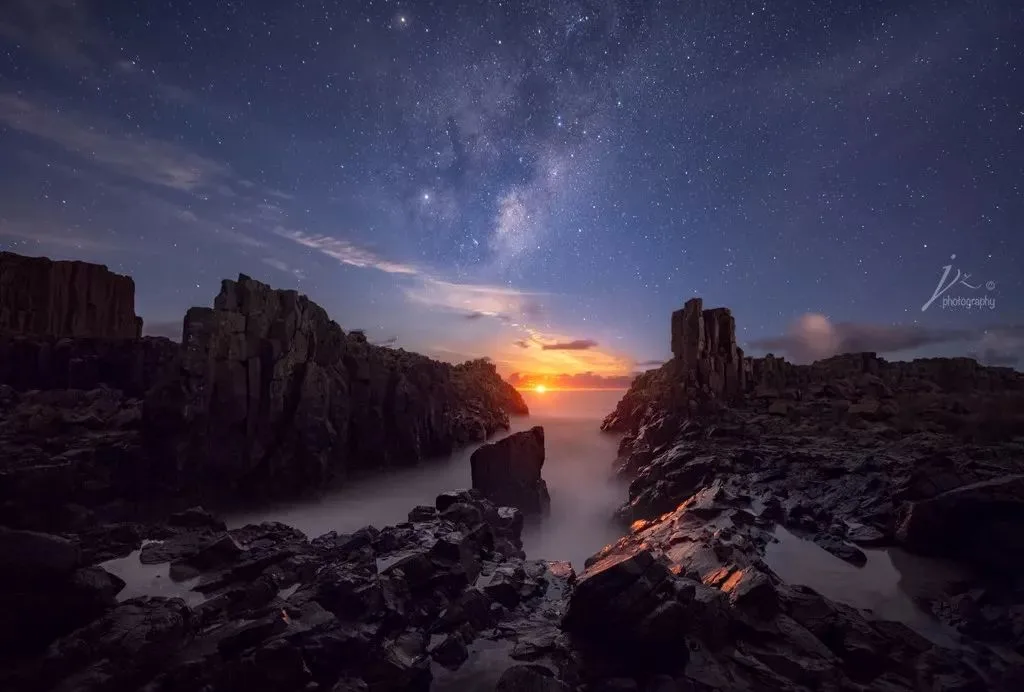
Making good use of the Moon as a natural element adds a lot to your photos. A more advanced technique is shooting the Milky Way at the moment of moonrise, capturing the Milky Way and the Moon in the same frame. Moonrise feels similar to sunrise — red light radiating in all directions — but watching warm light spill across the land in the dark of night feels even more magical. Because the shooting window lasts only a few minutes before the risen Moon seriously dims the Milky Way, this approach demands precise planning and practiced technique.
2
Shooting Conditions
Weather
A clear or only slightly cloudy night sky — consult weather forecasts and satellite cloud imagery
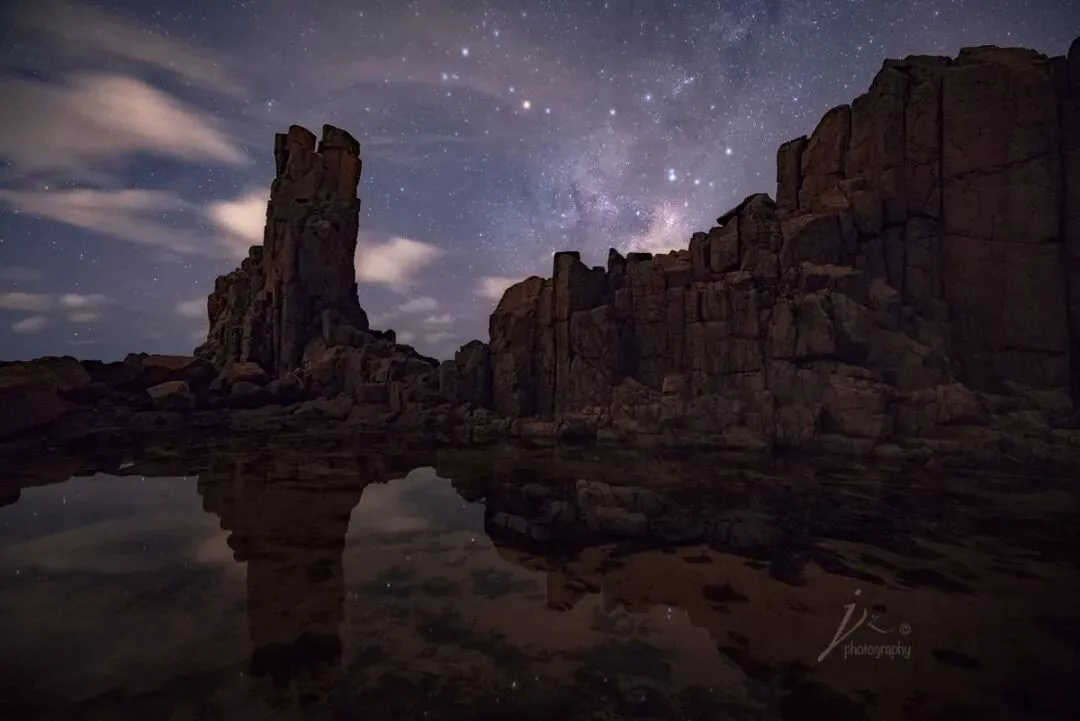
Thin clouds act like a diffuser, giving the starlight in your frame a dreamy quality
Location
City light pollution affects shooting, so look for places with little light pollution. The atmosphere also matters — higher elevations have cleaner air. The following websites let you check light pollution worldwide:
www.lightpollutionmap.info
http://darksitefinder.com/maps/world.html
https://blue-marble.de/nightlights
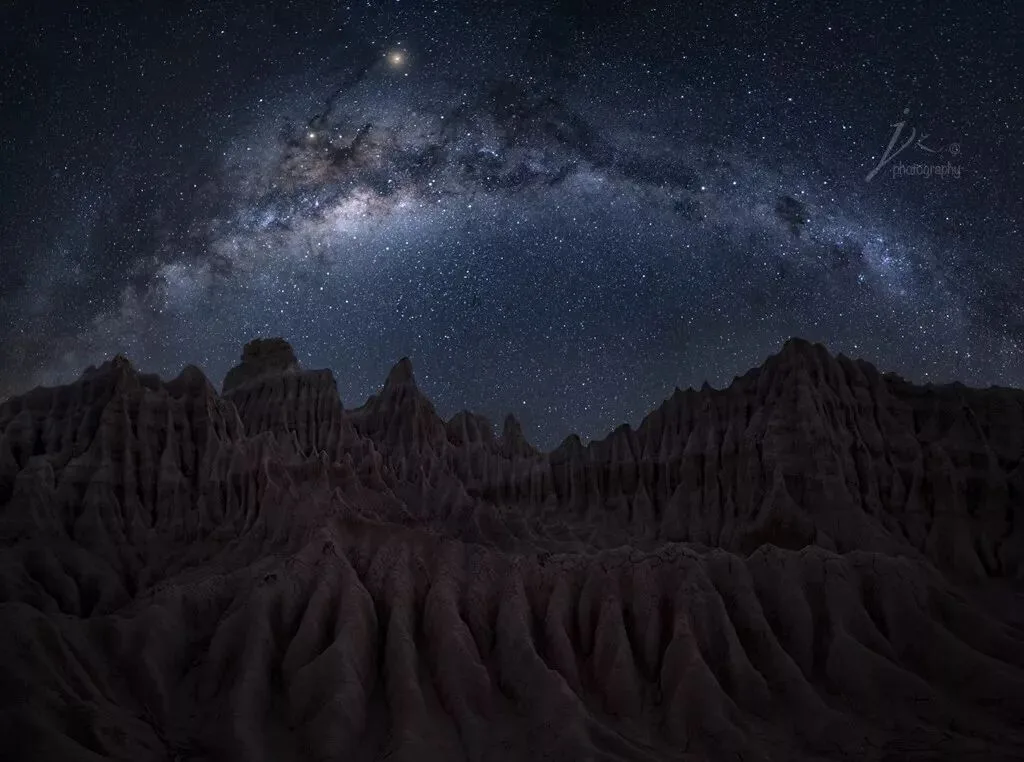
"A Thousand Ravines" was shot in the desolate center of Australia, far from cities with pristine air, where the brilliant Milky Way hangs high and is clearly visible to the naked eye. The galactic detail captured here is completely different from what you'd get in the suburbs just 200-300 km from Sydney.
Time
First determine the broad window — the Milky Way season — then check the current core rise/set times, and finally combine moon phases to pick the best date and time. Mobile apps such as PlanIt! For Photographers, PhotoPills, Distant Suns, and Stellarium all provide very precise Milky Way and Moon information, so you can make a thorough plan before heading out.
3
Shooting Gear
Camera
A full-frame camera with good high-ISO performance — one of its biggest advantages over APS-C is high-ISO image quality, because night-sky photography uses ISO 3200-6400 or even ISO 12800, making high-ISO performance crucial.
Lens
A fast ultra-wide lens. Night-sky photography needs both foreground and sky in frame, and an ultra-wide's broad field of view helps composition.
The Nikon 14-24mm f/2.8 and Zeiss 15mm f/2.8 are excellent night-sky lenses. Several new fast wide-angle primes have recently appeared on the market — the Sigma 14mm f/1.8, Laowa 12mm f/2.8, and others — all great tools for night-sky work. Of course, these lenses have drawbacks too: expensive, imperfect distortion control, heavy. Consider your own situation and budget. Besides my main lenses, I also shoot the Milky Way with the Samyang 14mm f/2.8, a fast wide-angle with exceptional value for money.
Tripod
Night-sky photography always involves long exposures, so a sturdy tripod and ball head are essential.
Headlamp & Flashlight
To avoid light pollution, night-sky locations are always far from cities, and in the dark a light source is vital — safety first, always. This is an often-underestimated accessory, and my own lack of attention once taught me a profound lesson. On one shoot, both my and my companion's headlamps died and our phones were nearly drained; we groped our way out of a pitch-black national park by the phones' faint glow. Ever since, I always pack two headlamps plus spare batteries. Headlamps and flashlights also serve to light-paint the foreground and aid focusing. A shutter release, GPS, warm clothing, and mosquito repellent are essential accessories too.
4
Milky Way Shooting Technique
What should we actually shoot in night-sky photography? Many people think capturing the Milky Way or star trails is success — neglecting the foreground is the universal problem. As explained at the start of this chapter, landscape astrophotography is not astronomical photography; it belongs to landscape photography, and the same principles apply as for any other landscape subject. The choice of foreground directly determines a photo's success or failure. The Milky Way is like the sun and clouds — just the backdrop of the photo — and must be composed together with the foreground. The most common mistake is pursuing star detail alone while ignoring overall composition.
Technically, both the field and post work of night-sky photography are more complex than other subjects. Because light pollution dims the sky, we shoot in dark locations, and exposing correctly in such low light becomes the biggest challenge. Long exposures could solve the foreground problem, but Earth's rotation means the stars' positions are not fixed — they rotate relative to the Earth. If the exposure is too long, the stars trail into streaks. So how do you keep stars sharp while still exposing properly? Let me explain the sky and the foreground separately.
Night-Sky Camera Settings
First, preset your parameters in manual (M) mode. The key is controlling exposure time so stars don't turn into trails — apply the 500 rule: exposure time (seconds) ≤ 500 divided by lens focal length (mm). For example, at 16mm, 500/16 ≈ 30 seconds, so don't exceed 30 seconds. For even better control of corner star trailing, use the 400 rule: 400/16 = 25 seconds. Note that this applies to full-frame cameras; for APS-C, divide by the crop factor as well.
Such short exposures in such darkness lead many people to produce pitch-black photos, which brings in the other two parameters: a wide aperture and high ISO are the guarantee of a bright Milky Way. I recommend ISO 3200-6400. Won't such high sensitivity fill the image with noise? Several solutions are listed in the noise-reduction section later — modern noise-reduction methods handle this completely. The aperture should ideally be f/2.8 or faster, with f/4 as the limit; the larger the aperture, the more Milky Way detail you capture.
Four Ways to Light the Foreground
With no auxiliary lighting, shooting the foreground at the above settings will be severely underexposed — pitch black with no detail. How do we solve this?
01
The best approach is shooting on nights around the crescent moon, using the Moon to light the foreground — nature's light source is the most even and natural. In theory, up to about a third of the lunar disk illuminated is ideal, but moonlight also weakens the Milky Way's detail: the stronger the moonlight, the weaker the galactic detail.
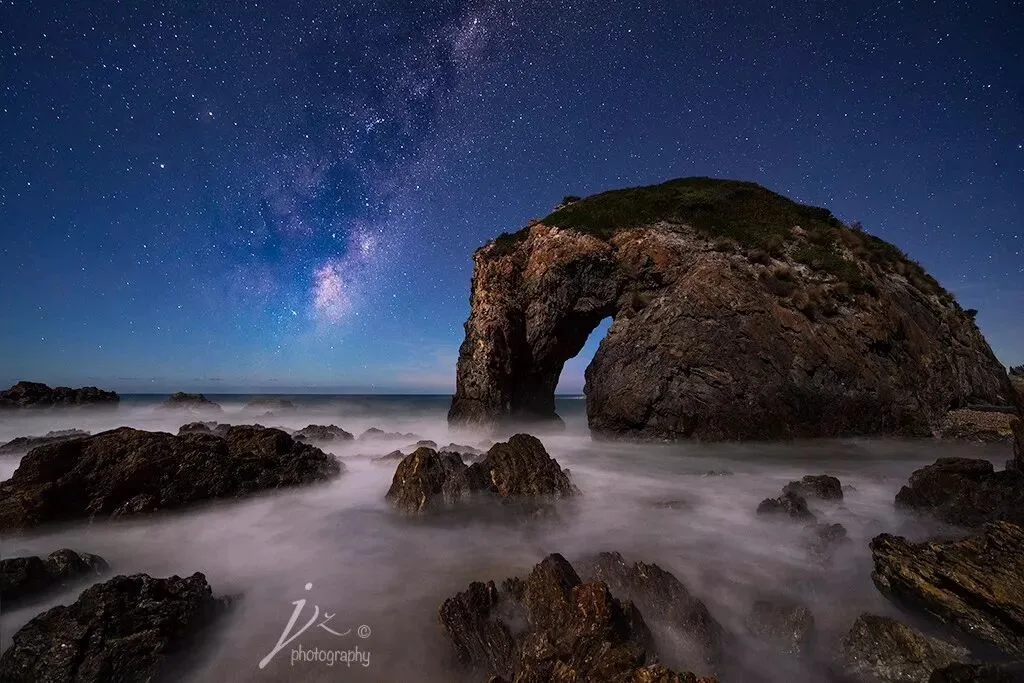
"Horse Head Rock" was shot on a date between the crescent and first-quarter moon
02
In practice we're often constrained by circumstances — not every shoot can fall on a crescent-moon night, and sometimes we must shoot before moonrise or after moonset. Then we can use lighting gear such as headlamps or flashlights to artificially light the foreground. This light-painting technique takes repeated practice to look natural and even — it mustn't be harsh.
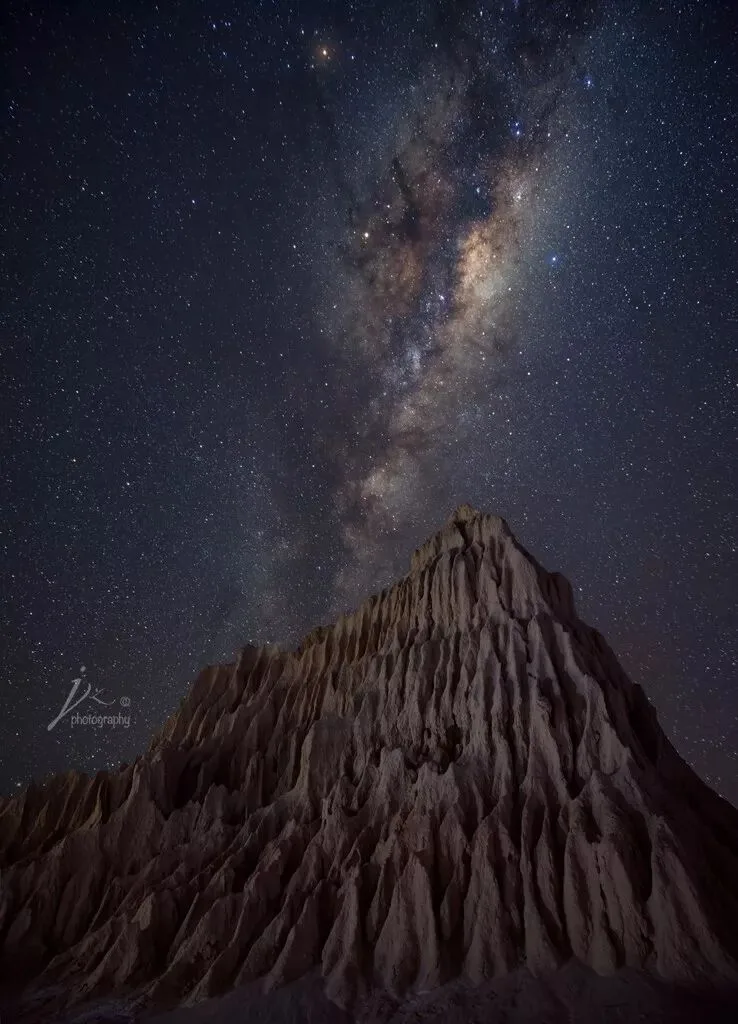
"The Pyramid" was shot on the 29th of the lunar month with no moonlight all night; the foreground was lit with a headlamp
03
Another approach is shooting the sky and foreground at different times (usually Blue Hour and night) and compositing them in post: shoot the foreground right after sunset and the sky after the core rises, or shoot the sky first and the foreground around dawn. The benefit is shooting the foreground at low ISO for a big image-quality boost — but the prerequisite is that the camera must not move between sessions. If shooting by the sea, check the tide schedule for your shooting window in advance.
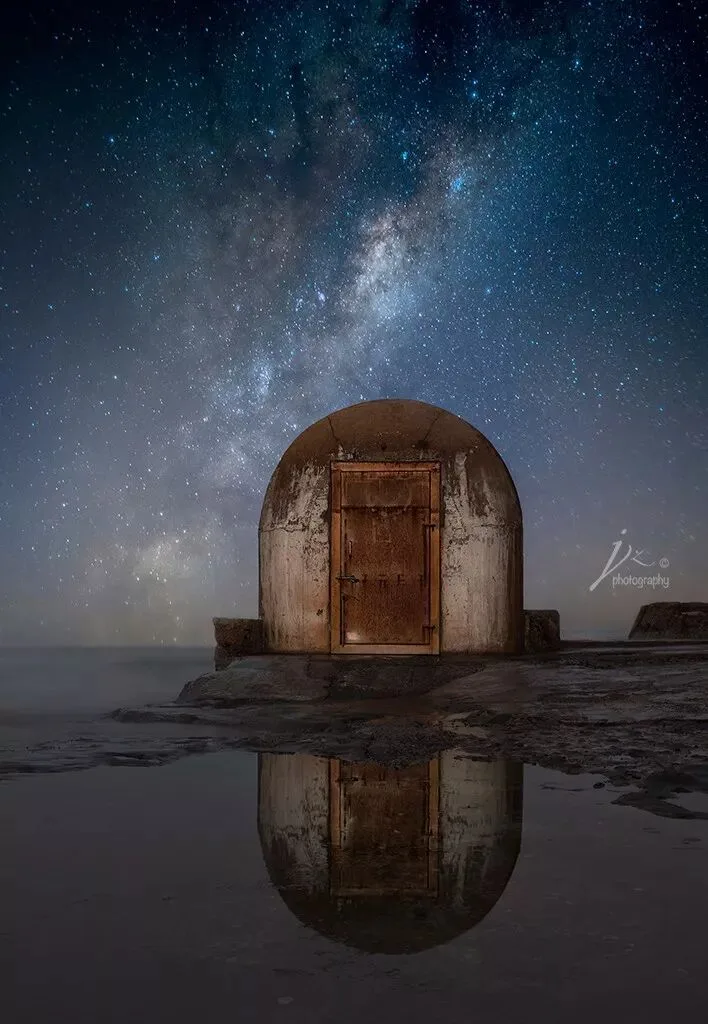
Foreground: ISO 200, f/16, 10 seconds (shot during Blue Hour)
Sky: ISO 4000, f/4, 20 seconds
04
Besides fill light, you can also give the foreground a long exposure of several minutes or more as conditions allow, then composite sky and foreground with masks in Photoshop. But high ISO and long exposures generate heavy noise, so enable in-camera long-exposure noise reduction, or stack multiple frames and shoot dark frames for noise reduction. This method is time-consuming both in the field and in post.
Manual Focus Technique
In the dark the camera can't autofocus, so switch to manual focus for night-sky work: open live view, magnify the image, and turn the focus ring until the stars are sharp. When focusing on the foreground, if the screen doesn't show enough detail, light the foreground with a headlamp to assist focusing.
Here's a lazy-person trick, provided the foreground is not too close — at least 3 meters away. Shooting with a 16mm ultra-wide, the hyperfocal principle says that as long as you focus beyond 5 meters, everything in the frame is sharp. To be safe, I usually focus at around 7-8 meters.
Focus Stacking
In low light with a wide aperture, if the foreground is very close, a single frame can't deliver enough depth of field — focus stacking solves this. Manually focus on the sky for one shot and on the foreground for another: one with sharp sky and blurry foreground, the other with sharp foreground and blurry sky. In post, take the sharp part of each and composite them with masks in Photoshop.
Part 1 Summary
1. Milky Way season runs roughly March to October each year, with April to July the best months
2. Choose cloudless or nearly cloudless weather, shoot far from light pollution, and avoid moonlight interference where possible
3. Gear: a full-frame camera with good high ISO + a fast wide-angle lens + a tripod
4. Settings: ISO 3200-6400, f/2.8-f/4, 25-30 seconds
5. When composing, combine the sky with the foreground and choose an appropriate way to light the foreground
Part 2 will be reposted next Tuesday, covering the various night-sky noise-reduction methods and when to use them, plus star-trail technique. Stay tuned.
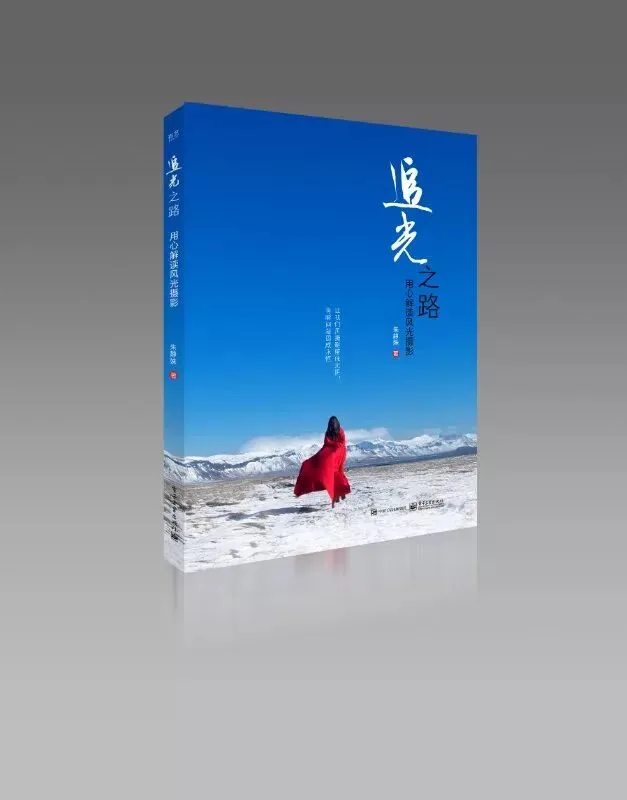
Parts of this article's content are excerpted from the author Jingshu Zhu's (朱静姝) new book "Chasing the Light" (《追光之路》), expected to be published this May.