Photography Tutorial · 2018-04-17
Astrophotography Techniques Revealed: Star Trails and Noise Reduction (Part 2)
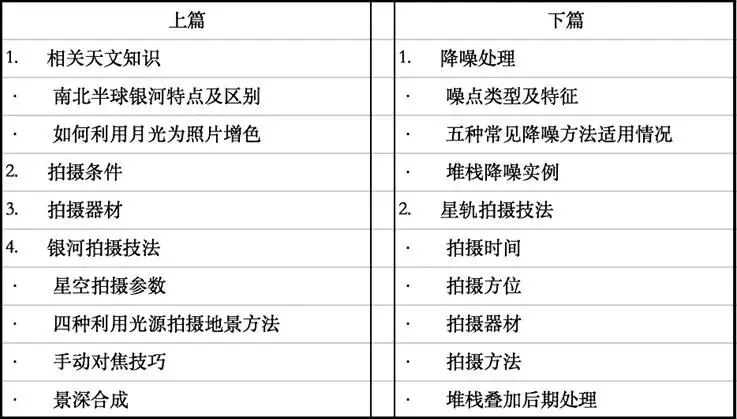
This tutorial is Part 2 of Astrophotography Techniques Revealed, systematically covering the following:
(We recommend studying Part 1 first to ensure continuity)
Read Part 1: This May Be the Most Detailed Astrophotography Beginner's Guide — Save It! (Part 1)
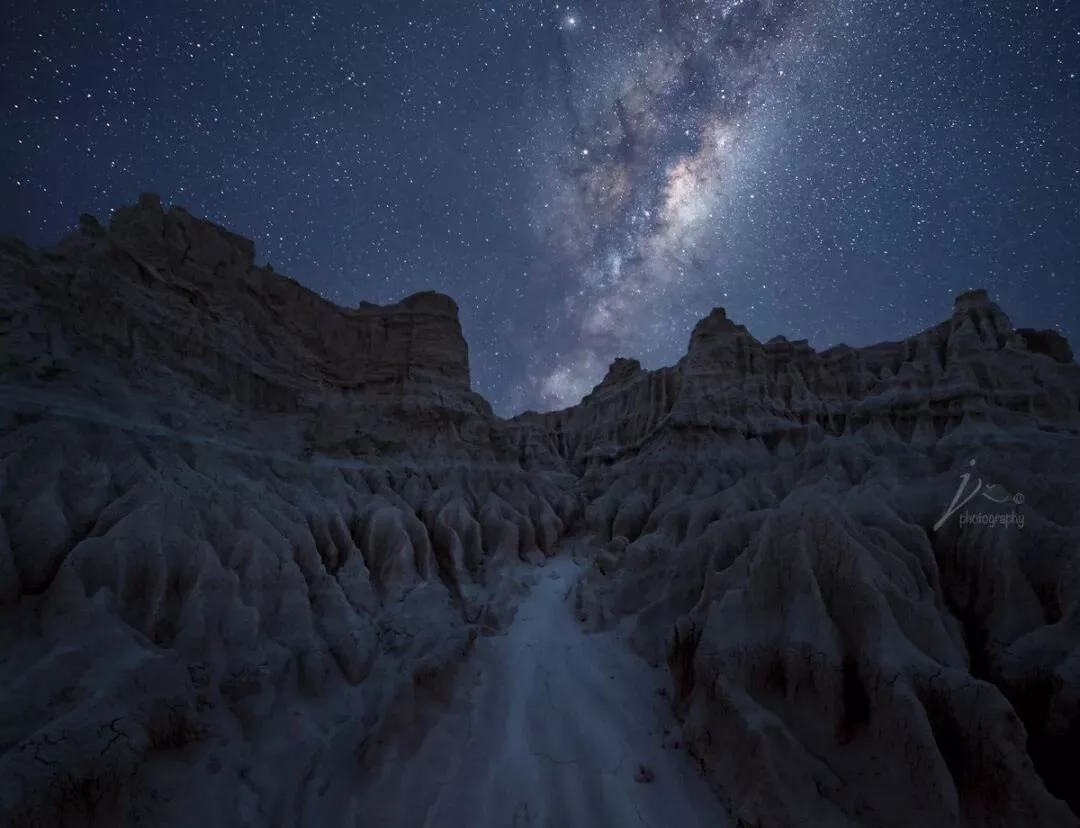
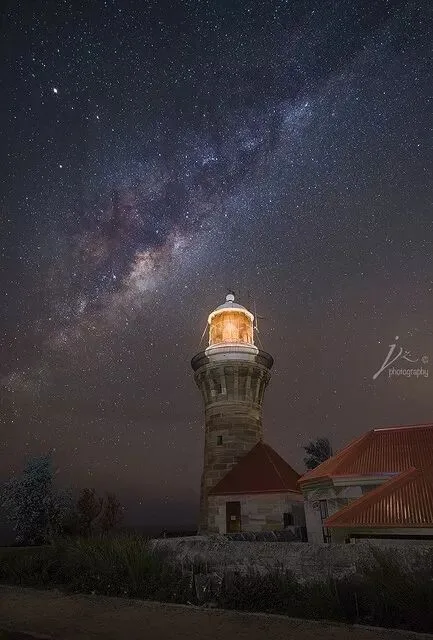
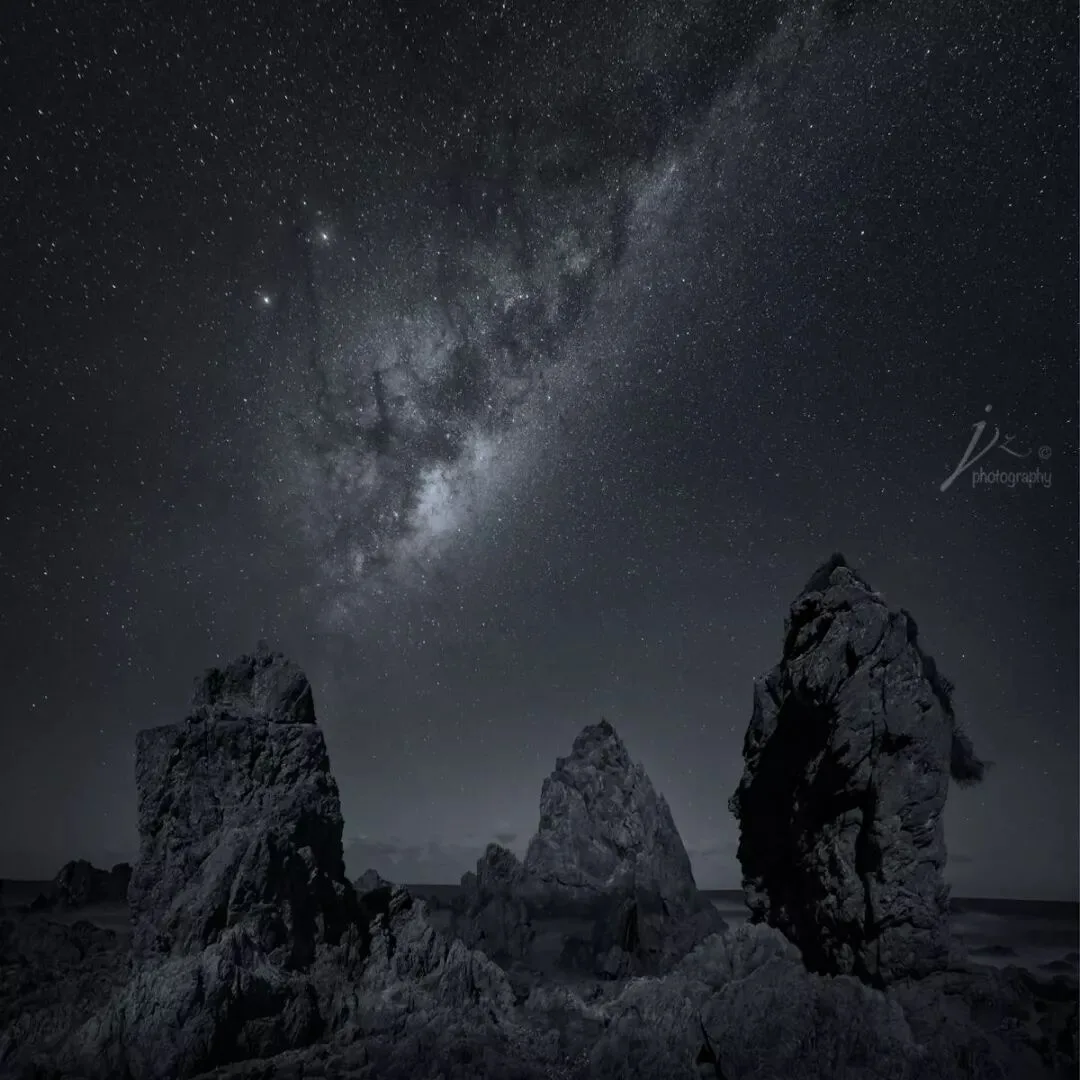
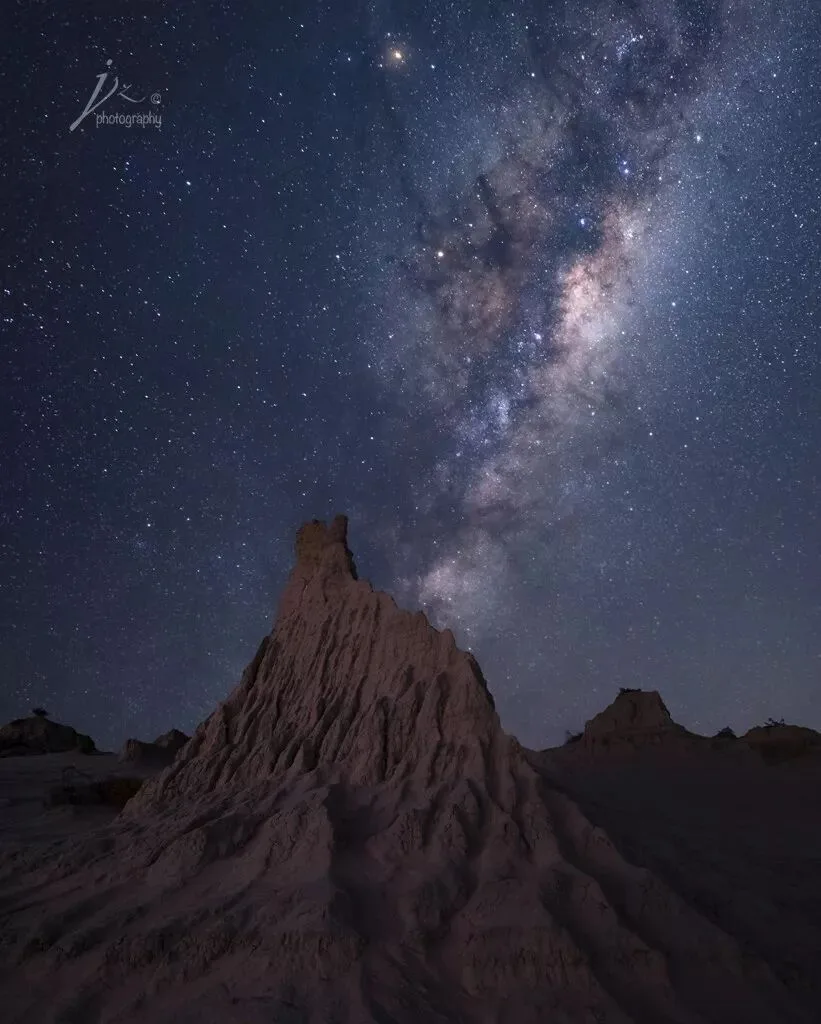
(All night-sky photos in this article were shot by the author. For more, see my Tuchong homepage:
https://tuchong.com/957710/ or WeChat: JingshuZhu)
I. Noise Reduction
Because night-sky shooting uses high ISO and long exposures, the resulting noise has an enormous impact on image quality, making noise reduction an essential step. Among the many noise-reduction methods, which is most suitable? We first need to understand how noise is produced, and its types and characteristics, to prescribe the right remedy.
Sensor size is one of the key factors in noise performance. The amount of noise varies with sensor design and processor, and every brand and model controls noise differently — but noise remains a problem no digital camera has fully overcome.
Digital camera noise mainly refers to the rough parts of the image produced when the CCD/CMOS receives light as a signal and outputs it — foreign pixels that shouldn't be in the image, often caused by electronic interference, making the image look covered in fine grit. Bright areas receive more signal and have a high signal-to-noise ratio, so noise is low; dark areas, conversely, are noisy. Dark environments are therefore the root of noise. Using a high ISO doesn't actually increase the camera's sensitivity — it merely amplifies the existing electronic signal, and the noise gets amplified along with it.
Noise Types and Their Traits
1) Luminance noise
Luminance noise appears as grain — colorless, very similar to grain in traditional film.
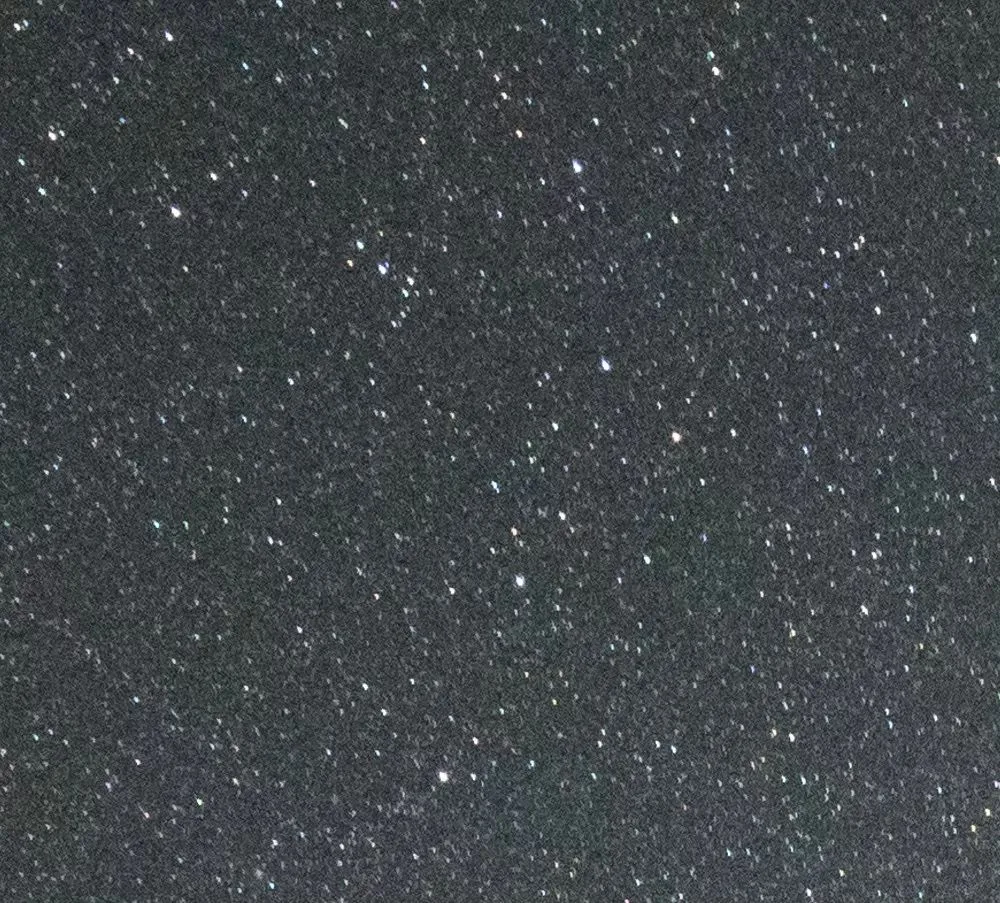
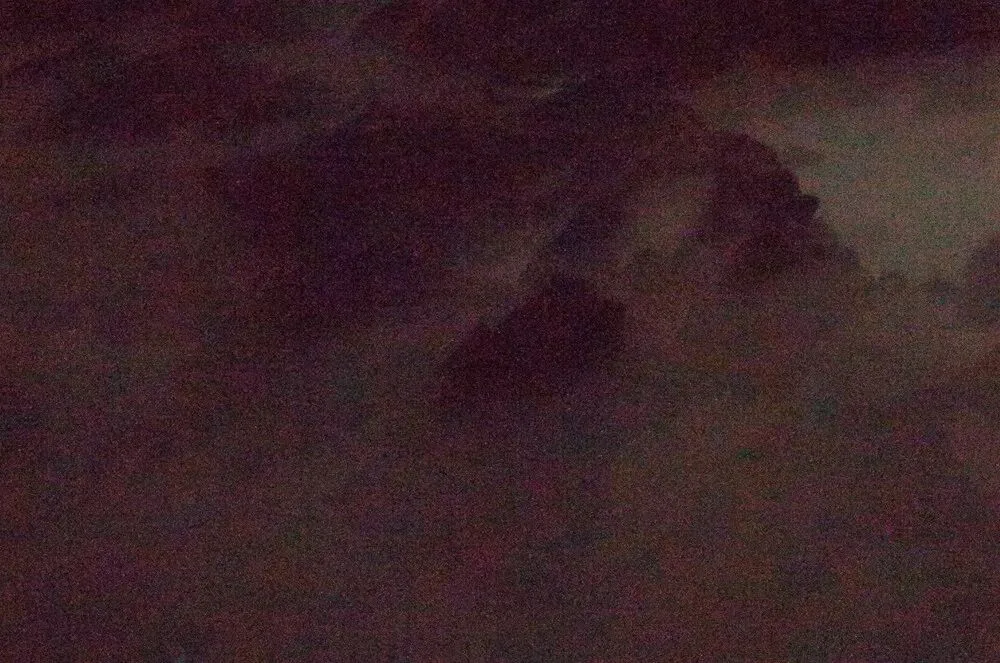
2) Color noise
Color noise blobs are several to dozens of times larger than luminance noise, appearing as color blotches, usually magenta or green. Because the signal-to-noise ratio determines how much color noise there is, this kind of noise mainly lives in the dark areas of an image.
3) Hot-pixel (thermal) noise
Thermal noise appears as colored bright dots, produced by long exposures:
as the sensor operates for a long time and its temperature rises, bright dots appear at fixed positions in the image.
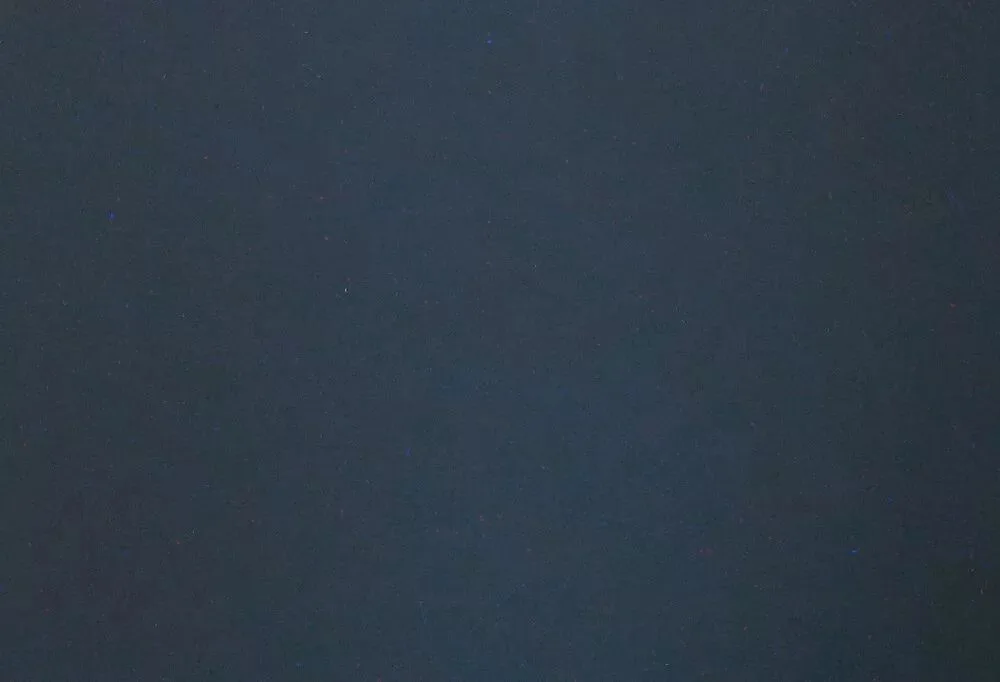
Of these three types, luminance noise and color noise are random — their positions and distribution are random; thermal noise is fixed — under similar shooting conditions it appears in the same positions.
Five Common Noise-Reduction Methods
1. In-camera noise reduction
In-camera noise reduction comes in two flavors: high-ISO NR and long-exposure NR. High-ISO NR only works for JPEGs, costs detail, and does nothing for raw files. Long-exposure NR reduces noise to a degree but doubles the shooting time: with it enabled, after a 30-second exposure the camera immediately runs a 30-second dark-frame reduction; a five-minute exposure means waiting another five minutes. So if you plan to shoot multiple frames for stacking, do not enable long-exposure NR — the gaps between frames would become too long and the images couldn't align in post.
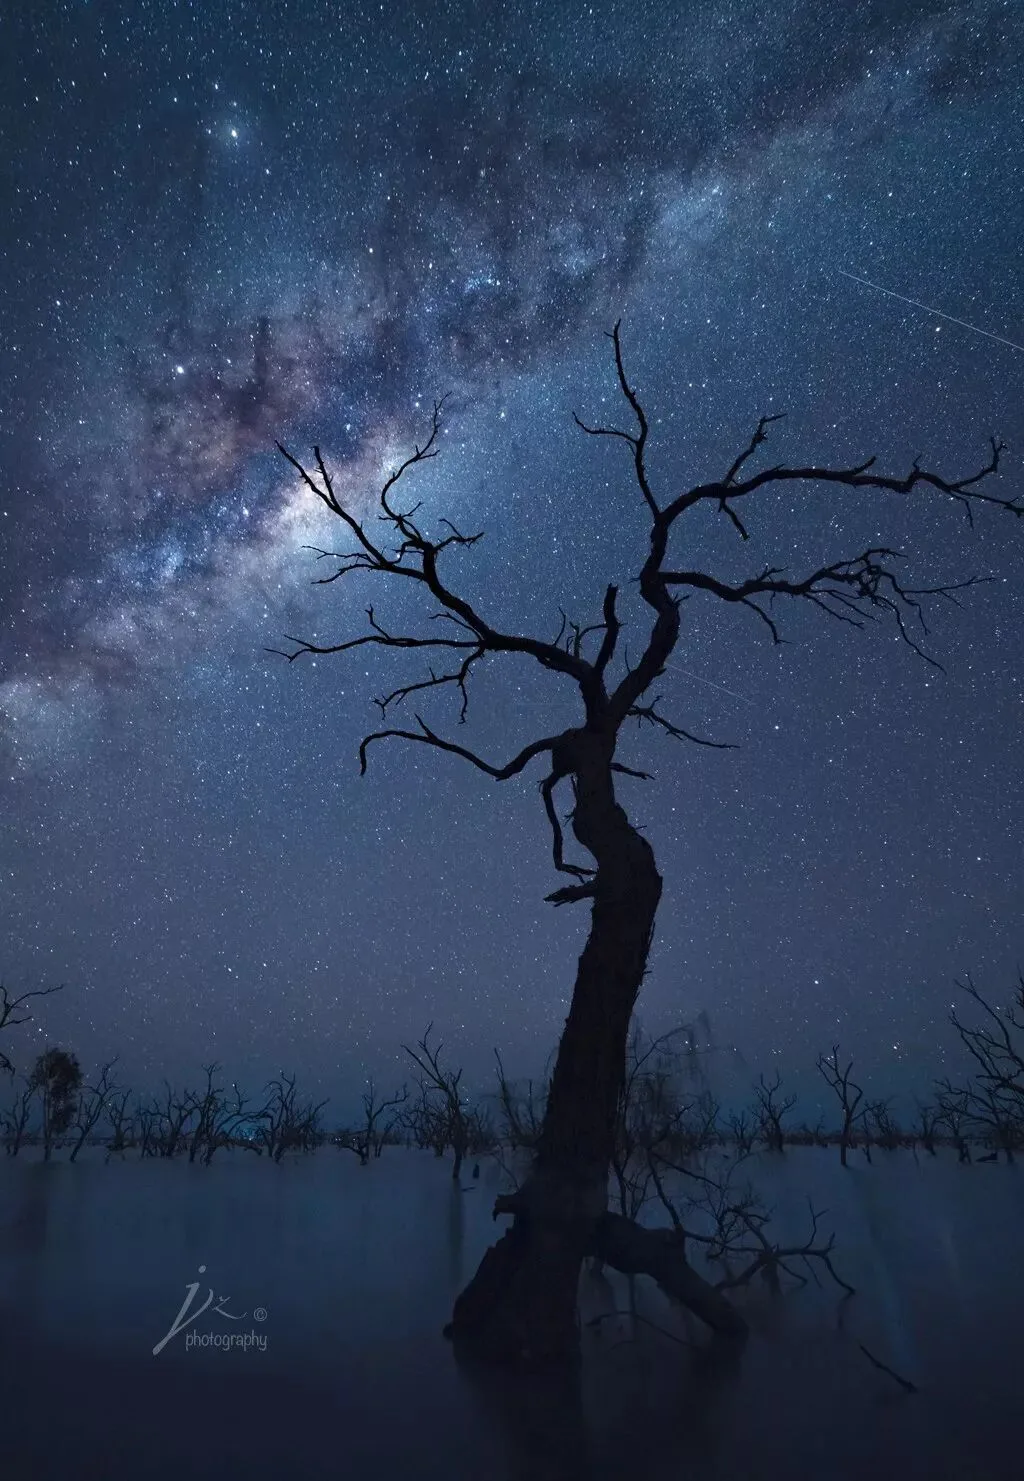
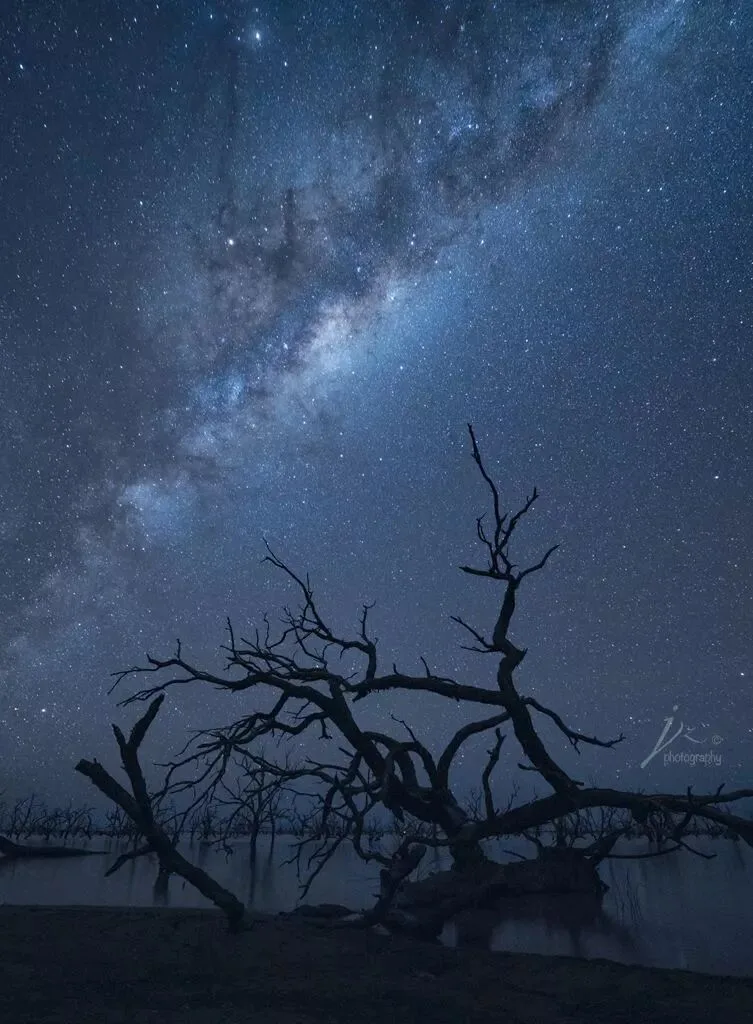
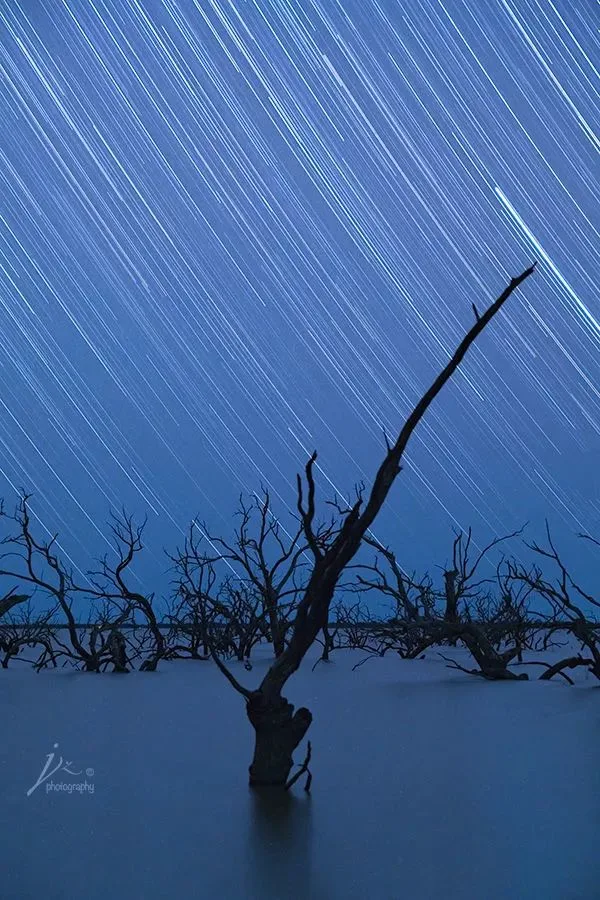
In "Dead Tree and the Milky Way", the tree stretches from the lake all the way into the sky, making it hard to separate foreground from sky — multi-frame average stacking is unsuitable for such scenes. A single exposure combined with in-camera NR and post-plugin NR can still deliver good image quality.
2. Adobe Camera Raw / Lightroom noise reduction
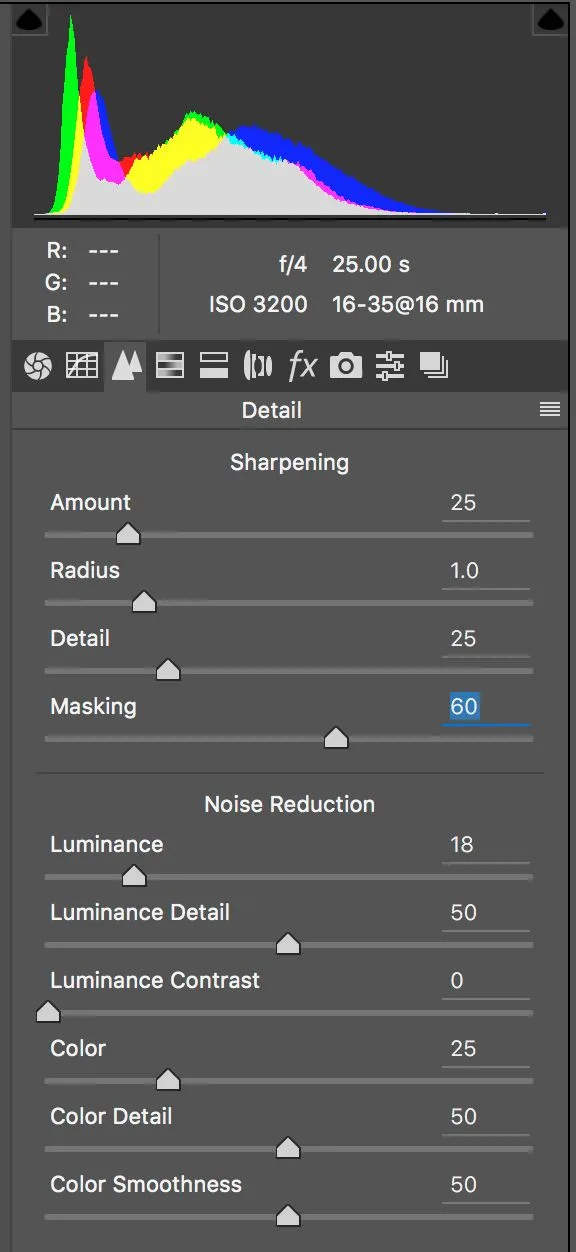
ACR and Lightroom share identical noise-reduction settings and parameters. Generally, the default color-noise settings need no change, and luminance NR should stay under 20 — higher values hurt sharpness and detail.
3. Plugin noise reduction
Nik Dfine, Noiseware, and Topaz DeNoise are all good noise-reduction plugins with finer manual options and simple operation; among them, Nik Dfine is free to download and use.
4. Multi-frame average stacking
Of all the noise-reduction methods in this article, this is the most complex to execute but the most effective — a technique long used in deep-sky photography. With the camera fixed, shoot 6-10 consecutive frames; the more frames you stack the better, but the benefit diminishes: the first four frames bring a huge quality gain, and beyond 5-6 the improvement is marginal, so there's no need to shoot too many. I usually stack 4-6 frames. Because the sky rotates relative to the ground, you must use masks to reduce noise on sky and ground separately — otherwise, once the ground is aligned, the stars become trails.
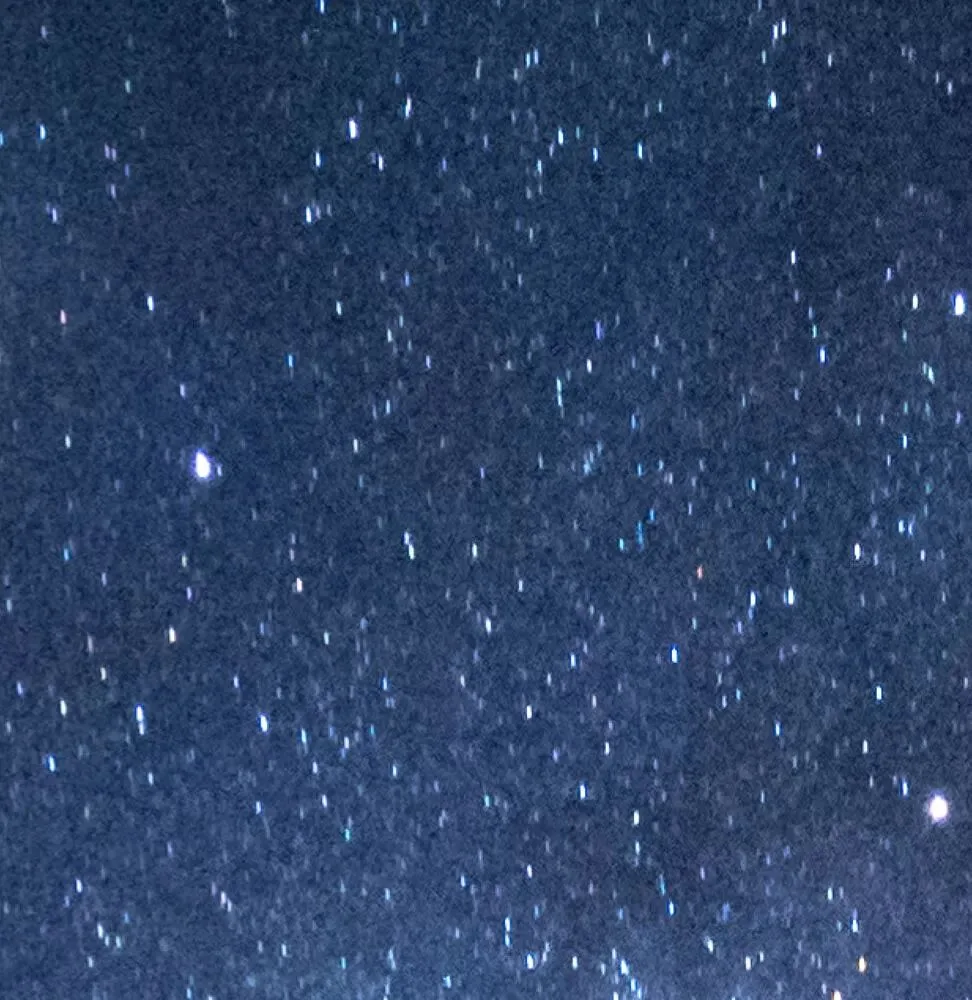
Before noise reduction, detail at 400%
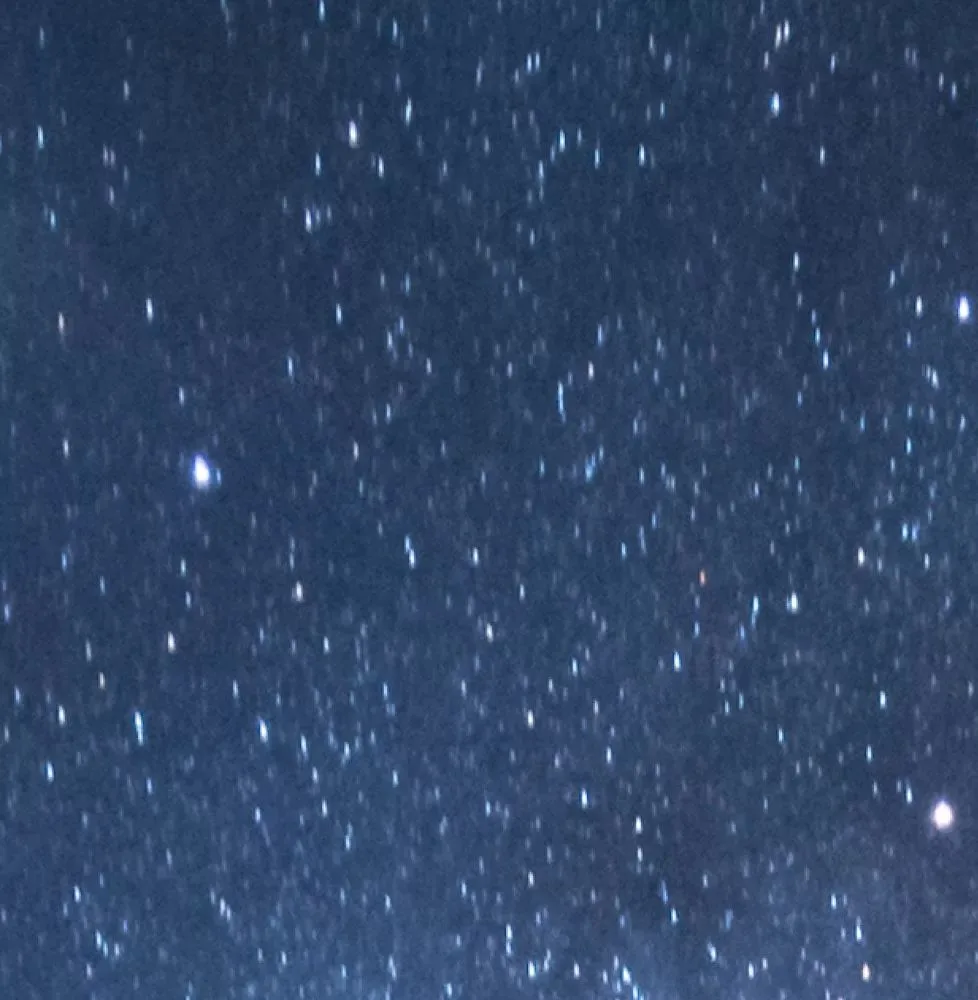
Six-frame stacked noise reduction, detail at 400%
5. Dark-frame noise reduction
This method targets thermal noise from long exposures. After finishing the shoot, in the same environment, put the lens cap on and shoot one dark frame with the same settings. The resulting image is a fully black picture that still contains the colored bright dots of thermal noise. Exploiting the fact that thermal noise is fixed, import both photos into Photoshop — the normal photo below, the dark frame above — and set the layer blend mode to "Difference" to remove the thermal noise.
Note: although a dark frame is just a fully black photo, it must be shot in the same session and environment as the other photos, because thermal noise is directly related to ambient and sensor temperature.
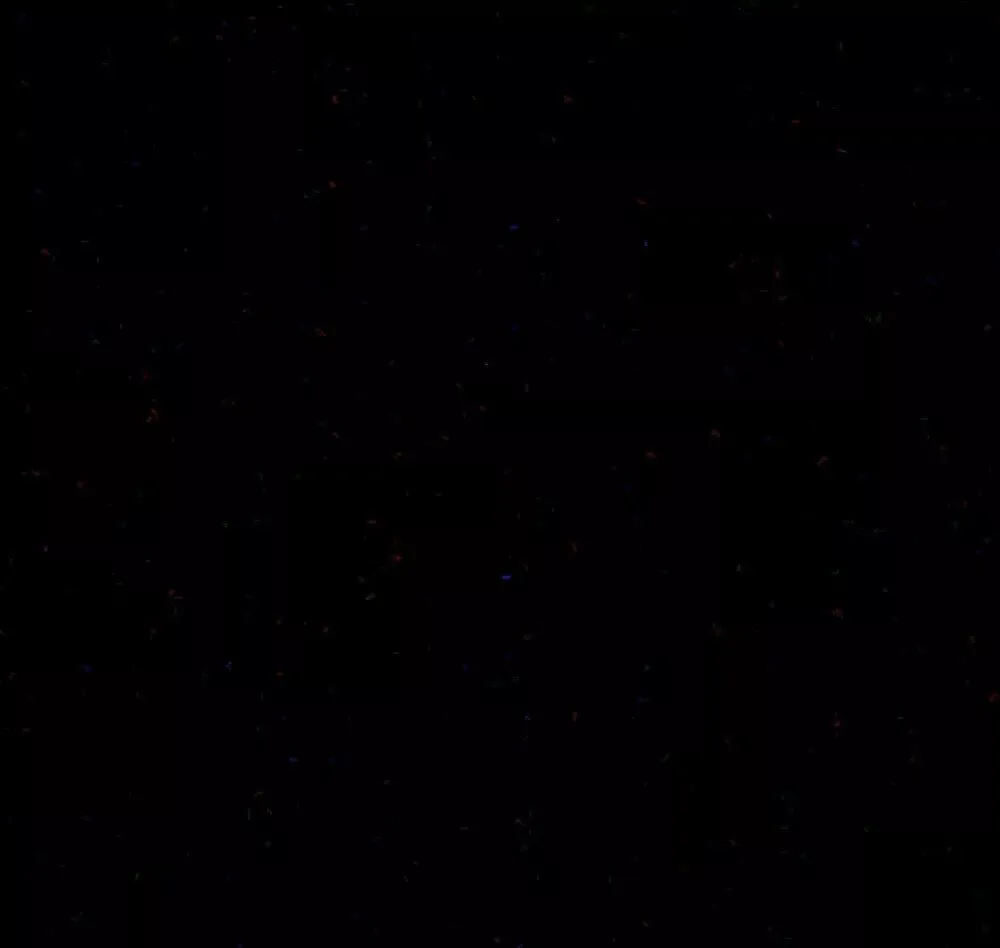
These are the noise-reduction techniques I've found most effective over years of shooting; I usually combine two or three of them depending on the situation for even better image quality.
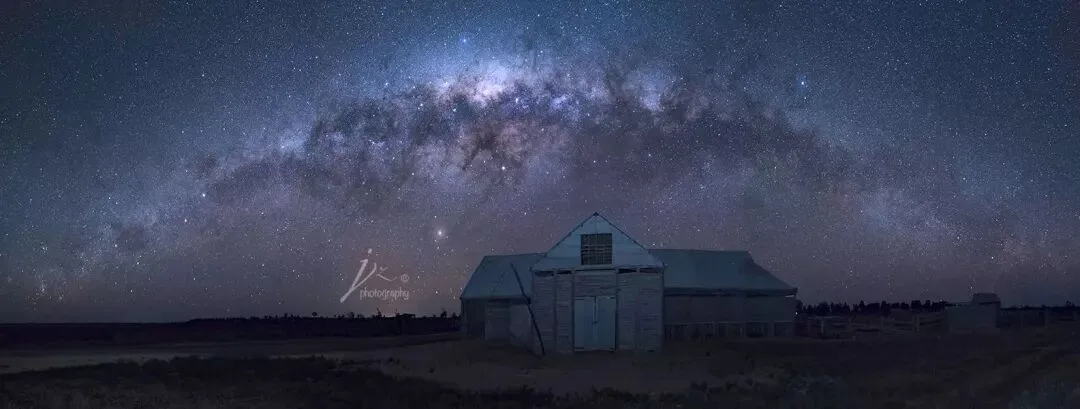
A Stacking Noise-Reduction Example
Of the five methods above, stacking is the most effective but also the most complex, requiring refined field and post technique together. To make it easier to understand, here are the main steps with example images:
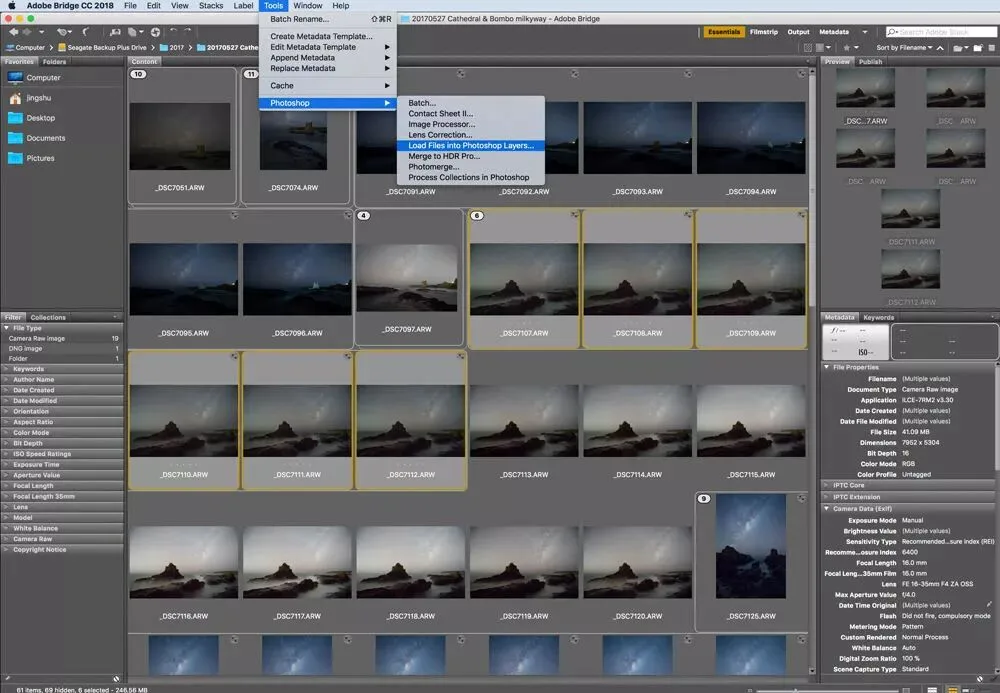
1. In Adobe Bridge, select six consecutively shot photos from the same camera position (anywhere from four to eight works), and under Tools choose "Open in Photoshop as Layers".
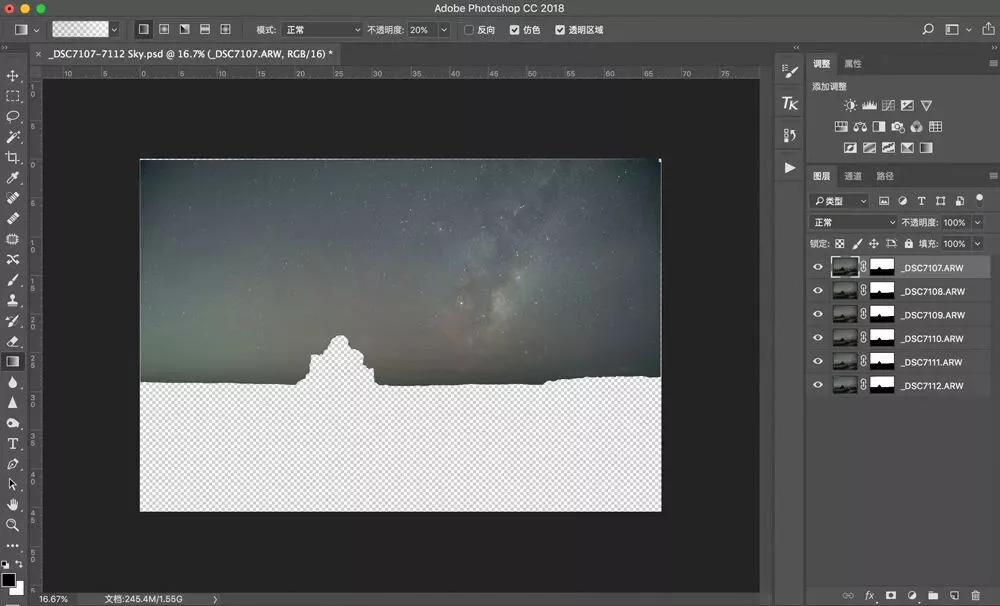
2. The six photos are now layers in one Photoshop file. The first step is aligning the images — but because the sky moves relative to the ground, aligning the ground leaves the stars trailed. So first make a selection of the sky and use a mask to cover each photo's ground, allowing the sky portions to align.
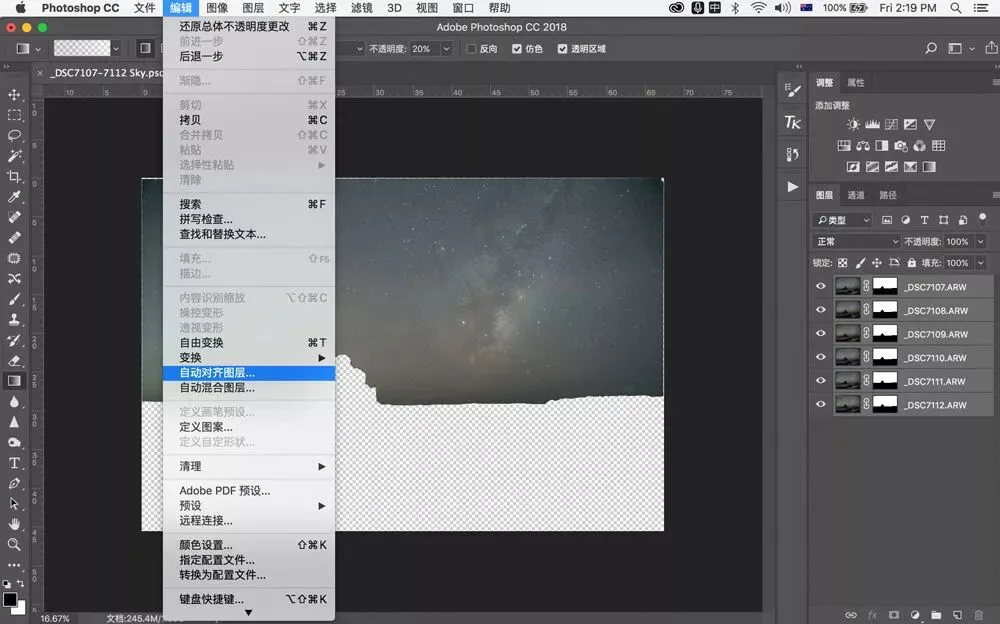
3. Under the Edit menu, choose "Auto-Align Layers".
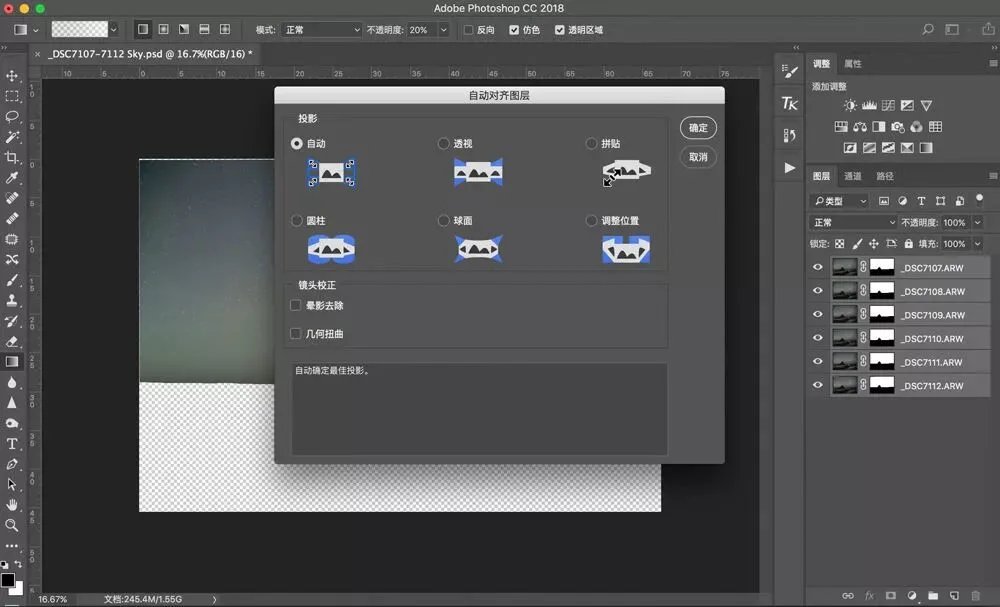
In the dialog that pops up, choose the default "Auto" method.
4. Select all layers, then from the Layer menu choose "Convert to Smart Object".
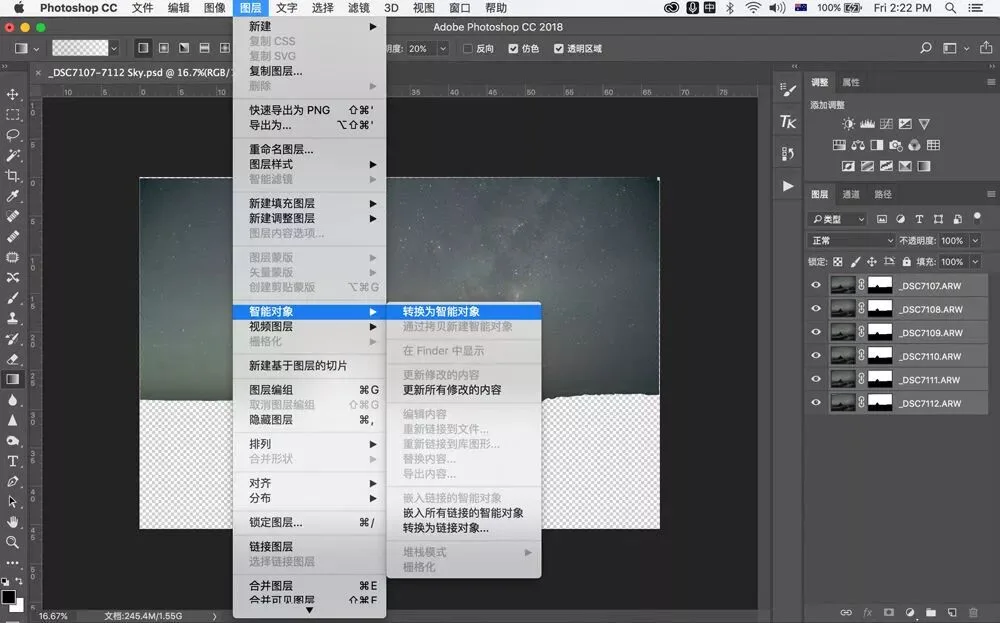
The six layers now merge into one Smart Object layer.
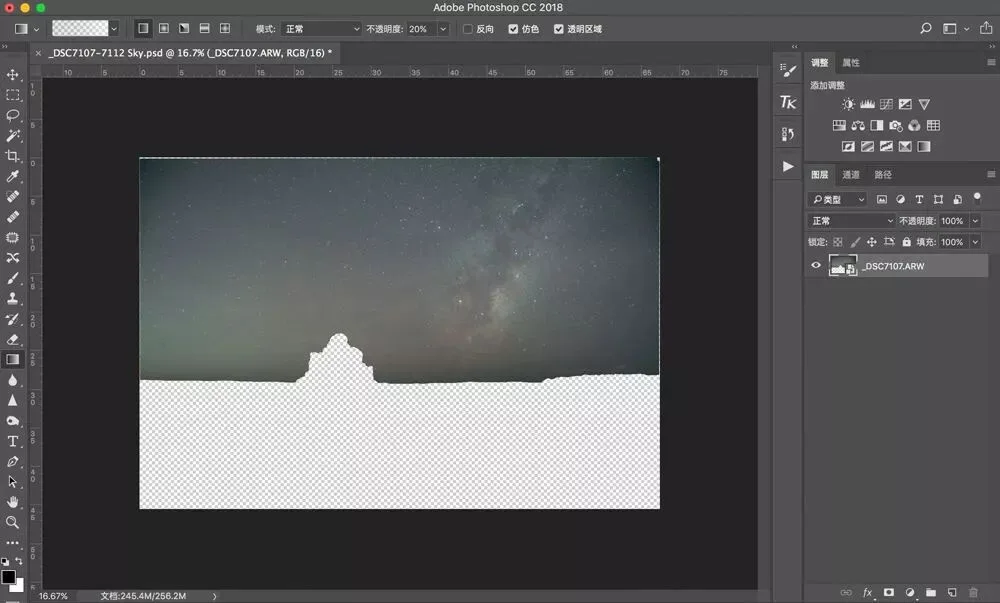
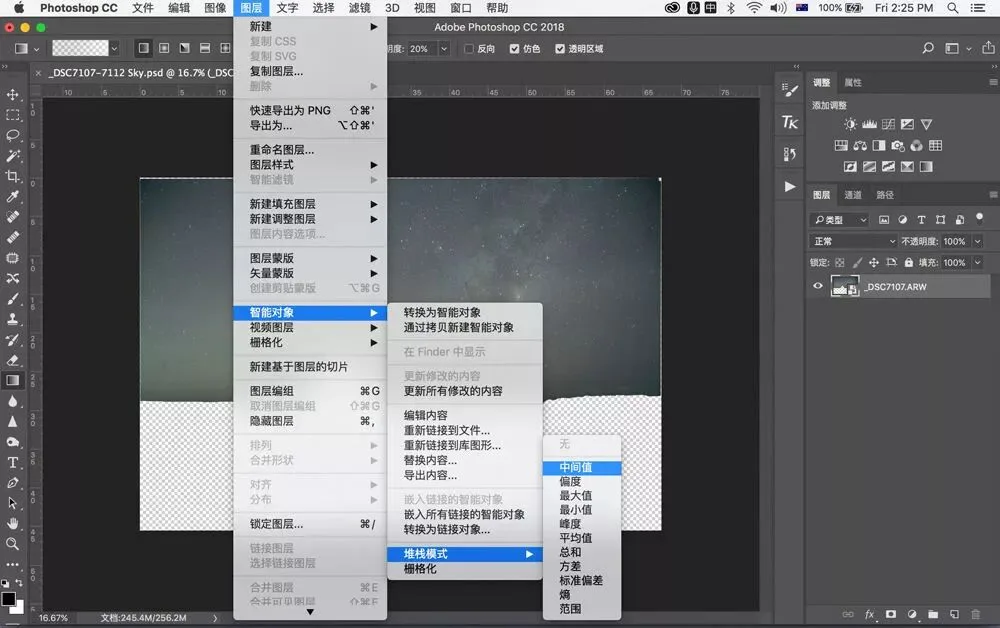
5. Next comes the core of stacking noise reduction: from the menu choose Layer - Smart Objects - Stack Mode - Median to finish denoising the sky. Repeat all the steps above for the ground — the only difference is using masks to hide the sky in step 2.
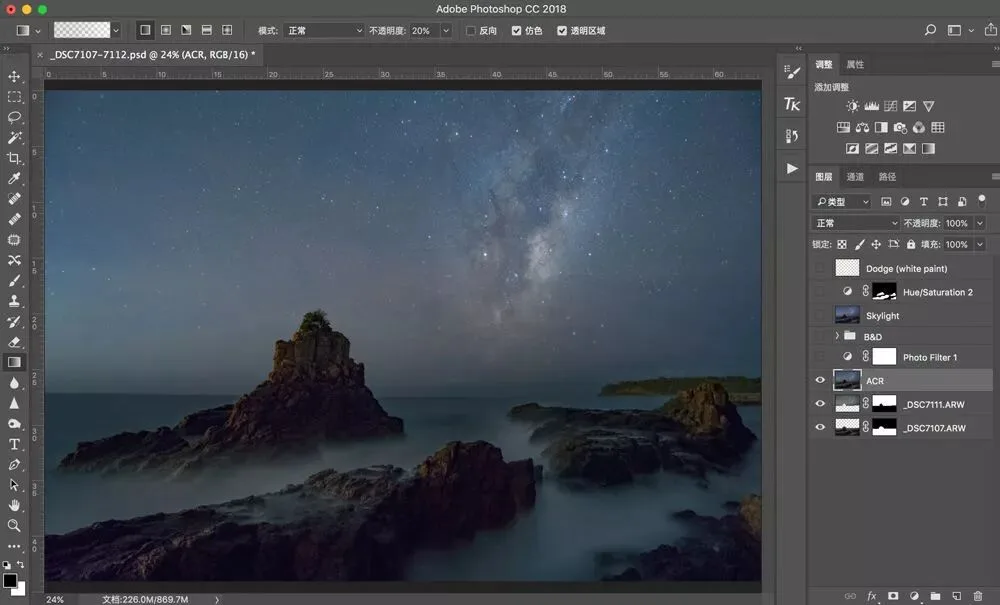
6. Because the alignment step makes lens correction impossible, no adjustments are made to the photos before denoising. Place the denoised sky and ground as layers in one file; the routine adjustments after merging are the same as for any other night-sky photo.
Here's a Baidu Netdisk download link to the original night-sky files for stacking practice:
Link: https://pan.baidu.com/s/1wLPcTTWA3uofPR56ktVmiw
Password: u2wz
II. Star-Trail Technique
The principle of star trails: as Earth rotates, the stars' positions rotate relative to us, and a long exposure captures their paths of motion across the night sky. Because the naked eye can never see this, the resulting images feel magical and mysterious.
Shooting Time
First choose a clear, cloudless night; then consider the Moon — try to shoot on moonless nights or around the crescent phase. Moonlight that is too strong reduces the number of visible trails, leaving them sparse and faint.
One trick is to calculate moonrise and moonset precisely and use moonlight to light the foreground. For example, start shooting star trails 1-2 hours before moonrise, then keep the camera fixed and shoot the foreground once the Moon is up; or shoot the foreground about half an hour before moonset, then keep the camera fixed and shoot the trails.
By the same token, with the camera fixed, you can use the Blue Hour before sunrise or after sunset to shoot the foreground and composite it with the star trails in post.
Shooting Direction
Stay as far from city light pollution as possible. You can capture star trails in a city on a clear night, but they'll be extremely sparse and unappealing.
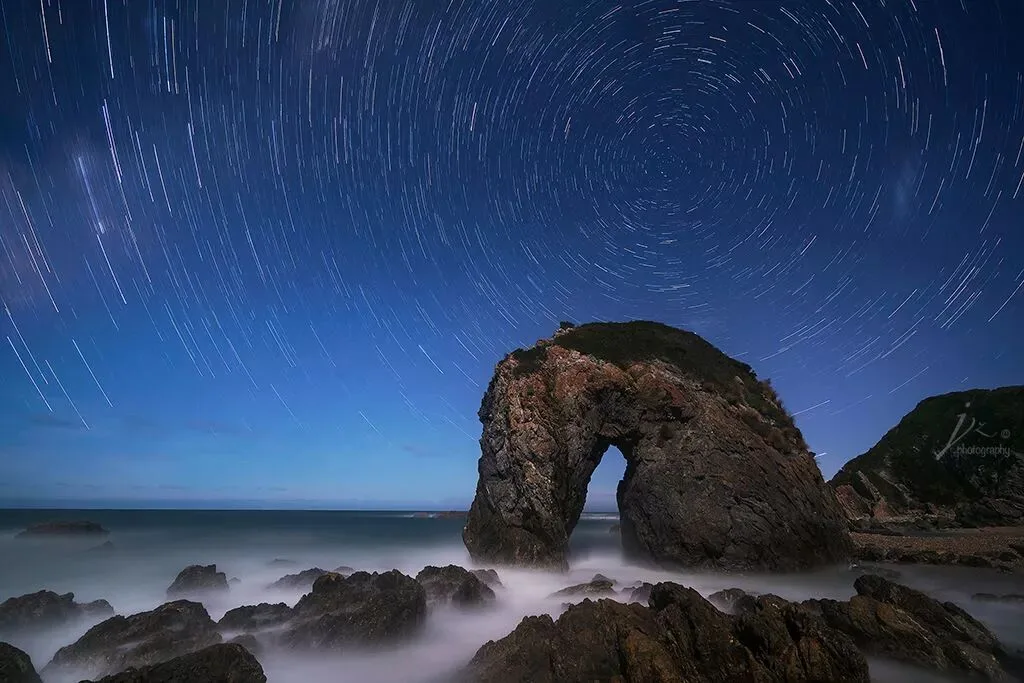
The shooting direction determines the trails' shape. For concentric-circle trails you must face due north in the Northern Hemisphere (due south in the Southern Hemisphere), producing star motion centered on Polaris. If you can't identify Polaris, use a compass to find due north (due south in the Southern Hemisphere). Trails facing east or west appear as arcs.
Shooting Gear
Gear requirements for star trails are relatively low — wide, standard, and telephoto lenses all work. Ultra-wide lenses can capture concentric-circle trails; telephoto trails appear as arcs. The other accessories are largely the same as for shooting the Milky Way (see Part 1), except the shutter release is especially important.
You can shoot the Milky Way without a shutter release, but for star trails a programmable intervalometer is best. You can set each frame's exposure time, the number of frames, and more; after pressing the shutter, the camera executes the program by itself until finished. The traditional single-frame method requires Bulb mode, which also needs a shutter release to engage.
One accessory special to star-trail shooting is an anti-fog wipe. In humid regions, a lens exposed to the night air for a long time fogs up easily and ruins the shoot. Wiping the lens with an anti-fog cloth beforehand helps prevent fogging for a period of time.
Shooting Method
The traditional method is a single long exposure: concentric-circle trails need at least about 30 minutes, and usually an hour or more to look good. Such ultra-long exposures bring heavy noise that neither in-camera nor post NR can fully solve, sometimes overexpose the foreground, and also test battery performance.
The popular method in the digital era is shooting a continuous series of frames from 30 seconds to several minutes each and stacking them in post. For example, planning a one-hour total exposure: at 5 minutes per frame you need 12 consecutive photos; at 3 minutes per frame, 20 photos; at 30 seconds per frame, 120 photos; and so on. So what's the best per-frame duration? That depends on your computer's processing speed. For an average-spec computer, imagine importing 120 photos into Photoshop at once — not only would processing be painfully slow, a crash is likely. Importing 12 photos at once is a different story that any ordinary computer can handle; the downside is that if any single frame has a problem, the trails can't connect into a complete whole, possibly ruining the shoot — and different camera models vary greatly in how well they control thermal noise from long exposures. So there is no single best frame duration; decide based on your own situation.
I personally often use a shutter speed appropriate for a normally exposed foreground: I shoot a few test frames to lock the composition and find the best parameter combo. Specifically, I first test with a wide aperture, high ISO, and short exposure; adjust the composition and confirm the needed exposure from the resulting image and histogram; then set a suitable aperture and ISO, and calculate the actual shutter speed required via the reciprocity law. For example, if a test at ISO 12800 / f/4 / 4s captures both foreground and sky with ample detail and no overexposure, I take that as the normal exposure, then adjust to ISO 400 / f/5.6, and the reciprocity law gives a 4-minute exposure — so I shoot 15 consecutive frames for a total of one hour.
Note: with the multi-frame stacking method, turn off the camera's long-exposure noise reduction — otherwise, since NR doubles each frame's time, the trails will be discontinuous.
Apertures between f/2.8 and f/5.6 are common; the wider the aperture, the brighter the trails. I usually set ISO between 200 and 800 depending on ambient light — low ISO produces less noise and cleaner image quality.
As with shooting the Milky Way, autofocus can't lock on in the dark, so switch to manual focus (see Part 1 for details).
Post-Processing for Various Stacking Methods
Star-trail compositing is not complicated — there is dedicated stacking software, and you can also do it manually in Photoshop. Here's a simple, easy-to-learn method.
1) In Adobe Camera Raw or Lightroom, make routine brightness and color adjustments to the photos, including white balance, exposure, contrast, saturation, and noise reduction.
2) Apply the adjustments to all photos — use batch processing to keep everything consistent.
3) In Photoshop, choose File > Scripts > Statistics to load the photos into a stack.
4) Run the "Maximum" stack mode. Processing speed varies with the number of photos and your hardware — you may need to wait a while. Once the calculation completes, the star trails are formed.
Parts of this article's content are excerpted from the author Jingshu Zhu's (朱静姝) new book "Chasing the Light" (《追光之路》), expected to be published this May.