Photography Tutorial · 2018-10-17
A Detailed Aurora Photography Guide — Save It Now
Thomas Chu Photo
One tutorial a week — making photography easy to learn
I'm AdventureX photographer Jingshu Zhu
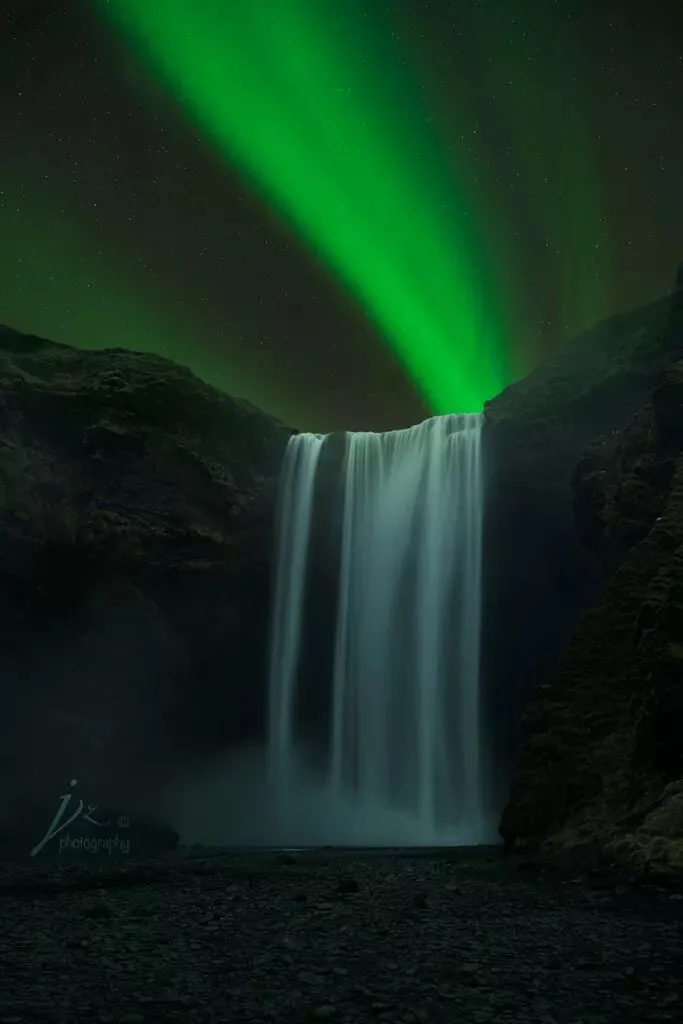
The aurora is the brilliant, beautiful glow that appears at night in the high-magnetic-latitude skies near Earth's two poles. One of nature's most magical spectacles — gorgeous beyond compare, in a riot of colors. Human language falls helplessly short of describing its awe and beauty; everyone who loves nature hopes to behold the goddess Aurora in their lifetime.
For centuries, this atmospheric glow unique to the polar regions remained a celestial mystery of speculation and exploration. Modern science has finally given us a sound explanation.
The aurora is produced when high-energy charged particles from Earth's magnetosphere and the sun excite (or ionize) molecules and atoms in the upper atmosphere. By location, it divides into the southern and northern auroras.
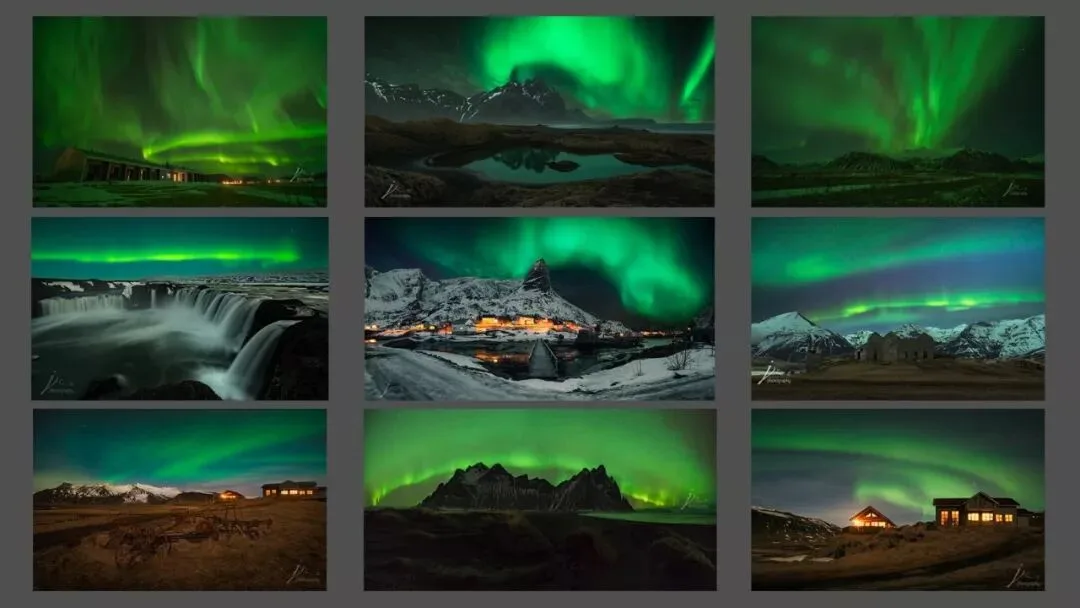
As more and more photography enthusiasts visit Northern Europe and North America, aurora photography is no longer mysterious. Yet it often happens that a beautiful aurora dances right overhead while the photos come out pitch black. To solve this, I created a two-part aurora tutorial (combined into one article here):
Part 1: How to Photograph the Aurora
Part 1 covers four aspects in detail; all example images were shot by me in Northern Europe.
Where to Go
Viewing Conditions
Gear
Shooting Technique
1
Where to Go
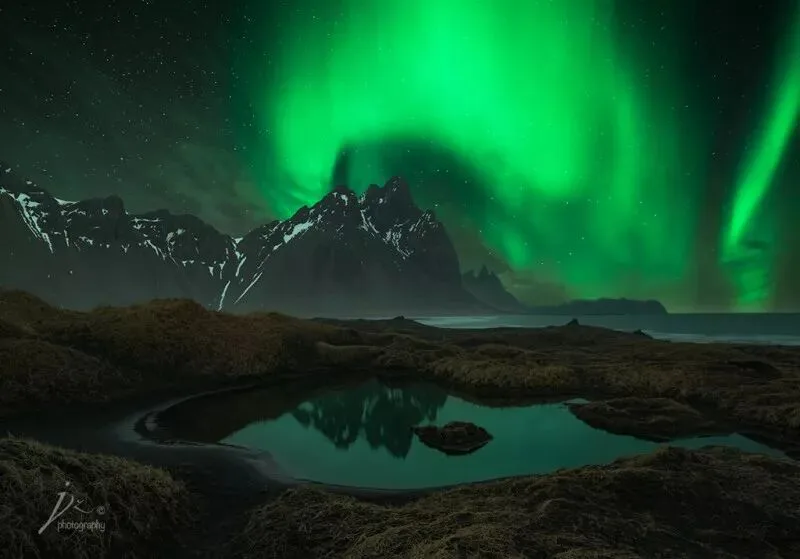
Auroras occur in two ring-shaped bands near 67° latitude north and south, so viewing means traveling to the Arctic or Antarctic circle regions. But stronger isn't simply closer to the pole: the best viewing points lie within the 'auroral oval'. The southern aurora mainly appears over Antarctica; New Zealand's South Island and Australia's Tasmania do get chances, but with weaker intensity and lower probability.
Because the southern aurora is hard to reach, aurora photography effectively means the northern lights: Alaska, northern Canada, Siberia, Greenland, and in Northern Europe — Iceland, Norway, Finland and Sweden. During major storms, the aurora has even appeared over Mohe, China's northernmost county in Heilongjiang — but with very low probability, extremely rare.
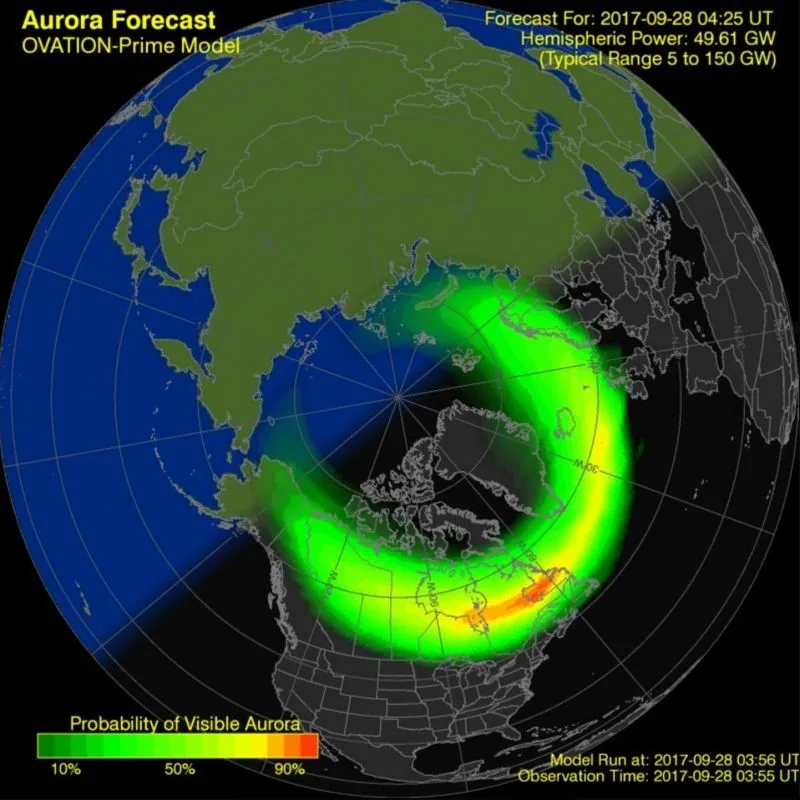
Northern Hemisphere aurora forecast map
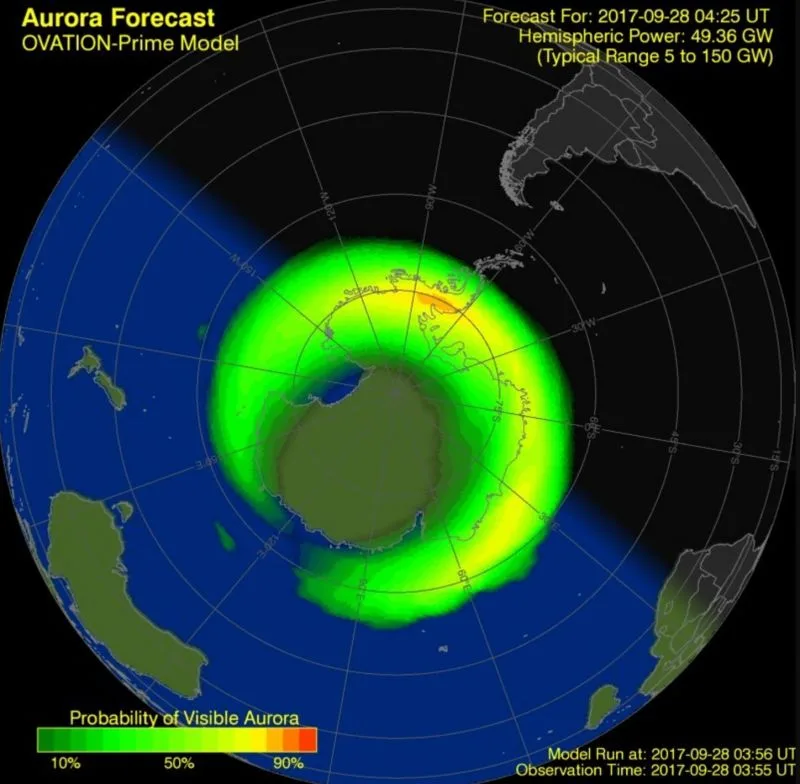
Southern Hemisphere aurora forecast map
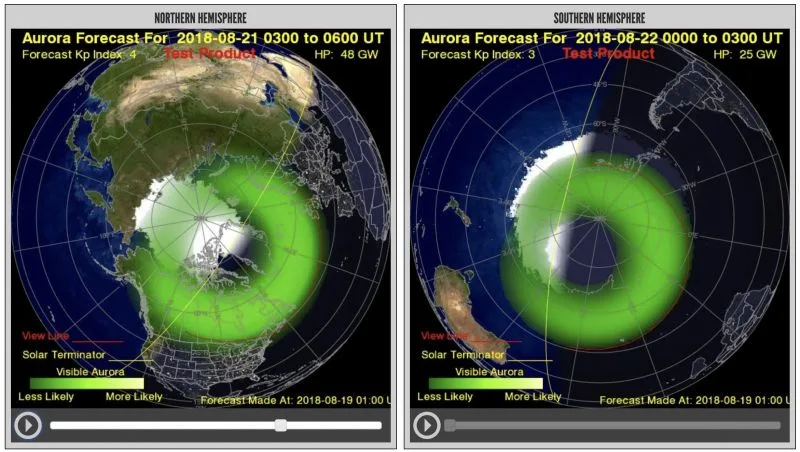
The comparison shows the southern aurora covers only Antarctica.
Compared to North America's −30°C deep freeze, some Nordic viewing areas are more comfortable. Iceland is the only country lying entirely within the auroral zone, with average winter lows of just −2 to −3°C — quite mild. Tromsø in northern Norway, the largest city inside the Arctic Circle, sits in the auroral zone year-round with excellent viewing infrastructure — also a superb shooting base.
2
Viewing Conditions
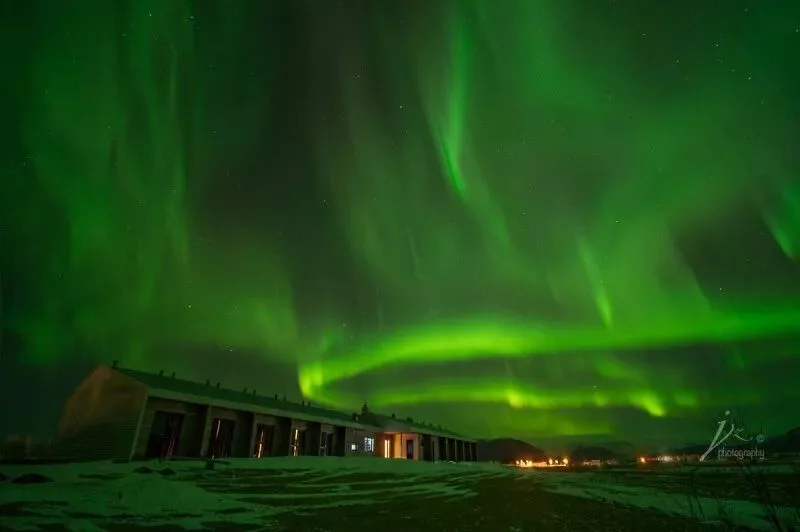
Even reaching the auroral zone doesn't guarantee a sighting. Three factors matter: season, aurora index, and weather.
Auroras actually occur year-round, but the midnight sun and short nights of summer leave few chances to see them. October through March is the best season. Exceptions exist: a friend caught a major storm in Iceland last August — luck like that can't be chased, only met.
Though auroras can occur anytime, 9 p.m. to 2 a.m. is usually prime time. Before shooting, check the KP index: it runs 0-9, where KP 9 is strongest with the widest coverage and KP 0 the weakest. As a rule of thumb, KP 3 and above is visible to the naked eye.
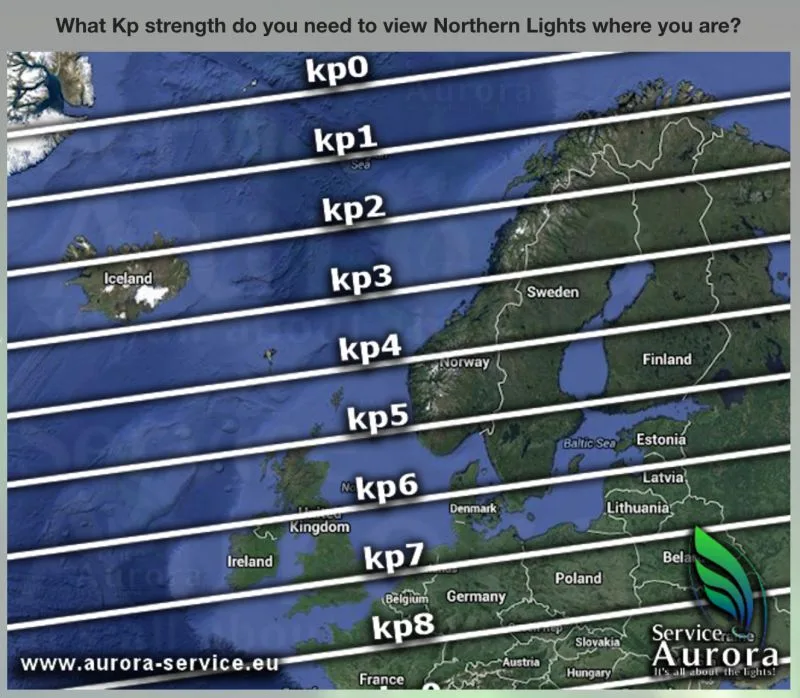
The chart above shows the KP needed for naked-eye visibility across Europe. For example: KP 2-3 suffices in Iceland; since Norway/Sweden/Finland are long and narrow, KP 2-3 works in their north while the south needs KP 3-5; countries further south may only see it during KP 7-8 storms — a slim chance.
For aurora intensity, consult these forecast sites:
http://www.swpc.noaa.gov/products/
North America:
http://www.aurora-service.org/
Northern Europe:
http://www.aurora-service.eu/
Or check local sites for more accurate forecasts. These sites show predictions for the next three days and the coming hour.
You can also check mobile apps like Aurora Fcst and Aurora Now.
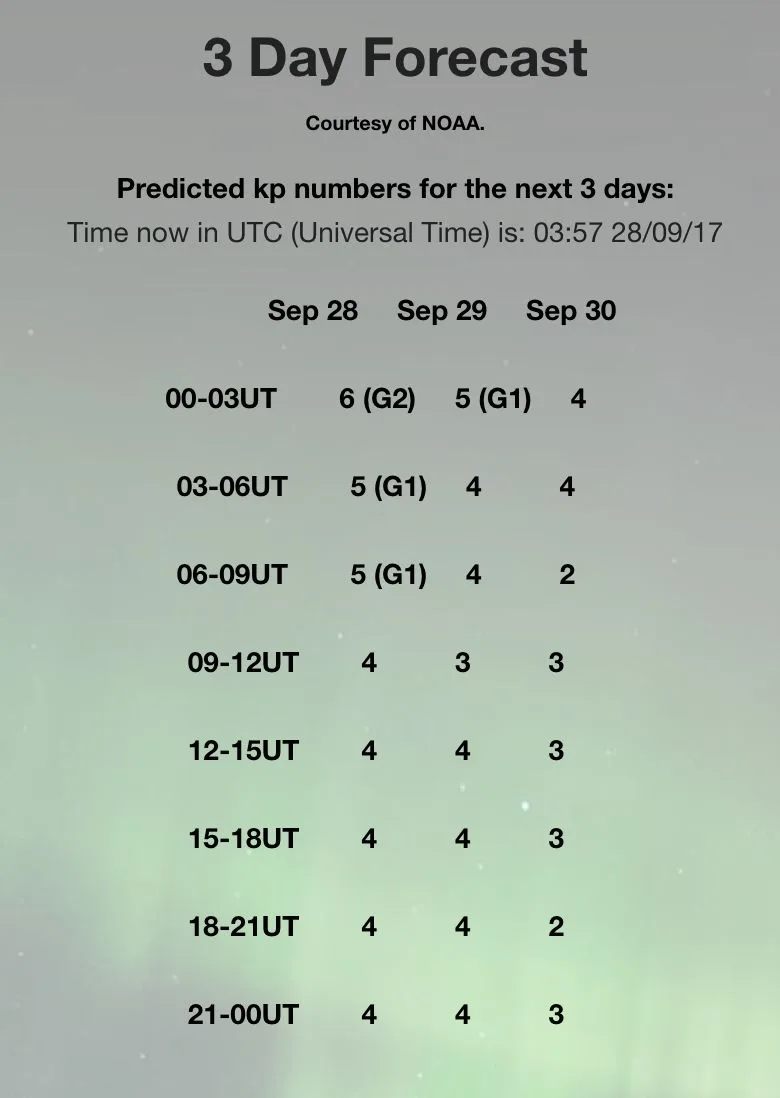
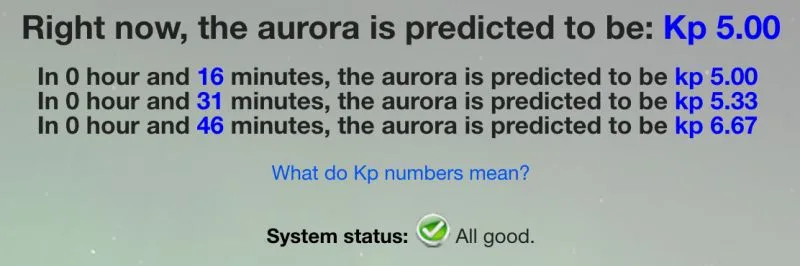
Weather is another decisive factor: the night sky must be clear or nearly so. In rain or snow, thick cloud hides even the most beautiful aurora.
Aurora photography often means long waiting, demanding enormous patience and perseverance. Waiting hungry and freezing in a boundless snowfield, not knowing how much longer, fatigue and despair grinding down your will — and then the aurora may appear without warning: faint green light spiraling and leaping like dancing ribbons drawing back the curtain of night. The sight leaves you entranced, as if inside a dream. That immense happiness after utter despair is heaven's best gift to a photographer.
3
Gear
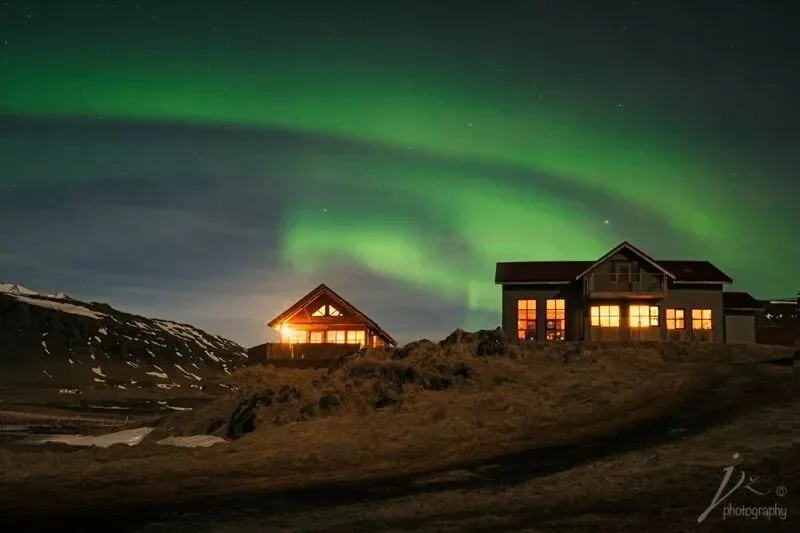
Aurora gear is the same as for astrophotography:
Camera: a full-frame body with excellent high-ISO performance
Lens: a fast ultra-wide
Accessories: tripod, shutter release, headlamp, spare batteries, cold-proof clothing, etc.
Emphasis: in the cold, cameras drain batteries fast, so spares are crucial. When the aurora dances and your camera dies, you can only sigh at the sky — a huge regret. Dress warm enough to endure the deep cold a while longer.
4
Shooting Technique
Settings
▲▲▲
There's no fixed setting combination for auroras — it closely depends on ambient light and the KP index. The baseline is high ISO and a wide aperture; shutter speeds range from 1 to 30 seconds depending on how fast the aurora moves, usually kept under 10 seconds to capture its shapes. The general rule: below KP 3, the aurora changes slowly; at KP 5 and above, it leaps and dances across the sky with kaleidoscopic changes in seconds, needing 2-5 s shutters to record its form; at a lucky KP 7, with the sky bursting like fireworks, you may need 1-2 s. These are only references — the aurora is fickle, so adjust the shutter to the moment.
Though it's a low-light environment like astrophotography, the aurora itself is also a light source cast on the ground, so the scene is slightly brighter than a Milky Way shoot. ISO 800-6400 are all possible — adjust to the ambient light and your required shutter speed.
Focusing
▲▲▲
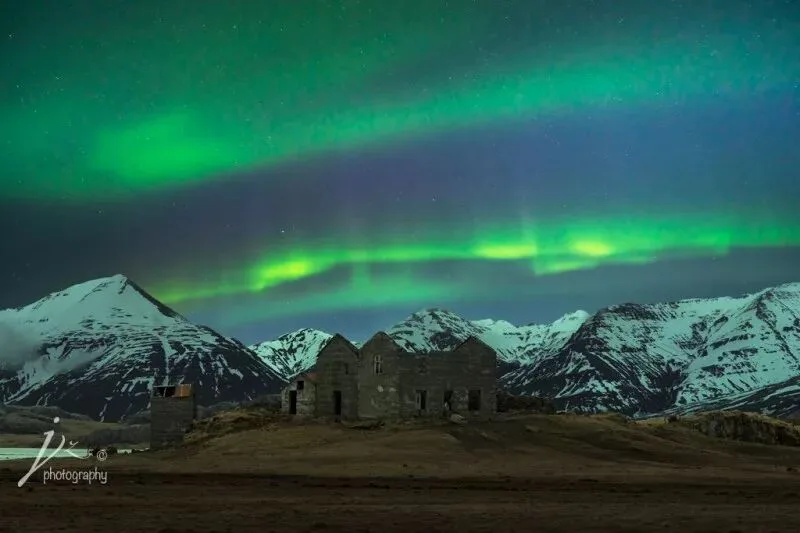
Autofocus fails in the dark. Switch to manual focus, open live view, magnify the image, and turn the focus ring until sharp. If you can't make out details on the screen, light the foreground with your headlamp to aid focusing.
With a close foreground in low light at a wide aperture, a single frame can't deliver enough depth of field. Solve it with focus stacking: shoot one frame focused on the sky and one on the foreground, then blend the sharp parts of each in Photoshop.
Composition
▲▲▲
The landscape largely decides a photo's success — same as in astrophotography: the aurora needs earthly scenery to set it off. An aurora-only photo is a tourist's view, merely recording that moment's sky. Choose your foreground adaptively from what's there: peaks, waterfalls, rocks, trees, houses can all set off the aurora's beauty.
Unlike the Milky Way, the aurora's position is unknown — it can appear anywhere in the sky and change unpredictably, severely testing your compositional fundamentals and improvisation. So scout the location in daylight: find foregrounds facing different directions. Homework done in advance lets you adapt on the spot — opportunity favors the prepared.
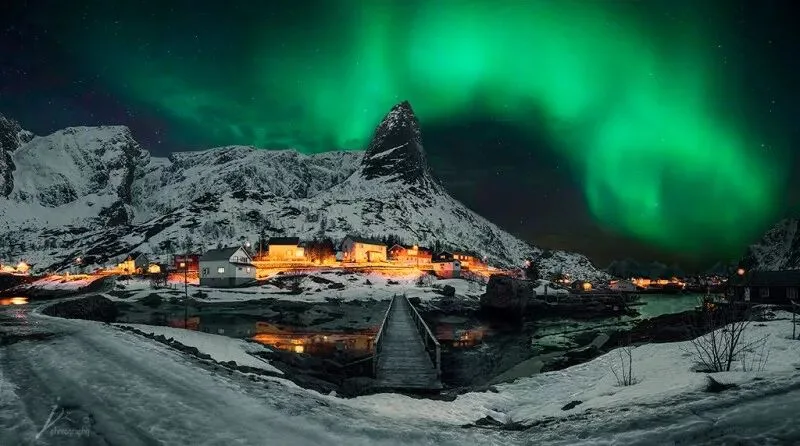
'Snow Mountain and Aurora', shot in Reine, Lofoten, Norway. That night I held out three hours in ice and snow, body growing stiff, despairing — when suddenly, near the summit, there seemed to be a fluorescent shimmer. It grew clearer: the dancing aurora spiraled right above the peak, light and floating, like entering a dreamscape. The black night sky was a giant curtain on which the goddess Aurora danced alone, intoxicating sky and earth. Watching this ultimate play of light over the ethereal snowfield — unreal yet real — turned all the persistence and endurance into a rare admission ticket: heaven's reward for my stubborn waiting.
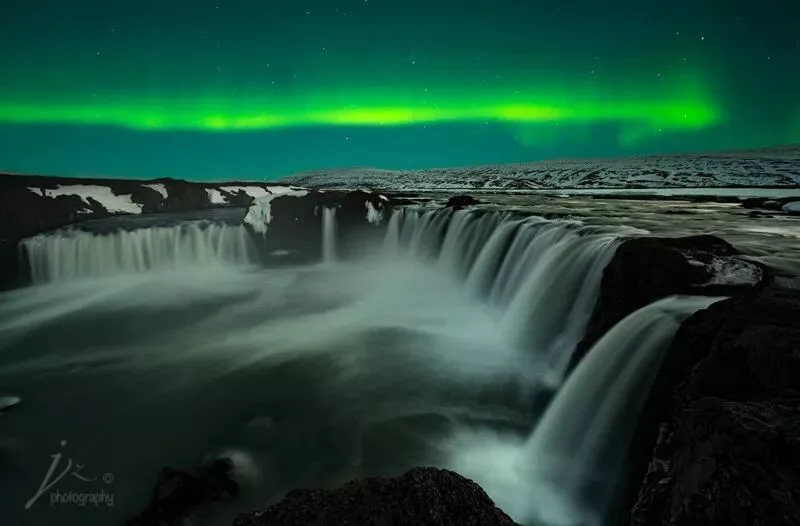
Godafoss ('Waterfall of the Gods') lies in the Mývatn geothermal area (Bárðardalur) of northern Iceland, the most famous of three falls on the glacial river Skjálfandafljót. Arc-shaped, its roar is deafening, as if the gods were bellowing by your ear. While shooting, I debated framing from above the falls or going below: from above I was too close — heavy spray coated the lens, and the icy footing was dangerous, one careless step from a slide down.
While I hesitated, a band of fluorescent light appeared at the horizon right beside the falls, exactly parallel to them. I instantly abandoned the traditional composition where the aurora fills most of the frame, giving up the aurora overhead to keep only that horizontal band at the horizon, leaving more room for the waterfall. This both shows the falls' full form and leaves imaginative space — the green-ribbon aurora is a mere hint, letting readers imagine the night sky's beauty themselves.
Aurora photography is technique plus luck: had I moved below the falls, the different position and orientation would have made the ribbon composition impossible.
Noise Reduction
▲▲▲
Because the aurora's shape differs in nearly every frame, the sky can't be stacked for noise reduction. Combine luminance noise reduction in Adobe Camera Raw (ACR) or Lightroom with plugin noise reduction in Photoshop.
The ground is slightly more complex: at moderate ISO, the same two methods yield a fairly clean image. At high ISO, shoot 4-8 frames on location and average-stack the ground portion in Photoshop to reduce noise and improve quality.
Part 2: Aurora Forecasting & Case Studies
In Part 2, I'll use a case-study format, covering forecast software, a forecast example, location scouting and the on-site shoot.

Two years later, in March 2018, I returned to Iceland — the land of ice and fire — with the goddess Aurora again on my mind, wondering whether luck would strike twice.
1
Forecast Software
Accurate forecasting is the prerequisite of a successful aurora shoot. Drawing on my Nordic experience from two years earlier, I downloaded three aurora apps in advance — Aurora, AuroraNow and Aurora Fcst — all free. After a whole trip of testing: Aurora Fcst shows aurora trends and coverage most intuitively; AuroraNow is handiest for hour-by-hour KP values over the next two days, current KP and one-hour forecasts; Aurora's current KP and short-term forecasts are very accurate. I usually cross-check Aurora and AuroraNow together, then combine with the weather forecast for a fairly reliable prediction.
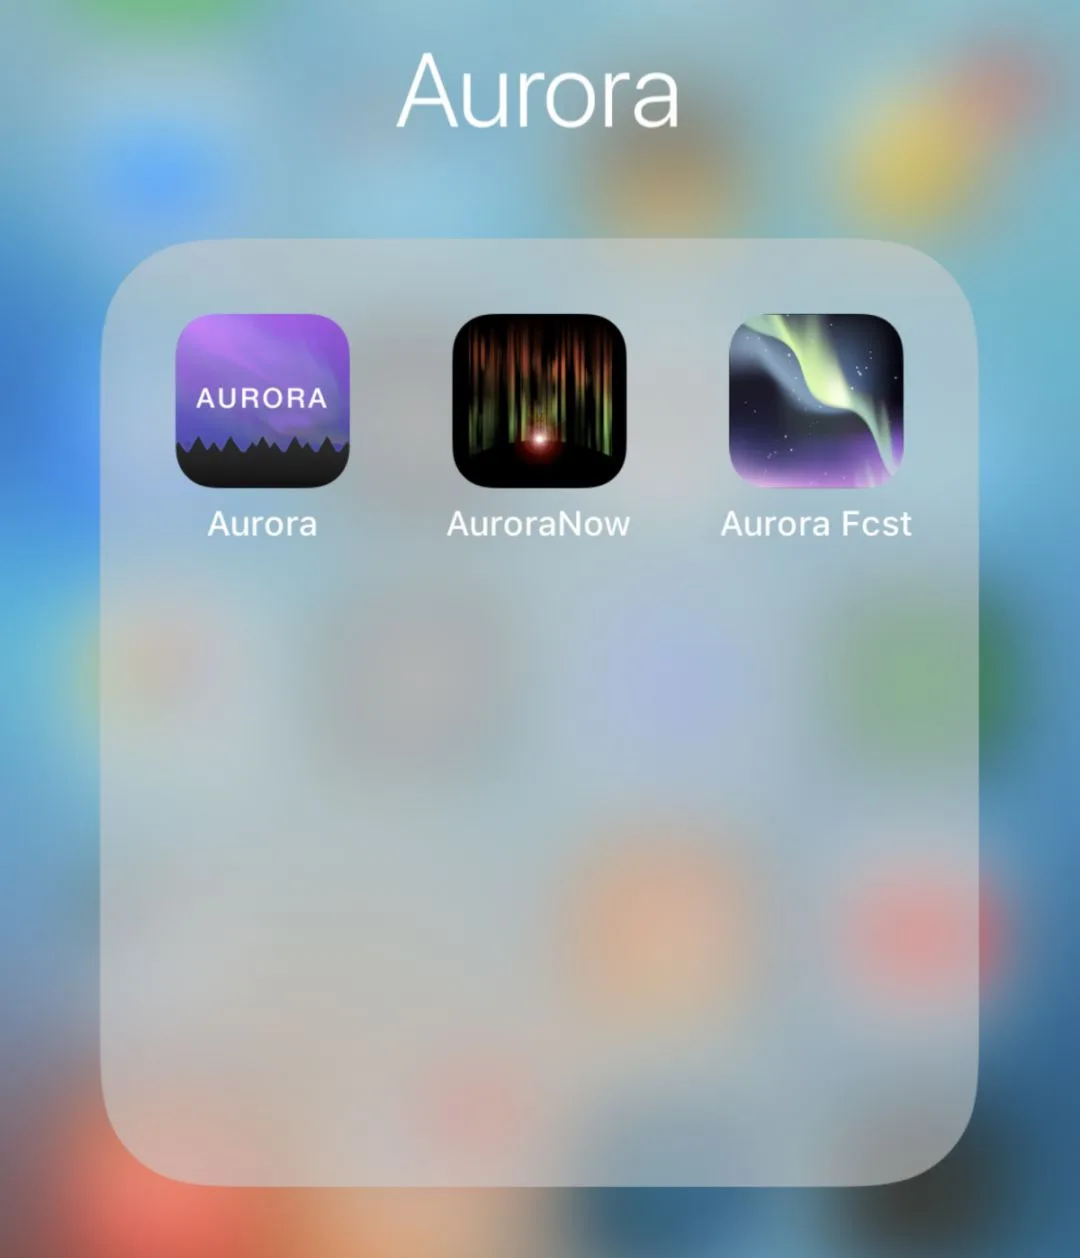
Back at our lodging each night, I also checked these two websites — but for checking on the go, the phone apps are more convenient.
http://www.aurora-service.eu/aurora-forecast/
http://en.vedur.is/weather/forecasts/aurora/
2
A Forecast Example
On March 8, AuroraNow's three-day hourly KP forecast showed KP 4 for the night of the 9th and the early hours of the 10th; Aurora Fcst showed the auroral zone covering all of Iceland; the weather forecast was clear and cloudless. Checking again on the afternoon of the 9th, all indices were unchanged — so I prepared to shoot that night.
The aurora apps' various indices and charts:
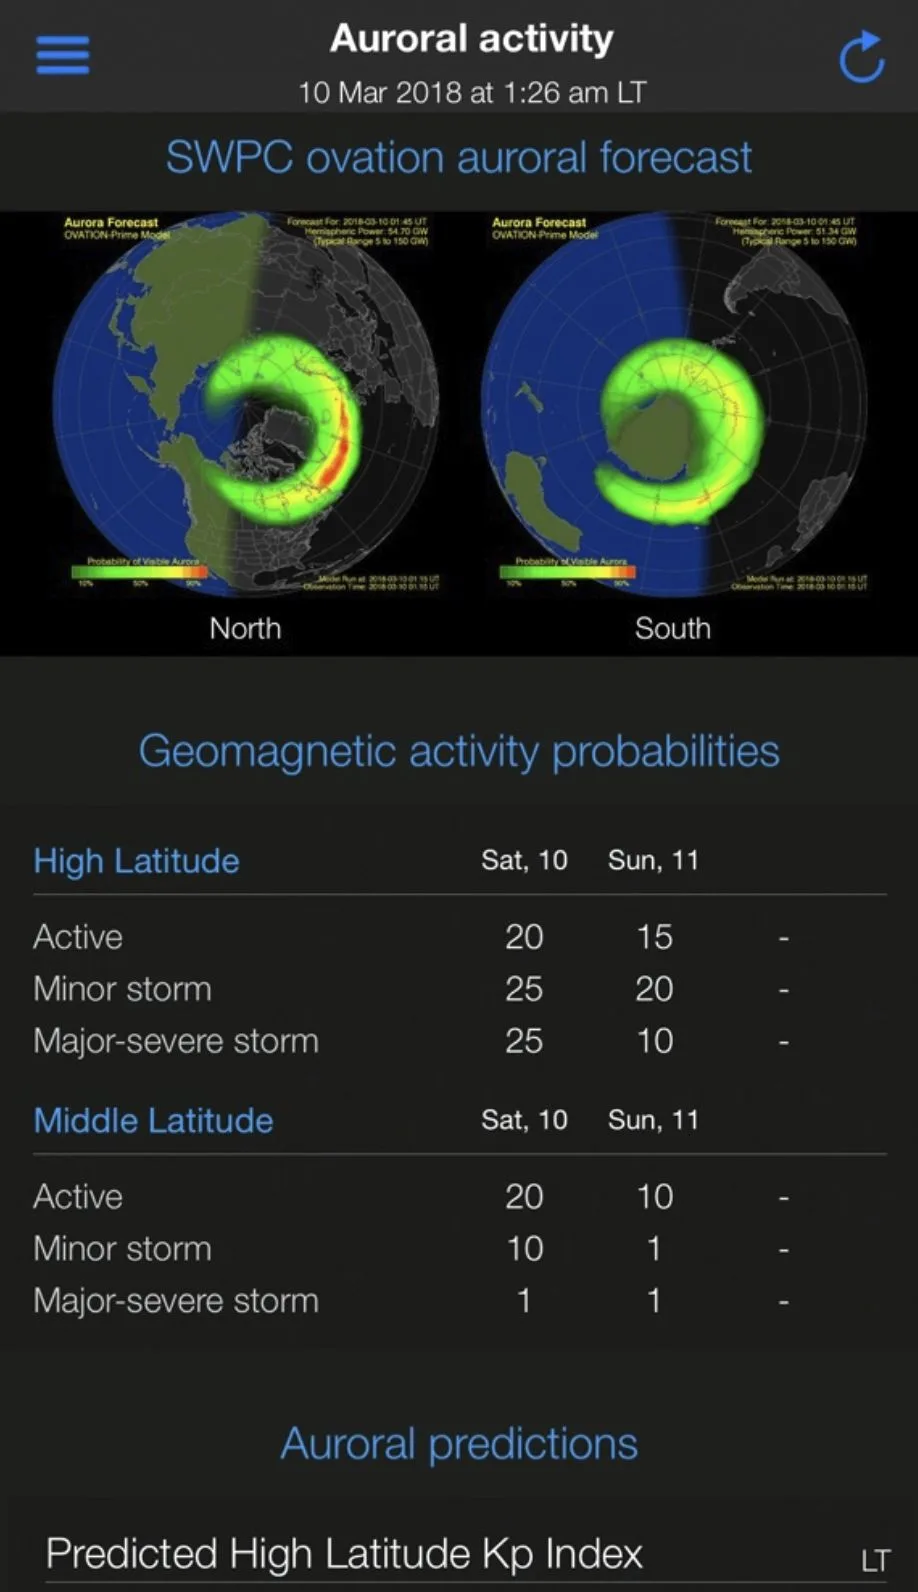
Aurora Fcst shows the auroral zone covering all of Iceland
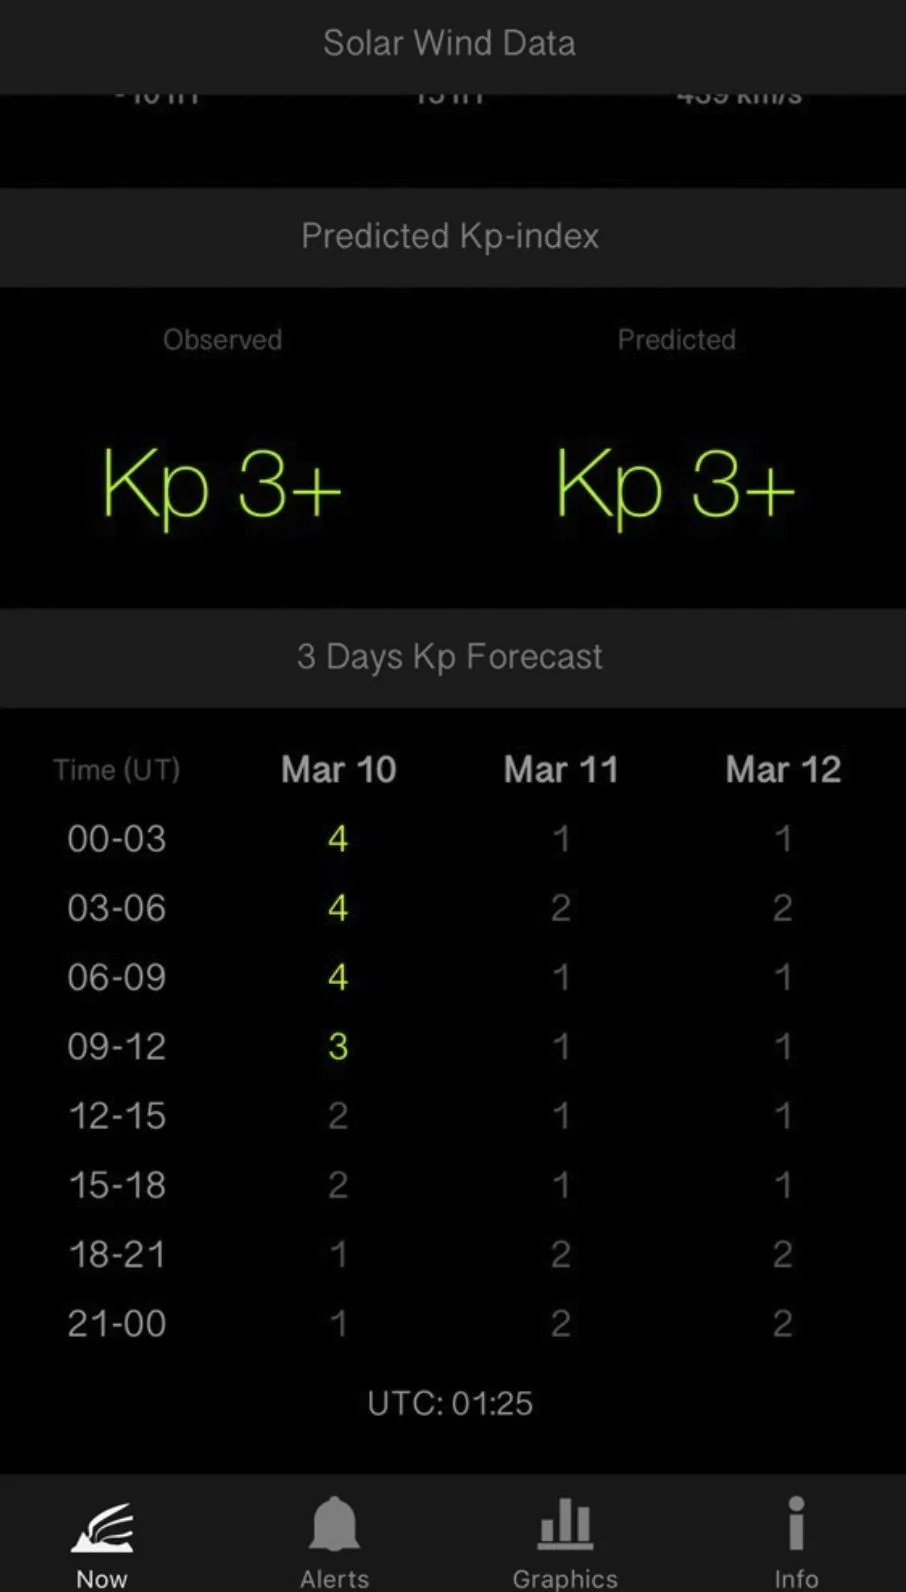
AuroraNow's hourly forecast: KP 4 on the night of the 9th and early 10th
3
Location Scouting
That day the moon set at 10:04 a.m. and wouldn't rise until 4:50 the next morning — meaning a moonless, pitch-black night. That made advance familiarity with the location essential. The afternoon plan was sunset at Vestrahorn (Batman Mountain) in southern Iceland, so the night's aurora shoot was set there too: scouting while shooting sunset, fully preparing for the night.
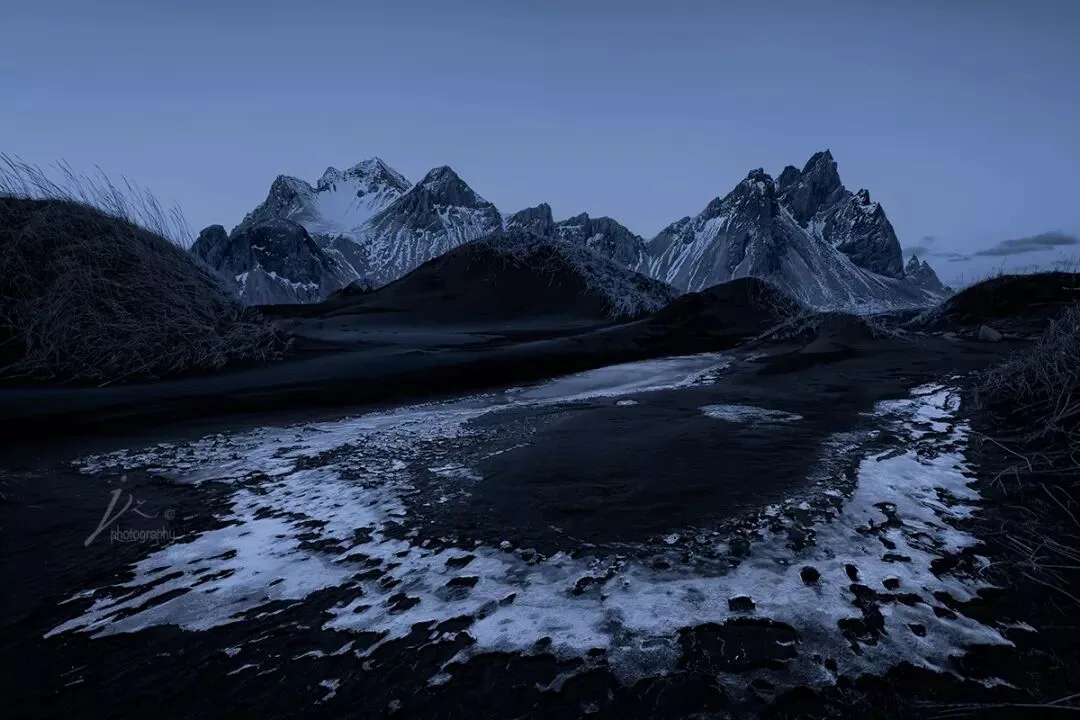
After the sunset shoot, over an hour remained before full dark. Höfn, where Vestrahorn sits, is Iceland's famous lobster town. The team decided to dine on local delicacies — but a photographer's heart stays with the aurora: even while eating, I kept checking the index, which showed a rising trend. I ran outside to scan the sky — a faint green band was already visible to the naked eye. We left in a hurry and raced to Vestrahorn.
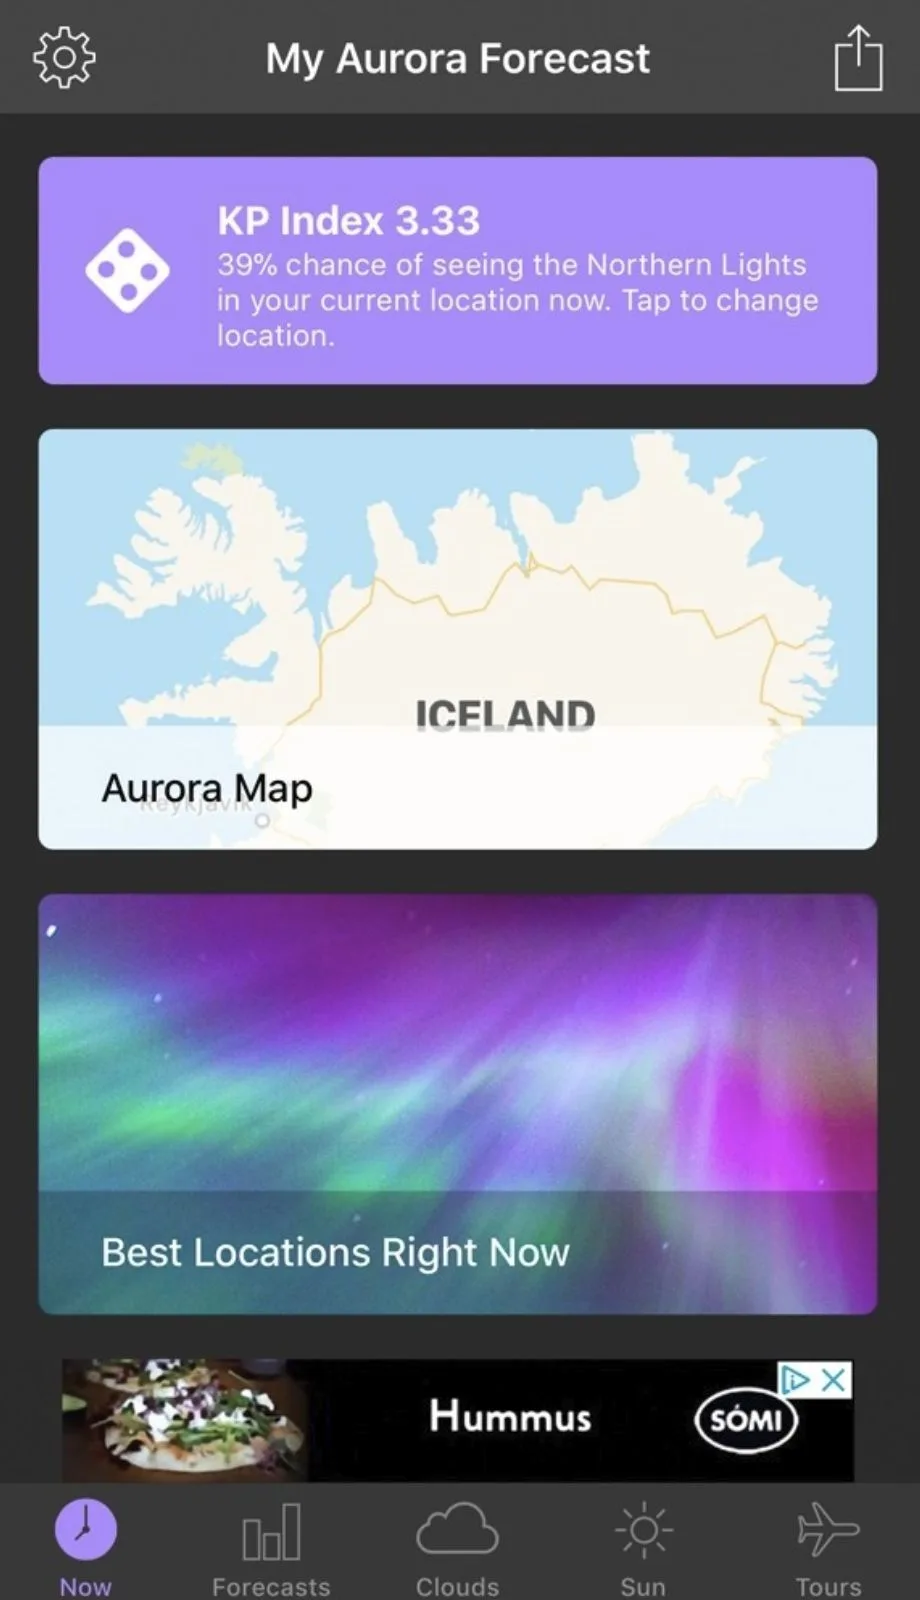
Aurora's live KP index: 3.33
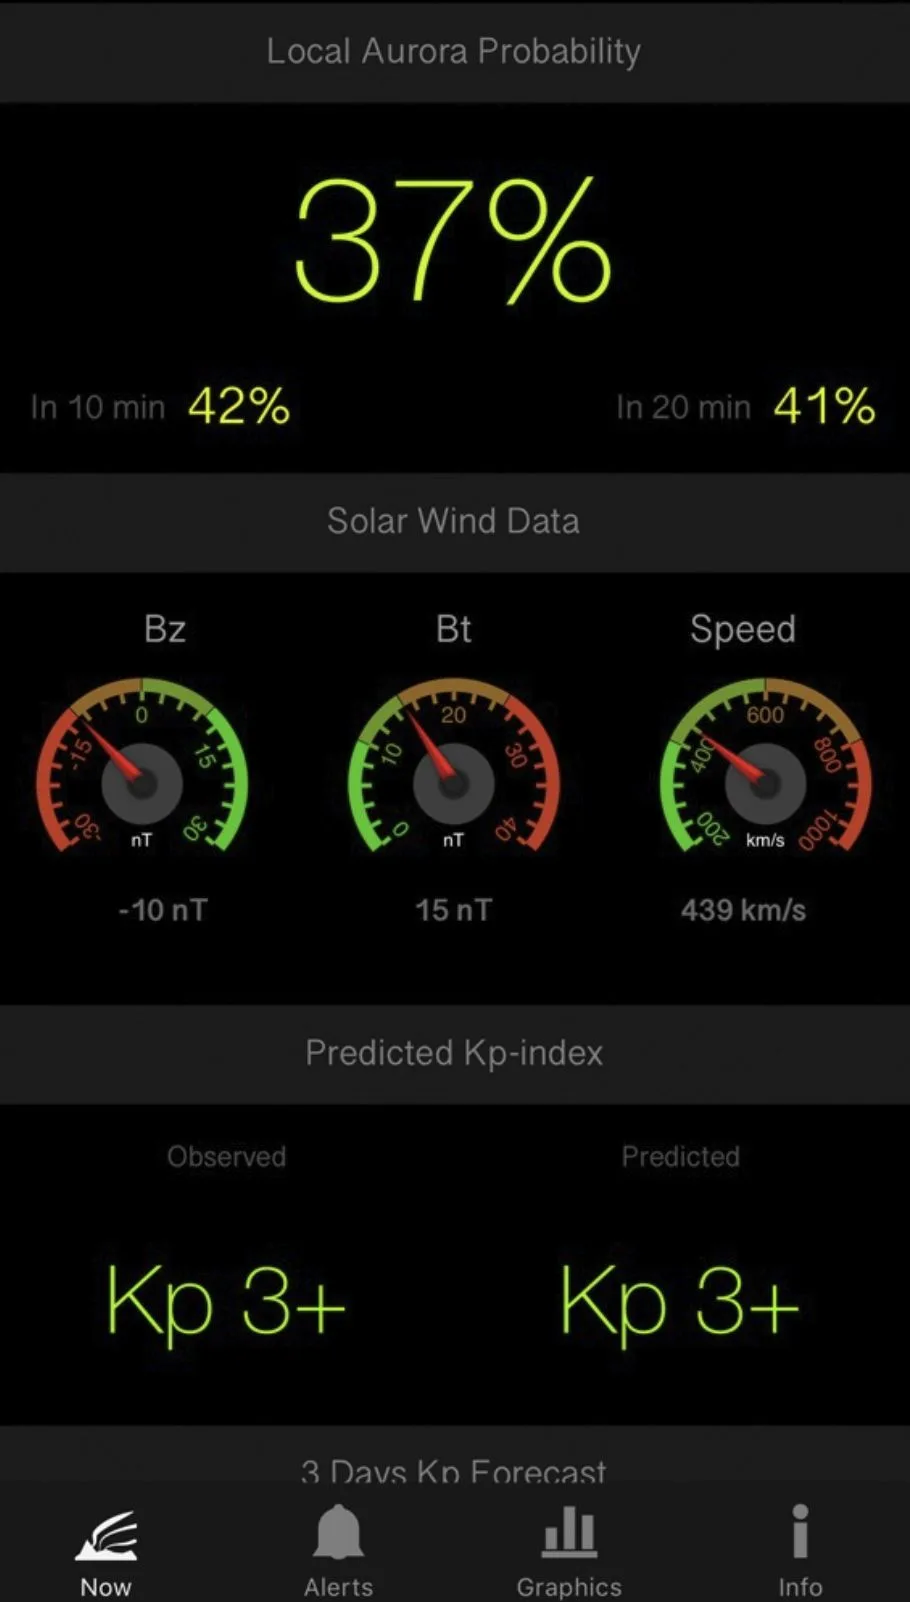
AuroraNow's live forecast: rising within 20 minutes
4
The Shoot
Looking out the car window, the aurora grew ever clearer — the great show had begun. Arriving at the spot, the aurora happened to ring the entire Vestrahorn perfectly. Because of the viewing angle, a single frame couldn't hold the complete ring, so I decided to shoot multiple frames for a panorama. Settings: ISO 6400 / f/4 / 10 s, three frames right to left. The fast-changing aurora forbade longer exposures, leaving the ground in the frames dark — fortunately the Sony A7R II's dynamic range was high enough to lift the foreground detail in post.
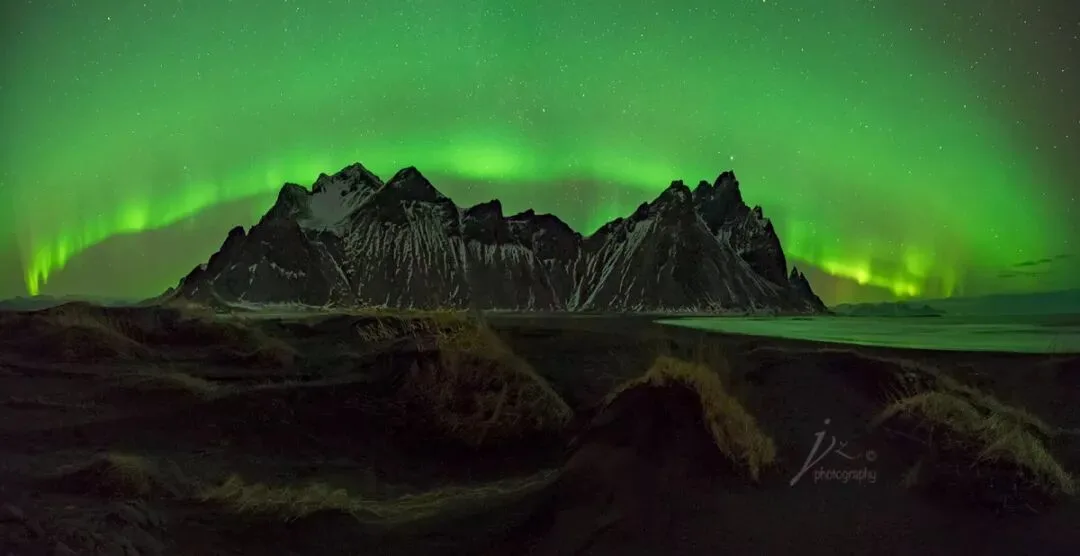
Settings: ISO 6400 / f/4 / 10 s
Over an hour later, the glow gradually faded and we finished, content. None of us imagined a huge surprise still lay ahead…
Back at our lodging, after a short rest I checked the index again — it was rising once more. Stepping outside, the green spirits were dancing wildly in the dark night, like fireworks bursting across the sky. Despite countless beautiful sights over the years, this magical night sky still took my breath away. I allowed myself a luxurious half minute, gazing foolishly at this unearthly scene, savoring the moment alone — then sprinted back inside, grabbed my camera, and began my mission as a photographer.
Like astrophotography, the aurora is a category of landscape photography, so the choice of foreground is critical. Looking at the aurora's direction, leaving Vestrahorn proved a wise decision: had we stayed, the aurora drifted away from the mountain and the two couldn't share one frame.
All I could do was frame on the spot: first using the guesthouse buildings as foreground for the splendid sky-filling aurora; turning around, more aurora burst forth above the snowy peaks behind me. Compared to the earlier static aurora at Vestrahorn, its dynamic movement was obvious — at 10 seconds the shutter could no longer capture its shape accurately, so the shutter had to come down. Meanwhile, since the aurora is itself a light source and streetlights had come on around the guesthouse, I dropped ISO one stop. The two frames: ISO 3200 / f/4 / 4 s and ISO 3200 / f/4 / 6 s.
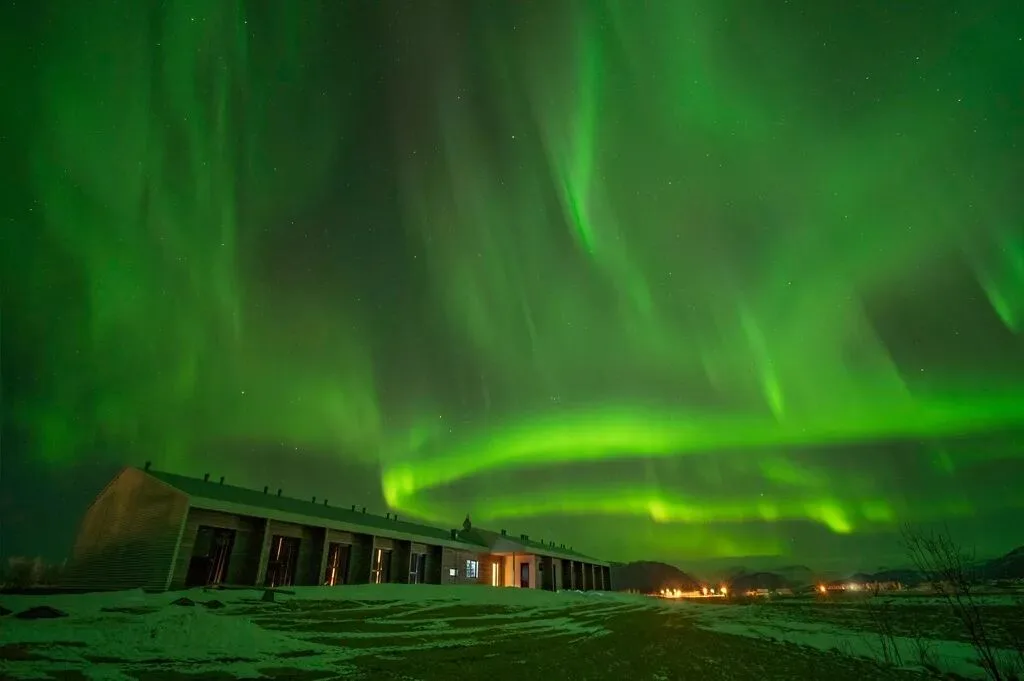
Settings: ISO 3200 / f/4 / 4 s
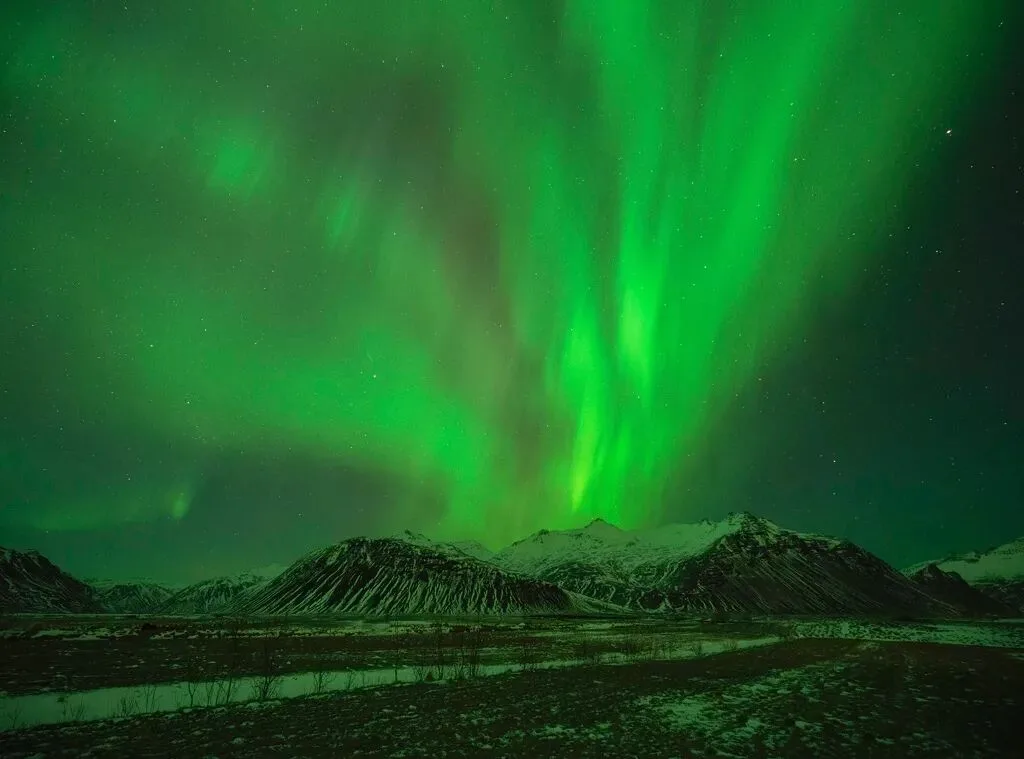
Settings: ISO 3200 / f/4 / 6 s
The examples above fully demonstrate that aurora photography has no fixed settings. First set a wide aperture; then watch how fast the aurora changes to decide shutter speed; finally adjust ISO to the ambient light of your foreground.
Portions of this article are excerpted from Jingshu's new book 'The Road of Chasing Light'