Photography Tutorial · 2022-07-03
That Stunning Light Was Shot How? Time Blending in Cloudy Landscape Photography
If you record an entire hour of light changes on a cloudy day, but take only the most essential parts of each frame and fuse them into one 'best of everything' image — the result would surely be stunning!
In modern landscape photography, this 'time blending' technique has become a powerful tool for photographers.
In today's photography tutorial, Thomas shares the field application of time blending in cloudy-day landscape photography!
Video
▶ Watch the video tutorial on Bilibili
This is the full illustrated write-up of the video above. In fast-changing overcast light, no single frame has good light everywhere — so Thomas shot 30+ frames from one vantage point at Zhuoer Mountain in Qinghai and merged the best-lit regions of each into a single image using time blending in Photoshop. The whole workflow — Load Files into Stack, auto-align, Difference-mode fine alignment, and painting in highlights through black masks — is broken down step by step, with timestamps for key operations.
01 Why Time Blending for Overcast Days
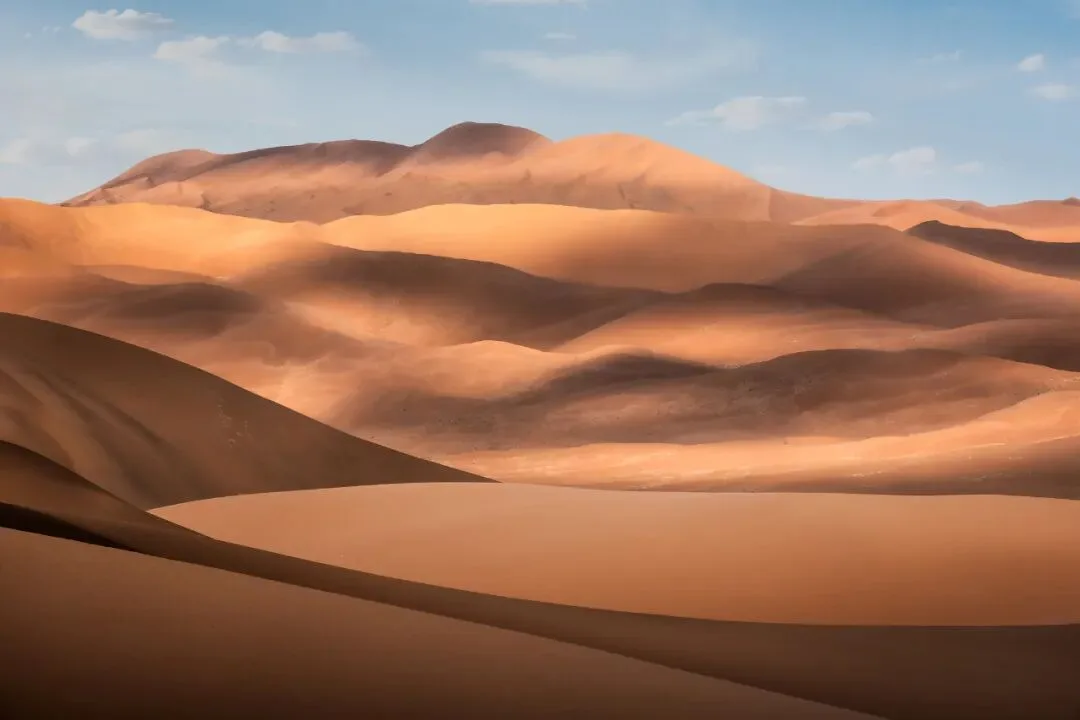
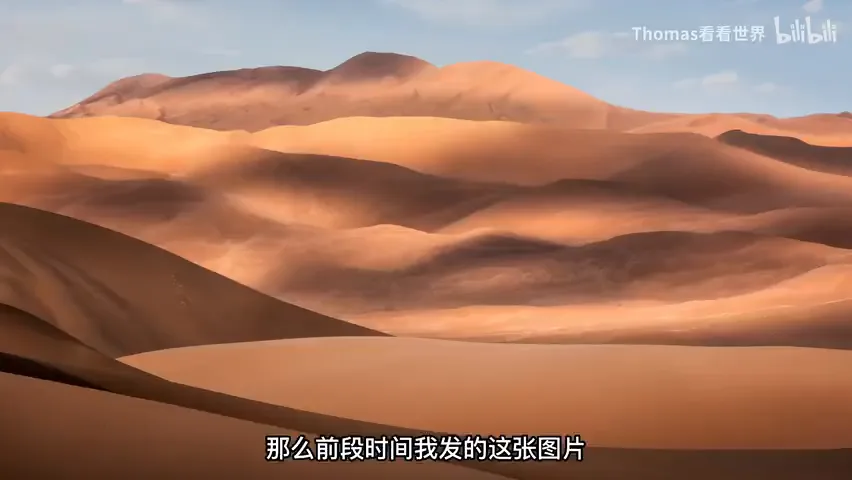
When Thomas posted that desert photo a while back, many asked why its light was so layered — the answer was in the caption: it's a merge of 30+ frames shot over an hour, using time blending. This time he walks through the full workflow with an even more complex case: a series shot at Zhuoer Mountain in the Qilian range (at 0:04 in the video).
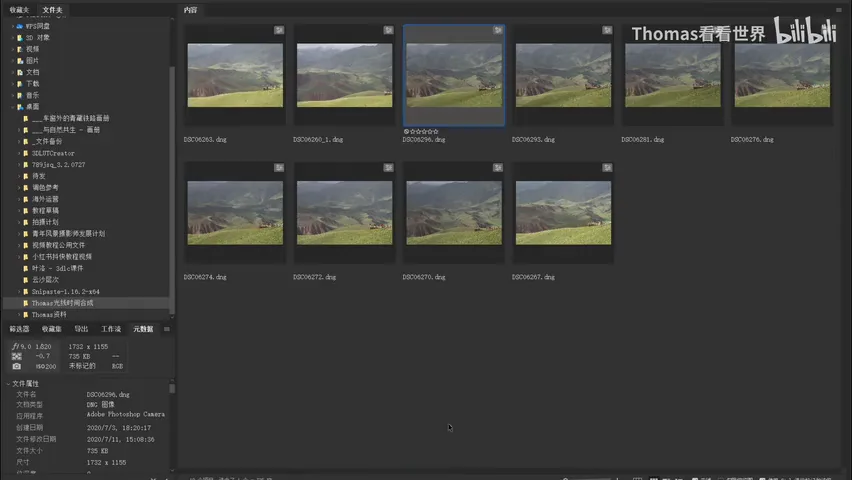
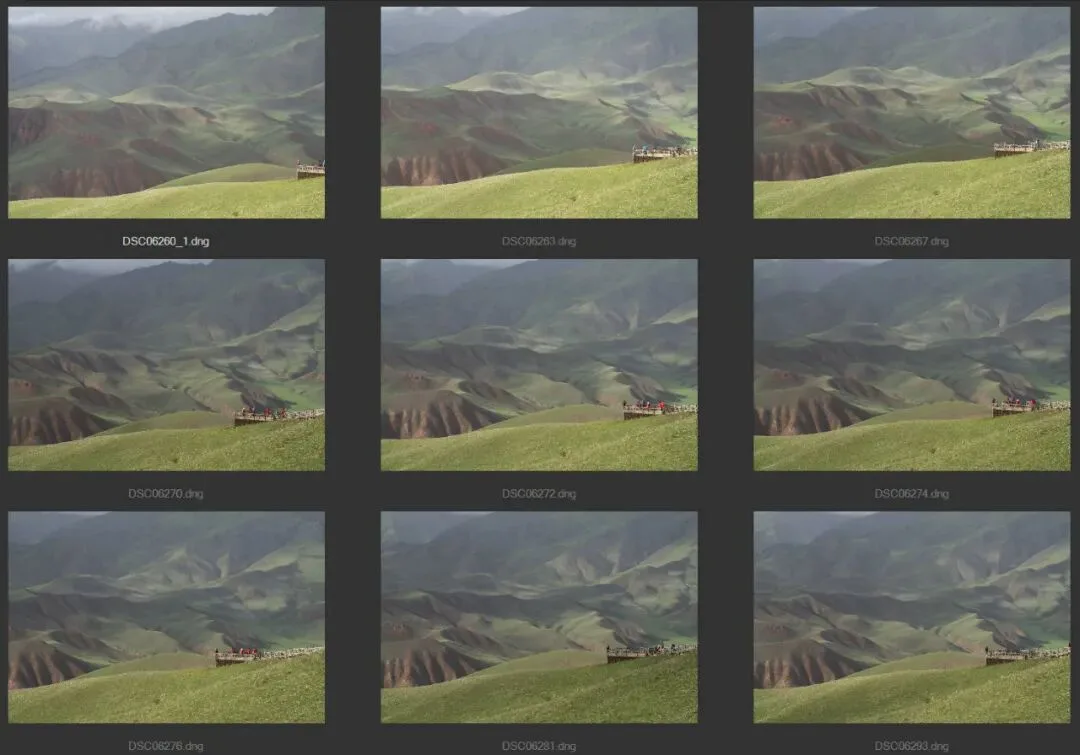
Why time blending for overcast days? Compare the frames in the series closely: the composition is basically identical, but the light on the mountains behind is completely different from frame to frame. As clouds keep moving across the sun, each photo has only one region with the best light — none is great everywhere. To get a single image with perfect, punchy light, you have to merge them (at 0:45 in the video).
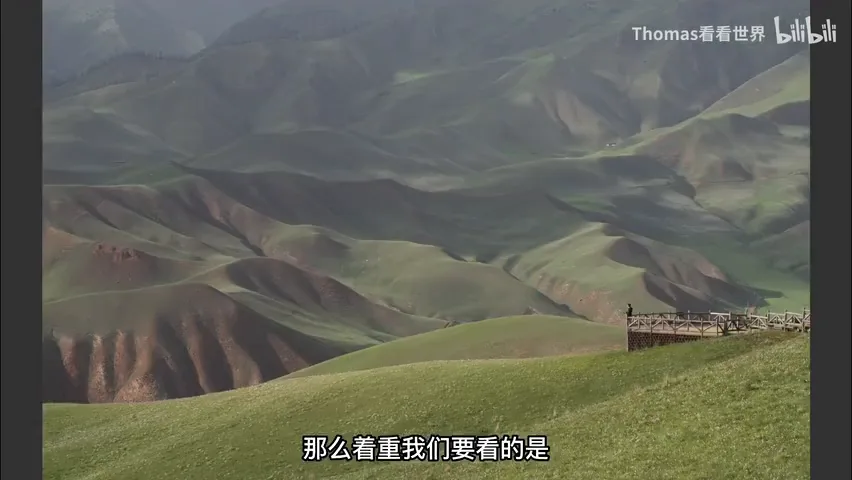
02 Load Files into Stack: One Minute of Automation
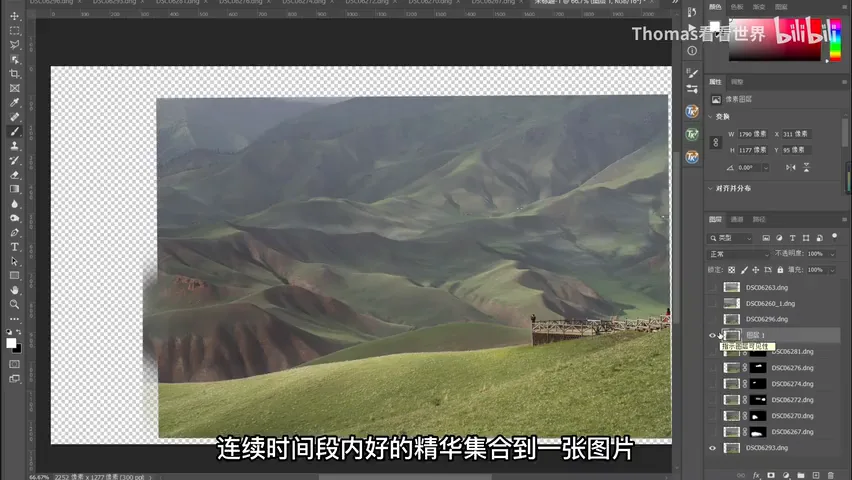
Step one: select all the photos and open them in ACR (Camera Raw), then select all again and open them directly in Photoshop. Then choose Edit > Scripts > Load Files into Stack, tick "Add open files", and PS merges everything you just opened into one document as layers. Make sure "Attempt to Automatically Align Source Images" is checked — hit OK and the auto-alignment runs (at 1:44 in the video).
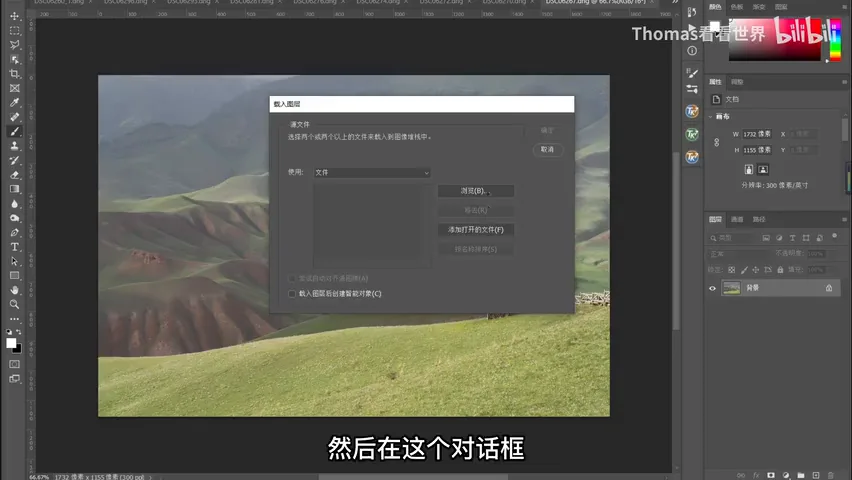
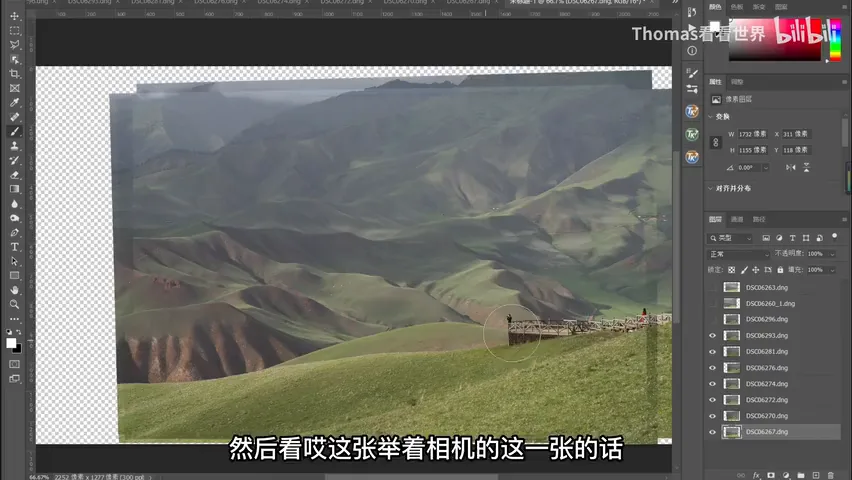
This series was shot handheld — admittedly not the best practice. Ideally the camera sits on a tripod so every frame has the exact same composition, which makes blending much easier. But handheld isn't fatal: auto-alignment covers for it, and old bursts of similar scenes in your archive can be blended the same way (at 2:10 in the video).
03 Picking a Base Frame and Difference-Mode Alignment
Once aligned, pick a base frame. Thomas's criteria: not too many people in frame, his companion in a good pose, and a foreground that isn't too bright — he settled on the frame with the raised camera. Then you step through the stack one by one, looking for where each frame improves on the base (at 2:23 in the video).
Auto-alignment isn't always perfect. To check it: set the top layer's blending mode to Difference and nudge the layer until the black area is at its smallest — that means perfect registration. Lots of white areas means there's still misalignment. Once confirmed, switch the blending mode back to Normal (at 3:15 in the video).
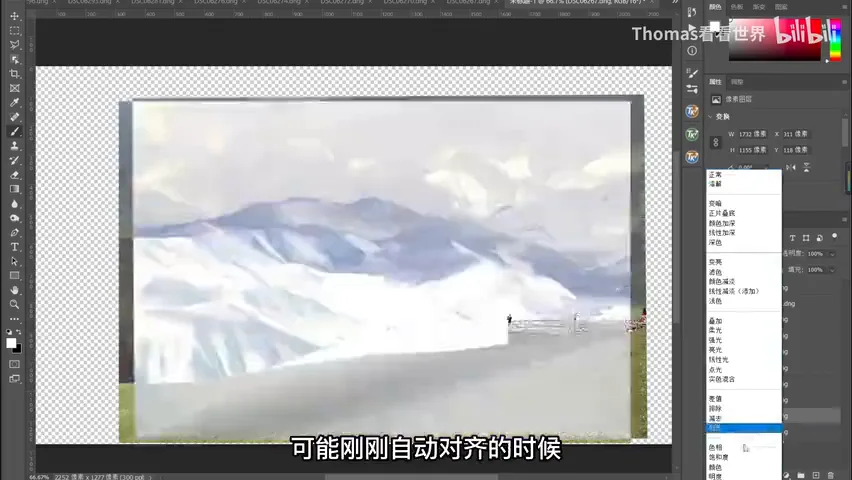
04 Painting In the Best Light, Layer by Layer
The blending technique is the same every time: add a blank mask to the layer above, press Ctrl+I to invert it into a black mask, then paint the best regions of that photo back in with a white brush — opacity at 100%, hardness at 25% or 0%. For example, if one frame's foreground is fully lit and a bit over-the-top while the next frame renders that area more tastefully, you paint that area in from the second frame (at 3:37 in the video).
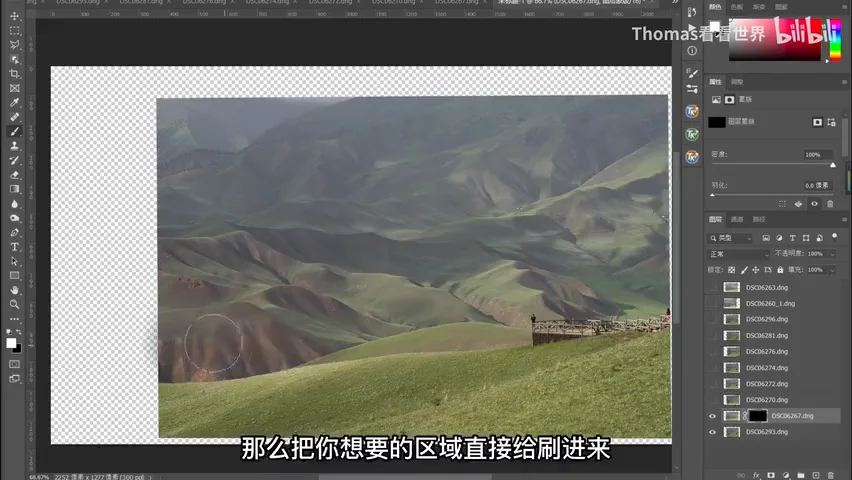
For softer blends, lower the opacity and work like a gradient: set the brush to 30% opacity and paint a light falloff across the foreground; protect any people with a mask first if needed. In the demo this step is just a rough illustration (at 4:01 in the video).
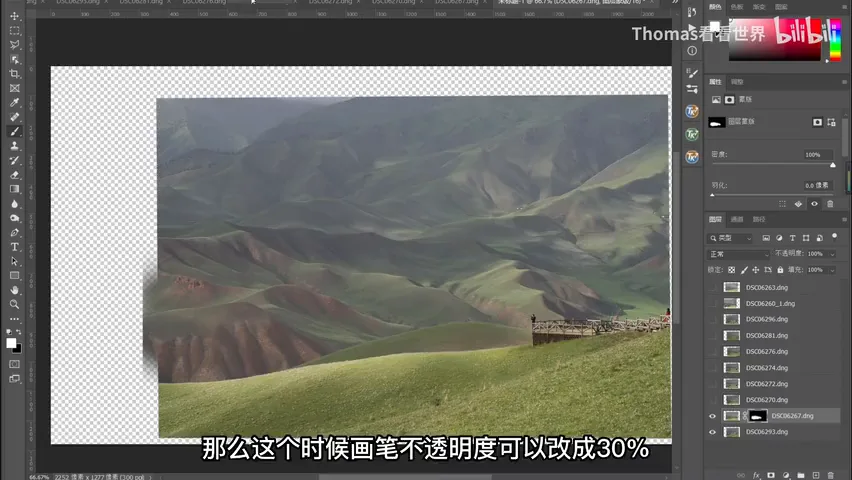
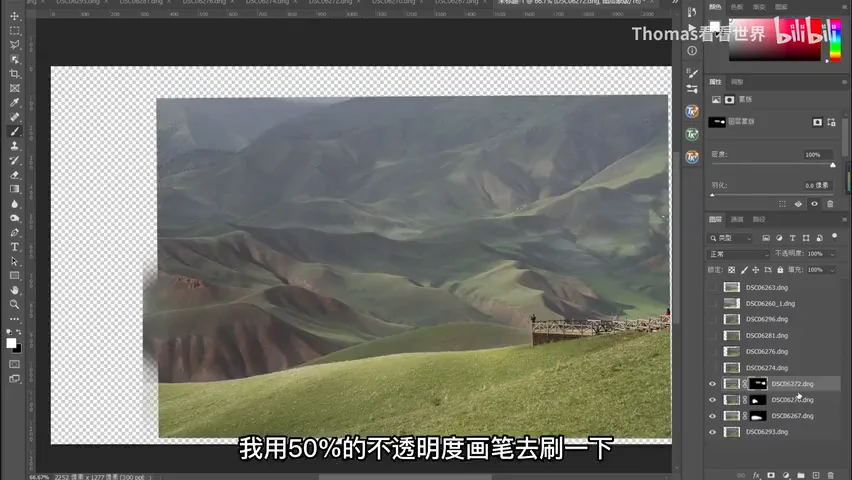
Every following frame works the same way, with opacity as the blending dial. One photo has just a small patch of light in the middle surrounded by darker hills — far more layered than a big wash of light — so it goes in at 50% opacity for a very soft transition. Another adds a sudden beam of light against a dark backdrop, gorgeous, blended at 70%. And when a later frame makes the whole scene look dreamy, it goes in at a full 100% (at 5:09 in the video).
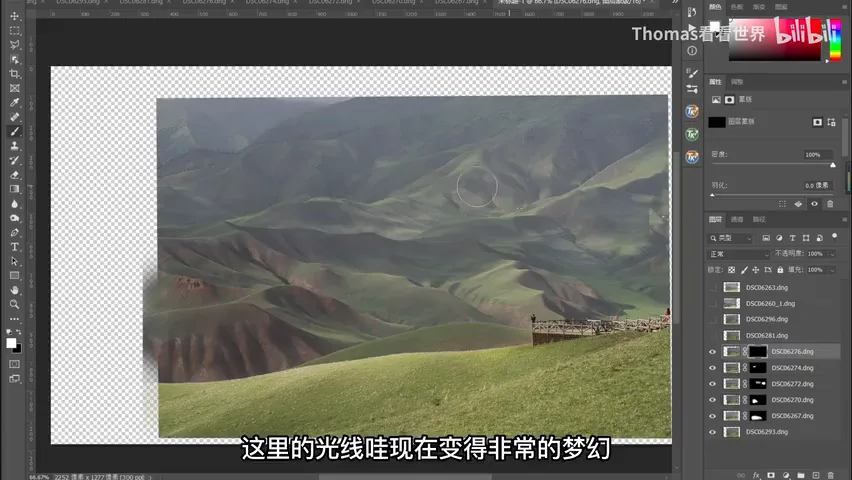
Time blending can even bring back surprises: in one frame, two sheep are caught by a beam of light — in the base frame they sit in complete shadow, easy to miss entirely. Same recipe: new mask, Ctrl+I to invert, then paint the two sheep in. The remaining frames get the same treatment — the whole idea is to use masks to extract the most brilliant part of every frame and merge them into one (at 6:24 in the video).
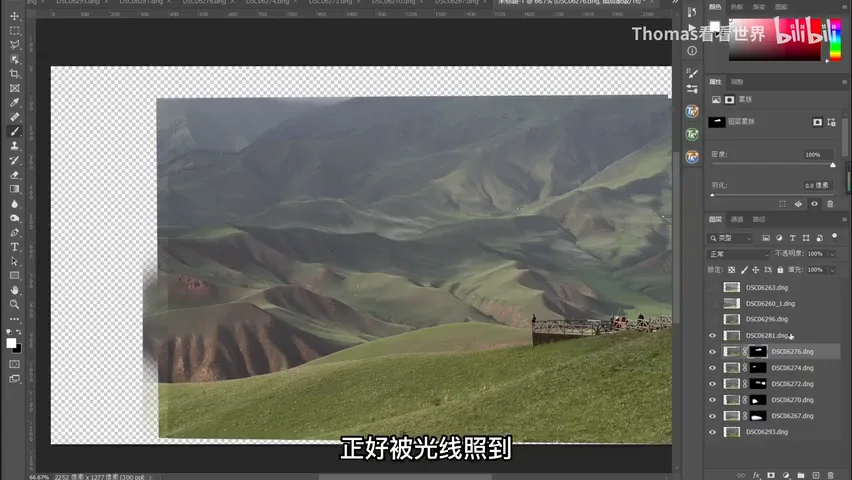
05 Before and After: Every Highlight in One Frame
After stamping all layers with Ctrl+Alt+Shift+E, you can toggle back and forth to compare: through this continuous time blending, all the best light of that hour has been gathered into a single image with beautifully layered illumination — the final result (at 6:56 in the video).
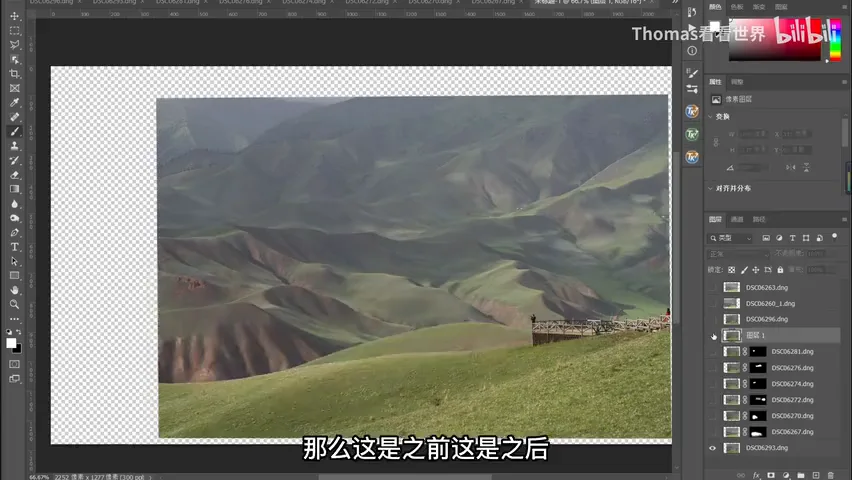
The practice RAW files for this series are available for download at the bottom of the WeChat article — try running the workflow yourself. Time blending is also powerful for seascapes, night scenes, and noise reduction; search for "time blending" on Thomas's profile page to find the earlier tutorials (at 7:15 in the video).
1. Overcast light changes by the second and no single frame is great everywhere — shoot dozens of frames from one vantage point and time-blend the best regions into one richly lit image; 2. Standard workflow: open all in ACR, then PS Scripts > Load Files into Stack with "Attempt to Automatically Align Source Images" checked — handheld bursts can be rescued too; 3. Fine-align trick: set the blend mode to Difference and nudge until the black area is minimal, then switch back to Normal; 4. Blending method: black mask (Ctrl+I) plus a white brush, layer by layer, using 30/50/70% opacity to control transitions — and pick a base frame with few people, good poses, and a not-too-bright foreground.
Practice file download:
Link: https://pan.baidu.com/s/1-nFOkYueJX_D8mrI7o1HYA
Extraction code: 1234