Photography Tutorial · 2017-02-26
Don't Let Color Banding Ruin Your Photos
Color banding happens often in portrait shooting and landscape post-processing: what should be a silky gradient breaks into strange, blocky bands — enough to drive you mad.
This article discusses the causes of color banding, and how to avoid or even repair it.
1
What Is Color Banding?
You may have encountered the situation below: a sky that should be a clean blue breaks into layer upon layer of color bands.
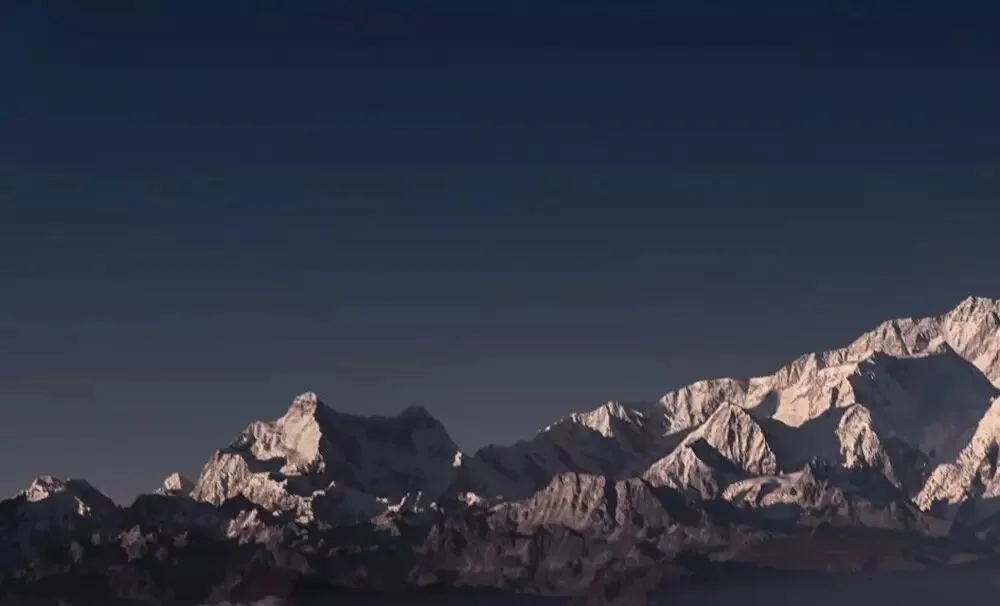
We call this phenomenon color banding. It mostly appears in pure gradient subjects — dusk skies, studio backdrops, projected light, and so on.
The cause: the image's bit depth can't represent the tiny steps of the gradient, so what should be a smooth transition becomes the blocky bands below.

To illustrate: a smooth gradient should read like
0,0.25,0.5,0.75,1,1.25,1.5,1.75,2,2.25,2.5。。。
But with insufficient bit depth, the decimals can't be displayed, so the sequence above becomes
0,0,0,0,1,1,1,1,2,2,2。。。
Color banding is sometimes barely visible in a small image.
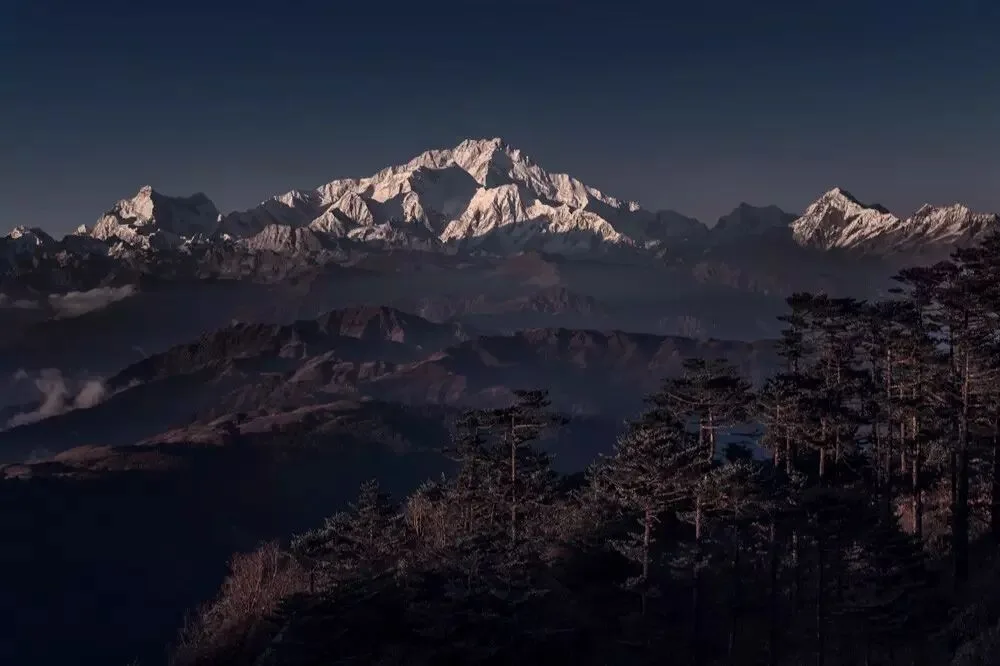
But in a large print it becomes glaringly obvious. Printing accentuates banding even more, ruining a photographic work.
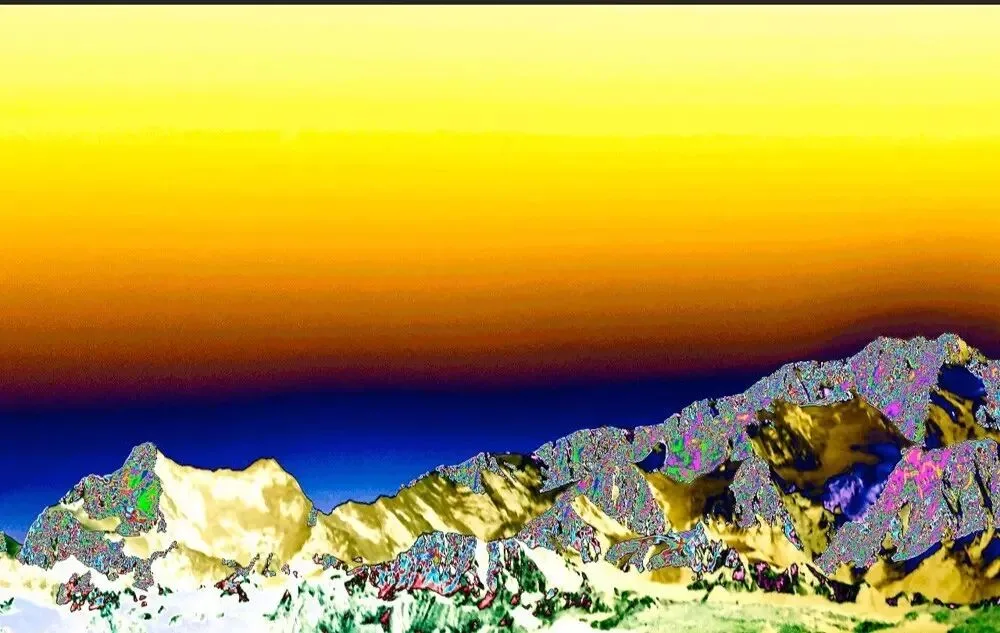
To inspect banding more easily, we usually build a solar curve. Shaped like a sine wave, it exaggerates local changes and reveals many flaws that are otherwise hard to see.
This image, for instance, reveals several barely noticeable dirty spots once the sine inspection curve is applied.
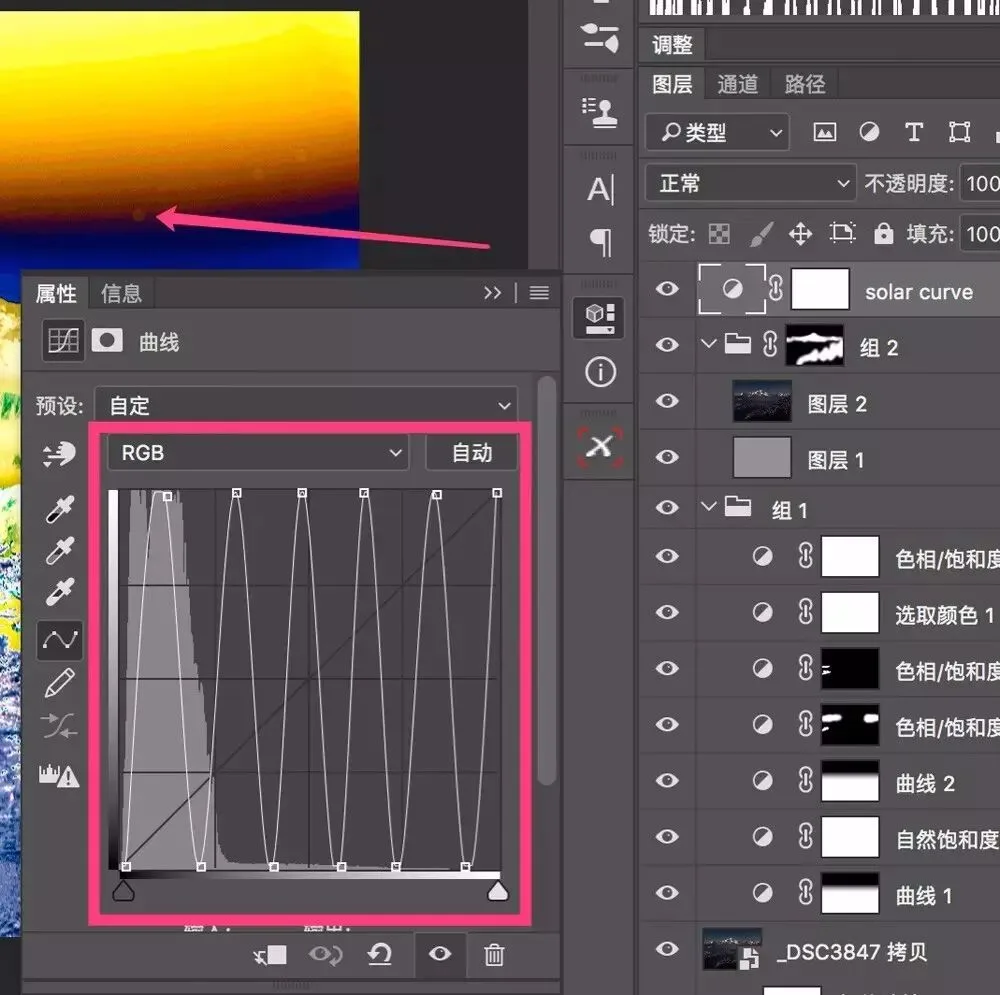
Under the sine inspection curve, the broken gradient in the photo's sky becomes unmistakable.
2
How to Avoid Color Banding
As mentioned, banding mainly comes from insufficient bit depth. The lower the bit depth and the less original information — an 8-bit JPEG, say — the easier gradients break during computation.
So in the field, shoot raw with uncompressed or lossless compression whenever possible. In high-contrast scenes, bracket exposures and blend in post rather than dragging a single frame's highlights to -100.
In post, do every adjustment you can inside a raw processor like ACR or Lightroom rather than postponing it to Photoshop — make the most of the raw file's rich information.
When moving from a raw processor into PS, use 16-bit depth. In ACR, click the line of text at the very bottom of the interface, then set Color Depth to "16 Bits/Channel" in the dialog that appears.
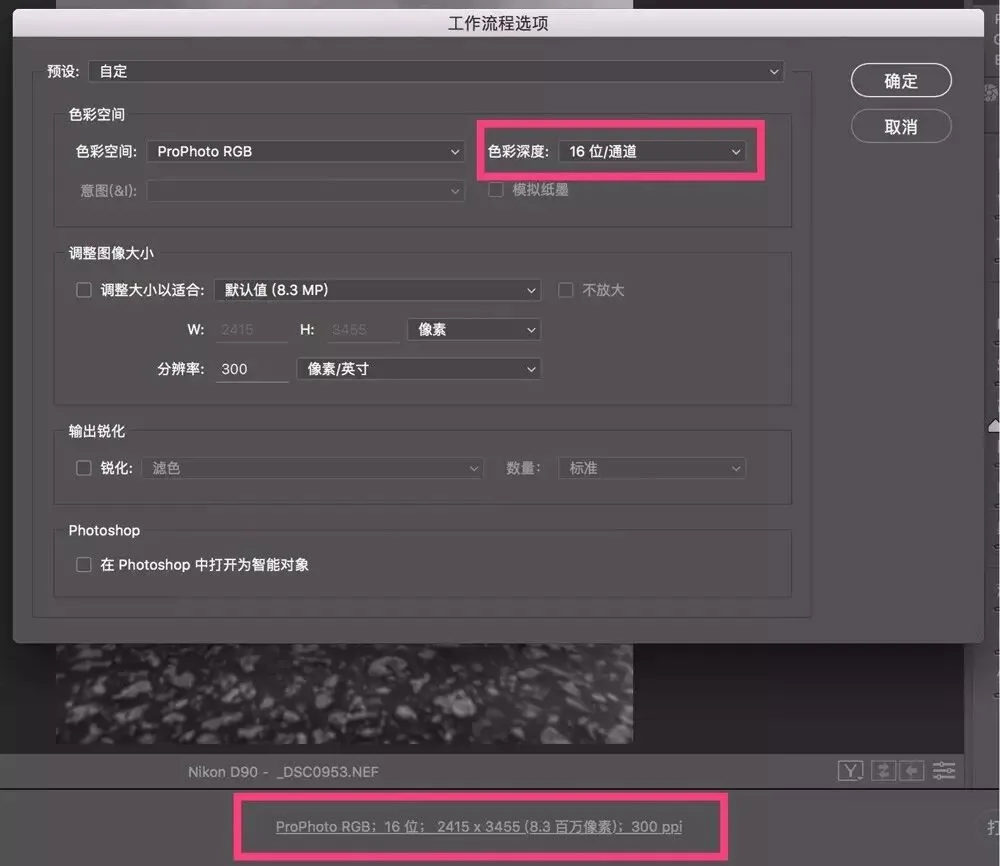
That way the raw file becomes a 16-bit image when it enters PS, and the title bar will read "RGB/16" instead of the 8-bit "RGB/8."
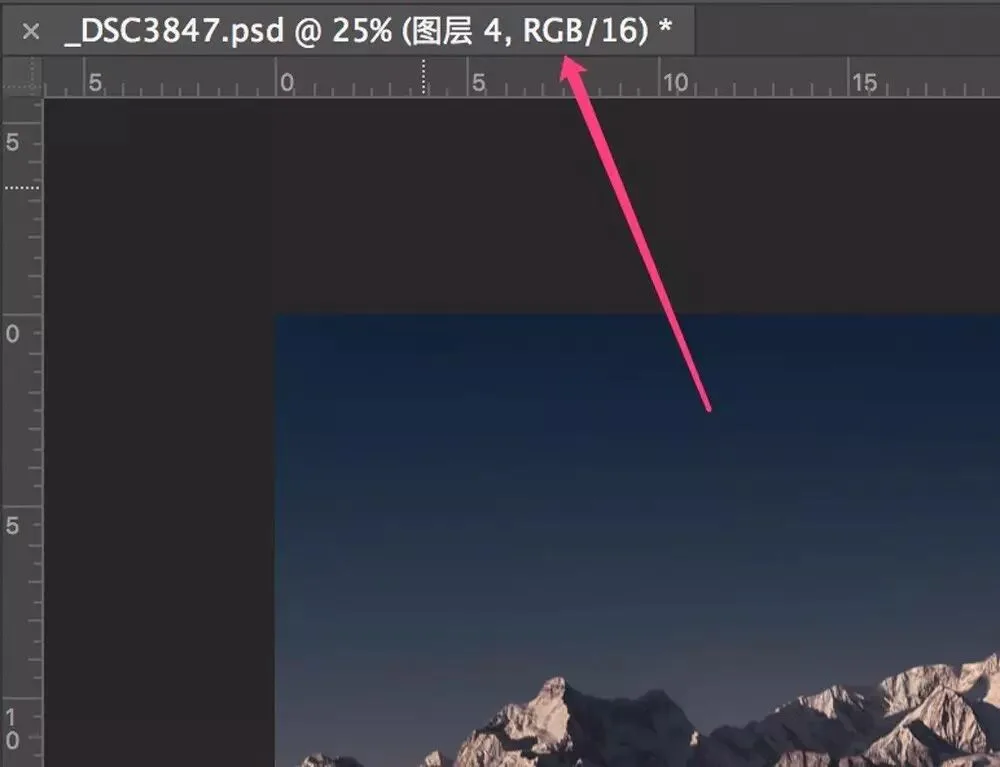
Working in raw and 16-bit greatly slows the onset of banding but can't prevent it entirely. Darkening, brightening, HSL adjustments, and noise reduction will inevitably cause banding at times — and then we repair it by other means.
3
How to Fix Color Banding
In imaging, we can use dithering to mask color banding.
Dithering means simulating colors: its purpose is to express richer color transitions with fewer colors. Dithering makes the colors in a gradient blend into one another instead of sitting in hard blocks, so the human eye perceives a smooth, natural transition — just like colors seen in nature (Baidu Encyclopedia).
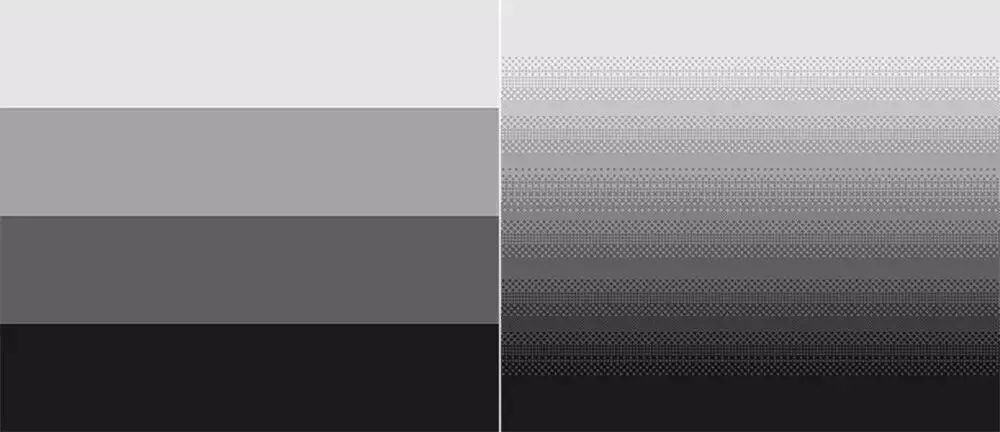
Take the gradient above: both the left and right images use only four colors. On the left the boundaries are hard and the banding obvious; on the right, the colors are mixed in the transition zones, so it looks far smoother.
So how do we simulate dithering in Photoshop?
Look closely at the little grains in a dithered transition — don't they remind you of an old friend of photographers?
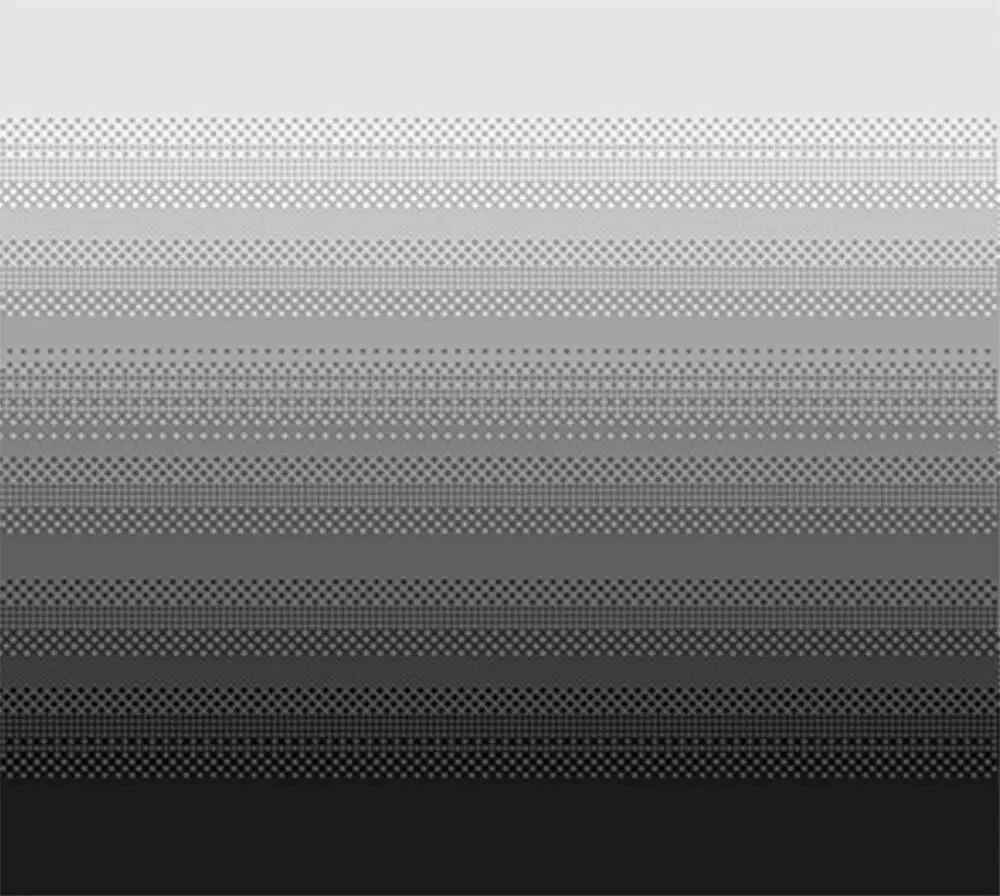
That's right — noise!
Incredible as it sounds, solving color banding only requires adding grain noise to the affected area of the photo.
There are many ways to add noise to simulate dithering: Filter > Noise > Add Noise, Filter > Filter Gallery > Spatter, Filter > Camera Raw Filter > Grain, and so on. I prefer the last one.
First, press Ctrl+Alt+Shift+E (Command+Option+Shift+E on Mac) to stamp visible layers, then open Filter > Camera Raw Filter.
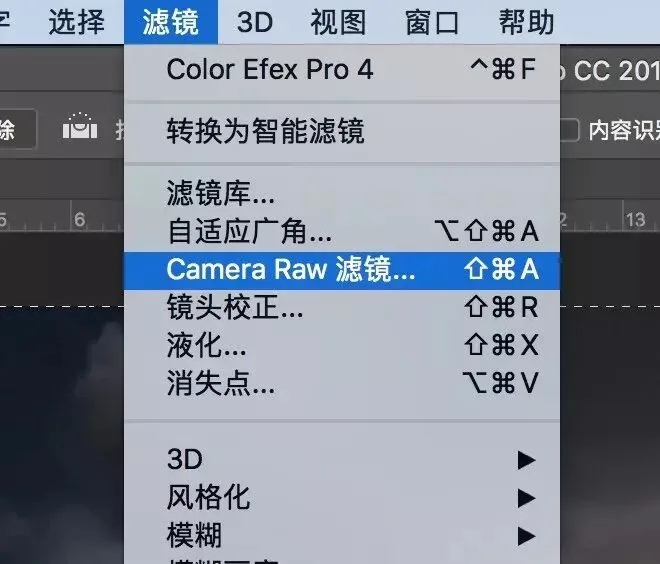
Open the seventh panel — Effects — find the Grain section, and drag the Amount slider right. Watch the image closely as you drag: grain gradually increases, and the banding nearly vanishes. For this image, I set Amount to about 20.
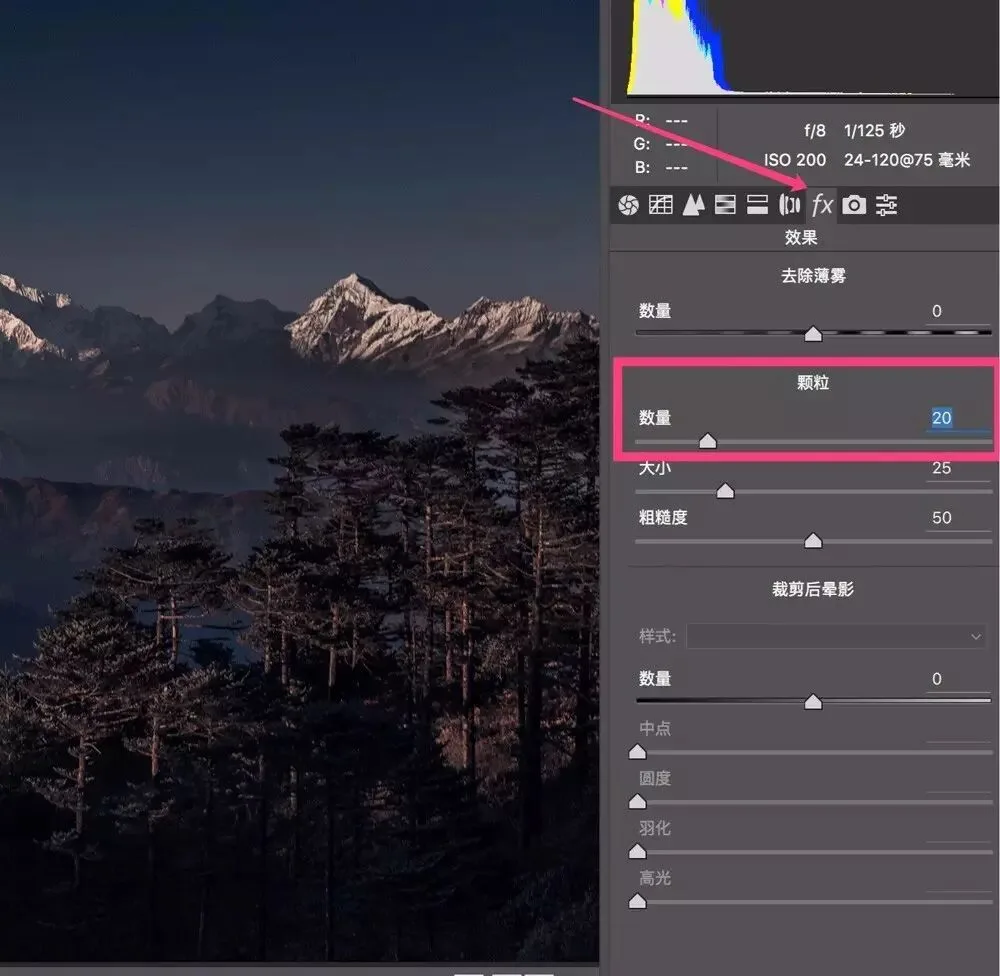
Click OK and zoom in: the once-clean sky now carries a good deal of grain.
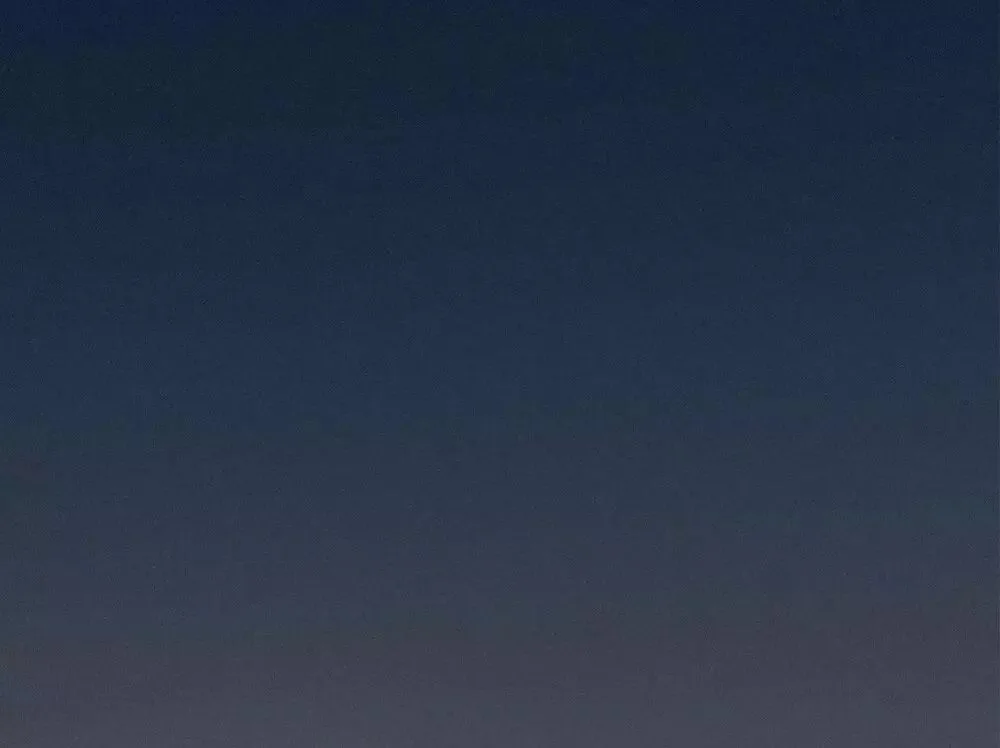
But the good news is the banding is nearly invisible — even under the sine inspection curve, the sky's transition is smooth.
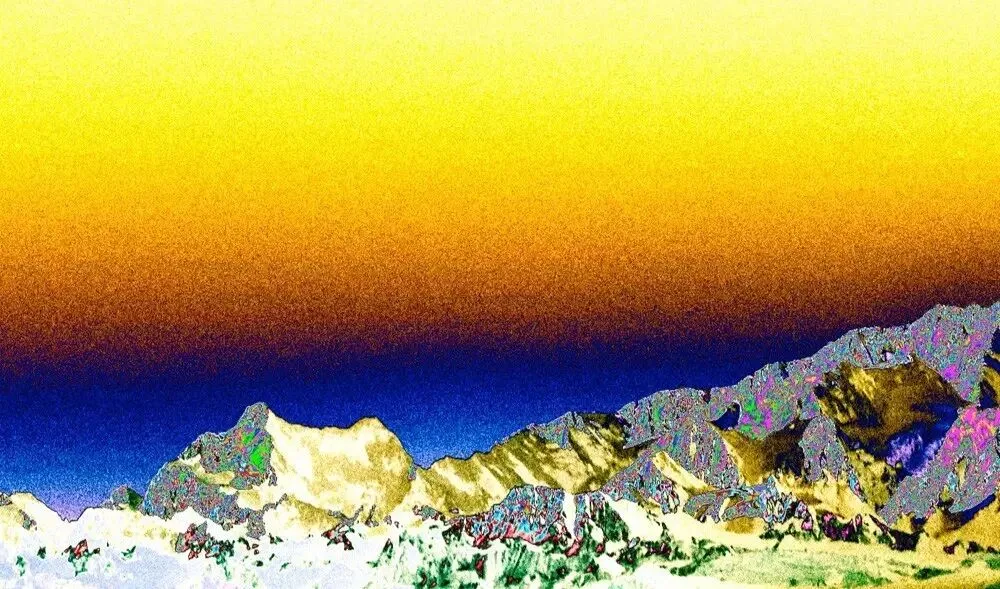
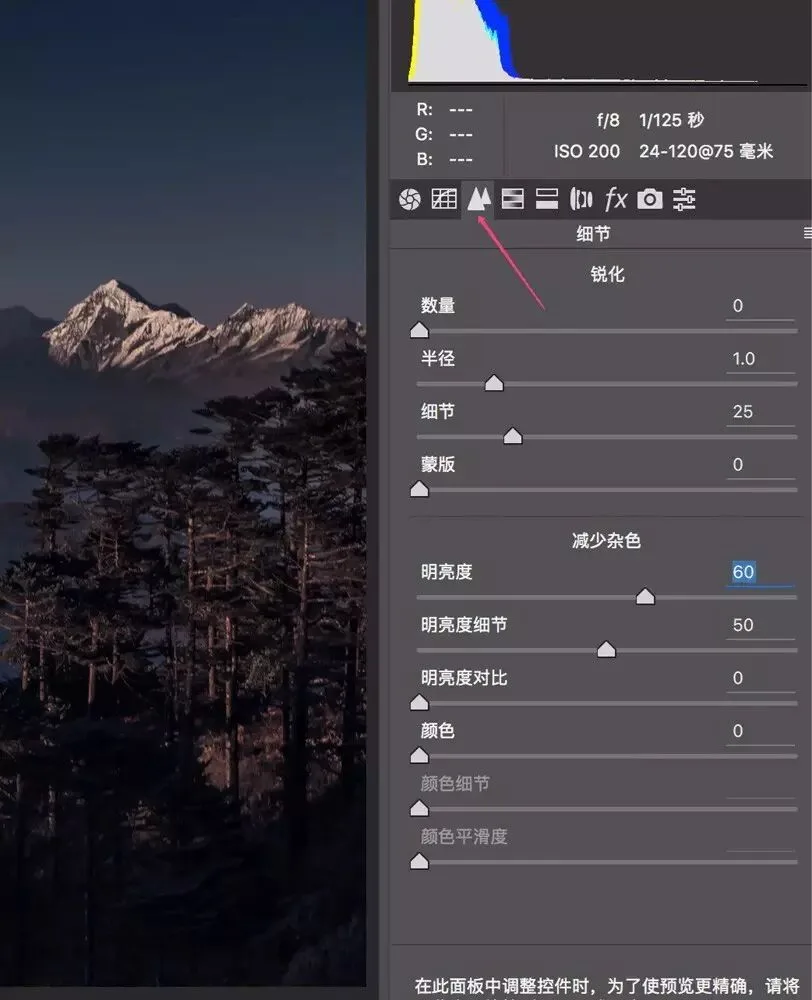
The grain in the sky was still a bit abrupt, so I reopened Filter > Camera Raw Filter and, in the third Detail panel, raised Noise Reduction > Luminance to 60 to make the grain less obvious. (This step isn't about removing the grain — that would bring the banding back — but blending it into the sky more naturally.)
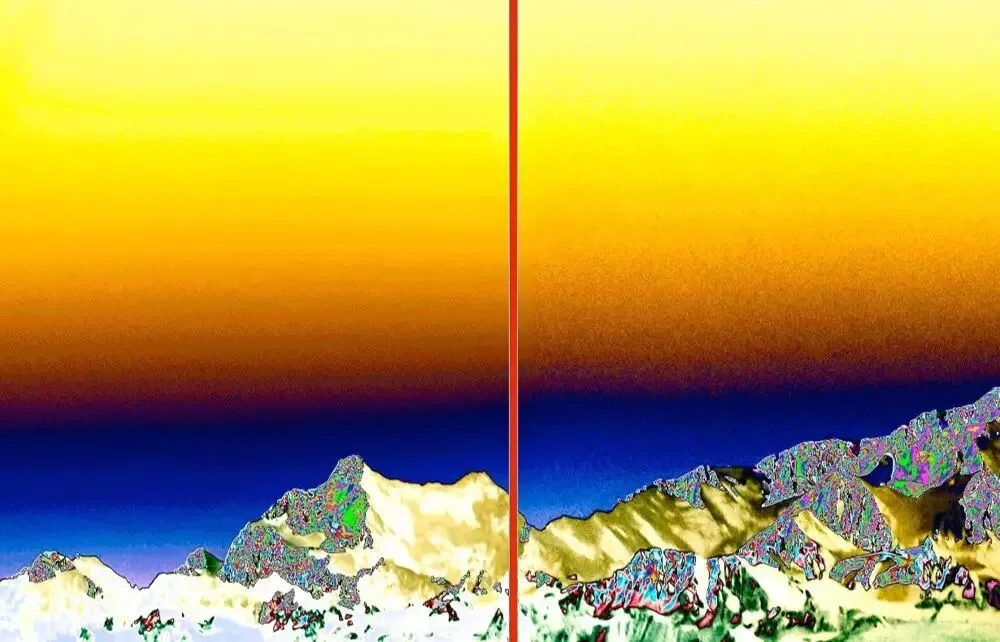
The result (under the inspection curve): banding sky on the left before, much smoother transition on the right after.
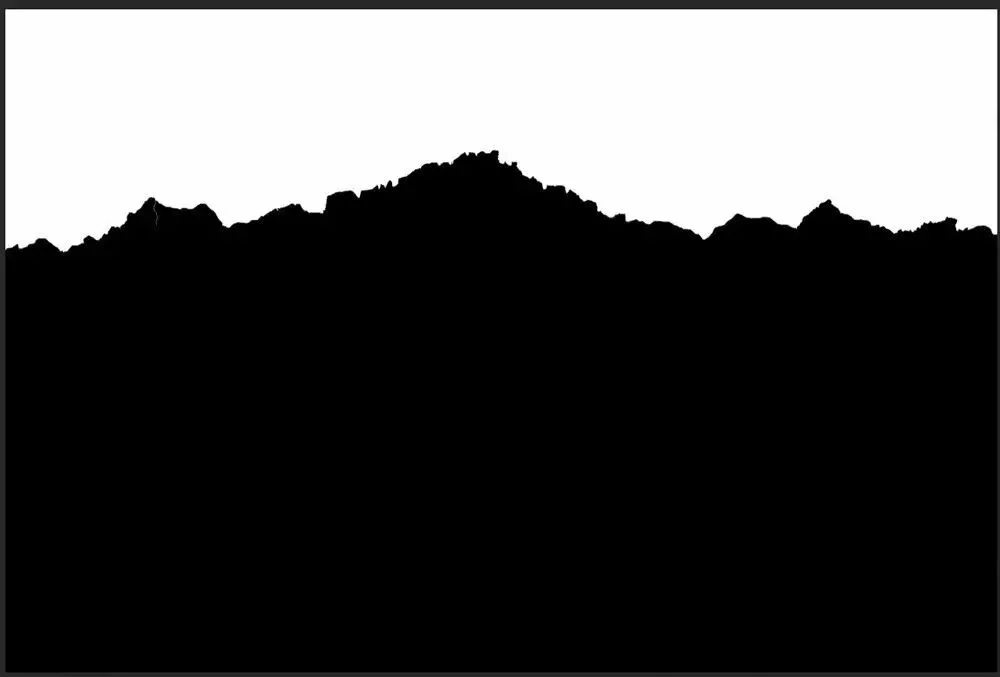
Final step: add a mask so this treatment applies only to the banded sky, leaving the ground's detail unaffected.
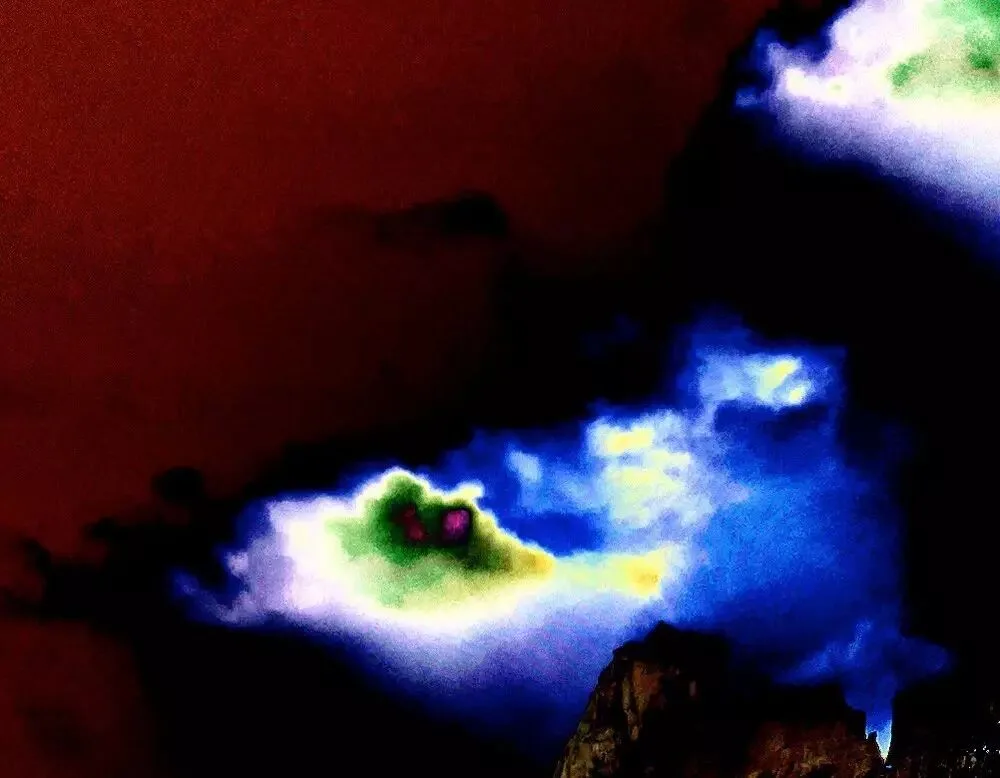
Below is another, similar photo.
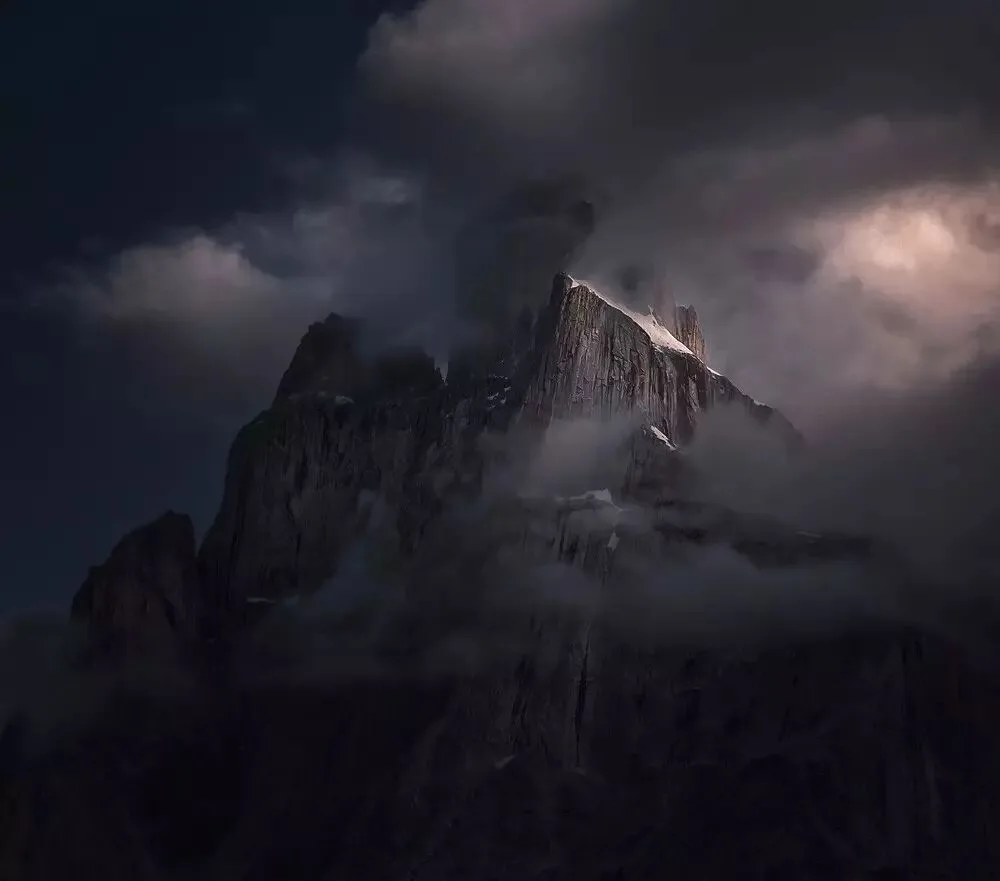
The sky before adding grain (under the inspection curve) — the banding is dreadful.
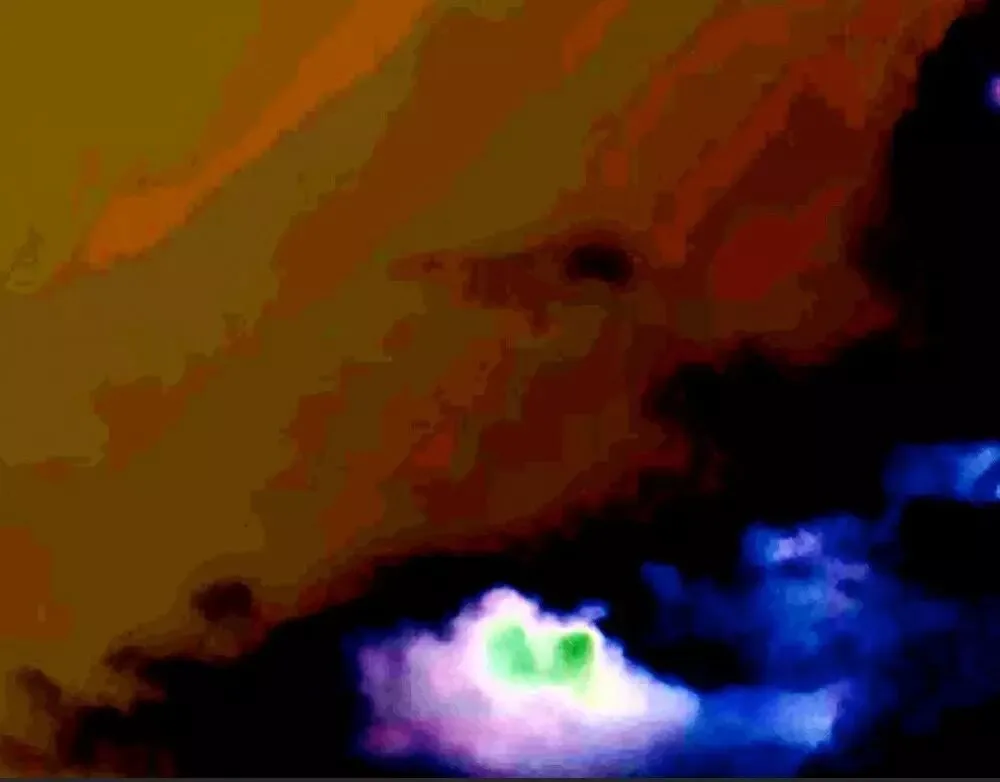
And after adding grain (under the inspection curve) — the transition looks far more natural.
Summary
1. In post-processing, gradient areas like skies and backdrops are prone to color banding.
2. Shooting raw, editing inside raw processors, and using 16-bit depth all delay the onset of banding.
3. We can mask color banding in post with the Camera Raw filter's Grain.
Follow @Thomas Chu Photo, and learn one photography skill every Sunday.