Photography Tutorial · 2018-05-24
Thomas Reviews Your Photos | Such a Little Tree, but So Hard to Shoot Well!
Thomas Chu Photo
A substantive article every week, making photography no longer hard to learn
Since the launch of Season 1 of the Tuchong X Jiying Photo Review, we have received more than 2,000 submissions. In quite a few of them, trees have appeared.
Today, Jiying photographer Thomas will share with everyone how to shoot trees well.

Reader Submission
Thomas's Review
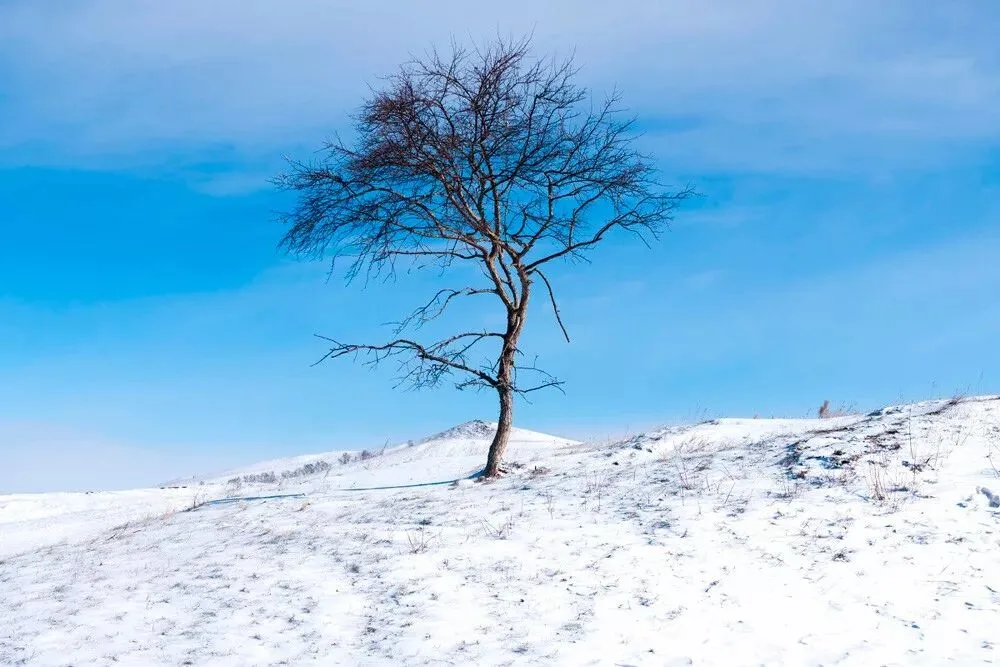
This work reflects the author's keen observation, sharply spotting a lone tree in the snow. In winter, when the leaves have fallen off, the dry and gnarled branches have a strong sense of line.
For shots of a single tree like this, there are generally two shooting approaches. One is to use a lot of negative space, shooting the tree very small to convey the ethereal emptiness of the whole environment.

△ Photographer Marc Adamus
The other approach, like the author's, is to focus on the tree and express its texture and structure. However, in my personal opinion, the composition of this shot is not focused enough - too much of the surrounding environment is included, weakening the tree's character.
If you don't believe it, let's look at a set of master works to see how the pros compose their shots.
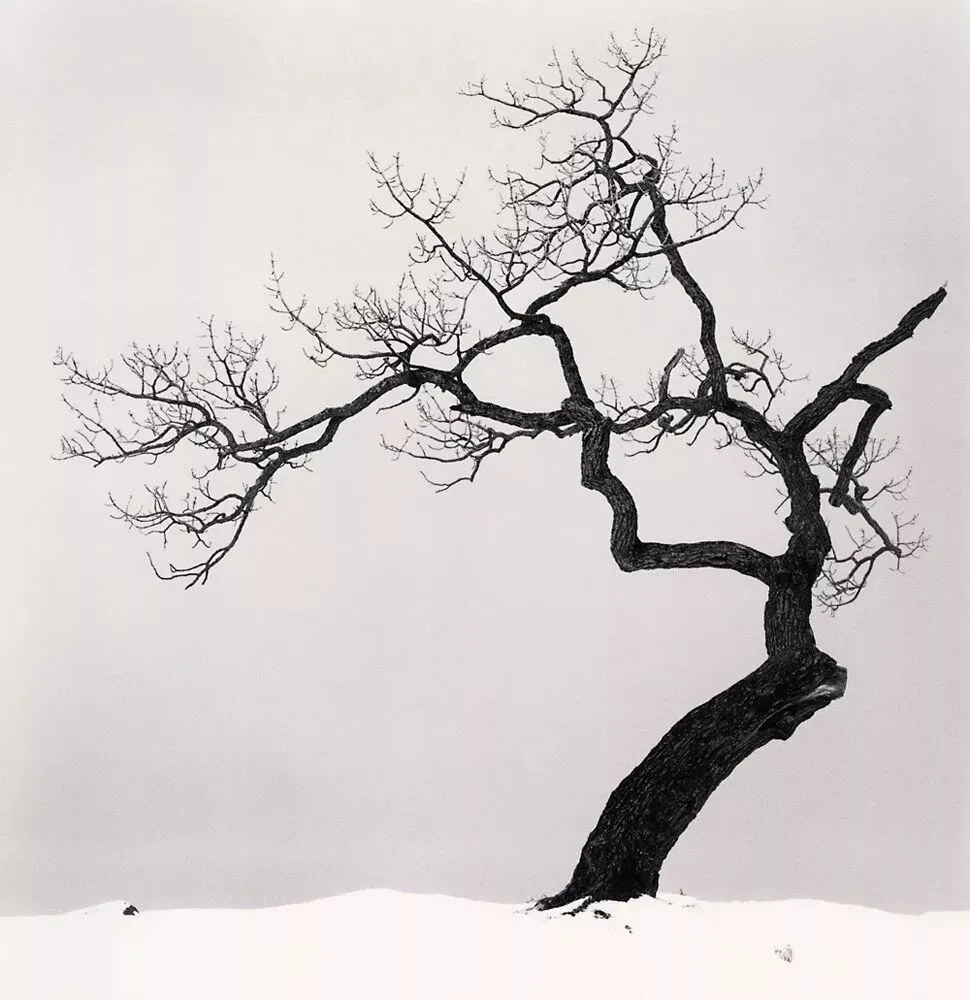
△ Michael Kenna
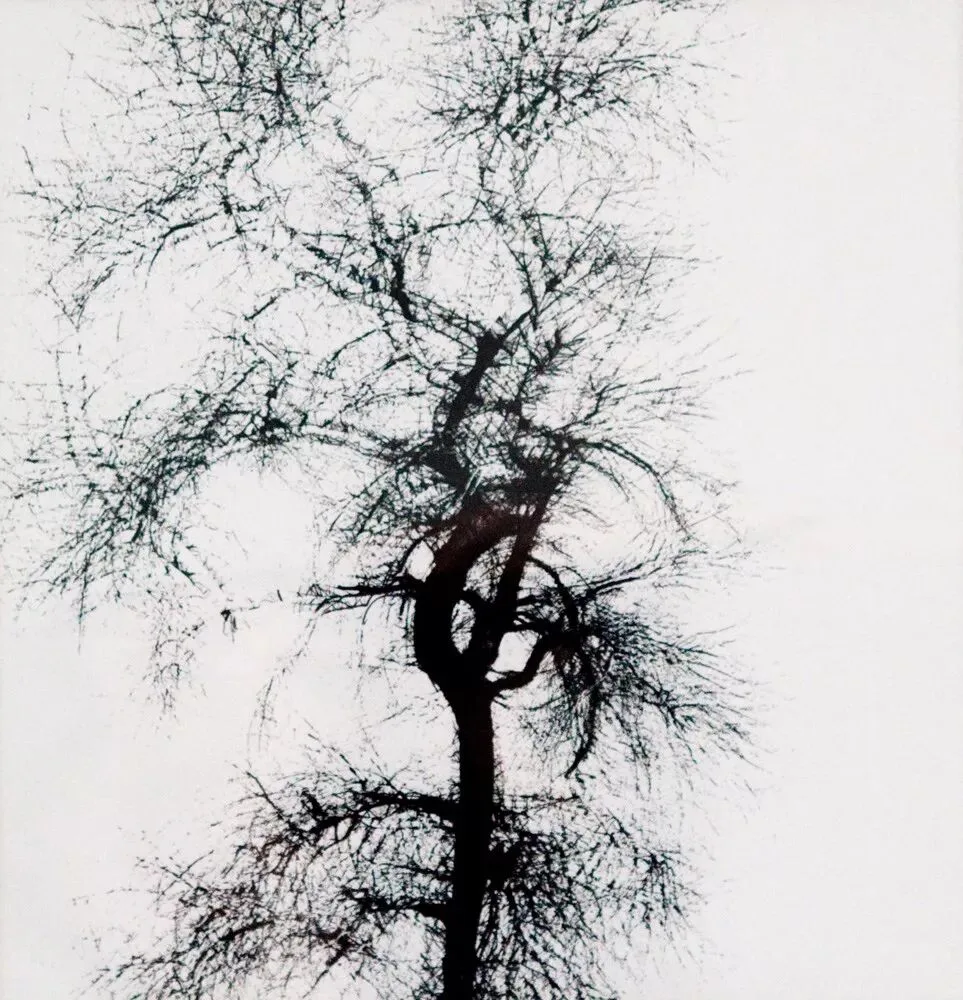
△ Harry Callahan
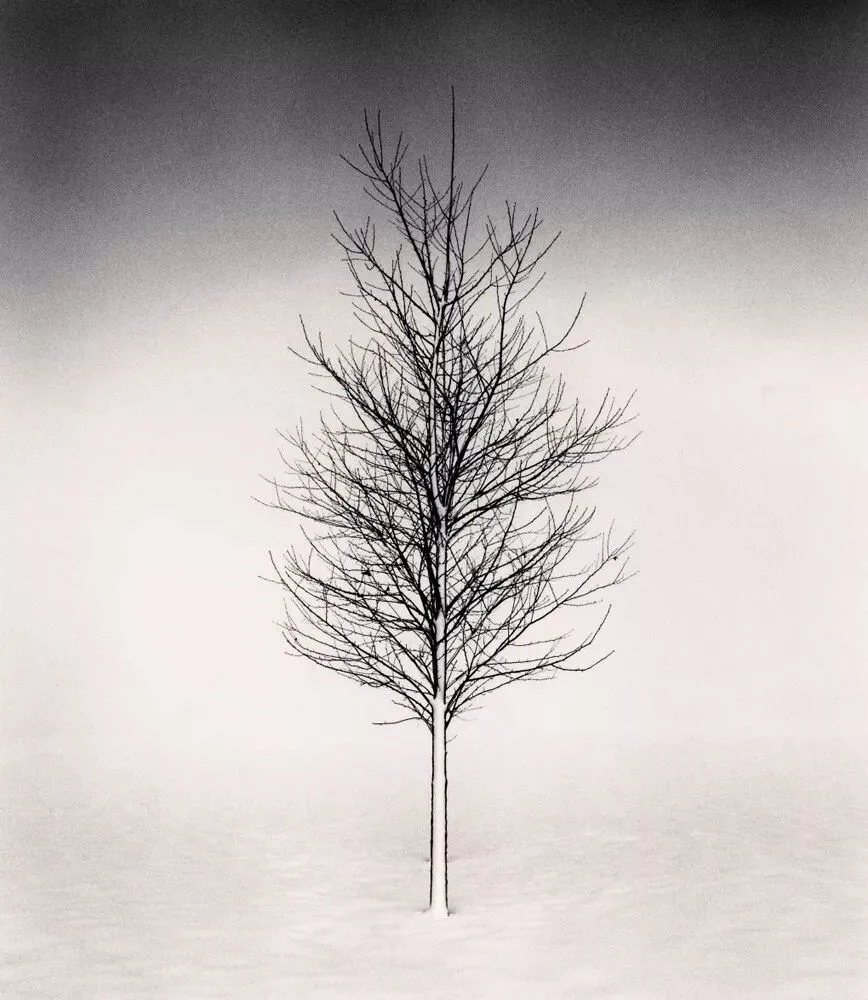
△ Michael Kenna
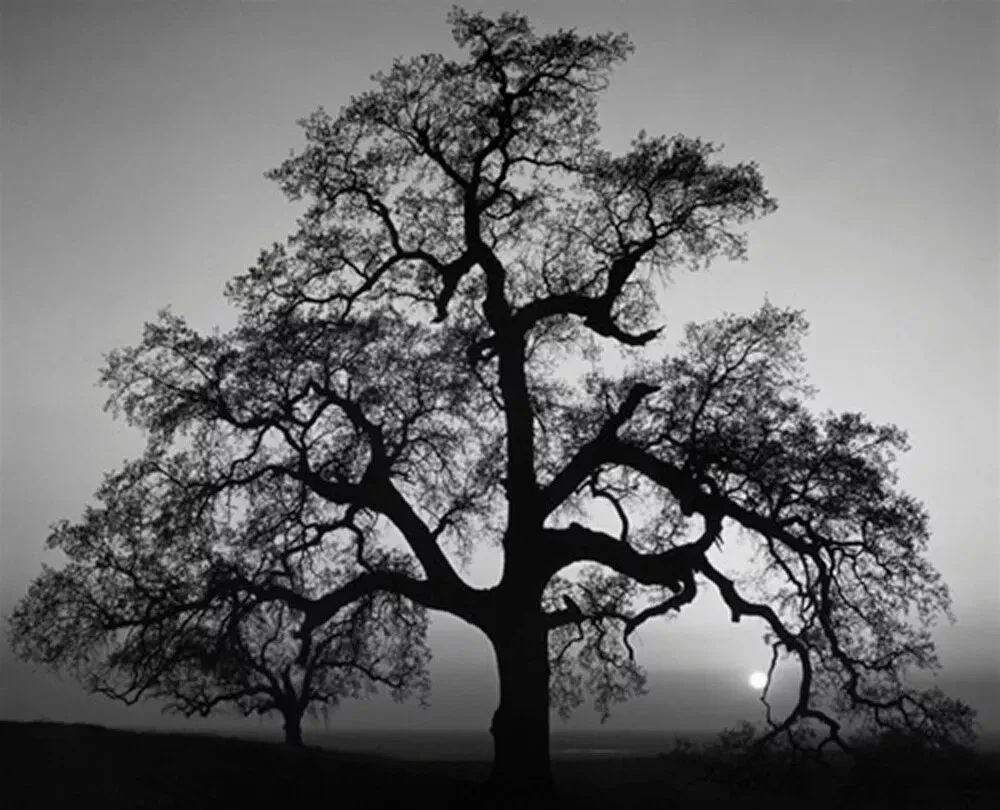
△ Ansel Adams
If you look closely, you'll find that the masters' compositions are quite full, which makes the tree stand out more. Moreover, the masters are adept at using fog, snow, blue sky, and so on to keep the background behind the tree very clean.
In the author's submission, the sky has too much cloud detail and the weeds on the ground are quite messy, which will steal the viewer's attention and interfere with the expression of the subject. Therefore, I suggest using tools like the clone stamp in post to remove these distractions.
Finally, the author used centered composition. Although the visual effect is acceptable, it seems a bit lacking in dynamism. Observing the masters' works, you'll find that trees with relatively upright main trunks are generally more suited to centered composition.
For trees with complex, twisting branches like the author's, placing the tree on one side of the frame gives the whole composition better flow.
Below, I'll import the author's submitted photo into Photoshop and process it according to my own ideas.
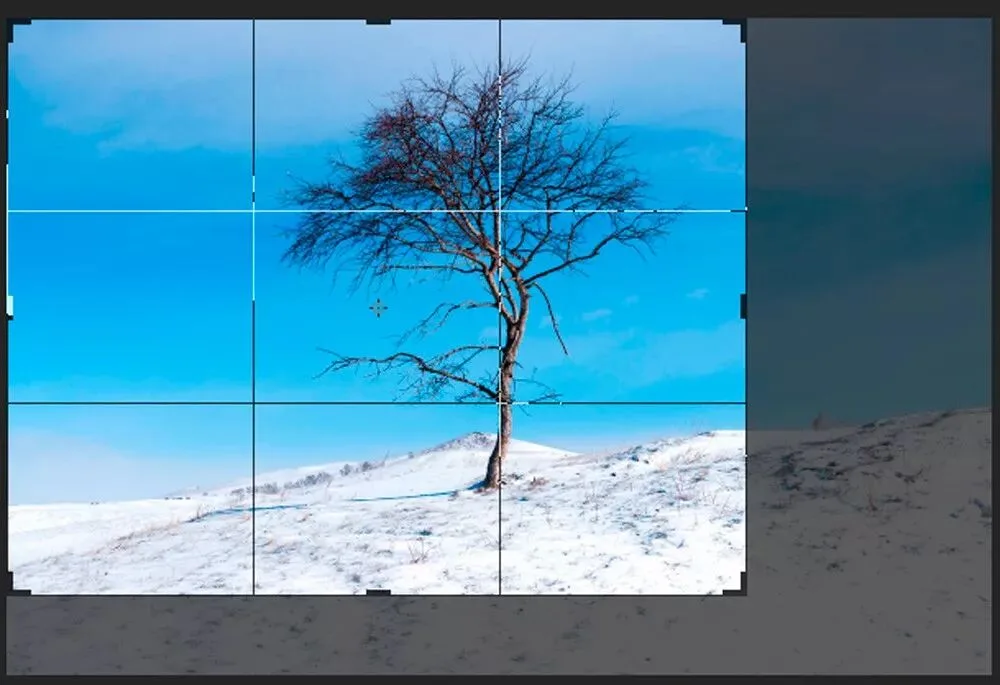
Here I used the crop tool in Photoshop and cropped it according to my own taste. I personally feel this composition makes the frame more focused, and the curve of the land connects nicely with the curved branches of the tree, giving the frame a stronger sense of rhythm.
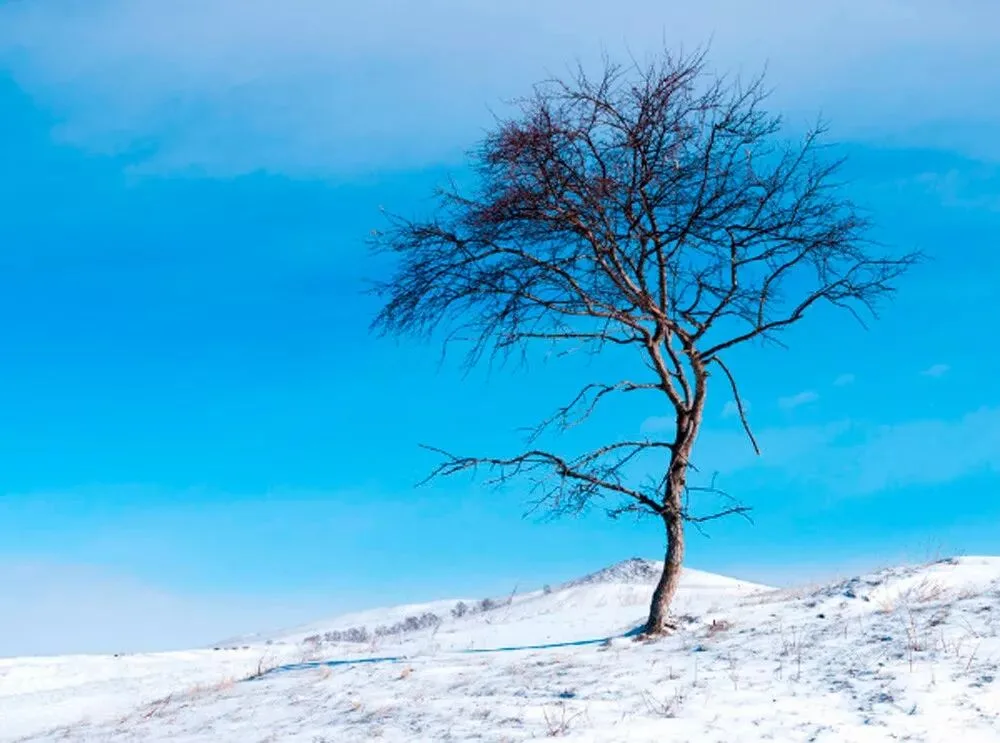
This image basically has only two colors - blue and yellow - and under bright daylight the colors aren't striking, so we can try converting it to black and white. Here I used the Nik Silver Efex black-and-white filter plug-in.
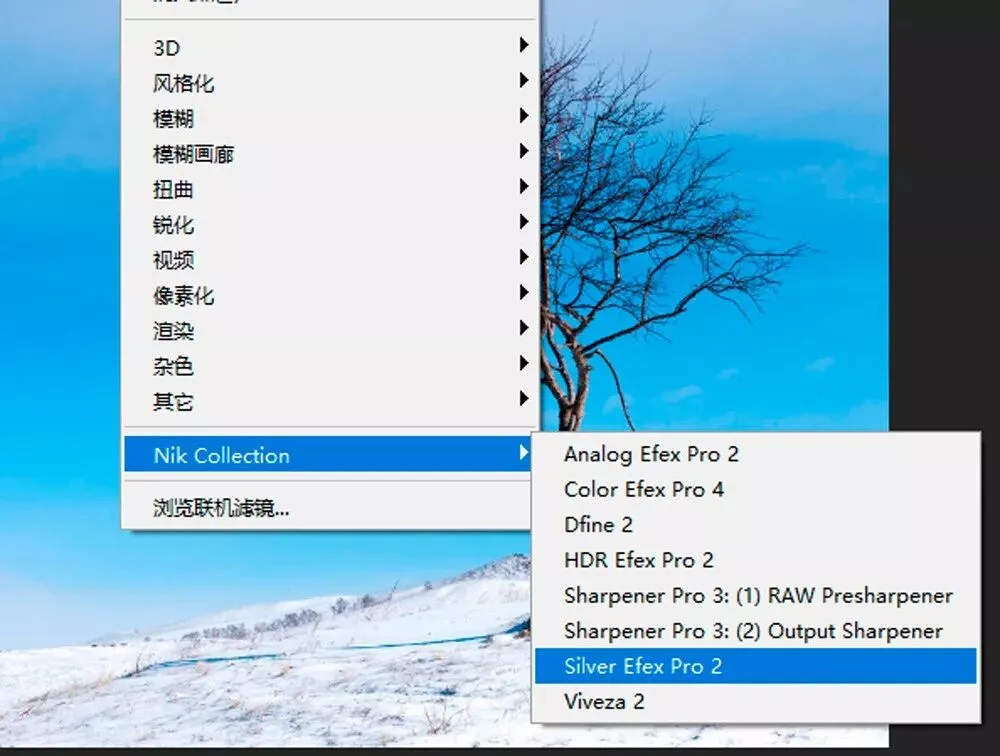
In the Nik black-and-white plug-in, I chose the default "Neutral" mode, then appropriately increased the contrast to make the tree darker and the sky whiter.
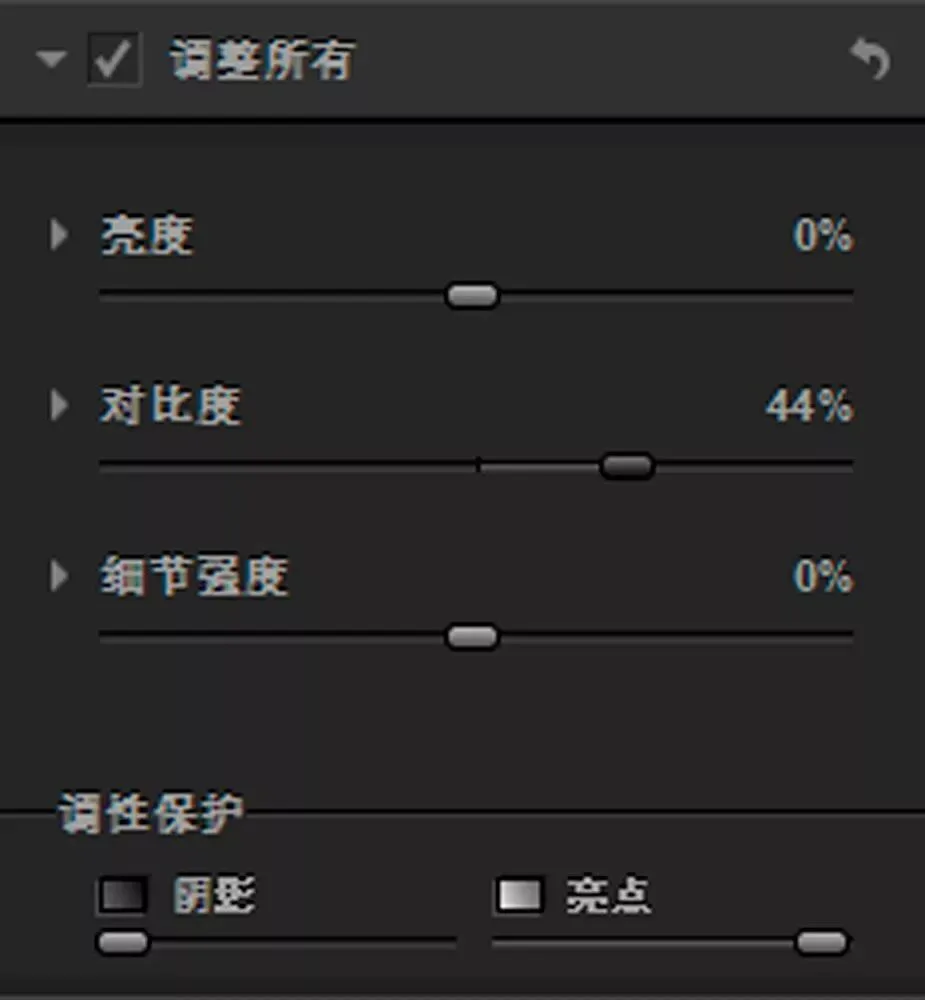
A darker tree has more of a silhouette feel and can highlight its linear structure. A whiter sky can hide more detail, but there is still too much detail now.
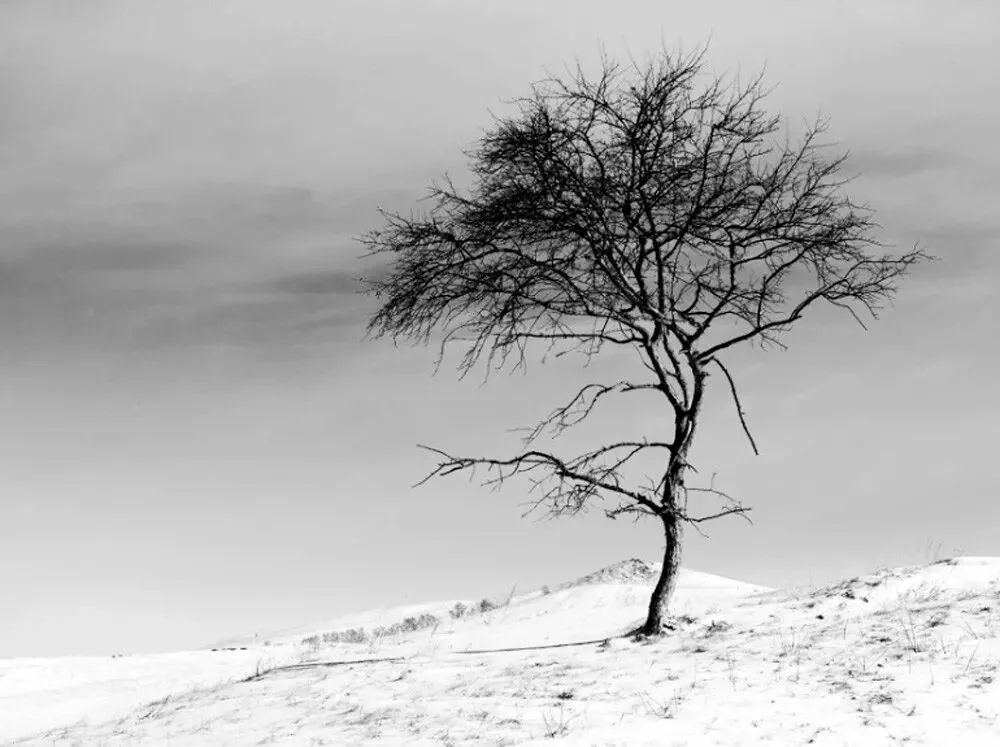
Therefore, I added a blue filter to the photo, which instantly turned the originally blue sky into a light gray.
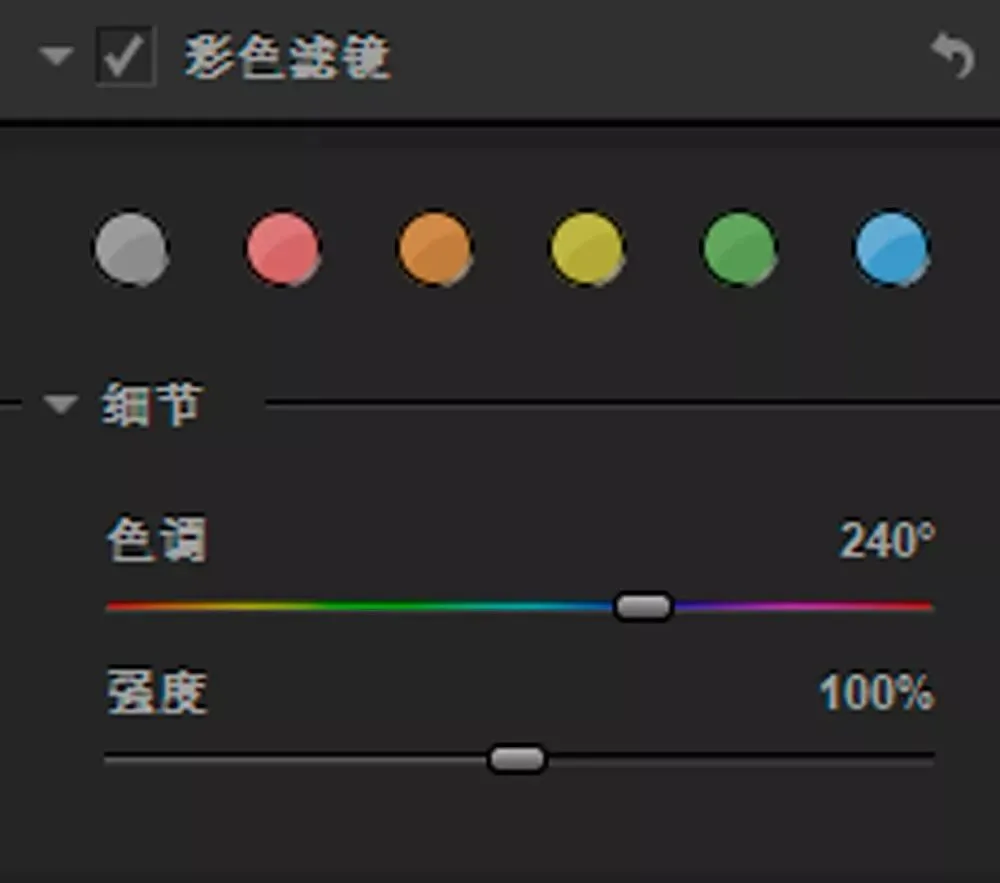
After adding the blue filter, the sky became much cleaner.
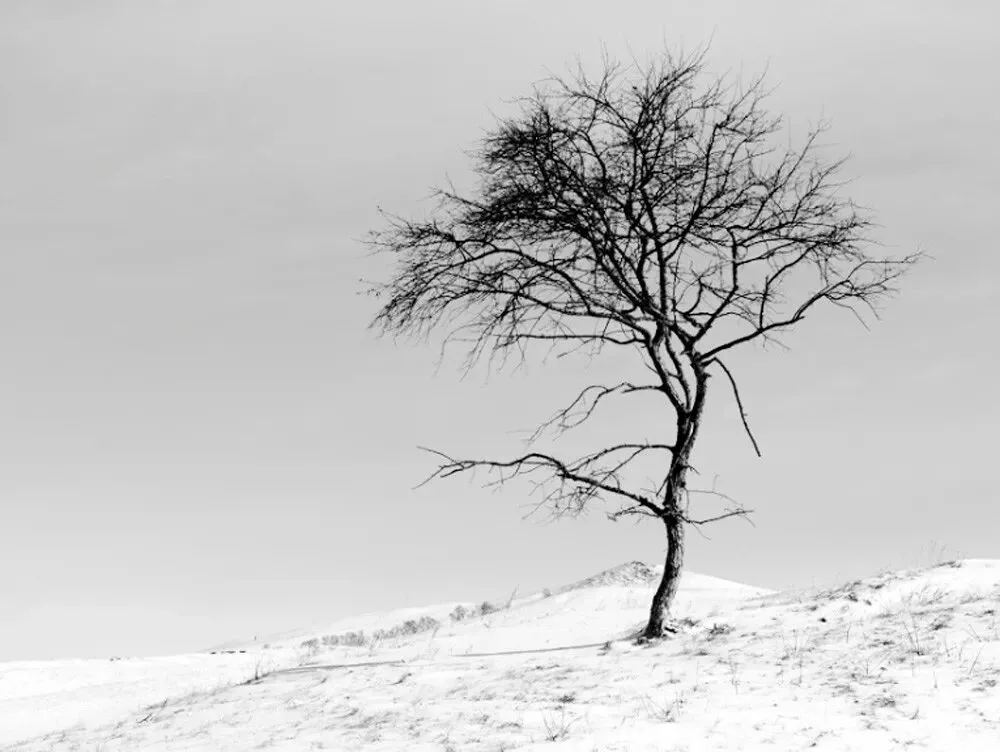
Next, I used the Sensitivity tool (similar to the HSL tool) to lower the luminance of the yellows and greens in the frame and increase the luminance of the cyans and blues.
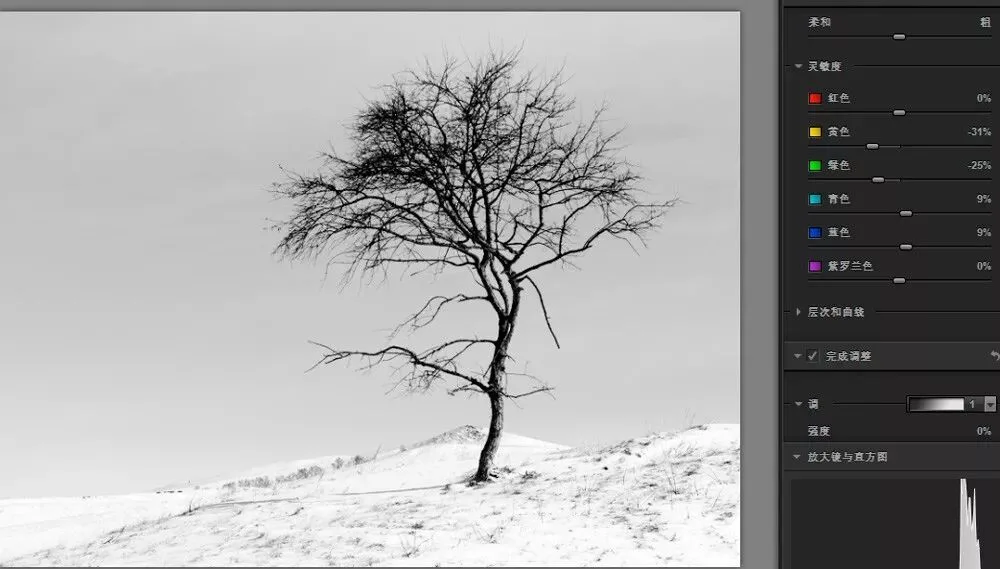
After that, we can click "OK" and return to Photoshop. Finally in Photoshop, I used the healing brush tool and the brush tool to erase the unattractive clutter on the ground and make it cleaner (being careful to keep the curve of the ground).
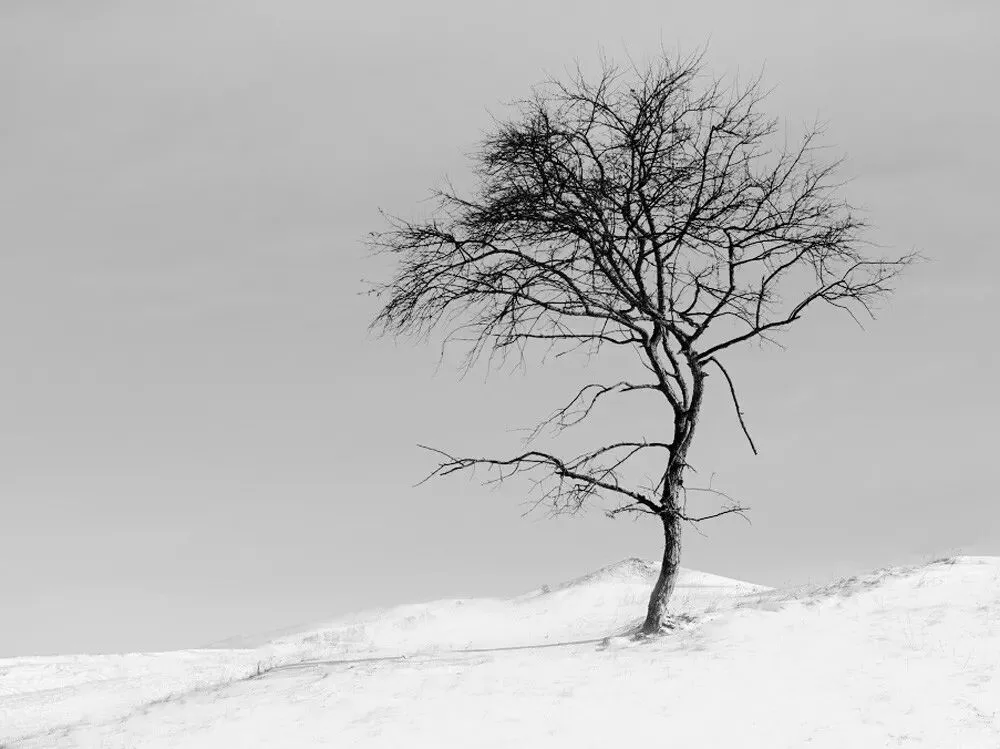
After simple adjustments, the photo has already been transformed. Of course, this is just the result of simple post-processing done according to my personal taste.
Everyone is welcome to discuss in the comments how you would process this photo.
More Nik courses: scan the QR code below

or click "Read the Original" at the end of the article
How to Participate in the Photo Review
Scan the QR code,
or enter the "Jiying Photo Review" event on Tuchong