Photography Tutorial · 2019-01-13
How Is This Gorgeous Night Color Grade Made? Cyberpunk Instagram Style
Thomas Chu Photo
In an earlier tutorial, "HSL Grading in Practice," Thomas shared the black-and-gold night grade. These days, social networks favor night edits with cool tones as the dominant palette.
Today Thomas shares the key post-processing moves behind this family of looks.
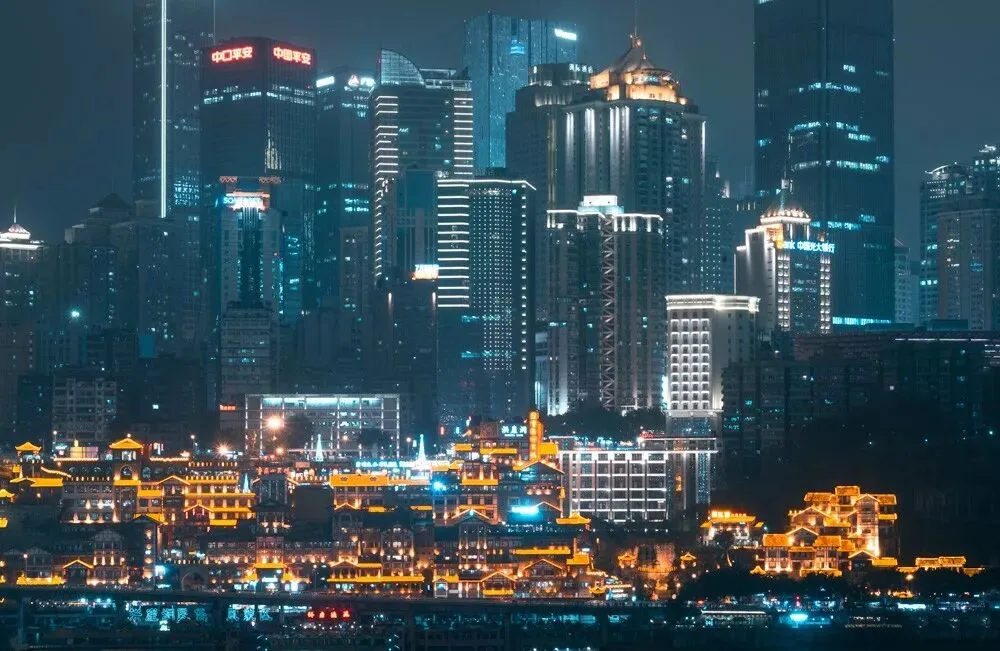
Video Tutorial
▶ Watch the video tutorial on Bilibili
This is the fully illustrated companion to the video above. A few years ago Thomas shared the black-gold night look; what dominates social media now is the "cyberpunk" night grade — cyan-blue shadows paired with orange lights. Using a Chongqing skyline photo, he walks through white balance, camera calibration primaries, split toning, HSL and local gradients in Camera Raw, with keyframe screenshots throughout. Reply raw11 on his WeChat account to download the RAW file and follow along.
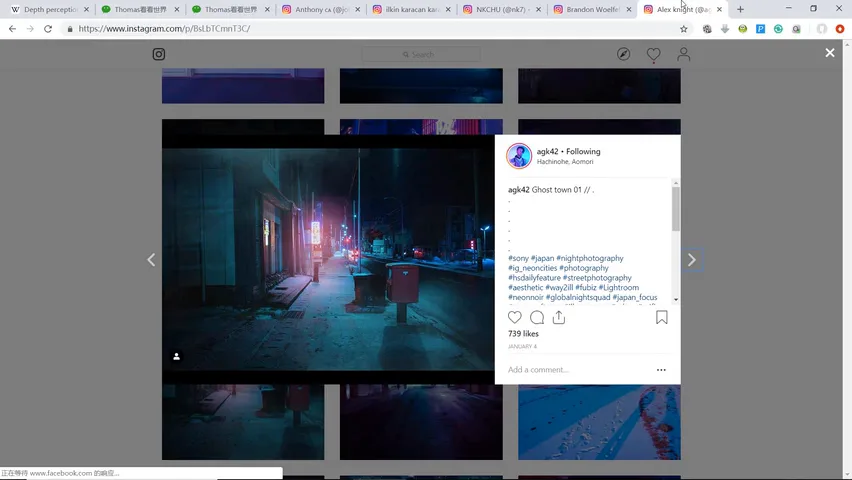
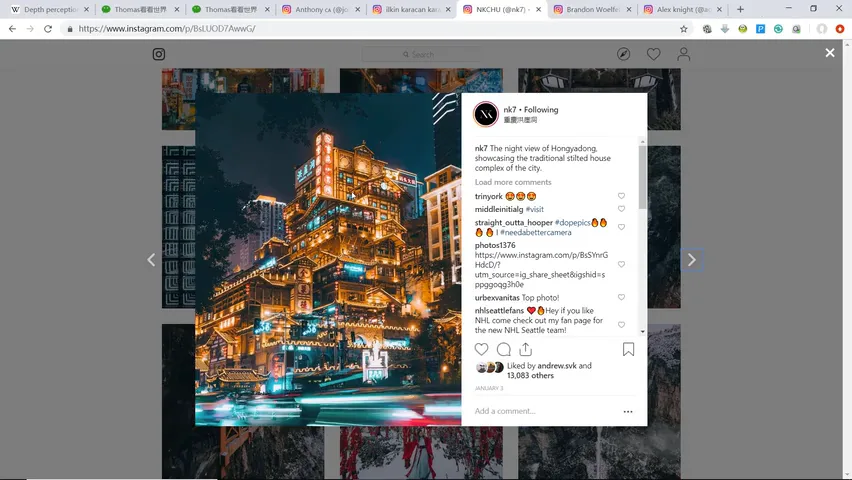
Start with the style analysis. The video opens with a lineup of the most-liked night shots on Instagram: shadows pushed uniformly cyan or blue, midtones leaning purple, and highlights keeping their orange lights — from portrait photographer Brandon Woelfel's nights to the viral Hongyadong shots in Chongqing, nearly all are a "one cool + one warm" pairing (at 0:20-1:04 in the video). The Hongyadong photo below is typical: orange leads the warm side, cyan the cool.
01 Corrections and Recropping
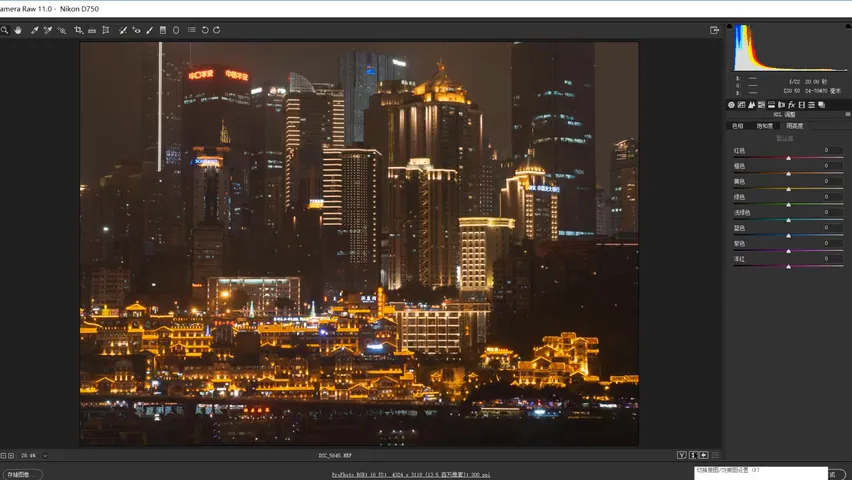
The source is a warm-yellow Chongqing skyline at night. Step one always lives in the Lens Corrections panel: check Remove Chromatic Aberration and Enable Profile Corrections (at 1:34 in the video). City photos also need upright lines — open the Transform tool, choose Auto, and the towers snap level (at 1:50 in the video). Then the Crop tool tightens the composition: the muddy river below and the cluttered lights at the top go away, leaving a cleaner frame (at 1:58 in the video).
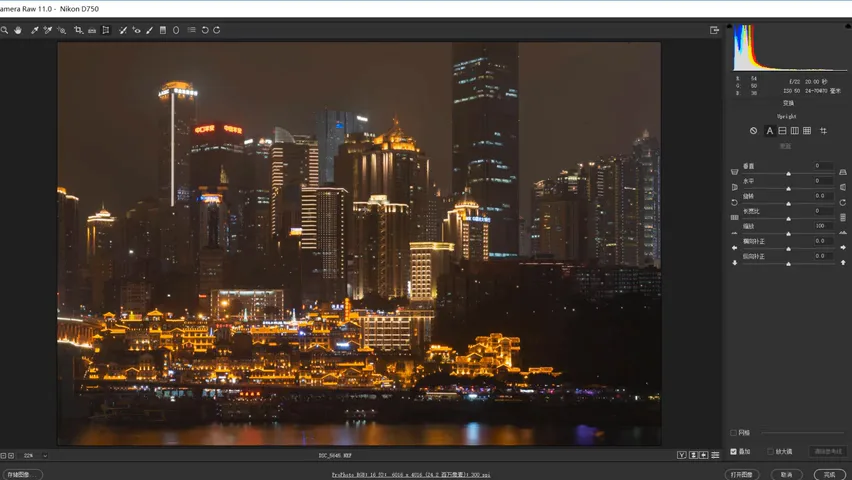
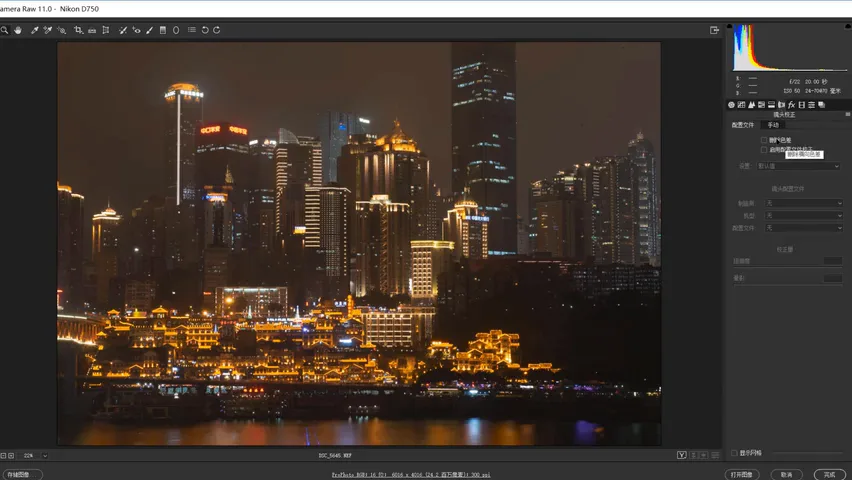
The exposure base moves are straightforward: add a touch of overall brightness and exposure, lift shadows and blacks, and give highlights a slight boost so the lights shine (at 2:35 in the video). The bold move is Dehaze — a large push raises saturation and contrast across the frame at once; since Dehaze adds noise, add a bit of noise reduction to match (at 2:54 in the video).
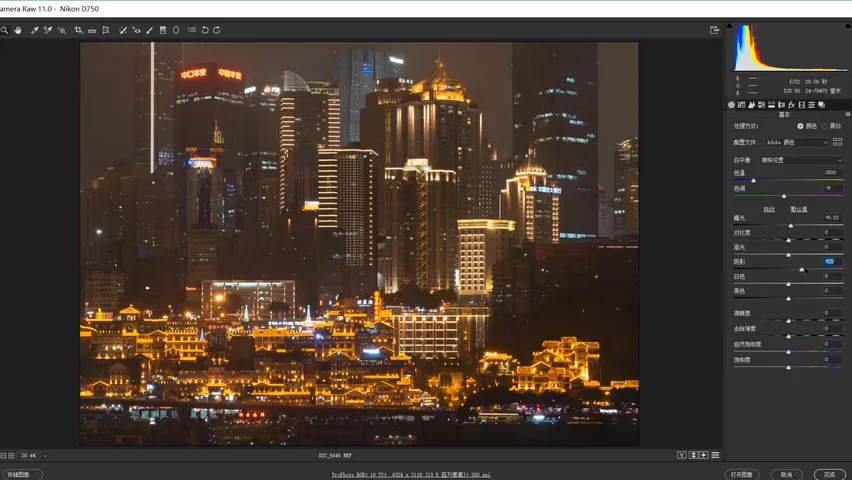
02 White Balance: Laying Down a Cool Base
The first and most critical grading move is sliding the temperature left. The raw frame skews warm, but the target style is a cool blue-cyan base — Thomas stops at around 2500 K (at 4:09 in the video): pushing further turns the whole frame lifelessly blue, and the calibration primaries will raise saturation heavily later anyway. Tint moves off green to +1 for a hint of purple.
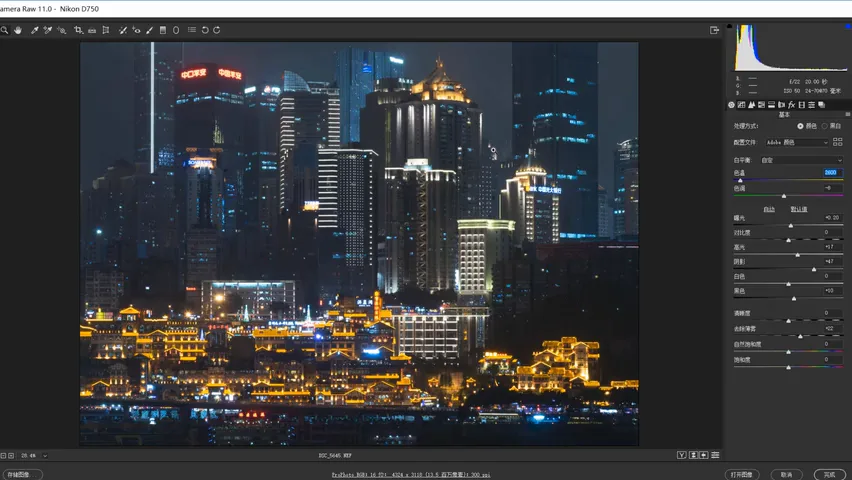
Why does white balance matter so much? Because it is the first thing Camera Raw applies — the base coat for the whole photo. A originally warm, near-black foundation turns cool, and every warm light from here on is placed against that cool ground (at 4:28 in the video).
03 Calibration Primaries: Blue Left, Red Right
The Calibration panel's primaries are nearly unavoidable for these viral looks (basics covered in the article "The Most Magical PS Color Tool"). Two sliders matter most: blue primary hue left — warms drift orange-red, cools cyan-blue; red primary hue right — warms drift orange-yellow, cools purple-blue (at 5:31 in the video). Here the blue primary slides left and the cool tones instantly turn cyan while the warm lights go orange-red (at 5:47 in the video); the red primary then slides right, warming the lights toward orange-yellow and nudging shadows blue-purple (at 5:59 in the video).
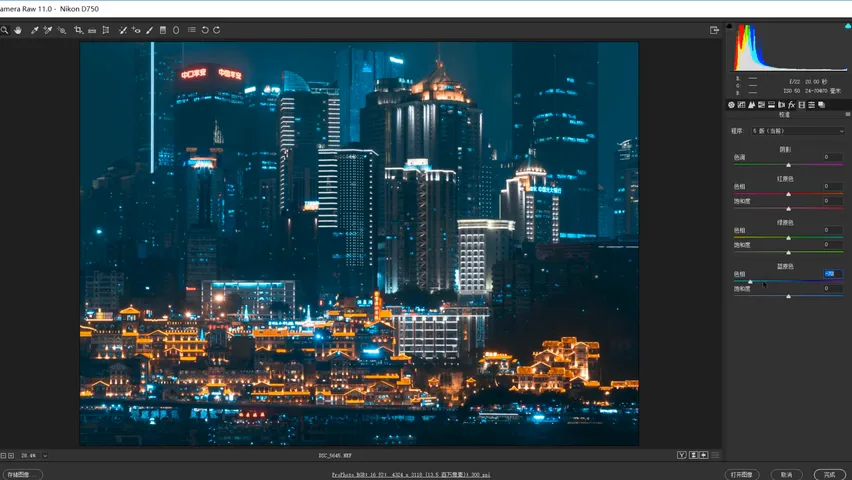
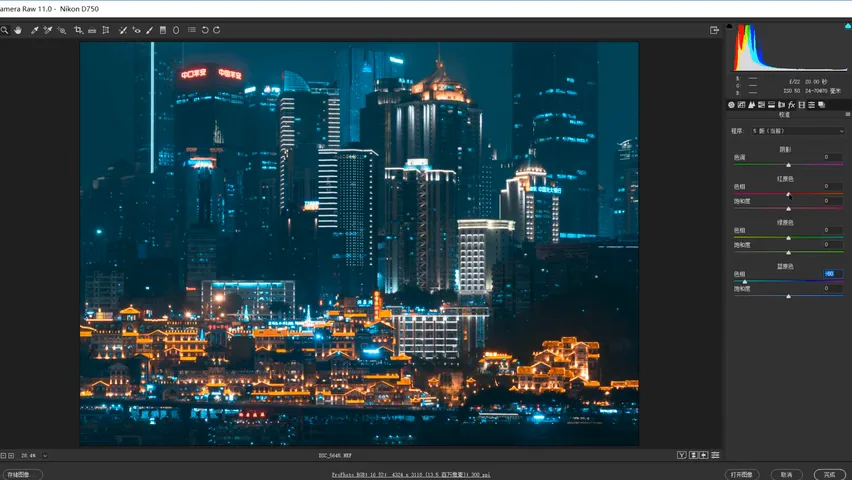
04 Split Toning and HSL: Letting Warm and Cool Work Apart
By now the frame has its cyan base; time to grant it a warm layer: in Split Toning, pick an orange hue for the highlights and raise saturation — the image stops being one flat cyan and gains cool-warm contrast (at 6:28 in the video). If the hue reads too red, ease it back toward orange and the highlights take on a comfortable warm tint (at 6:43 in the video).
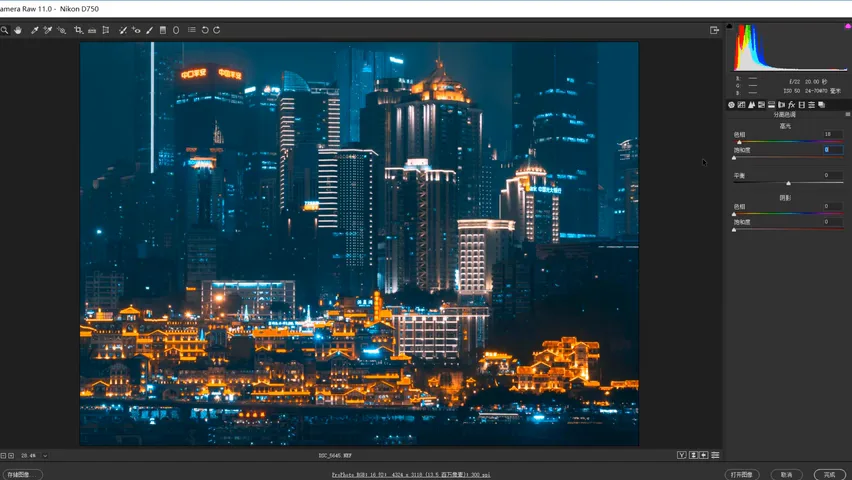
HSL is the most convenient tool for per-range color. The conventional night recipe: boost cool saturation and drop cool luminance, cut warm saturation and raise warm luminance — pale warms, deep cools. Thomas does the opposite here: warm saturation and luminance both rise so the lights glow warmer and brighter, while cyan and blue saturation drops slightly and their luminance lifts, keeping the cool side bright and airy instead of muddy (at 7:31 in the video).
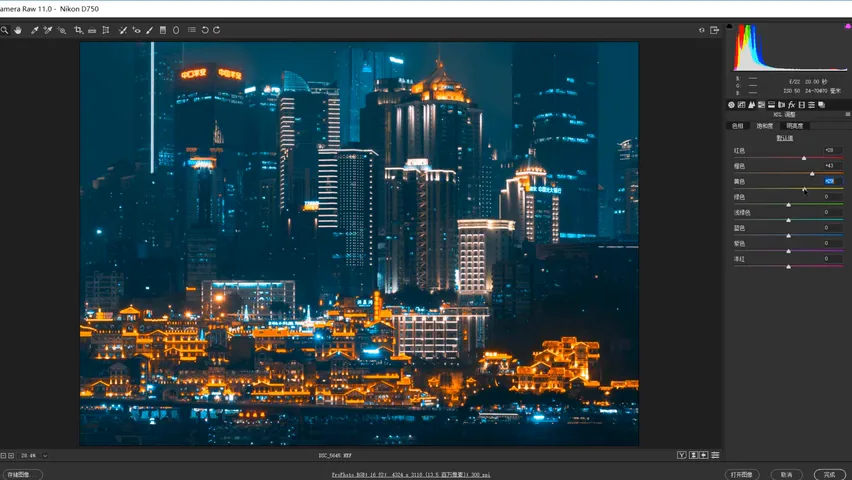
A hue trick: with every light orange, the frame gets monotonous — shift red hue left so reds lean magenta, and the Ping An sign now stands apart from the orange lights around it, enriching the palette (at 8:09 in the video); nudge orange toward yellow, restrain saturation, raise luminance, and the lights brighten without turning garish (at 8:27 in the video). With temperature-tint, primaries, split toning and HSL done, the viral look has taken shape (at 8:48 in the video).
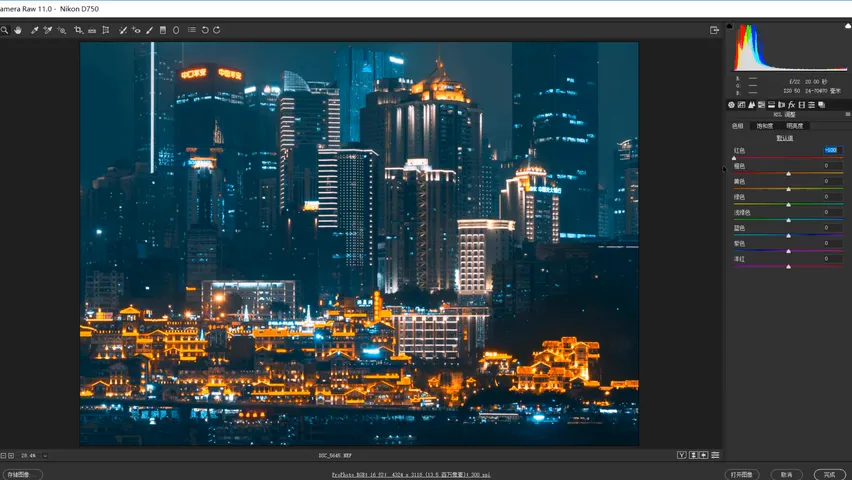
05 Local Adjustments: Press the Bottom, Lift the Top
At this point the photo still feels flat — it lacks depth. The fix is a light-based split: a gradient filter darkens the lower half with reduced shadows and exposure, as if the ground catches little skylight (at 9:26 in the video); the top half does the opposite with added exposure and shadows lifted strongly, as if light from above still washes the city's upper half (at 9:53 in the video). Toggle with Ctrl+Z and the moment brightness splits, depth appears (at 10:14 in the video). A touch of purple in the tint of the top filter adds color variety too (at 10:34 in the video).
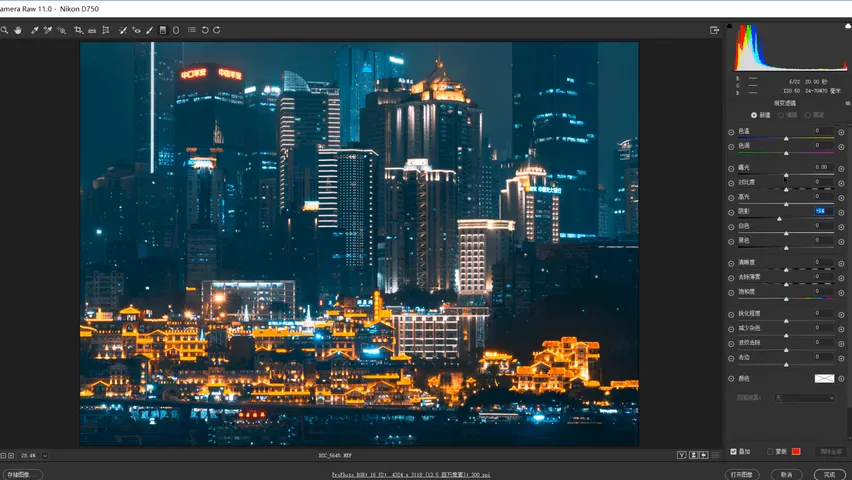
Then radial filters brighten the middle block by block: the central buildings, the towers on the left, the Ping An area — shadows raised substantially, the sense of light rendered in gradually (at 10:47-11:21 in the video). Finally, a center-emphasis pass: the surroundings lose temperature (cooler) and saturation, the sky and bottom restrained, so the middle's saturation and brightness are naturally set off (at 11:46 in the video).
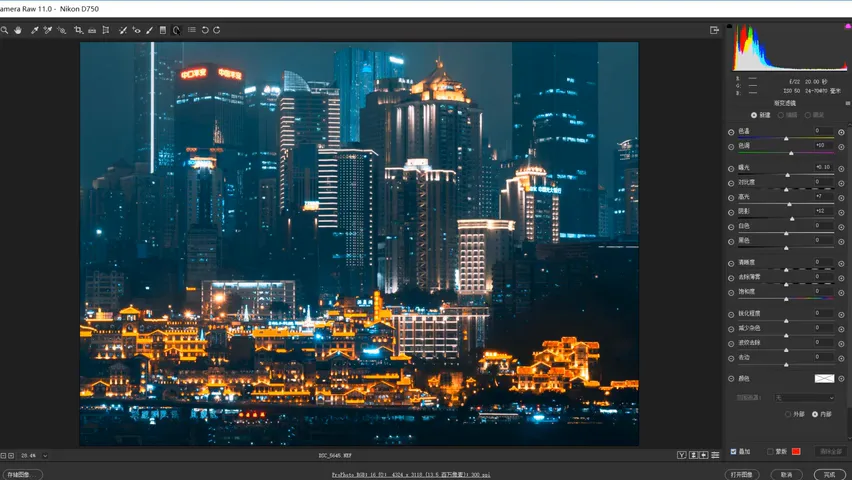
At this point the photo is essentially done inside Camera Raw. For further refinement you can head into Photoshop and fine-tune locally with masks; but as far as the trendy look goes, the result already stands — before and after, the night atmosphere is transformed (at 12:35 in the video).
1. The viral night look = one cool + one warm: cyan-blue shadows, orange-red highlights — study references first; 2. White balance is the base coat — temperature to ~2500 K, tint +1 for purple; the cool foundation sets the whole grade; 3. Calibration primaries blue-left and red-right define the cool-warm split, split toning tints highlights orange, HSL brightens warms while holding cools bright and restrained, and red shifted left adds hue variety; 4. Local gradients press the bottom and lift the top for depth, radial filters render light block by block, and desaturating the edges puts the center forward.
The original frames were shot on a Nikon D750 with a 24-70mm f/2.8 lens and a Fotopro MGC684N tripod~