Photography Tutorial · 2022-10-23
Old Photo, New Edit Challenge: Regrading a Ten-Year-Old D90 Photo
As our aesthetics and skills improve, will re-processing photos shot years ago produce a completely different result?
In today's video tutorial, Thomas takes on the challenge of re-editing a photo shot 10 years ago with a Nikon D90 during my student days!
Video
▶ Watch the video tutorial on Bilibili
This is the illustrated companion to the video above. Thomas takes on a challenge: re-editing a 2012 photo of Hallstatt, Austria — shot as a student on an entry-level Nikon D90 — with his decade-later mindset, opening the PSD file and explaining it layer by layer. His running theme: gear is the least important part of photography; thinking, taste and technique decide the final image.
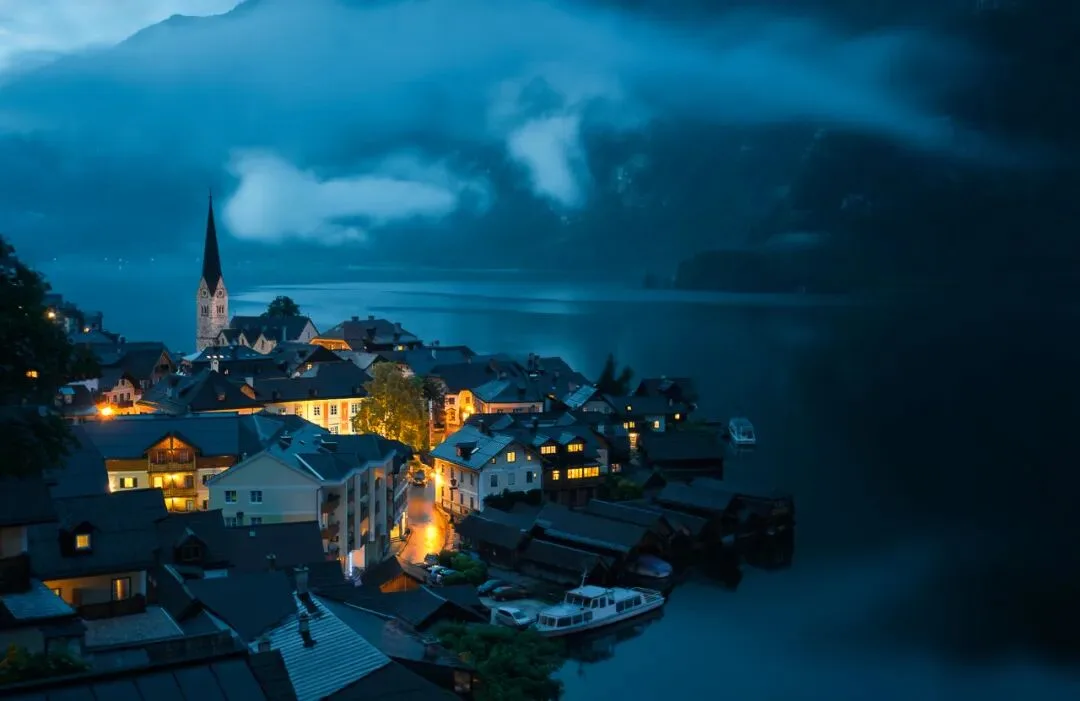
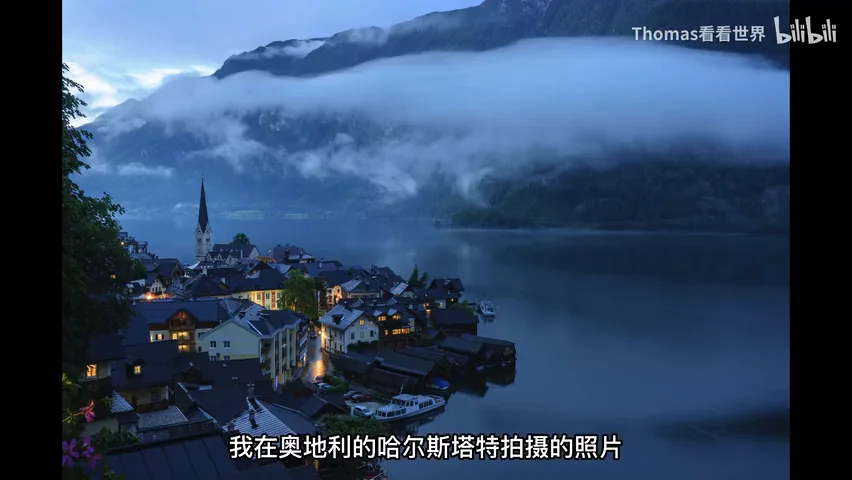
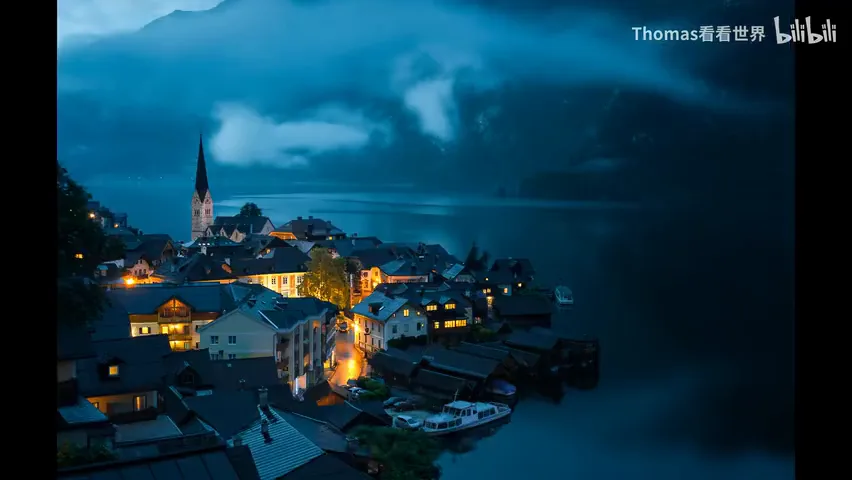
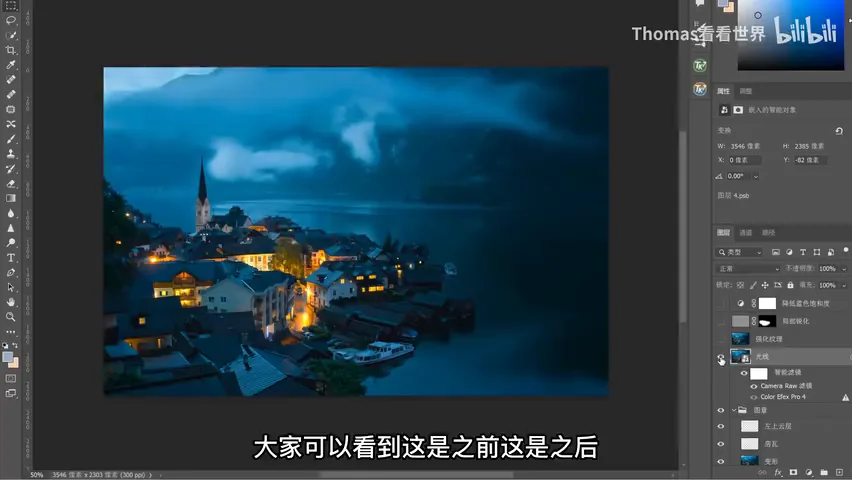
The verdict first. The first image below is the original (at 0:37 in the video) — a grey wash, an empty lake, a messy foreground; the second is the re-edited result (at 2:02), where the eye is locked onto the lamplit town. One negative, two eras.
01 The Old Frame and What's Wrong with It
The original was shot at Hallstatt in Austria. Even then Thomas used an ND filter for a 30-second long exposure that turned the water to mist (at 0:32 in the video). For a student, the fieldcraft was decent — the problems sat one level higher.
Compositionally: the frame is halved top-bottom, halved again between water and town — symmetry taken too politely; the huge sheet of water empties the picture, the clouds crowd it, and the left edge drags in clutter and three flowers meant as a foreground that only add noise (at 0:53-1:31 in the video).
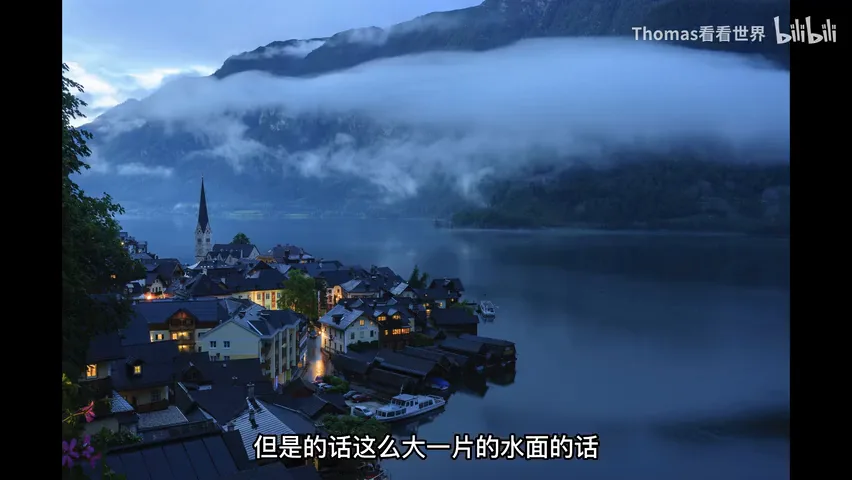
In post: no clear visual centre — the bright sky at top-left and the vivid flowers at bottom-left all fight for attention. Yet the photo's real core is the town's lamplight and its tranquillity: a warm rainy village night set against the cold surroundings (at 1:37-2:01 in the video). Once that is clear, every later step has a direction.
02 Camera Raw: Lowering Contrast, Unifying Colour
Thomas keeps the layer as a Smart Object: double-click to re-enter Camera Raw and revise any earlier move — the beauty of smart objects is that every past decision stays editable (at 3:16 in the video). In the Basic panel he pulls highlights down and lifts shadows and blacks — essentially a contrast reduction: for a quiet village, the original punch is too loud; softness fits the mood (at 3:30 in the video).
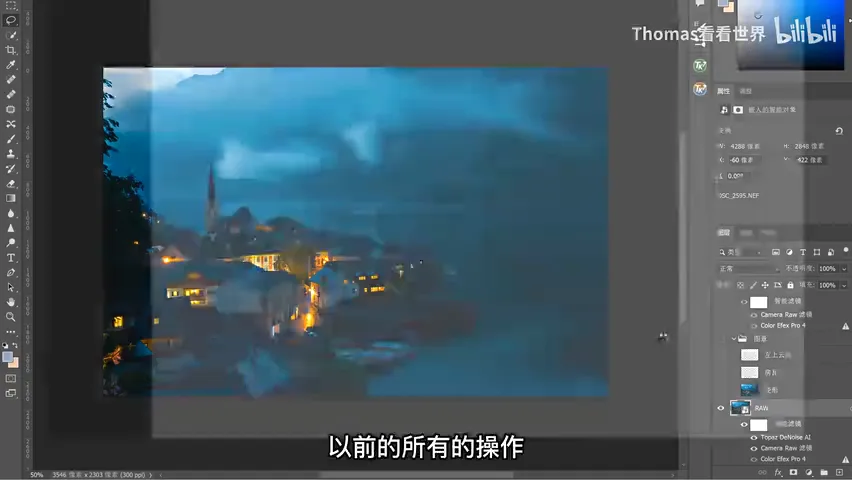
The Colour Mixer is the heart of the edit: greens shift wholesale toward orange-yellow — a quiet mood cannot afford neon variety, the palette must unify; the yellow lamplight gets the opposite treatment, more saturation to burn brighter; the blue water is slightly desaturated; and the magentas and purples — those attention-stealing flowers — drop to zero saturation outright (at 3:48-4:28 in the video).
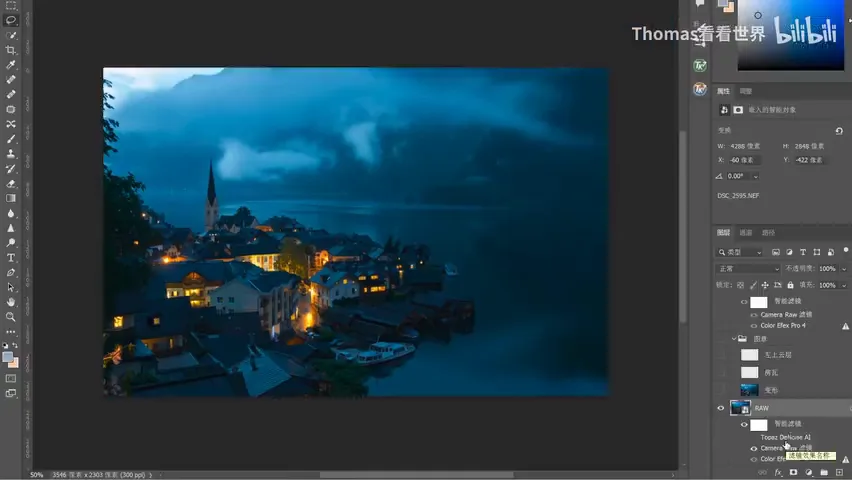
03 Denoise and Warp: Fixing the Hard Flaws
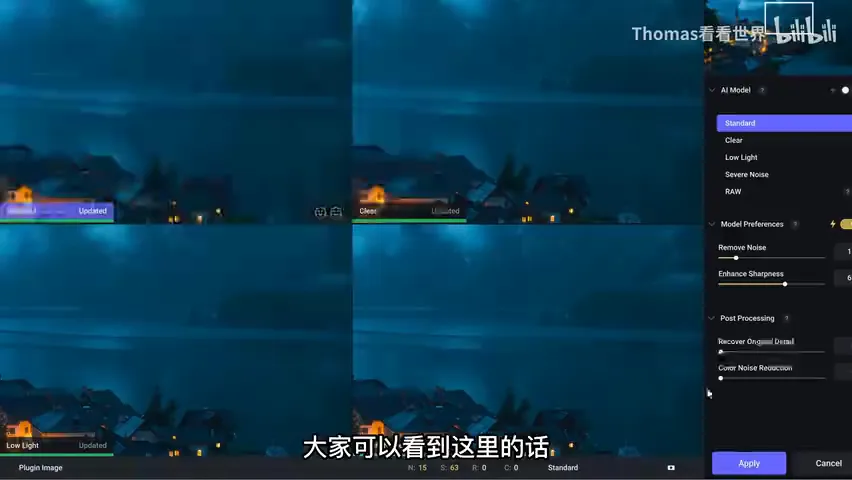
Step two goes to Topaz Denoise AI — on a decade-old entry-level DSLR file the cleaning power is immediate; he simply keeps the default settings and hits Apply (at 5:04 in the video). The plug-in is performance-hungry, but his current laptop is NVIDIA Studio certified, deeply optimising PS, LR, Topaz and more — the denoise finishes in moments (at 4:46 in the video).
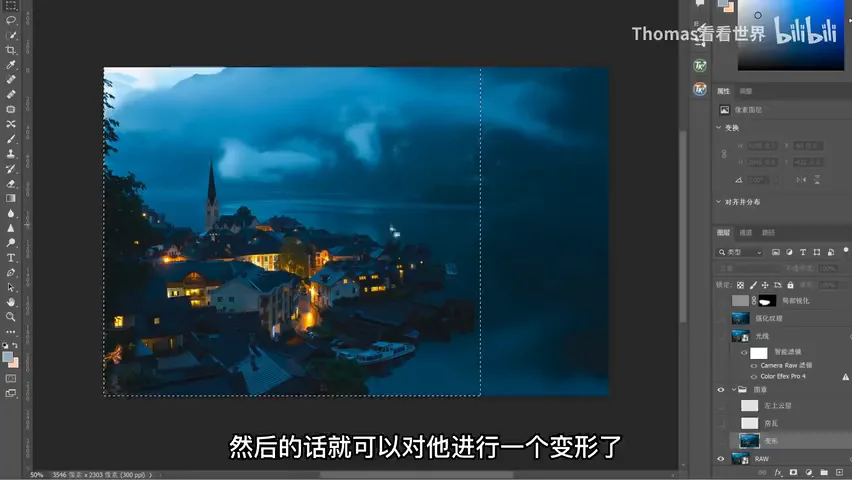
Then comes a clever way to remove clutter. Some cropping has already happened, but to fully eliminate the flowers, more crop is a dead end — the church spire would land in an unstable, beauty-destroying spot (at 5:19 in the video). Cloning it out stitch by stitch would take forever amid so much detail. His answer is the warp tool: select the block of buildings, Ctrl+T, and pull the architecture across to cover the clutter; Content-Aware Fill and the Clone Stamp then rebuild the tiles naturally (at 5:53-6:22 in the video).
The bright clouds at top-left must go — the emptiest, most eye-grabbing corner of the frame. With the Clone Stamp he samples cloud texture from elsewhere and fills the area until it sinks back; from then on the gaze is not dragged away but settles on the town at the centre — the move doubles as visual guidance (at 6:24-6:44 in the video).
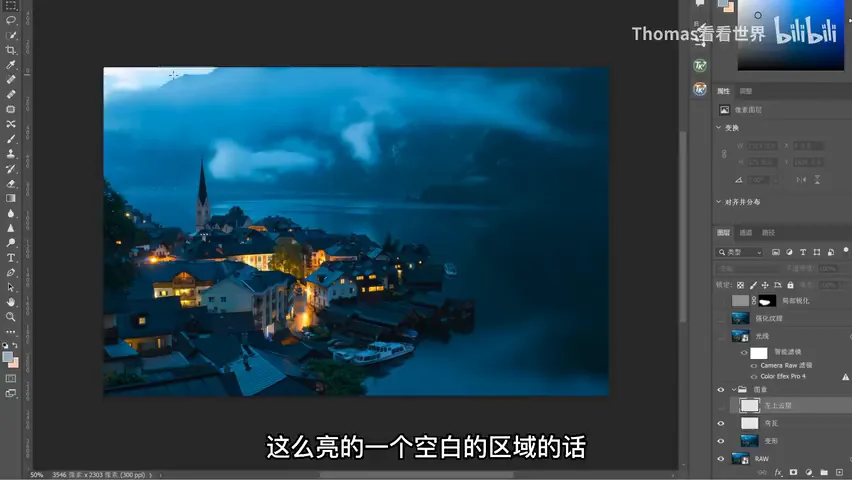
04 Rebuilding the Light: the Step that Breathes Soul
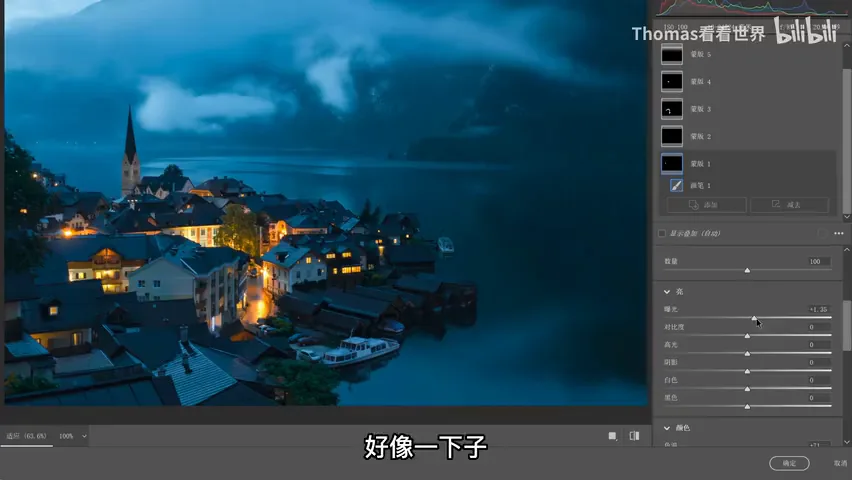
Rebuilding the light starts with Color Efex Pro's lighten-darken-centre tool from the Nik collection, and the emphasis falls on Color Efex's masking: Thomas prefers it because it is faster and easier than building masks in Photoshop. The first mask is simply the brush tool with Auto Mask checked — one swipe isolates the church spire (at 6:49-7:20 in the video).
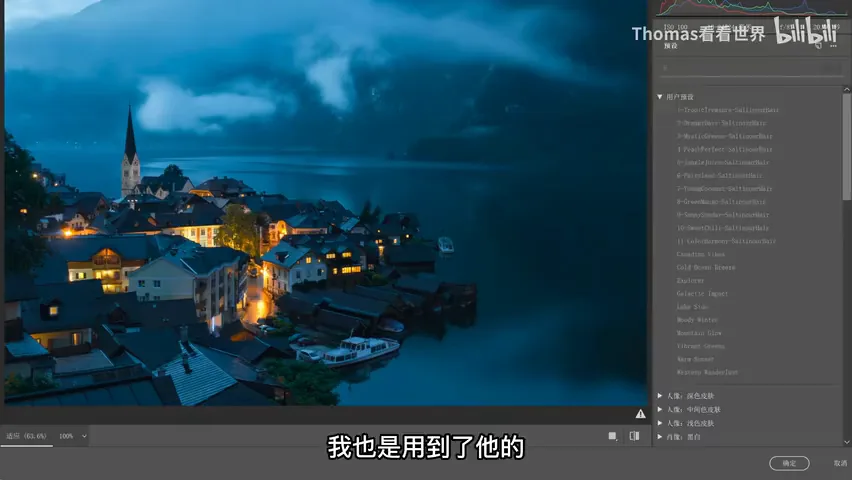
Once the spire is lifted, it looks as if a real beam of light has landed on it; warm yellow goes in, a touch of purple tips it toward orange — and that corner of the church is suddenly lit by its own spotlight, the finishing touch (at 7:22-7:35 in the video). A lit spire must spill light, so the surroundings brighten too; for the town streets he unchecks Auto Mask, paints manually, and adds exposure and warmth — routine work (at 7:39-7:55 in the video).
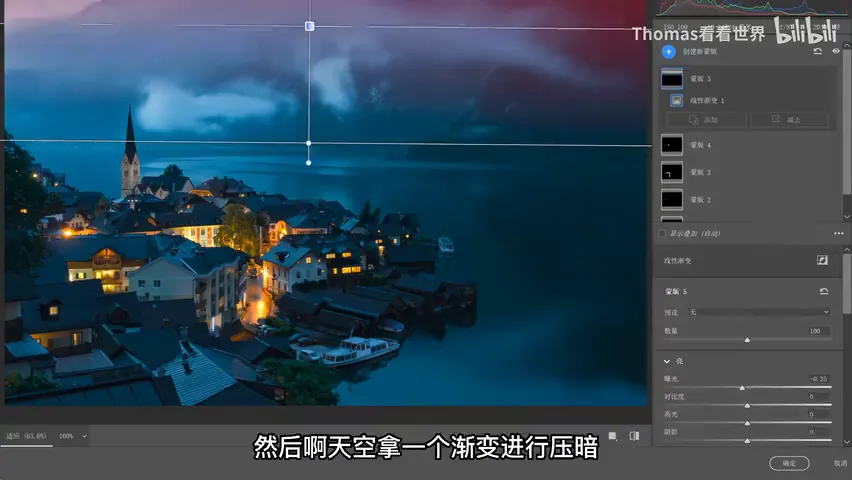
A gradient darkens the sky, and a vignette closes the edges (at 7:56 in the video). The before-and-after of this light pass is striking — it is the step that breathes soul into the photo (at 8:04 in the video): before, an evenly effortful record; after, a photograph that knows where you should look.
05 Finishing: Sharpen and Protect
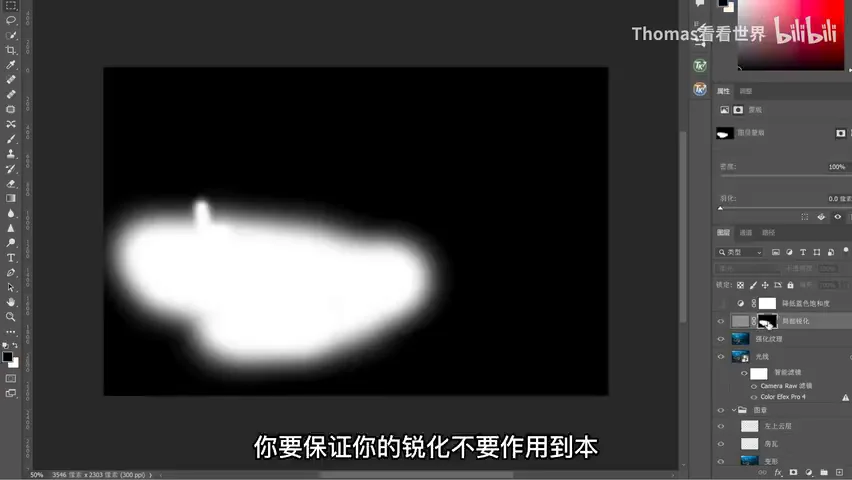
The finishing pass adds texture in Camera Raw and a High Pass sharpen — other sharpening tools work too, but the key is a mask that keeps sharpening off the already-soft water and sky (at 8:11-8:26 in the video). A final touch in Hue/Saturation eases the blue slightly, and the edit is done.
The edit itself is not complicated — fifteen minutes at most. What truly matters is settling the idea first: know that the soul of this photo is warm lamplight against a cold night, and every step afterwards is mere execution (at 8:35 in the video). What the ten-year-old frame lacked was never the camera — it was those fifteen minutes of thinking.
1. Gear matters least: a 2012 Nikon D90 file with a 30-second ND exposure re-edits into something unrecognisable once the thinking changes; 2. Decide the photo's soul first — "warm village lights against a cold rainy night" — and let every step serve that centre; 3. The order: lower contrast and unify colour in Camera Raw (greens toward orange, flowers at zero saturation) → Topaz denoise → selection plus Ctrl+T warp to bury clutter, Clone Stamp to sink the loud clouds → Color Efex's centre lighten-darken to rebuild the light → texture and High Pass sharpening masked away from water and sky; 4. What cropping cannot solve — a stranded spire, foreground clutter — hand to the warp tool; keep everything in smart objects and separate layers, revisable forever.