Photography Tutorial · 2022-03-27
How to Post-Process a Moody Dark Snow Mountain Shot? Layer-by-Layer PSD Analysis
Thomas Chu Photo
How can post-processing comprehensively enhance the light, texture and color of a snow mountain?
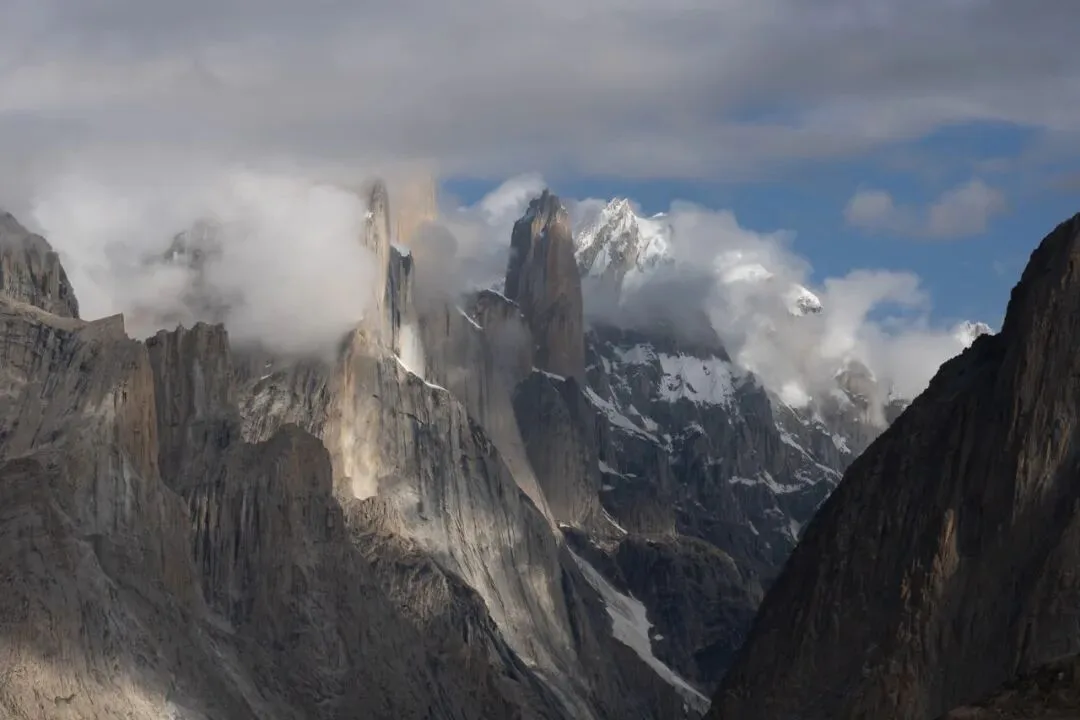
In today's tutorial, using a photo of Trango Towers in Pakistan as an example, I'll open the PSD and analyze layer by layer the ideas and process behind the dark-toned snow mountain style!
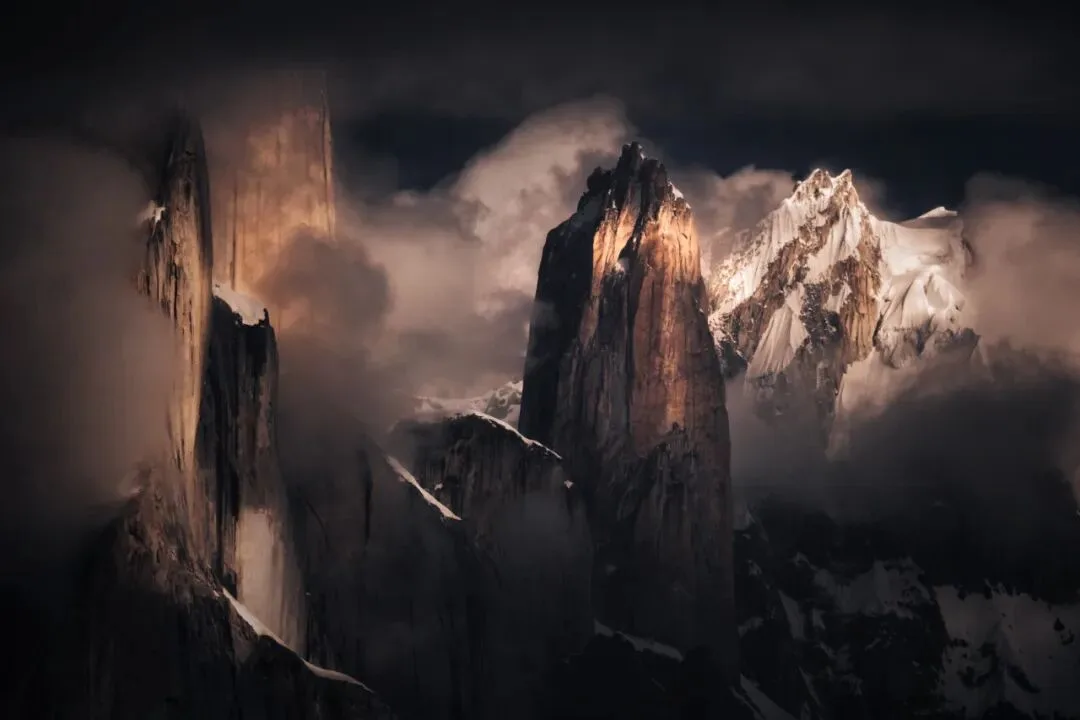
Video
▶ Watch the video tutorial on Bilibili
This is the fully illustrated companion to the video above: Thomas opens the PSD of his Trango Towers photo from Pakistan and dissects the dark-tone mountain grade layer by layer — why the raw frame needed a moody dark conversion, how split toning in Camera Raw re-colors ten-o'clock white light, and how dozens of Photoshop layers darken the surroundings, rank the peaks and sculpt the rock's texture. Skim the frames for the framework, then dive into the video for the details.
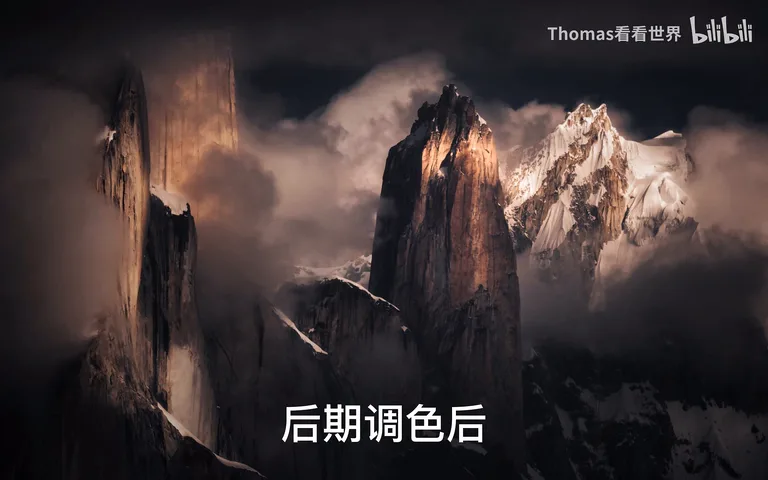
Start with the contrast. The raw frame, shot at ten in the morning, is a bright white mountain under blue sky — grand but flat. The final image sinks everything but the golden main peak into shadow. The breakdown below starts from the field problems and follows two stages: Camera Raw, then Photoshop.
01 Why a Dark Grade: Rethinking the Capture
The Trango Towers are famous in climbing circles: a massive, brutally difficult wall rising vertically like a pillar at five-to-six-thousand meters — a fantastically surreal mountain on its own (at 0:28 in the video). But this capture has two problems: the framing was under-thought and includes too much, with the dull rock walls in the lower corners adding nothing; and overall brightness is so high that the sunlit faces lose their pop — the light says nothing about the mountain's texture, height, or form.
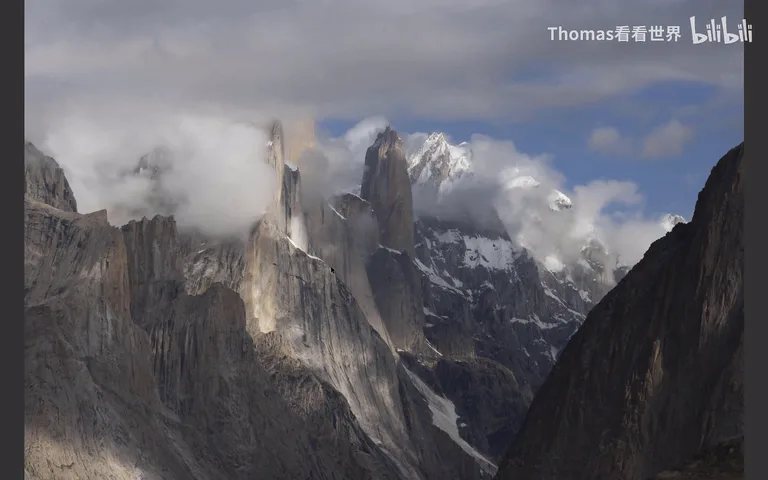
Hence the decision: a surreal dark grade, using light and shadow to hand the drama back to the sunlit faces. That is the core logic of dark-tone landscapes — not making a photo black, but re-assigning attention to wherever the light falls.
02 Camera Raw: Lowering Exposure and Split Toning
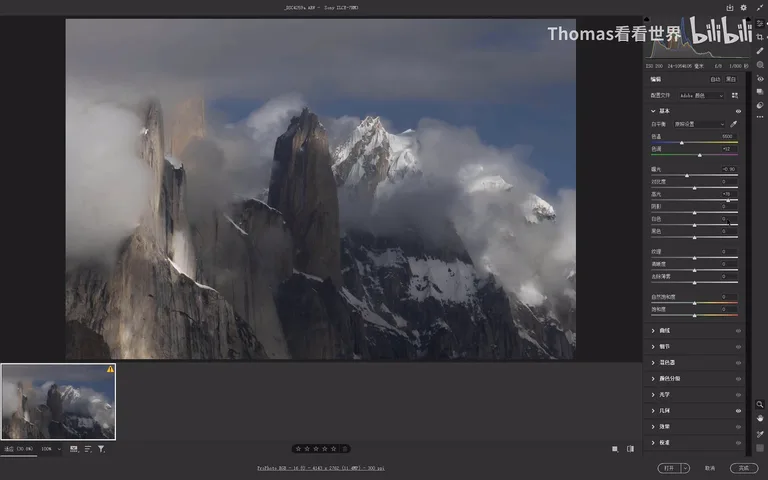
Camera Raw is kept simple, centered on the Basic panel: the first move of a dark grade is always lowering exposure (at 1:34 in the video). Since the sunlit faces we want to feature live in the highlights, we paradoxically raise Highlights — Whites would shift overall luminance, Highlights act only on the bright zone, which is exactly why they're chosen; shadows and blacks lift moderately to recover detail in the dark regions, with a touch of Dehaze (at 1:57 in the video).
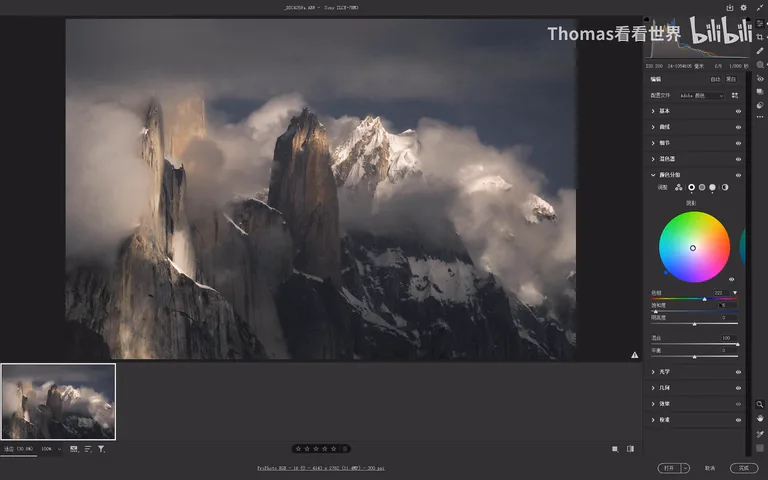
The other pivotal move is Color Grading (formerly Split Toning): cool shadows — hue 222, saturation 5; warm highlights — hue 35, saturation 30 (at 2:15 in the video). Before, the ten-o'clock sunlight read as pure white; after, the lit faces take on a warm glow. The surreal feeling starts here (at 2:36 in the video).
03 Photoshop Grading: Cool-Warm Contrast and Darkening groundwork
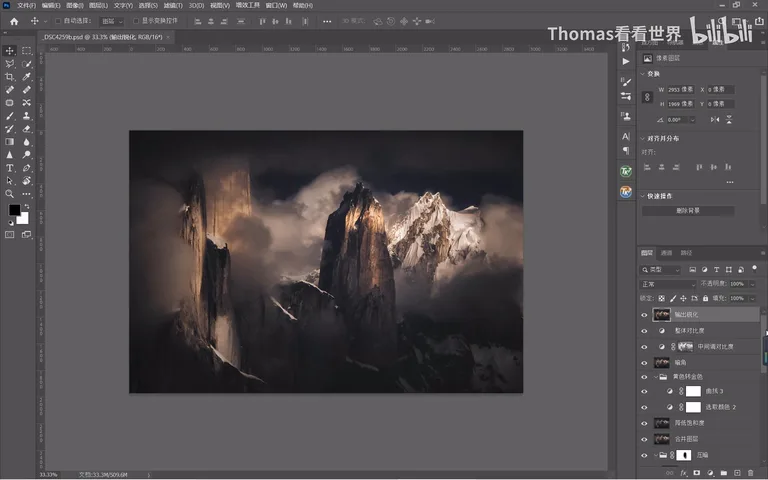
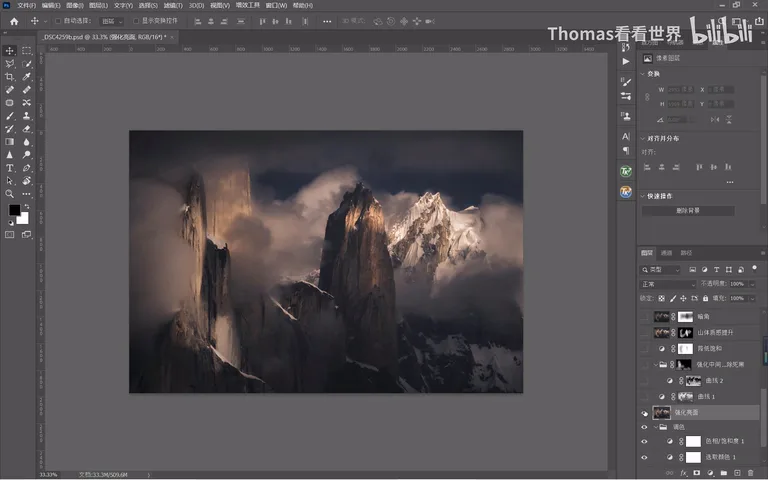
Inside Photoshop the layer stack is long — this 2019 file's layer management is on the rough side. The bottom layer is the ACR base: exposure lowered, highlights warmed; at this point global contrast hasn't emerged and colors lean gray-cyan (at 2:46 in the video). First, Color Balance: blue into the midtones, red and yellow (i.e., orange) into the highlights, deepening the cool-warm contrast (at 3:14 in the video); then Selective Color strengthens reds, yellows and blues.
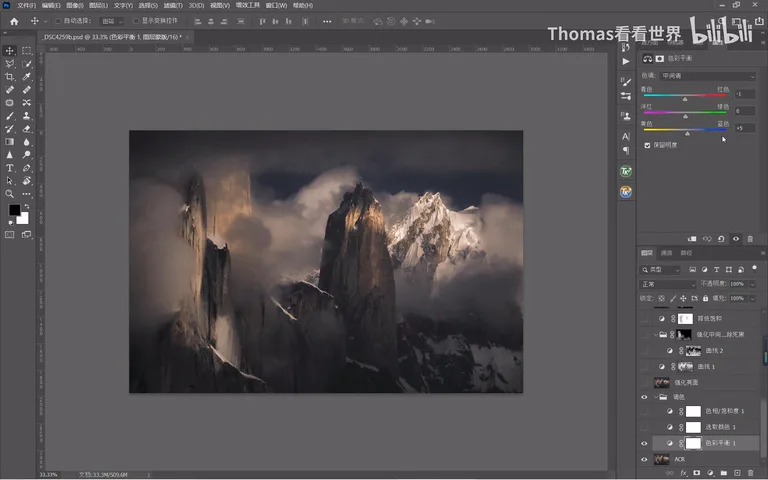
Once that lands, blue reads oversaturated, so blue saturation comes down while red and yellow gain a touch (at 3:39 in the video). Then radial filters in Camera Raw shape the light: a bright cloud at the upper right is too eye-catching and gets darkened into an ordinary cloud like its neighbors; the main peak and the clouds around it get brightened instead — against the dark wall in front of them, the lit clouds now pop, pushing the peak toward the viewer (at 3:53-4:24 in the video).
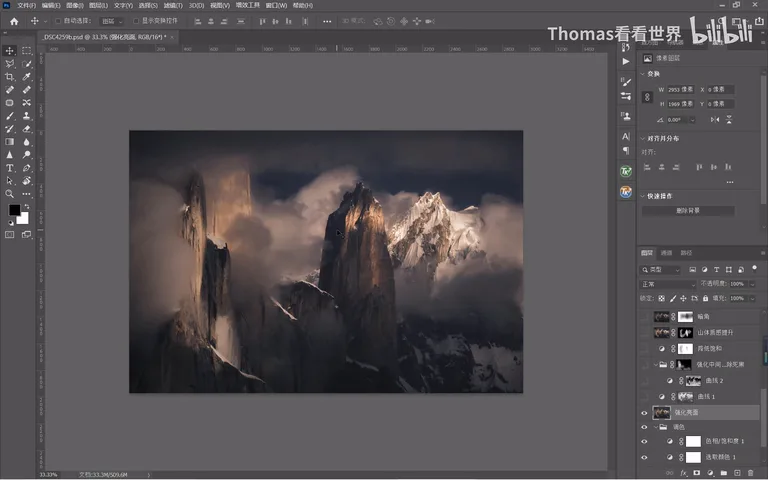
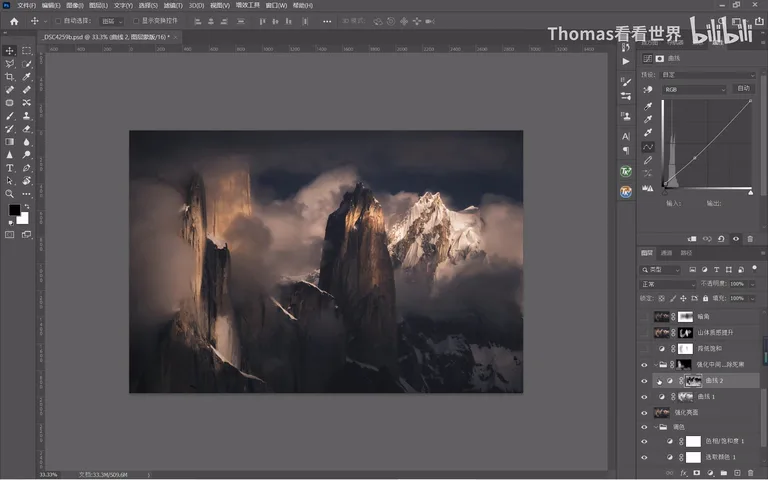
Two curves lay the groundwork: an S-curve on the midtones for contrast, and another that samples the blackest point and lifts the shadows — when you darken the edges you must not let them die to black; that is what keeps a dark-tone image readable (at 4:31-4:47 in the video).
04 Texture and Hierarchy: Masked Regional Control
Global saturation then drops another step — in a dark look, oversaturated color reads strange. A mask shields the orange areas from that reduction (at 4:56 in the video). Rock texture comes from Clarity in the Camera Raw filter, but only through a mask: the central Trango Tower and the flanking walls are selected so clarity lifts the rock alone — the clouds and black regions stay untouched (at 5:04 in the video).
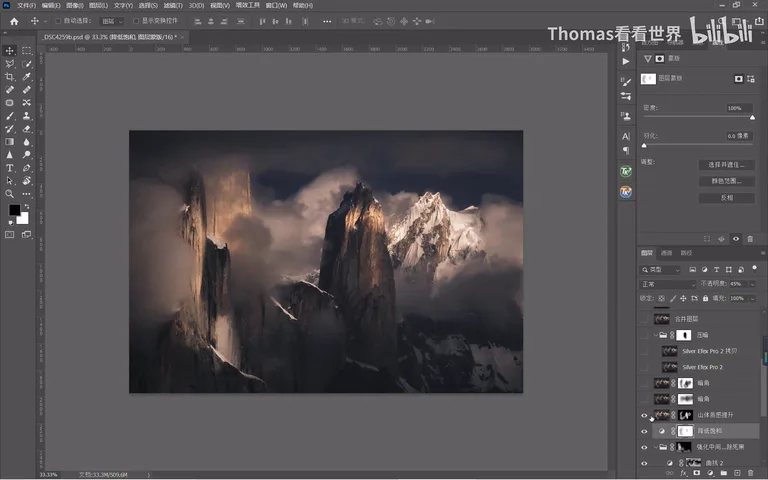
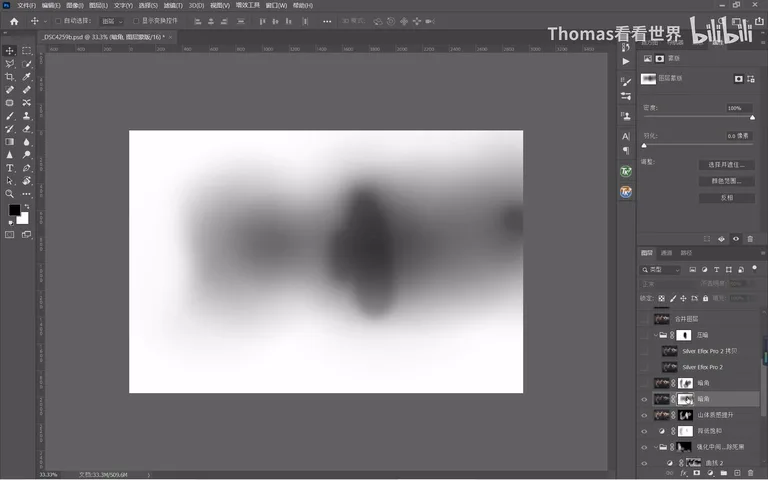
Darkening is layered too: first an overall darkening layer whose mask protects the sunlit peak, letting the surroundings fall back (at 5:30 in the video); then each wall is darkened separately to rank the lit peaks — the main tower stands first, the secondary peak stays a bit brighter, the least important darkest. A clear hierarchy of light (at 5:53-6:06 in the video).
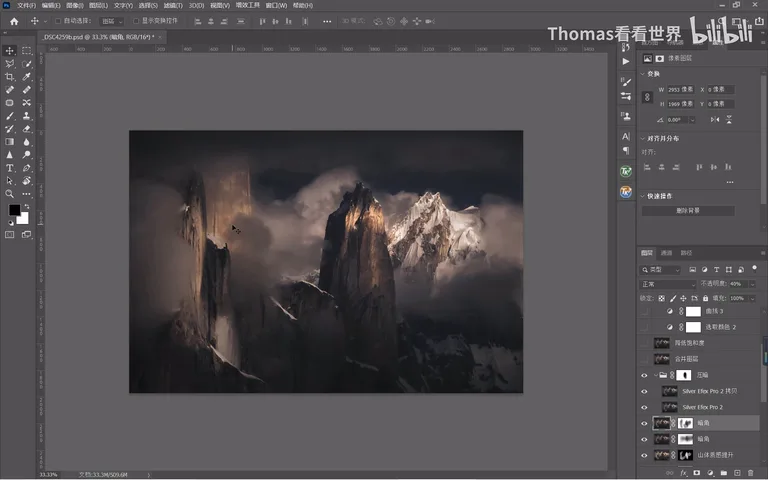
05 Finishing: Gilded Color, Vignette, and Sharpening
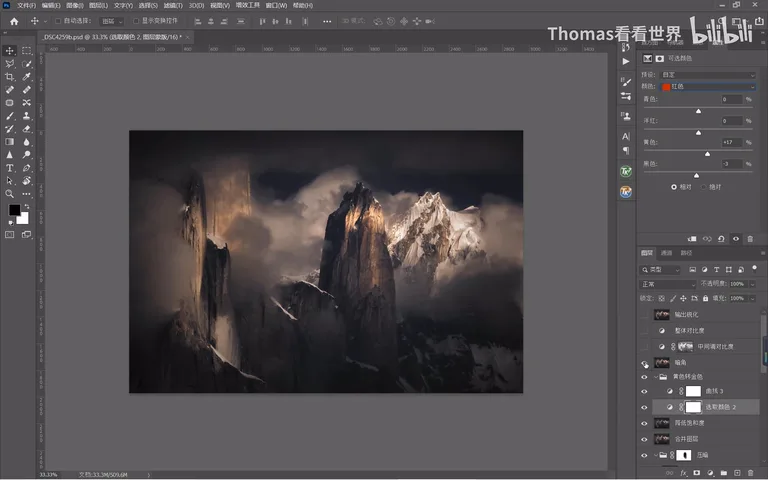
After merging, global saturation drops again, then Selective Color fine-tunes the golds: more yellow inside yellow and red, higher saturation, pushing highlights toward gold (at 6:20 in the video). Next comes Nik Collection's Darken/Lighten Center — vignette around, brightness in the middle (at 6:38 in the video). Thomas's caution: build vignettes in many small steps, a touch at a time, so you can always go back; crush it in one move and recovering later costs serious image quality (at 6:47 in the video).
Finally a midtone layer on a luminosity mask takes an S-curve for contrast, a stronger global S-curve follows, and output sharpening closes the edit (at 7:06-7:20 in the video). Looking back: in Camera Raw the idea is warm highlights via split toning on a darkened base; in Photoshop it is precise regional darkening and precise control of the mountain's brightness and clarity — the result, a dark-tone mountain image with unmistakable light and hierarchy (at 7:28-7:47 in the video).
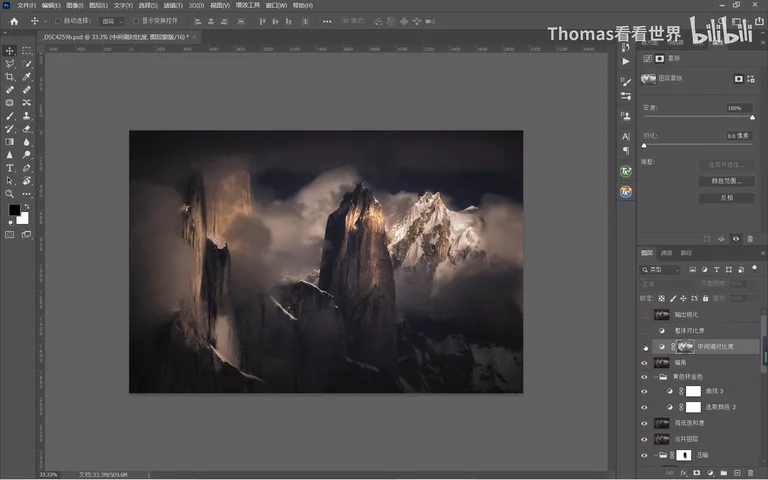
1. A dark grade is not blackness — it is reallocating attention: when the capture is too bright for the light to speak, darkness makes the lit subject stand out; 2. Two Camera Raw moves: lower exposure and raise highlights for bright-zone depth, then Color Grading with cool shadows (hue 222) and warm highlights (hue 35) to dye white light gold; 3. In Photoshop, Color Balance puts blue in midtones and orange in highlights, radial filters kill the irrelevant bright cloud and lift the peak's surroundings, and shadows are lifted so nothing dies to black; 4. Clarity works only on a masked mountain, darkening happens in ranked steps across the walls, and vignettes build gradually so you can always step back.