Photography Tutorial · 2019-09-22
How to Photograph Deserts Better: 4 Techniques Demonstrated On Location
Thomas Chu Photo
Deserts, with their rich layering and delicate textures, are a favorite subject for photography enthusiasts.
In today's video tutorial, Thomas travels to a desert beneath snow-capped peaks in Pakistan to share desert shooting tips on location. A carefully prepared written outline awaits at the end.
Video Tutorial
▶ Watch the video tutorial on Bilibili
This is the illustrated companion to the video above. Instead of a studio talk, Thomas takes his camera to the cold desert of Skardu, Pakistan — dunes at the foot of snow mountains — and demonstrates four essentials on location: low-angle side backlight, three ways to frame dunes, choosing camera height, and focus stacking, a technique desert shooting almost always requires (including the full Photoshop blending workflow). The article body already has a written outline; what follows follows the video's field order and adds the post-processing part the outline doesn't cover.
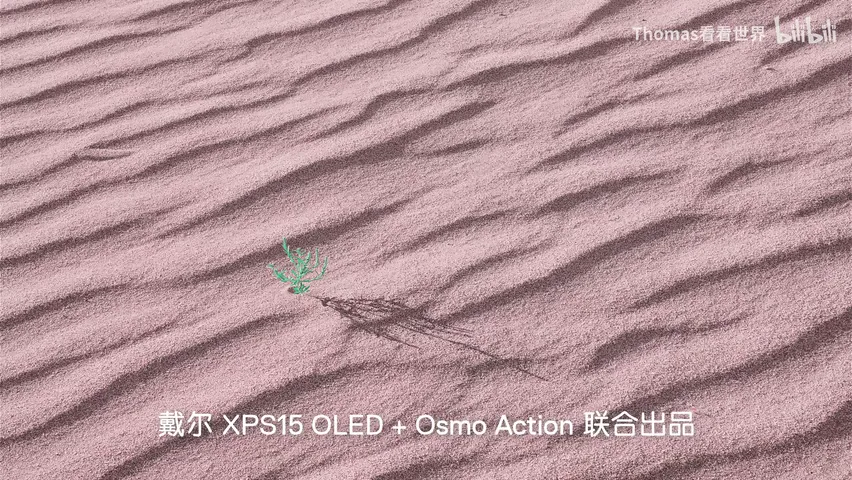
Start with the final image: after focus stacking and grading, the finished work delivers pink sand set against green grass as complementary colors, sharp from the foreground ripples to the farthest dune (at 6:33 in the video).
01 Light: Low-Angle Side Backlight
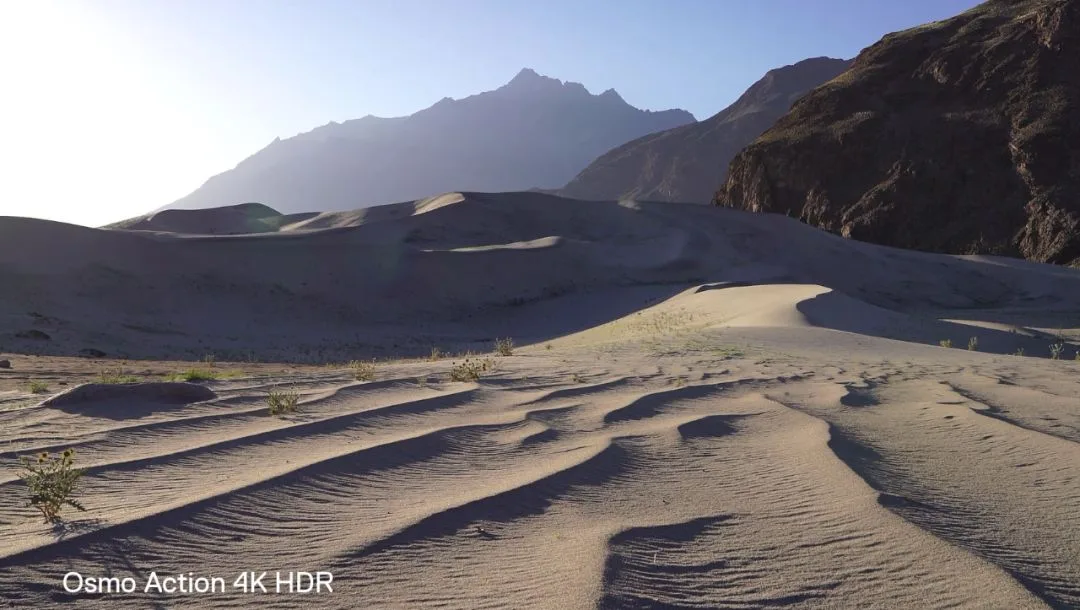
What makes a desert photogenic is the gullies and ripples on the dune surface, and the best light for revealing them comes when the sun sits low — each dune then carries both a lit face and a shadowed face, and the relief becomes dramatic (the section card appears at 0:57 in the video). Note that you need not insist on sunrise or sunset: 2-3 hours before sundown the angle is already low enough.

The field result — under side backlight the ripples stand up one after another. ISO 100, f/16, 1/5 s on a Sony A7R4 with a 70-200mm telephoto compresses the fine light-and-shadow striping (at 0:58 in the video). Under front or full backlight the brightness separation between dunes disappears and the layering collapses, so side backlight remains the best angle for dunes.
02 Framing: Layers, Details, Abstraction
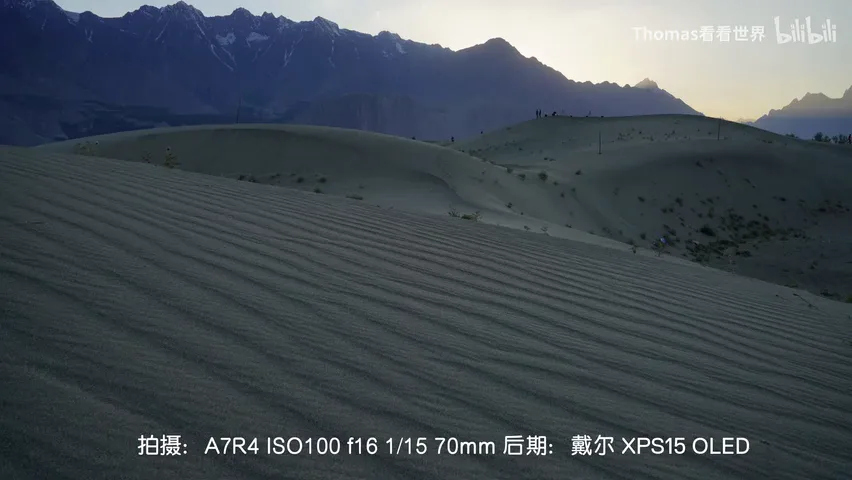
There are three ways to frame a desert (the section card appears at 1:17 in the video). The first emphasizes layers: include foreground, midground and background so the dunes unfold step by step. The second is grabbing telephoto details that accentuate local texture and character — like this dusk dune (at 1:15 in the video).

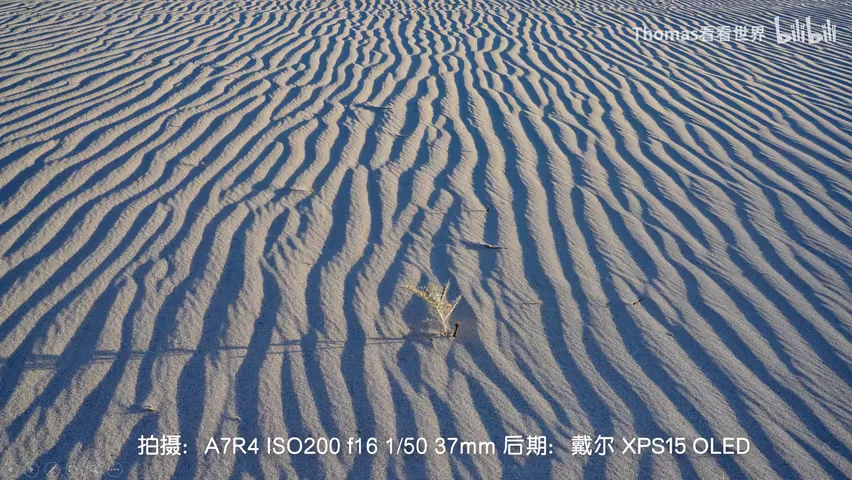
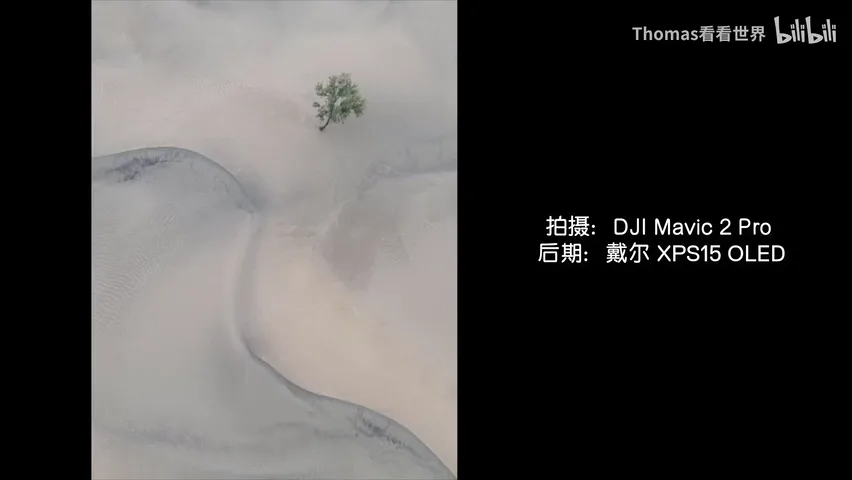
The third exploits the desert's natural cleanliness: it is perfect for geometric shapes — color blocks and lines that create an abstract beauty. The aerial ripples with a lone tree are the best example (at 1:44 in the video).
03 Height: Balancing Impact and Layers
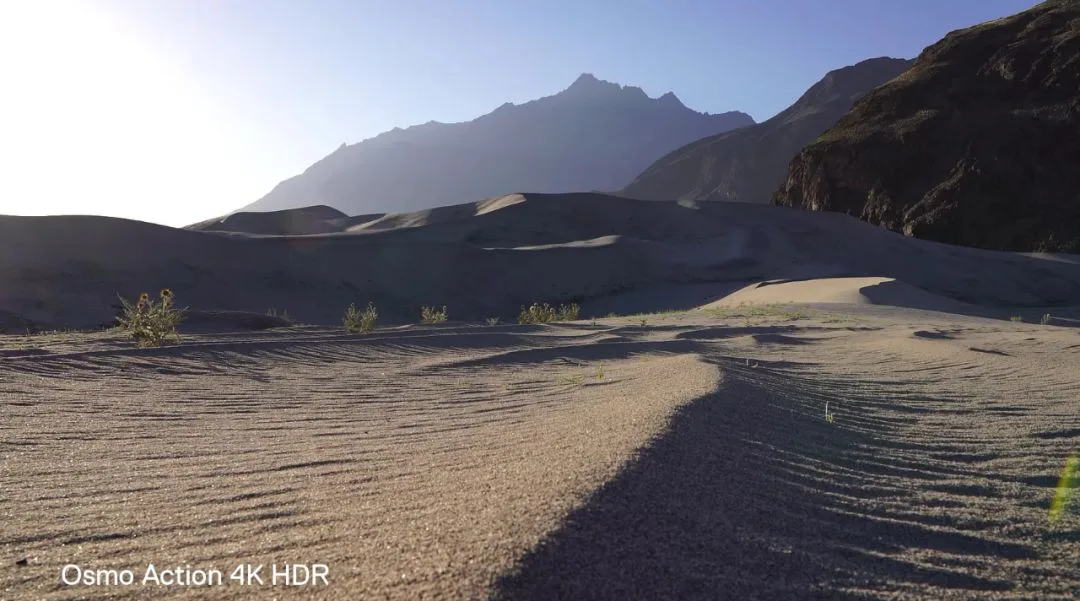
Camera height matters enormously in a desert. From higher up the midground and background look grand and layered, but the foreground loses its punch; as the camera drops, the foreground gains impact through wide-angle perspective while the middle and far dunes stack together and flatten out (the low-camera live view appears at 1:50 in the video).
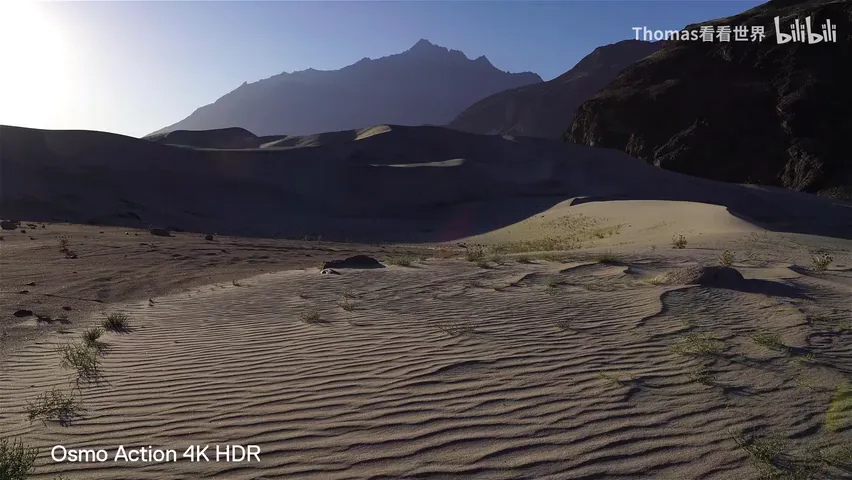
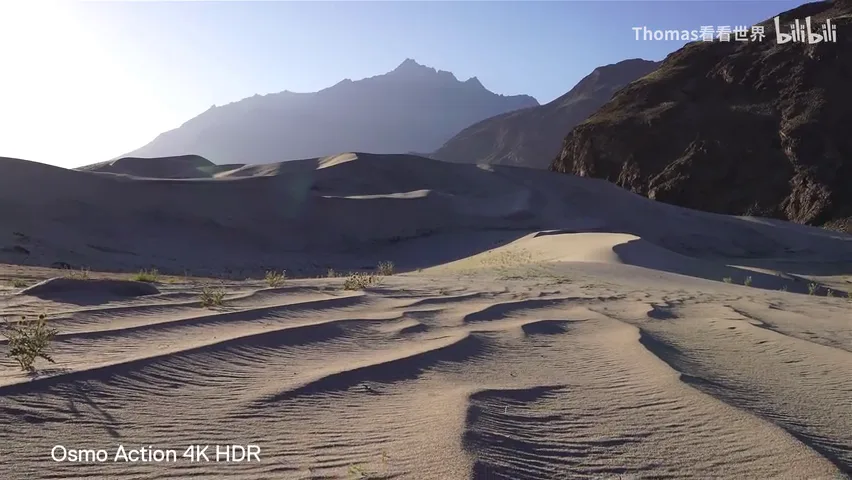
So neither the lowest nor the highest viewpoint wins — the job on site is to find the height that keeps the foreground punchy while the middle and far dunes keep their layering (the raised-camera view appears at 2:16 in the video).
04 Focus Stacking: From Focusing to Stacking
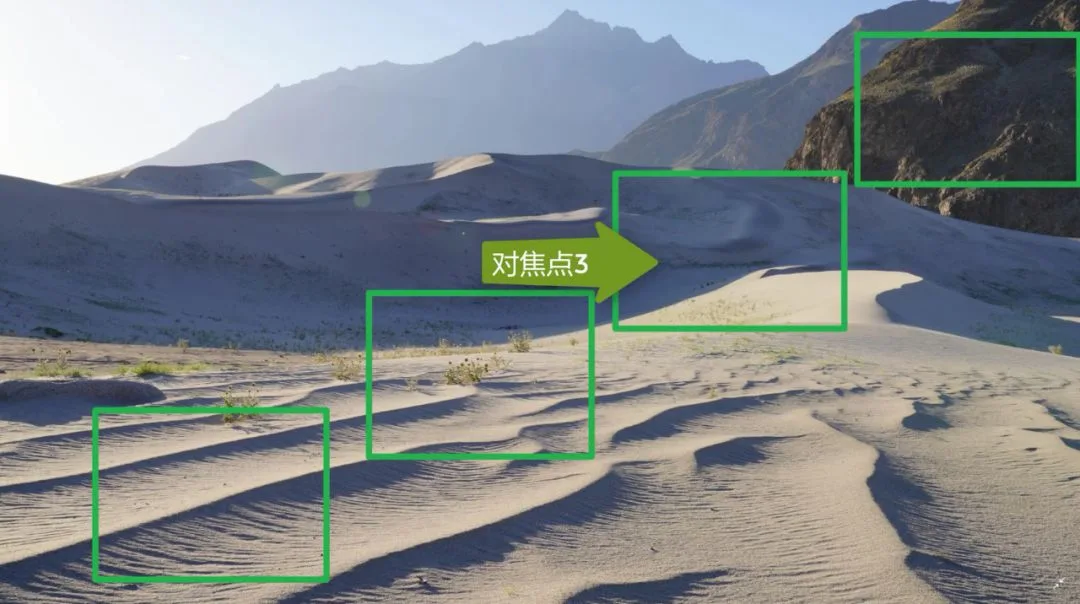
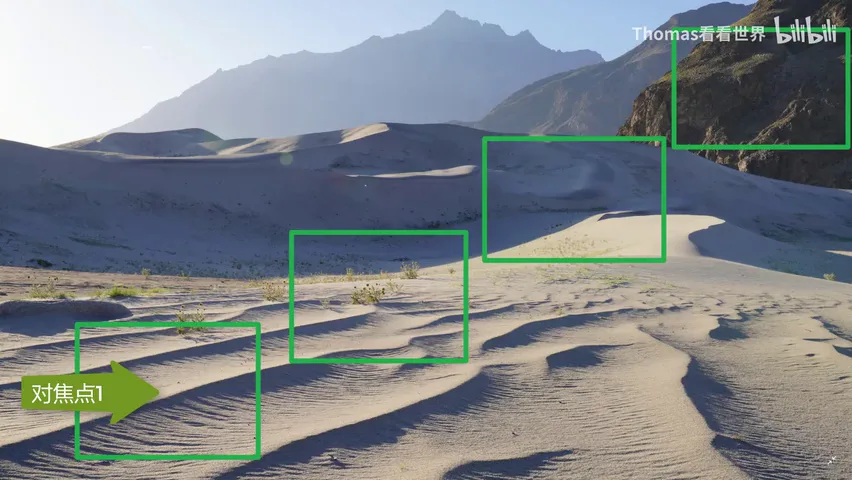
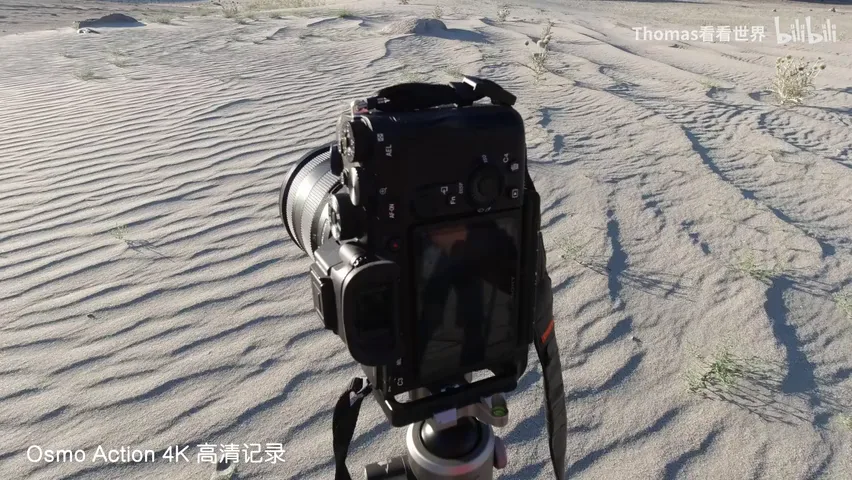
To render desert texture, the photo must be sharp from front to back, but telephoto lenses have shallow depth of field — hence focus stacking. The field work is simple: focus at different distances across the frame. Put the focus point on the nearest corner (bottom left), shoot, nudge it up and to the right, shoot again, and keep moving toward the far distance — usually about three frames suffice (focus-point movement demonstrated at 2:36, the field rig at 3:00 in the video).
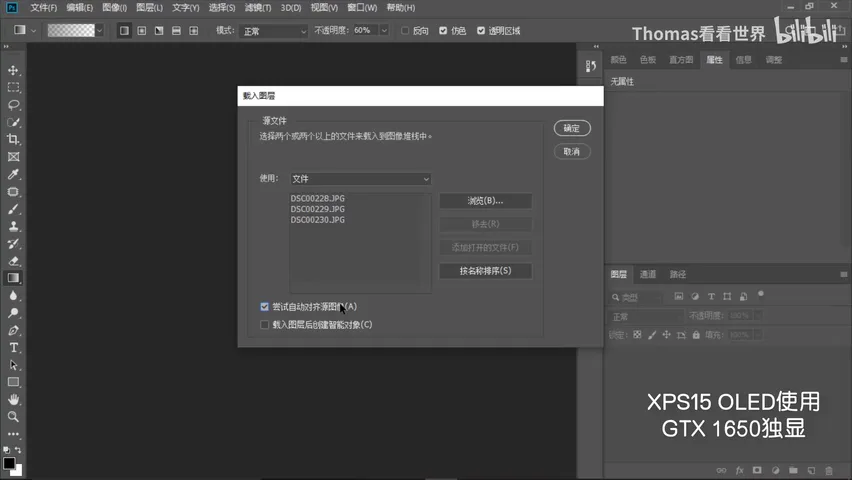
For blending, Photoshop's built-in tools are enough (at 3:56 in the video): File → Scripts → Load Files into Stack, select the bracketed focus frames, and check "Attempt to Automatically Align Source Images". These frames came from a Sony A7R4, each JPEG over 50 MB. Inspecting the layers shows only one distance band is sharp per frame — the far distance blurs in the near-focused shot, the foreground blurs in the far-focused one (at 4:21).
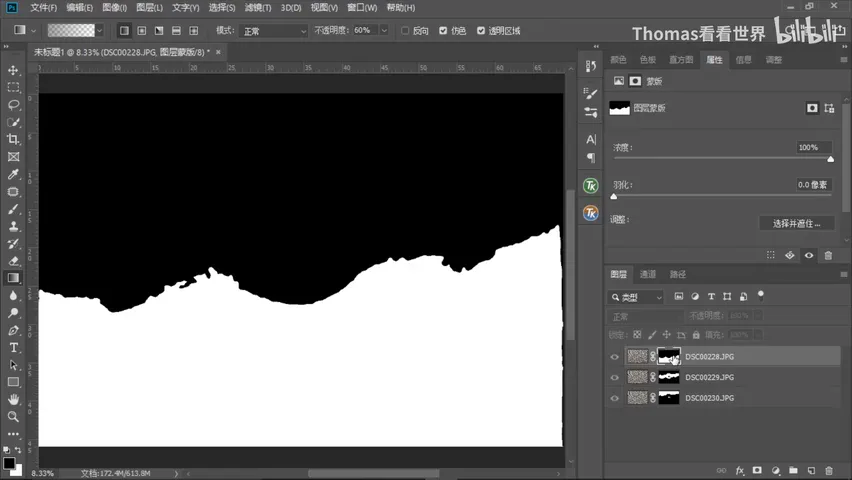
Then run Edit → Auto-Blend Layers with "Stack Images" checked: Photoshop computes the blend and generates masks automatically — each layer shows only its sharp region through a white mask while the blurred parts are hidden by black (at 5:32 in the video). Once everything from near to far is sharp, boost the green of the grass, push the sand toward pink, let the complementary pair separate them, add a personal grading touch, and the image is done.
1. The best desert light is low-angle side backlight — 2-3 hours before sunset is enough; lit and shadowed faces give dunes their relief; 2. Three framings: foreground-midground-background for layers, telephoto for texture details, and clean backgrounds for abstract geometry; 3. Balance camera height between foreground impact and distant layering; 4. Shallow telephoto depth of field calls for focus stacking: three frames focused at different distances, loaded into a stack, then blended automatically in Photoshop.
Written Outline
1) The best light for desert photography is low-angle side-backlight.
When the sun is low (not necessarily sunrise or sunset — 2-3 hours before sunset is angled enough), the dunes fill with highlights and shadows, appearing far more three-dimensional.
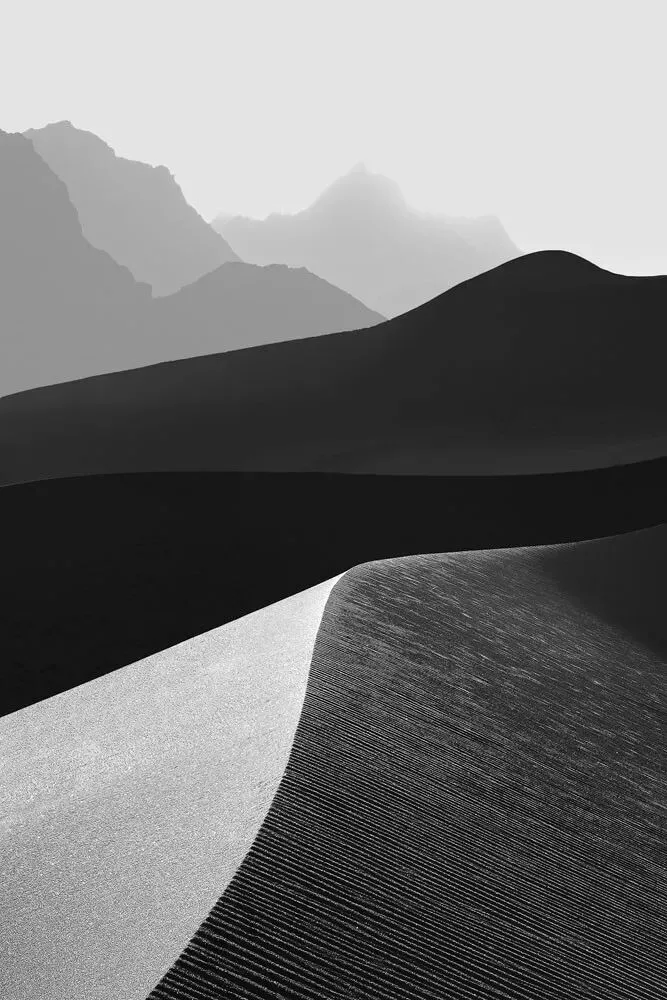
In front light or direct backlight, the brightness separation between dunes is weak and the desert looks flat. Side-backlight is the best angle for dunes.
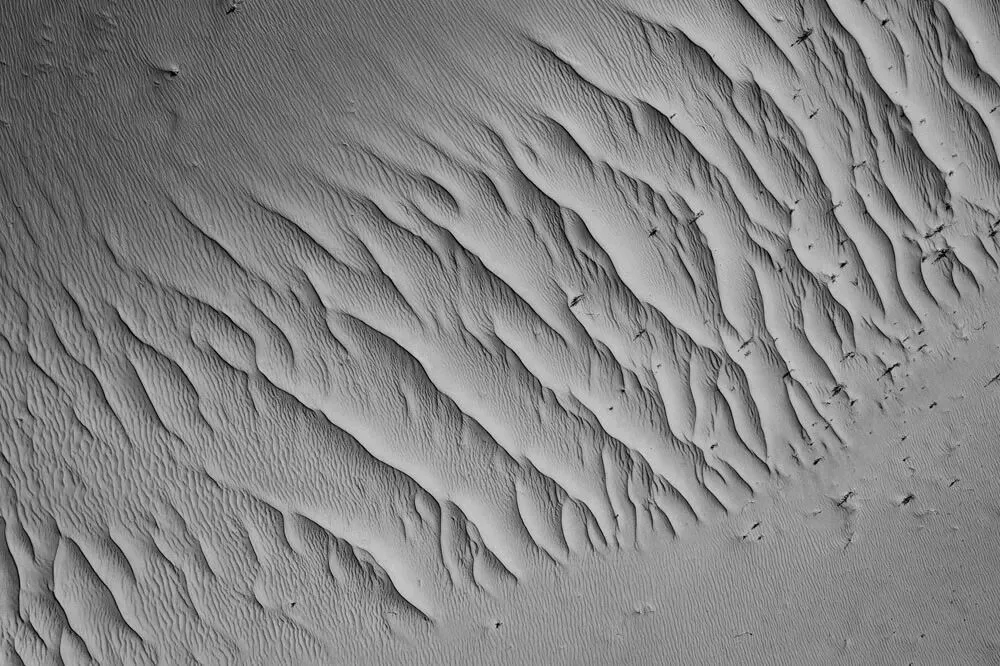
2) There are many ways to frame a desert.
You can include foreground, midground and background to emphasize the desert's layering.
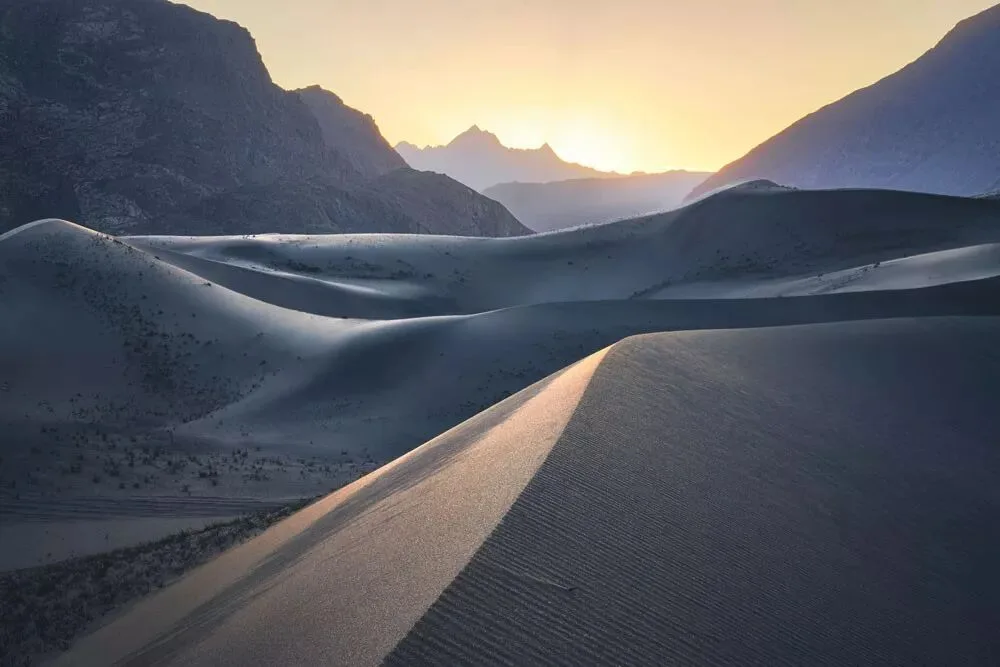
Or you can focus on intimate scenes — textured details, even abstract structures and lines.
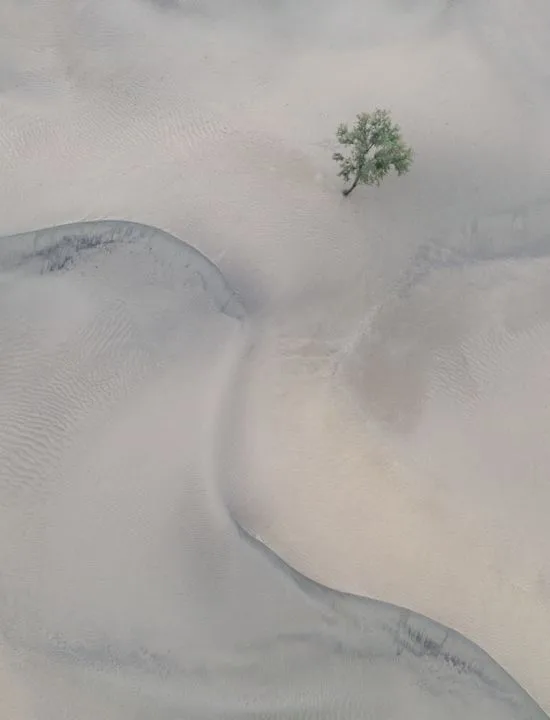
3) In desert photography, the right height matters.
Generally, the lower the camera position, the more dramatic the foreground appears through perspective. But the midground and background lose layering to occlusion.
In the image below, shot from very low, a small patch of foreground texture looks like a huge dune — while the distant desert textures pile together with no visible layering.
Raise the camera and you capture more midground layering — but the foreground loses its impact.
Landscape photography isn't about higher or lower being better. We need a height that balances foreground impact against midground layering.
4) Focus stacking is very useful in desert scenes
Desert photography mostly uses medium-to-long focal lengths with shallow depth of field. Focus stacking is frequently used to keep the whole frame sharp.