Photography Tutorial · 2018-08-19
Master the Dodge and Burn Tools to Boost Your Photos' Impact
Thomas Chu Photo
One tutorial every week, making photography easy to learn
As I wrote in "Foundations of Landscape Photography Post-Processing": by changing the brightness of local areas, photographers can strengthen a photo's atmosphere, enhance its three-dimensionality, and guide the viewer's eye.
Photoshop offers many ways to change local brightness; this article introduces the best of them — the Dodge and Burn tools.
1
How to Use Dodge and Burn
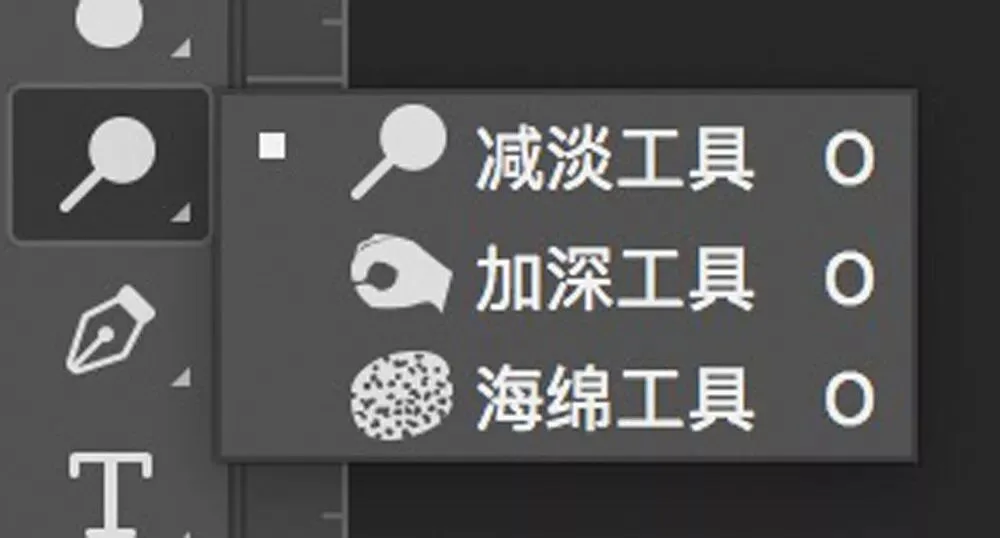
On the left toolbar, click the "lollipop" icon above the T text icon to open the menu and choose among the Dodge, Burn, and Sponge tools. All three icons actually come from the film darkroom — look it up if you're curious.
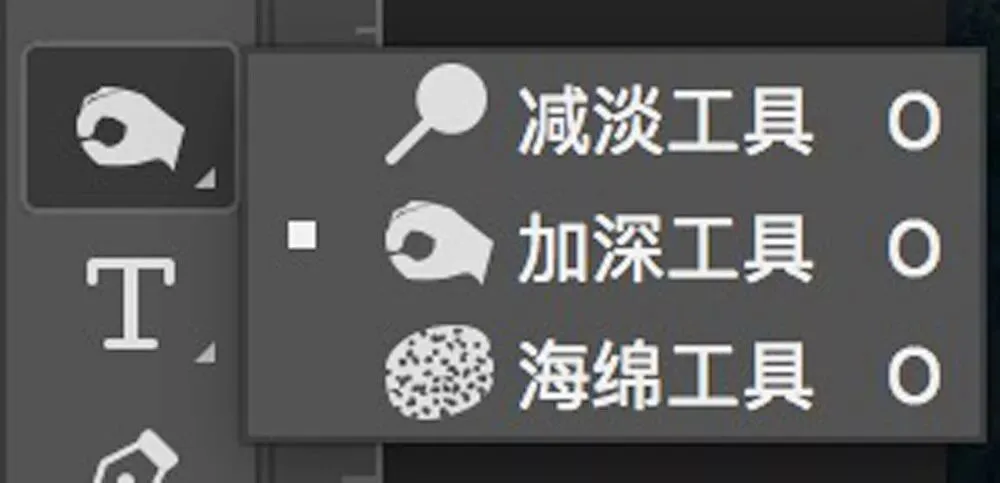
All three tools work by painting. With the Dodge tool selected, painted areas brighten; with the Burn tool, painted areas darken. (The Sponge tool locally increases or decreases saturation — a topic for a future tutorial.)
Once you select Dodge or Burn, the top toolbar shows the relevant options — three main ones: Brush, Range, and Exposure.
Brush determines the shape, size, and hardness of each stroke — identical to regular brush settings. For most landscape work, I use a round brush at 0% hardness.
Adjust brush size constantly to match the subject; the bracket keys "[" and "]" quickly shrink or grow the brush. (Remember to switch off your Chinese input method when using PS shortcuts.)
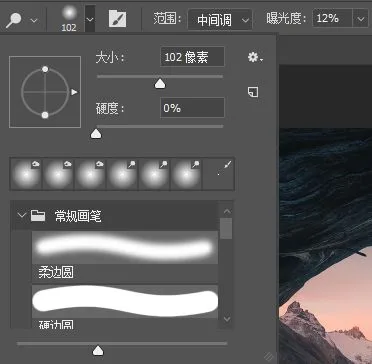
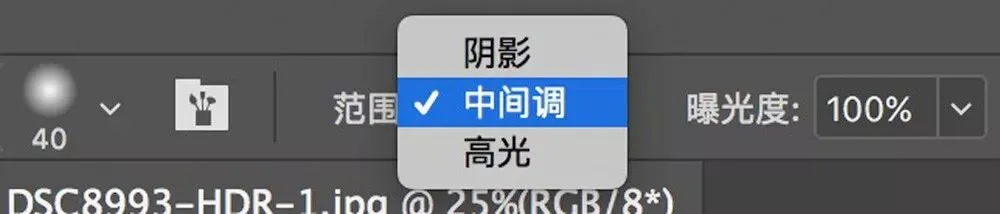
Dodge and Burn can also target a tonal range: the default is Midtones, switchable to Highlights or Shadows. This is a core feature — it makes painting far more precise, no luminosity masks needed.
For example, with the Burn tool set to Highlights, my strokes barely touch the shadow areas, so the shadows never get crushed to dead black.
Exposure sets the strength of dodging and burning. Keep it under 20% — even 3%-8% — and build up slowly for a natural result. It's generally advisable to check Protect Tones.

2
Sculpting Dimensionality and Texture with Dodge and Burn
In "Foundations of Landscape Photography Post-Processing," I analyzed where a photo's dimensionality and texture come from. One way to strengthen them is the Dodge and Burn tools.
Suppose we have a flat grey circle — how do we make it three-dimensional in post?

Take the Dodge and Burn tools with Range set to Midtones, and add a lit side and a shadow side to this flat circle.
Use Dodge to brighten the circle's upper-right; use Burn to darken the lower-left. After a few strokes, the circle becomes a sphere.

Repeatedly reinforcing the light-dark contrast with Dodge and Burn makes the dimensionality more pronounced.

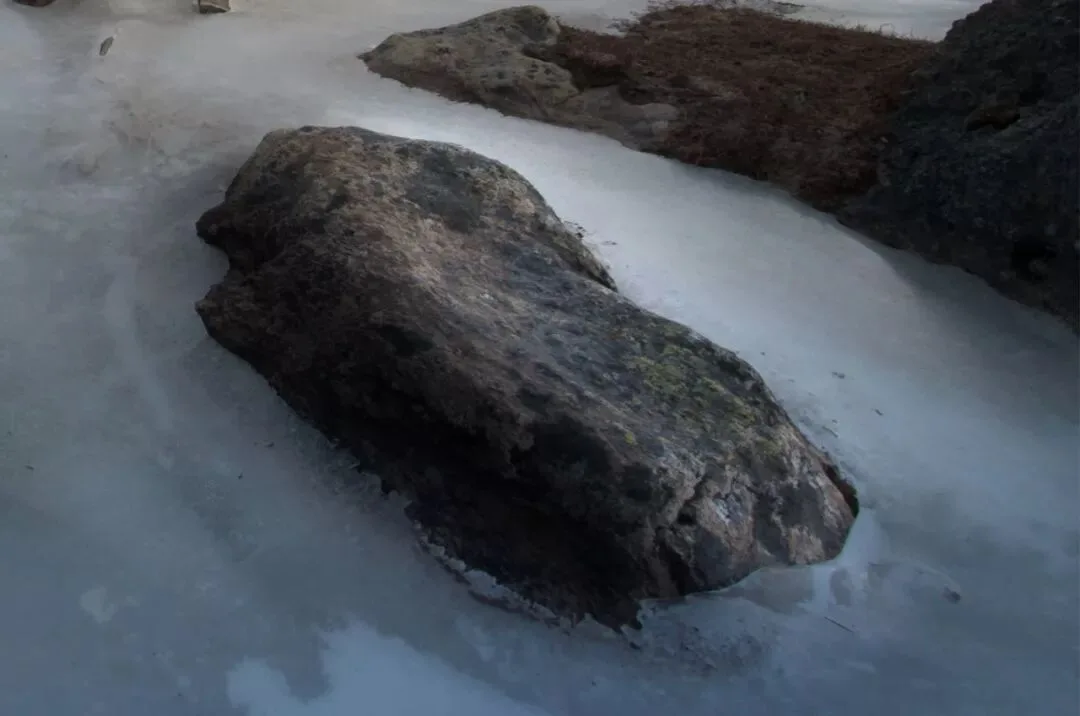
For objects recorded in a photo, we can dodge the lit planes and burn the shadowed planes to enhance their three-dimensionality.
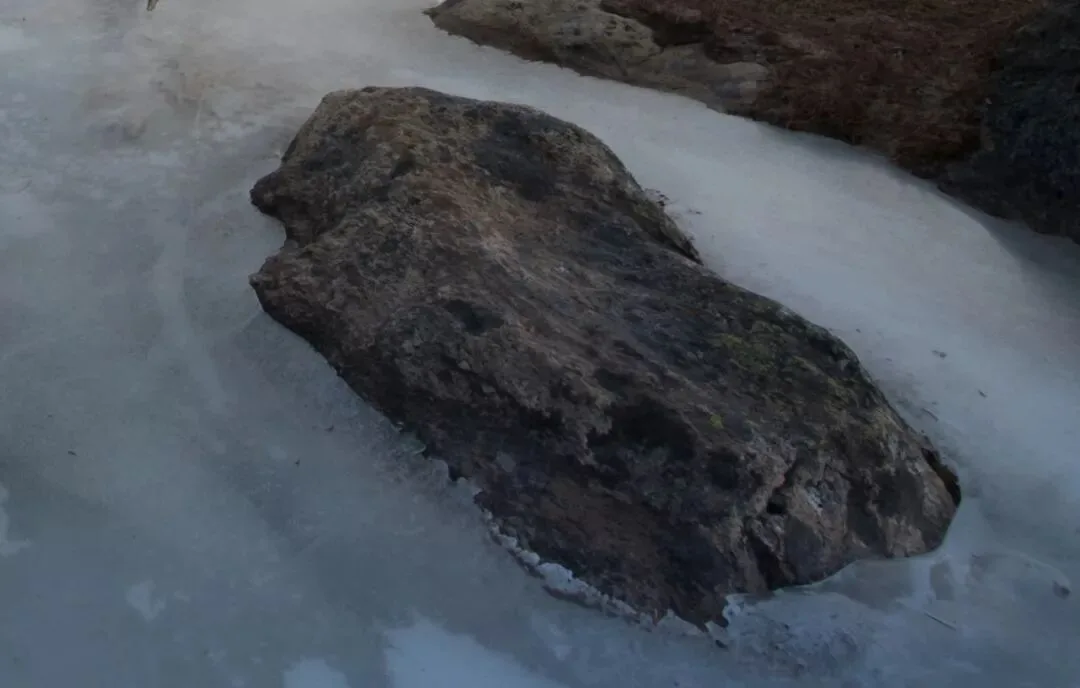
Of course, the strength must match the scene's lighting: on the overcast day in this shot, dimensionality shouldn't be pushed too far, or the editing traces become glaringly obvious, as seen here.
Beyond dimensionality, this method also accentuates texture. The trees in this photo have prominent detail, but the light-dark contrast is weak, so the texture feels flat.
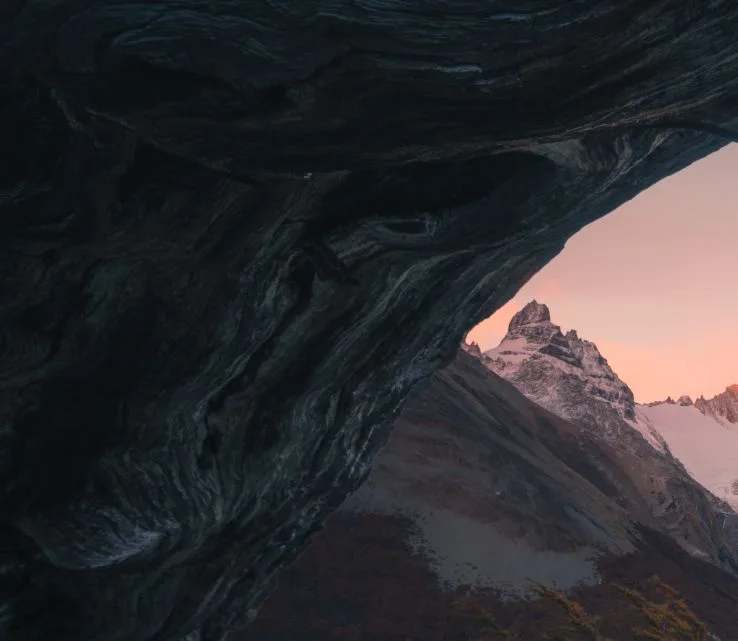
Take the Dodge tool with Range set to Midtones and Highlights, and paint over the trunks. The reflected light on the trunks brightens while the shaded parts stay nearly untouched — clearer detail, richer texture.
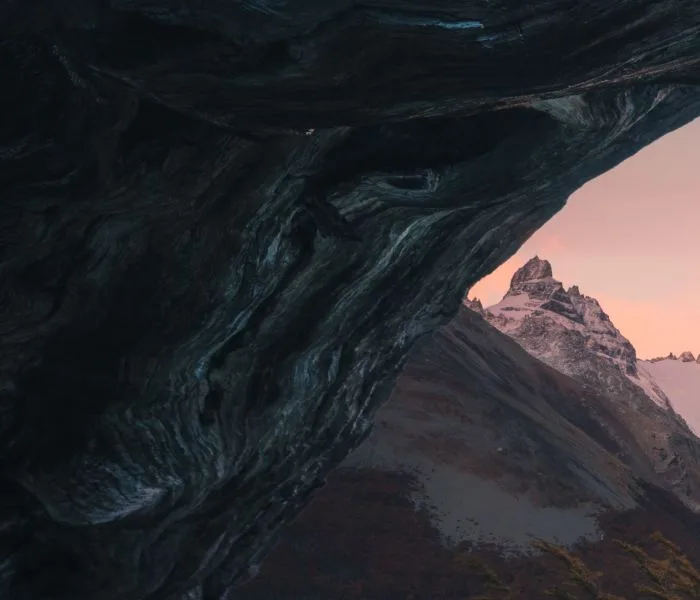
3
Guiding the Viewer's Eye with Dodge and Burn
When we look at a photo, high-contrast areas draw our attention first. So we can use Dodge and Burn to strengthen local contrast, highlighting one part of the photo — its subject and point of interest.
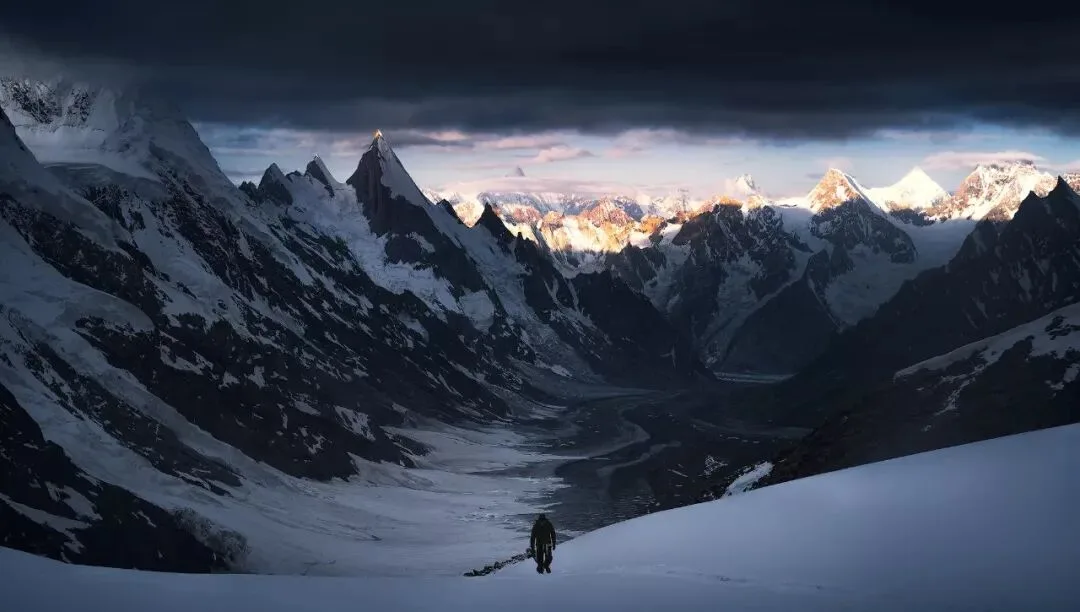
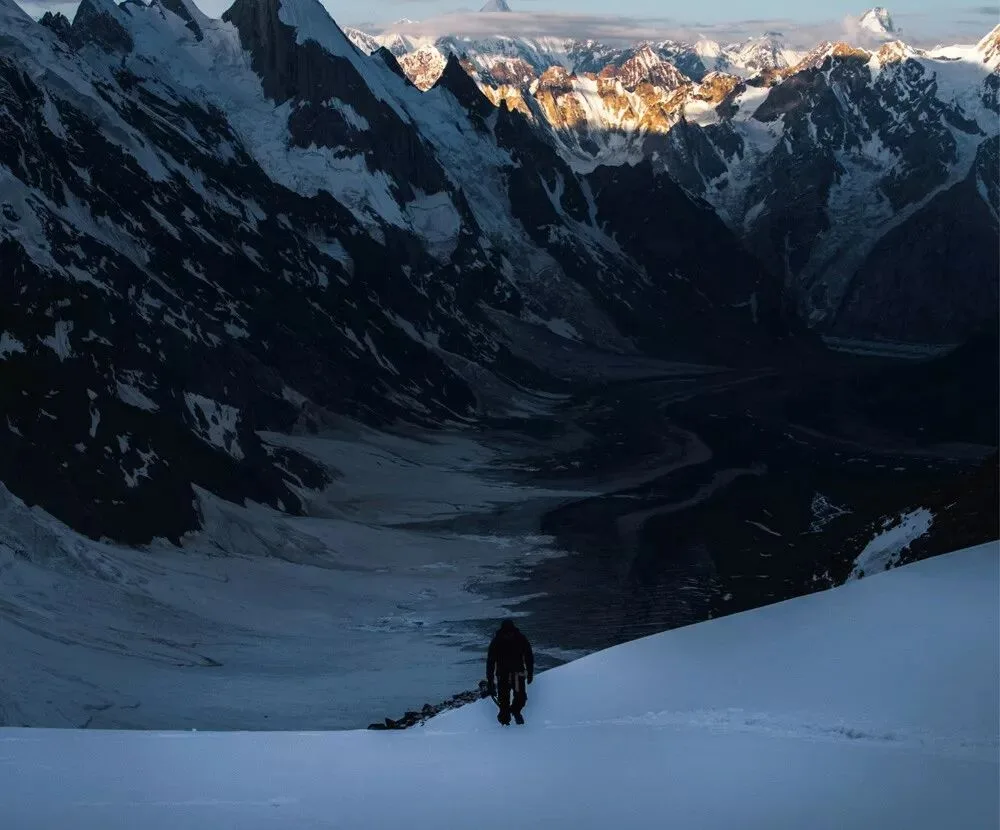
Next, I'll use a photo of climbing a snow mountain to demonstrate how Dodge and Burn strengthens the subject and guides the eye. Below, the brightness gap between the climber and the grey snow-and-ice isn't large enough, so the subject doesn't stand out.
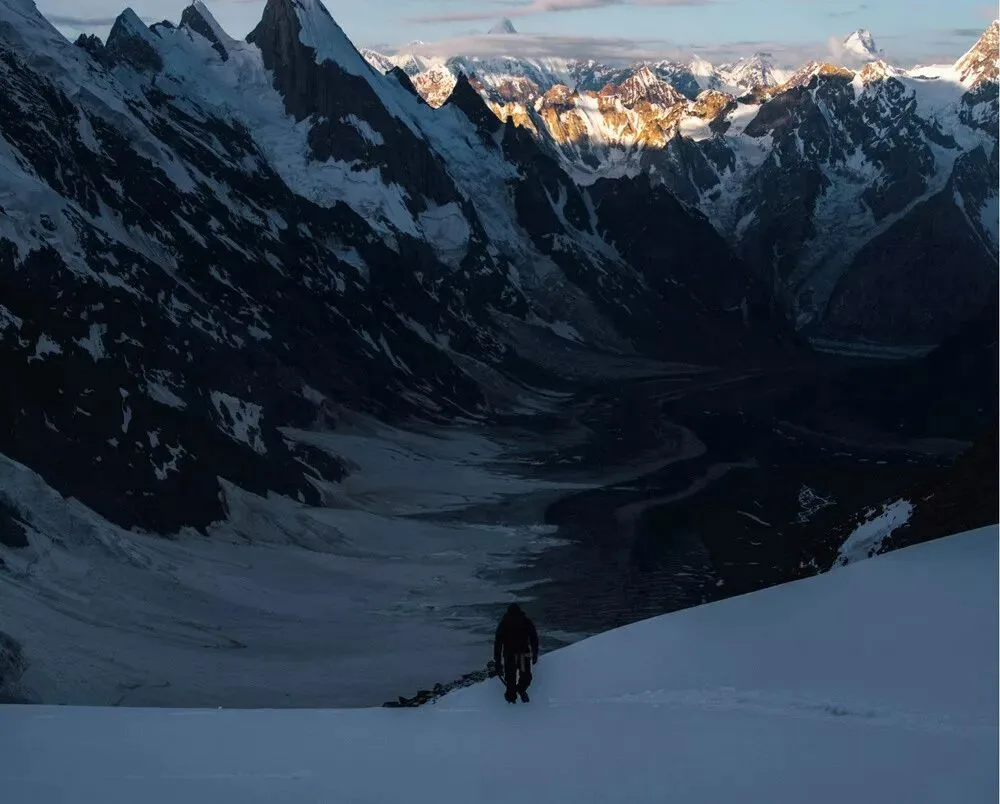
To strengthen the subject, I need more contrast between it and its surroundings — either darken the figure or brighten the surrounding snow.
Here I choose the Dodge tool, Range set to Midtones, Exposure 10%, and slowly paint the snow around the figure.
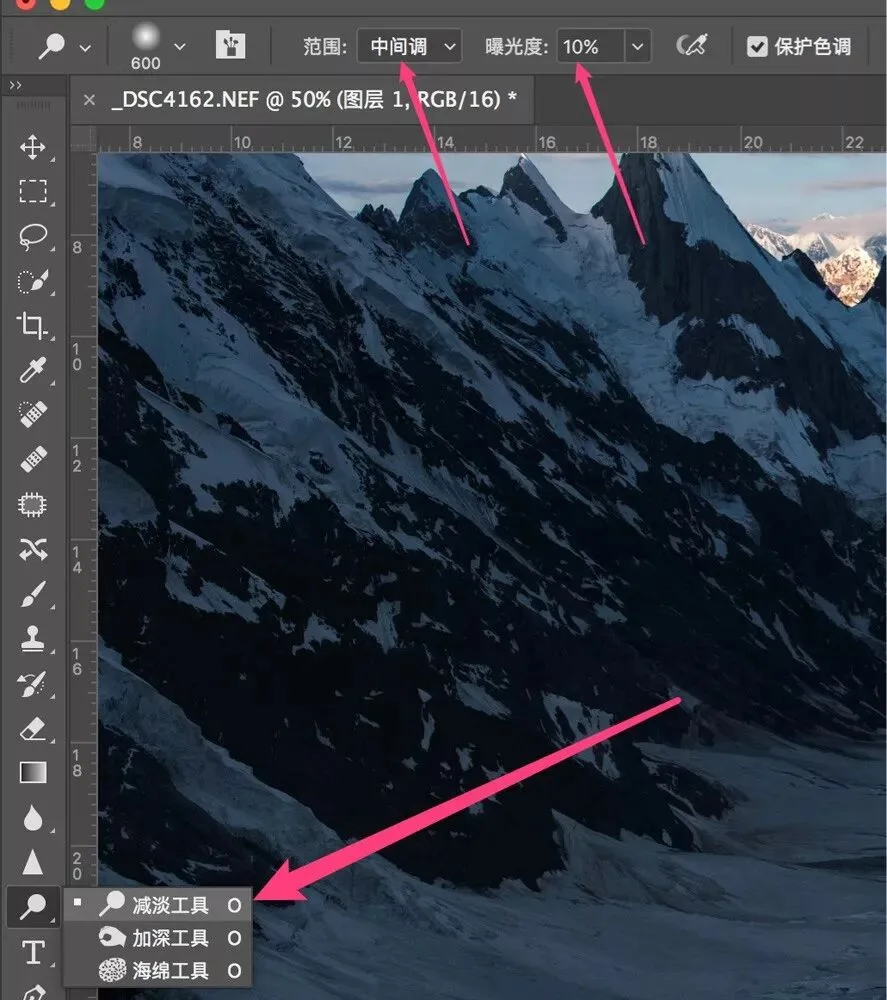
Because the range is Midtones, the brightening doesn't touch the black figure — it brightens the grey snow around the climber, where the arrow points.
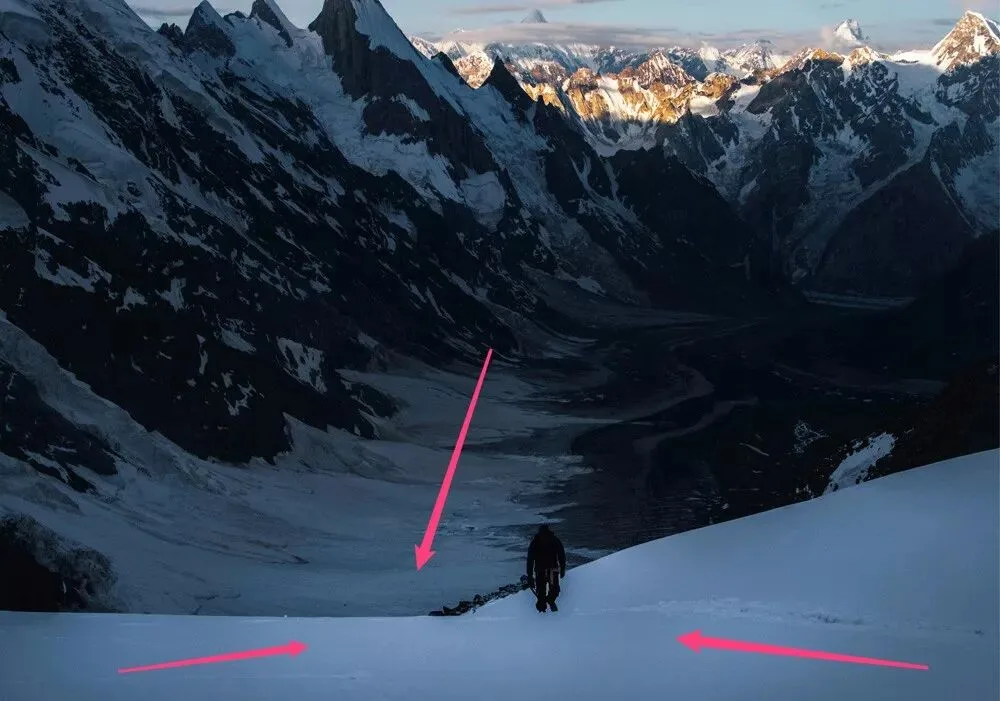
Now the dark figure pops out of the white snow, drawing the viewer's gaze.
Mastering Dodge and Burn quickly raises a photo's visual impact.