Photography Tutorial · 2024-01-28
How to Grade a Teal Faroe Landscape: A 2-Hour Fine-Tuning Walkthrough
In today's post-processing tutorial, Thomas shares the workflow behind a teal-toned landscape masterpiece from the Faroe Islands.
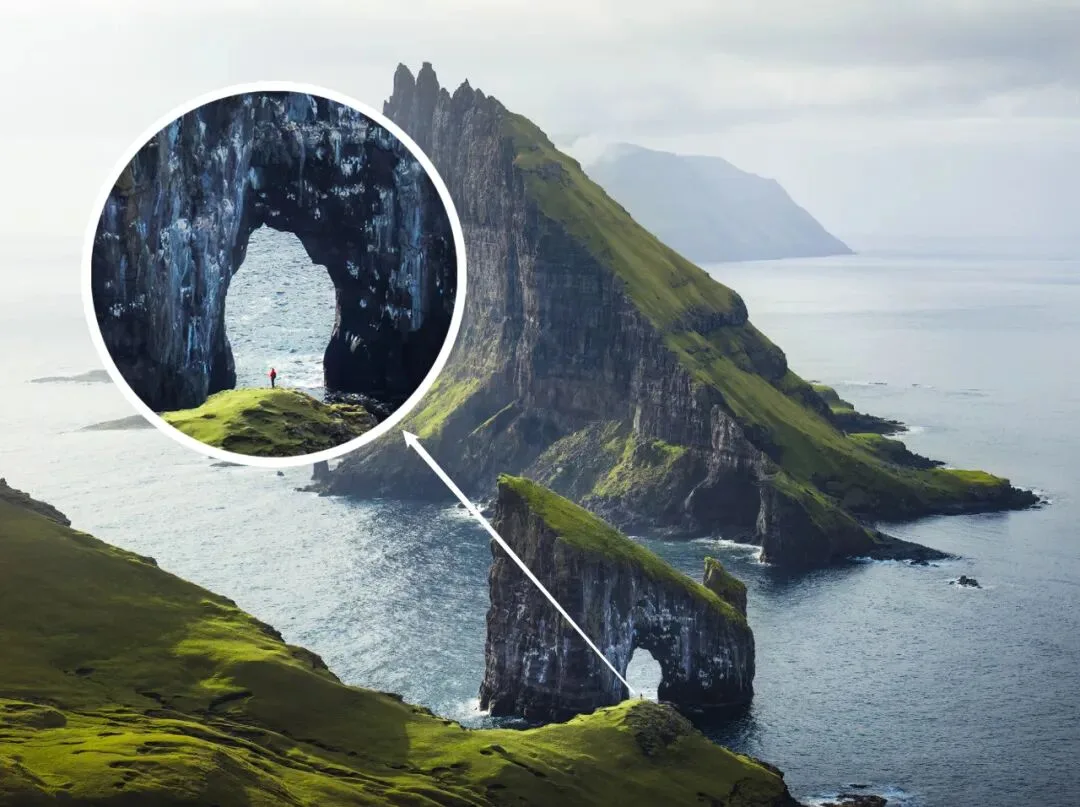
How do you shape the sense of light in a photo? How do you unify the colors of vegetation? How do you change the color of a person's clothing?
These are the grading techniques I'll share today.
Video
▶ Watch the video tutorial on Bilibili
This is the fully illustrated companion to the video above. Many people have scrolled past this teal-toned Faroe Islands shot on a phone, but no small screen carries its impact — Thomas opens the twenty-to-thirty-layer working file and demonstrates step by step how the light was shaped, artificial haze added, vegetation colors unified, and the subject's jacket recolored. Skim the frames for the workflow, then watch the video for the fine detail.
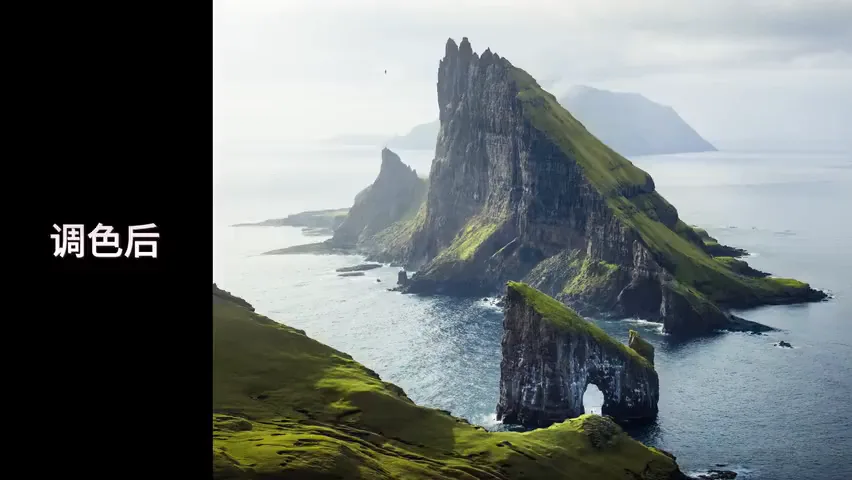
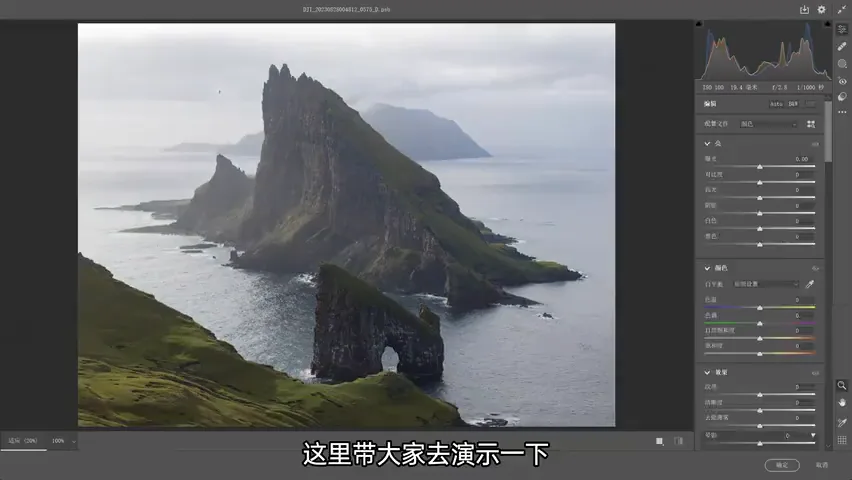
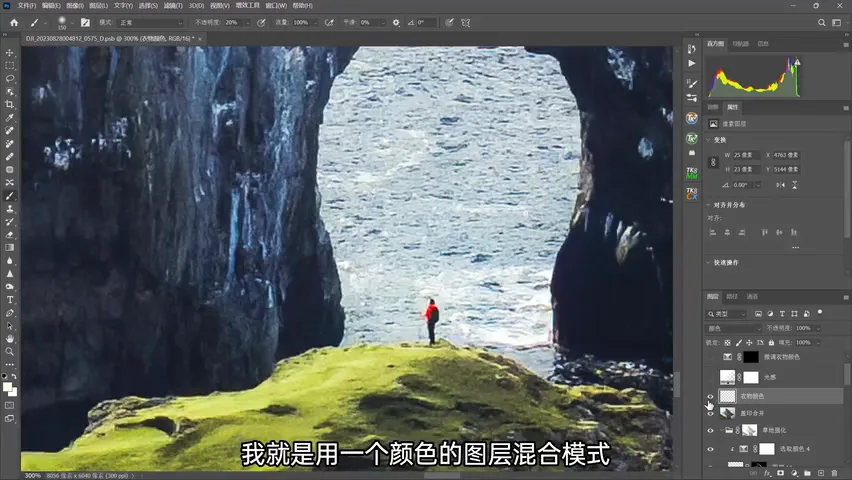
First, what makes the photo: shot on a drone with a telephoto lens, the person is deliberately tiny — dwarfed by the sea arch and cliffs behind (at 0:36 in the video). There are hidden details too: rolling waves, a gull crossing the upper-left corner. That immersive tension only reads on a large display — precisely why Thomas insists on printing and big-screen editing (at 0:15-1:04 in the video).
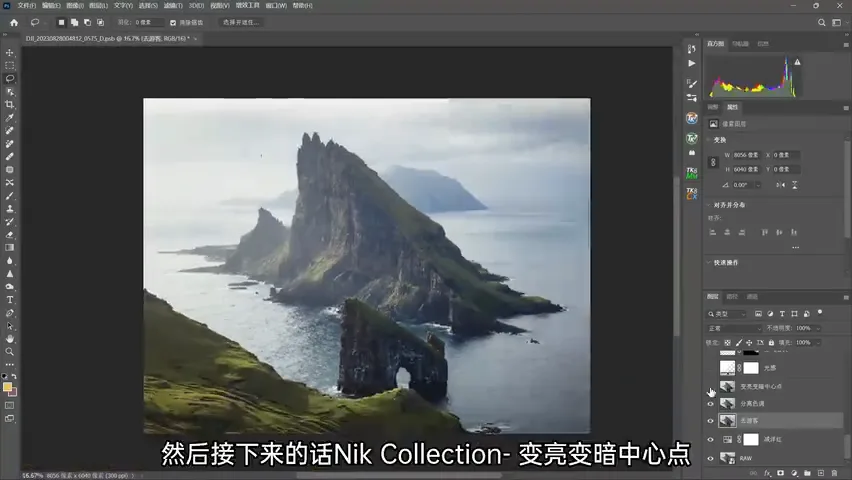
01 Cleaning Up: Killing Purple Fringes and Removing People
The bottom of the stack is the RAW file placed as a Smart Object. First fix: the purple cast in the shadows — the fringing that backlit shots often produce — removed with a Hue/Saturation layer by dropping magenta saturation (at 1:44 in the video).
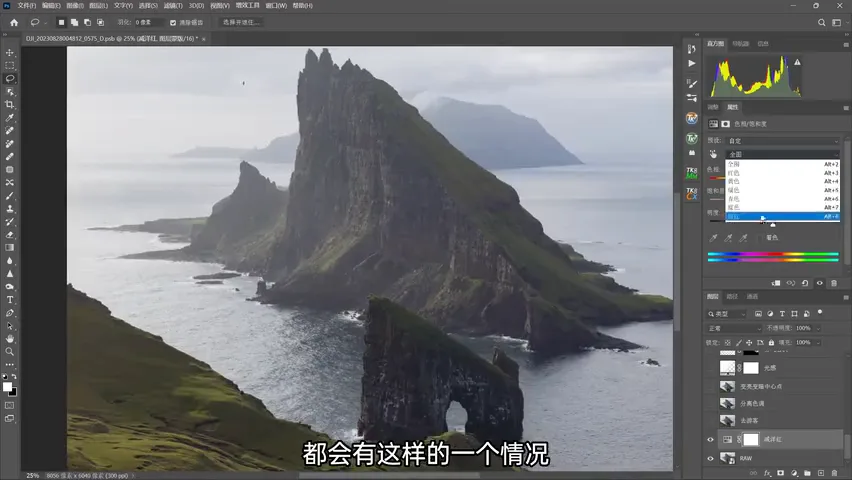
The clifftop was actually crowded that day: Thomas flying the drone, a companion filming him, and a friend in yellow standing in the doorway of the arch. With the clone stamp and content-aware fill, everyone else disappears, leaving exactly one figure — a lone person in the arch, in dialogue with nature (at 1:51-2:13 in the video).
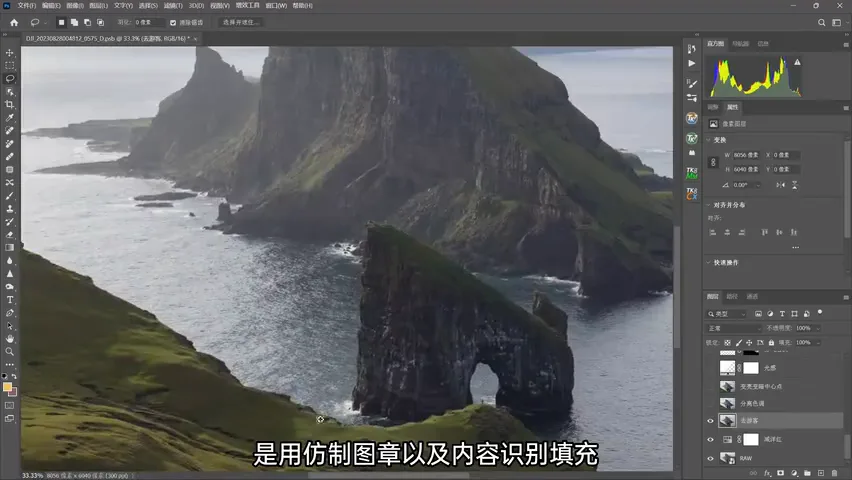
02 Camera Raw: Dehaze and Cyan Highlights
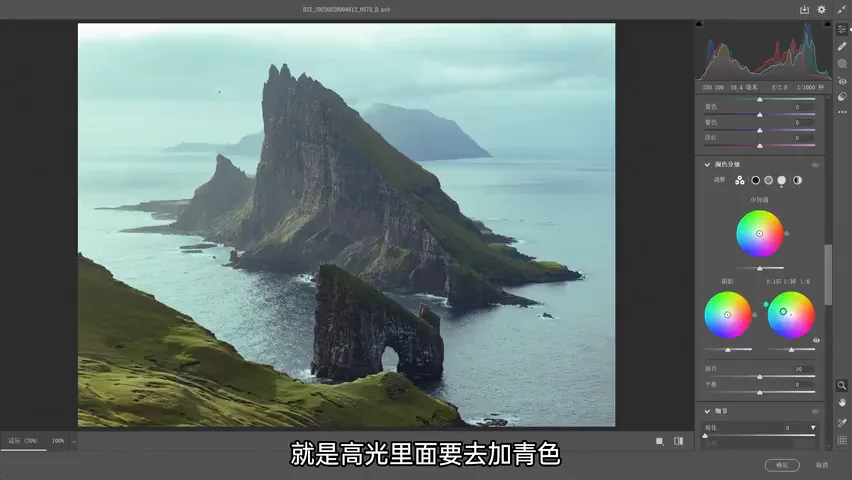
Then the split-toning demo inside the Camera Raw filter. Dehaze can go fairly strong — cool-warm contrast appears at once and the frame sharpens up, with some Texture added (at 2:25 in the video); in HSL, yellow luminance lifts so the cliff walls' highlights gain layers (at 2:35 in the video); a nudge of Curves or exposure brightens things a touch more.
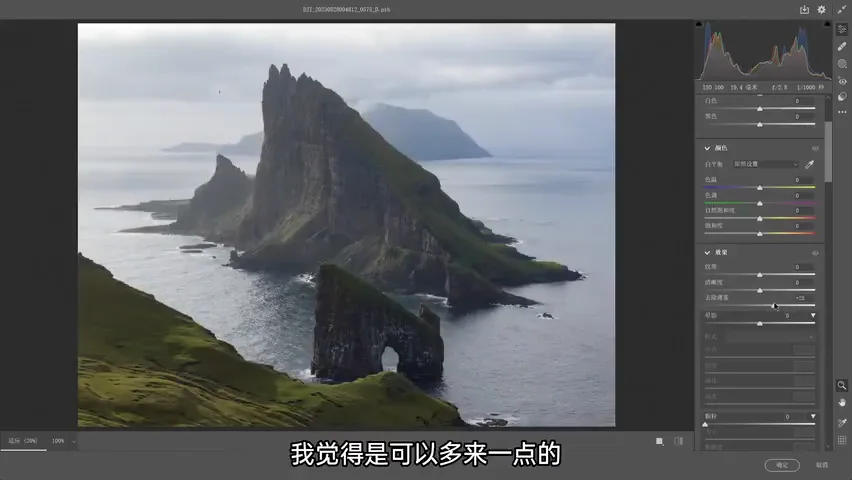
The pivotal move: cyan into the highlights. The light here leaned warm, even purple; after the shift it takes on that cool cyan. Restraint matters — too much reads like a cartoon — so a whisper of hue-180 cyan, with saturation eased back slightly, is all it takes (at 2:51-3:14 in the video).
03 Shaping Light: Direction, Haze, and Darkening
Nik Collection's Darken/Lighten Center is a Thomas staple: darken the edges, gather light toward the center. The original gives no sense of directional light; after this move the right side clearly darkens while the left brightens — the frame suddenly has a direction of light (at 3:20-3:37 in the video).
Then a light-haze layer: with the Gradient tool and white as the foreground color, drag a gradient across the frame — but keep the blend mode Normal instead of Soft Light or Overlay, so the highlights carry a foggy bloom; just lower the opacity a little and the sense of light and mist arrives (at 3:40-4:11 in the video). A similar gradient on the right keeps the distance hazier, strengthening the foreground-background separation.
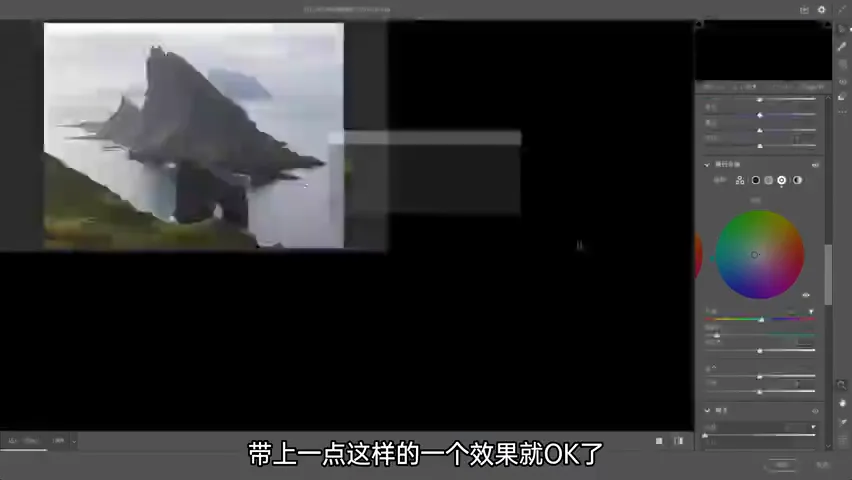
Where there is light there must be dark. The photo needs that contrast: a luminosity mask selects the shadows first, then darkening is applied — so the bright zones stay untouched and the contrast holds (at 4:32-4:50 in the video).
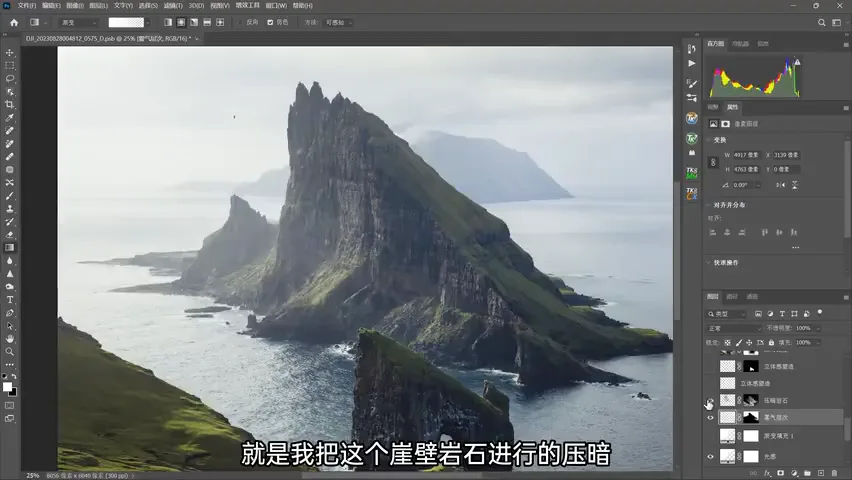
04 Depth and Making the Subject Pop
Next, sculpting depth: a new blank layer set to Overlay, a mask isolating the arch rock, and a white brush painting light onto the stone — this is artificial light built in post. The raw rock was flat and lifeless; with the edges' highlights lifted further, the cliff suddenly has volume (at 4:51-5:19 in the video).
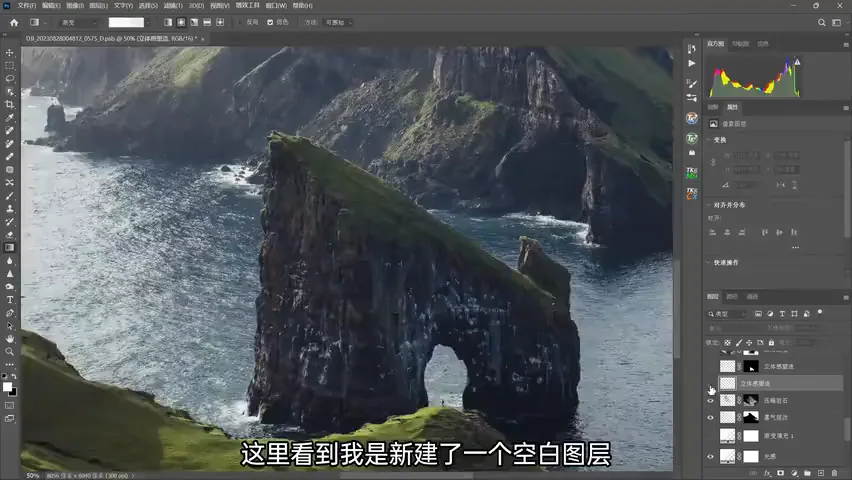
For the vegetation the brush takes a slightly pale yellow (safe for plants) at around 5% opacity, brightening the naturally brighter patches and the edges — spillover is inevitable, hence the mask to constrain the strokes (at 5:26-5:59 in the video). Nik's Pro Contrast then sharpens clarity further, and one more pass of Dehaze in Camera Raw deepens the atmosphere.
The figure is handled with care: the person is very dark, so a radial filter brightens the sea behind him — once the background lifts, the figure stands out (at 6:09 in the video); the blue water brightens directly with Selective Color — blue channel, minus black; the midtones lift with a Curves layer whose mask confines the effect to the central region (at 6:23-6:41 in the video).
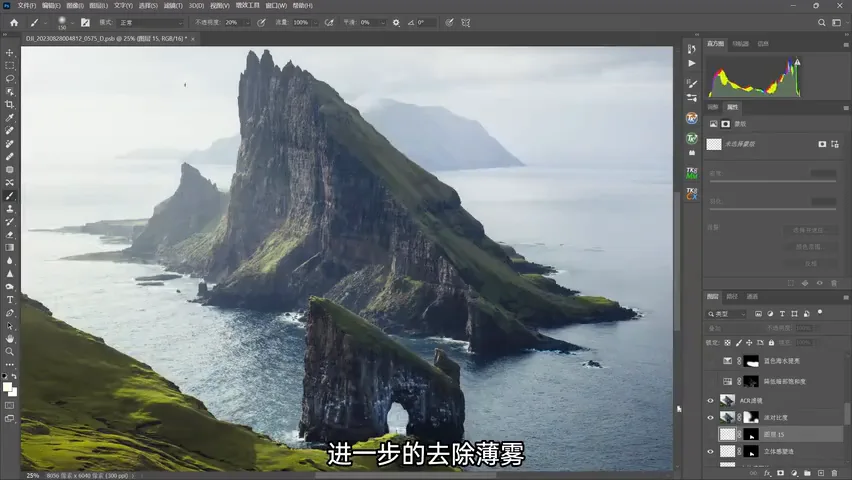
05 Unifying Color and the Finishing Recolor
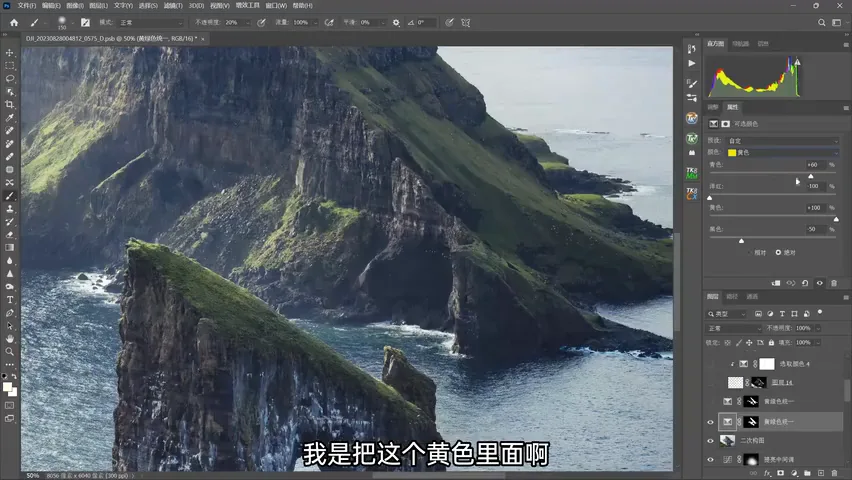
Recropping is a direct Ctrl+T, pulling the upper-right corner out so the composition centers better (at 6:42 in the video). Then comes a step critical to fine retouching — color unification. Portraits unify skin tones; plants need the same: the vegetation mixes yellows with very cyan greens — natural, but not comfortable to look at.
The unification is a mutual convergence: into the yellows add cyan and remove magenta (i.e., add green), turning yellow toward green; into the greens add green and some yellow as well — yellow drifts toward green, green toward yellow (at 7:14-7:34 in the video). A final tweak returns over-cyan yellows to a natural yellow-green — plants in nature are yellow-green, not teal. The whole hillside goes from flat to thriving (at 7:36-7:58 in the video).
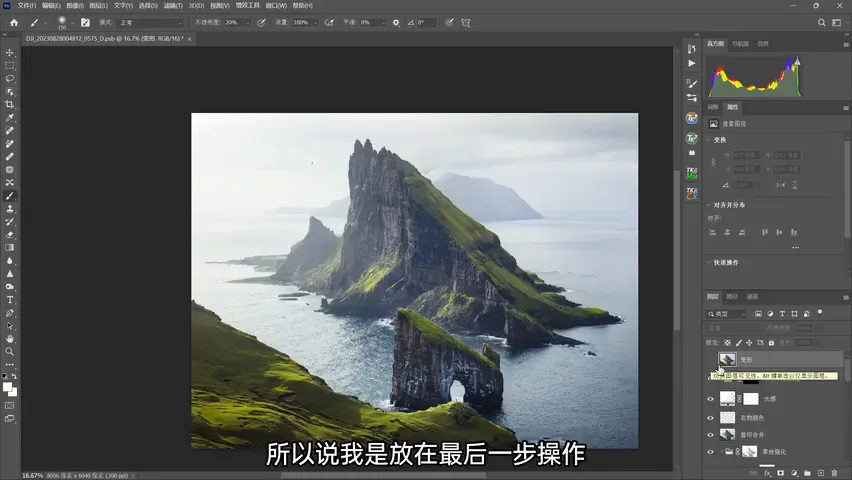
The grass gets local reinforcement — more brightness, more yellow. By now the jacket matches the hillside in yellow-green, harmonious but too quiet; Thomas wants the figure to pop, so a Color blend-mode layer paints the jacket from yellow to bold red. Since this alters pixels, it stays until the end (at 8:02-8:40 in the video). The true final step is a transform leveling the cliffs on both sides for better balance.
Thomas closes with a reminder: on a small thumbnail you may never spot the person or the gull in this frame — but at full size, it is breathtaking. A finely retouched landscape deserves to be seen properly, on a big screen (at 8:45 in the video).
1. Subtract first: Hue/Saturation drops magenta to kill backlight fringes, clone stamp and content-aware fill sweep away every figure but the one in the arch; 2. The light kit — Dehaze and Texture in Camera Raw, a whisper of hue-180 cyan into the highlights with saturation eased back, and Nik's Darken/Lighten Center to give the light a direction; 3. Pair every bright with a dark: a white gradient for layered haze, luminosity-masked darkening that preserves contrast, Overlay layers with masks to paint manmade light on the rock, and a radial filter lifting the sea behind the figure; 4. Refinement is unification — cyan and magenta shifts bring yellow and green together into a yellow-green family, and a Color blend-mode layer paints the jacket red as the final accent.