Photography Tutorial · 2017-08-19
Quickly Fix Color Casts and Stray Colors in Photos
In post-processing we often run into mismatched colors, or those bothersome color patches, stray colors, and casts.
Today, Headbang teaches you how to correct and adjust any color using just one tool — Hue/Saturation. An absolutely explosive technique.
Video Tutorial
HD video link:
https://v.qq.com/x/page/t0522b316jn.html
Practice assets from the video:
http://pan.baidu.com/s/1o7GUAJw Password: prut
1
Hue/Saturation
Create a Hue/Saturation adjustment layer, use the hand tool to pick a color in the photo, temporarily drag saturation all the way right, and pair it with a mask to precisely select the exact color range you want to change.
2
The Most Precise Selection
When you can't isolate the color you want, use the sliders at the bottom of the Hue/Saturation panel for further precision — combined with a mask, it's foolproof. This method works for any type of image.
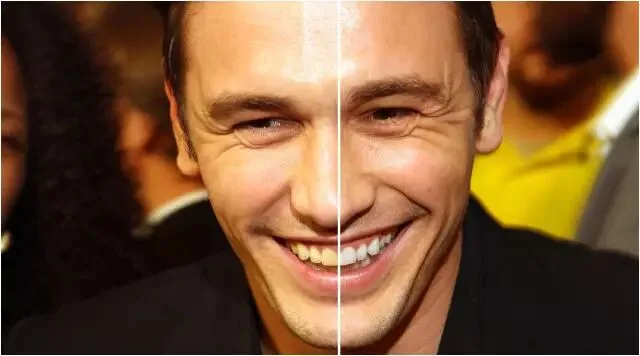
3
Change Hue, Saturation, and Lightness After Selecting
Once we've selected the color area to adjust, we can use the Hue, Saturation, and Lightness sliders to correct casts and stray colors.
Guest author: Headbang


▲ Li Dawei (Headbang)
IPA 2016 China Photographer of the Year
Visual China contracted photographer
Tuchong contracted photographer
Follow @Thomas Chu Photo,
and learn one photography skill every week.
Bonus: some of Thomas's photos from this year are free to download as desktop wallpapers!
Download here: https://pan.baidu.com/s/1qXTeyUK