Photography Tutorial · 2023-09-11
Focus Bracketing in 2023: 12-Frame Focus Stack with Sony A7CR + 16-35mm GM II in Norway
In today's landscape tutorial, I'll share how I use the camera's automatic focus bracketing for capture and Helicon Focus for focus stacking in post — getting a front-to-back sharp landscape photo is so much easier than before!
The case study was shot at Segla in Norway. All 12 original 61-megapixel frames are provided for practice, shot with the Sony A7CR and 16-35mm GM II lens!
Video
▶ Watch the video tutorial on Bilibili
This is the fully illustrated companion to the video above, covering Thomas's complete 2023 focus-stacking workflow: focus-bracketing settings and field technique, then stacking and retouching in Helicon Focus. The case was shot on Senja island, Norway — a Sony A7CR with the 16-35mm GM II — and all twelve 61-megapixel source frames plus the stacking TIFs are available for download (see the practice-file link at the end), so you can follow along.
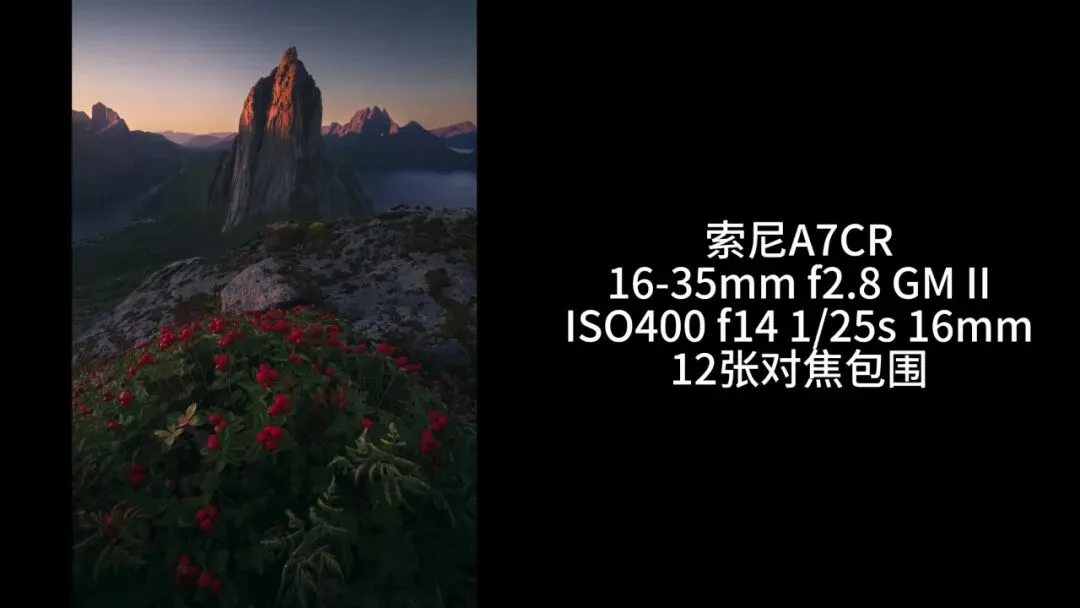
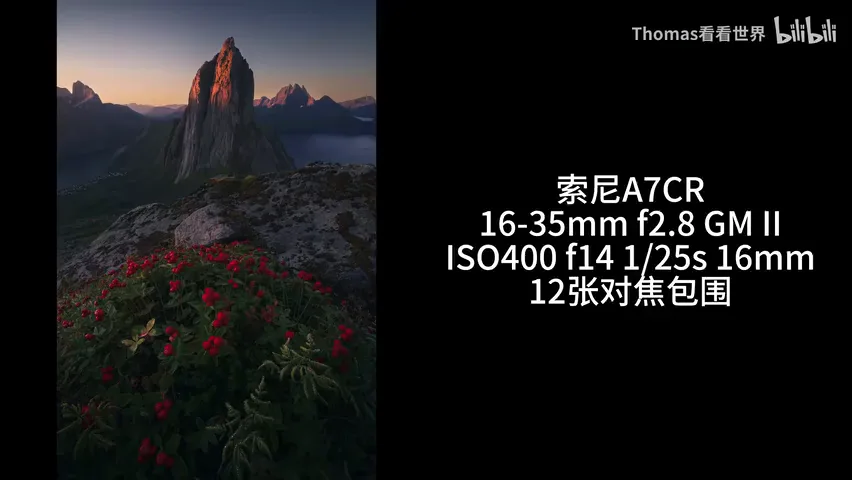
Start with the overview. The video opens with a full spec card of the shoot: Sony A7CR, 16-35mm f/2.8 GM II, ISO 400, f/14, 1/25 s, 16mm, 12 focus-bracketed frames. The sections below follow the same arc: location and foreground, camera setup, reading the frames, stacking, retouching, and the finished image.
01 Location and Foreground: Bilberry under Segla
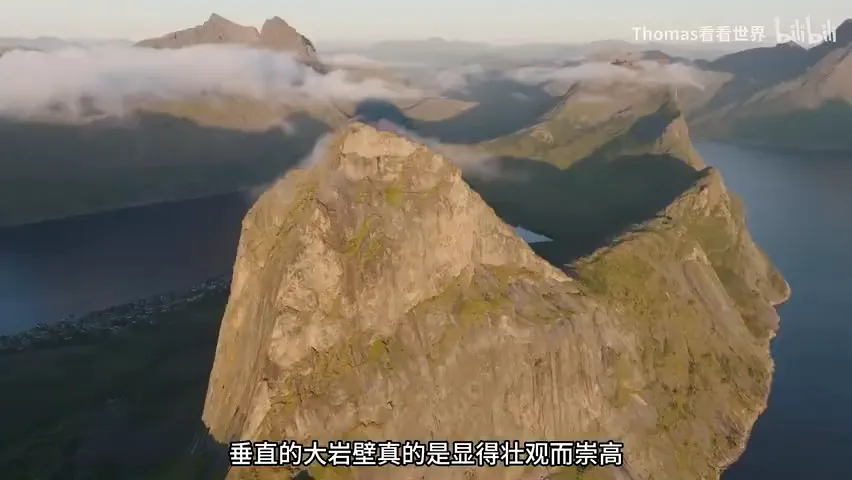
The location this time is Segla on Senja island, Norway. At just 639 meters of elevation it rises almost straight out of the fjord, and its vertical rock wall looks spectacular and sublime (at 0:57 in the video).
To match a wall that imposing, Thomas kept testing foregrounds until he settled on the bilberry shrubs at his feet — the most vividly colored, most vigorous patch in the whole berry field. That upward, thriving energy answers the mountain rising from the sea (at 1:12 in the video). Focus stacking is the natural choice for exactly this pairing: lush plants up close, a grand peak far away.
02 Camera Setup: the BRK Focus-Bracketing Mode
Press the left button to open the drive-mode list, choose BRK Focus (focus bracketing), then press right to enter its detailed settings (at 1:35 in the video). The first parameter is the step size, which controls the depth-of-field gap between adjacent frames — 4 or 5 works for most cases (at 1:49 in the video).
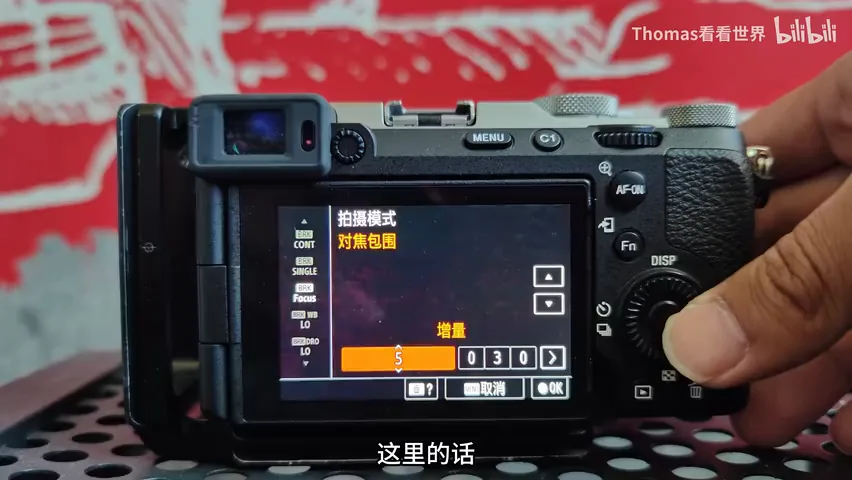
For the frame count, set a large value — 20, 30, even 99 is fine (at 1:59 in the video). That number is only a ceiling: the camera decides on its own, so if it finds three frames already cover the full depth range, it will shoot three even if you asked for thirty. Press right again to set the shooting order from 0 to infinity, leave exposure smoothing on or off, and choose the shortest interval — the light here barely changes (at 2:26 in the video).
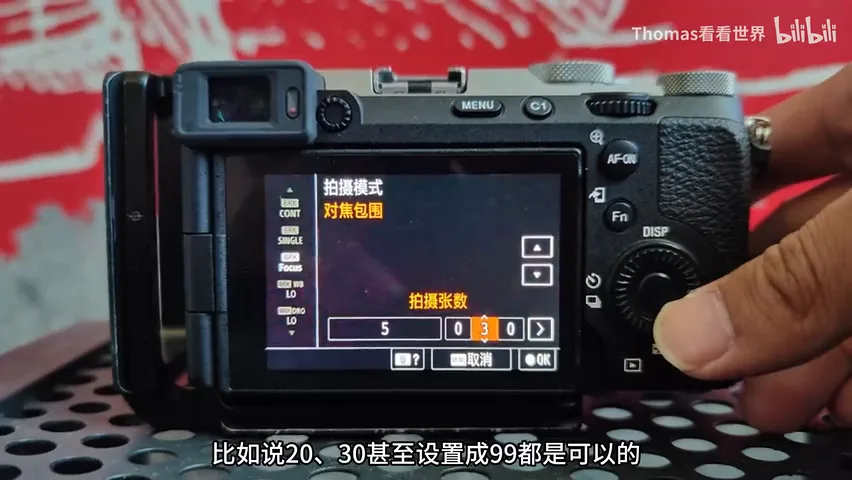
Exposure: ISO 400, Aperture-priority (A) mode at f/14, around 1/25 s (at 2:37 in the video — see the spec card above). The critical part is the initial focus point: set it to the closest distance, because the whole bracket runs from nearest to infinity (at 2:47 in the video). Do not stop down too far either: a tiny aperture makes each frame's depth slice razor thin and multiplies the frame count — and with wind outdoors, more frames means more chances for the stack to go wrong. Somewhere between f/8 and f/16 is sensible (at 2:56 in the video).
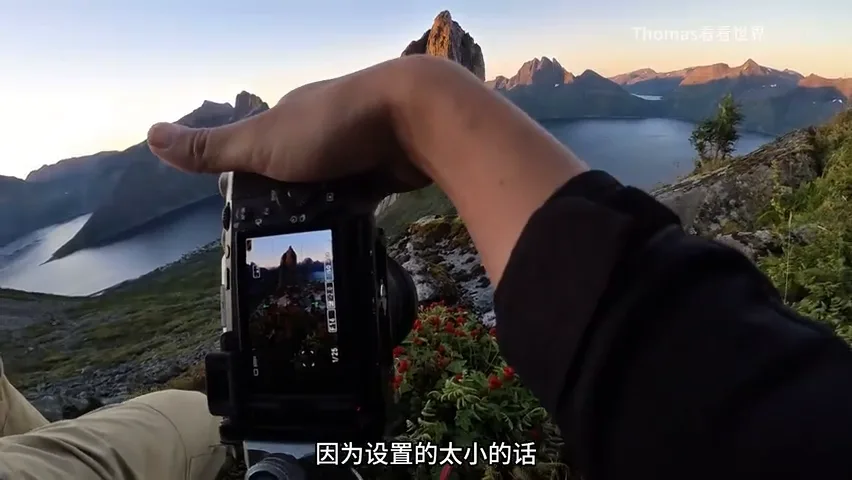
03 Twelve Frames, Each Covering One Depth Band
After importing the twelve frames, start with the first one. Focus was set at the nearest point, so at 100% magnification every water droplet on the leaves is crisp — yet even at f/14 the mountain behind is a complete blur (at 3:24 in the video).
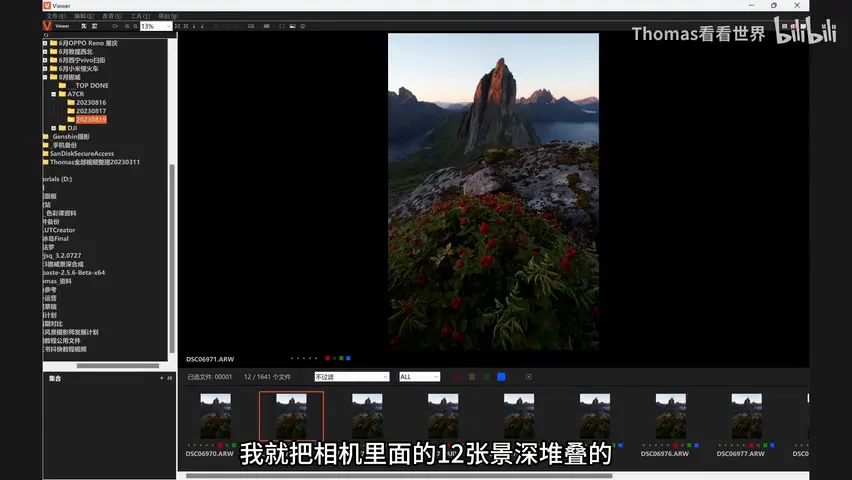
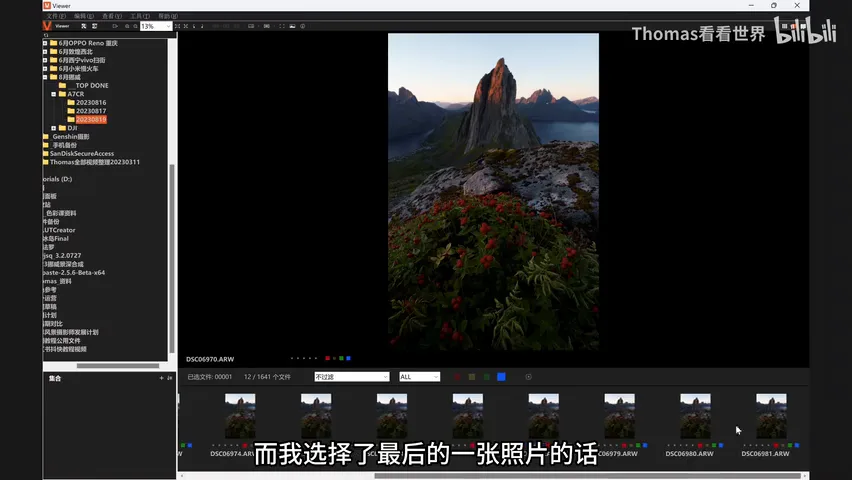
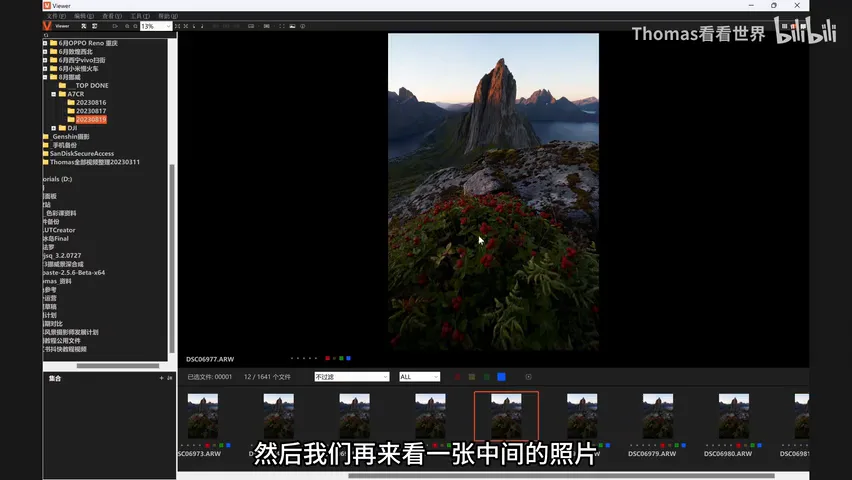
The last frame is the mirror image: the peak is razor sharp at 100%, while the foreground plants melt away (at 3:39 in the video) — mind you, still at f/14, proof the depth of field is nowhere near enough. A middle frame, number 6977, is sharp only on the mid-frame rock and a sliver of berries below it; everything nearer or farther is soft (at 3:54 in the video). Each frame owns one band of depth, and the entire job of post is to stack everyone's sharpest band into a single image.
04 Export TIF, Then Stack in Helicon Focus
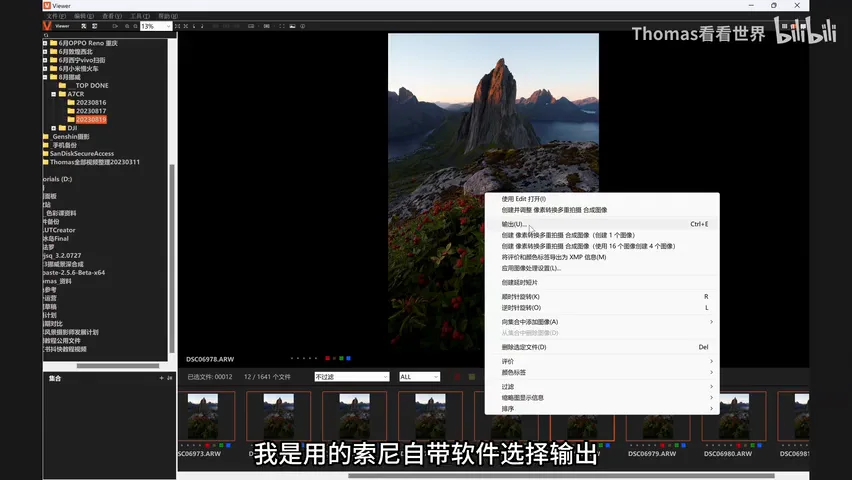
Before stacking, convert everything to TIF: Photoshop cannot yet parse A7CR RAW files, so Thomas exports from Sony's own software as 16-bit Adobe RGB TIFs (at 4:24 in the video). These twelve TIFs are included in the practice files linked at the end.
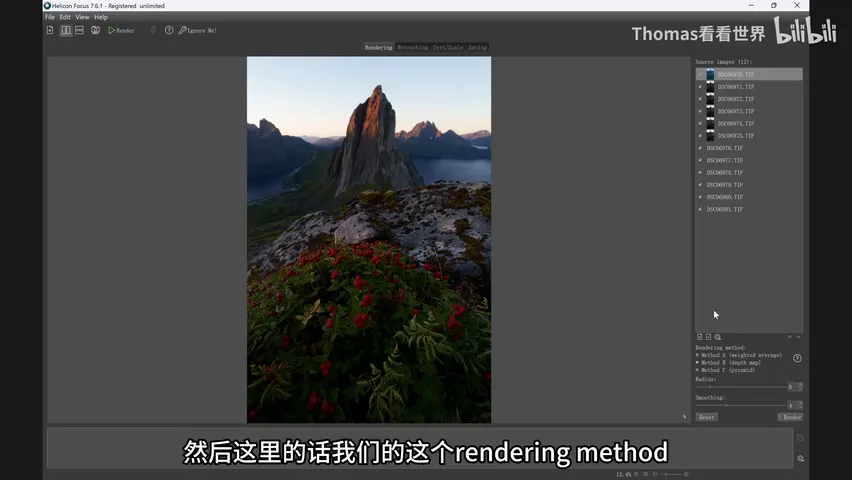
For stacking he uses Helicon Focus this time — dedicated focus-stacking software whose algorithms outclass Photoshop's built-in stacker (at 4:56 in the video). The workflow is simple: click the load icon at the top left, select all twelve TIFs with Ctrl+A and open them; set the Rendering Method to Method B, keep radius and smoothing at their defaults of 8 and 4 (enough for the vast majority of cases), then hit Render and let it compute (at 5:31 in the video).
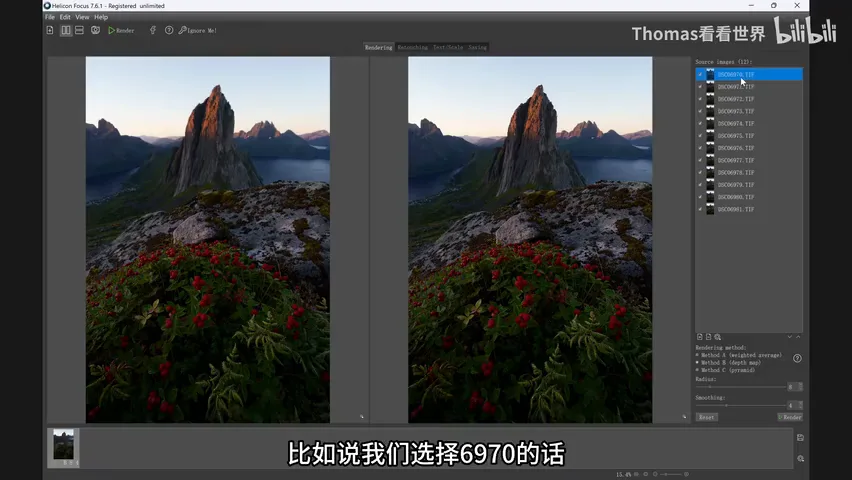
The render finishes quickly and the stacked result appears on the right, sharp in every detail. A built-in compare view lets you put any source frame side by side with the result — frame 6970, for instance, is sharp up front and blurry behind, while the merged file is sharp from front to back (at 6:09 in the video).
05 Wind Misalignment: Fix It with Retouching
Automatic stacking is not the finish line. Zoom the result to 100% and audit every detail — outdoors, the biggest variable is wind: plants sway between frames and the stack ends up misaligned (at 6:23 in the video). The video shows a clear case: a forked leaf sprig where the algorithm merged the "sharp here" patches from many frames, and the wind turned that into a doubled, ghosted edge (at 6:51 in the video).
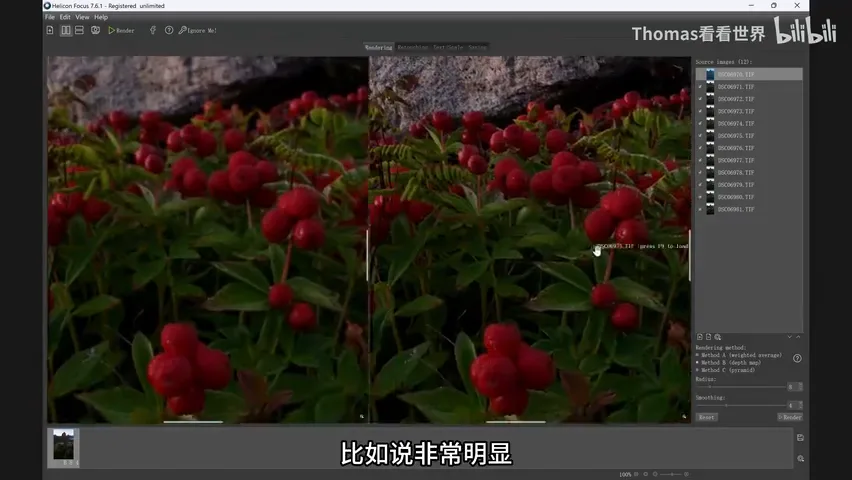
The fix lives in the same program: switch to the second tab, Retouching, pick a source frame from the filmstrip below in which the problem area is sharp — frame 6974, say — and simply paint over the misaligned patch (at 7:14 in the video). Watch the brush size and hardness (50% in the video), and mind the boundaries: careless strokes create new misalignment, so follow natural edges — the rim of a leaf, for example — and the patch will blend in cleanly (at 7:44 in the video).
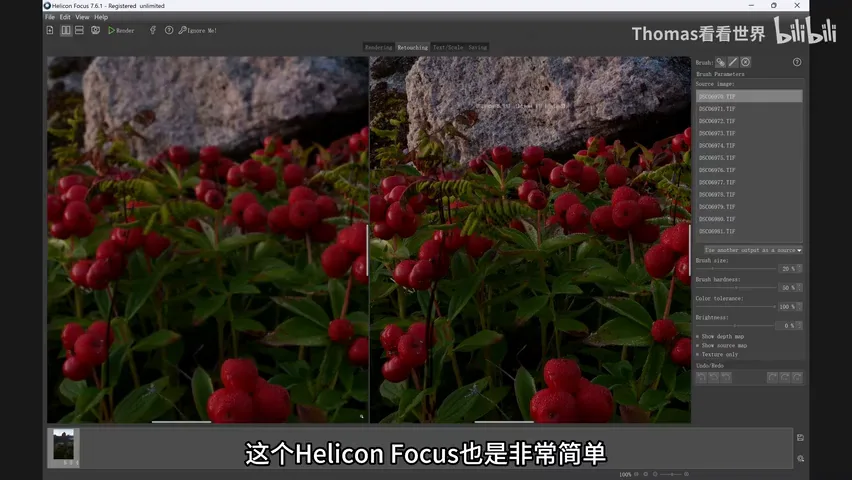
Work through the other misaligned spots one by one. For the extreme case — a sliver of blur or ghosting that survives no matter how you paint — fall back to Photoshop's Clone Stamp or Content-Aware Fill (at 8:21 in the video). Finally, click the rightmost Saving icon and write the repaired master out as a fresh TIF (at 8:50 in the video).
06 Save the Master, Then Grade to Taste
Once the TIF is out, it behaves like any ordinary photo: the file carries the sharpest pixels from all twelve frames merged front to back (at 9:10 in the video). From here, edit it exactly as you would any image.
Thomas applied a light grade to reach roughly the final look (at 9:18 in the video). Grading is a matter of personal taste, so the video stops there — the core focus-stacking pipeline is fully delivered with that edge-to-edge sharp master file.
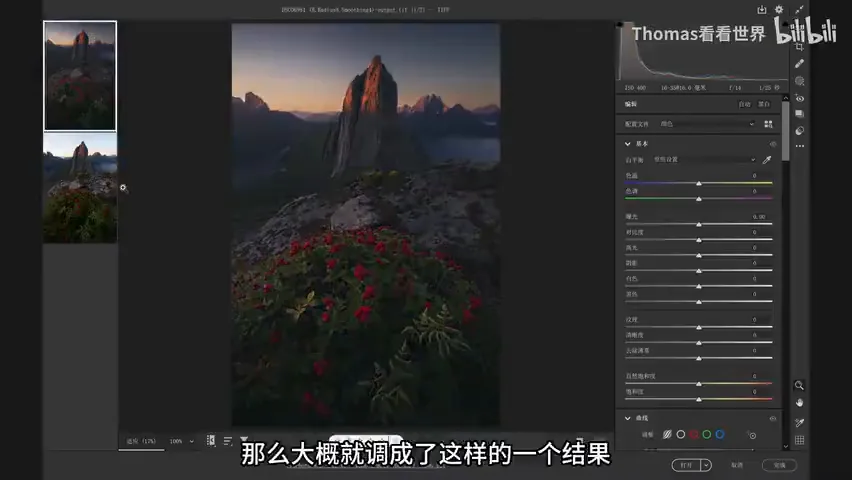
1. Bracketing setup: step size 4-5, frame count set high (the camera stops early), order 0 to infinity, initial focus at the nearest point, aperture between f/8 and f/16; 2. Each frame owns one depth band — the nearest frame keeps droplets sharp and blurs the peak, the last one reverses it, and stacking merges everyone's sharpest zone; 3. When Photoshop can't parse a new body's RAW, export 16-bit Adobe RGB TIFs from Sony's software and let Helicon Focus stack with Method B, radius 8, smoothing 4; 4. Wind sway causes stack misalignment: audit at 100%, retouch from the source frame where the area is sharp, painting along leaf edges, and hand stubborn spots to the Clone Stamp or Content-Aware Fill.
Practice Files Download:
Link: https://pan.baidu.com/s/1L1DnGXVhlBf7Amp-wGhJKA
Access code: 1234