Photography Tutorial · 2022-03-13
How to Light a 10-Meter Glacier? Shooting the Milky Way over Icebergs
Thomas Chu Photo
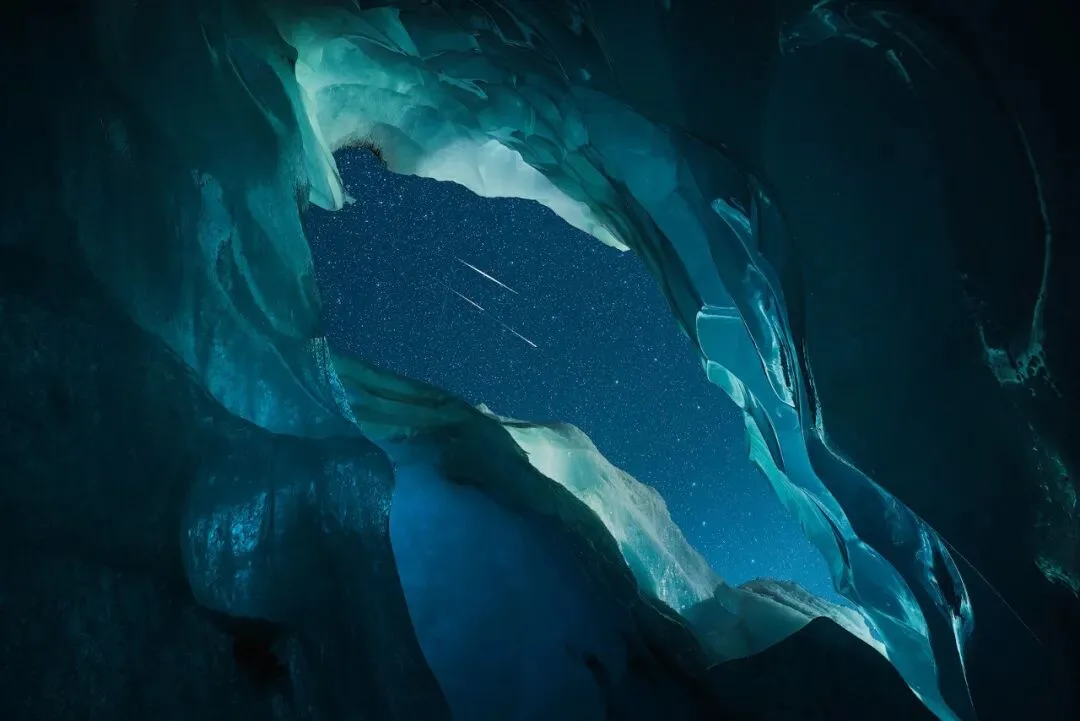
I recently shared several photos taken at Laigu Glacier in Tibet, and many of you were curious: how can an ice mountain be rendered as translucent as jade on a pitch-dark night?
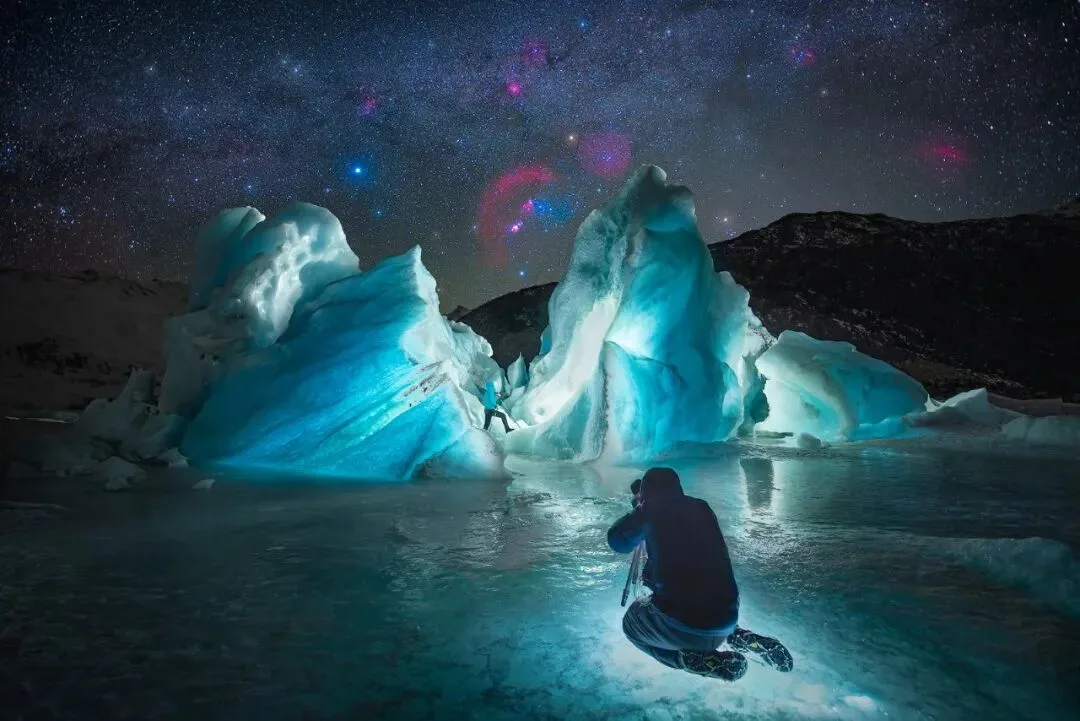
In today's tutorial, Thomas shares how — through complex in-camera and post techniques — I lit a nearly 10-meter-tall ice formation from multiple angles using only a single headlamp.
Video
▶ Watch the video tutorial on Bilibili
This is the illustrated companion to the video above. Thomas's recent photo from Laigu Glacier in Tibet shows an emerald, translucent iceberg under the Milky Way — yet the only light painting that 10-meter ice was an ordinary headlamp. The full workflow is laid out below with keyframe screenshots: why the ice needs light, how time blending builds a 360-degree lighting rig, how a dozen-plus frames merge layer by layer, and how the sky is processed and star-reduced.
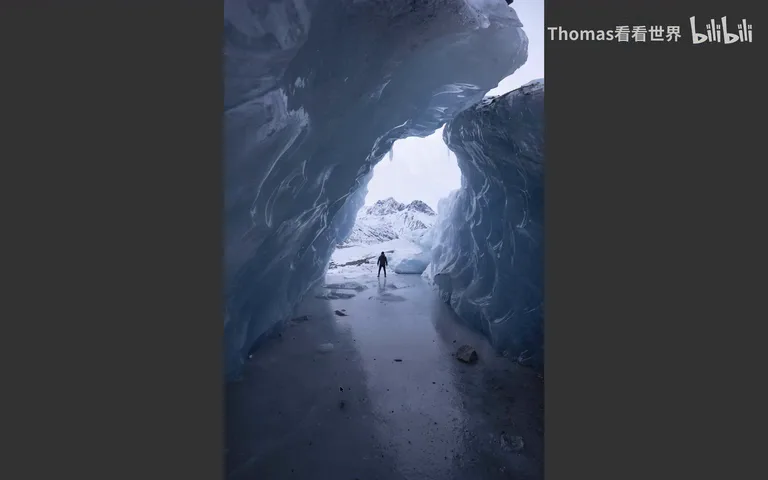
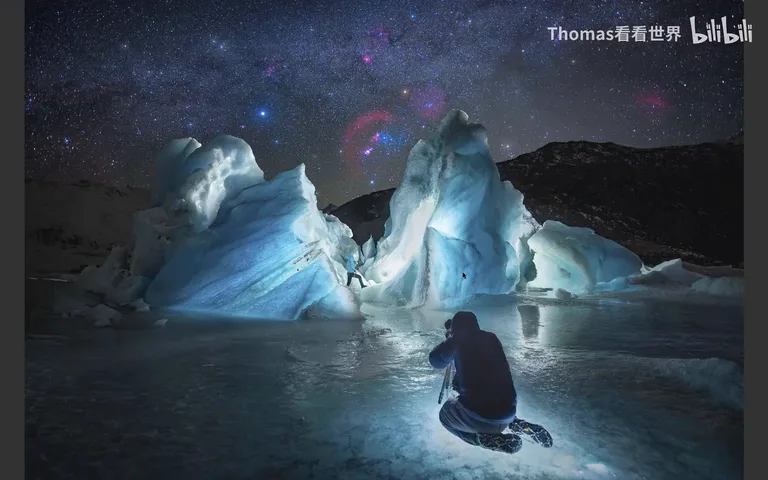
Start with the overview — the final image: an iceberg lit from multiple angles by a headlamp, two photographers' working poses left in the frame, and the Milky Way captured with an equatorial mount and an astro-modified camera overhead. The whole episode is about assembling this photo out of darkness, layer by layer.
01 Why the Iceberg Needs Light
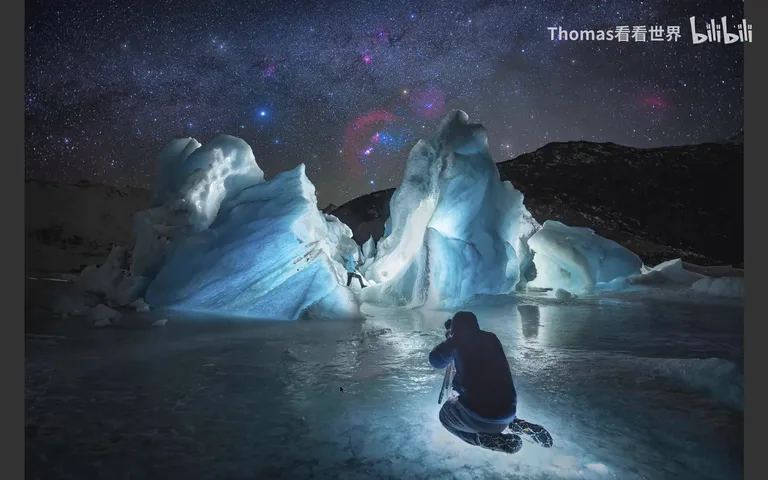
The concept behind the shot is simple: light the glacier with a headlamp. The reason is direct — the same iceberg, unlit, shows only a faint sheen; but with the sun behind or beside it, its color, texture and layering change completely. To express the ice's structure, light is everything (at 0:23 in the video).
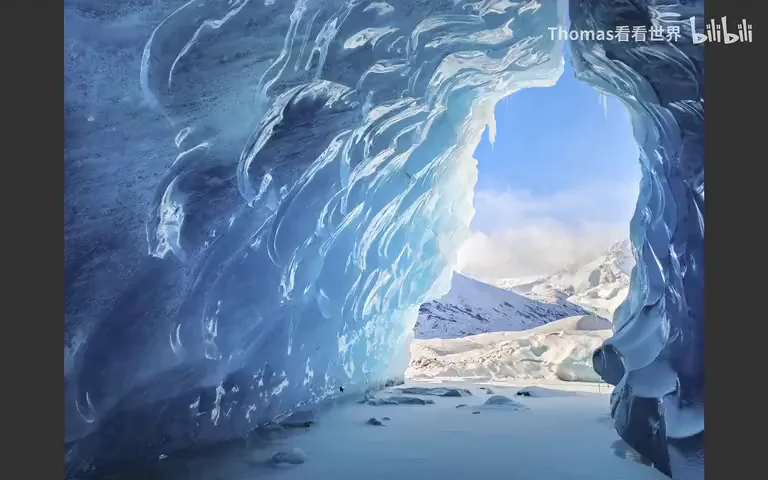
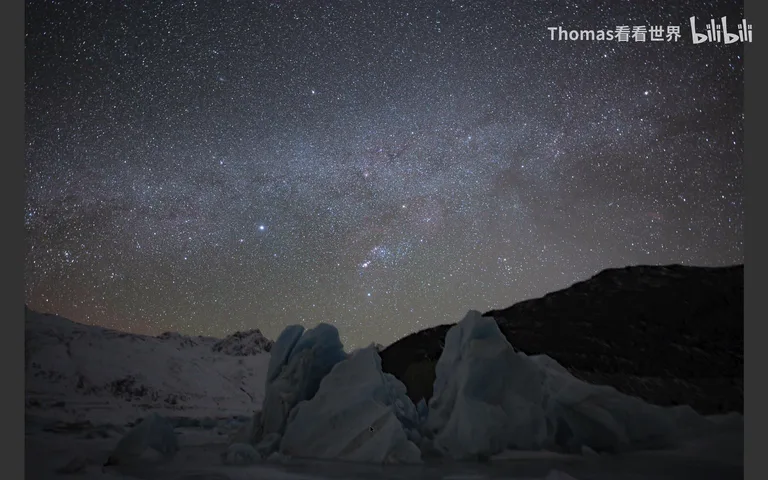
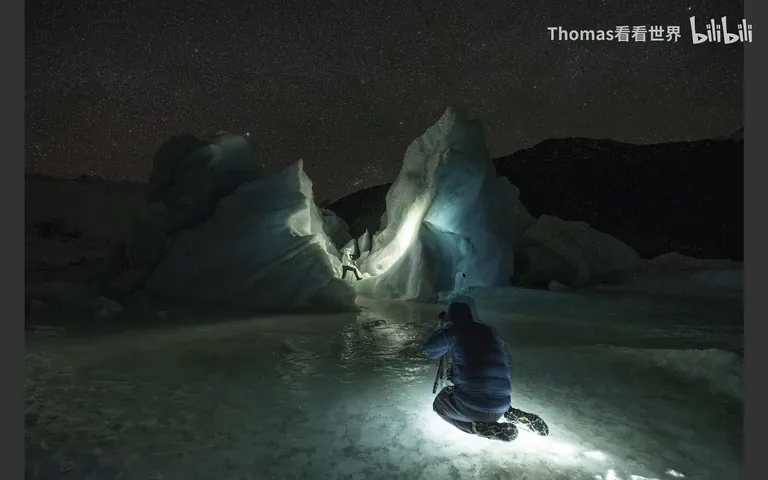
A cautionary example: using a borrowed astro-modified camera, Thomas shot the sky alone — but with no light on the iceberg, the dirty, dull ice shows none of its translucent depth (at 1:02 in the video). He wanted to light it then and there, but even a strong headlamp is tiny next to a 7-8 meter berg; the solution is to combine fieldwork and post, lighting the ice through time blending.
02 A 360-Degree Lighting Rig with One Headlamp
Field lighting starts with a rim light: wrap the headlamp behind the berg, and the lit ice instantly gains highlights and shadows, even transitions and visible texture (at 1:42 in the video). Swing the lamp harder to one side and the difference between lit and unlit halves is day and night — color, texture, layering and detail all emerge where light falls; without light, the ice looks like a dirt mound (at 1:57 in the video).
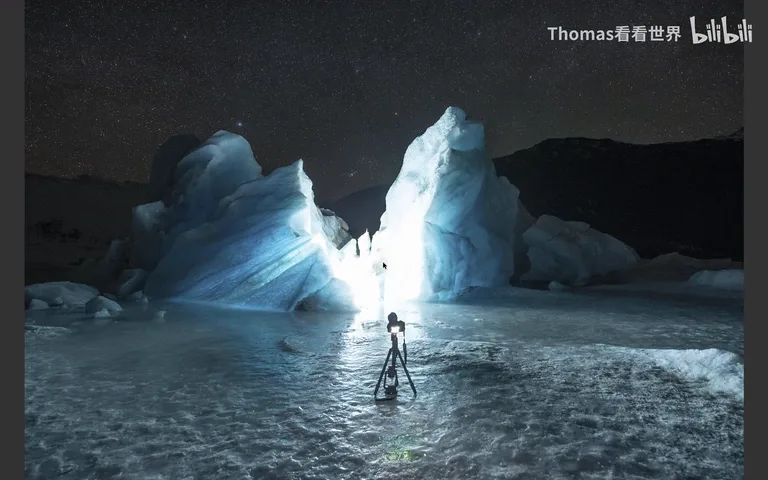
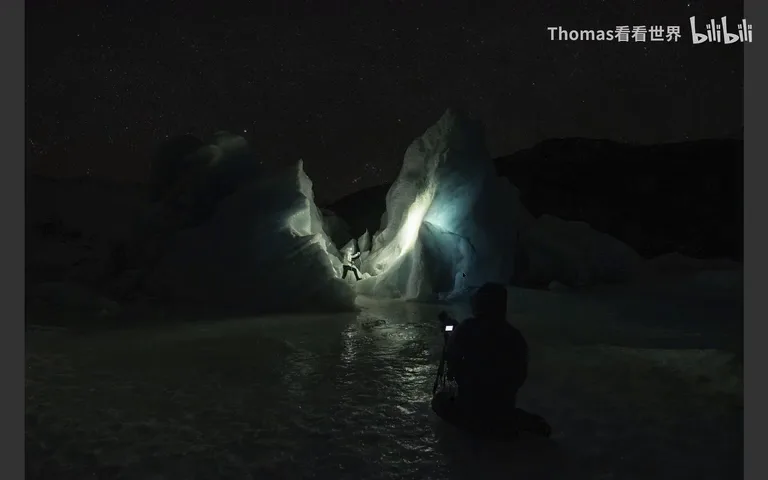
From there, keep changing the light: one pass grabs the upper-left form of the berg, another brings out the layering, texture and color of the two central ice blocks (at 2:20 in the video). His two teammates later walked among the ice, photographing each other — a scene Thomas found compelling, showing the landscape photographer's real working environment, so he decided to include the figures in the final frame (at 2:36 in the video).
03 Blending in Post: Lighten Groups, Masks and a Dozen-Plus Frames
Inside the PSD, the base is the candid figure — a 3-second exposure freezing the pose (at 3:02 in the video). The glacier's lighting layers merge in one by one: first grouped, with the group's blend mode set to Lighten — only pixels brighter than the layers below come through, darker ones ignored automatically. Masks then decide which sliver of each layer shows, say, just the patch of ice a particular lamp lit best (at 3:23 in the video).
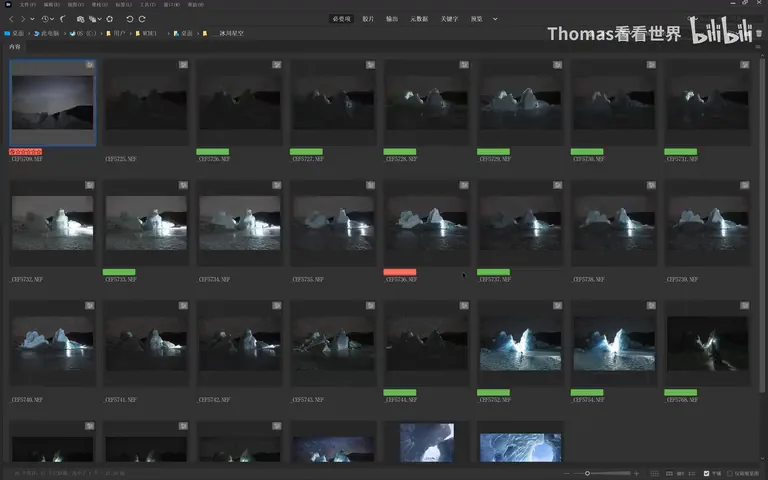
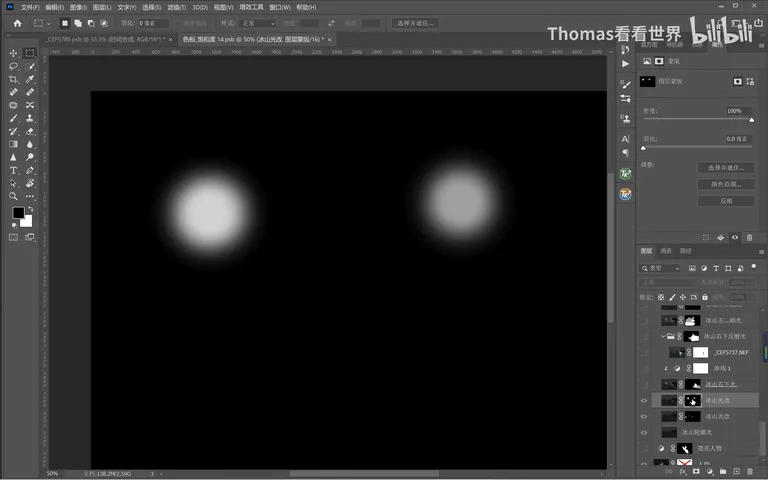
All this light was genuinely painted in the field — just at different moments, which is exactly what time blending means. Local refinement follows: lift a region with Curves before blending it in, and where the lit ice lacks bounce light, cover it with a fresh layer (at 4:00 in the video). In the field Thomas circled the berg with his headlamp for over ten minutes, collecting light from every direction; in post he keeps each direction's best-lit patch and merges them into one perfectly lit iceberg (at 4:26 in the video).
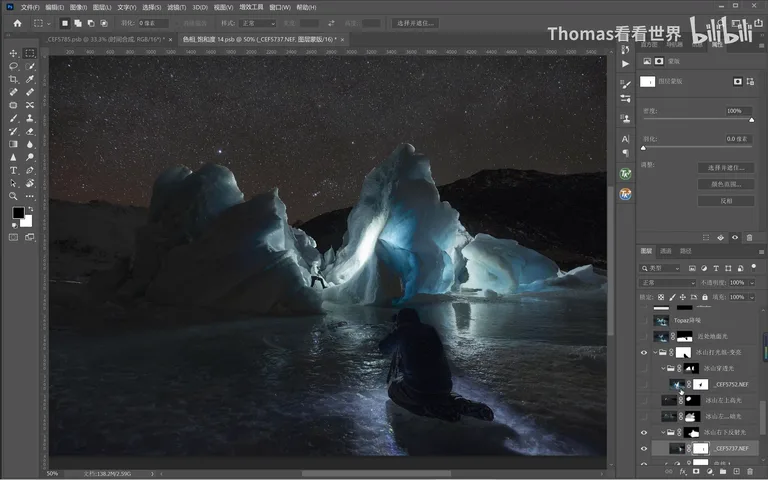
A few more key layers: a base light for the foreground first — otherwise the bright berg against a black foreground is far too harsh — plus a highlight pass on the upper left. The most crucial frame lights the center brightly and brings out both sides' color and texture, then a luminosity mask hides the center highlights into a gradual structure (at 5:01 in the video). For the ground, he borrows the angle from a teammate's flashlight laid on the ice, replacing the messy pools of light; a slight lift on the figures, and the glacier reaches its near-perfect state (at 5:51 in the video).
04 The Sky: Equatorial Mount, Modified Camera and Star Reduction
Once the glacier is merged, run Topaz Denoise before turning to the sky: mask the sky out quickly and swap in the separately shot sky plate — taken on an equatorial mount with the modified camera, where faint nebulae already show (at 6:52 in the video). The final photo rests on a dozen-plus plates, each responsible for one small part of the frame.
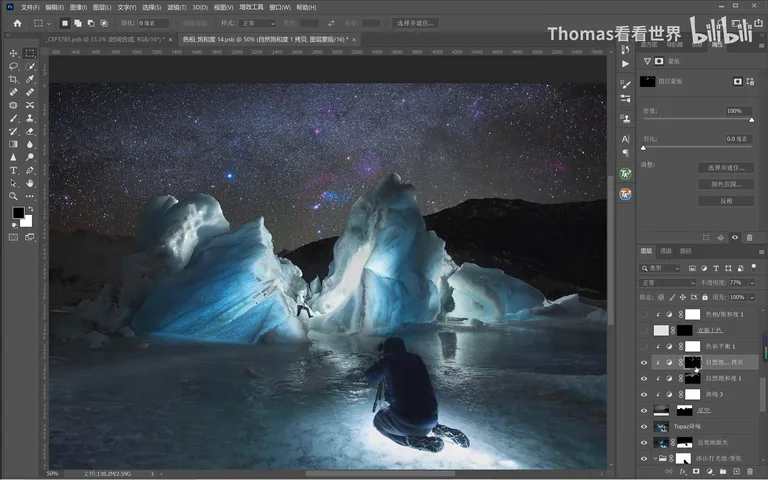
Sky processing is straightforward: a contrast curve, natural saturation boosted only over the nebulae via a mask, and a touch of blue in Color Balance to match the sky to the foreground (at 7:19 in the video). The figures' white jackets, dull and blending into the ice, get painted with color — orange proves too loud, so Hue/Saturation shifts it to a deep, saturated cyan that separates from the background without shouting (at 7:52 in the video). Lifting the underexposed shadows unleashes heavy noise, cleaned manually with the brush, followed by blemish repair.
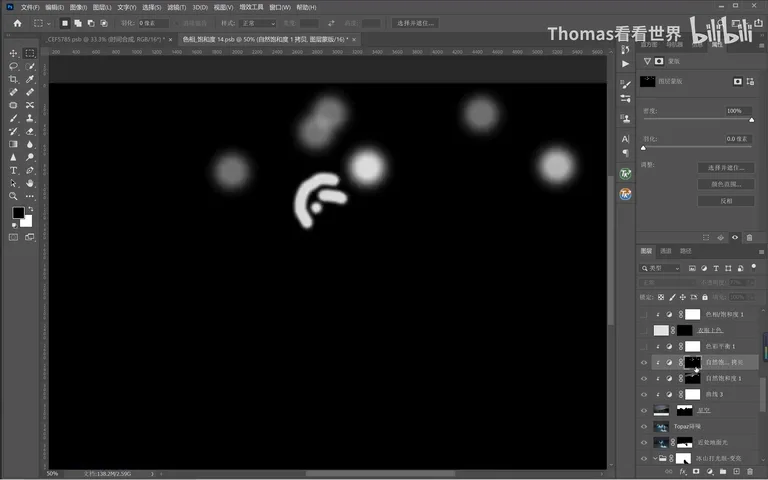
Then star reduction: the sky is merely an accent, while the lit iceberg and the photographers at work take center stage — shrink every star, keep only the nebulae, and the hierarchy snaps into place; bright stars get a soft polish (at 8:58 in the video). Boost the Barnard Loop's color a touch, finish the spot repairs, and the photo's foundation stands — from the dim base plate of an unlit berg, through layer upon layer of best-angle light, to an iceberg and sky glowing together (at 9:22 in the video).
05 Finishing: Smart Objects and the Final Frame
The finishing pass leans on Smart Objects: the whole blend is packed into one, so every applied adjustment stays re-editable; then Camera Raw and Color Efex Pro filters stack on — boosting contrast, darkening the edges with a gradient filter, and lifting central regions with a radial filter (at 9:58 in the video). A transform nudges the figures' proportions back to normal and pulls off hot edges; overexposed patches in the middle are repaired with the clone-stamp method from earlier tutorials (at 10:31 in the video).
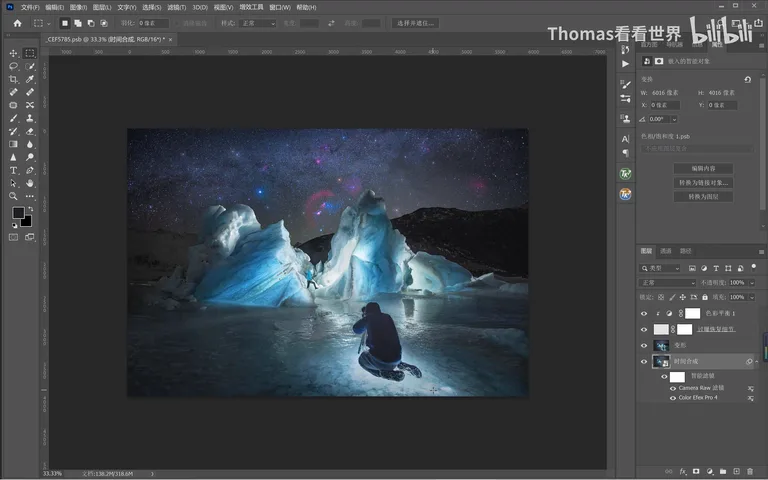
In the end, an ordinary headlamp pulls off a complex, three-dimensional 360-degree lighting job on a 7-8 meter iceberg. The technique underneath is the one modern landscape photography keeps reaching for — time blending: hold the camera still, assign each frame one part of the picture, shoot the sky separately on an equatorial mount with a modified camera, light one patch of the berg to perfection at a time, then merge the perfect parts into a beautiful modern landscape photo (at 11:05 in the video).
1. Ice lives on light: unlit, the berg is dirty and dull; even a headlamp can act as a field lighting kit; 2. Circle the berg with the headlamp for a dozen-plus minutes to collect light from every direction, then blend with Lighten groups and masks — time blending keeps each direction's best patch; 3. A dozen-plus plates, each with one job: a 3-second freeze for the figures, the sky on an equatorial mount with a modified camera, the ice lit patch by patch; 4. Finish properly: Topaz Denoise, star reduction to keep the subject dominant, Smart Objects for re-editability, then filters and spot repairs to polish the frame.
Glacier starry-sky 4K wallpaper download:
Link: https://pan.baidu.com/s/1UTlrtbAxl2CkSs6HE099Zw
Extraction code: 1234