Photography Tutorial · 2018-10-26
The Higher the Vantage Point, the Better the Photo?
Thomas Chu Photo
The higher the vantage point, the better the photo?
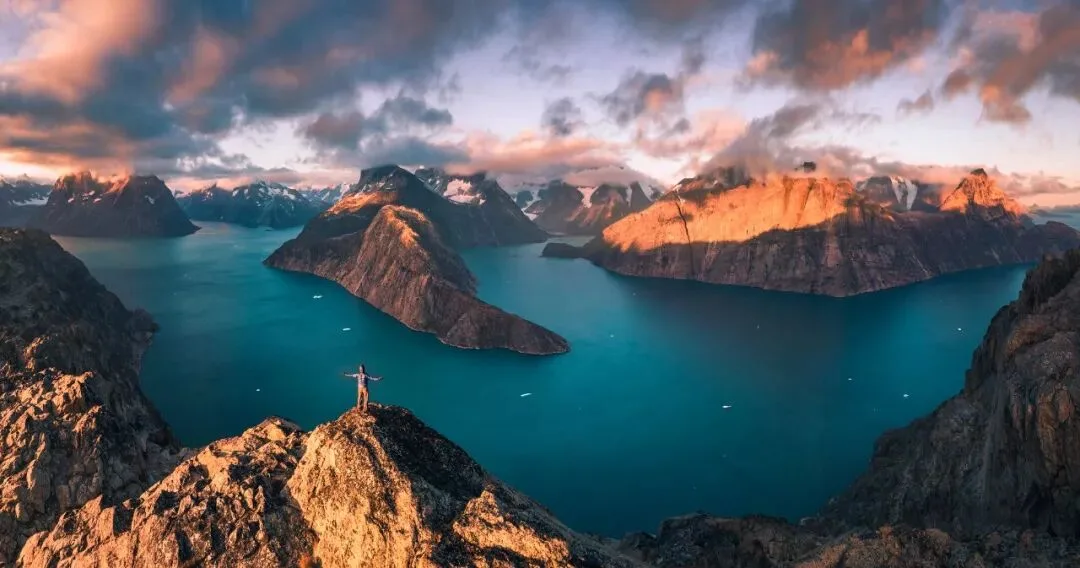
Aerial photographers often fall into a trap: when flying a drone, they want it as high as it can go. Safety aside — from a purely photographic standpoint, higher is not always better.
1
The Right Height Best Reveals the Subject
The lower the drone flies, the more you see the subject's side.
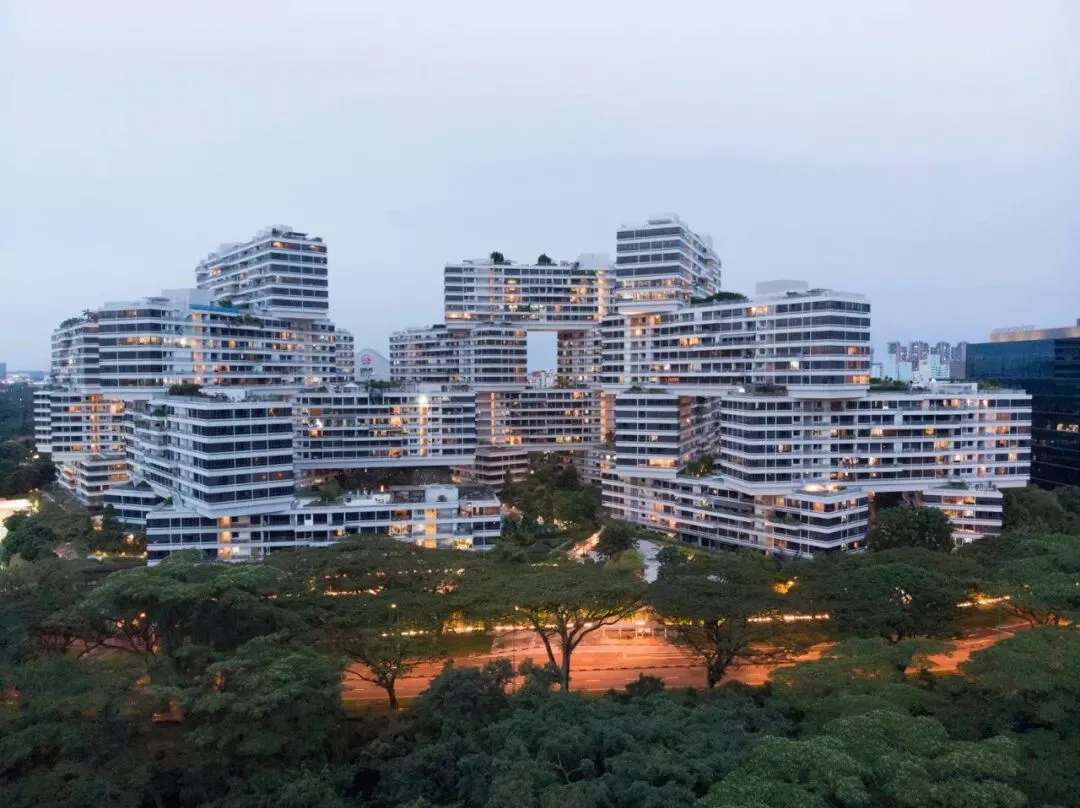
At a moderate height, you see both the top and the sides — great three-dimensionality.
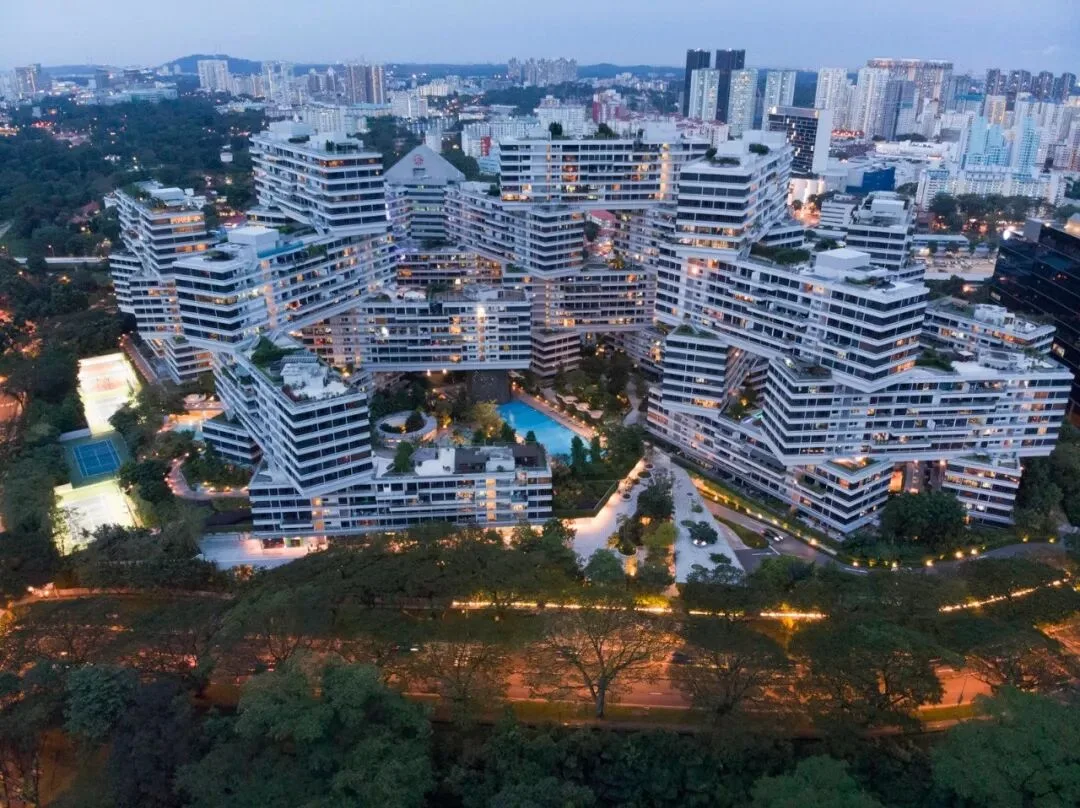
Fly very high and you mostly see the top; the photo flattens into a two-dimensional plane.
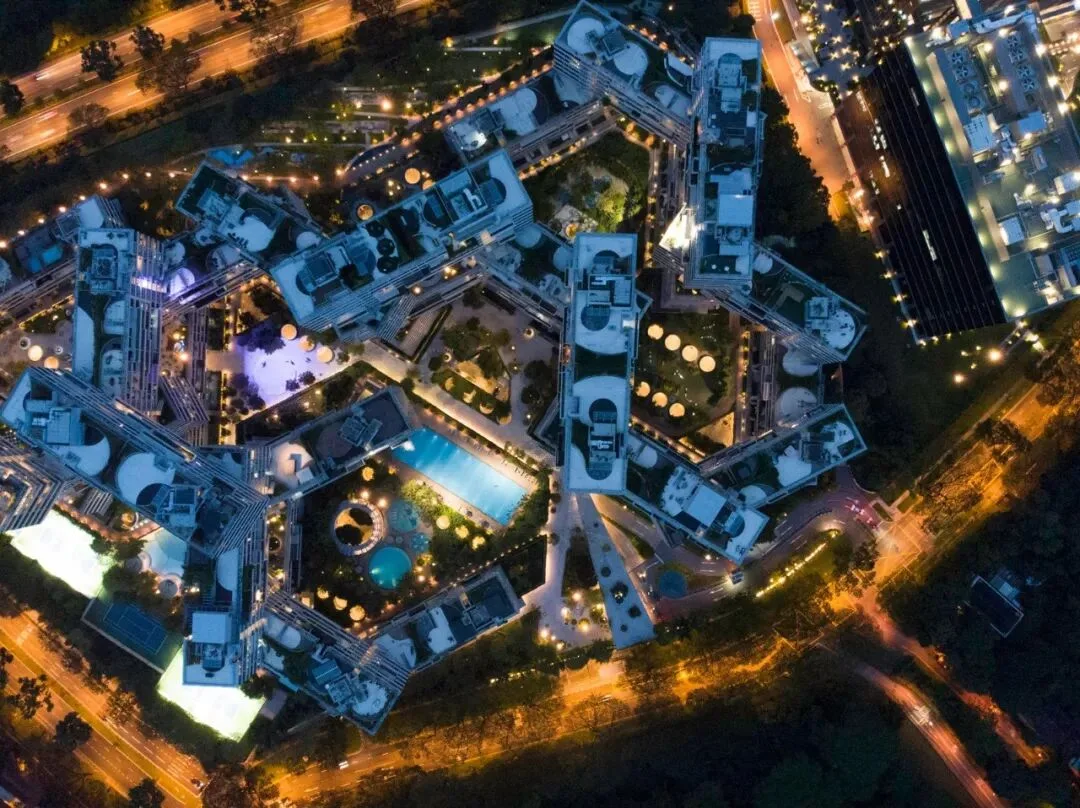
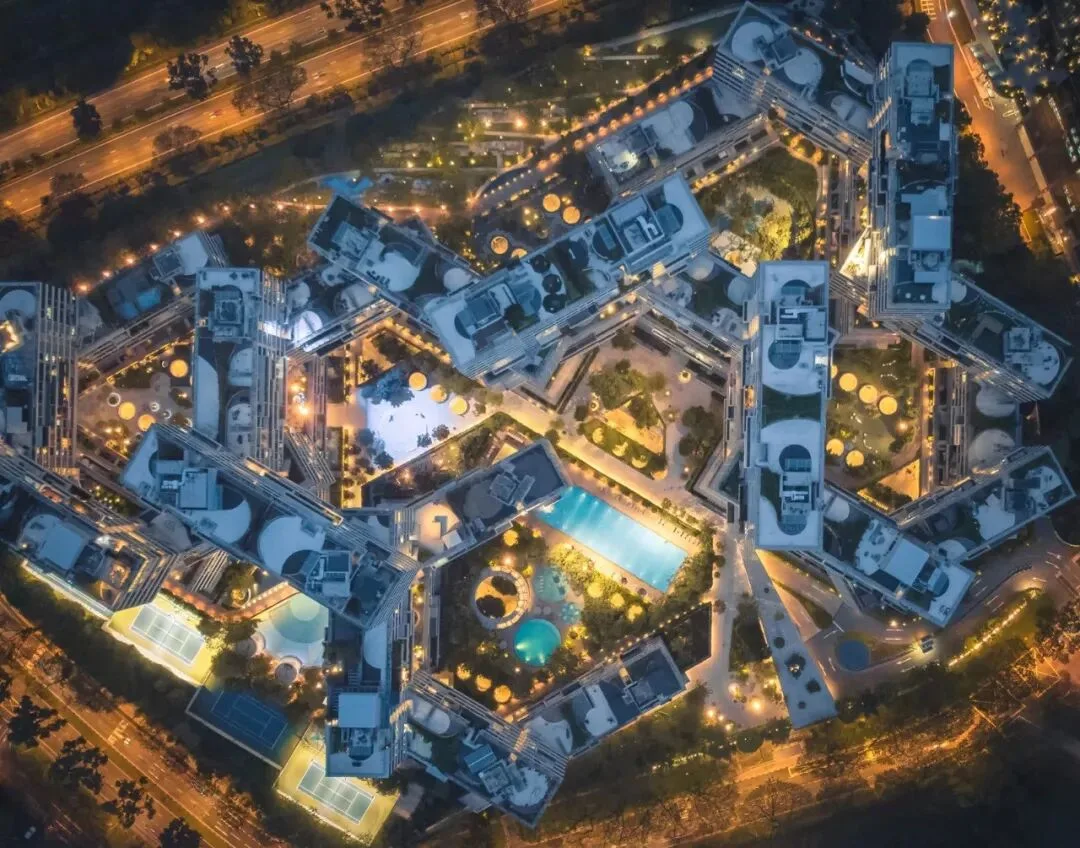
Take the building complex in the three photos above: I flew to a middle height to capture both rooftops and facades — that's when the complex looks most three-dimensional.
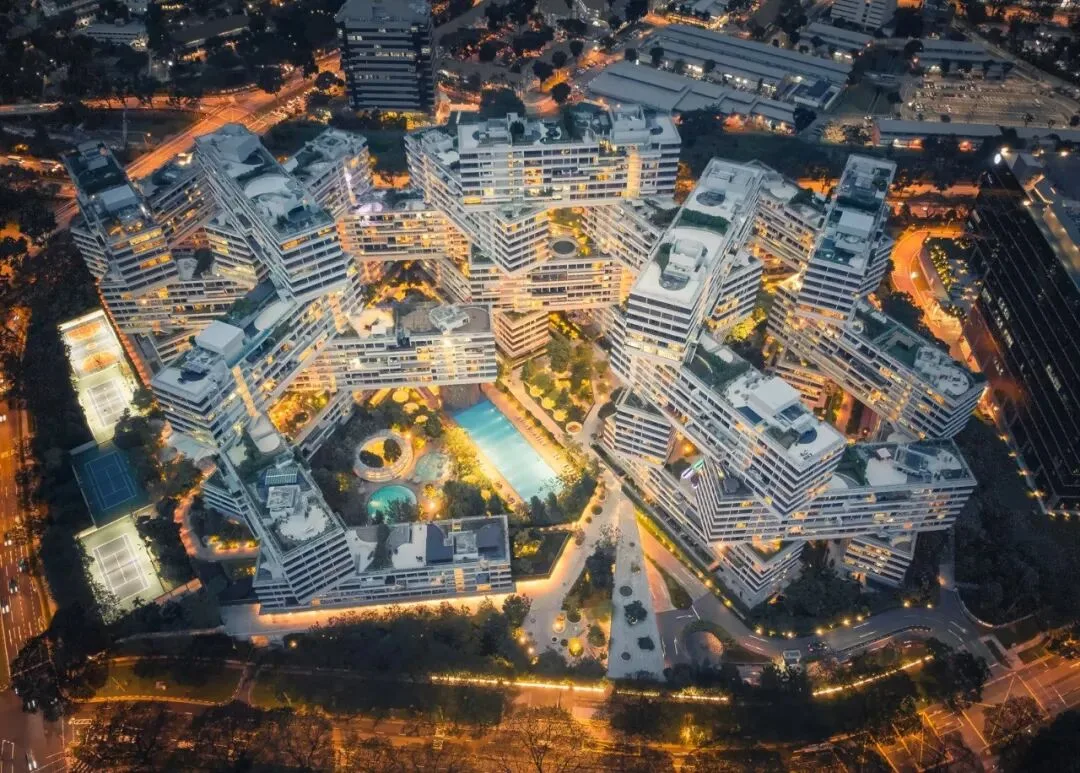
Of course, moderate height isn't automatically best. The point is to choose angles with character and expressive power based on the subject's traits.
With this same complex, I could also fly very high and shoot straight down at the rooftops, emphasizing only the two-dimensional geometric structure.
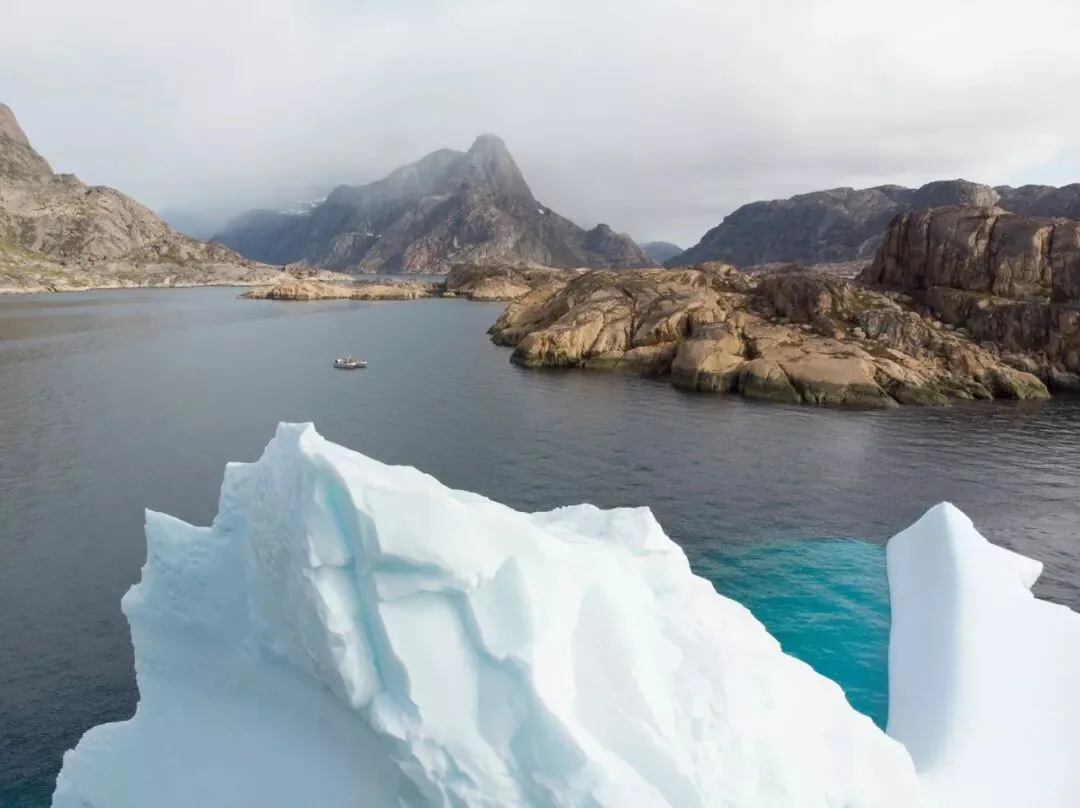
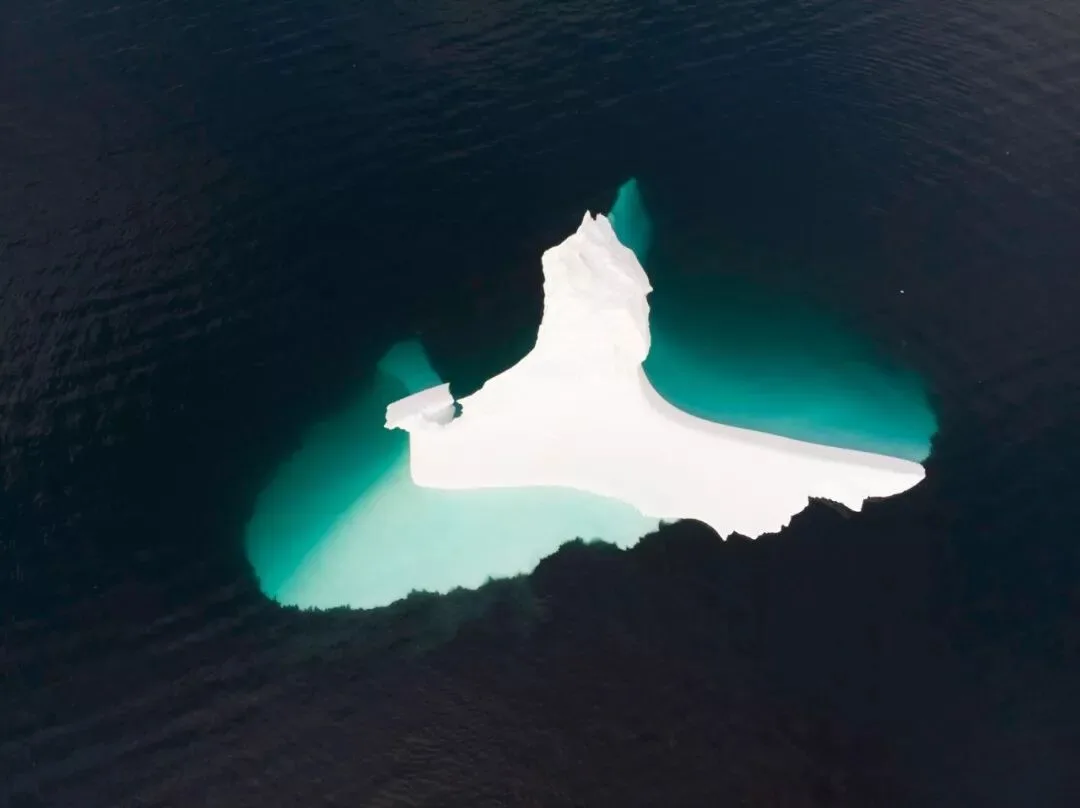
Below are three photos I took while sailing in Greenland — all of the same piece of Arctic sea ice.
In the first photo, the drone is low and you mostly see the ice's side. But the side looks much like any glacier we usually see — not very distinctive.
Next I flew the drone very high and shot the ice from above. From the top you can see much of the ice is hidden underwater, with beautiful colors. But this isn't the best angle either.
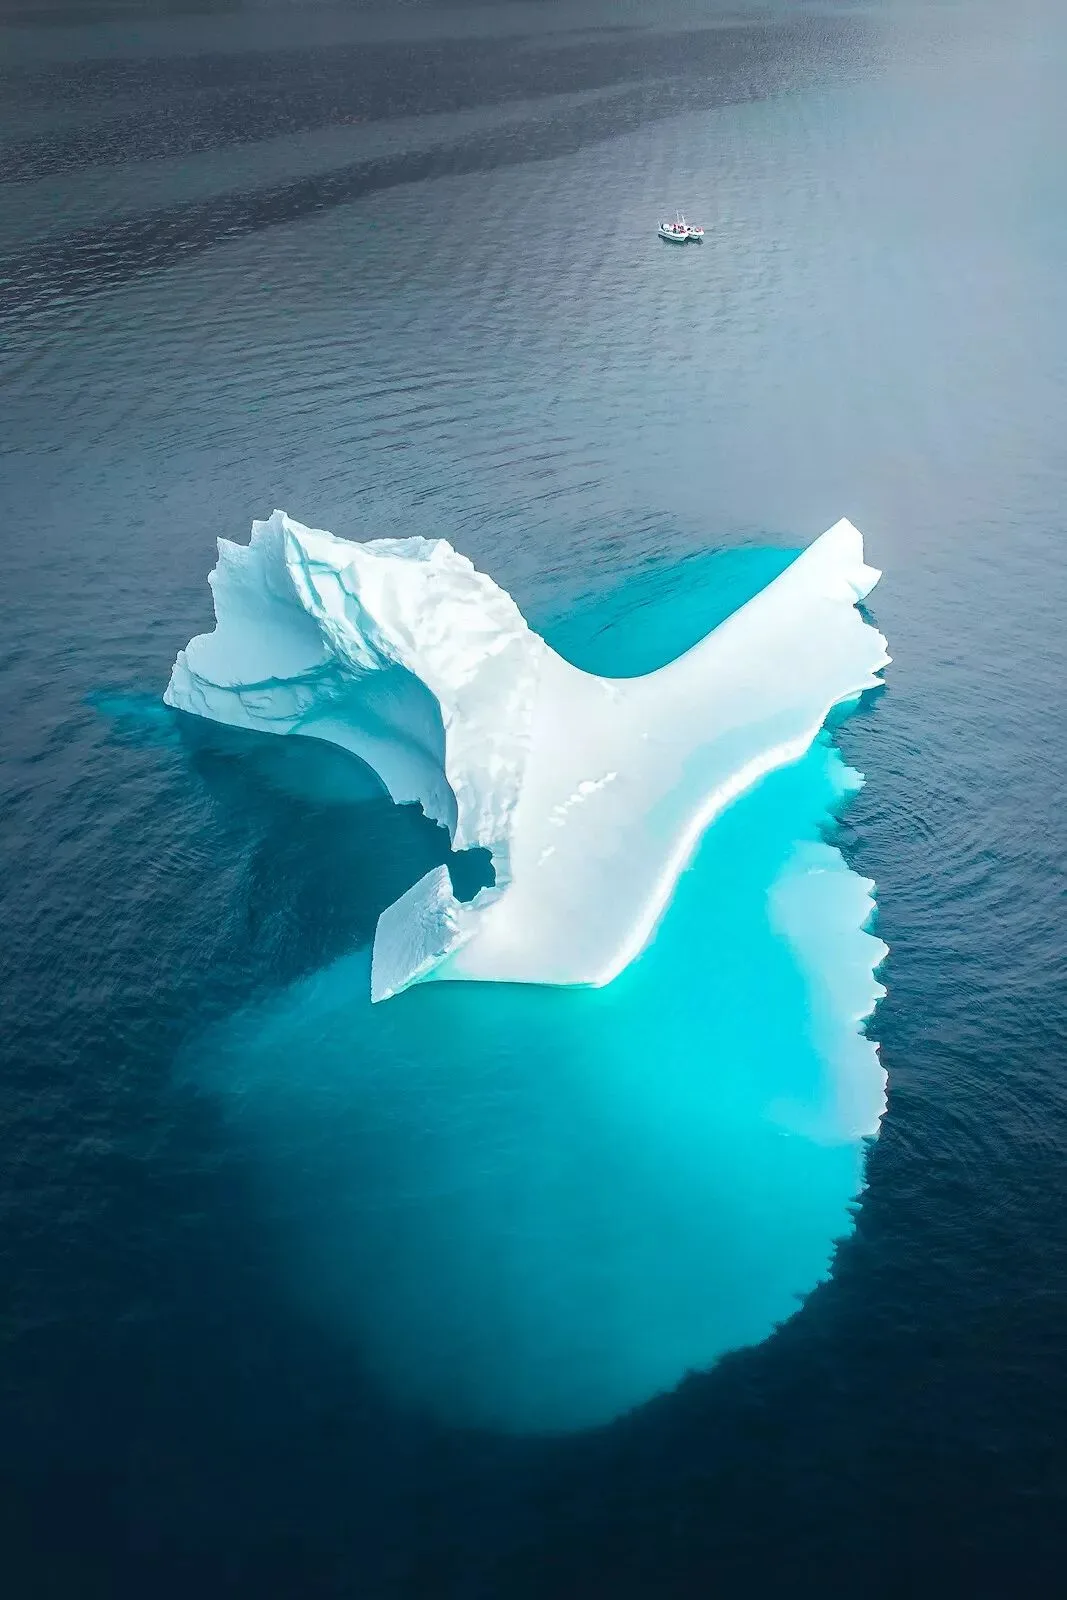
In the last photo, I flew to a moderate height, capturing both the top and the side of the ice.
From this oblique angle, the underwater portion shows more fully. And thanks to near-big-far-small perspective, the front of the ice looks exaggerated and dramatic.
Generally speaking, the higher you fly, the smaller and shorter objects appear.
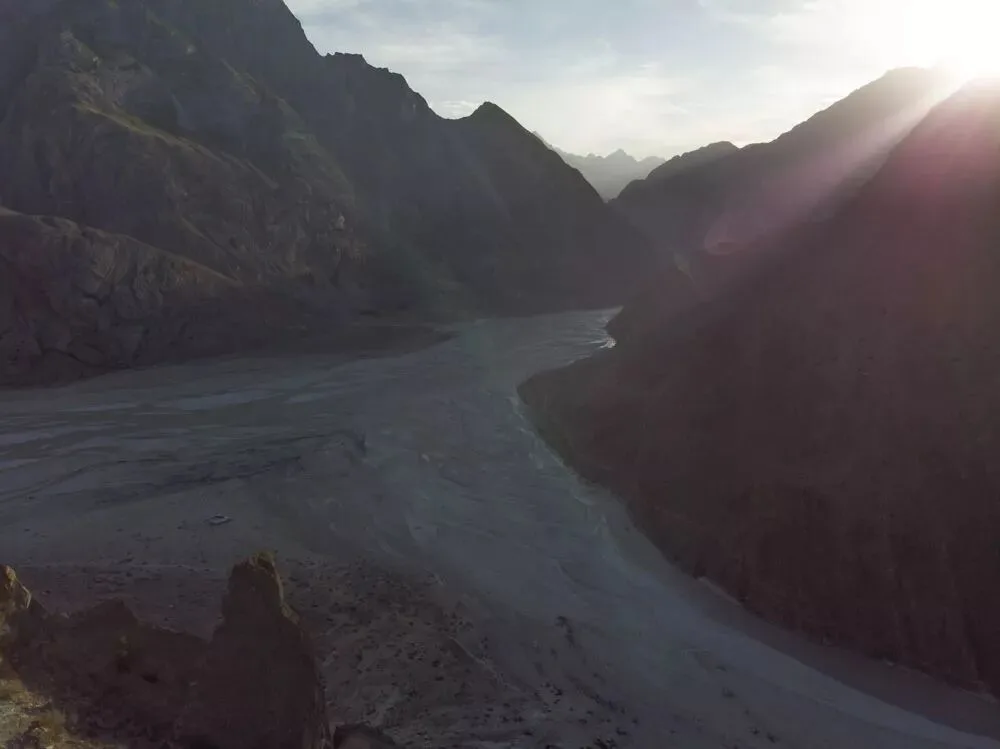
Below is a huge boulder jutting from a cliff. With the drone too high, the boulder's longest face isn't shown well, and it blends into the mountain behind — the boulder looks tiny.
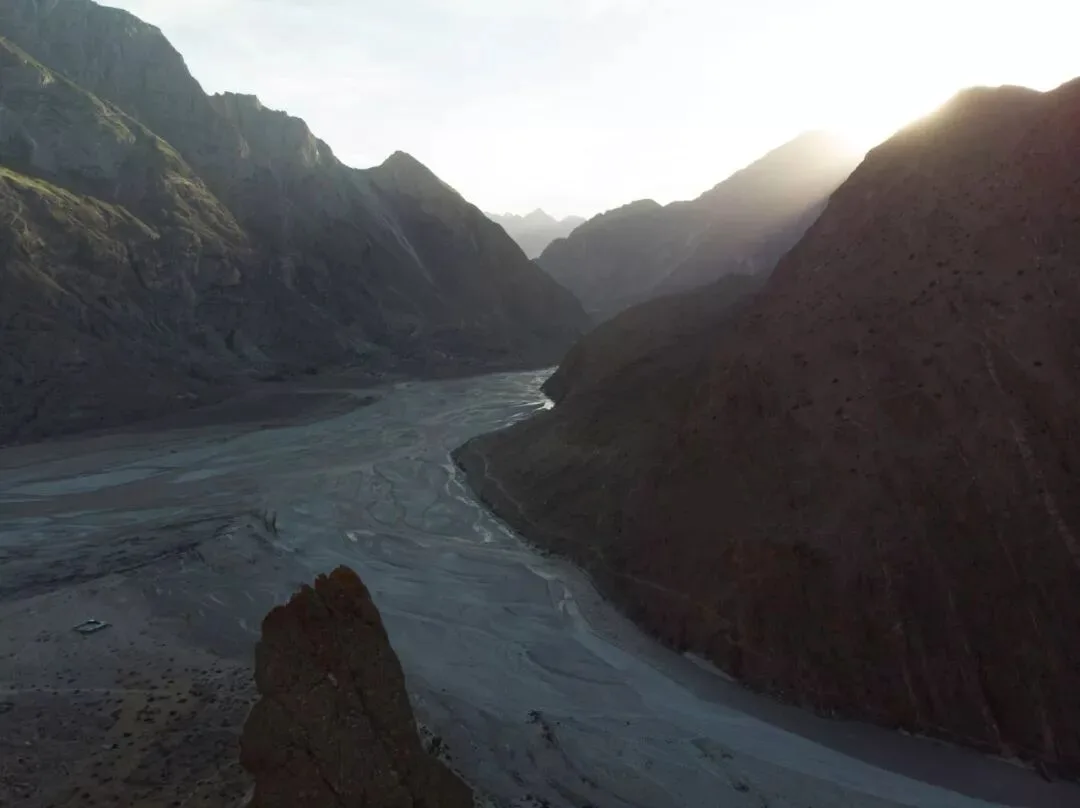
So I flew lower: the boulder's tall side is now fully revealed, and with the riverbed behind differing greatly in color and brightness, the boulder suddenly stands out, looking truly massive.
This DJI Mavic Pro photo uses the same principle: the drone is only a dozen meters above the person — yet that's what makes the figure and the cliff look most precipitous and towering.
In short, only the right altitude reveals the most distinctive side of your subject.
2
The Right Height Gives the Best Layering
In my article 'Making Photos More Layered and Three-Dimensional — On Building a Sense of Space', I mentioned that partial occlusion between objects enhances layering and spatial depth. Flying too low or too high both hurt that layering.
In the diagram below, the top shows the actual scene and the bottom the captured result. Suppose we're shooting two walls, one behind the other. If the drone stays near ground level, the front wall completely blocks the rear one.
The resulting photo shows only the front wall — no layering at all.
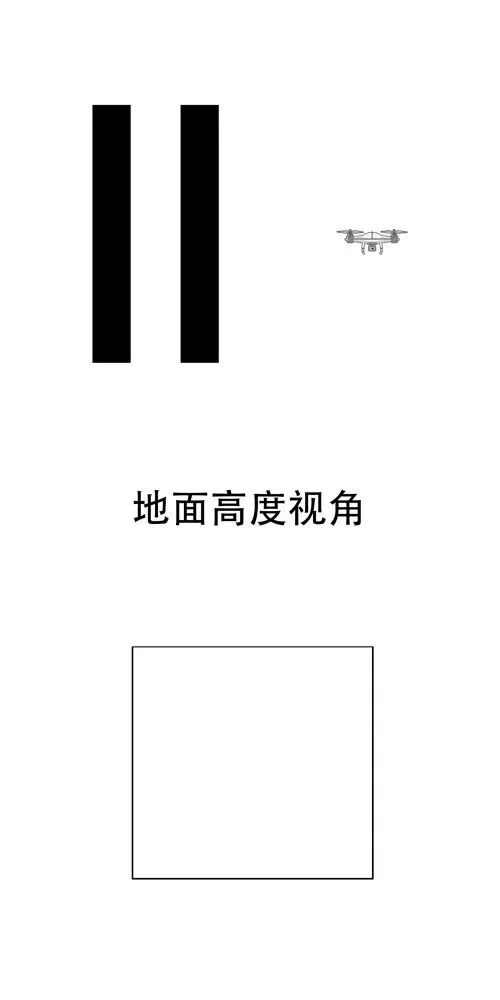
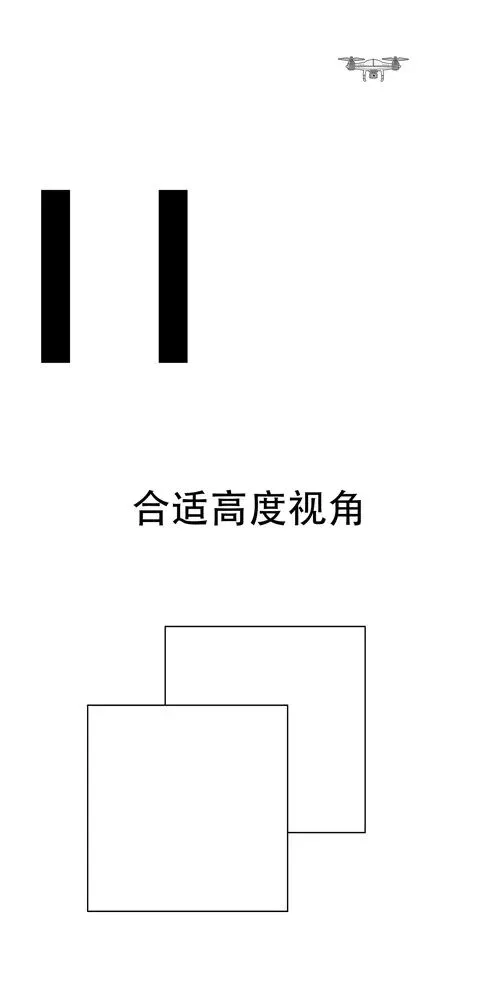
Raise the drone a bit and it looks down at both walls obliquely. The rear wall emerges, partially blocked by the front one.
That partial occlusion tells the viewer the lower wall is in front and the upper one behind — hugely enhancing the sense of space.
And if we keep climbing, what happens?
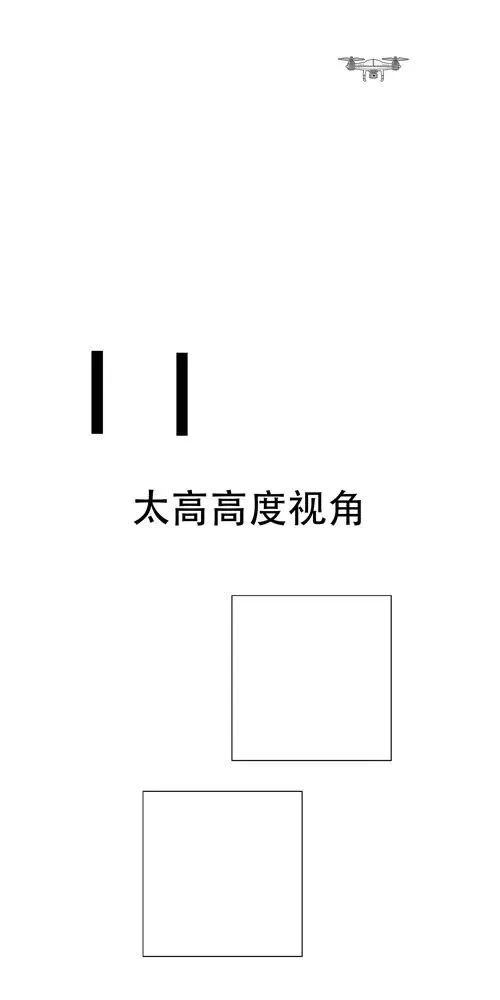
From too high, the rear wall is fully exposed in the frame.
Lacking the spatial cues that occlusion provides, the two walls look like they're at the same distance — the layering is actually worse than before.
So we discover: flying to the right height, where scene elements partially occlude each other, best expresses spatial depth.
Too low, and rear objects vanish entirely; too high, and objects separate completely — both greatly reduce layering.
The photo below was shot in Singapore with a DJI Mavic Air: the foreground is the petal-shaped ArtScience Museum, the background the skyscrapers of the financial district.
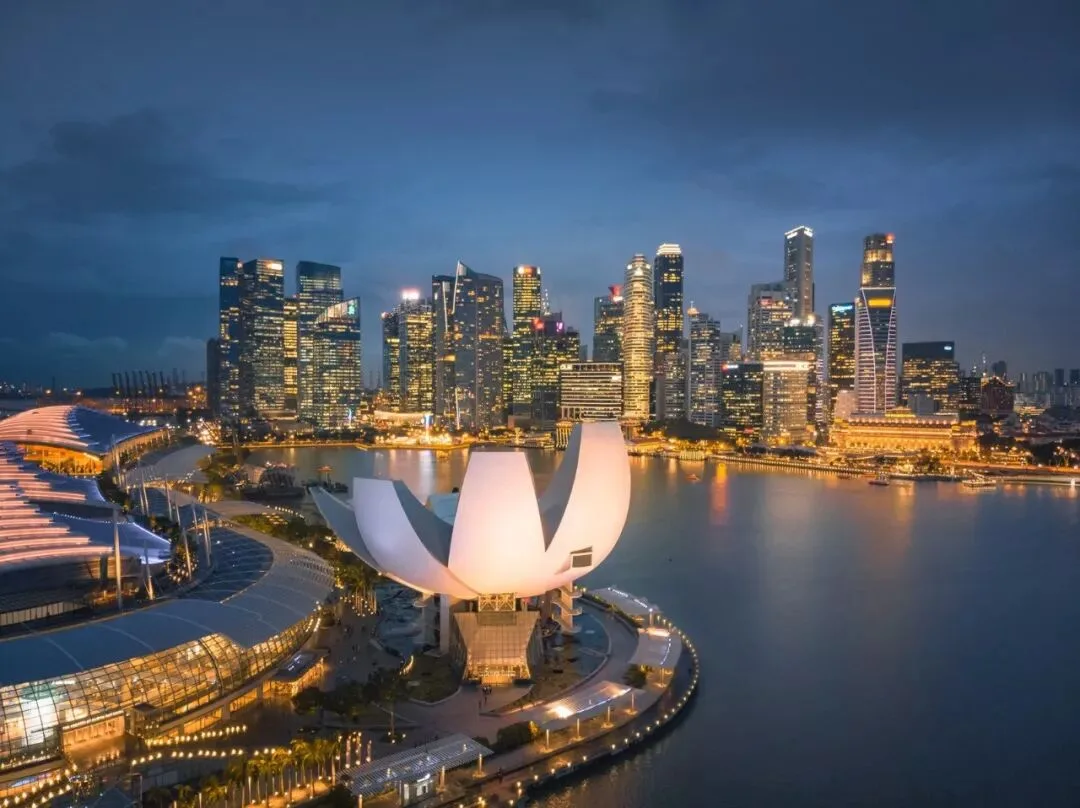
Notice that I didn't fly high — I deliberately let the petal building block just a sliver of the financial district. That improves the layering and tightens the composition.
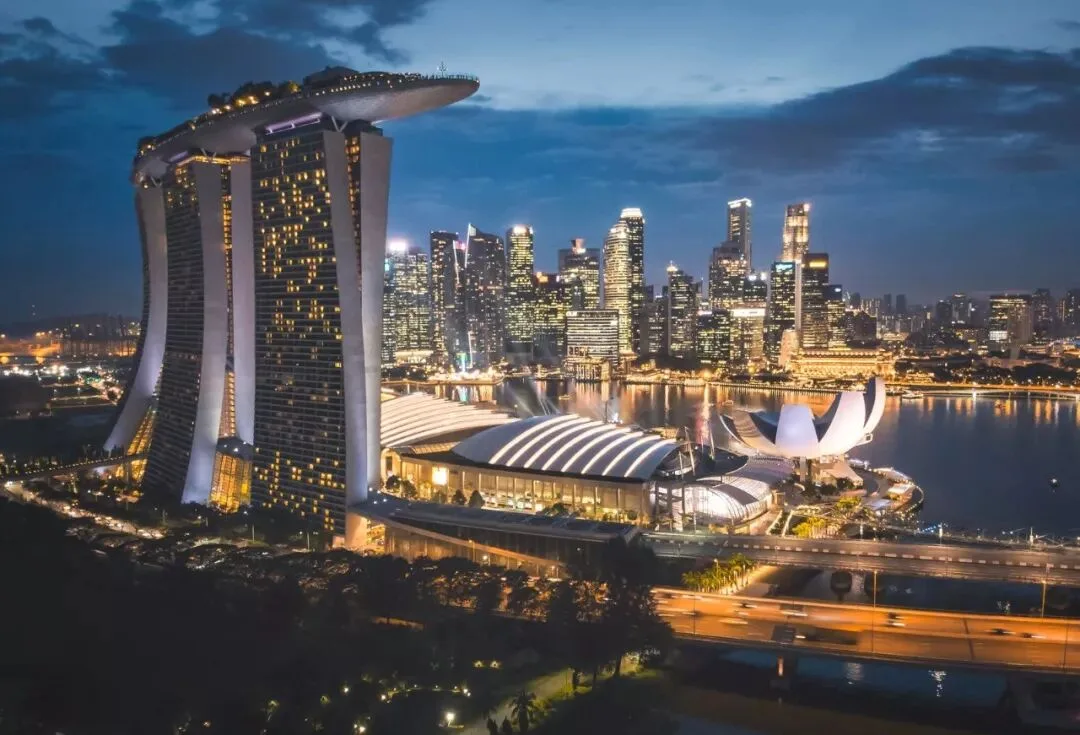
This aerial photo works the same way: the buildings intentionally overlap, greatly enhancing the layering and better conveying the city's grandeur. Flying higher would actually weaken the effect.
3
The Higher You Fly, the More Background — and the More Clutter
Generally, the higher you fly, the more background you see, and the richer the frame.
In this Mavic Air shot over Suzhou, the low altitude means the background is heavily blocked.
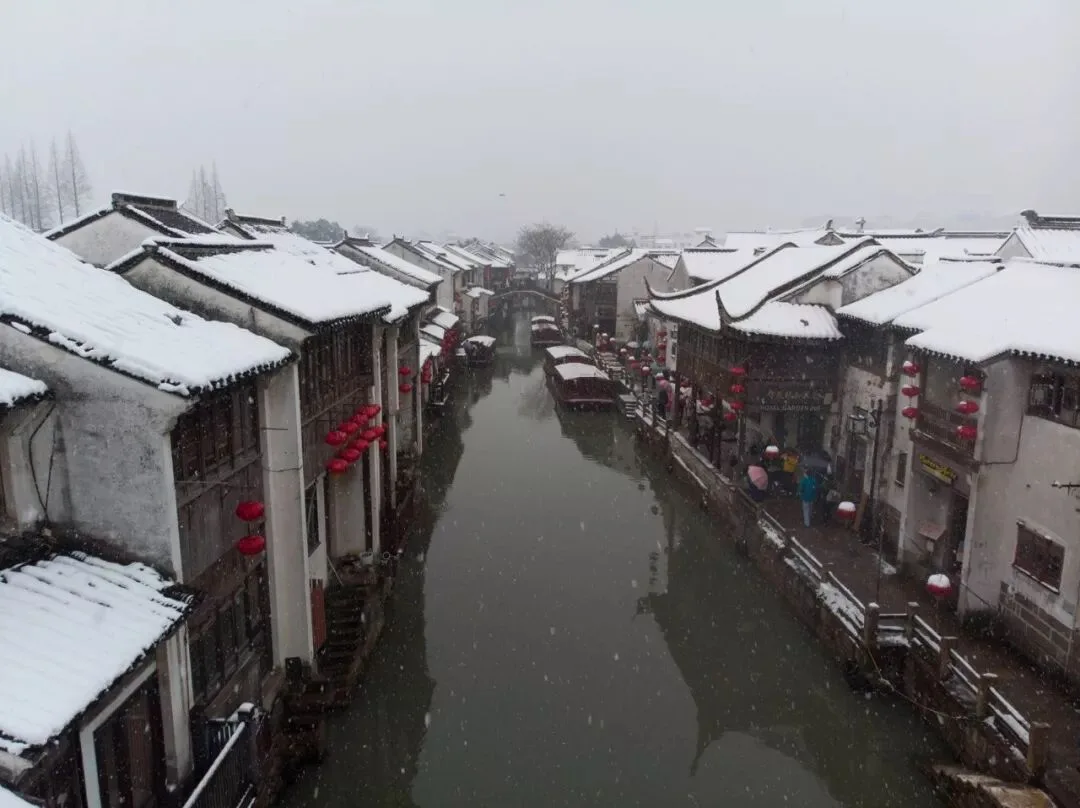
Fly higher and more buildings emerge.
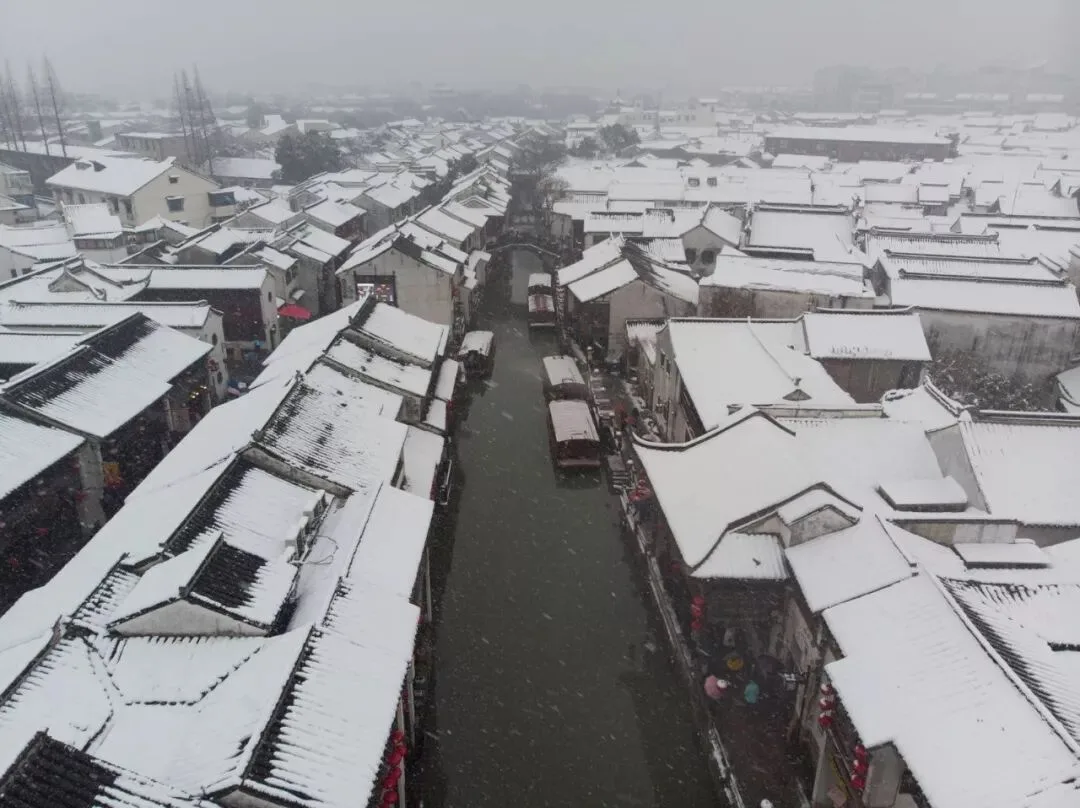
Higher still, and the entire old town spreads out below.
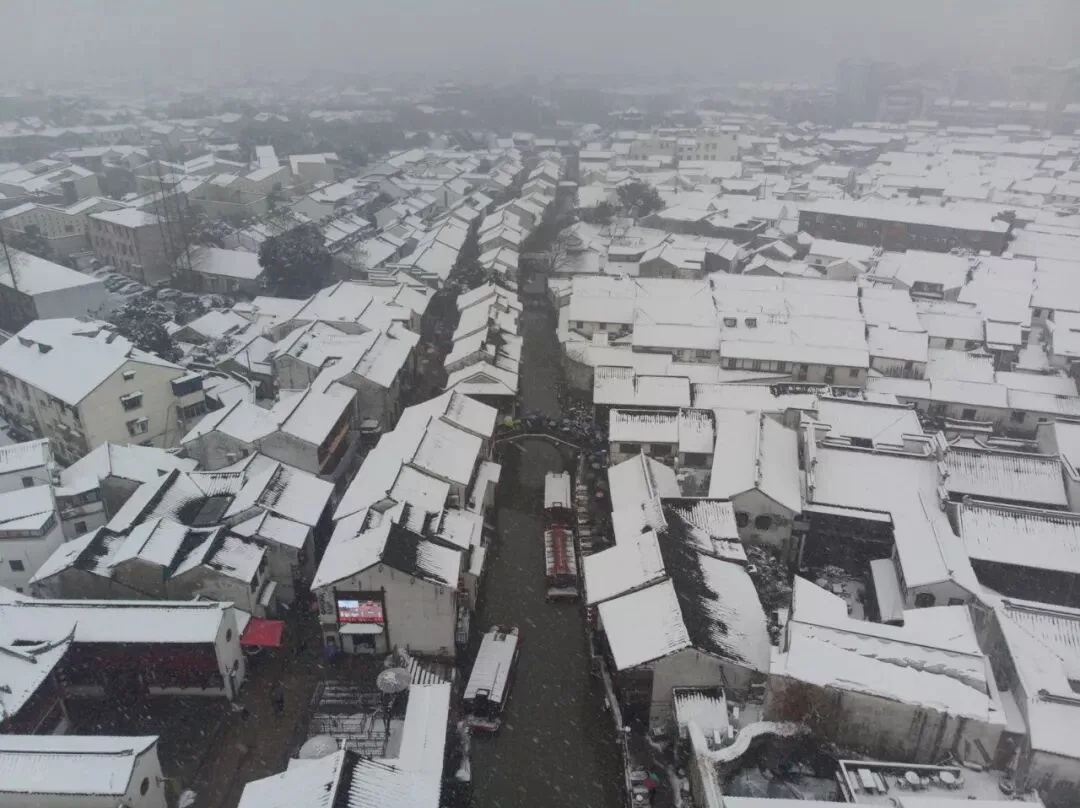
But flying too high has a side effect: more clutter enters the frame. The photo below, for instance, feels messy.
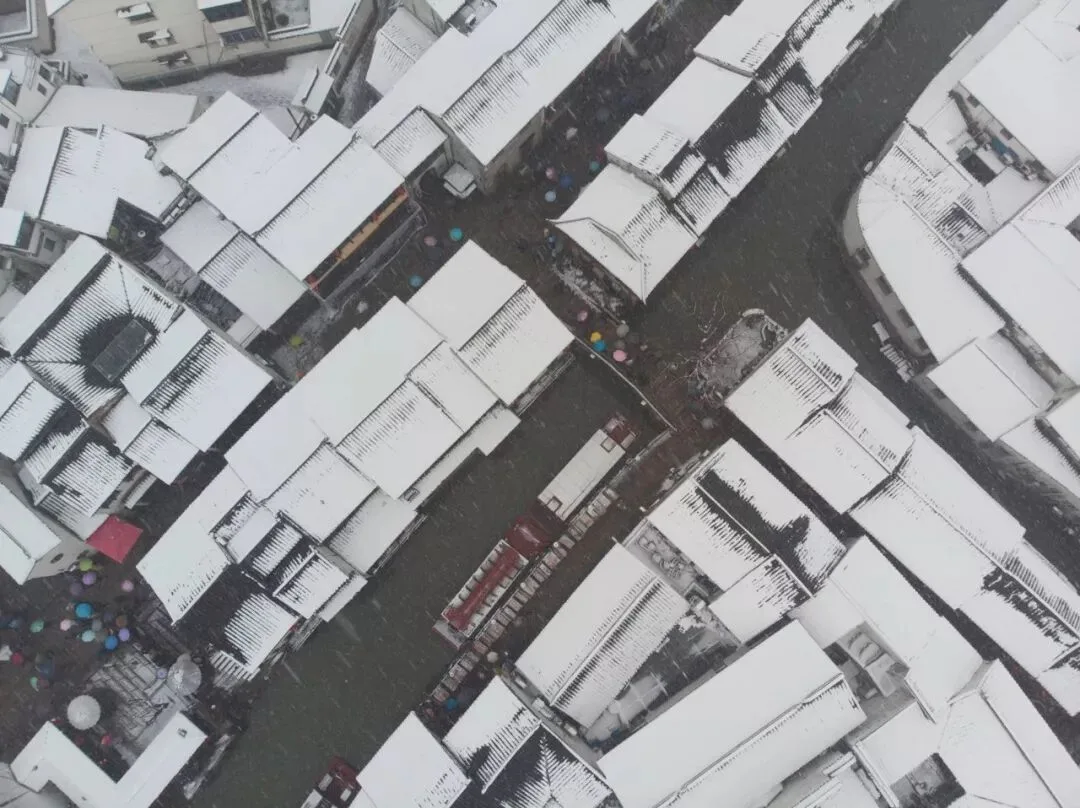
Flying a bit lower — letting the most interesting part of the scene fill the frame — actually makes the photo stronger.
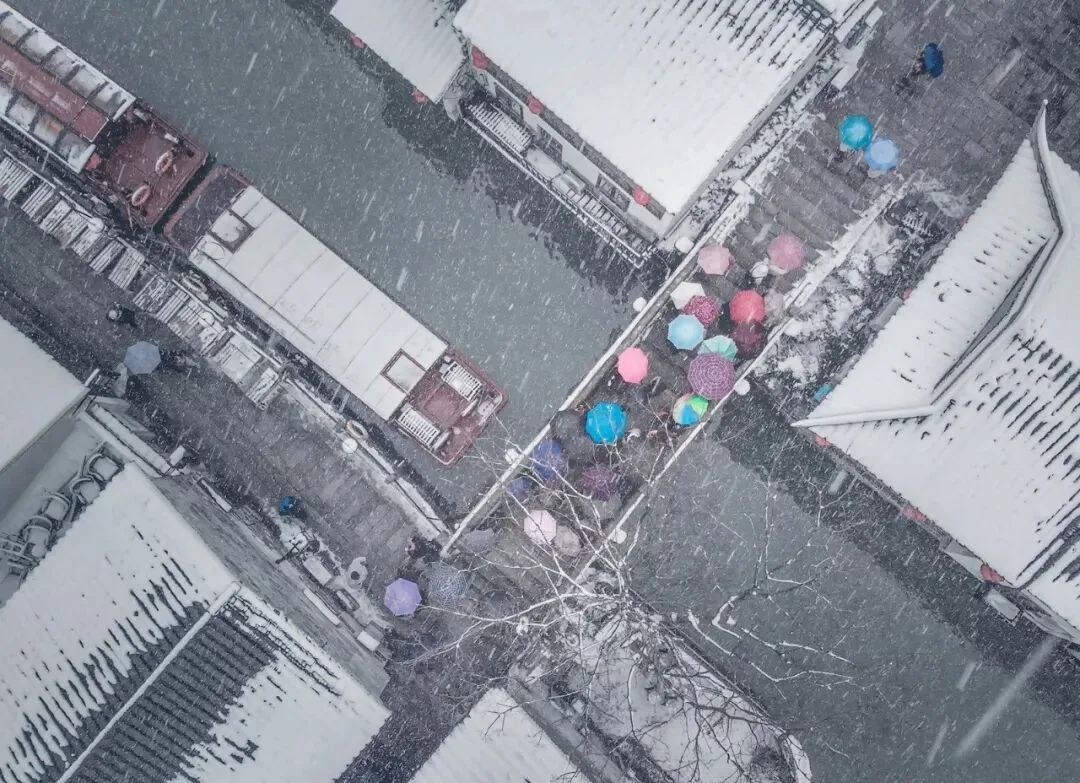
So when flying, we must balance background richness, subject size and clutter.
Take this Patagonia aerial: the drone is very high; the elements are small and slightly messy, but the frame is very rich.
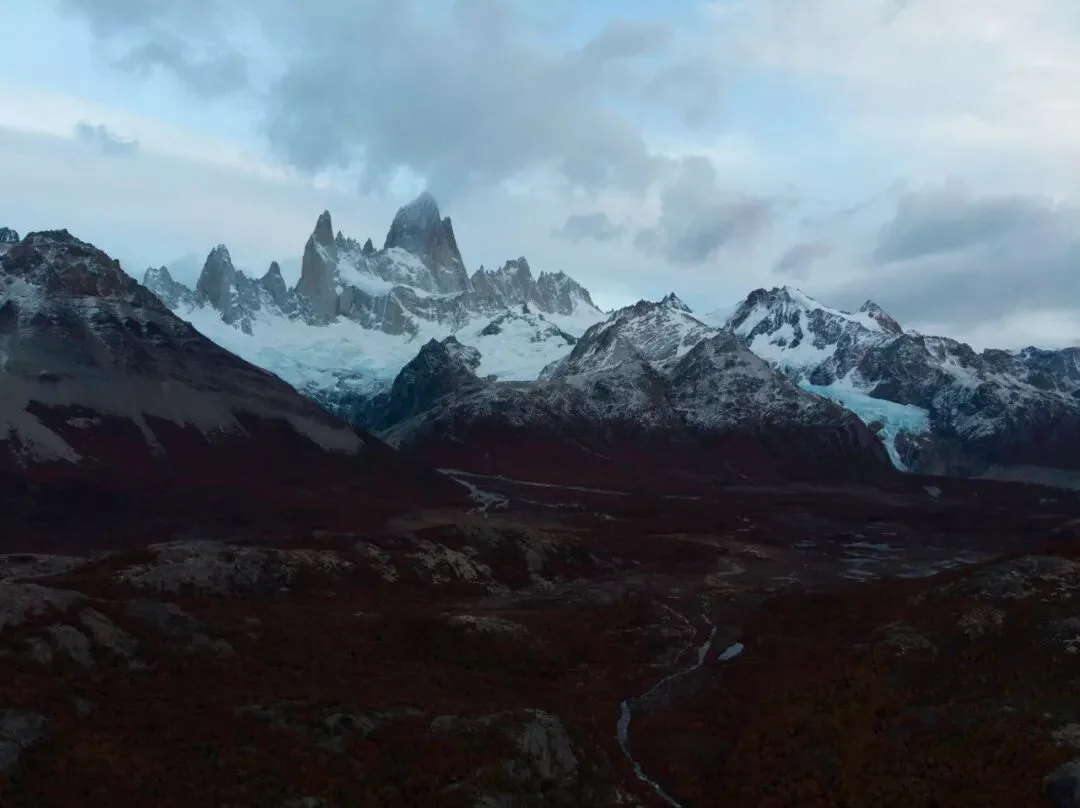
Fly a bit lower and the background richness drops slightly (the glacier on the right mountainside gets hidden), but the river stands out more and some of the messy bushes disappear.
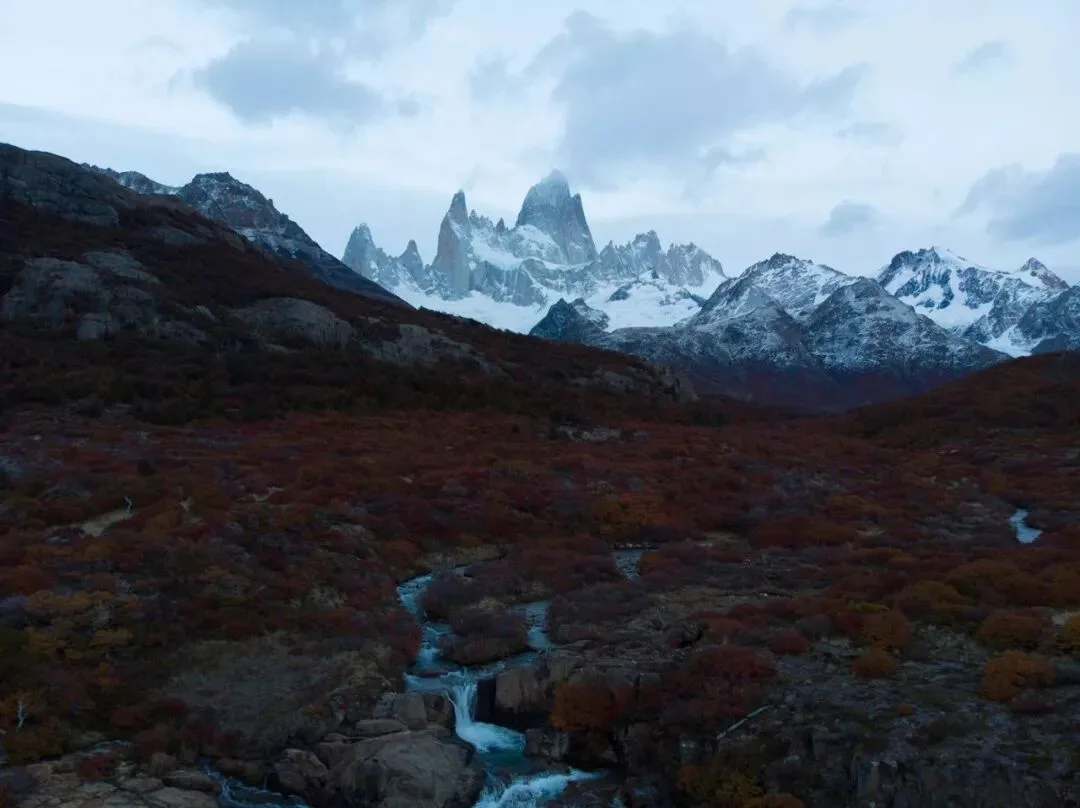
Lower still, and the waterfall and river dominate with rich detail and little background clutter. Of course, the lower angle sacrifices background richness — the distant lake and glacier from the first frame are no longer visible.
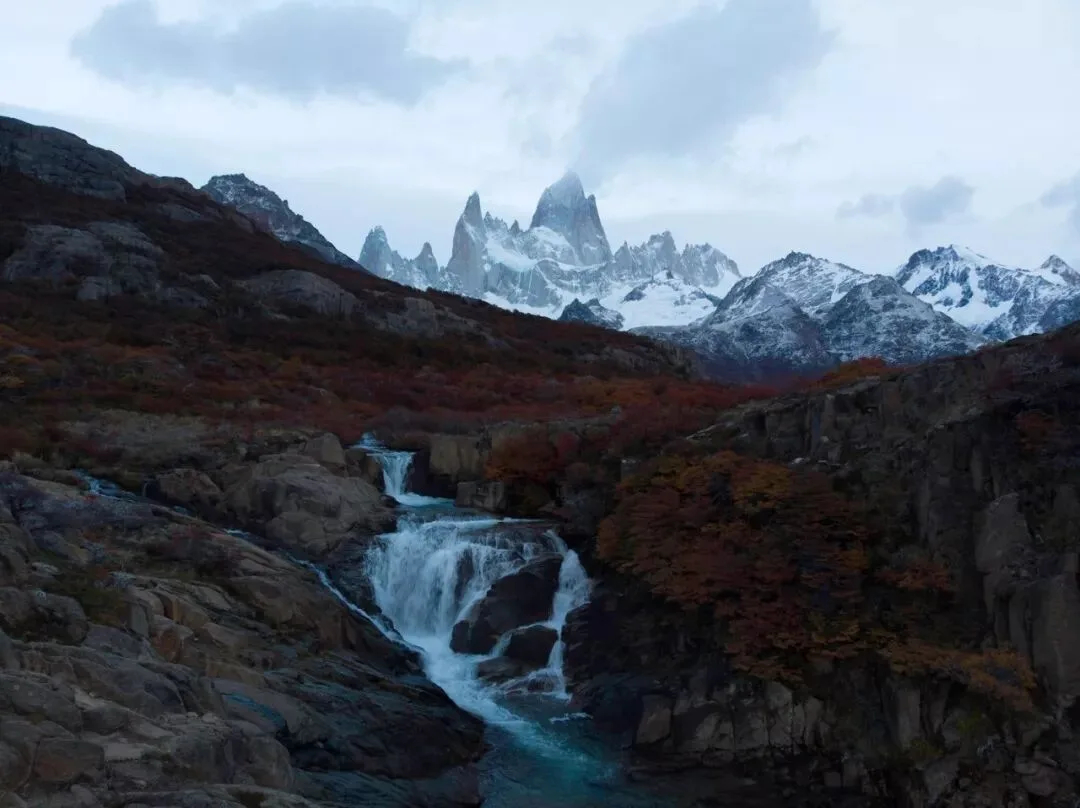
We need to fly to the height that matches what we want to emphasize, and compose accordingly.
If you want to showcase Patagonia's rich autumn colors, the first photo may serve best.
If you want to highlight the snow peaks mirroring the river, the third photo fits better.
In summary, aerial photography is not about flying as high as possible. Choose the altitude that best serves the layering you need, your subject's character, and the point you want to express.