Photography Tutorial · 2020-01-12
How Are These Epic Landscape Self-Portraits Made? The Interval Timer Mode Revealed
Thomas Chu Photo
Thomas has shot many landscape photos featuring people — quite a few of them self-portraits.
Many friends wonder: when you're alone outdoors, how do you photograph yourself with a camera?
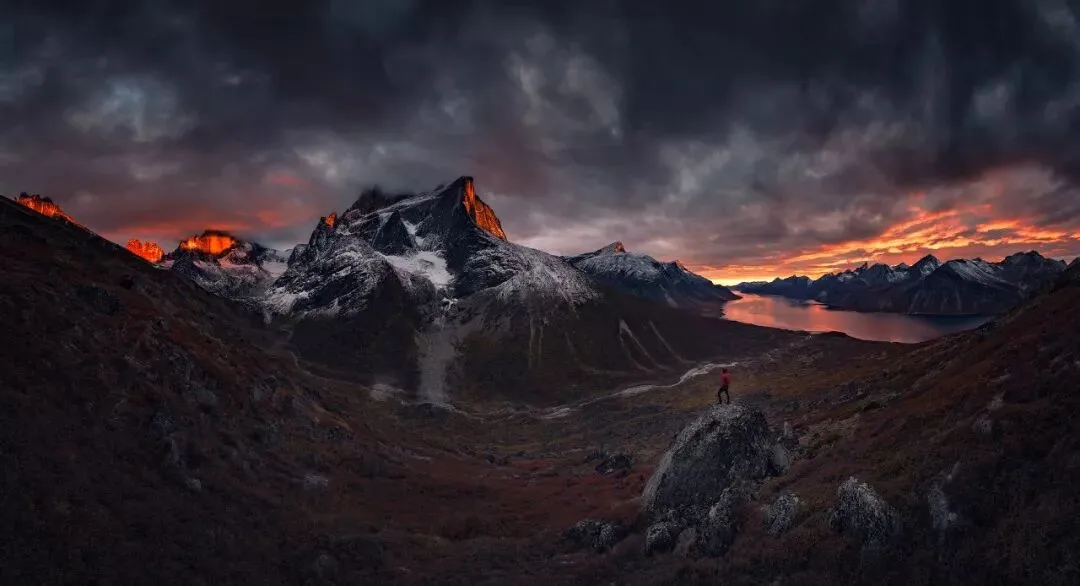
Today Thomas shares how to use the camera's 'interval shooting' mode or a remote control to leave your own figure in magnificent scenery.
Video Tutorial
▶ Watch the video tutorial on Bilibili
This is the fully illustrated companion to the video above. Thomas has shot many frames placing himself inside grand landscapes — a good number of them solo, thanks to the camera's interval-timer mode and a tripod. Using the Sony A7R3/A7R4 menus live on screen, the video walks from setting parameters to stepping into the frame, changing poses and culling back at the hotel; the keyframes below let you skim the framework before hearing the details.
First, what the method delivers: one person, one vast landscape, camera locked down and handed over to the interval timer — your only job is to walk in and perform. This write-up unpacks the full routine: tools, parameters, poses and culling.
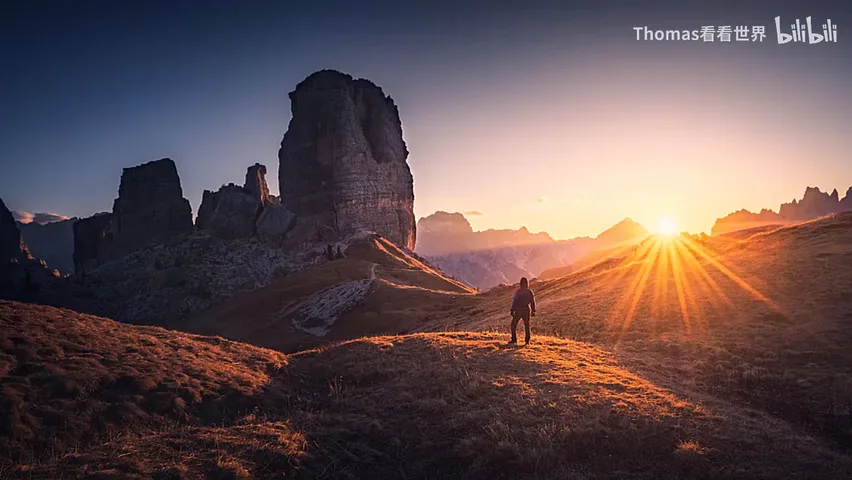
01 The Kit: Tripod Plus Interval Timer
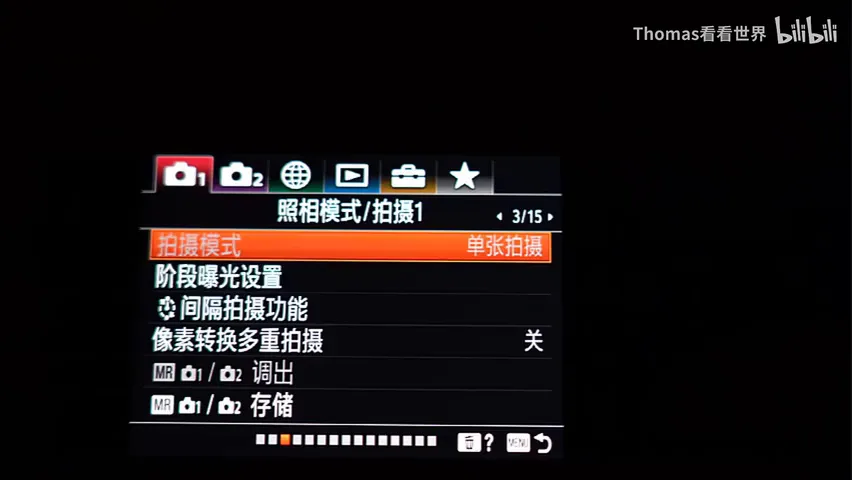
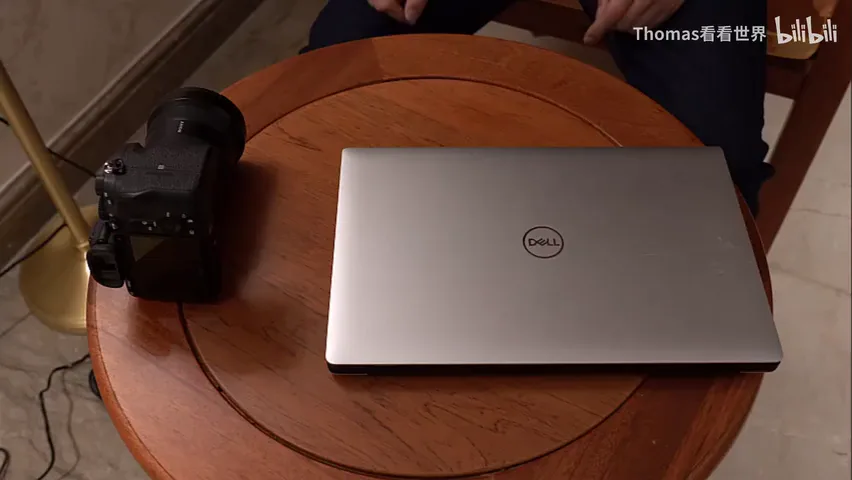
For landscape self-portraits, the tripod matters as much as the camera and lens: lock the camera down solidly and settle on your best composition. Then confirm the camera offers an interval-timer mode — on the Sony A7R3/A7R4 it lives on the third page of the shooting menu (at 1:40 in the video). If your camera lacks it, an intervalometer cable release bought online does the same job (at 1:20 in the video).
02 Three Parameters and You're Shooting
First, the "shooting start time": how many seconds after you press the shutter before the first frame. Thomas usually sets 5-10 seconds; if the spot is far — a minute's walk or more — set it to a minute and give yourself room to get there (at 2:02 in the video).
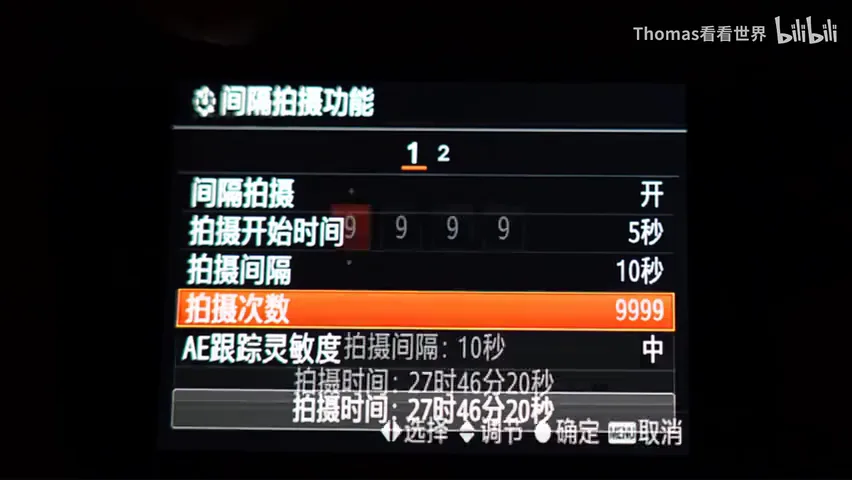
Second, the "shooting interval": the gap between frames, again 5-10 seconds works well. The camera then fires automatically every few seconds — every new pose, every new position, it records for you (at 2:32 in the video).
Third, the "number of shots": set 9999 or your camera's maximum — it simply keeps shooting until you press the shutter again to pause. When you're done, stroll back and press once more to end the interval run (at 2:52 in the video). For exposure, set M or aperture priority as usual; in the video it's ISO 100, 1/60 s, f/4 (at 3:08 in the video).
03 Step Into the Frame: Keep Changing Poses
Once the shutter is pressed, walk to your spot at total ease — the camera is already firing every few seconds, and frames of you on the way are no problem, just delete them later (at 3:15 in the video). The great advantage of this mode is that you can keep changing your actions and states: spread your stance and pretend to photograph the distant icebergs, or crouch down for a close-up pose by the ice (at 3:36 in the video).
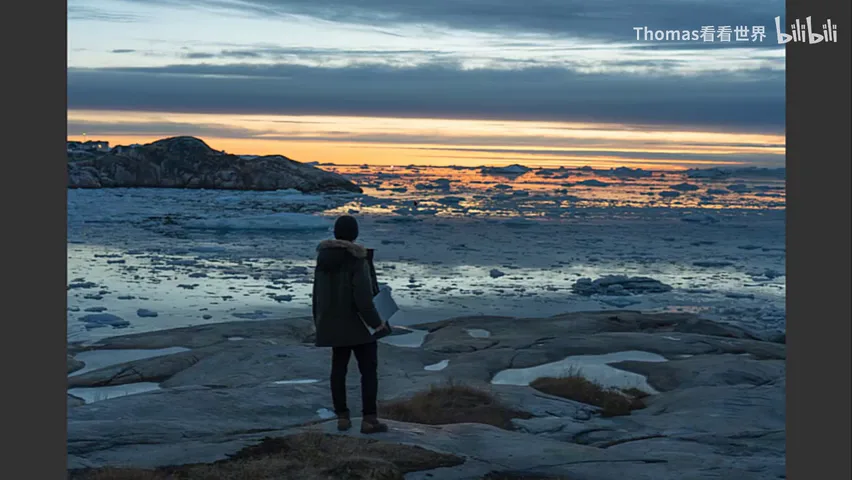
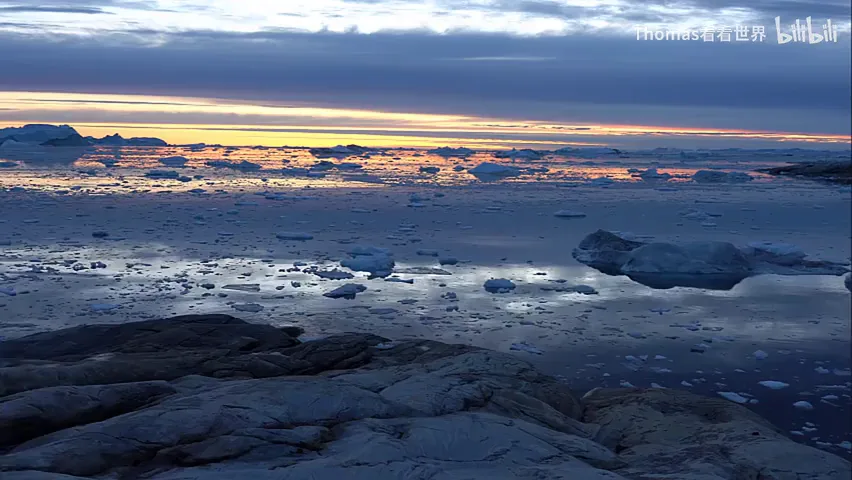
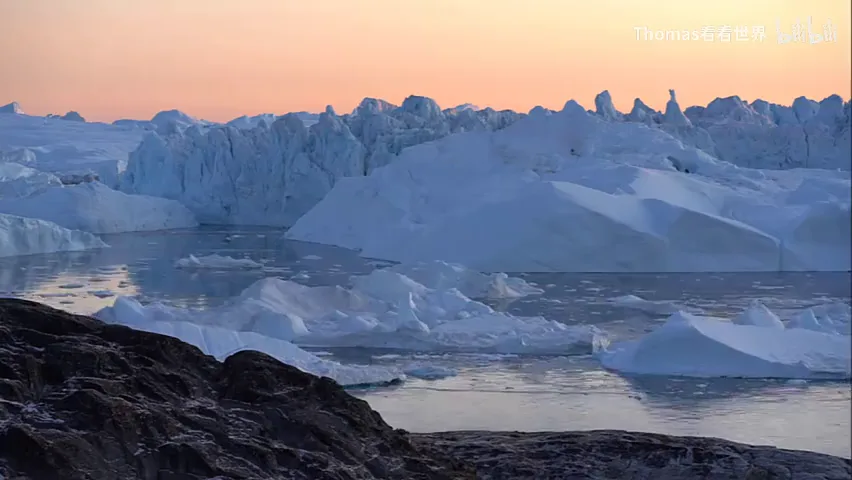
Because the camera never stops, among hundreds of frames there is always one that lands. In the video Thomas uses exactly this method beside an Arctic ice bay, coming home with a frame where he and the frozen landscape merge into one (at 3:48 in the video).
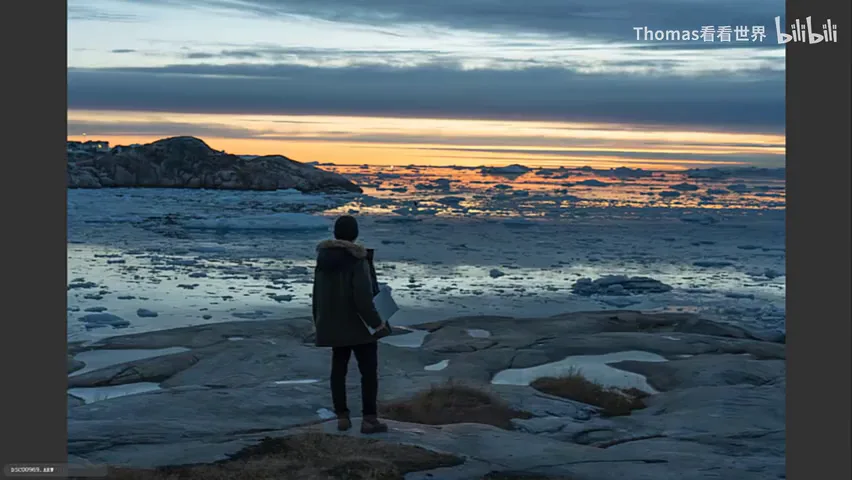
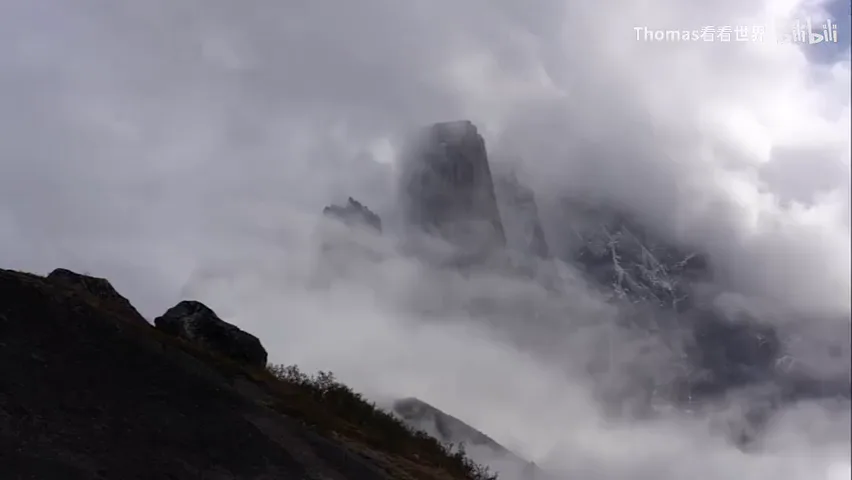
The second scene works the same way: framed with a medium telephoto, the rock in view is four or five minutes from the camera. Thomas climbs up while the timer runs — sometimes sitting and gazing at distant peaks, sometimes standing to switch his stance, even pulling out a phone and camera to pretend to shoot — then picks the best pose back home as his portrait with that landscape (at 4:21 in the video).
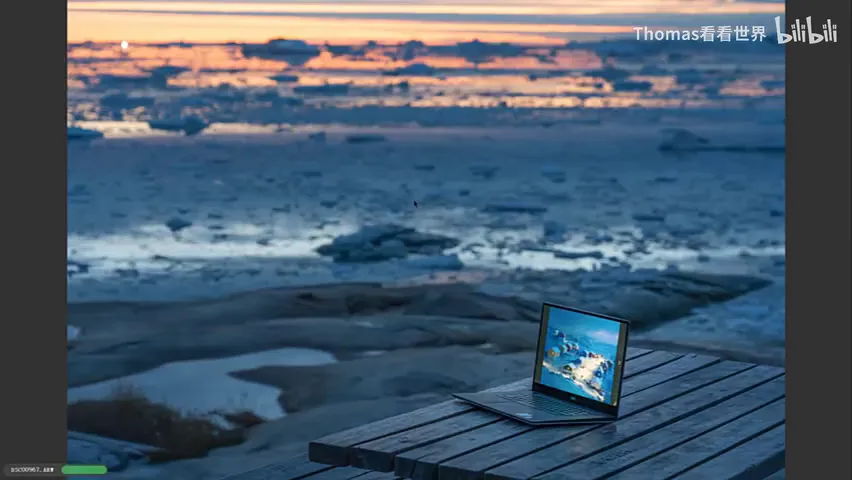
04 Culling: Stars, Labels and Filters
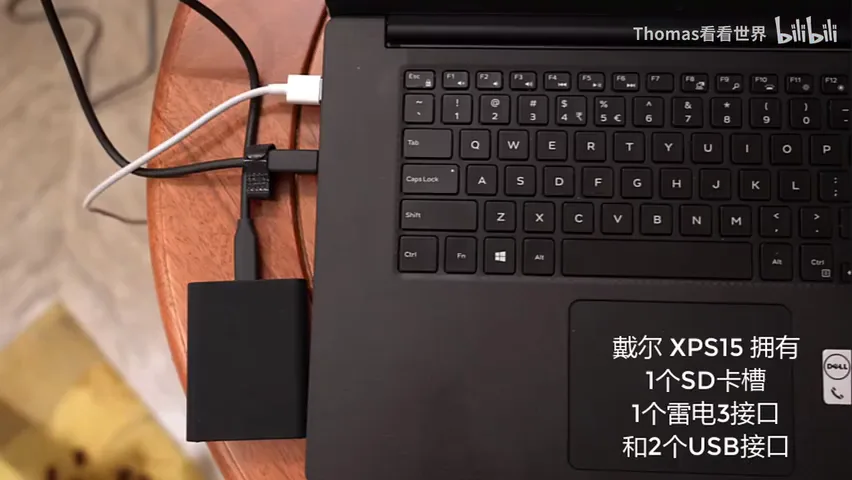
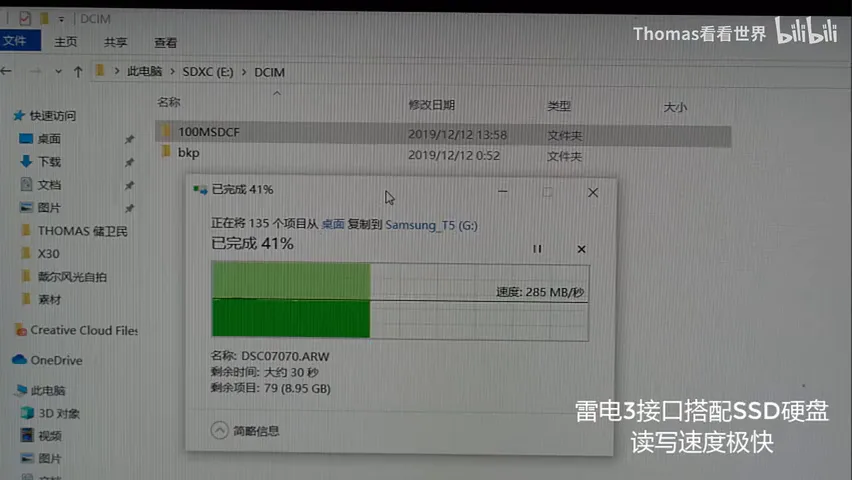
Interval runs generate a lot of material, so import the card to your computer promptly for culling and backup. In the video a card reader feeds the laptop and the frames are copied across (at 5:07 in the video).
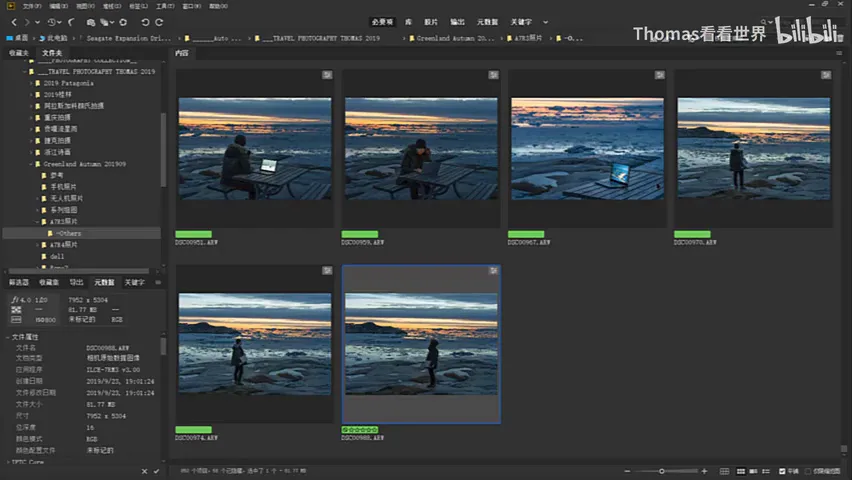
Cull in Camera Raw or Lightroom: hold the spacebar to zoom in and compare frames back to back — you'll find a whole series of poses at the same composition. Rate them with keyboard shortcuts: Ctrl plus 1-5 for one to five stars, marking quality from low to high (at 5:55 in the video).
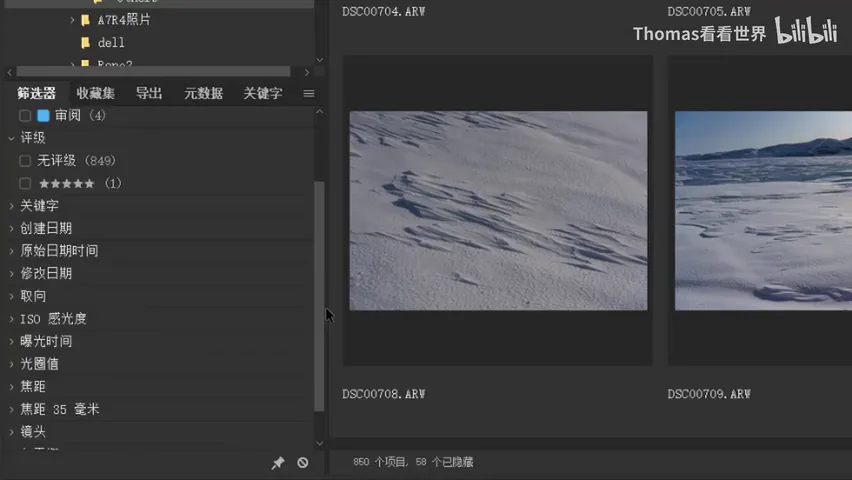
Even faster are color labels: Ctrl plus 6-9 tags frames with different colors; Thomas often uses Ctrl+9 for the cyan label meaning "decent — a candidate for the final pick" (at 6:20 in the video). Pair labels with the filter bar — show only cyan-labeled frames or a given star rating, or filter by aperture, capture date, ISO and more — and hundreds of frames narrow to a shortlist in minutes (at 6:37 in the video).
That's the whole routine: compose on a tripod, set three parameters, step into the frame and keep changing poses, then cull at the computer. You can place yourself gracefully inside a grand landscape entirely on your own — if the method yields keepers, share them with @Thomas Chu Photo on Weibo (at 7:14 in the video).
1. The core kit for landscape selfies is a tripod plus interval-timer mode — an intervalometer cable release substitutes if your camera lacks it; 2. Three parameters: start time 5-10 s (a minute for distant spots), interval 5-10 s, count 9999 until you pause manually; 3. The camera never stops — walk in, keep changing poses and states, and pick the most striking frame later; 4. Import and back up promptly, then use star ratings, color labels and the filter bar to narrow hundreds of frames to the final shot.
Safety note: when shooting self-portraits, keep your gear safe. This approach suits wilderness areas and domestic scenic spots — do not use it at urban attractions abroad.