Photography Tutorial · 2018-08-05
Understand Layer Blend Modes in One Article: Unlock New PS Editing Skills
Thomas Chu Photo
One tutorial every week, making photography easy to learn
Layer blend modes are an advanced stumbling block when learning Photoshop post-processing. Their rich variety provides powerful tools for all kinds of photographic post effects.
This article explains the fundamentals of layer blend modes in accessible depth, and quickly gets you comfortable with the modes most used in landscape post-processing.
1
The Simple Way to Blend Layers
To blend two layers together, we used to have only one tool: adjusting the layer's opacity.
With two layers stacked, when the upper layer's opacity is 100%, only the upper layer shows.
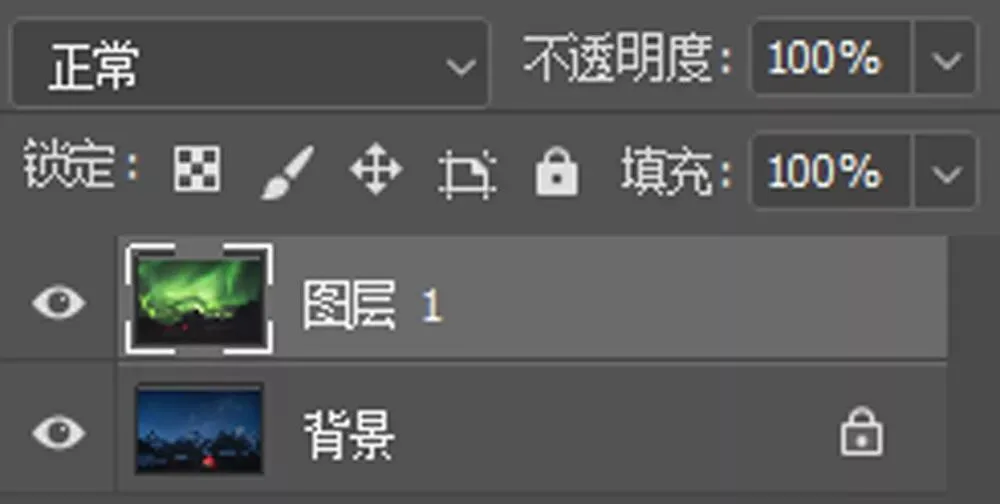
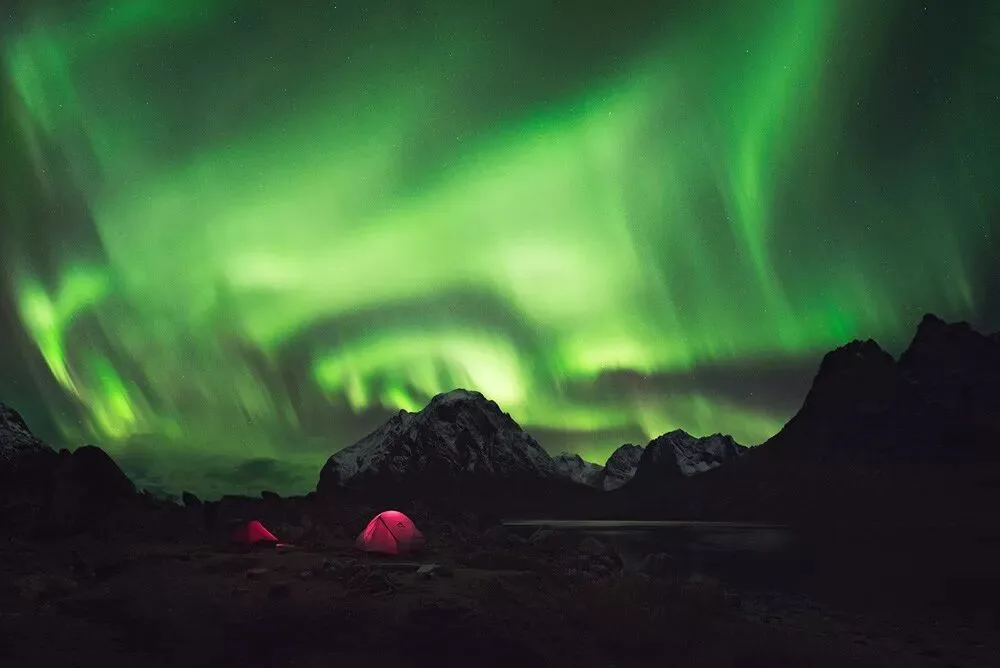
If the upper layer's opacity drops to 30%, it only partially covers the lower layer — the result shows 30% of the upper layer and 70% of the lower one, forming a blend.
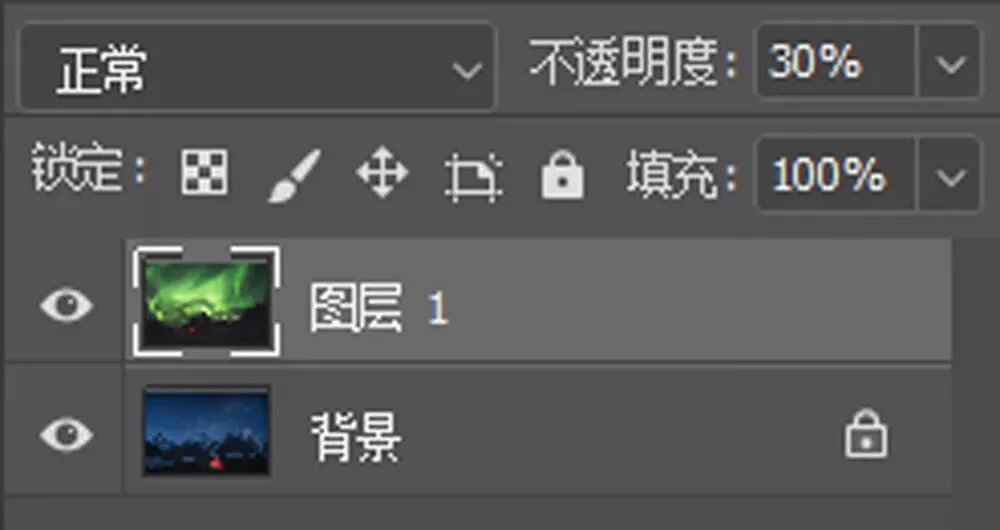
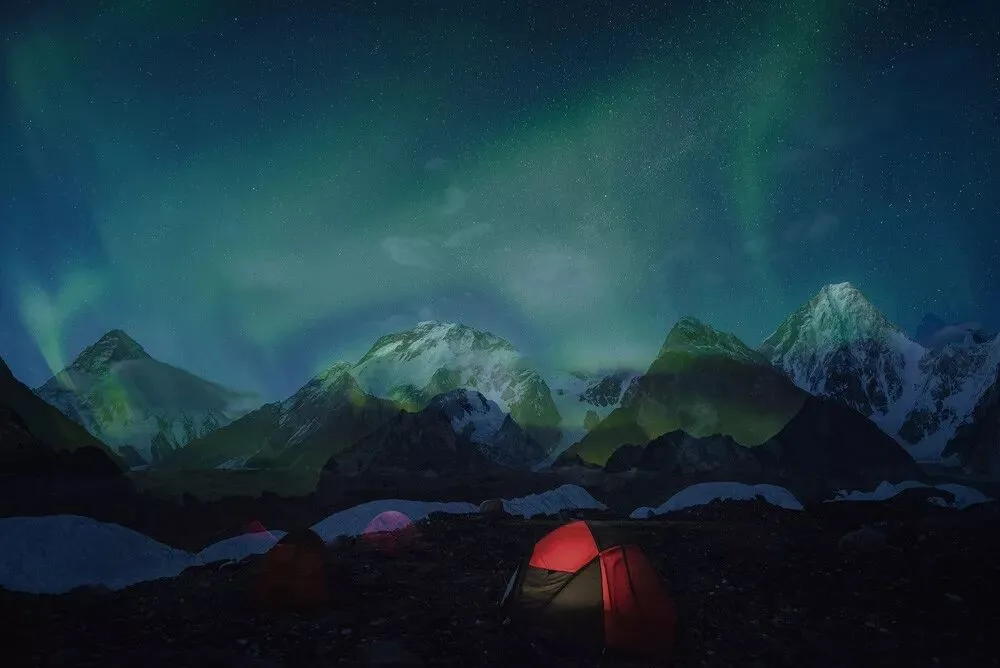
Opacity acts on the entire layer. To give different areas of a layer different opacities, use a mask. (For more on layers and masks, read "The Foundation of Photoshop: Layers and Masks.")
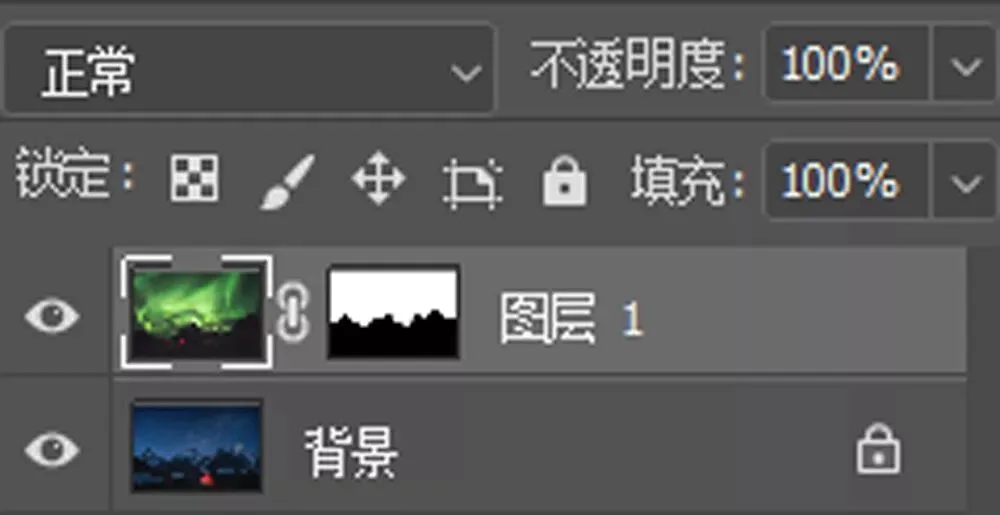
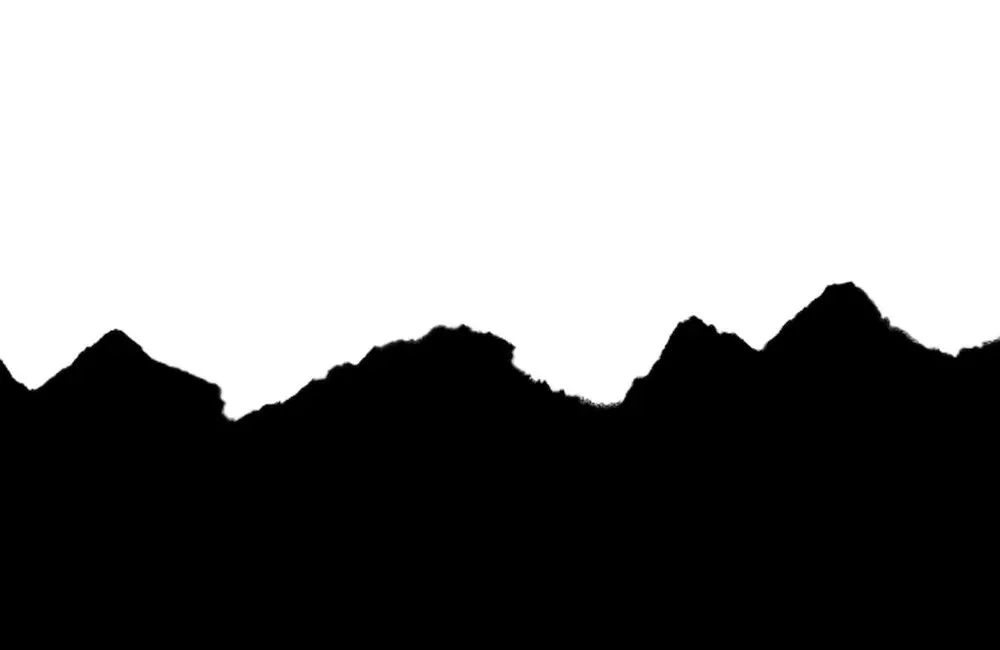
White areas of a mask mean those regions of the layer are 100% opaque; black areas mean 0% opacity; grey areas are semi-transparent.
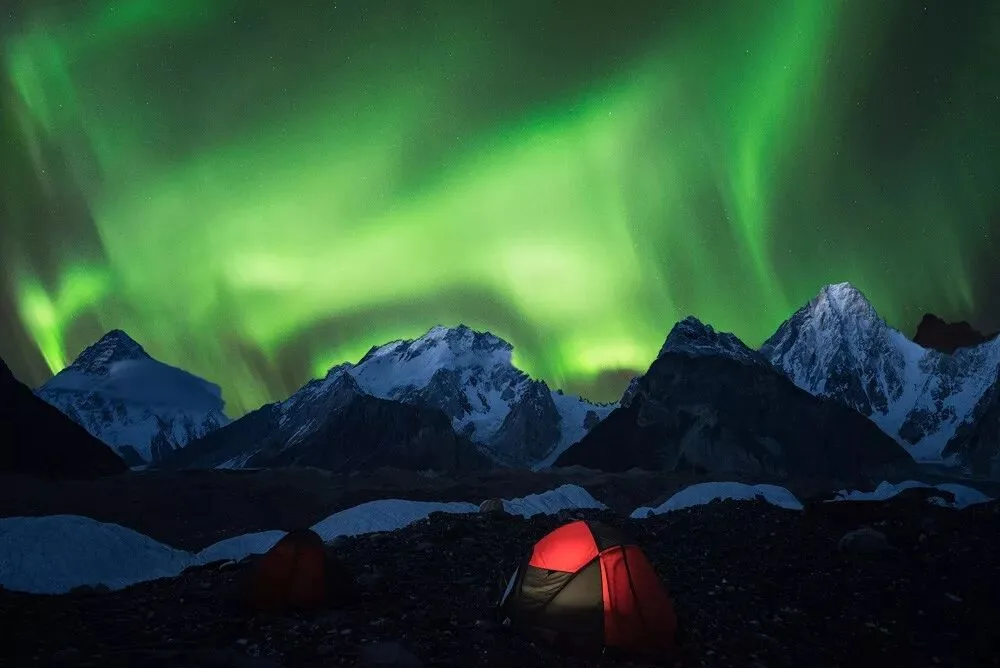
If I apply the mask below to the aurora layer, the opacity of the ground at the bottom of the aurora layer becomes 0% (black mask), hiding the ground that came with the aurora image,
so the snow mountain from the layer below shows through as the new foreground.
2
The Limits of Blending with Opacity
Blending layers by changing opacity (or masks) is simple but limited. That's where layer blend modes come in — enabling faster, more complex blends.
Take star-trail stacking in post: with the method above, you'd spend minutes masking the stars out of every layer before stacking them.
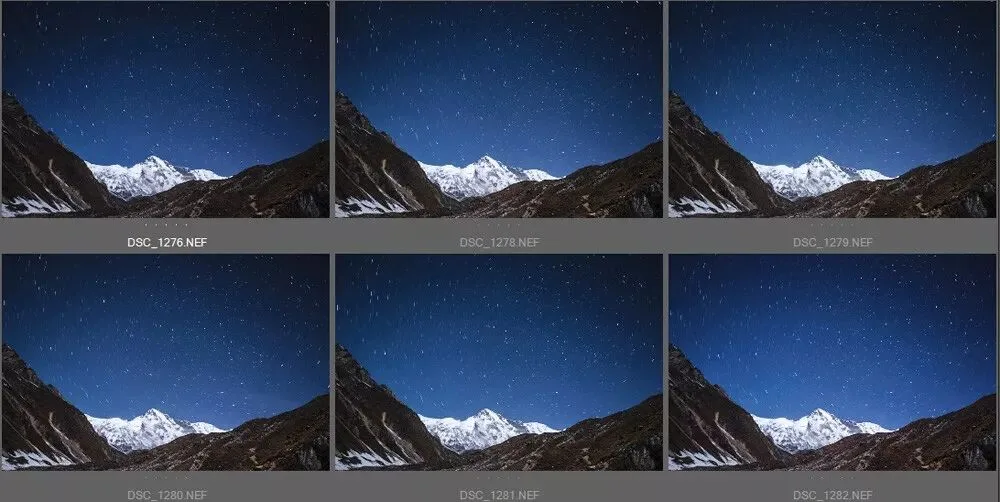
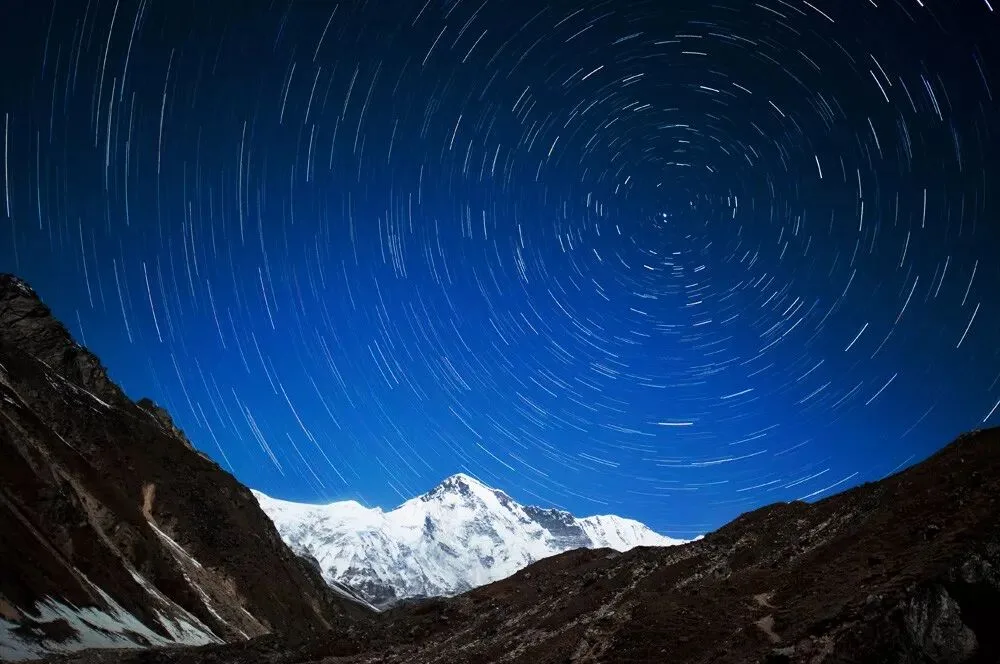
But with the "Lighten" blend mode, a perfect star trail takes one step and a few seconds.
Beyond speed, blend modes also produce more sophisticated blending effects.
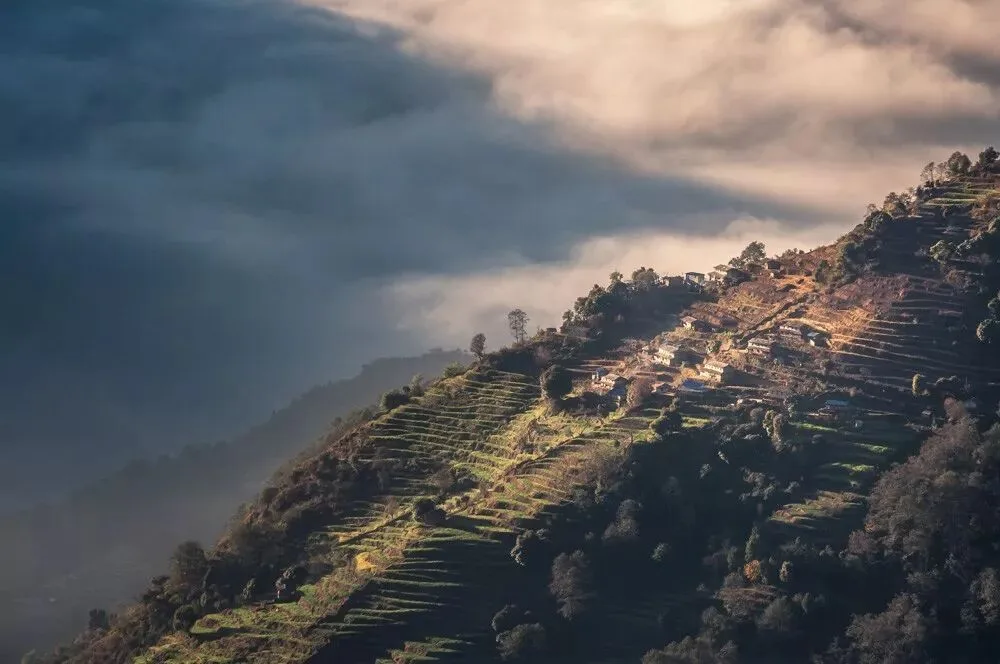
For example, when simulating Tyndall light beams in post, painting a beam directly with the brush looks fake.
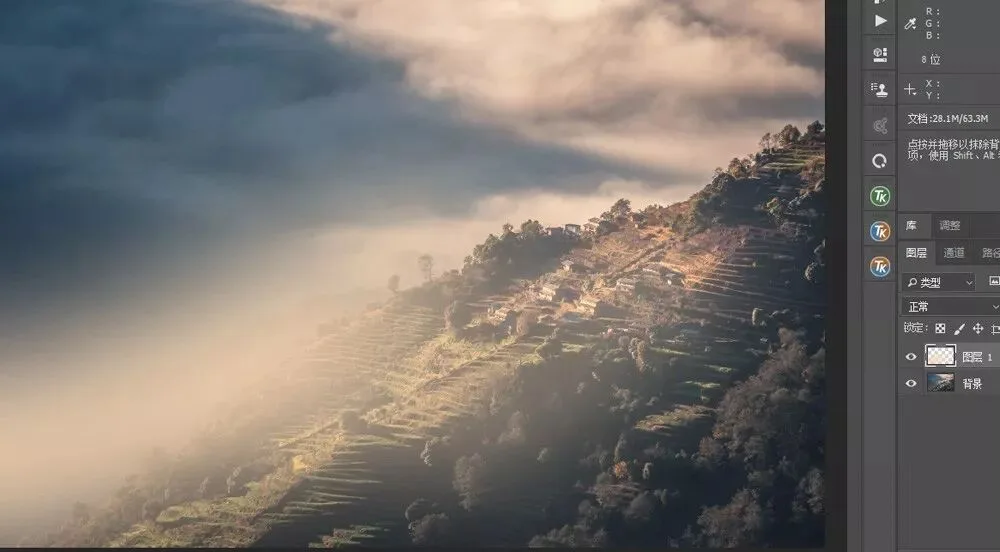
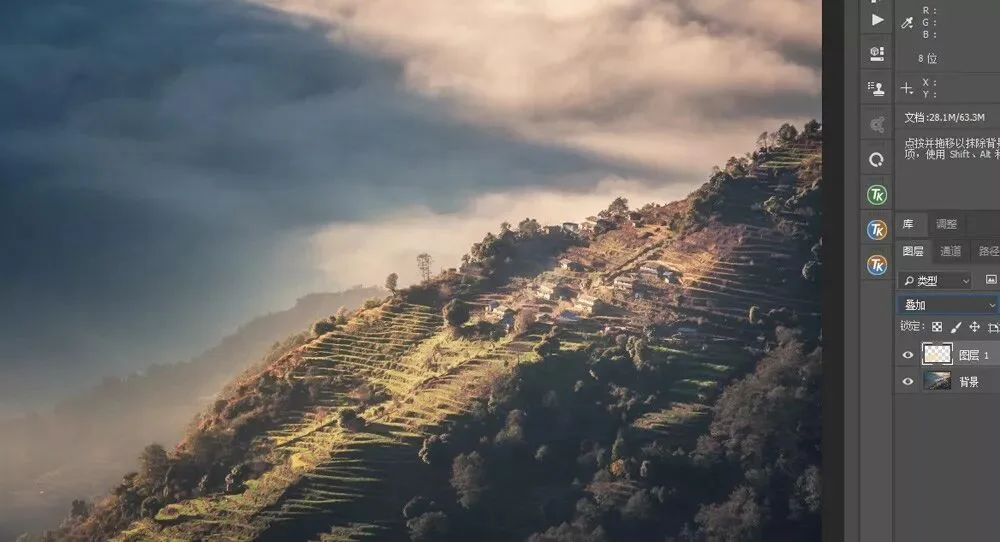
Change the light beam layer's blend mode to "Overlay," though, and the artificial light looks far more natural.
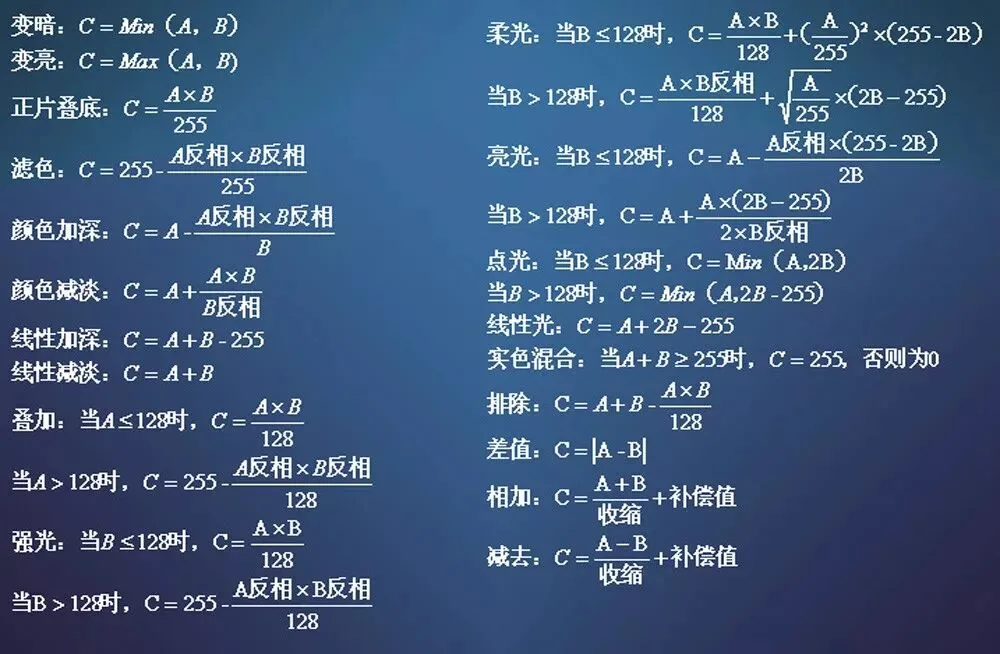
In short, a layer blend mode blends two layers through a mathematical function.
Each function below corresponds to one blend mode — but we don't need to memorize or understand these complex formulas.
We only need to know what effect each common blend mode produces.
3
Common Blend Modes and Their Effects
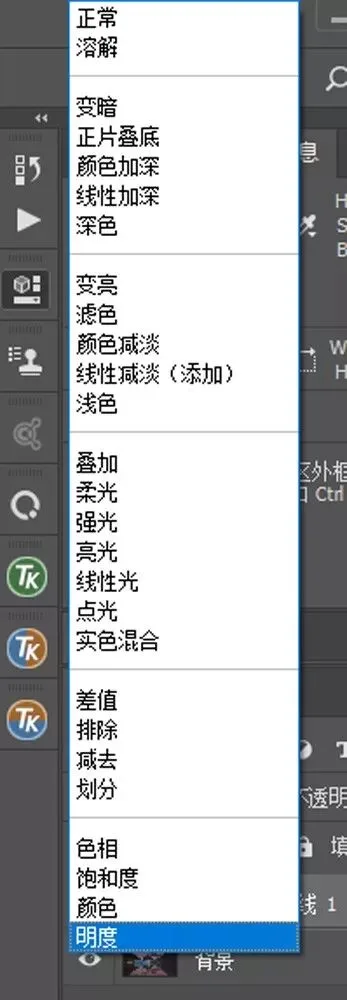
In the Layers panel, every layer defaults to the "Normal" blend mode. Click it once to open the dropdown with all the blend modes.

Photoshop organizes its 27 blend modes into 6 groups.
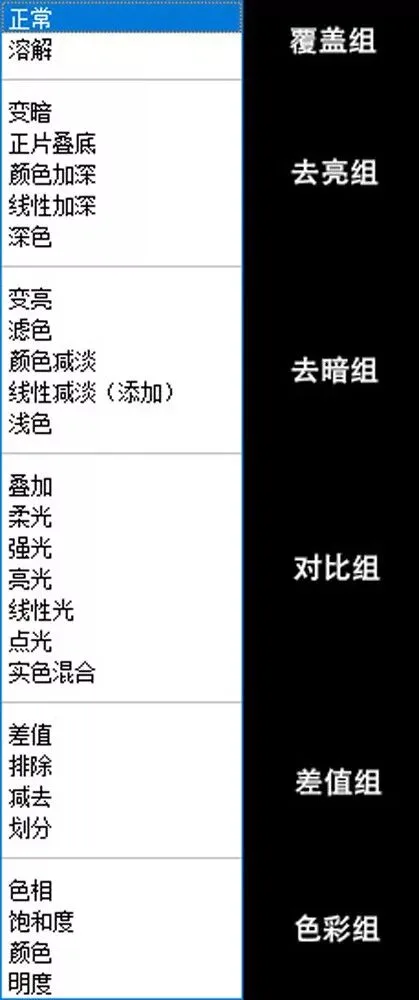
The first is the "cover" group — the upper layer simply covers the lower one.
The default is "Normal": the upper layer fully covers the lower, and only opacity can influence the blend.
"Dissolve" is like punching a mosaic of holes into the upper layer before laying it over the lower one — rarely used in practice.

I call the second group the "remove-bright" group: their blends all make the photo darker, removing the bright parts. The most used are "Darken" and "Multiply."

"Darken" keeps whichever pixel is darker at each position between the two layers: darker pixels are preserved, brighter pixels replaced.
The white-edge removal method I covered earlier is actually an application of the "Darken" mode.
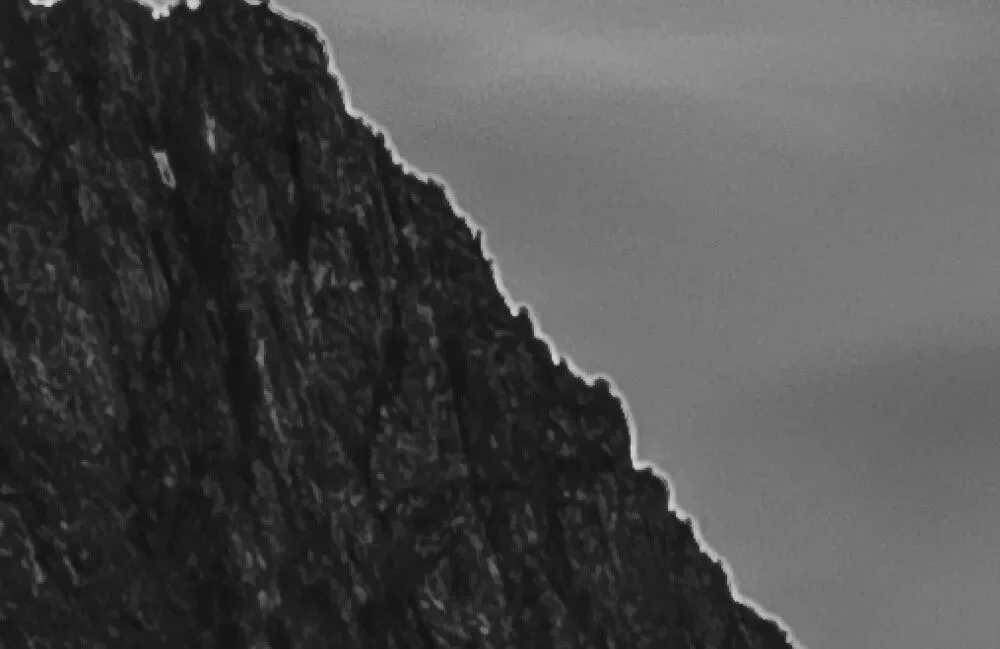
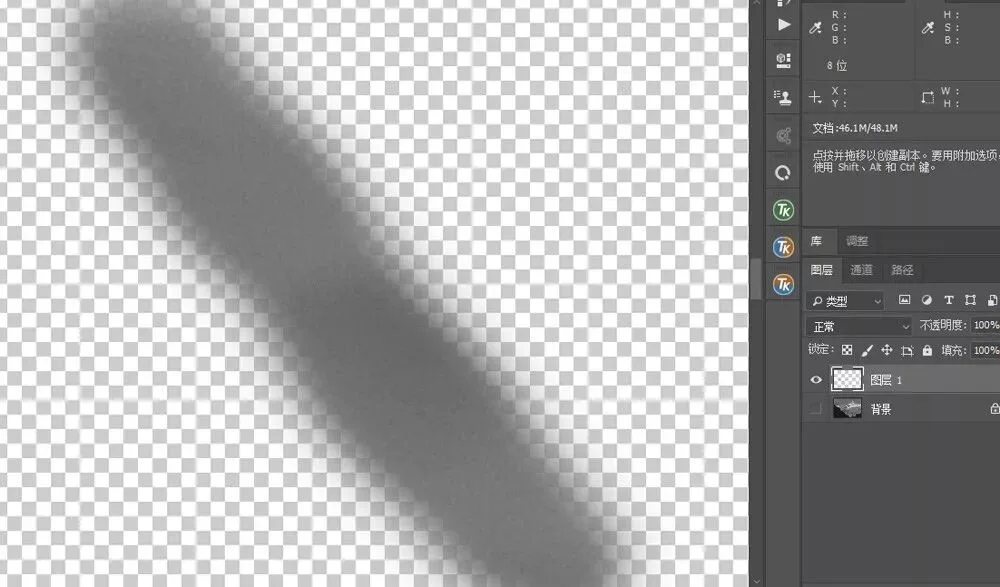
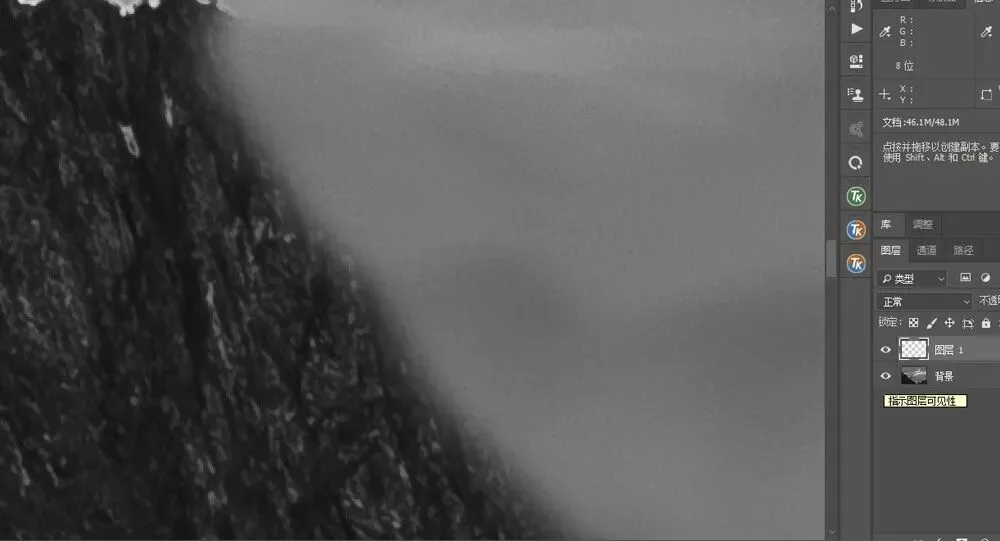
Create a new blank layer, then use the Clone Stamp set to Sample All Layers, stamping sky over the mountain ridge that has white edges.
In "Normal" mode, the result looks like this: the stamped sky covers not only the white edges but also the dark mountain.
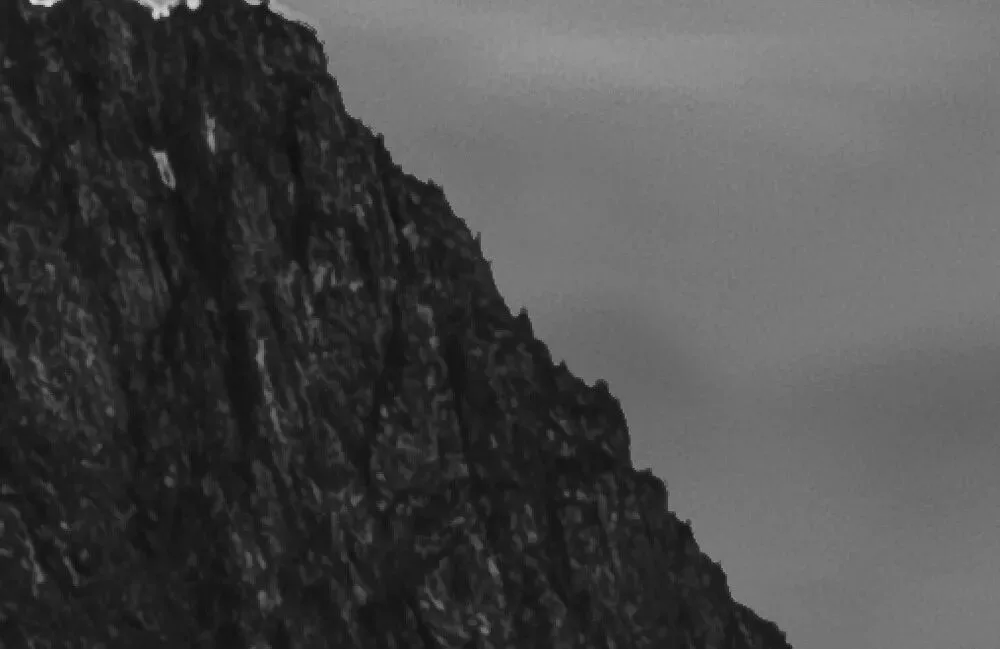
Change the stamped layer's blend mode to "Darken."
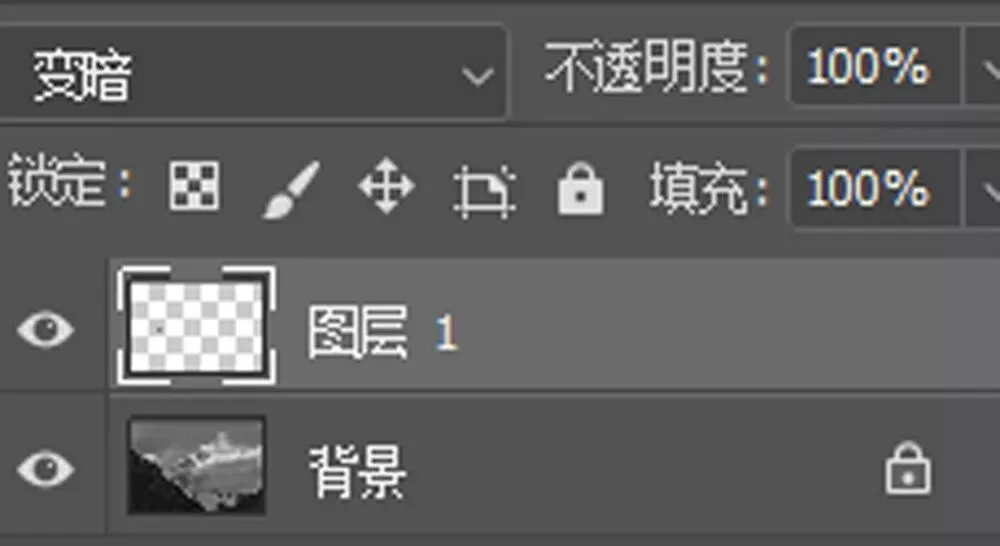
The stamped sky is darker than the white edge but brighter than the mountain. So the blend replaces the white edge with the darker stamped sky while the darker mountain stays untouched — white edges perfectly removed.
"Multiply" is often used for compositing assets. The result shows the darker of the two layers' pixel values: anything over black becomes black, and anything over white stays unchanged.
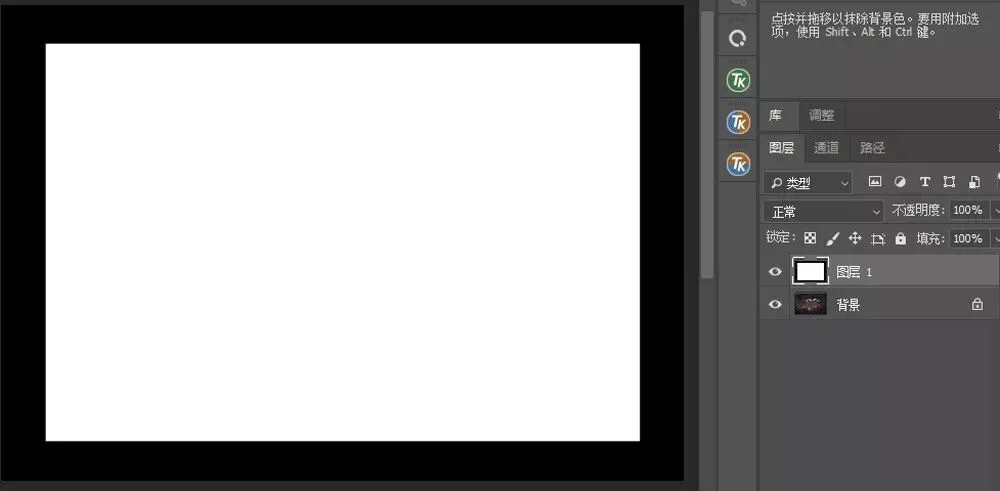
The black photo frame above should be blended onto the photo with "Multiply": the black edges cover the photo, while the white center leaves the image below unaffected.
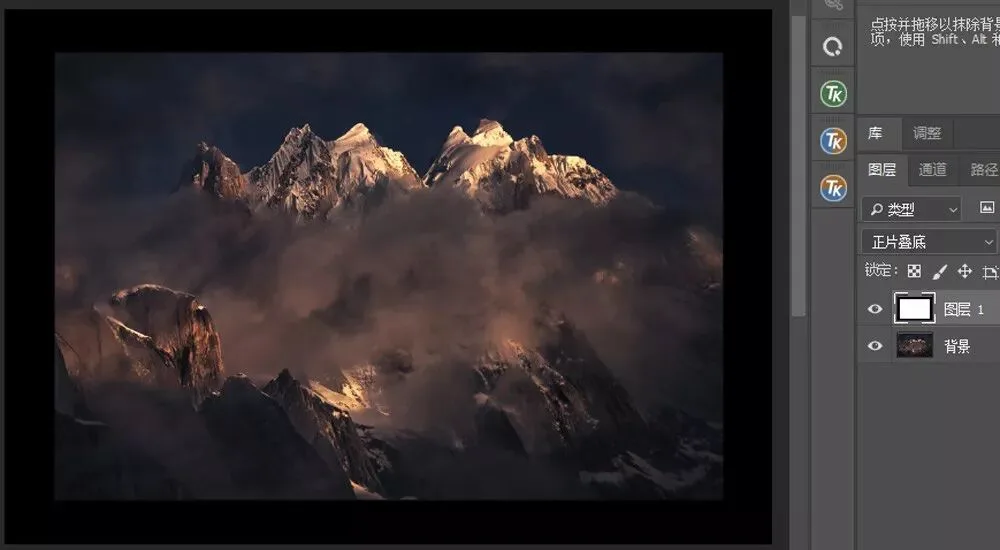
The "remove-dark" group mirrors the "remove-bright" group — the effects are exactly reversed, making the photo brighter by removing the darker parts.
The most used are "Lighten" — the counterpart of "Darken" — and "Screen," the inverse of "Multiply."

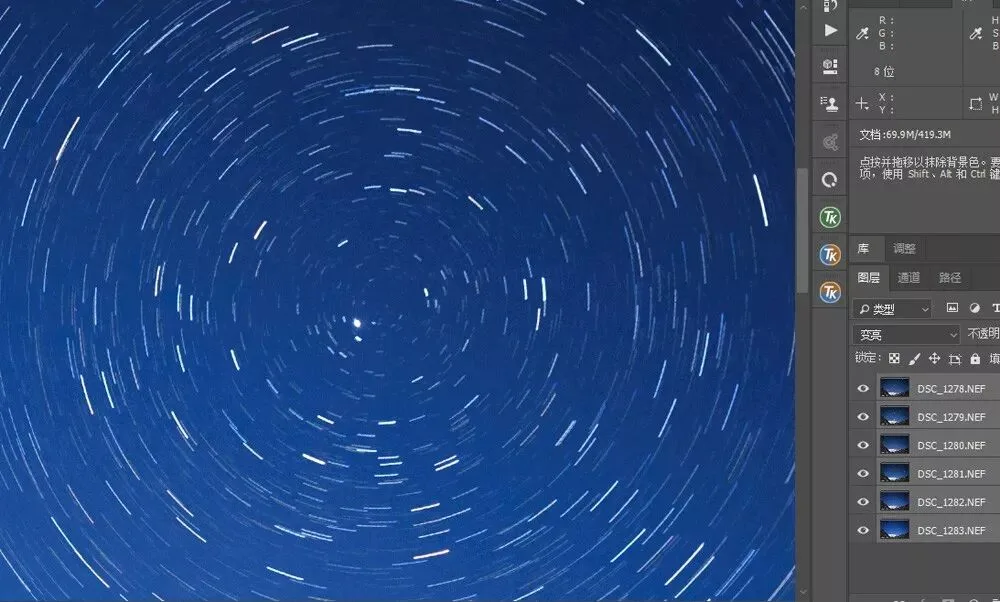
"Lighten" keeps whichever part of each layer is brighter — commonly used for blending star trails and car light trails.
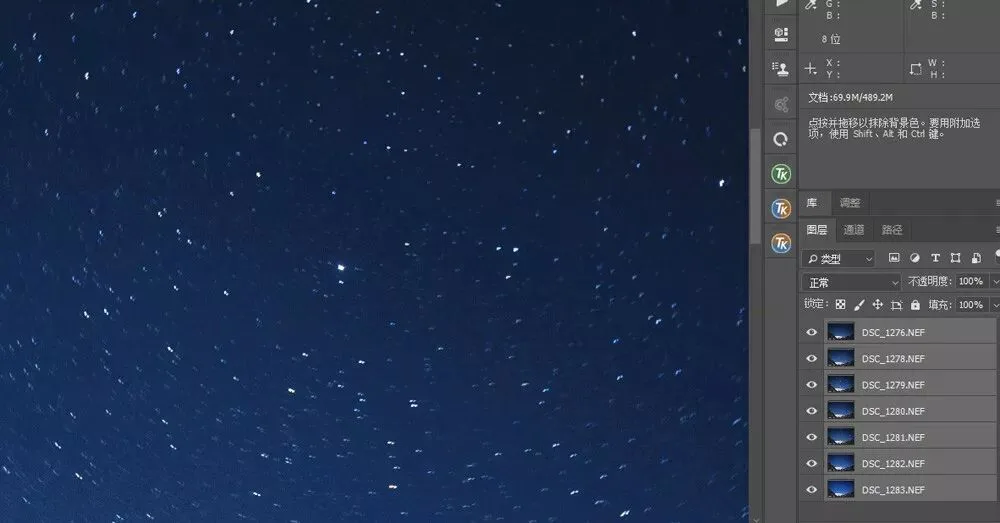
Just select a sequence of consecutively shot night-sky photos and change the blend mode to "Lighten."
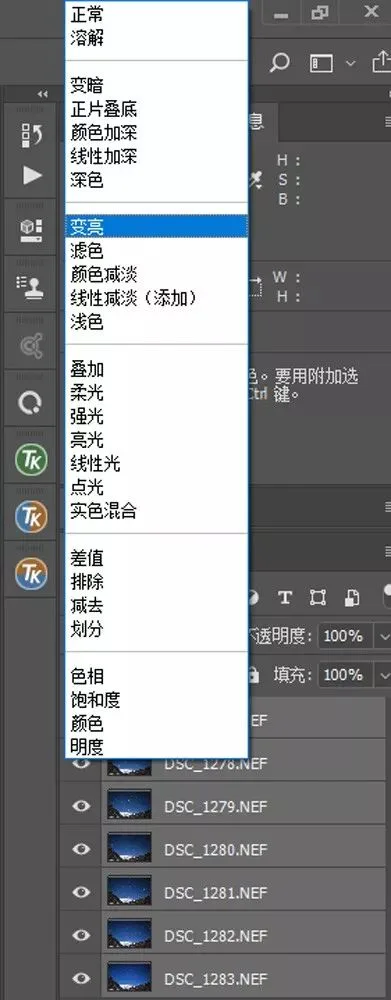
The brightest part of each frame — the stars — then shows through. As the sky moves relative to Earth, each frame's stars sit in slightly different positions, revealing the star trails.
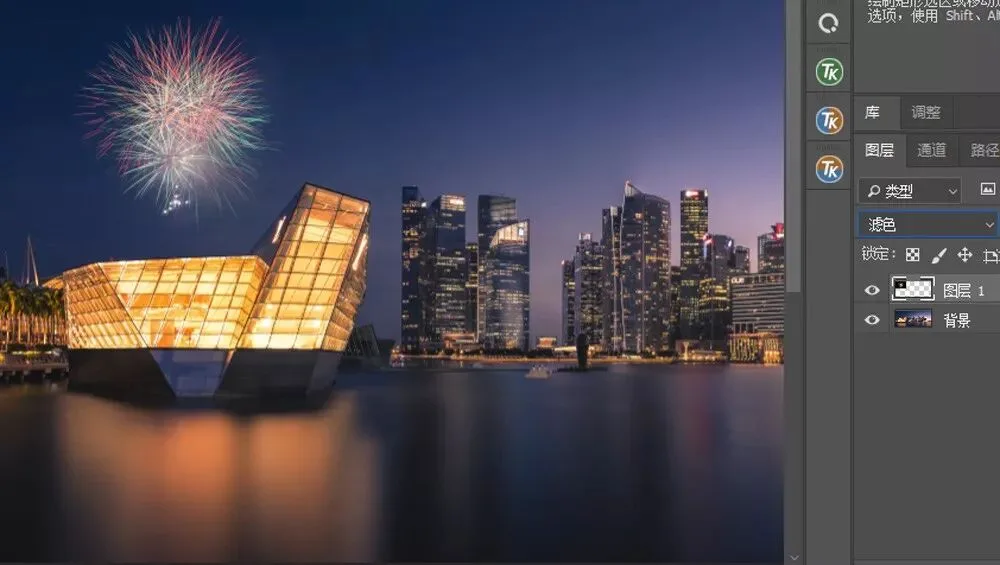
"Screen," like "Multiply," is often used for compositing assets — except it completely filters out black and shows the bright parts. A common landscape example is compositing fireworks.
Search for "fireworks" assets — they almost always come on a black background.
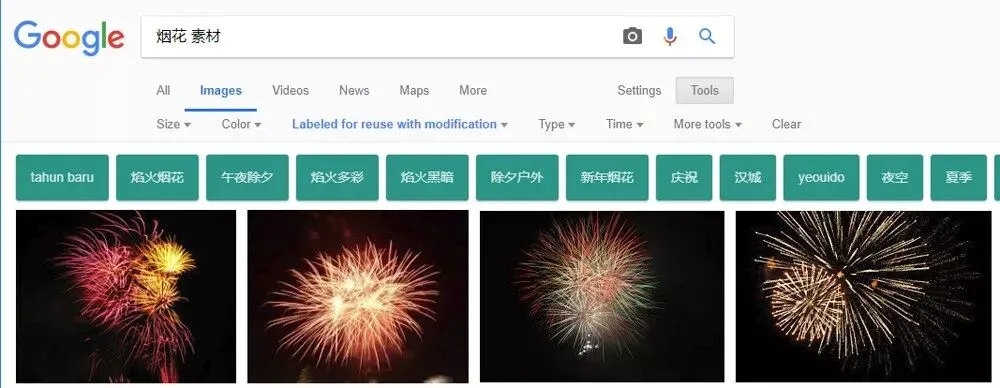
So we drag the fireworks asset into position on the photo,
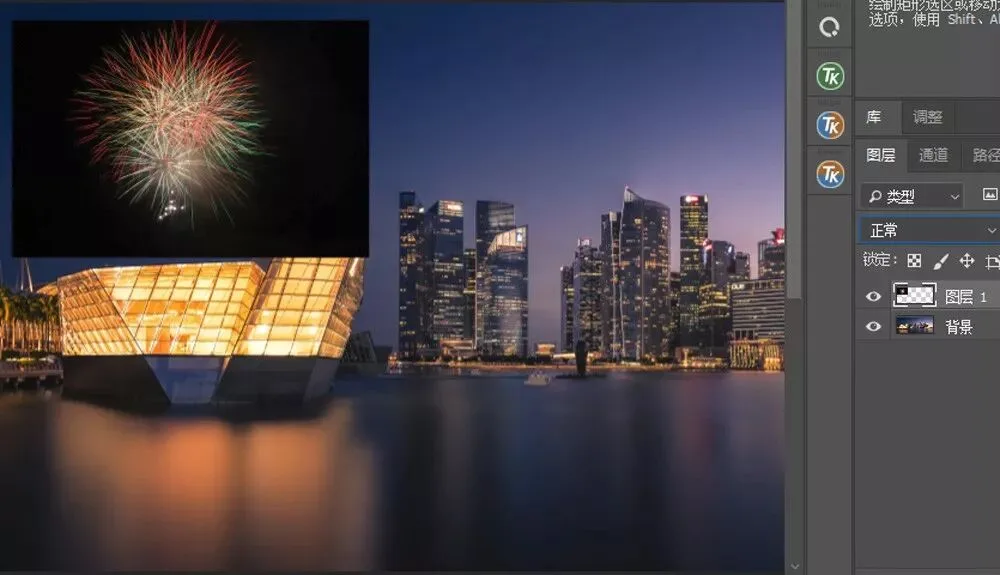
and change the blend mode to "Screen": the black backing disappears entirely while the bright fireworks display normally.
The "contrast" group of blend modes all split at 128 mid-brightness, making brights brighter and darks darker — increasing contrast.

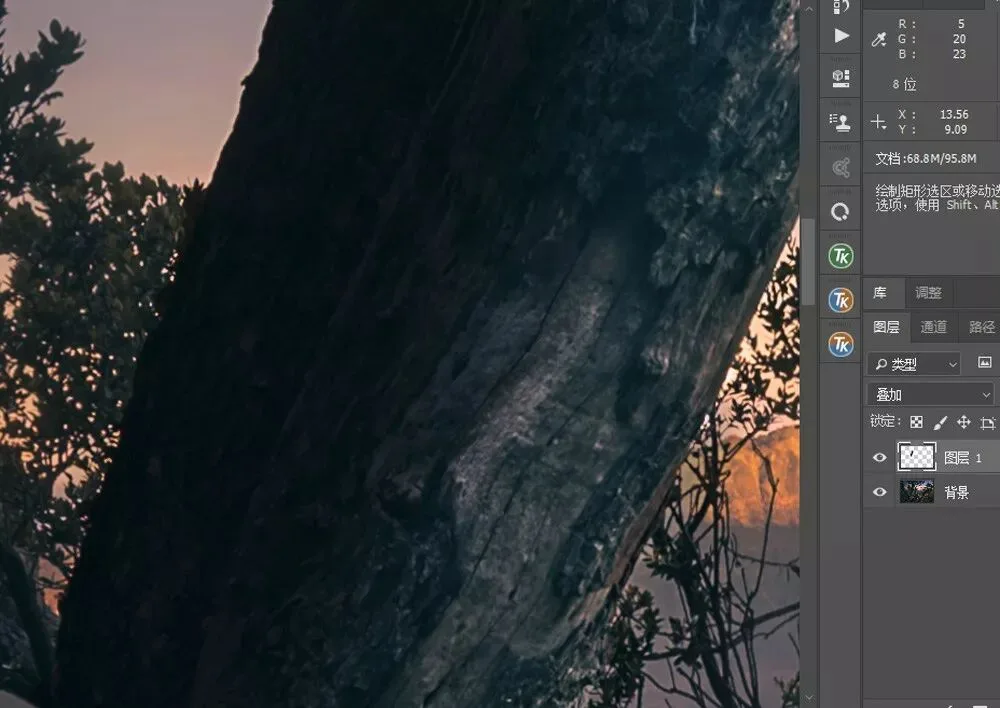
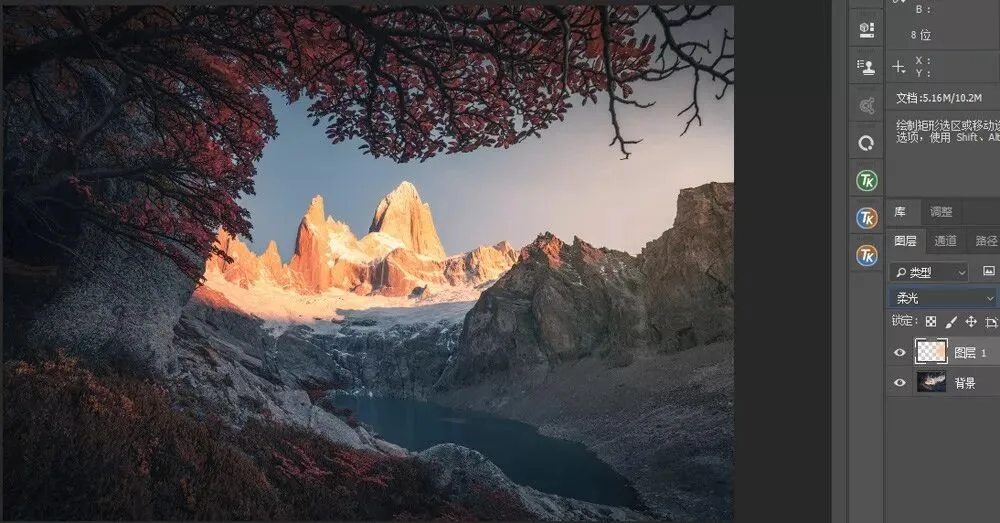
Landscape photography often uses the "Overlay" mode with a black-and-white brush to strengthen a subject's three-dimensionality.
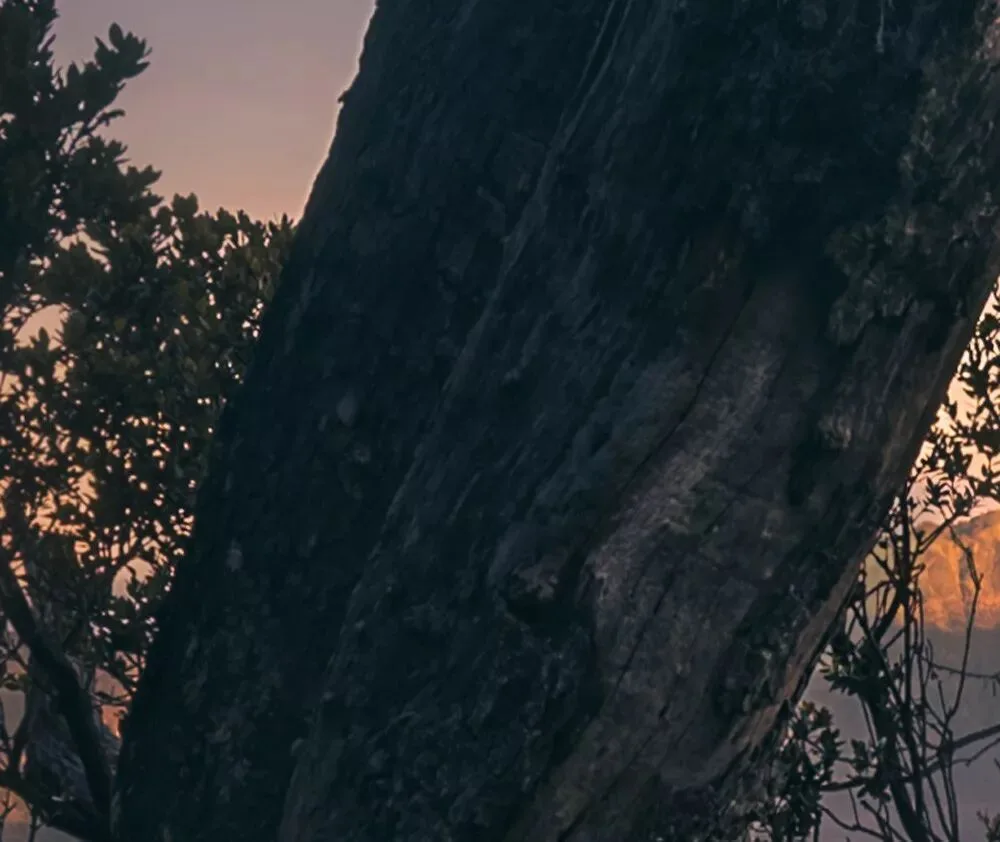
Create a new blank layer (or a 50% grey layer), then paint white (or light grey) where you want to brighten, and black (or dark grey) where you want to darken.
In "Normal" mode this layer would cover the image below — not what we want.
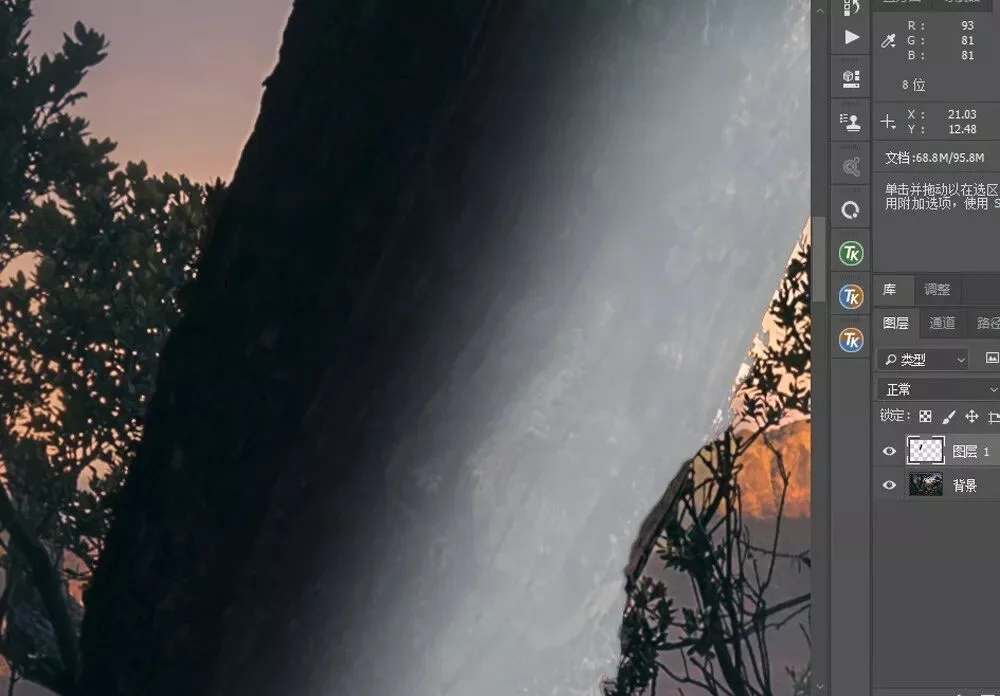
Change the blend mode to "Overlay": the image below reappears, but the painted-black areas are darker and the painted-white areas brighter — much stronger dimensionality.
"Overlay" and "Soft Light" layers are also often used to render light.
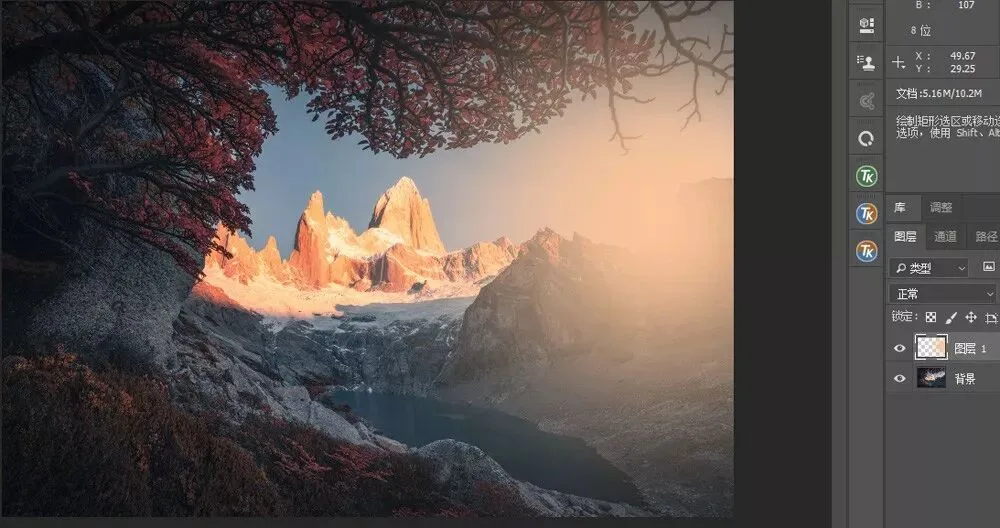
The main difference: "Overlay" is stronger and more influenced by the layer below, so the rendered light looks clearer and more intense.
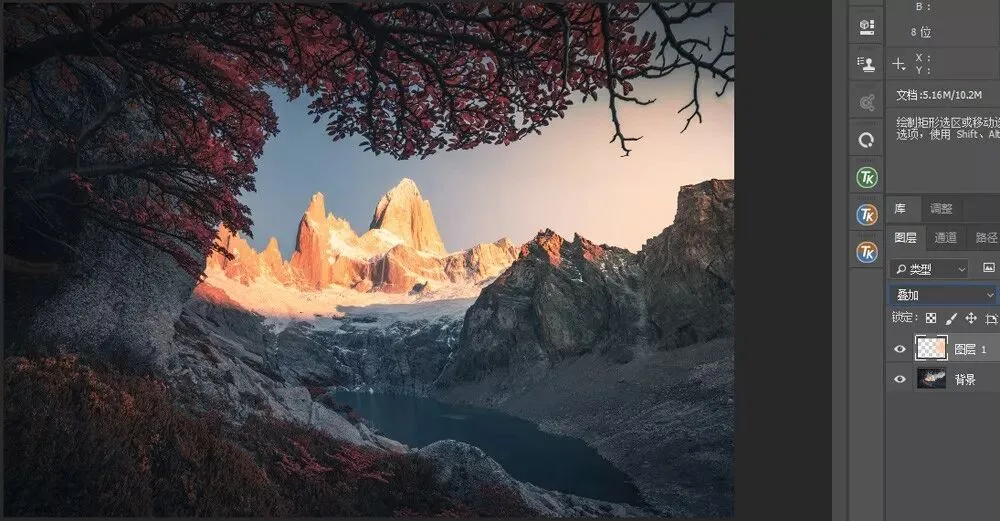
"Soft Light" is gentler and more influenced by the layer above, so it can look slightly hazy.
The second-to-last group is the "difference" group — subtraction-style operations between the two layers.

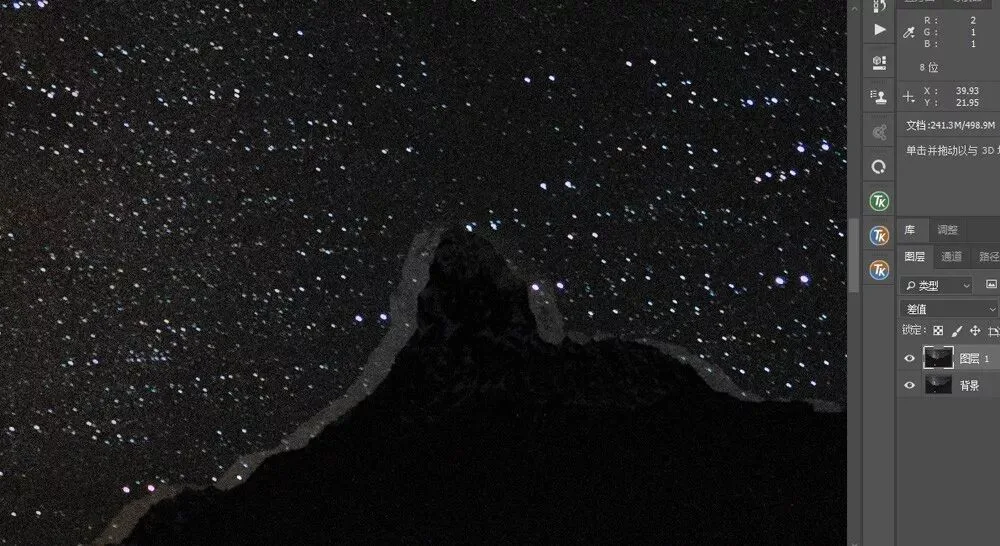
Among them, "Difference" is one I use often: to check whether layers are aligned — whether the tripod shifted.
Say I have two night-sky frames from the same position that I want to stack.
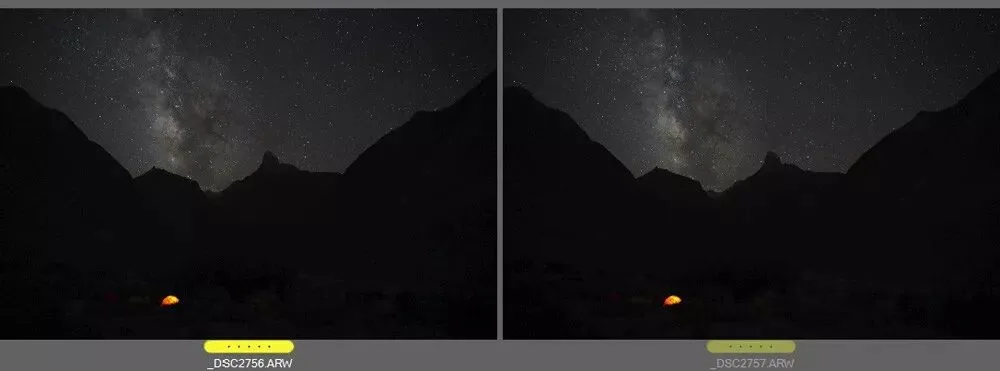
Stacking requires that the tripod didn't move. So I set the upper sky layer's blend mode to "Difference": anywhere with bright edges in the frame is a misaligned area.
In Difference mode, these two frames show bright fringes around the peaks — the tripod moved, and the peaks sit in different positions.
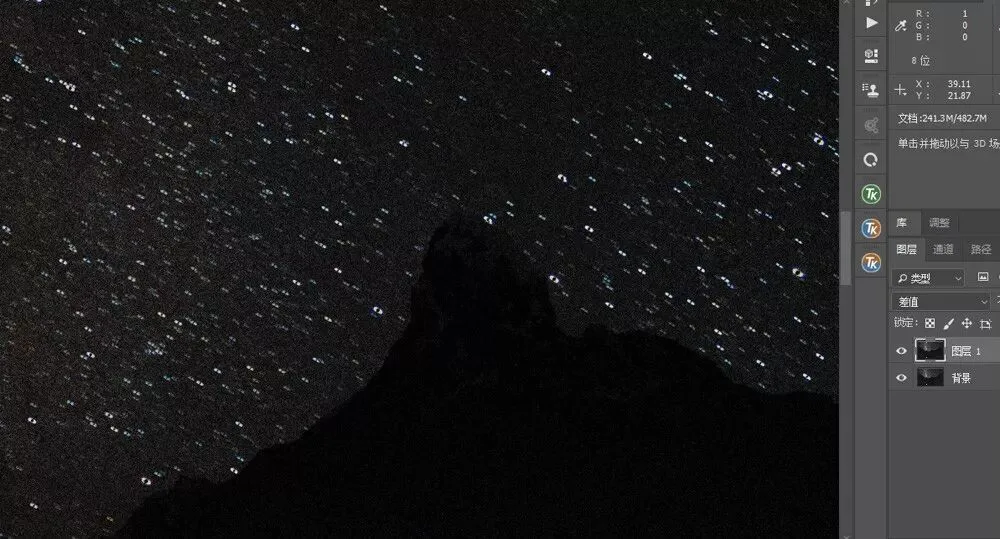
Once aligned, the peaks should overlap perfectly, appearing in Difference mode as a clean black silhouette with no fringes.
The last group is the "color" group.
The "Hue" blend mode takes only the hue value from the upper layer and blends it with the layer below.
The "Saturation" mode takes only the saturation value from the upper layer.
The "Luminosity" mode takes only the luminosity value from the upper layer.
The "Color" mode takes both the hue and saturation values from the upper layer, blending them with the layer below.

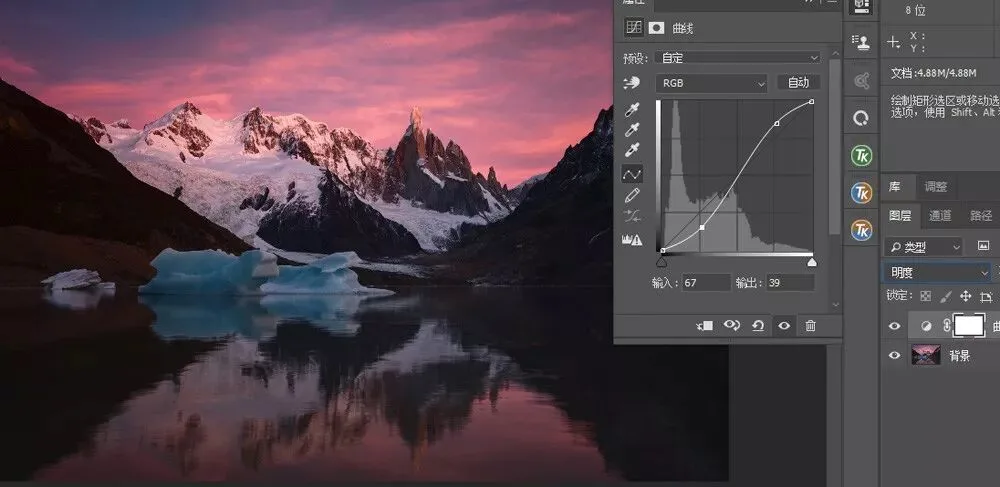
An S-curve boosts contrast but also intensifies saturation, often causing a distorted look.
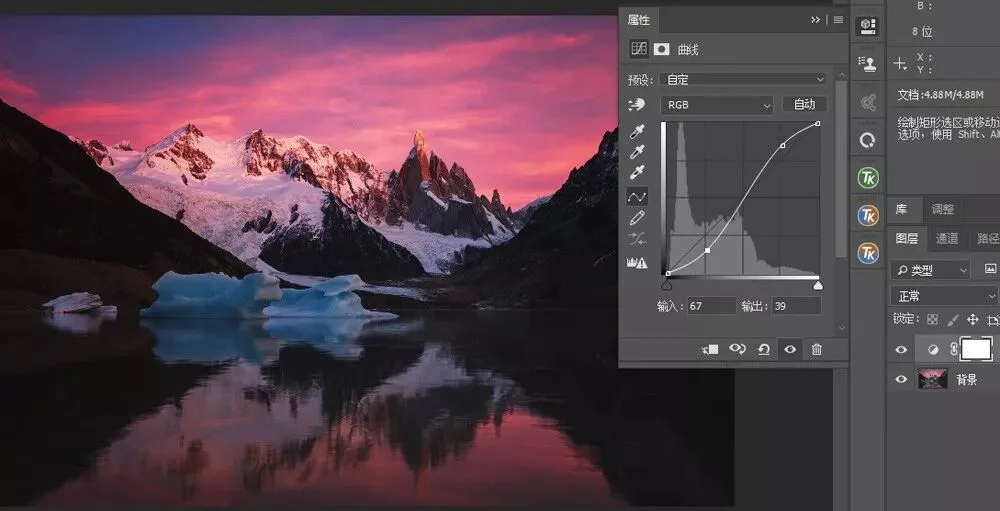
So sometimes we change the Curves layer's blend mode to "Luminosity."
That way the Curves layer changes only the luminosity of the photo below, leaving its colors untouched.
Those are the fundamentals of layer blend modes. There are many more applications than can be detailed here — Thomas will cover them in future tutorials.