Photography Tutorial · 2021-02-21
Enhancing Light in Post: Layer Blending + Luminosity Masks in Action
Thomas Chu Photo
Light rendering in post can greatly enhance the sense of light in a photo, building depth and atmosphere.
In today's tutorial, Thomas teaches you how to render natural, harmonious light with Photoshop's layer blend modes and luminosity masks.
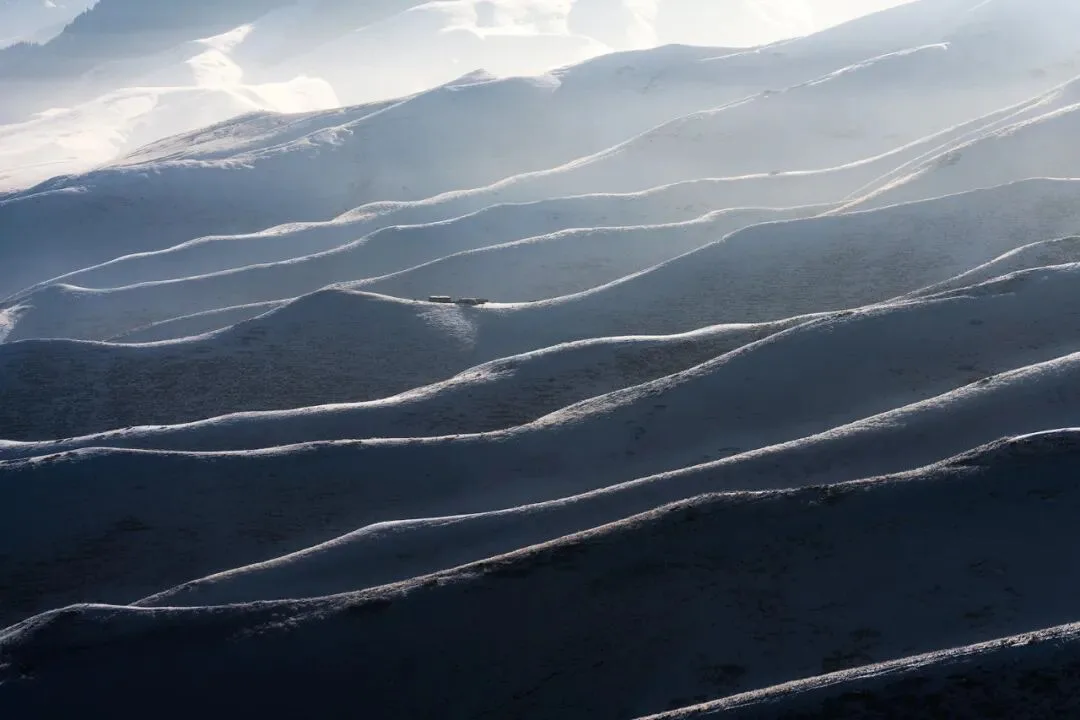
Video Tutorial
▶ Watch the video tutorial on Bilibili
This is the illustrated companion to the video above. Using two raw files (shot on the Sony A7R4 with a 35mm f/1.4), Thomas demonstrates the light-rendering technique in landscape post-processing live: create a blank layer, then combine layer blend modes with luminosity masks to paint the atmosphere of sunlight streaming into a sunrise or sunset frame back into the photo. Keyframe screenshots are included; download links for the raw files and the luminosity-mask action are in the original article.
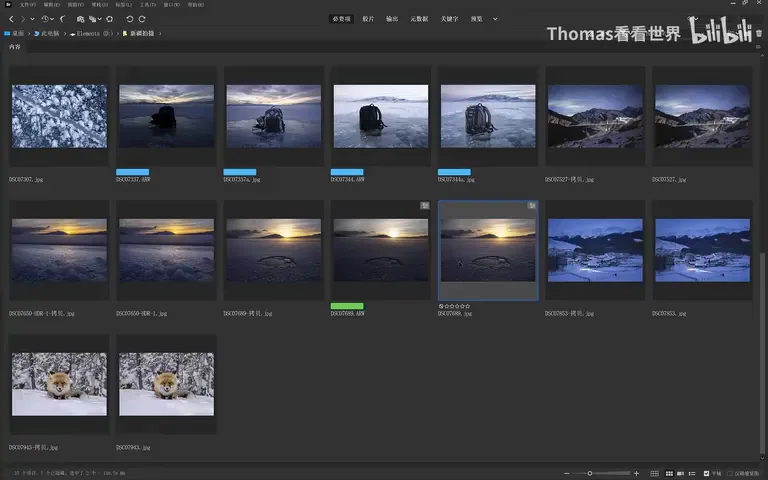
01 Light Rendering: Blank Layers and Blend Modes
Step one is creating a blank layer — the second icon from the right at the bottom of the Layers panel (at 1:26 in the video). Next, set the foreground color by sampling a highlight tone in the image, such as the distant white light, and raise its brightness slightly — this becomes the "paint" for your light (at 1:48 in the video).
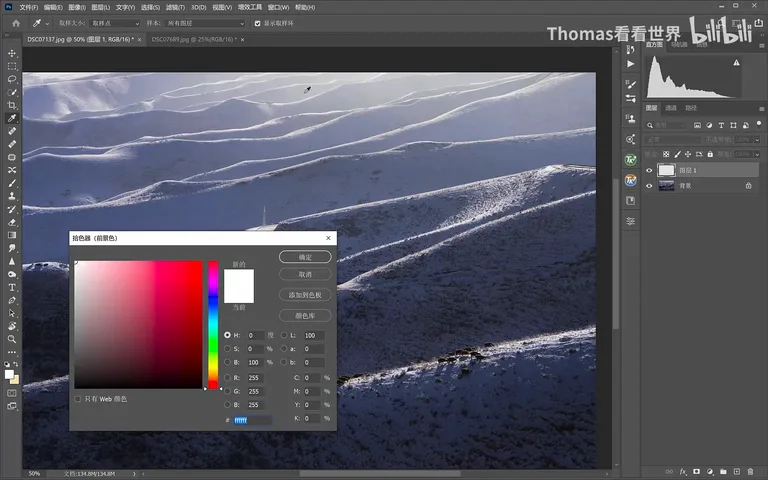
Choose a round soft-edged brush with hardness 0 and a suitable size, keep the opacity quite low — a few dozen percent, even below 30% — and paint gently (at 1:58 in the video). Note that on the "Normal" blend mode this paints a patch of fog. If fog is what you want, a cloud or fog brush with this method works well too, but that is not today's goal.
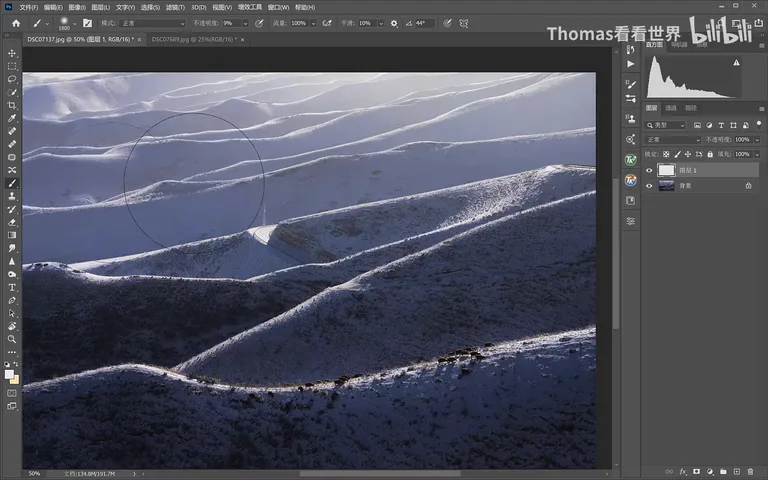
Switch the blend mode to "Soft Light" or "Overlay" and the fog turns into light (at 2:52 in the video). The difference: Overlay changes luminance more strongly and looks crisper and more transparent, while Soft Light keeps a trace of the Normal mode's haziness — perfect for misty early-morning pictures. Each mode has its job: Normal for fog, Soft Light for a faint glow of light, Overlay for an intense, transparent beam — choose by the result you want (at 3:08 in the video).
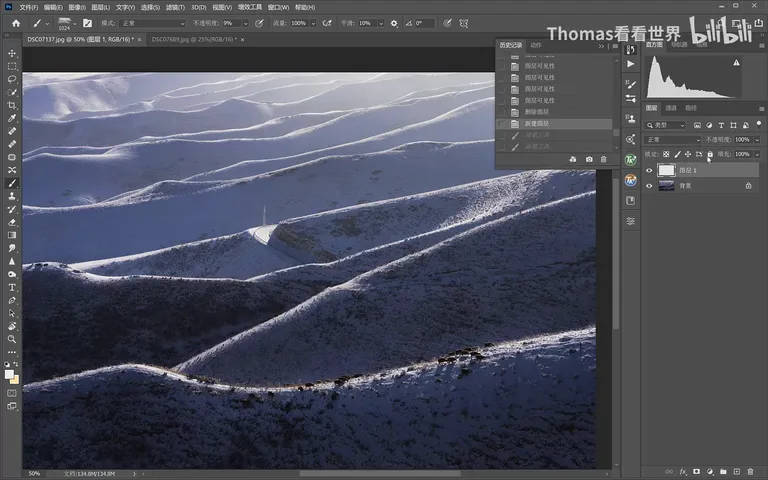
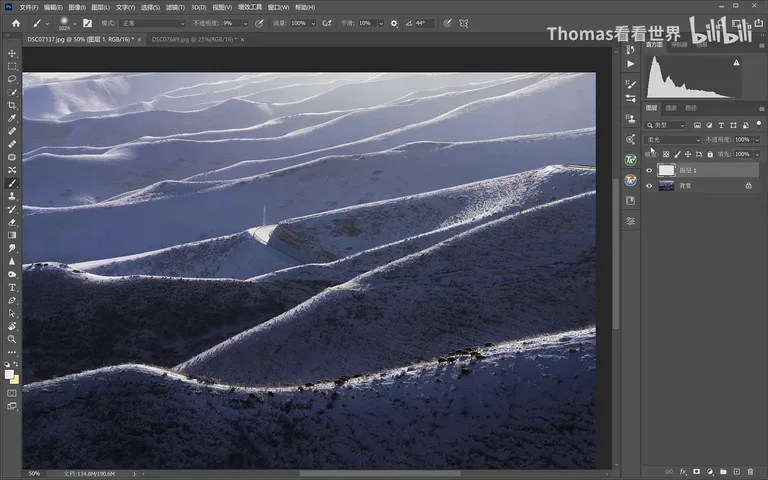
Zoom out to judge the overall effect (at 4:10 in the video): with this layer added, a beam of light seems to stream in from the distance, matching the backlit feeling on site and making the photo more alive. If the opacity now looks too strong, dial it back a little.
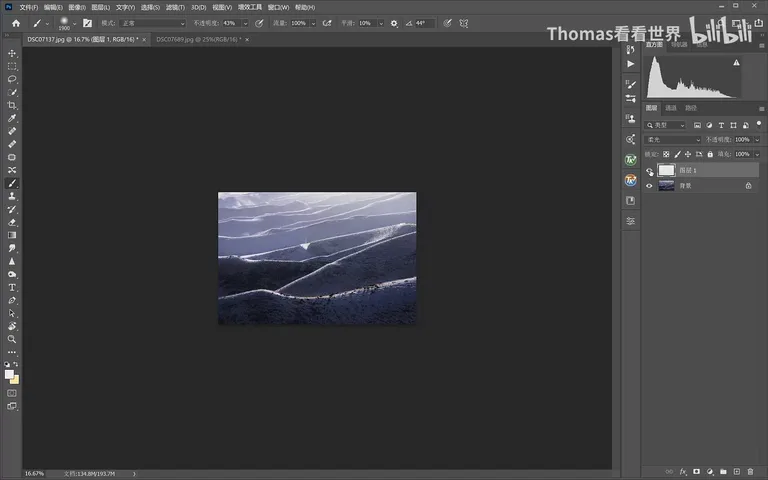
02 Luminosity Masks: Light Only on the Lit Side
Bare brushwork has a problem: light streaming from afar should mostly affect the highlights, yet the mountain here sits on the shadow side and should not brighten this much (at 4:59 in the video). The fix is a luminosity mask — load a set of luminosity channels with a mask action such as TK Action (Thomas's custom action is downloadable from the original article); once run, the Channels panel shows channels like Lights 1, 2 and 3 (at 5:17 in the video).
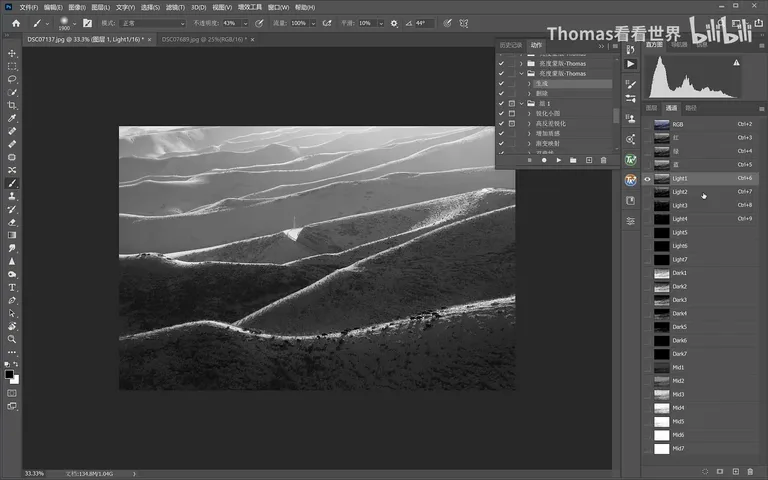
Pick the "Lights 2" channel — narrower than Lights 1, so the lit highlights take almost the full effect, the shadows only a touch, with smooth transitions. Ctrl-click it to load as a selection, click back to the RGB composite, then return to the Layers panel and add a mask to the render layer — the selection converts into a luminosity mask automatically (at 6:17 in the video). Opacity can now go back to 100%: bright areas lift strongly, dark ones barely, and the light instantly feels natural.
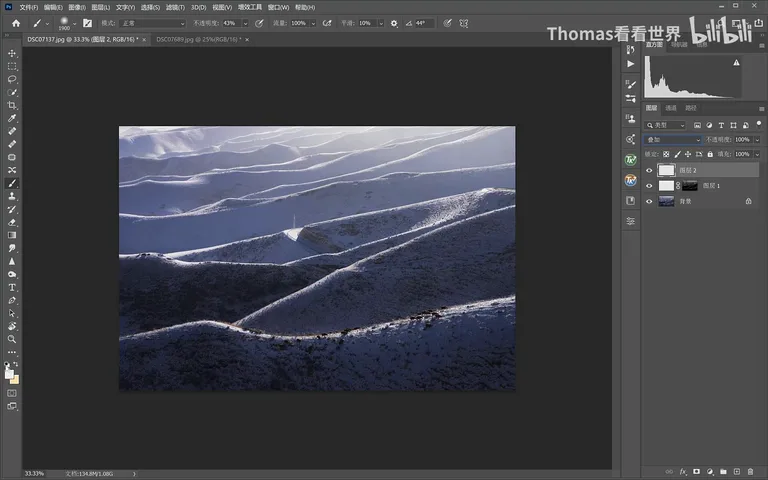
03 A Second Pass: the Foreground Ridge, Doubled
To strengthen the light on the foreground snow ridge, create another blank layer, set it to Overlay, and paint directly with a white brush at low opacity around 30% (at 7:00 in the video). You will notice the surrounding shadows brighten too — the brushwork is too obvious. Constrain it with a luminosity mask again: this time you need a channel where the ridge is bright and everything around is black. Lights 1 clearly won't do; Lights 2 or 3 work (at 7:42 in the video).
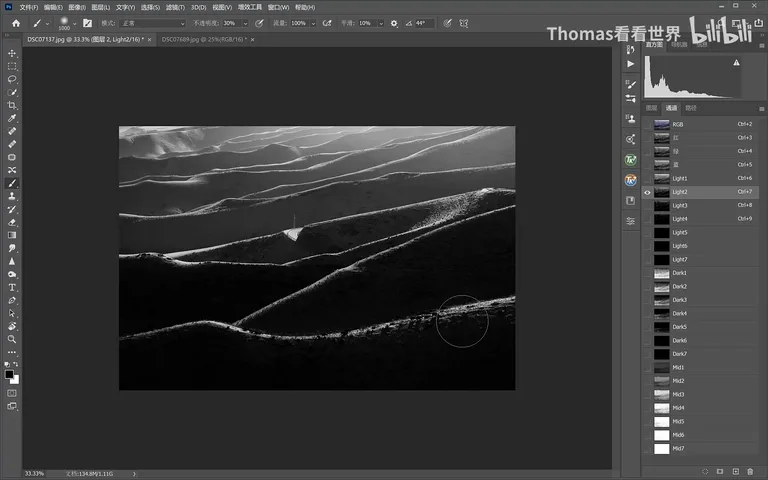
After loading Lights 2 as a selection and converting it to a layer mask, the foreground light is lifted cleanly (at 8:04 in the video). Not strong enough? Ctrl+J duplicates the layer and doubles the effect. Finally group all the render layers and toggle the group's visibility to compare before and after — the bright, sunlit, backlit feeling emerges (at 8:24 in the video).
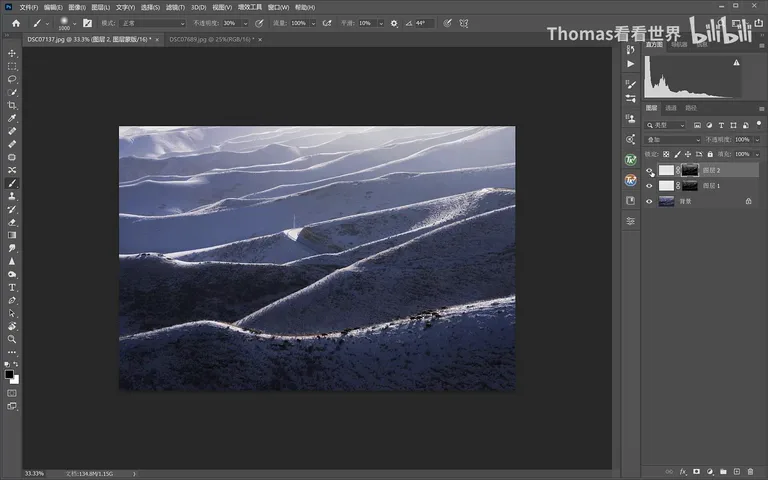
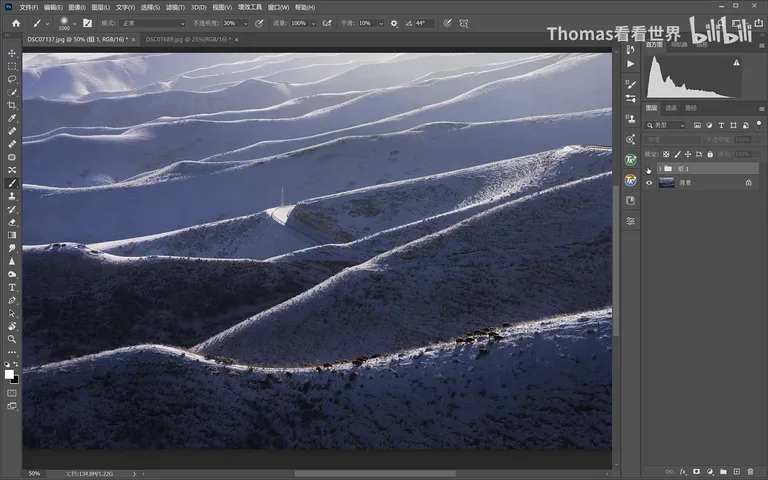
04 Case Study: the Sunset Glow on an Ice Lake
The second photo, a frozen lake at sunset, follows the same workflow. Create a blank layer, set it to Soft Light, sample the foreground color from the image, then nudge the hue slightly toward orange and raise the brightness a touch (at 8:51 in the video). This time push brush opacity even lower, around 10%, keep varying the brush size, and slowly paint in the overall glow (at 9:05 in the video) — when you finish, the feeling of setting sunlight appears at once.
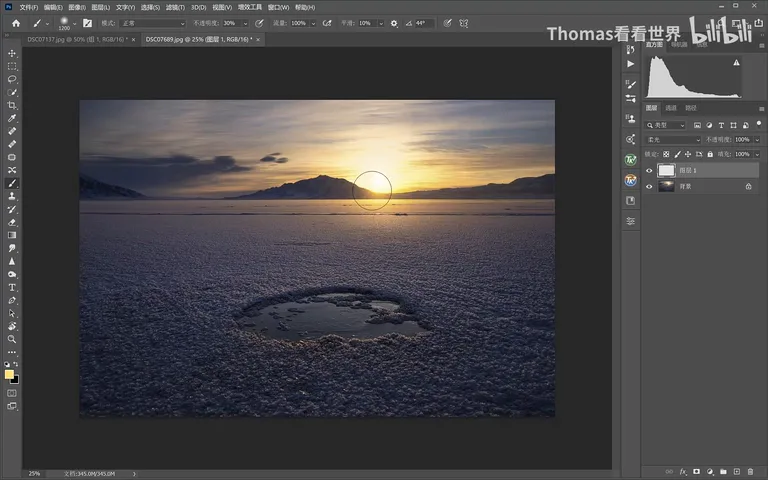
Create one more blank layer, this time to render only the brightest parts of the ice so it gains luster and texture (at 9:25 in the video). Check the luminosity channels with TK Action again: Lights 2 selects almost exactly the sunlit ice while leaving the shadows untouched. Set the layer to Overlay, lower the foreground color's saturation a bit — the goal is to brighten the ice with just a hint of sunlight color (at 9:53 in the video).
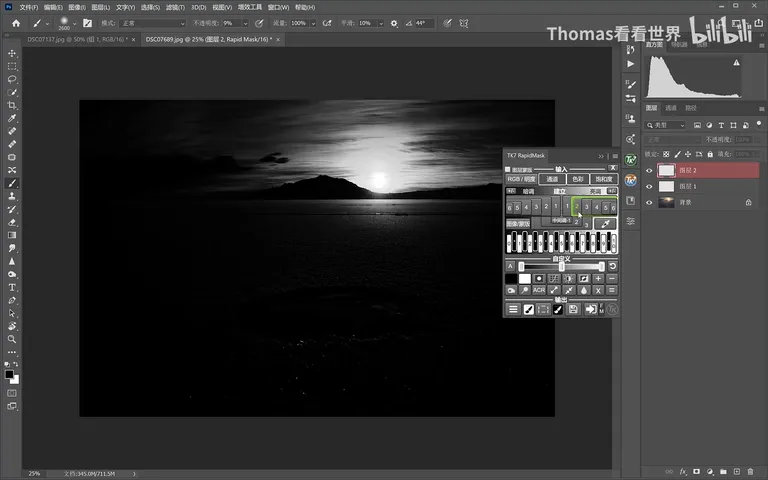
If the result turns out too desaturated — a blob of white light — press Ctrl+A to select all, Delete, and repaint with the saturation raised (at 10:45 in the video). In the final before-and-after, both the sheen of the reflective ice and the warmth of the sunlight are clearly strengthened while the picture stays natural and believable — that is the power of blend modes plus luminosity masks in landscape post-processing, especially for sunrise and sunset work (at 11:06 in the video).
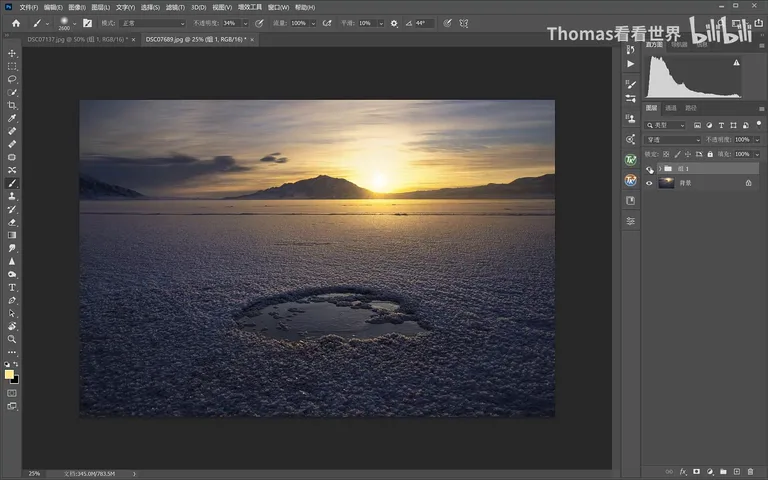
1. Light rendering in three steps: create a blank layer, sample and brighten a highlight color from the image, then paint with a low-opacity soft brush; 2. The blend mode defines the light's character: Normal is fog, Soft Light a faint morning glow, Overlay an intense transparent beam; 3. Luminosity masks are the key to realism — light falls on the lit highlights, brightening light areas strongly and shadows barely; 4. When one pass is not enough, Ctrl+J duplicates the layer to double the effect, but watch the color saturation — too low and you paint an unnatural blob of white.
Download the custom luminosity mask action and practice files:
Link: https://pan.baidu.com/s/1Q6uNJKZm4ETU8HX-zSrsZQ
Extraction code: rjtb
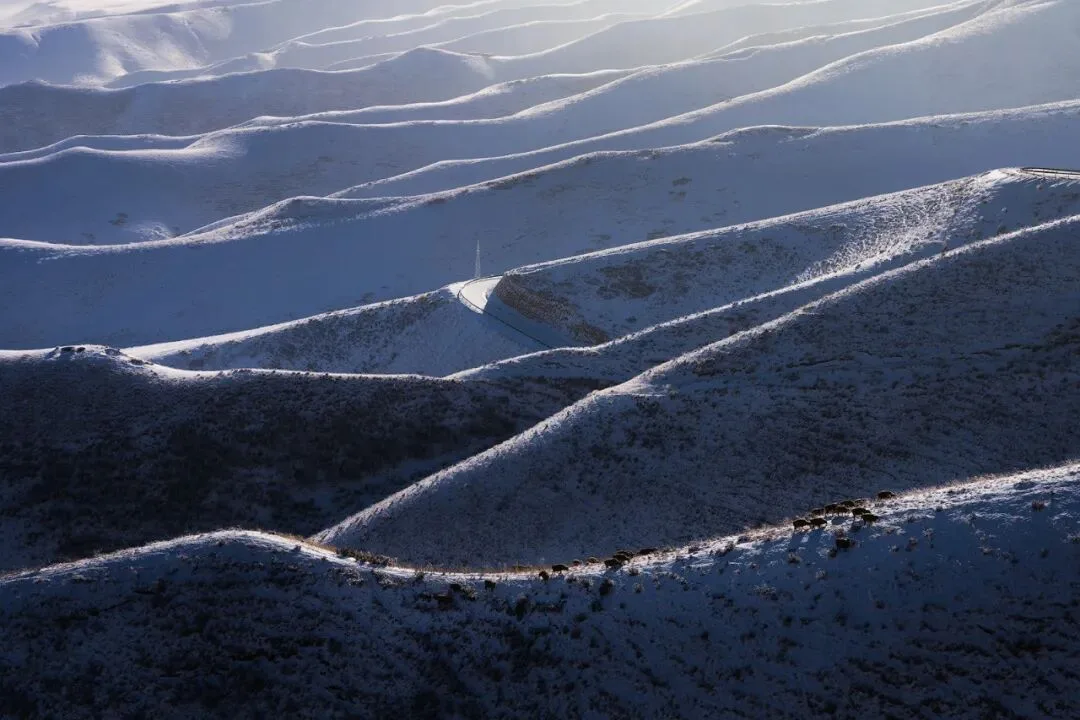
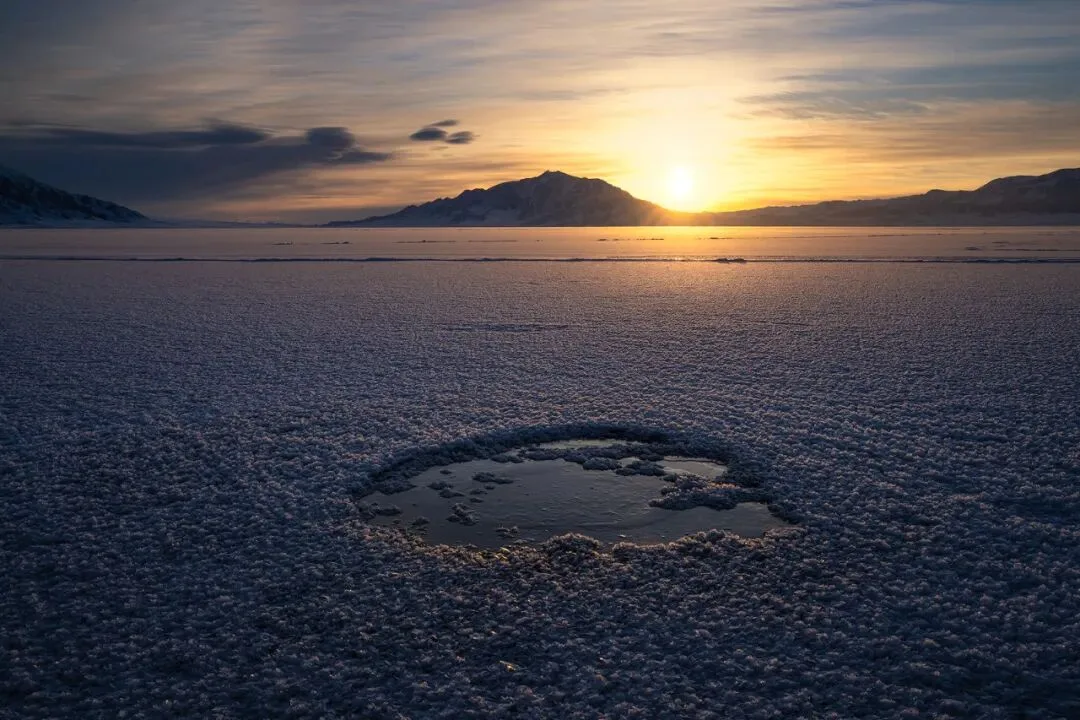
The two raw files for this exercise were shot on a Sony A7R IV with a 35mm f/1.4 lens.