Photography Tutorial · 2020-12-13
How to Create Light-Painting Masterpieces: A New Way to Play with Night Photography
Thomas Chu Photo
Light painting uses a camera's long exposure to record the moving trail of a light source — drawing patterns in the dark with light as your brush. It's an increasingly popular creative night-photography technique.
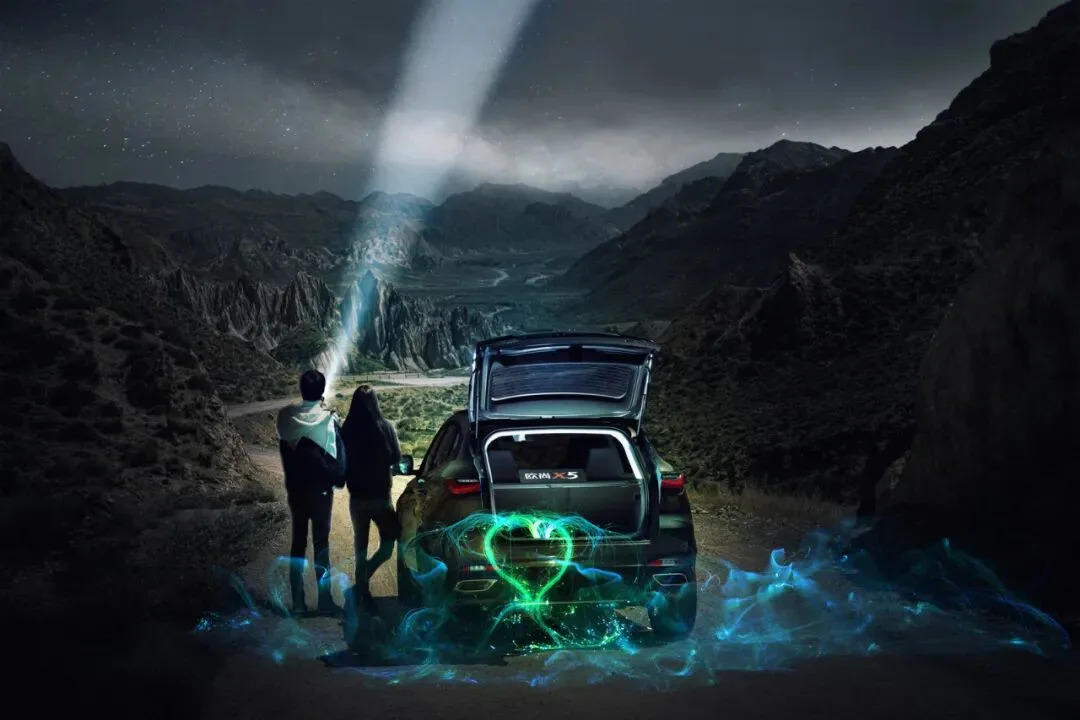
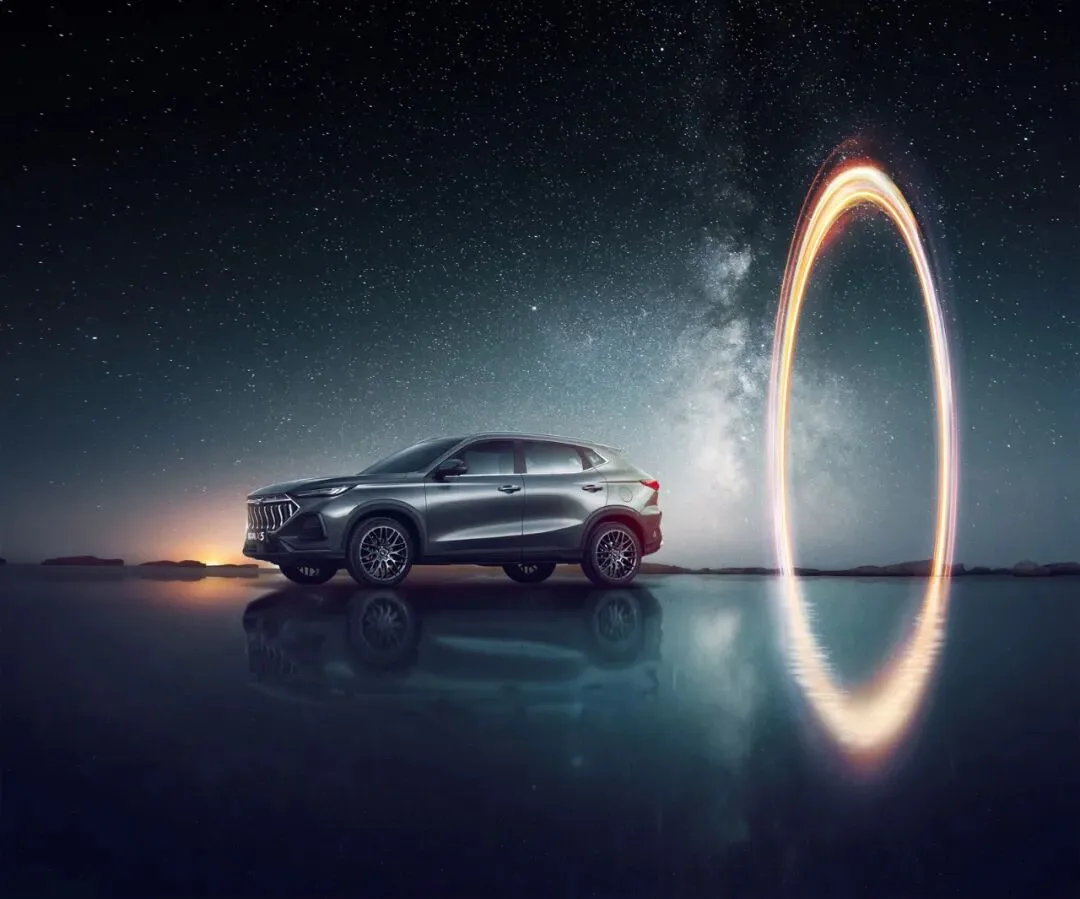
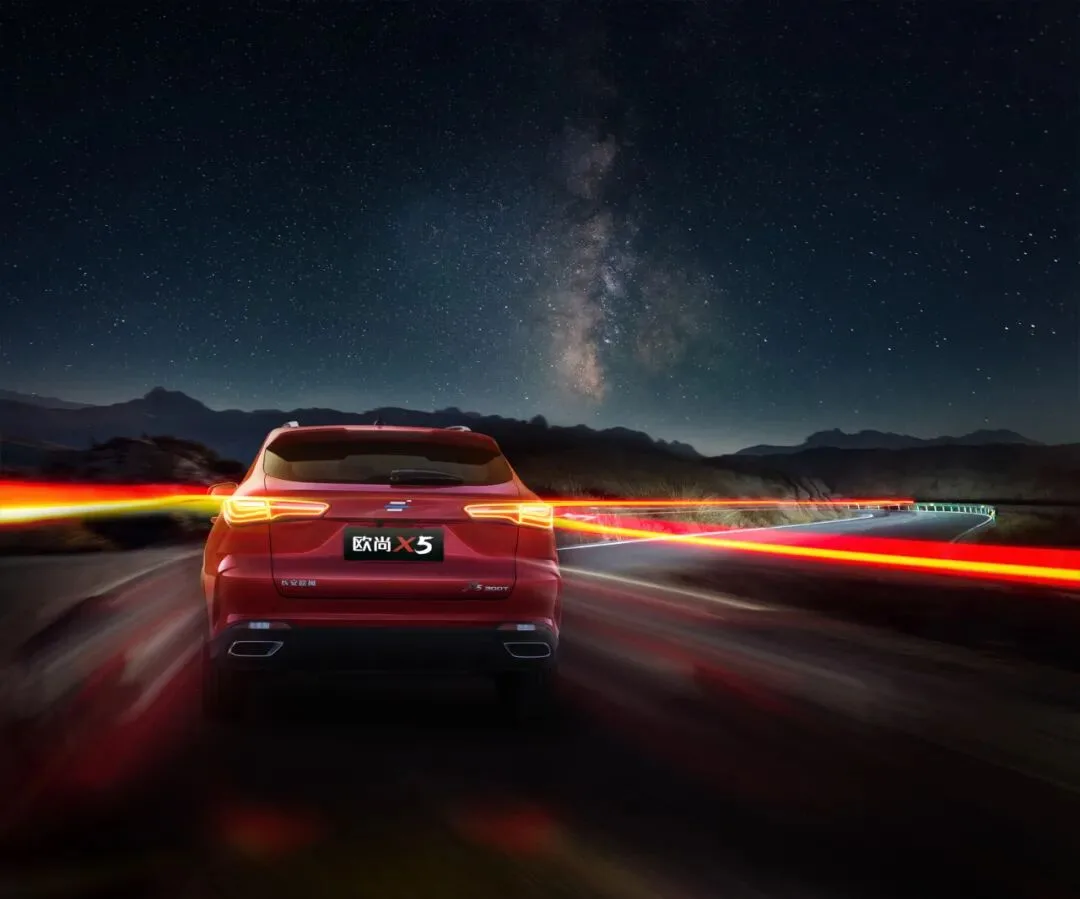
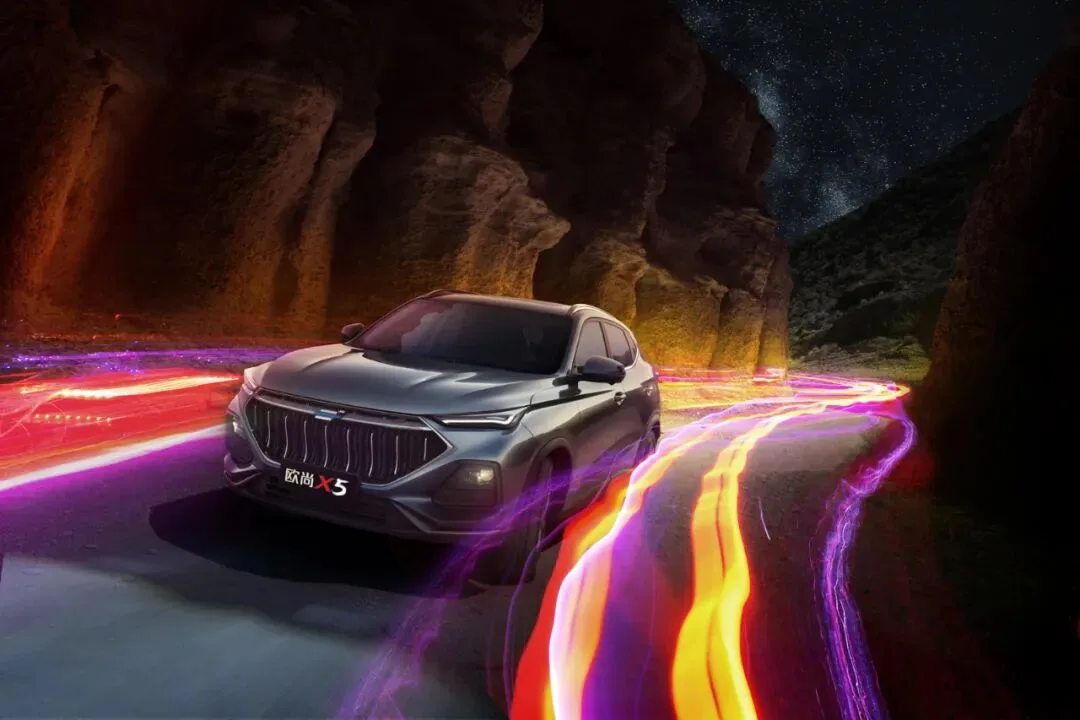
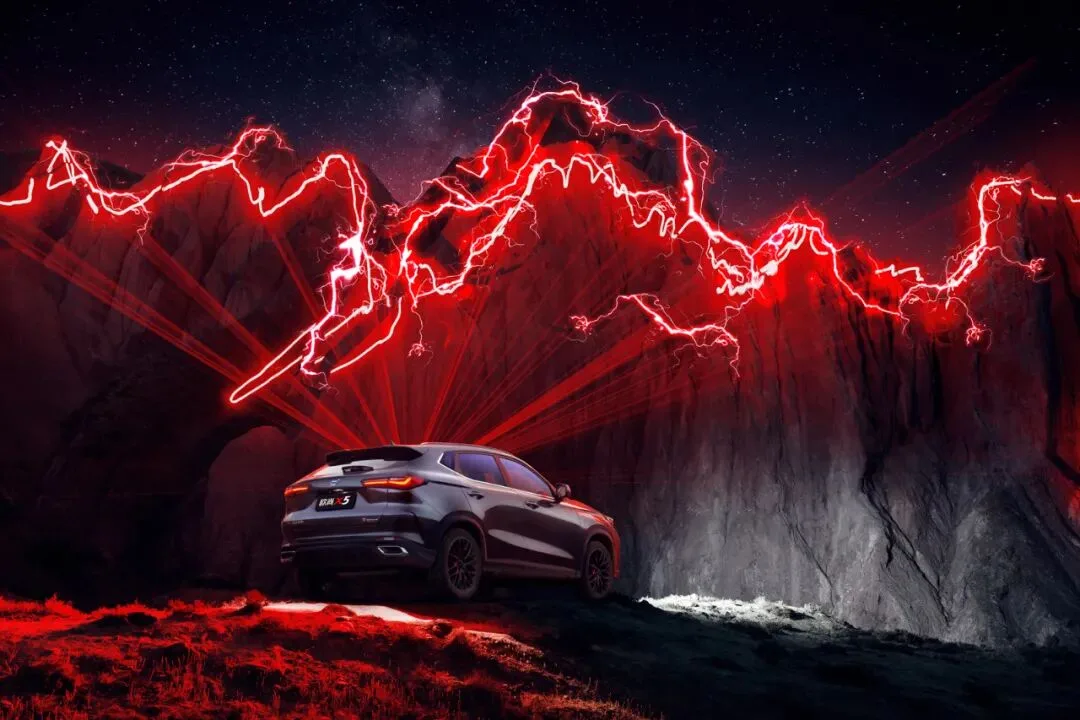
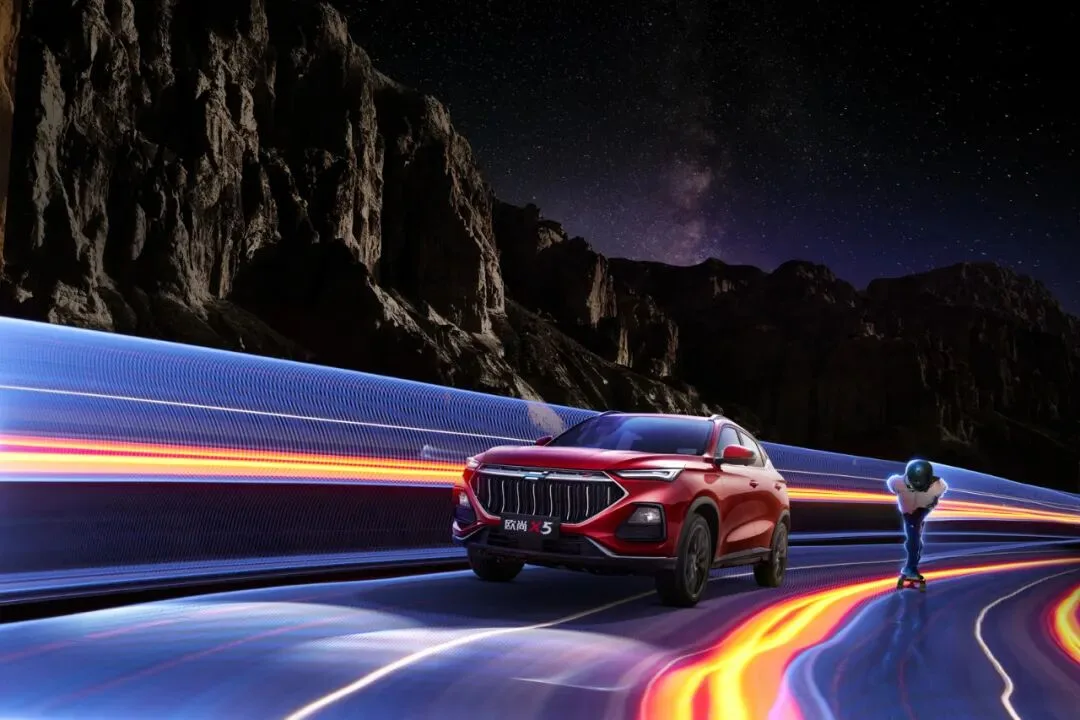
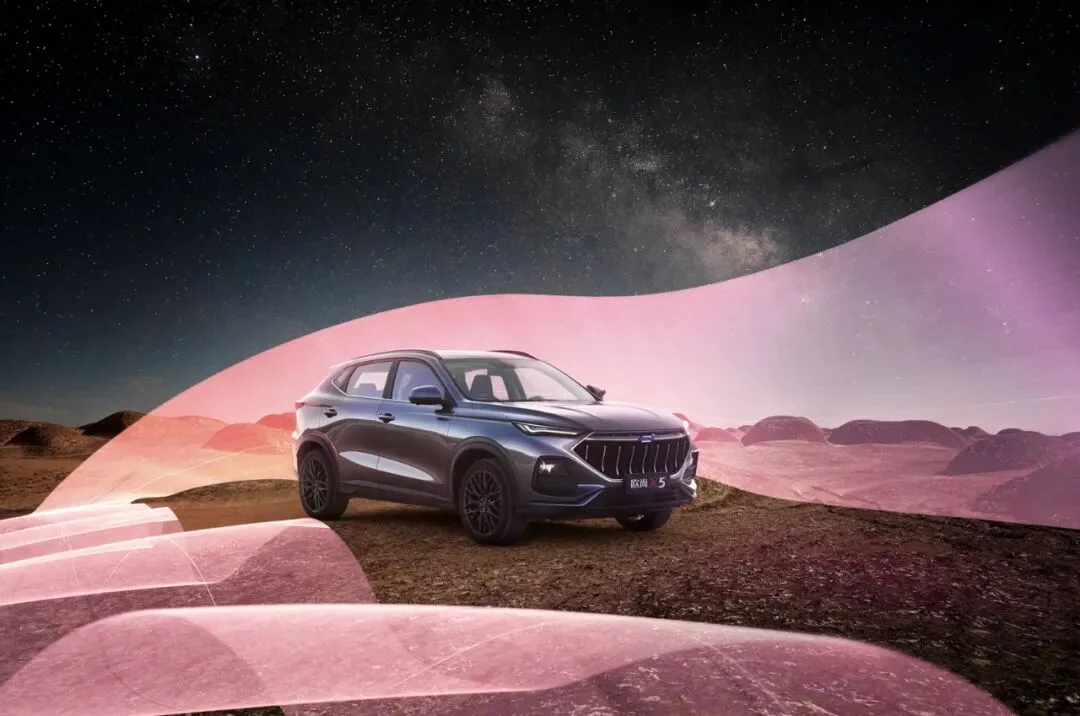
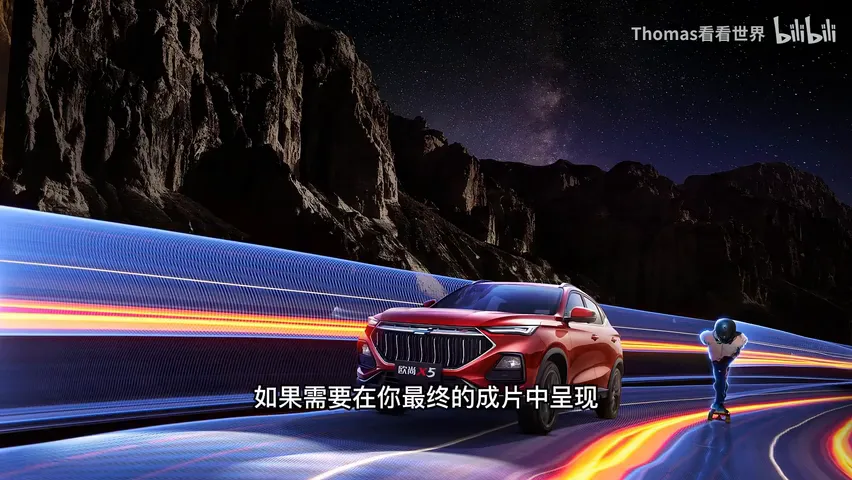
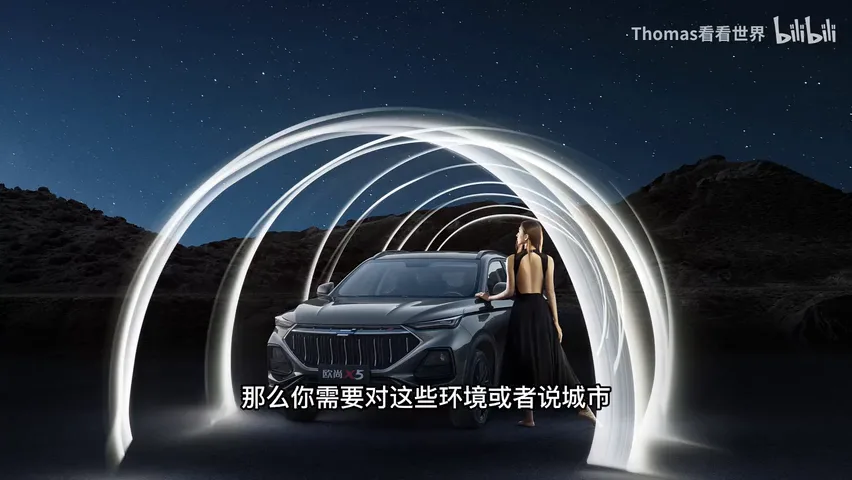
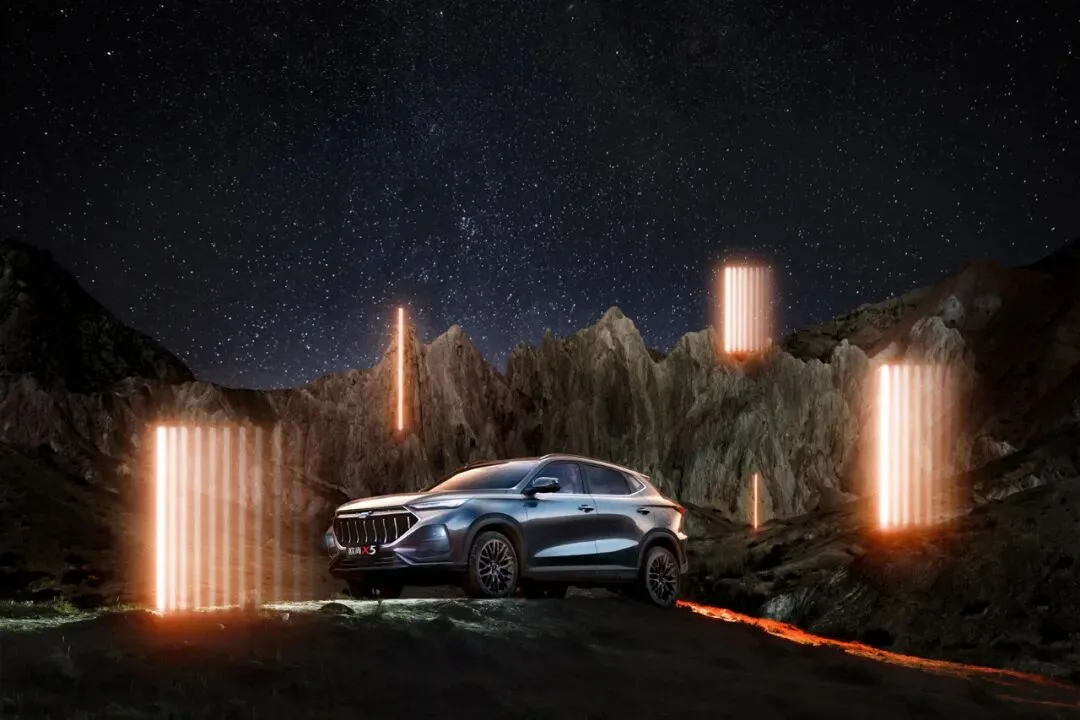
A while ago, Thomas teamed up for the first time with top Chinese light-painting artist RoyWang in Zhangye's Alien Valley to shoot a crossover series for the Changan Oshan X5 — combining landscape, starry sky, car and light painting with sparkling results.
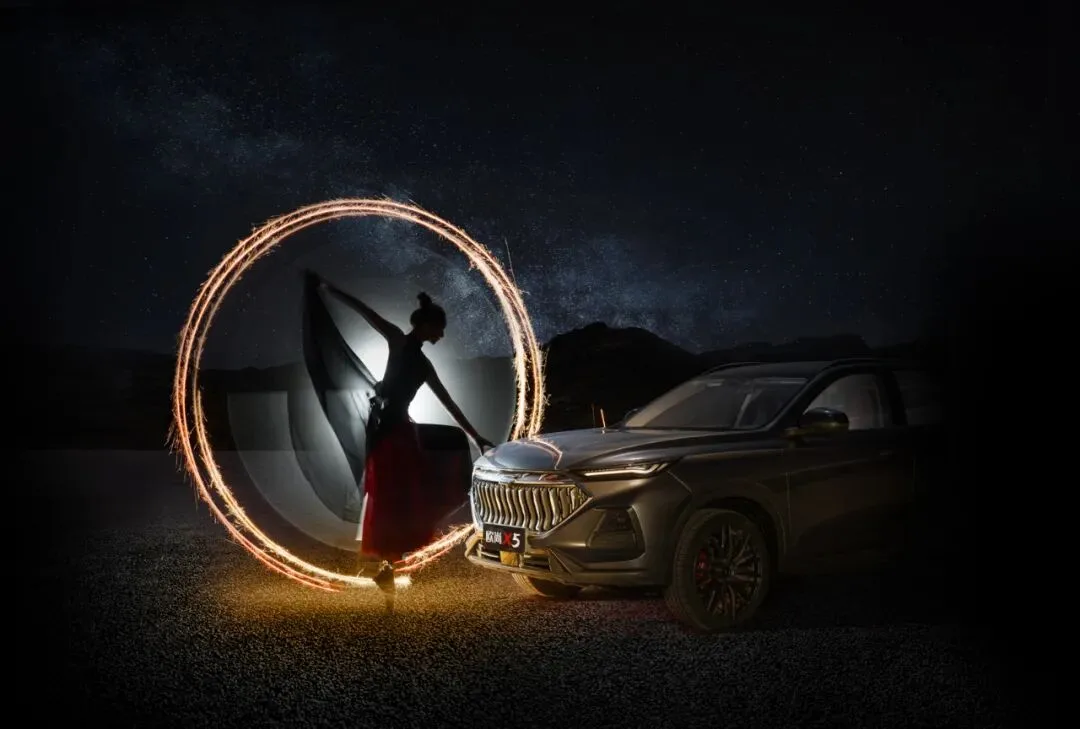
Light painting adds a fresh element to outdoor astro and landscape work, and the results are stunning. In today's tutorial, Thomas shares light-painting tips and tricks.
Video Tutorial
▶ Watch the video tutorial on Bilibili
This is the illustrated companion to the video above. Not long ago Thomas teamed up with RoyWang, one of China's top light-painting artists, to shoot a set of commercial light-painting images of the Changan Oushang X5 in Zhangye's Alien Valley. The video combines behind-the-scenes footage with a complete walkthrough of light-painting photography — principle, gear, settings and light sources — reorganized here into text with keyframe screenshots.
01 Principle and Gear: Recording Trails with Long Exposures
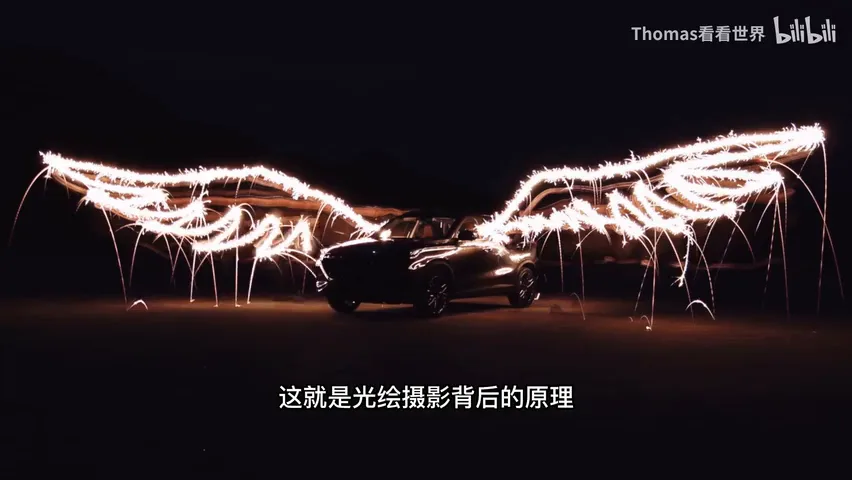
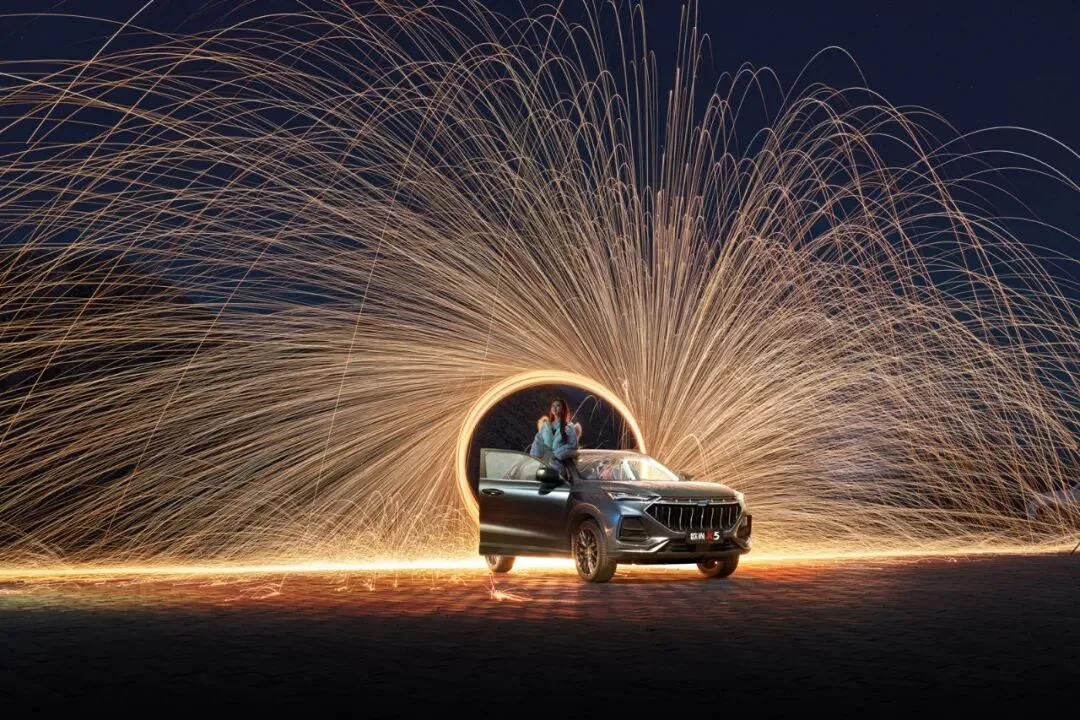
The essence of light painting is using the camera to record the path of moving light: a moving light exists only momentarily, but shot in long exposure, its trajectory accumulates into graceful trails and patterns (at 1:04 in the video). Like the frame below, where sparks flung from steel wool trace out a pair of wings.
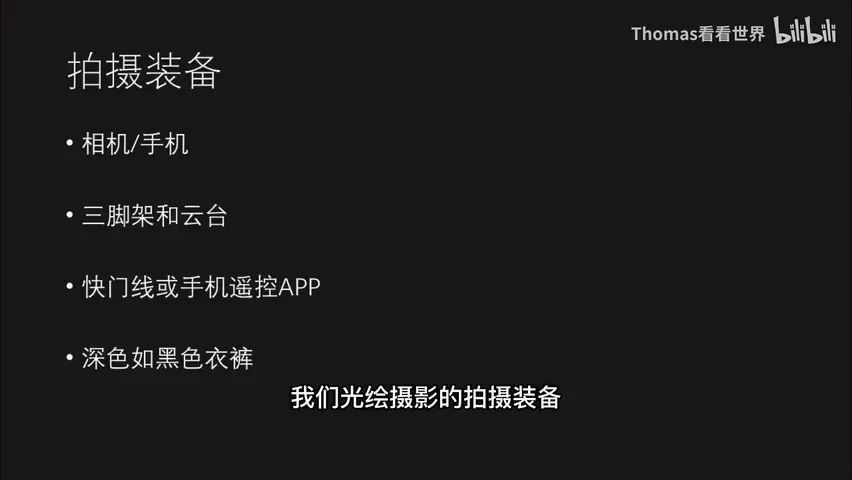
The gear is simple: any camera with long exposure works, even a phone; since you will expose at night for a long time, a sturdy tripod and head are essential; light painting often uses bulb mode, so a cable release or a phone remote app to open and close the shutter is also necessary; finally, wear dark or black clothing while painting so your body reflects no stray light into the final image (at 1:26 in the video).
02 Settings: Bulb Mode, Low ISO and Manual Focus
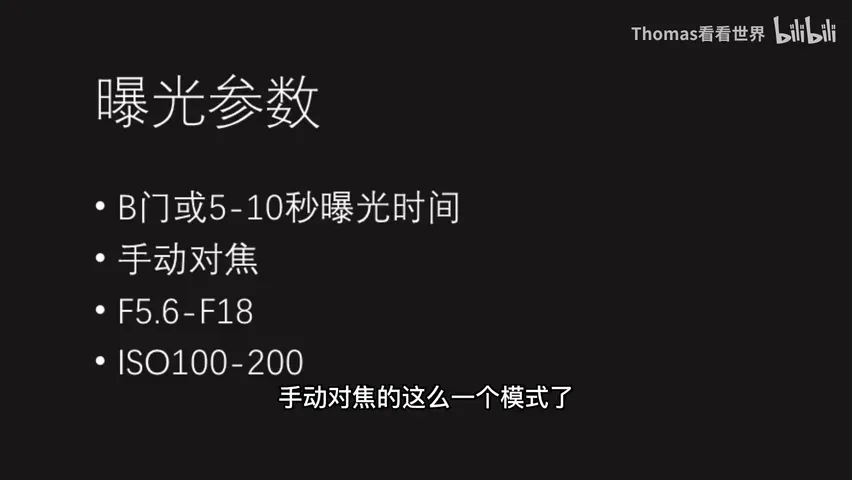
Light-painting exposure differs from ordinary night shots (at 2:08 in the video): set the shutter to bulb — press it before the painting starts, press again right after the final stroke; without bulb mode, 5-10 seconds is more than enough for one pattern. Since light-painting sources are bright, ISO 100-200 suffices — unlike astrophotography's high ISOs; adjust the aperture between f/5.6 and f/18 according to the light source, never letting the source blow out, or the pattern smears into a blob and loses detail. Focus must be manual at night.
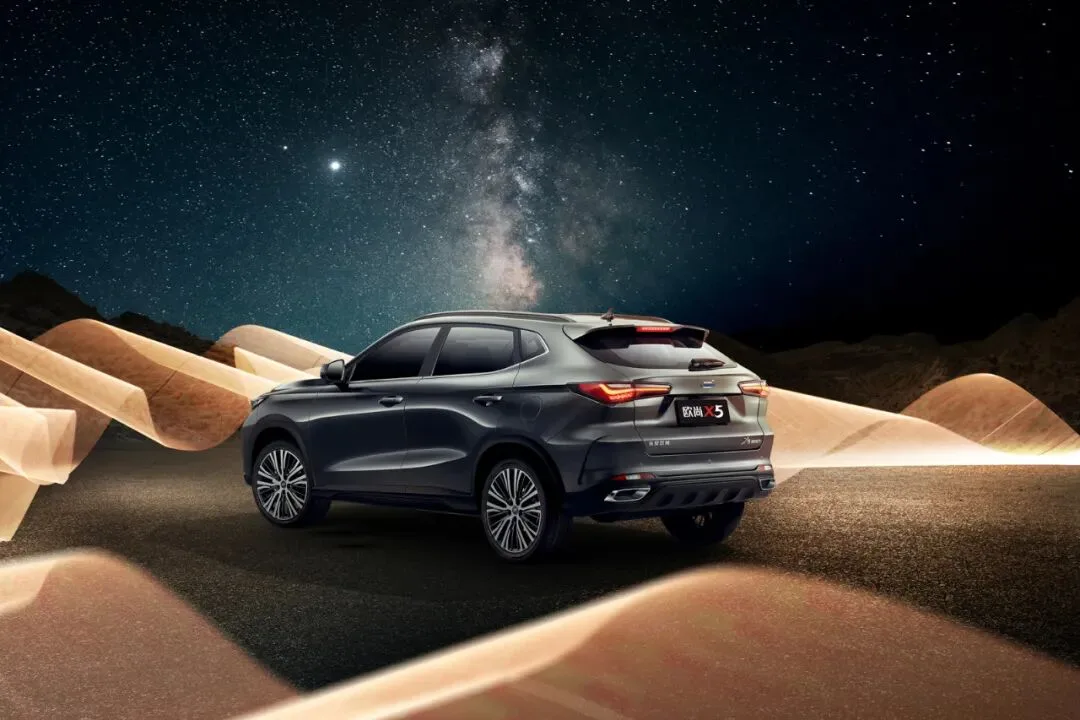
Note that these settings only record the light painting itself. If the final image must also show city night scenes, starry skies or the moonlit surroundings, expose those separately and merge everything later with time blending (at 3:07 in the video). The two frames below show the painted subject blended with dune light-painting and a starry sky.
03 Light Sources: from Flashlights to Steel Wool
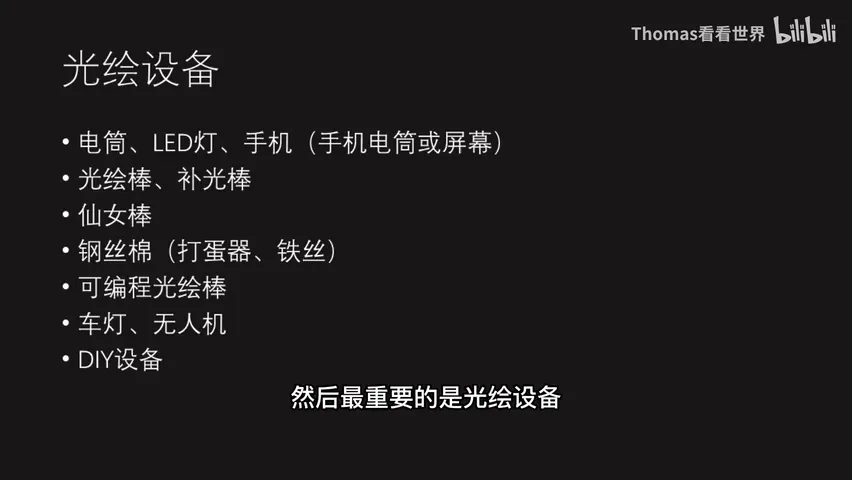
The light sources are highly varied (at 3:27 in the video). The simplest are flashlights, LED lights and phones — ideal for writing characters and drawing simple patterns; for several separate characters, switch the light off, move to the starting point of the next one, and switch it back on; for broader shapes like waves, longer light-painting bars or fill sticks work better.
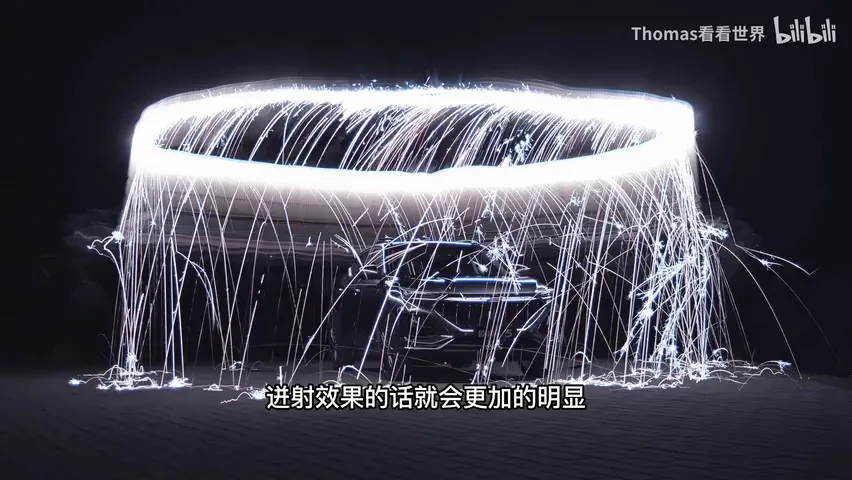
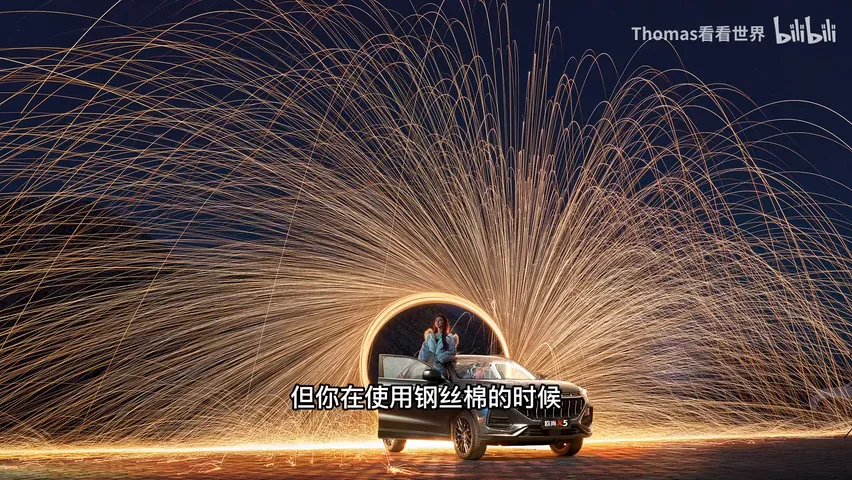
Fireworks are also wonderfully effective in light painting (at 4:02 in the video): sparklers draw lines with built-in flying sparks, and bundling several together makes the spray even denser. The legendary tool is steel wool: stuff it into a whisk tied to a wire, light it, and swing it in circles continuously to paint huge, spectacular rings of sparks. But burning steel wool is extremely hot — guard against burns and keep flammable items away; it carries real risk.
04 Behind the Scenes: Making a Commercial Light-Painting Shoot
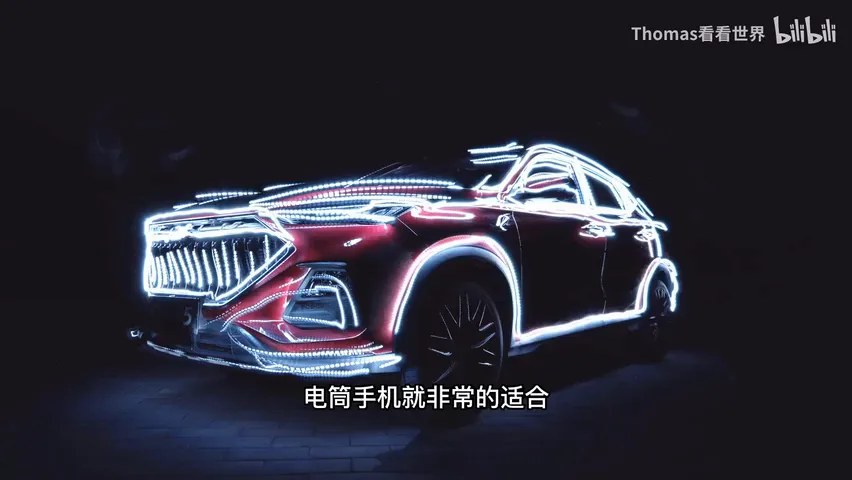
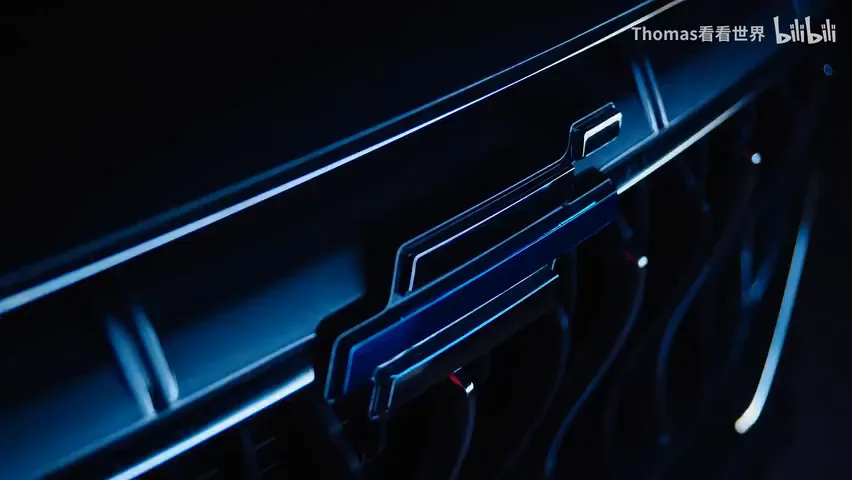
More sources open more creative options: car headlights and drones let you paint in the air or across vast terrain; programmable light-painting sticks can be pre-loaded with images or text that appear as you swipe them across the frame — remarkably handy (at 4:50 in the video). In this shoot the team even mounted extra lights on the car itself, using the vehicle to pull perfectly smooth curves and patterns.
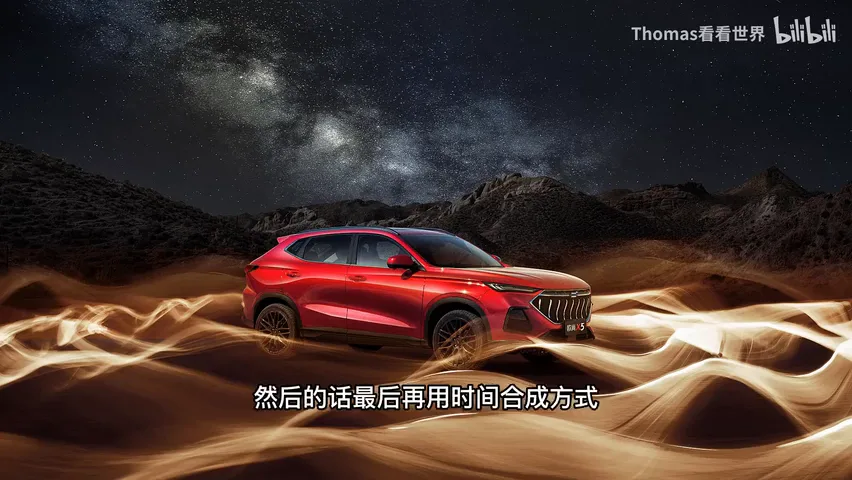
The Changan Oushang X5 shoot ran for days: each day's light painting plus cleaning the car took hours, and every trail had to be painted over and over until it was smooth enough (at 5:32 in the video). Fortunately the final images delighted the whole team — light painting adds a completely new element to outdoor night and landscape photography, with truly stunning results.
1. Light painting is long-exposure accumulation of light trails: any camera or phone works, with a tripod, shutter control and dark clothing as the basics; 2. The settings mantra: bulb or 5-10 s, ISO 100-200, f/5.6-f/18, manual focus — never overexpose the source or the pattern loses its detail; 3. The source defines the style: flashlights for writing, bars for shapes, sparklers for sparks, steel wool for rings — mind fire and burns; 4. For the final image, expose the painting and the environment separately, then blend with time compositing so both look their best.
Videographers: Lin Qitao, Yang Ke
Tutorial produced by Chu Weimin
Light-painting consultant: RoyWang
Written Tutorial

Light painting doesn't require complex gear — any camera or phone with long-exposure capability works.
Since you're shooting long exposures at night, a sturdy tripod and head are essential.
Light painting often needs Bulb mode, so a shutter release cable is handy. Many cameras can now be controlled via a phone app, which replaces the cable.
When painting with light, wear black or dark clothing so your clothes don't reflect stray light or show up too bright.
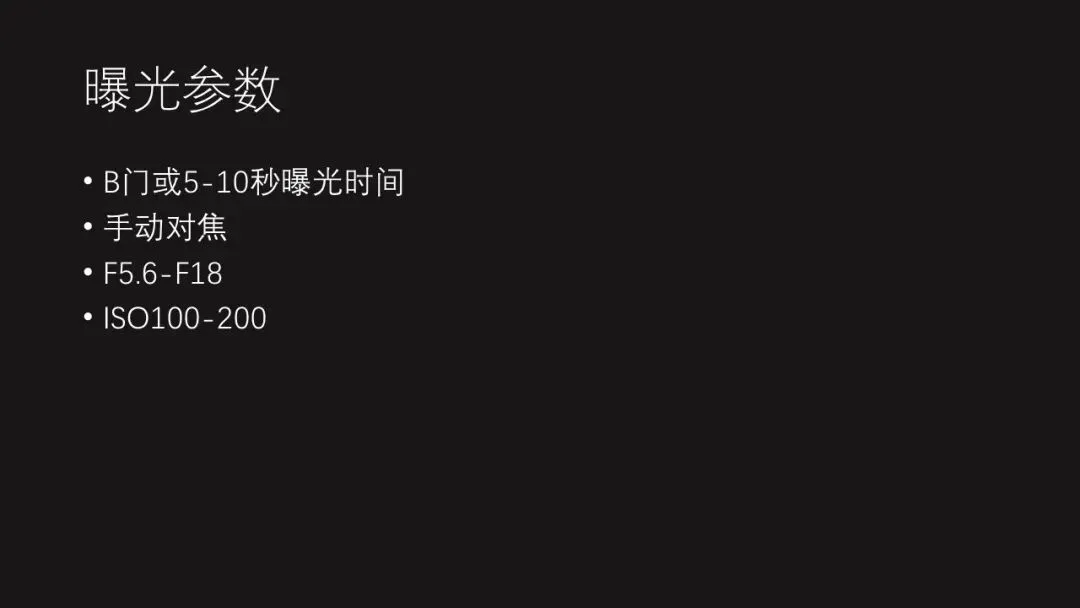
Because light sources are often quite bright, ISO 100-200 at f/5.6-f/18 is a common exposure combo to keep the light trails from blowing out. Set the shutter to Bulb: start before the painting begins and stop right after it ends.
Without Bulb mode, a 5-10 second exposure that covers the drawing process usually works.

Note these settings only record the light pattern itself. If the final photo should also show a city nightscape, starry sky or surrounding scenery, meter and shoot those separately and blend them in post.
Light sources for drawing come in endless variety. The simplest — a flashlight or a phone — are point sources, good for writing words and drawing circles.
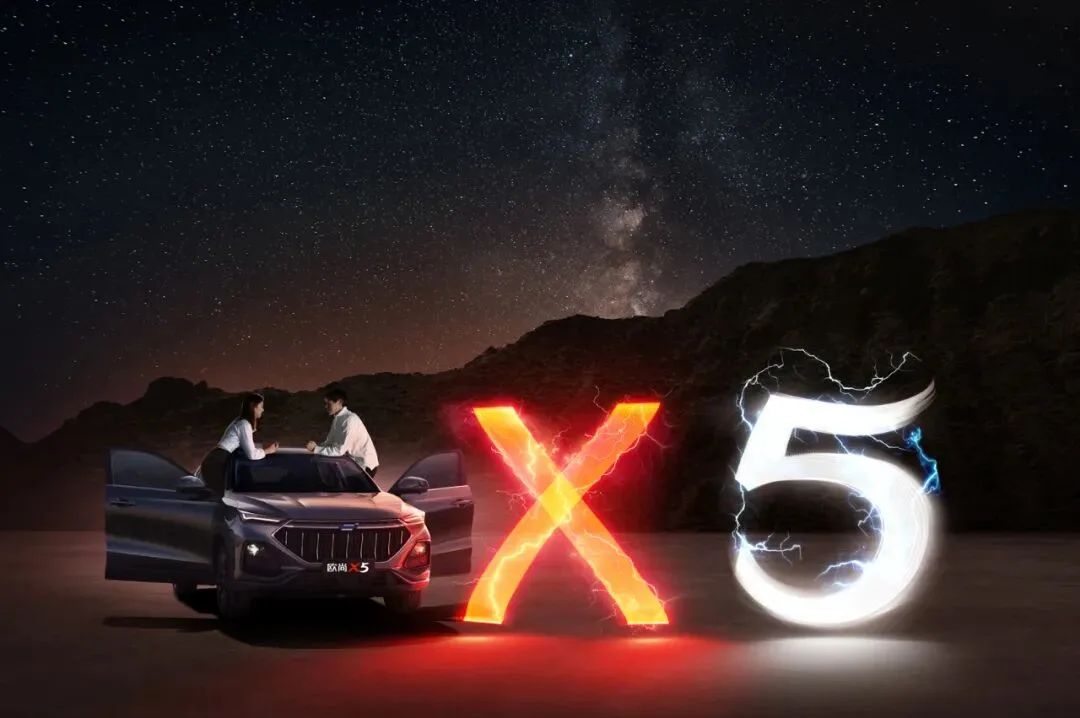
To write several separate characters, turn the light off after each one, move to where the next character begins, and switch it back on.
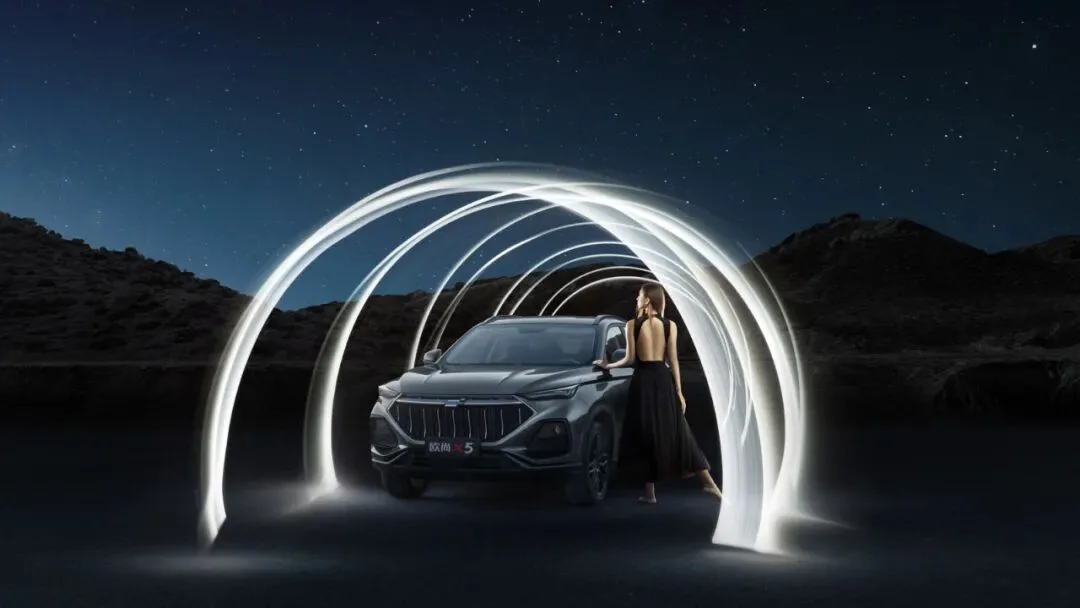
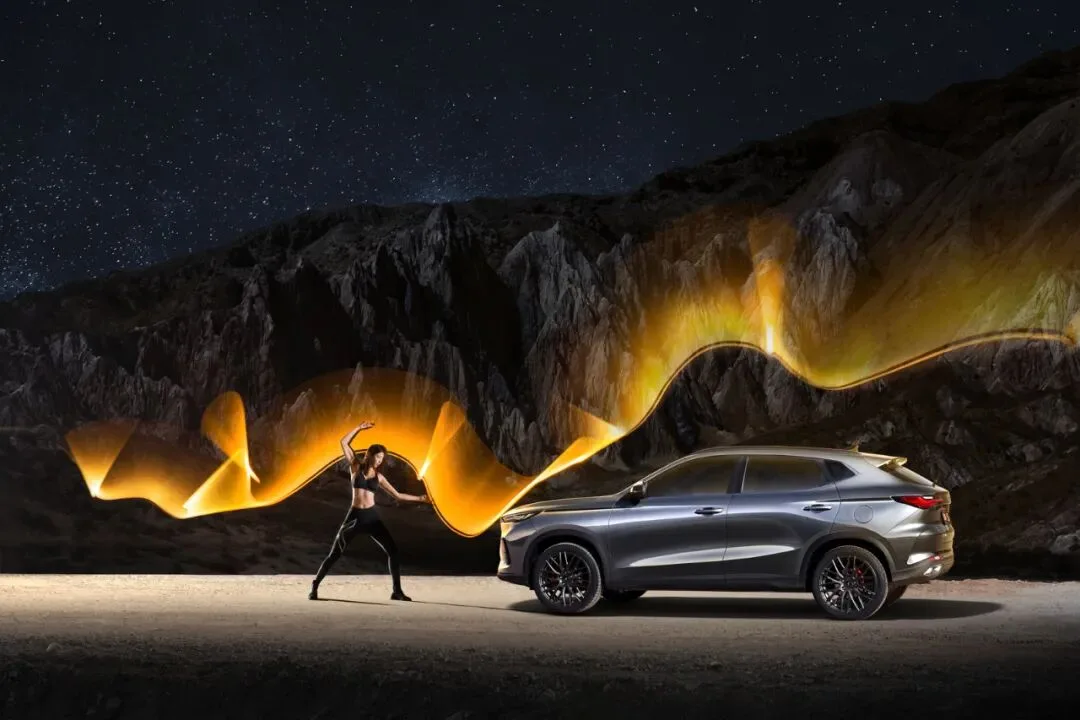
For wider shapes like the wave below, use a longer light stick or light-painting tube.

Fireworks are another classic tool — writing or drawing with sparklers produces glittering, colorful lines.
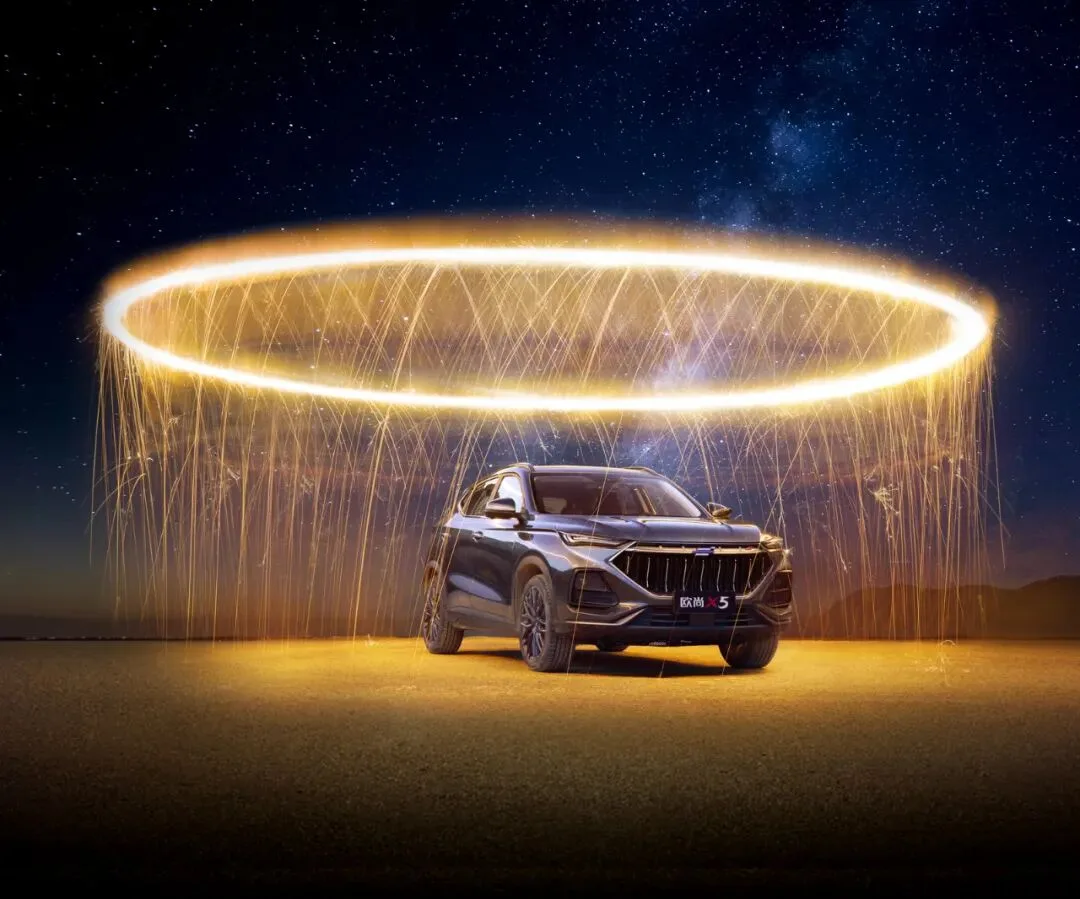
Even more popular is steel wool. We pack a ball of steel wool into a whisk, tie the whisk with wire for spinning (ordinary rope burns through), light it and spin hard.
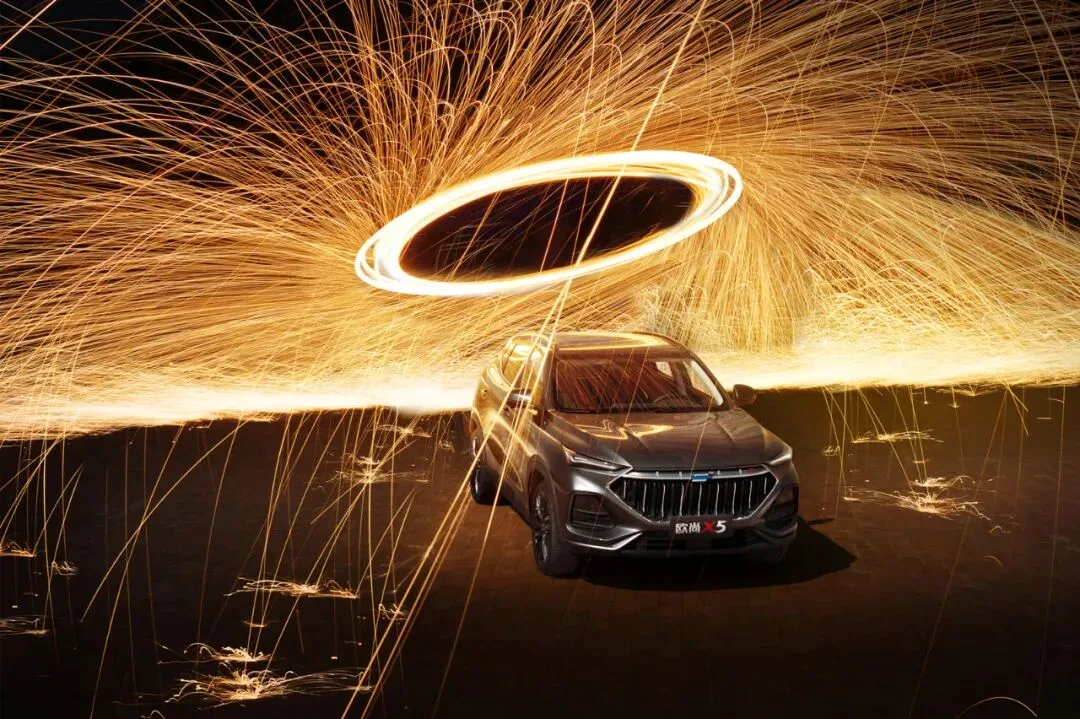
Horizontal or vertical, the shower of sparks is hugely dramatic.
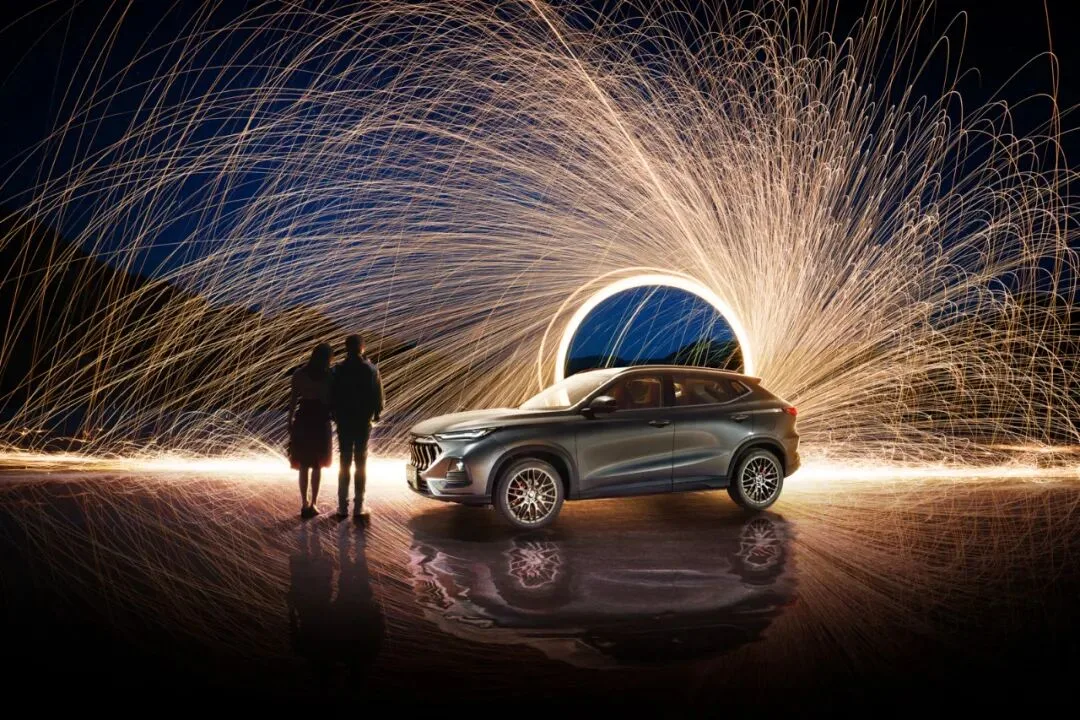
Near the ground or walls, you can even capture sparks bouncing off surfaces.
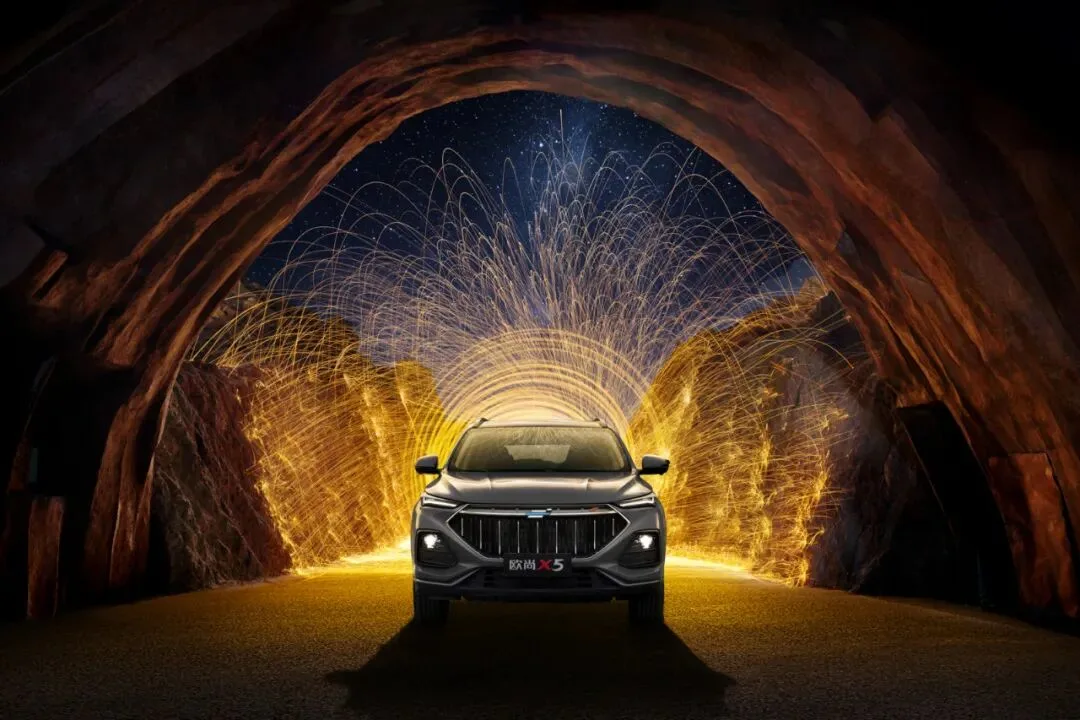
Steel wool burns at very high temperatures — avoid burns, and make sure there are no flammable or hazardous materials nearby.
Beyond these basic tools, programmable professional light sticks now let you preload images or text, making complex patterns possible.
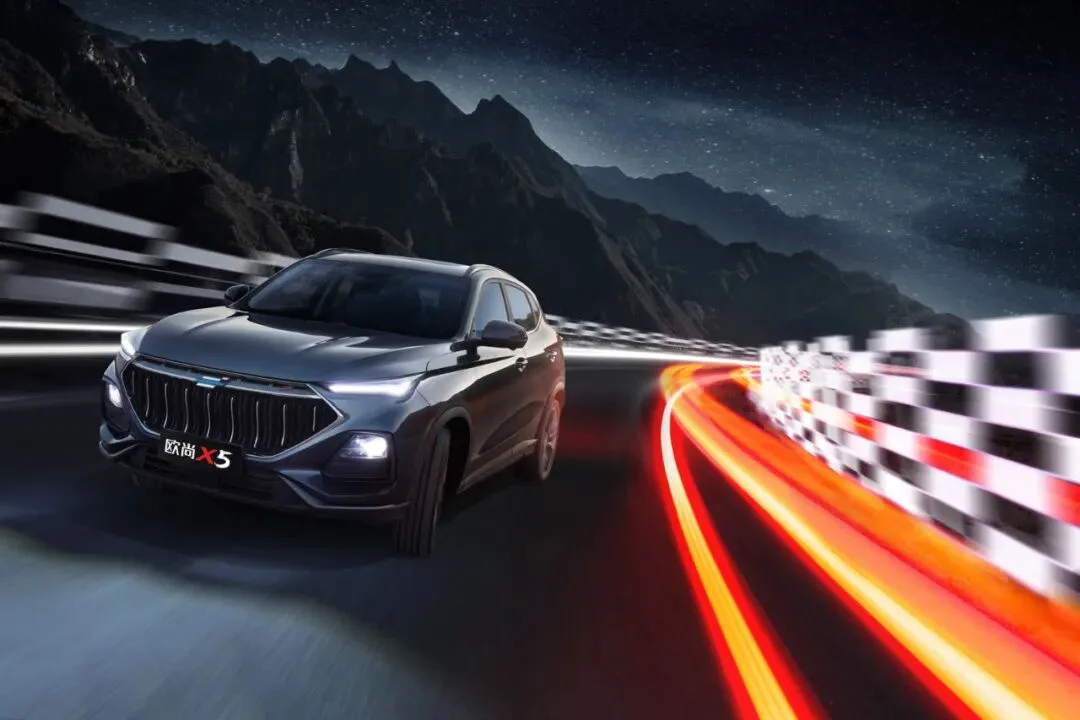
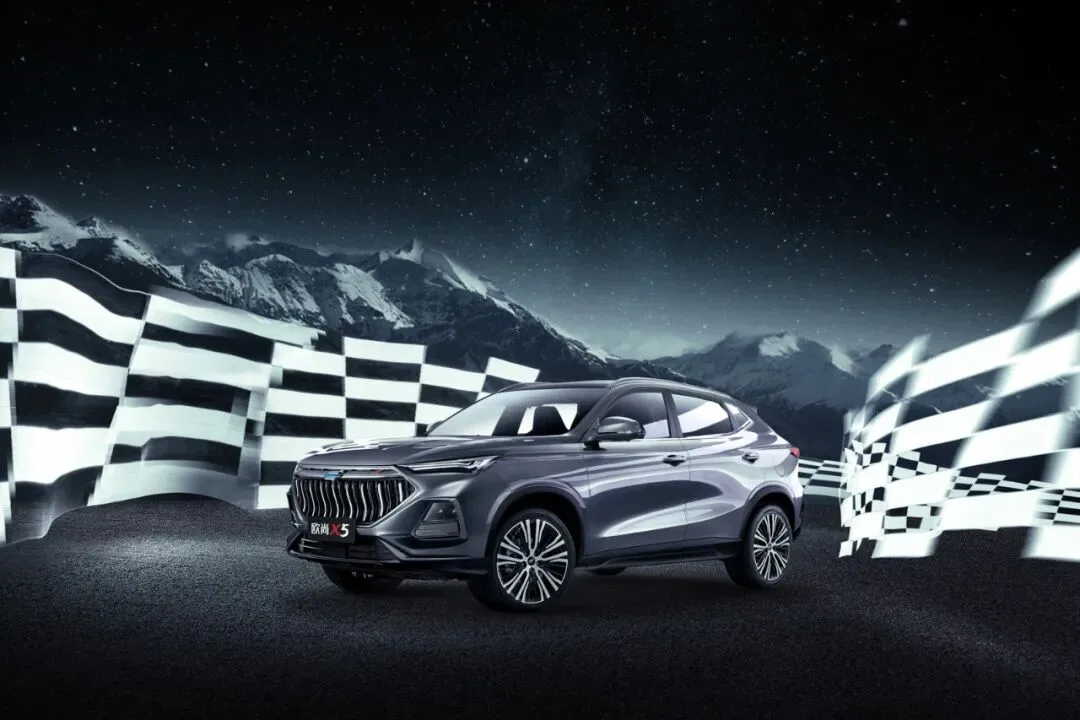
Car lights and drone lights can also paint creative patterns.
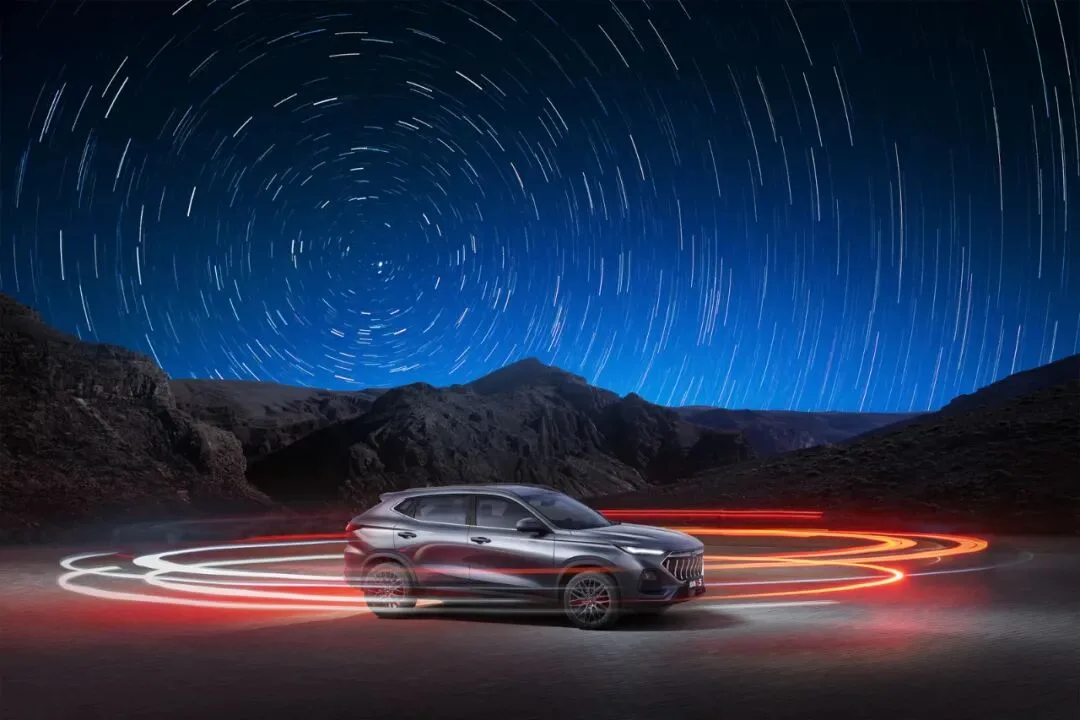
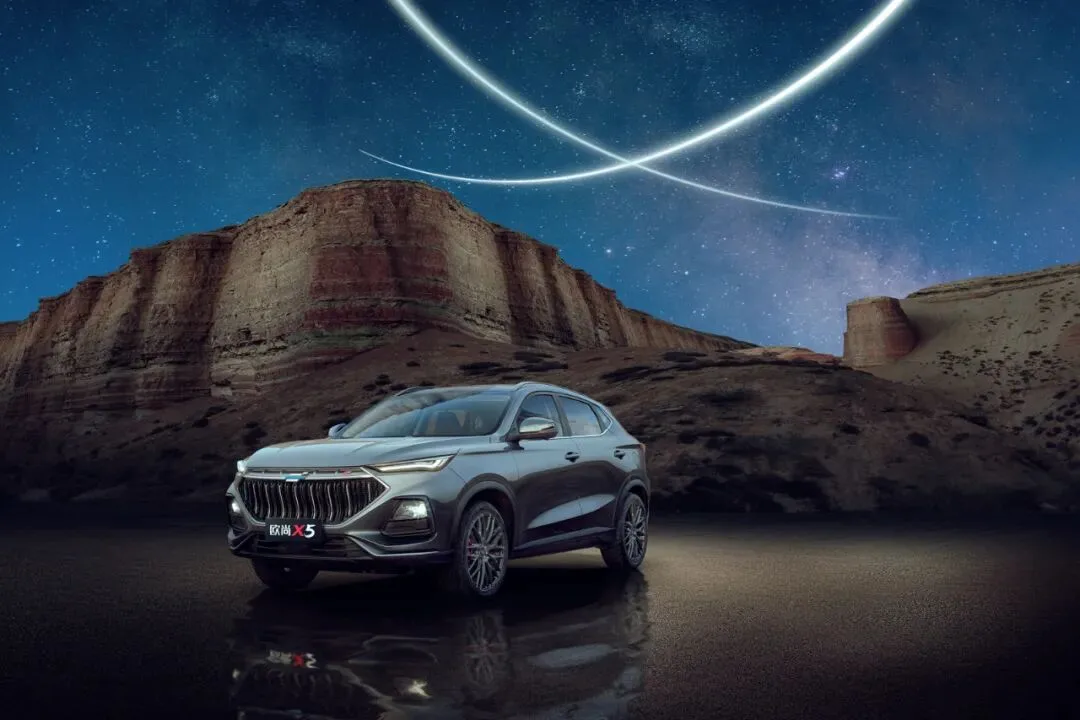
This time we mounted extra lights on the car itself, using it to draw patterns and curves that need to be very smooth.
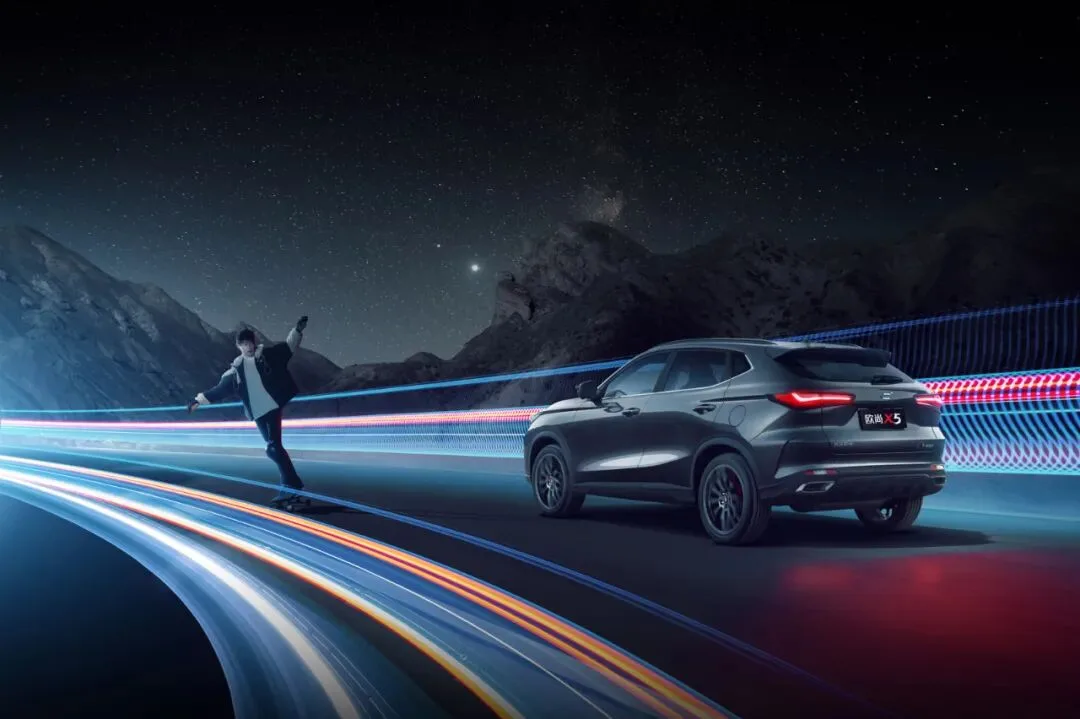
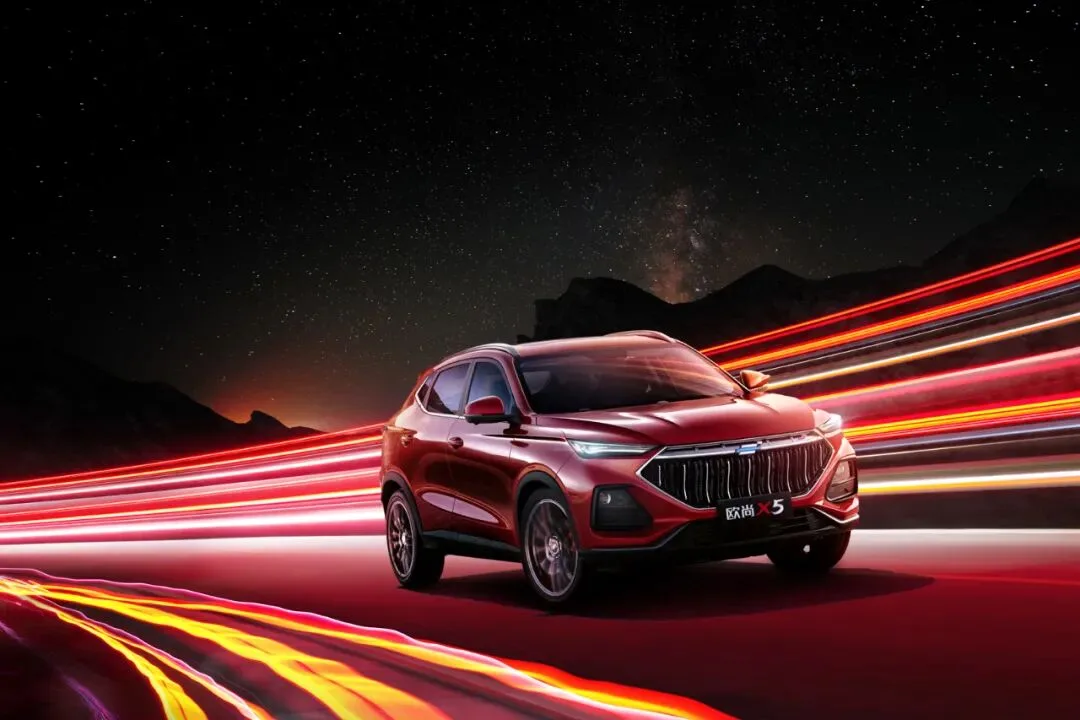
Finally, let's enjoy some more light-painting works from this shoot.
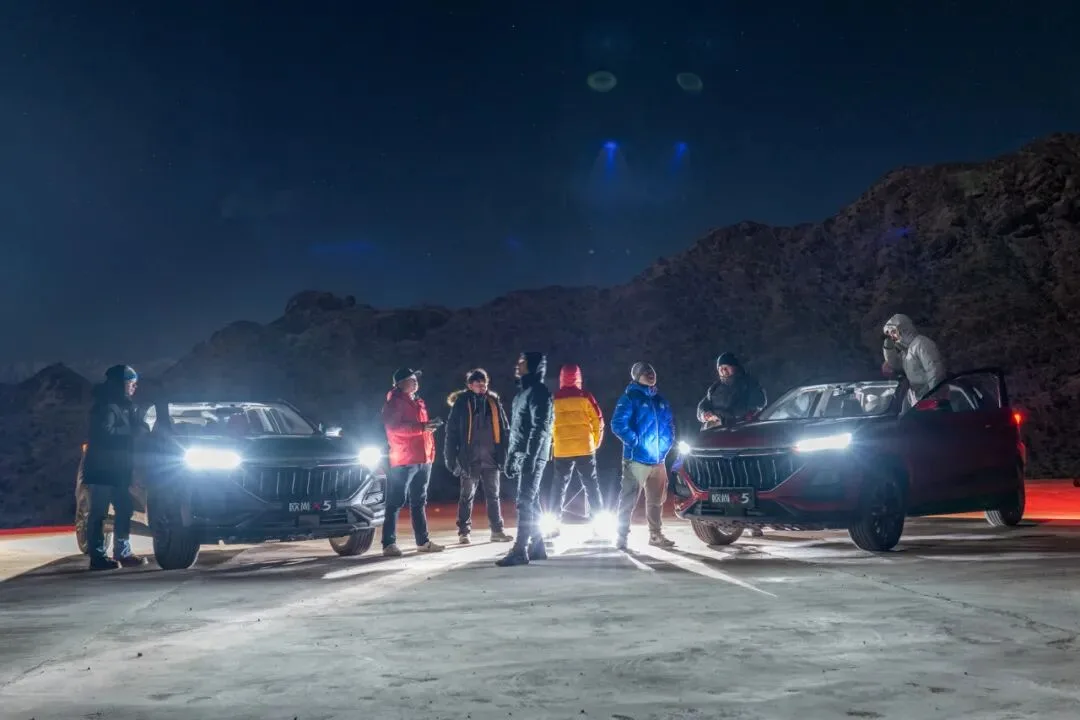
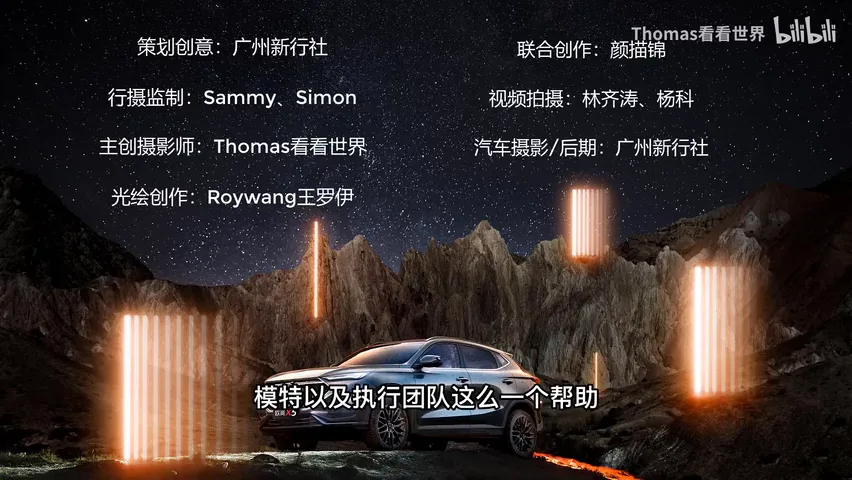
Concept & planning: Guangzhou Xinxingshe
Travel production leads: Sammy, Simon
Lead photographer: Thomas Chu Photo
Light-painting creation: Roywang (Wang Luoyi)
Collaborator: Yan Miaojin
Videographers: Lin Qitao, Yang Ke
Car photography & retouching: Guangzhou Xinxingshe