Photography Tutorial · 2022-09-25
How Were Those Spectacular Photo Spots Found? The Location Scouting Methodology
In my own landscape works, I often compose using the layers and characteristics of the scene to create complex and stunning images.
But how are the spots for these spectacular landscape shots discovered?
Today I'll share my methodology for exploration and location scouting.
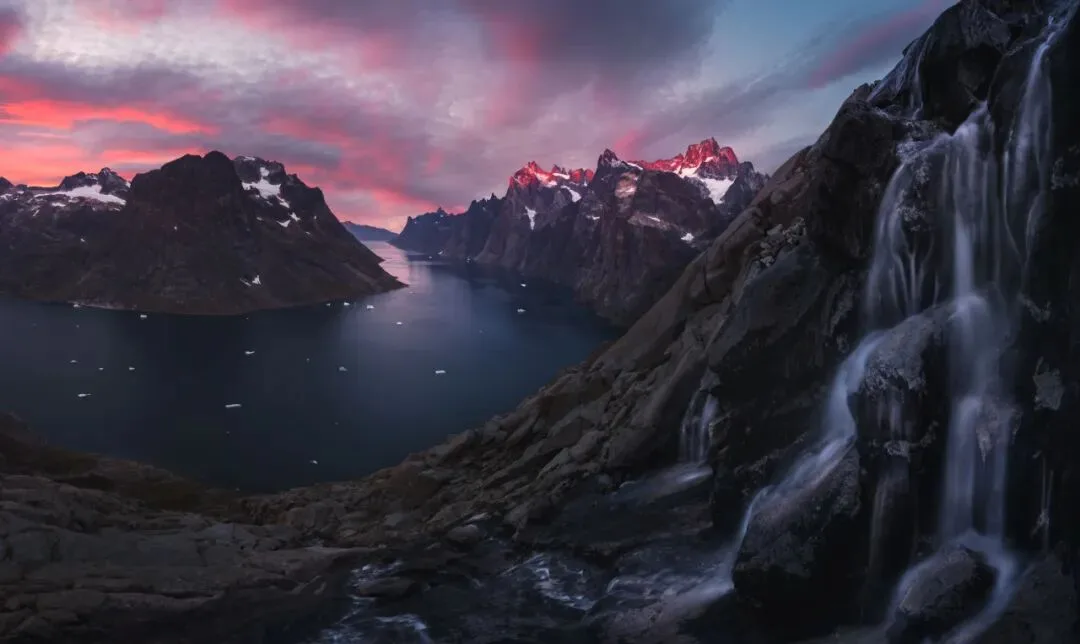
Video
▶ Watch the video tutorial on Bilibili
This is the illustrated companion to the video above. Thomas's landscapes are known for their complex, striking sense of depth — but how does he find those vantage points? In this video, using the new Sumeru rainforest map from Genshin Impact 3.0, he demonstrates his full location-scouting methodology. Keyframe screenshots are included, and the method applies equally to real-world outdoor scouting.

01 Where Depth Comes From: Foreground, Middleground, Background
Thomas's grand landscape photos usually break into three layers: foreground, middleground and background (at 0:48 in the video). Take the photo that opens the video: a bare branch in the foreground, the river and hillsides of autumn color in the middleground, sky and snow mountains in the background. When two or even three of the layers are beautiful and distinctive on their own, the whole frame becomes rich from front to back — grand and layered.
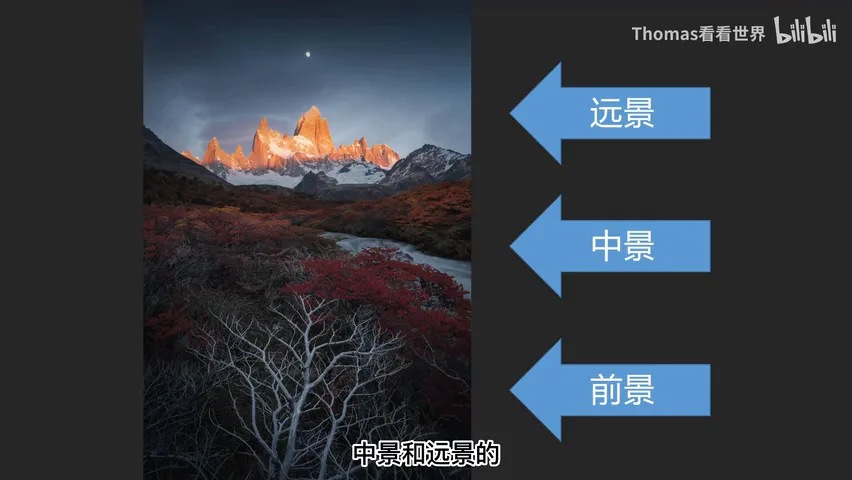
When scouting on location, reverse the order: find the background first, then the middleground, and finally narrow the range to hunt for a foreground (at 1:34 in the video). Take a famous snow mountain: the mountain's fame settles the background; the river is marked on the map and quickly found; on site you look for a fitting foreground like a bare branch — and a richly layered composition is born.
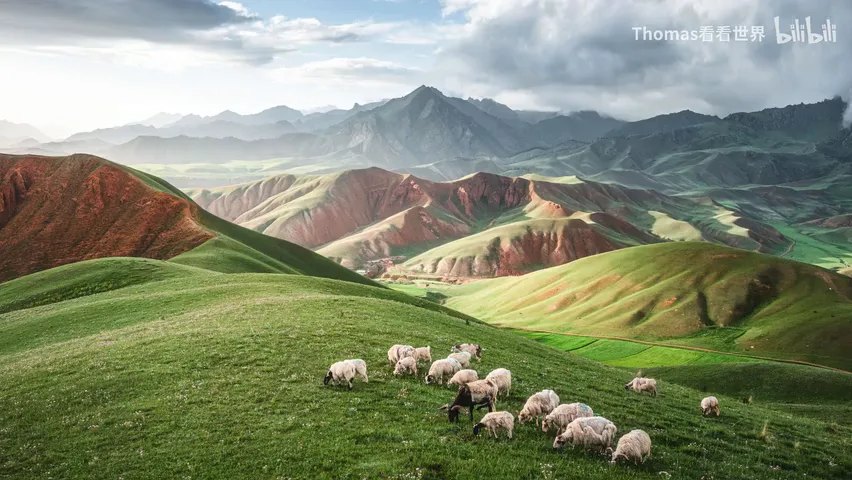
02 The Demo: a Round of Scouting in Sumeru
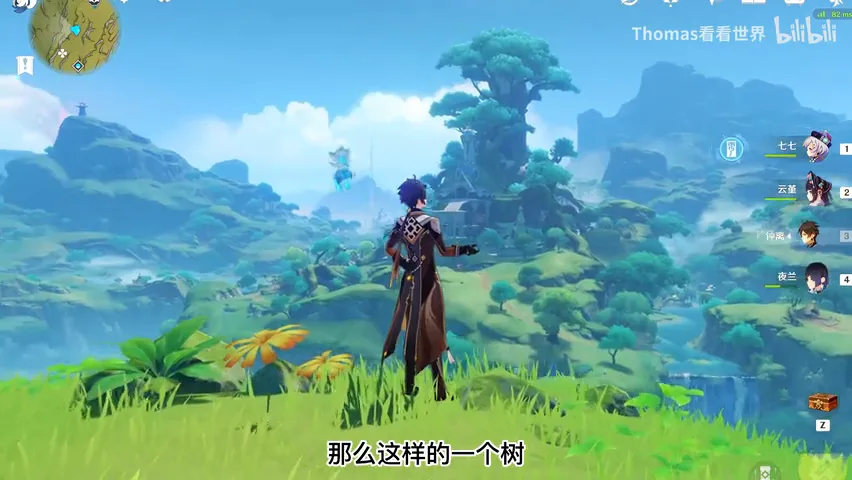
Thomas then runs the method through an open-world game (at 2:14 in the video). Arriving in the new Sumeru rainforest map from Genshin Impact 3.0, he picks a random spot and looks around: the peak to the left is rather plain in both shape and its town, mediocre as a background; but the huge tree in the middle — the city of Sumeru built atop it — is full of character, a fine background candidate.
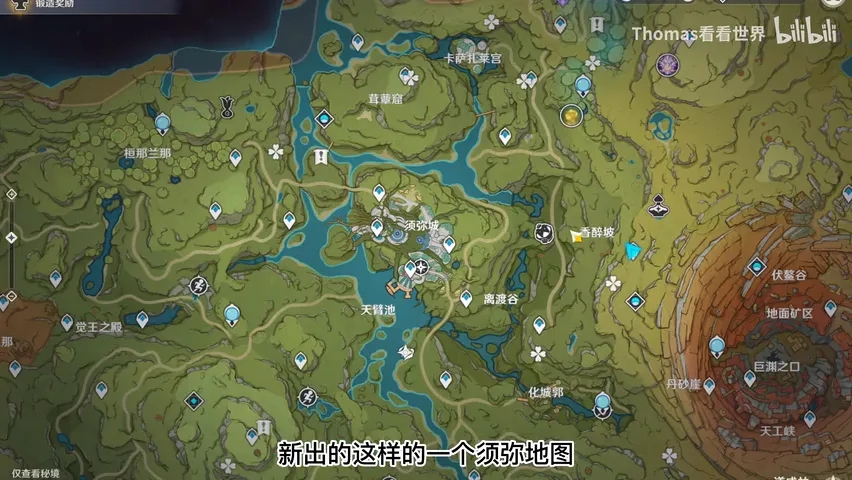

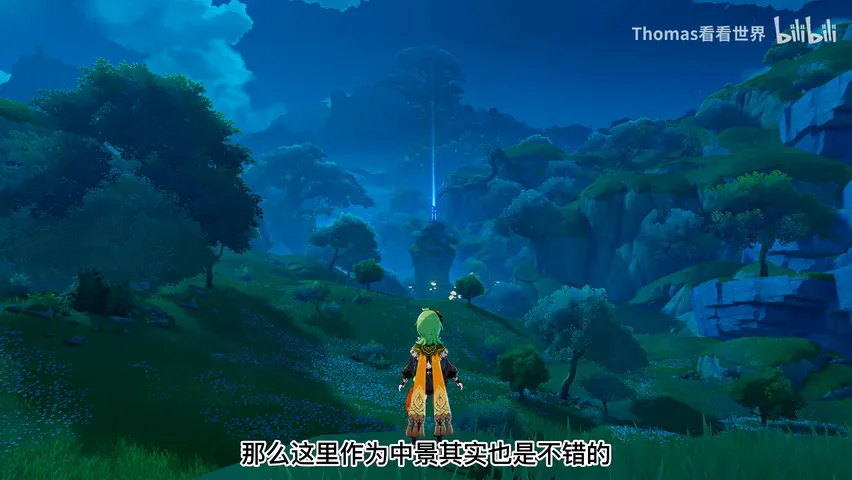
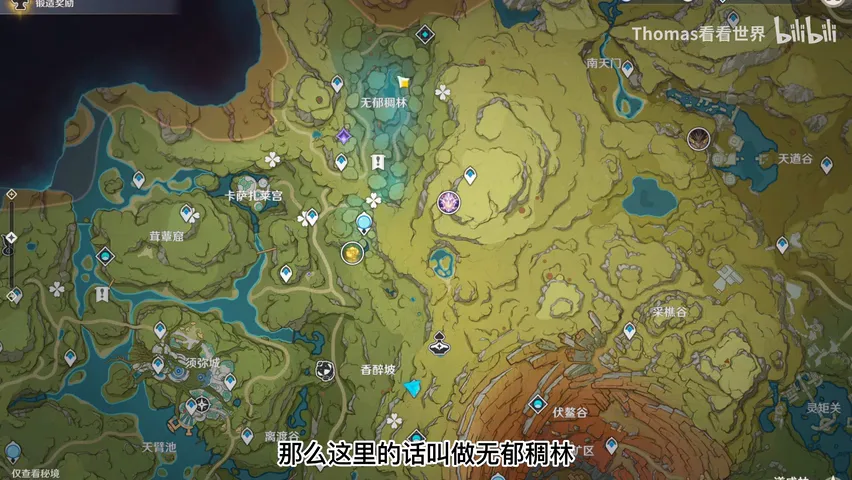
With the background settled, he hunts the map for middlegrounds (at 3:14 in the video): a river runs toward Sumeru city — a good middleground; the nearby valley has merits too; and this area of giant glowing plants, flat and layered, is an excellent option — on the map it is called the Avidya Forest, and it happens to line up in a straight line with Sumeru city.
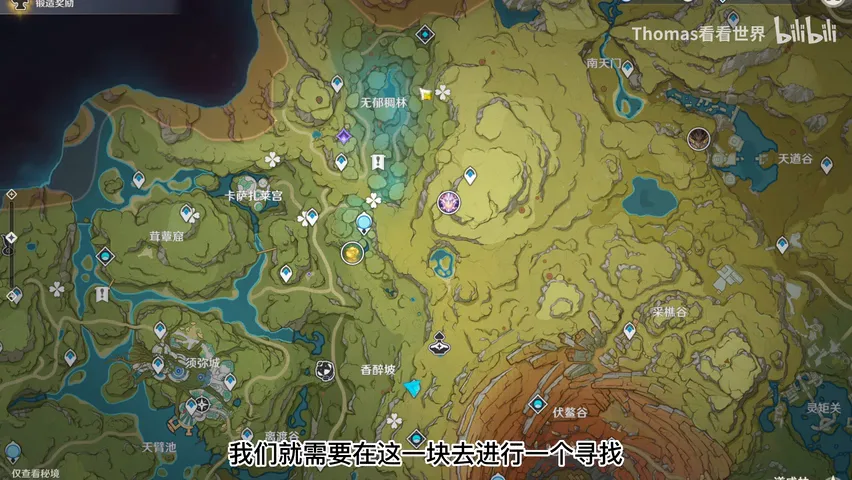
Once background and middleground are analyzed on the map and connected with a line, the foreground search range is basically fixed (at 3:57 in the video): Thomas circles a hillside along that line, where a suitable foreground might be found to complete the pairing already confirmed for background and middleground.
03 On Site: Climbing Higher and Weighing the Frame
On site, the imagined middleground and background do pair up nicely, and besides grass there are flowers that can serve as the foreground (at 4:27 in the video). One problem with the current spot: it stands too low. So Thomas climbs to a higher hillside.
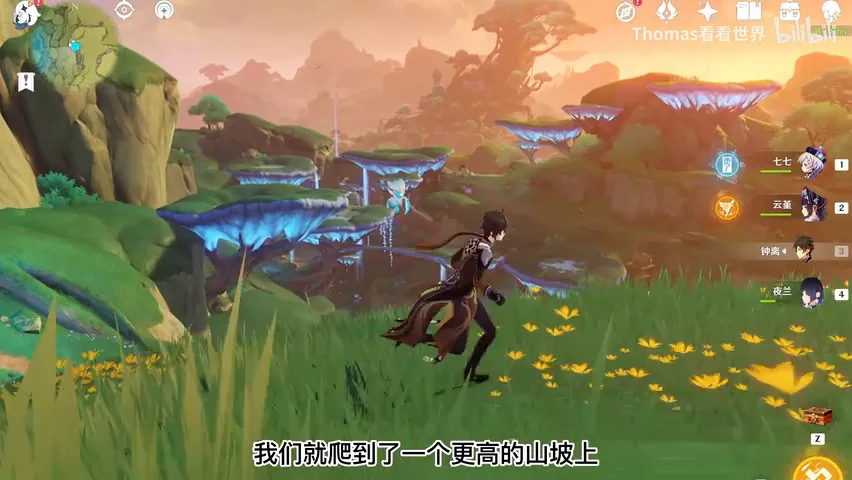
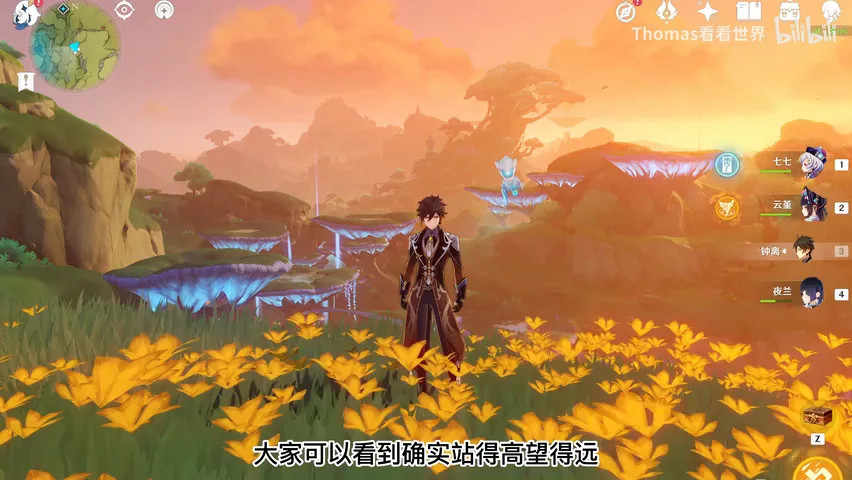
Stand high, see far (at 4:53 in the video): from the higher vantage, small flowers fill the foreground, glowing vegetation and waterfalls the middle, and the Sumeru city tree chosen on the map — with more distant peaks — the background. This higher position is clearly much better, and the layers emerge at once.
Finally, weighing the frame (at 5:19 in the video): a slightly higher camera brings more middleground into view; a lower one emphasizes the foreground but hides much of the middleground — so in scenes like this, keep the camera moderately high. The whole process lands the methodology end to end: background first, then middlegrounds on the map or on site — rivers, big landmarks, grasslands, forests — connect background and middleground with a line to shrink the search area, and finally hunt for foregrounds such as flowers, branches, distinctively textured stones and water. Scouting efficiency rises enormously.
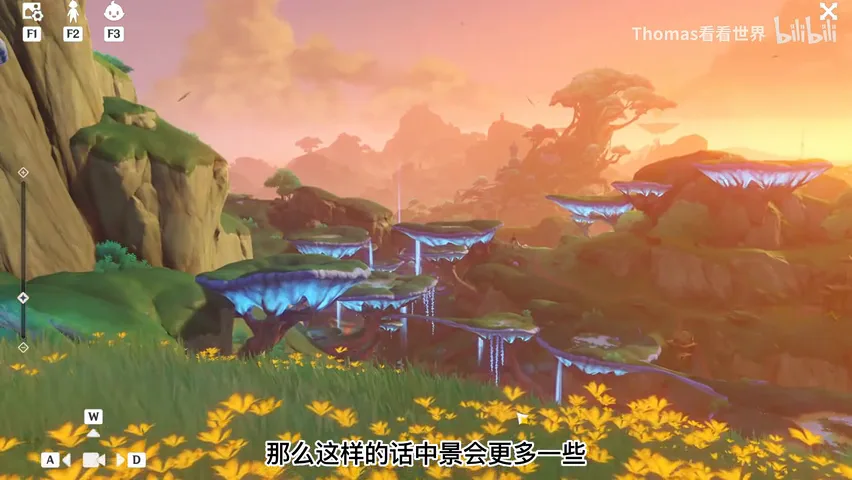
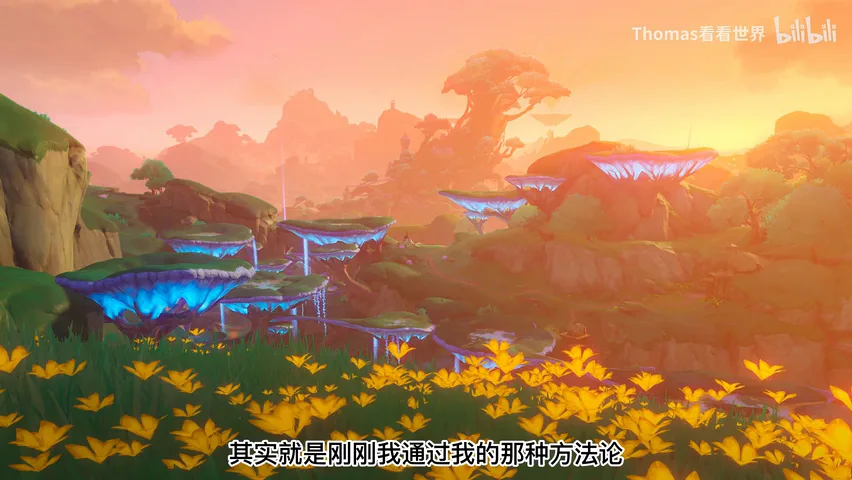
1. Grandeur comes from layers: grand landscapes are built on foreground, middleground and background — two or more outstanding layers make the frame rich; 2. Scout in reverse: fix the background first, then middlegrounds (rivers, landmarks, grasslands, forests), and finally narrow the range for a foreground; 3. Map and line are efficiency tools: connect background and middleground, and the foreground search area becomes obvious; 4. On site, verify the pairing first, then adjust camera height — higher brings more middleground, lower highlights the foreground but hides the middle.