Photography Tutorial · 2022-02-06
How to Minimize Noise: The Complete Night & Indoor Photography Guide to ISO
Thomas Chu Photo
Is noise mainly caused by high ISO?
Many enthusiasts share this misconception — afraid to raise ISO when they should, yet unaware of better ways to tackle noise.
So in today's tutorial I'll analyze the three true biggest sources of image noise and offer multiple solutions for city nights, starry skies, auroras and other low-light scenarios.
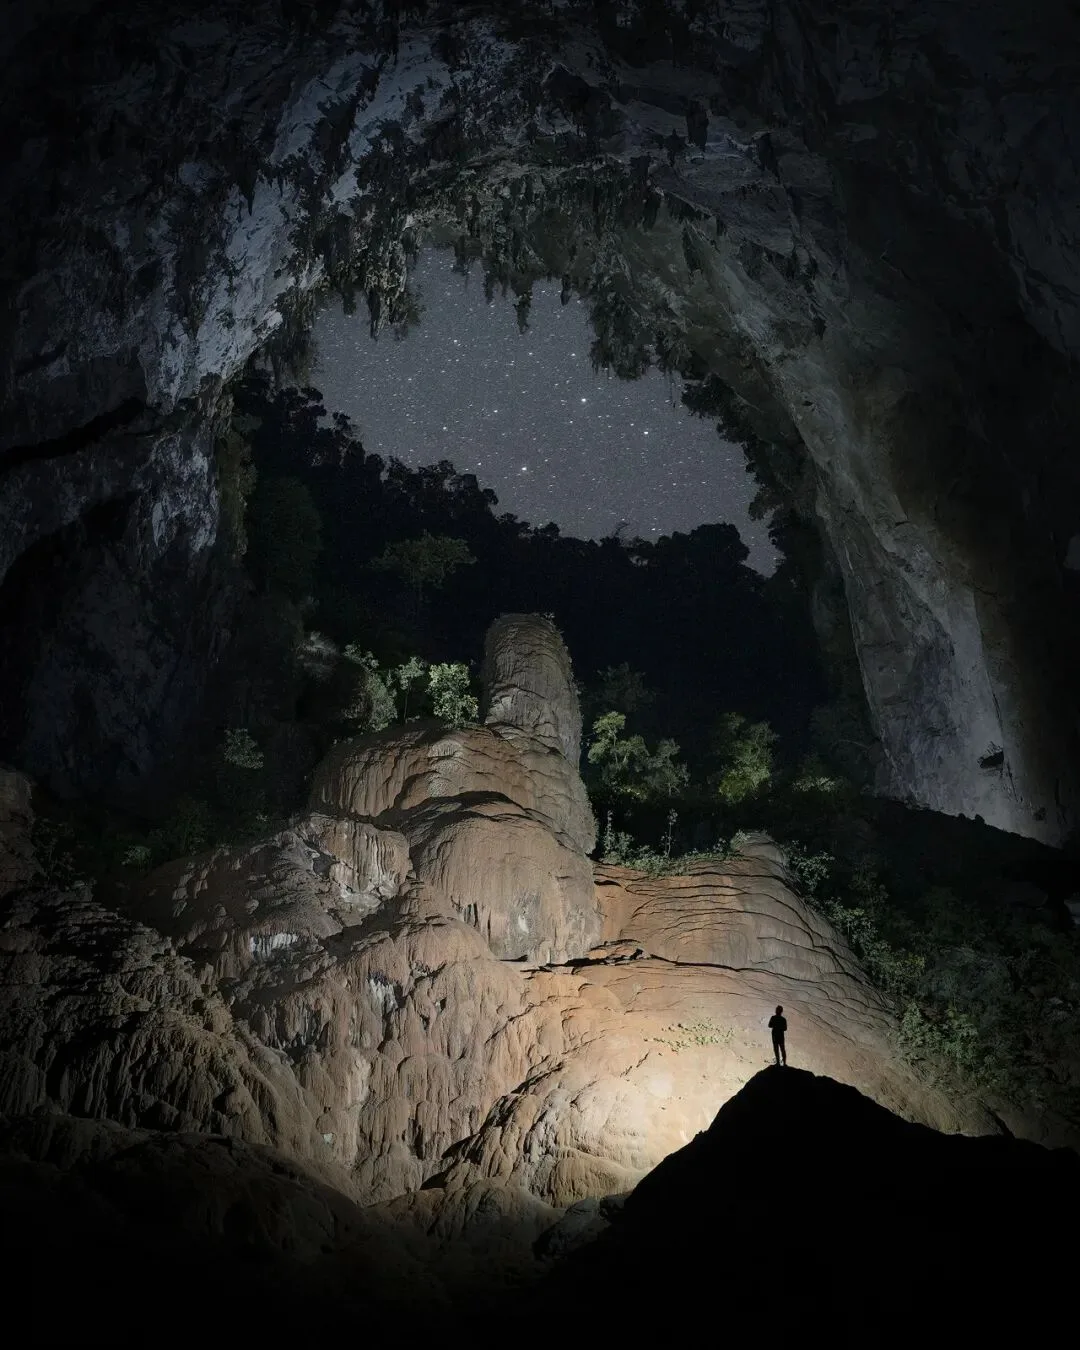
Video Tutorial
▶ Watch the video tutorial on Bilibili
This is the illustrated companion to the video above. Milky Way, aurora, city nights, low-light portraits — pictures shot in extremely dim light yet remarkably clean, thanks not to luck but to a system. In the video, Thomas breaks down what actually causes noise and how to fight it; this article turns that system into text with keyframe screenshots.

01 The Three Causes of Noise: a Ranking That Defies Intuition
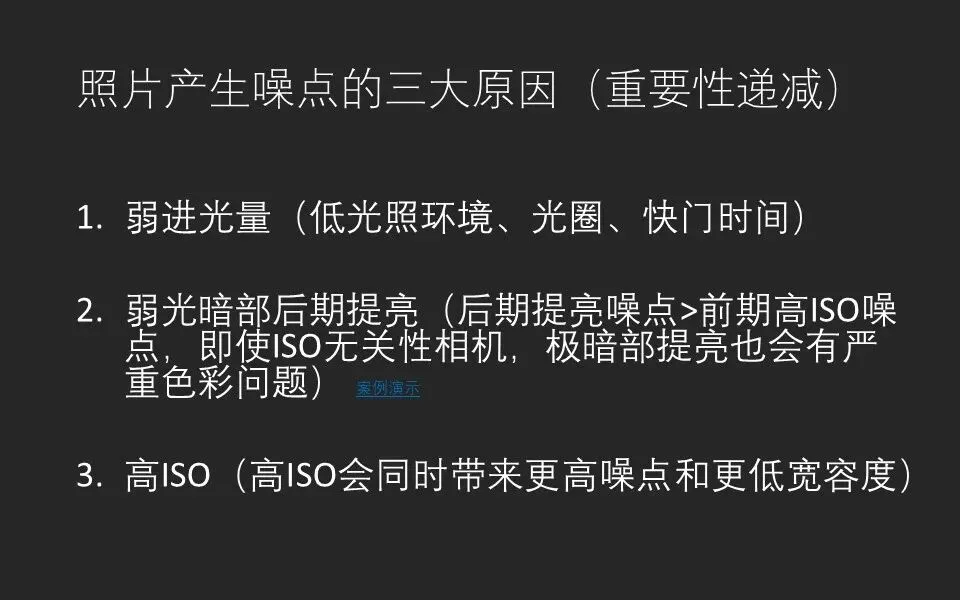
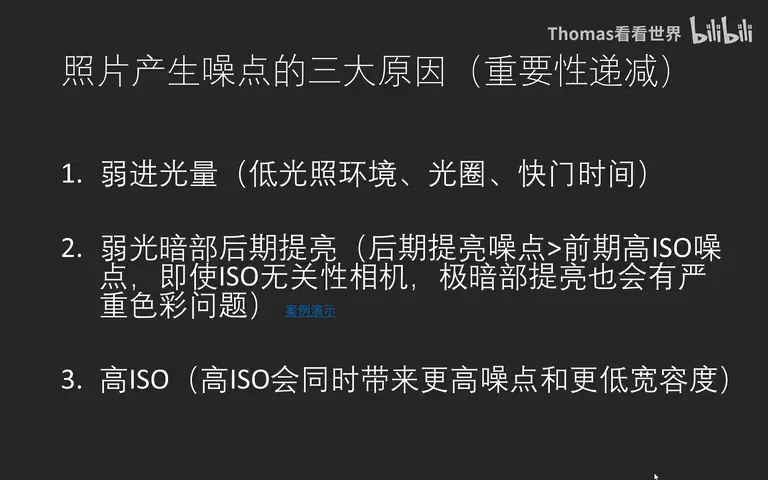
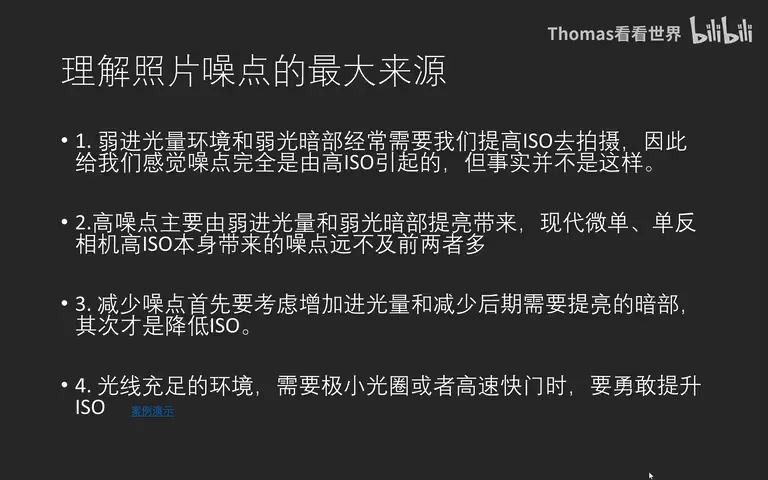
Many believe noisy photos come from setting ISO too high — in fact that is not the case (at 0:39 in the video). For modern cameras the three causes, in decreasing order of importance, are: first, low total light — noise is mostly shot noise, a physical property of light, caused by dim environments or mis-set shutters that badly underexpose; second, lifting shadow areas that never received light — this multiplies noise and brings severe color problems; and only third, high ISO — a form of digital amplification that also costs dynamic range.
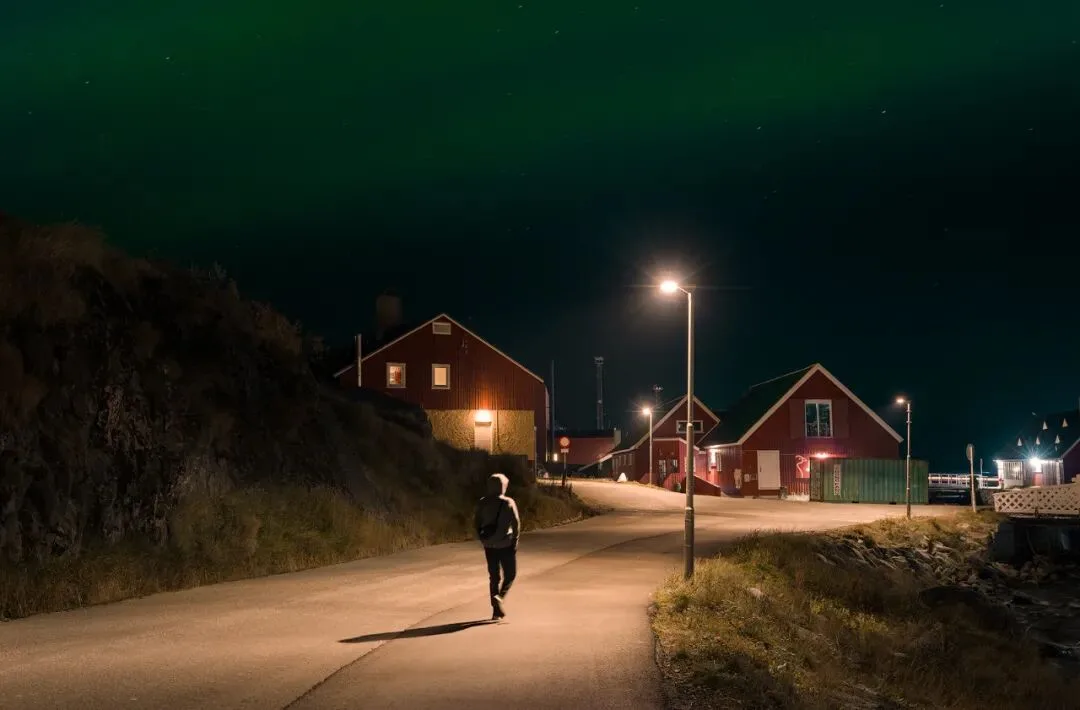
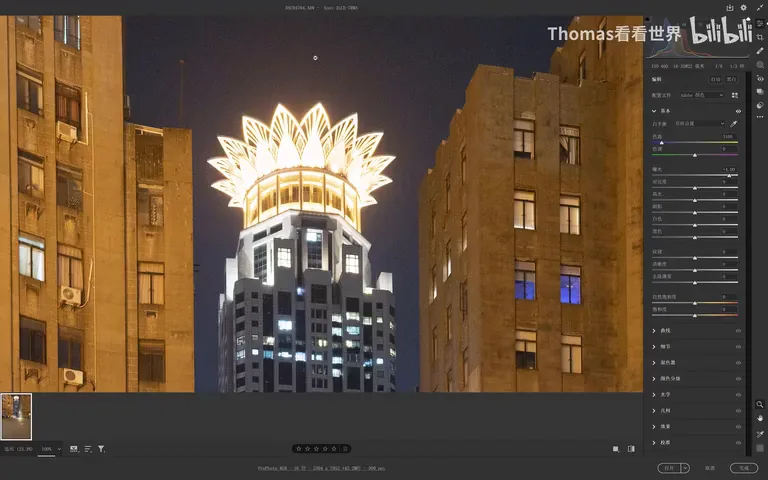
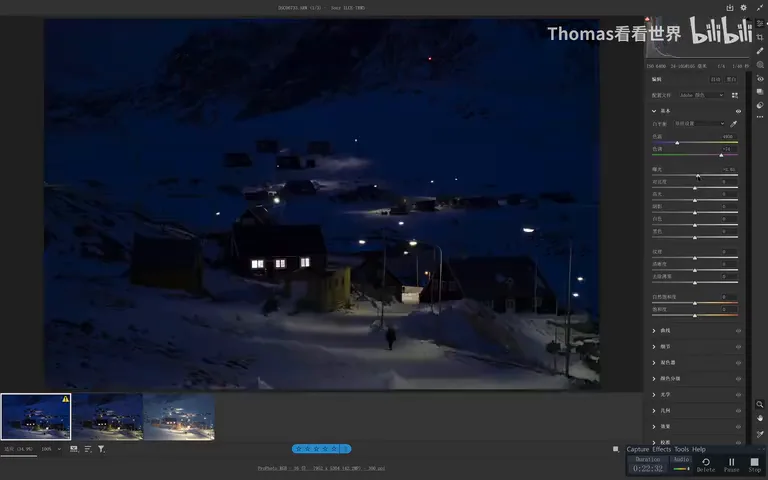
The video shows a city night case shot slightly underexposed, exposed to the left (at 1:56 in the video). After lifting: the road stays fairly clean because streetlights and city glow lit it; the black windows are worse, starved of light; the sky is the noisiest of all — almost untouched by city light, its signal-to-noise ratio is so low that brightening it up explodes with noise and color mottling, since color needs a certain brightness to render at all.
02 Gathering Light: Fill, Fast Lenses, Stacking
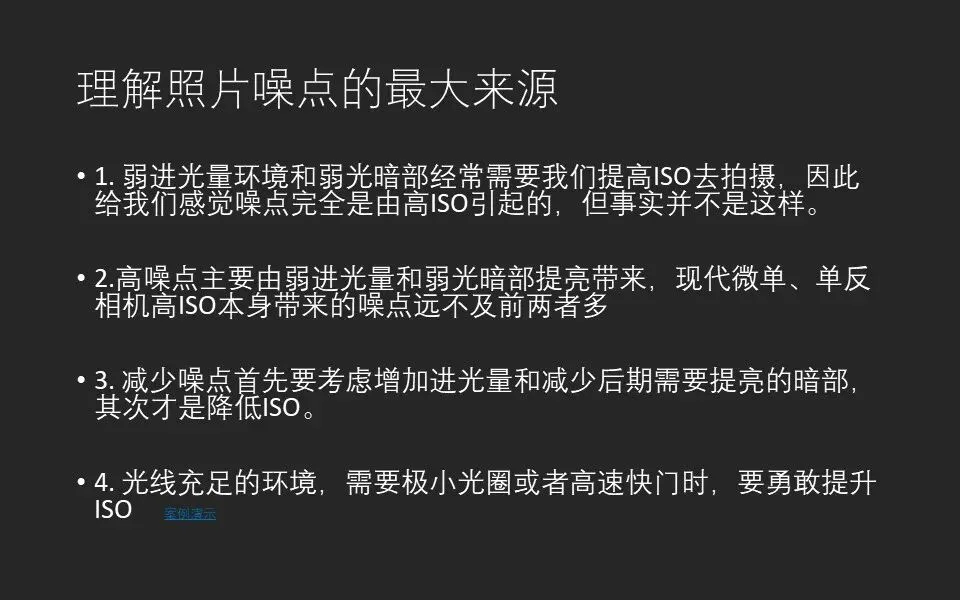
Since high ISO is not the main culprit, use it boldly when light is plentiful: in daylight, when you need tiny apertures or fast shutters, ISO 800 or 1600 is nothing to fear — Thomas shot from a moving train at f/4, 1/3200 s, ISO 800, and as long as shadows are not lifted hard in post, noise is barely visible (at 5:33 in the video).
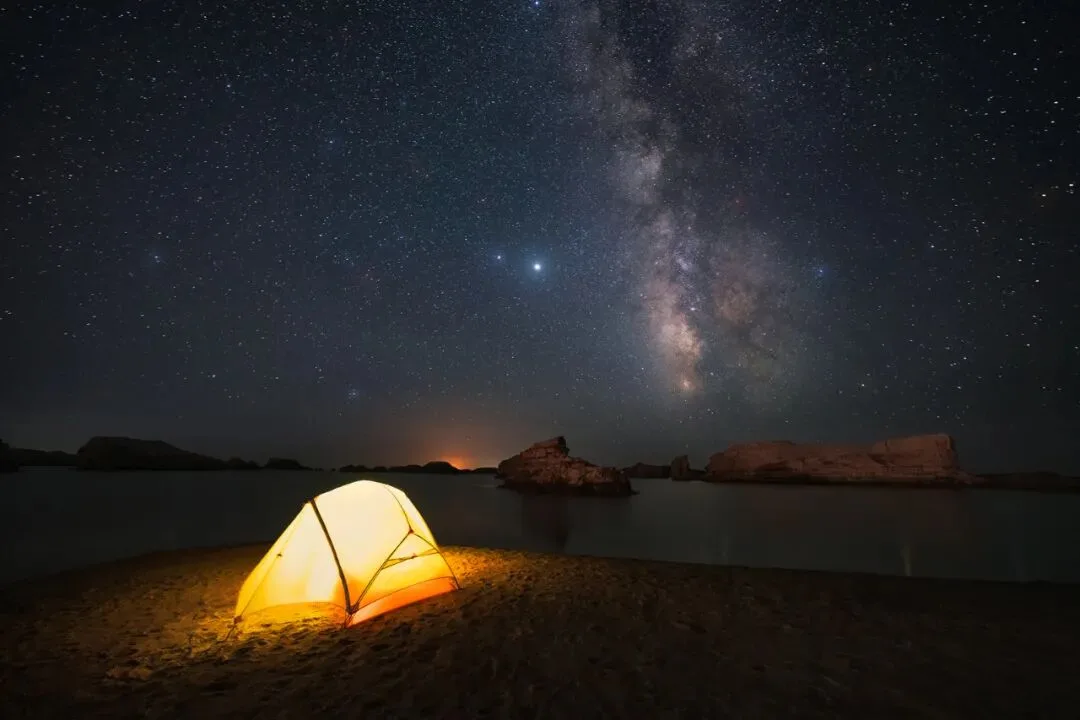
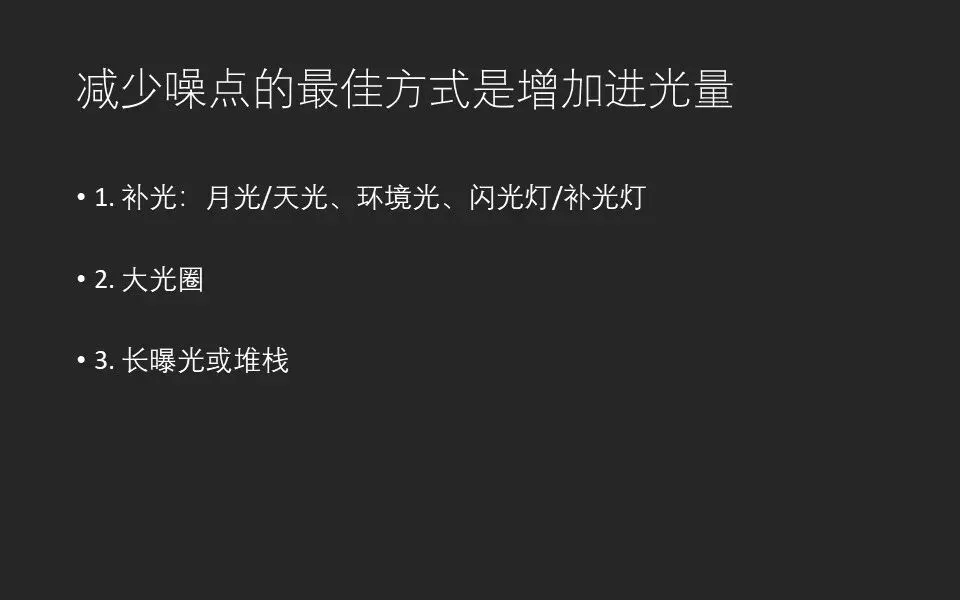
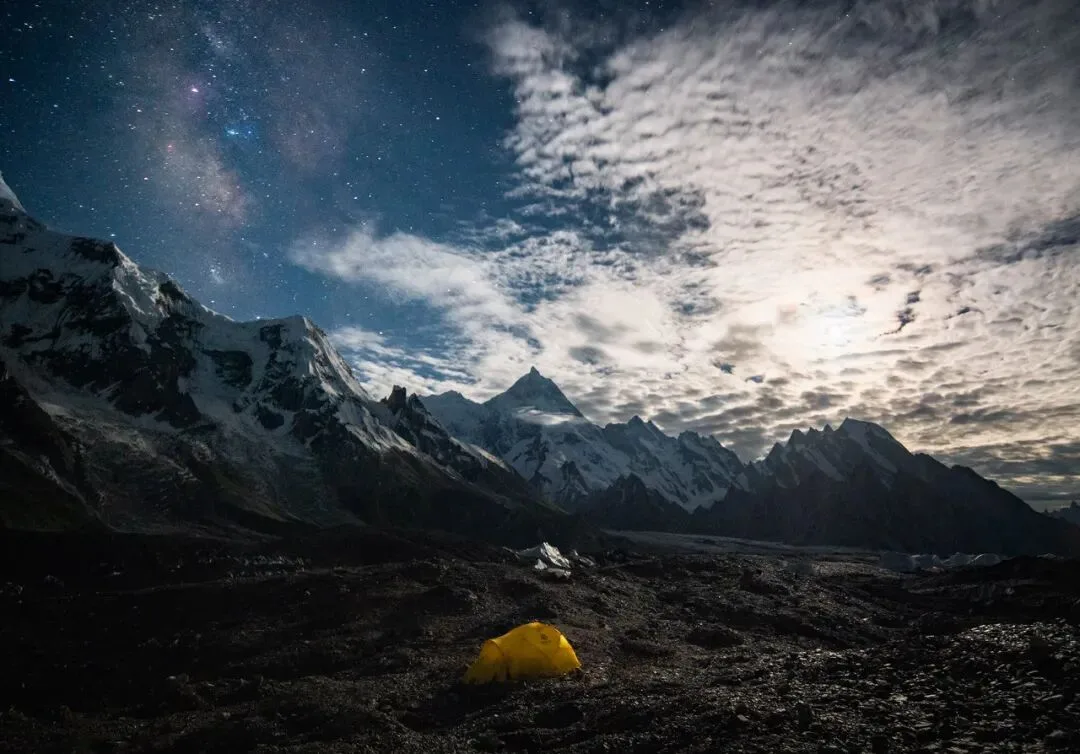
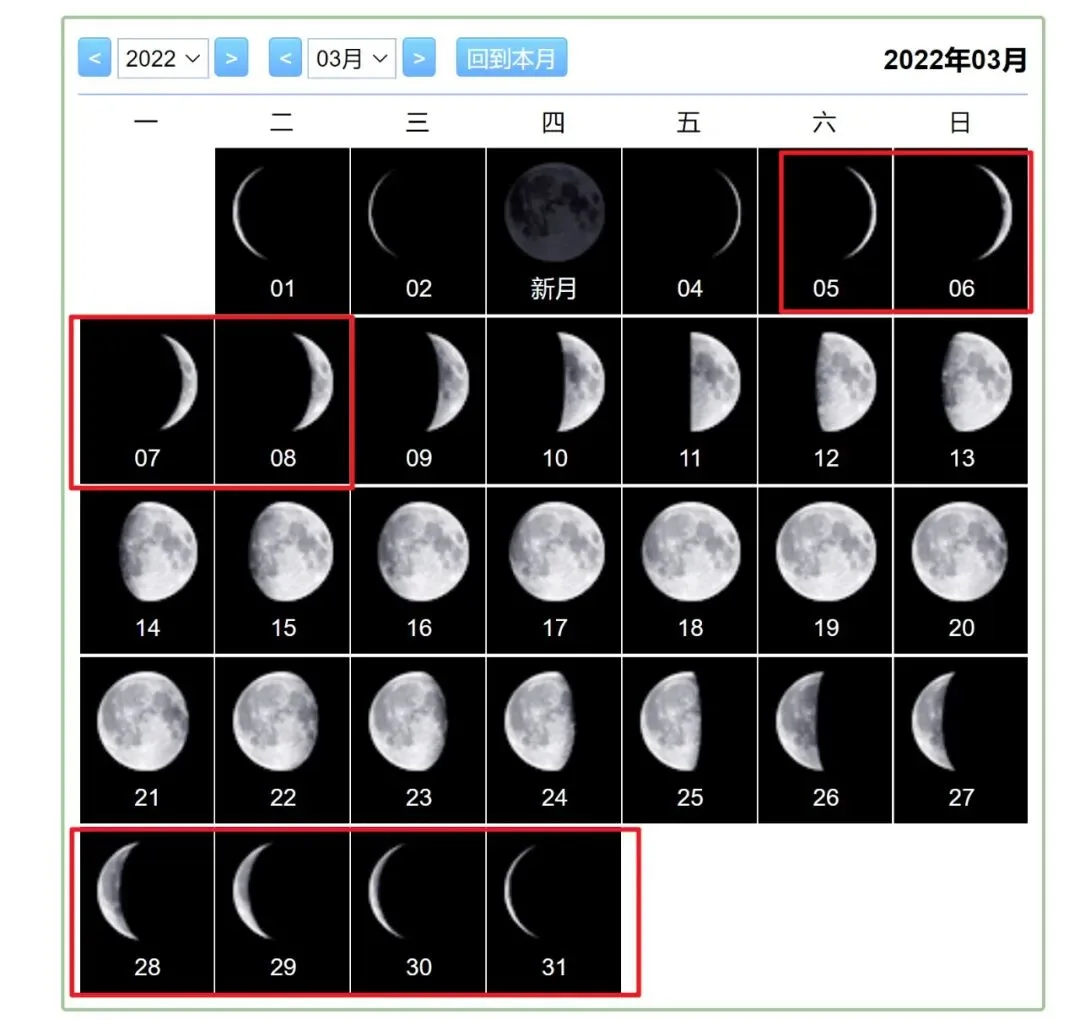
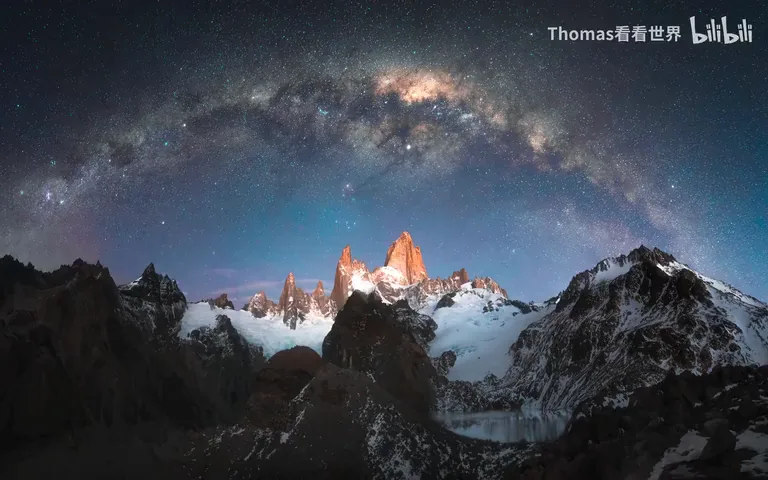
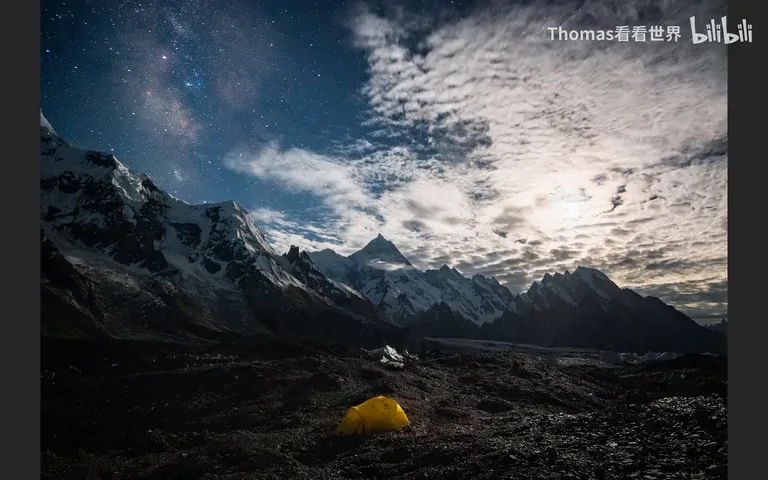
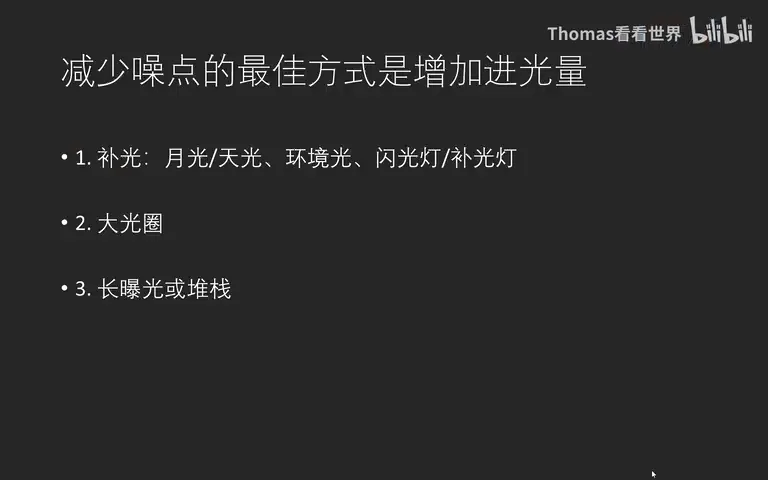
The best way to cut noise is gathering more light (at 6:13 in the video), via three routes. Fill light: for the Milky Way choose nights with a small moon (below quarter) — moonlight won't wash out the galaxy yet lights the ground beautifully; for night portraits, place your subject under streetlights; use flash for street portraits and fill lights for scenes — balancing contrast while cutting noise. Fast apertures: f/1.8 or f/1.4 lenses are ideal for night portraits and astrophotography. Long exposure and stacking: night shots often run 15-20 s; beyond 30 s the Milky Way trails, so stack frames for an equivalent long exposure, or mount the camera on an equatorial tracker.
03 The Settings Mantra: Max Native ISO and ETTR
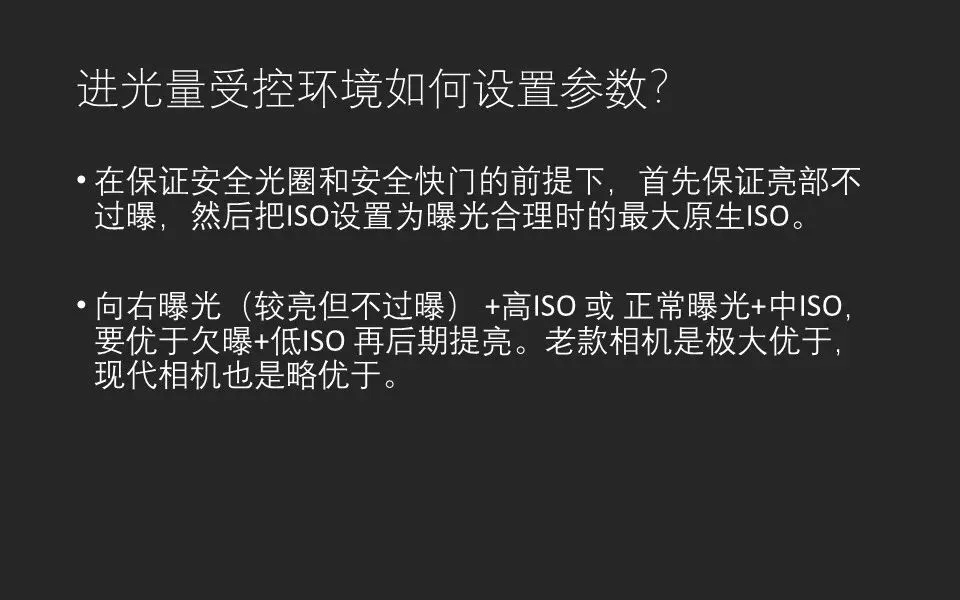
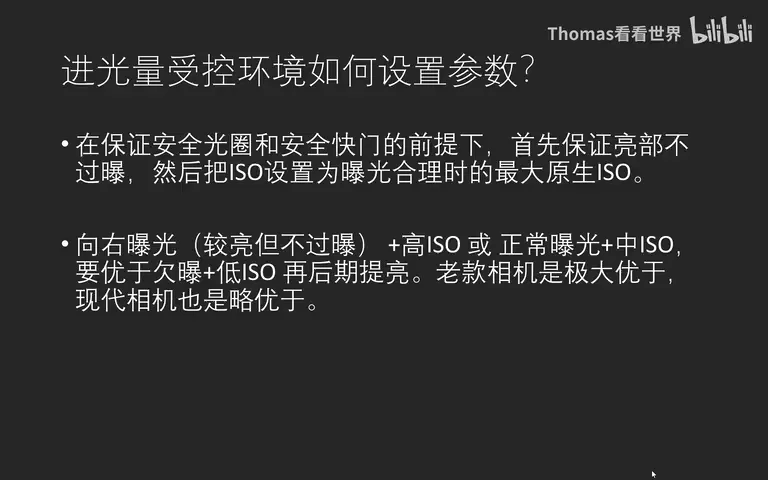
When the scene simply offers no more light, remember this mantra (at 8:25 in the video): first keep aperture and shutter safe — depth of field covers what must be sharp, shutter keeps the subject unblurred; second keep highlights from clipping, since high ISO reduces dynamic range; finally set ISO to the highest native value that yields a proper exposure — 6400 when it's 6400, 12800 when it's 12800. Exposing to the right (bright but not clipped) with high ISO, or normal exposure with mid ISO, always beats underexposing at low ISO and lifting in post — hugely better on older cameras, slightly better even on modern ISO-LESS bodies. Never underexpose and brighten later.
04 Case Studies: Disneyland and the Genie South Line
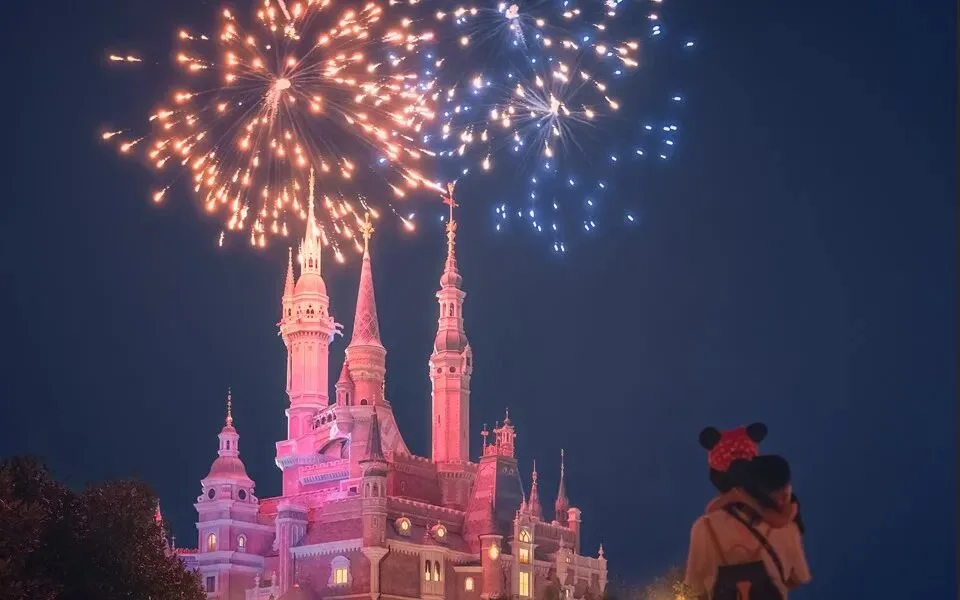
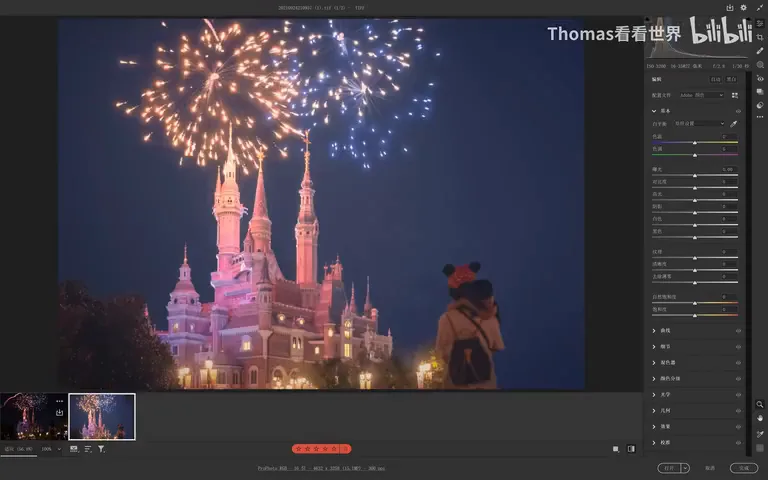
Disneyland case: tripods and flash are banned inside, so one single frame it is (at 10:36 in the video). Open the lens to its maximum f/1.8, accepting that the foreground person softens; 1/30 s keeps the fireworks from trailing while the standing person stays sharp; then ISO last — 3200, as long as the clipped fireworks remain acceptable, with the lit castle and the person catching streetlight glow reading fine. The sky and tree shadows hold the most noise; luckily the sky is a flat tone and was repainted with a brush in post — but the person, trees and castle cannot be repainted, so keep your subjects from going too dark in the field.
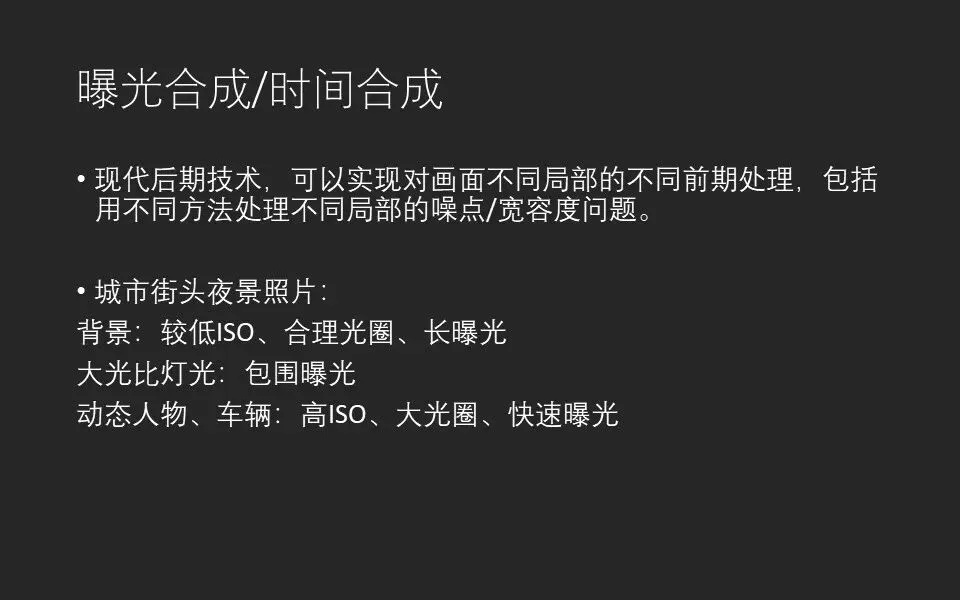
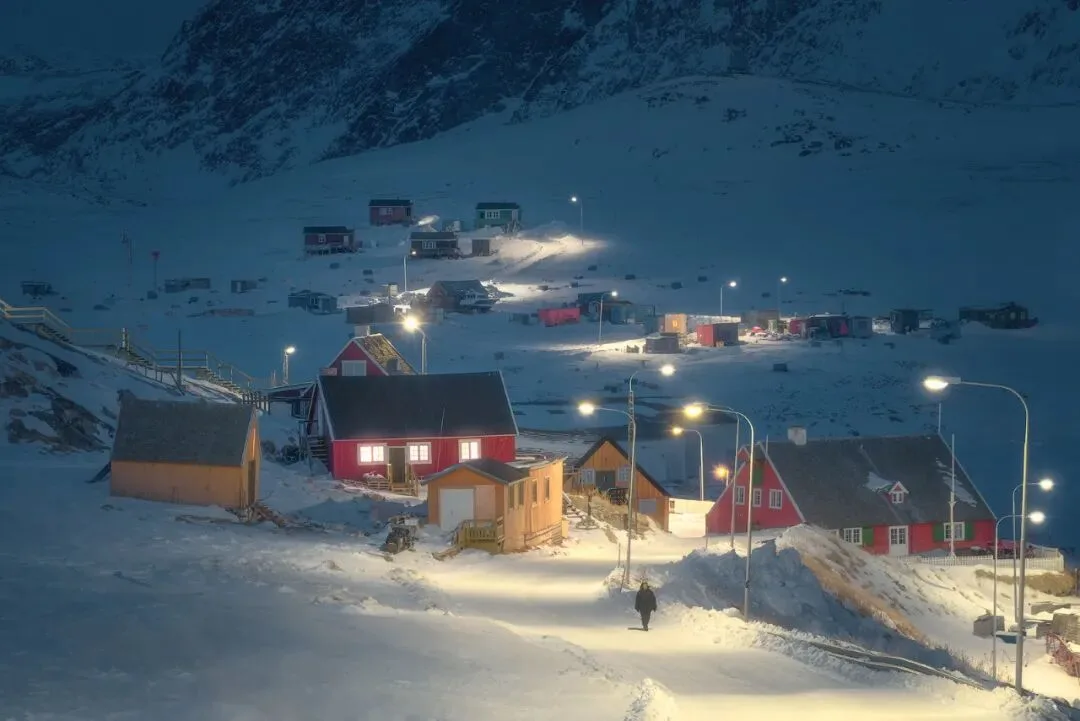
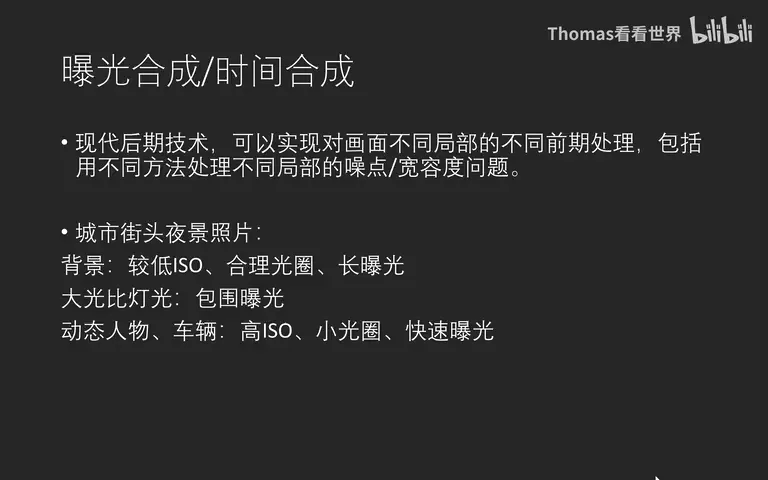
The Genie South Line case: time blending gives each region of the frame its own recipe (at 13:01 in the video). The background: ISO 100, f/8, 30 s — proper exposure, high dynamic range, minimal noise; the walking figure: ISO 6400, f/4 (the lens's maximum), 1/40 s — sharp when walking toward the camera, though side-to-side movement would need 1/100 s. Looking back, Thomas finds 6400 conservative — he would shoot 12800 natively: raising ISO in camera always beats raising brightness in post.
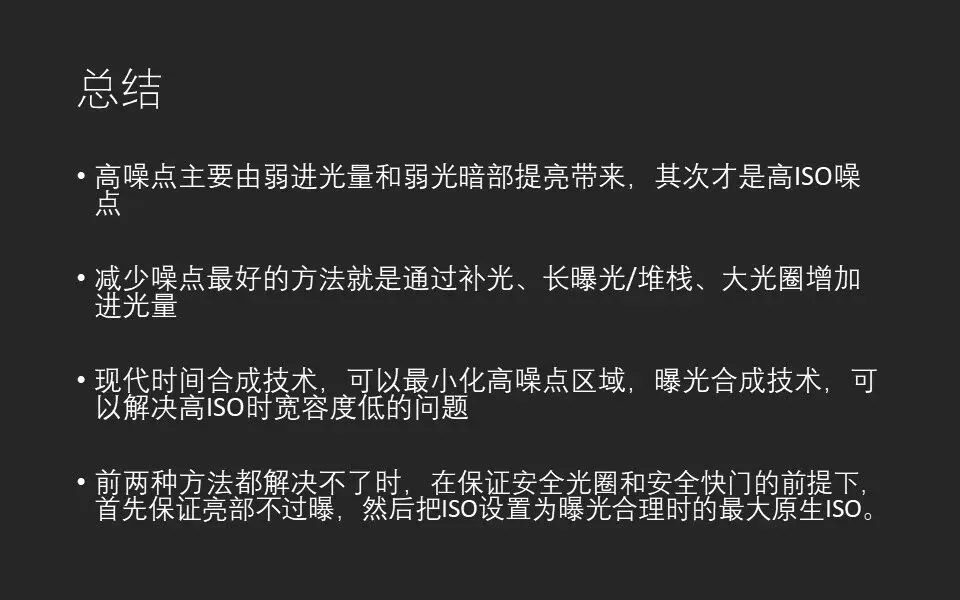
To sum up (at 14:08 in the video): heavy noise comes chiefly from low total light and lifted shadows, with high ISO only second — keep the order straight; the best noise reduction is gathering more light through fill, long exposure/stacking and fast apertures; use time blending to shrink high-noise regions and exposure blending to overcome high-ISO dynamic-range limits; when neither applies, keep aperture and shutter safe, protect highlights from clipping, and set ISO to the highest native value that gives a proper exposure.
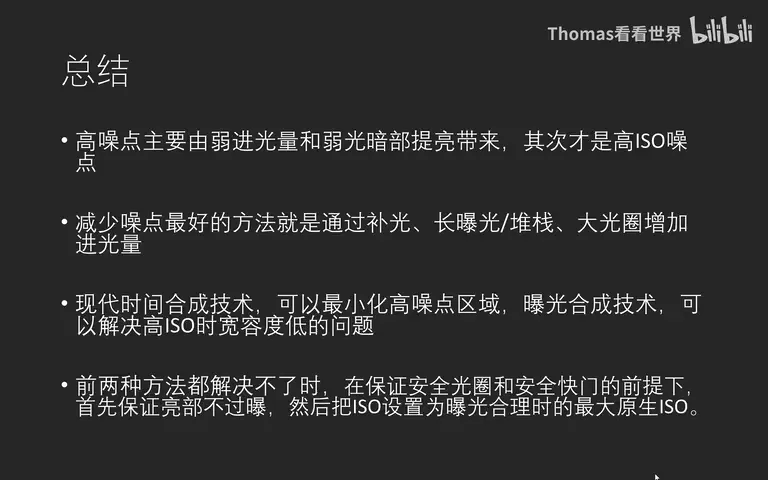
1. Rank the causes straight: low total light beats lifted shadows beats high ISO — blaming high sensitivity alone inverts the truth; 2. The best noise reduction happens before the shutter falls: moonlight and ambient fill, f/1.4-f/1.8 lenses, long exposures and stacks — all just ways to gather light; 3. The single-frame mantra: safe aperture and shutter, unclipped highlights, ISO at the highest native value that exposes properly — ETTR beats underexposing and lifting; 4. Time blending shrinks noisy regions, exposure blending rescues dynamic range, letting every part of the frame get its optimal treatment.
Slides