Photography Tutorial · 2020-02-02
Luminosity Mask Basics: An Essential Modern Post-Processing Technique
Thomas Chu Photo
Luminosity masks are a luminance-based local selection tool.
If Ansel Adams' Zone System guided photographers at capture time, then luminosity masks give photographers — landscape shooters especially — an essential tool for local adjustments in post.
In today's tutorial, Thomas shares the fundamentals of luminosity masks.
Video Tutorial
▶ Watch the video tutorial on Bilibili
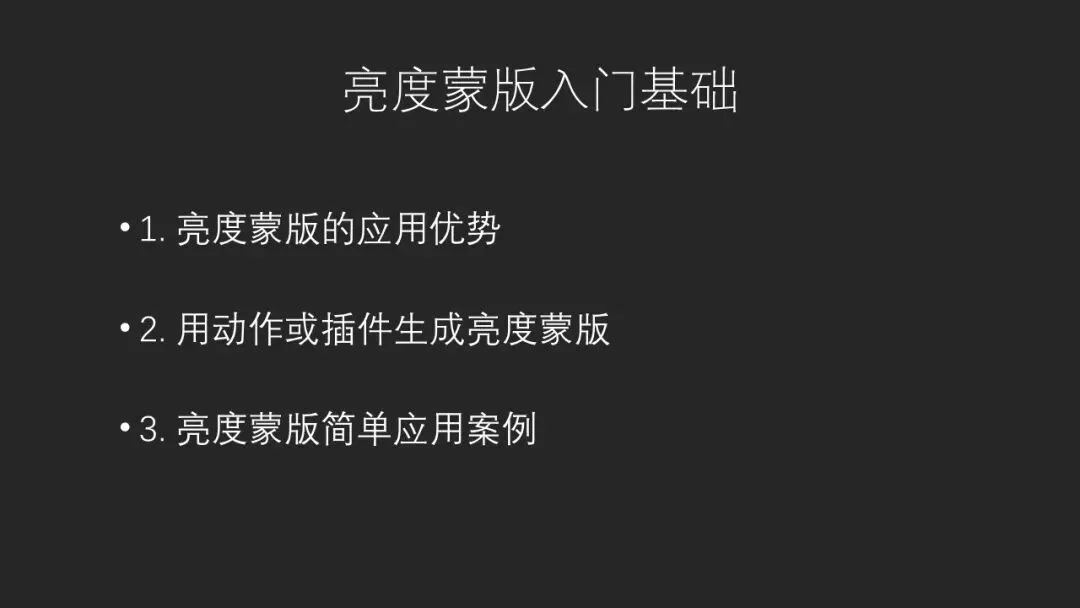
This is the fully illustrated companion to the video above — episode 1 of the luminosity mask series and the starting point of the whole learning path. In 23 minutes the intro course answers four questions: where luminosity masks sit inside Photoshop, what they beat the lasso and Quick Selection at, how to generate them fastest with actions or plugins, and one hands-on contrast case. Everything is arranged in the video's order with keyframe screenshots — build the framework here, then dive into the video for detail.
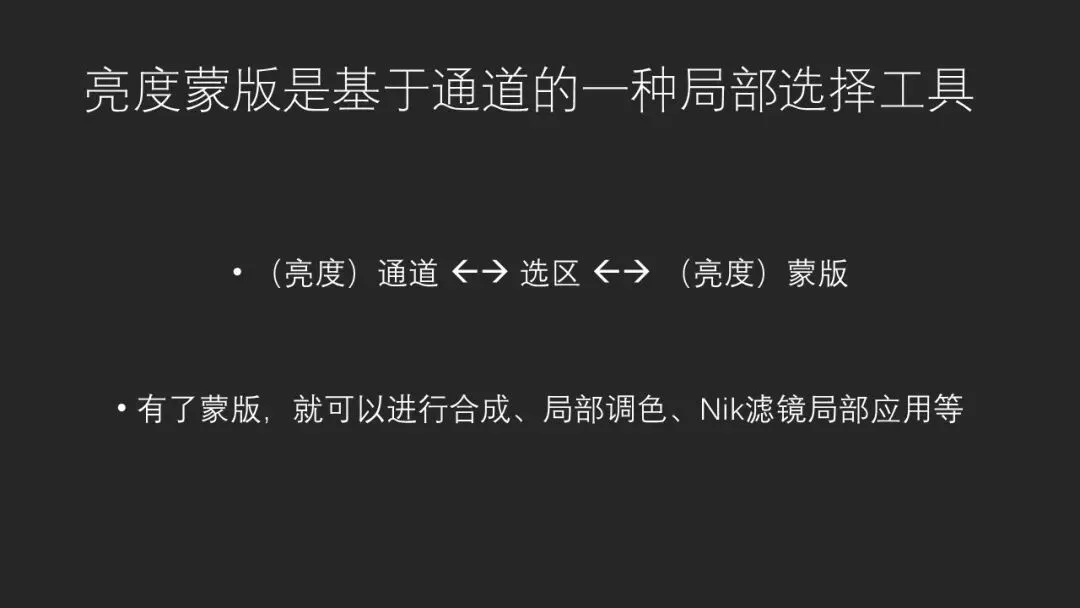
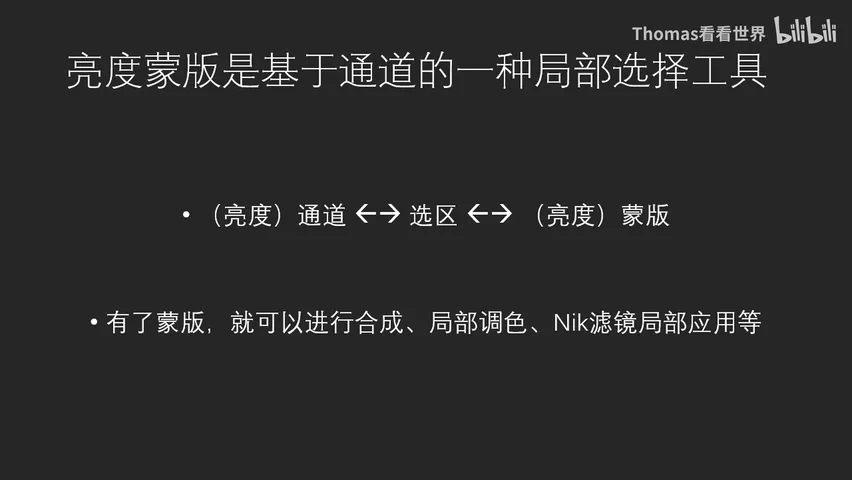
Keep this principle card in mind: a luminosity mask is a pipeline — a (luminosity) channel becomes a selection, the selection becomes a (luminosity) mask; with the mask, every local effect — blending, selective color, local Nik filters — has a handle. The video returns to this card again and again, and so does this article.
01 First, Demystify: Photoshop Is Select, Then Apply
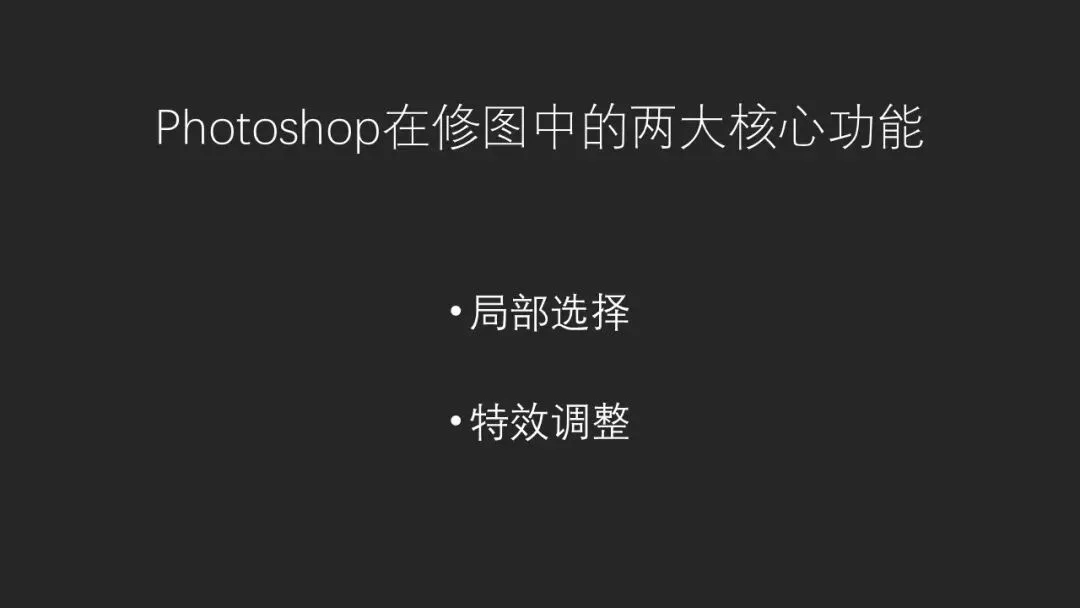
To understand luminosity masks, first strip off their 'advanced, mysterious, complicated' costume. Thomas's frame: every Photoshop feature in photo editing boils down to two cores — local selection, and applying effects (at 0:31 in the video). The rectangular, lasso and magnetic-lasso tools, the Pen, Quick Selection, and even channels and luminosity masks all do the first job: making a fine-grained local selection.
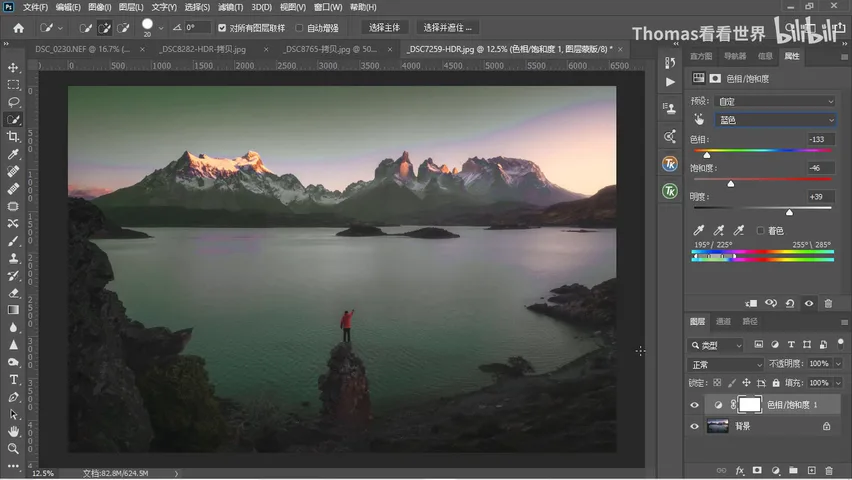
Once selected, step two is applying effects on top: Camera Raw filters, Nik Collection, local blur, the Filter Gallery... In the video's demo, Quick Selection grabs the sky, then a Black & White adjustment turns it monochrome (at 1:05 in the video). Even Hue/Saturation, which looks like a global tool, is two steps: first select the blues, then shift their hue, saturation or lightness (at 1:50 in the video).
So there is nothing mystical here: like the lasso, Quick Selection and Select and Mask, a luminosity mask is simply one of Photoshop's local selection tools — just channel-based under the hood, an advanced variant with unique strengths (at 2:27 in the video). Its build path is exactly the card's three steps: generate luminosity channels, turn channels into selections, turn selections into masks — and that mask is the luminosity mask.
02 Three Strengths: Tonal Range, Complex Cutouts, Natural Transitions
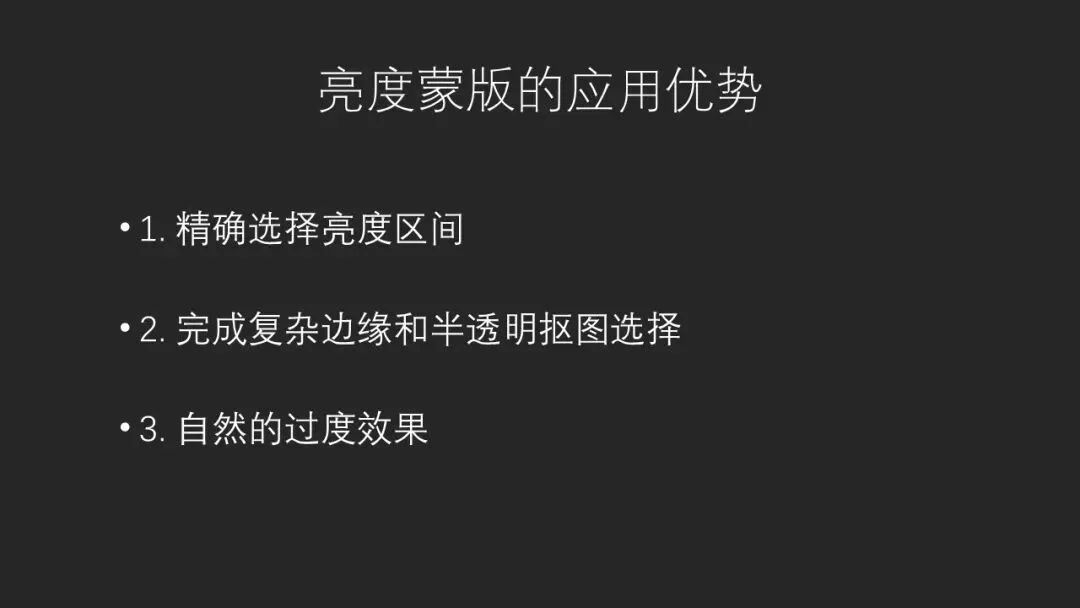
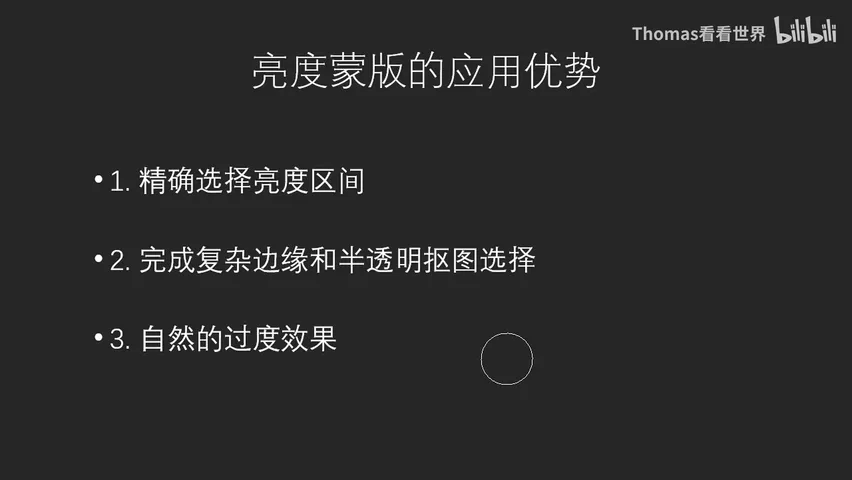
Why learn luminosity masks when the lasso, Pen and Quick Selection exist? Thomas gives three reasons (at 5:12 in the video). First, precise selection of a tonal range. In a manual exposure blend you need the brightest, clipped areas — targets defined by brightness itself, which the lasso or Select Color can neither isolate precisely nor transition smoothly. A luminosity mask picks exactly the brightest parts, feathering from bright to dark along the image's own light (at 5:41 in the video). Selecting the darkest parts for local work works the same way.
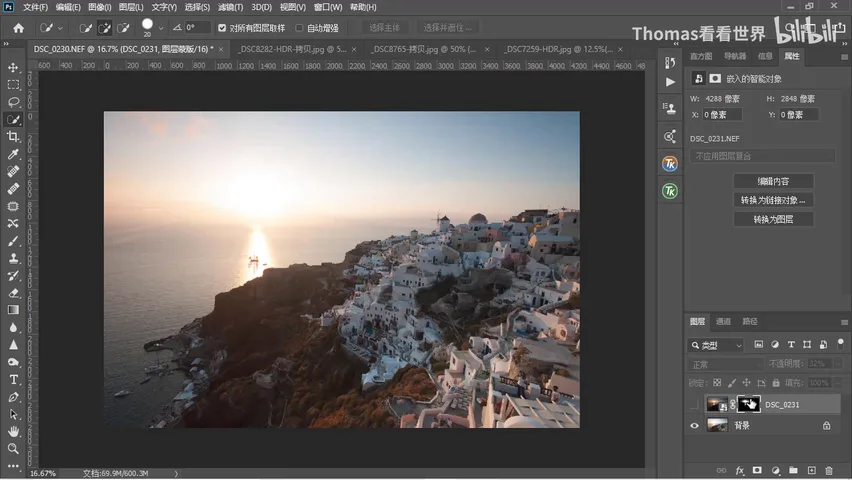
Second, complex-edge and translucent cutouts. Clouds — ragged and translucent — are a lasso nightmare; the video's case is the tree on the cliff: the trunk's lower half is manageable, but higher up every bare branch splits into more, and hand-cutting would cost twenty minutes at least (at 7:13 in the video). With a luminosity mask, select the dark shadow region first: the near-black branches turn white and selected in the shadow mask, while the brighter cliff walls drop to black and are excluded.
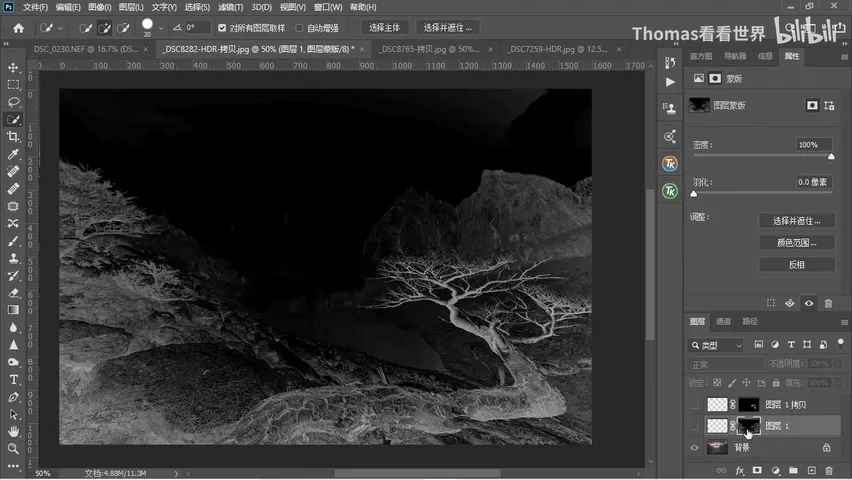
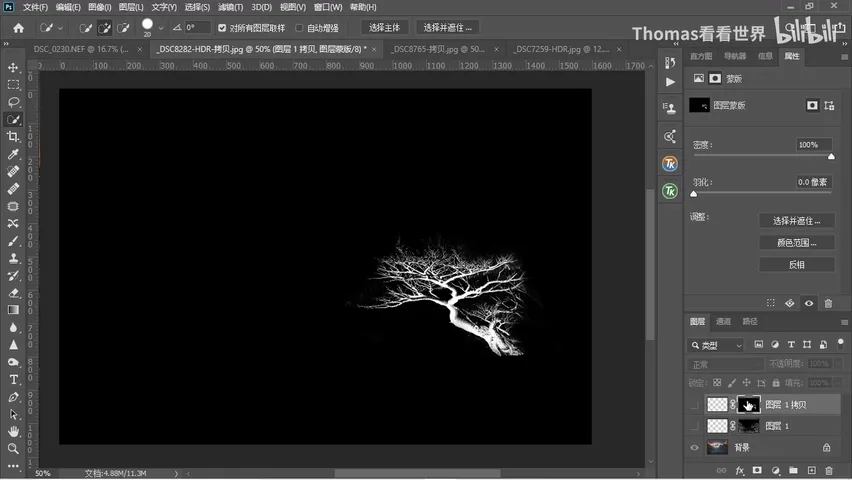
Refine that mask — Levels or Curves to boost contrast, a black brush to clean the edges — and the whole branch cluster is precisely selected, ready to darken, saturate or enliven at will (at 8:25 in the video). The takeaway: as long as the target differs from its surroundings in brightness, no edge is too complex or too translucent for a luminosity mask (at 8:57 in the video).
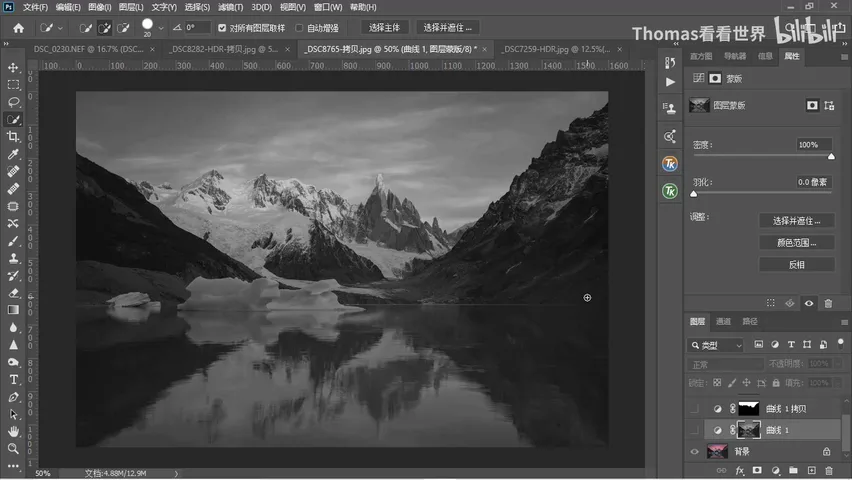
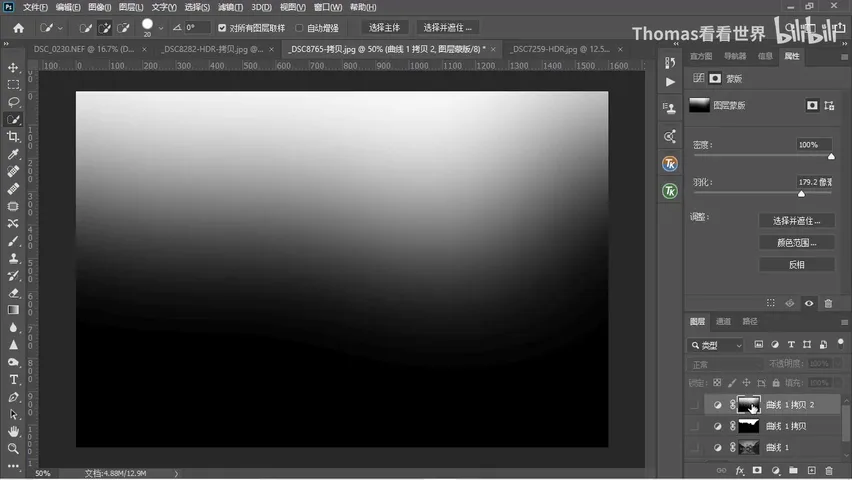
Third, transitions are natural — luminosity masks come feathered. The video's three-way comparison makes it vivid: a red Curves layer adds morning-glow to the mountain-lake photo. Version one, sky selected with Quick Selection: the sky burns red while the land takes none, two obvious layers, utterly fake (at 9:48 in the video); version two, a hand-made feathered gradient mask: better, but the land is still untouched — still unnatural (at 10:11 in the video).
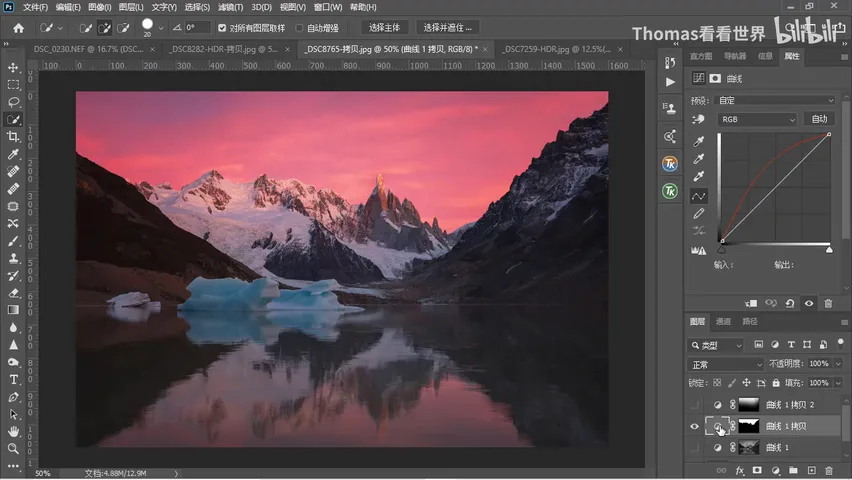
Version three uses a Lights 1 mask: the sky, the brightest thing in frame, reads light gray and is strongly selected; sunlit snowfields, also bright and bouncing skylight, come partially in; the dark, low-reflectance rocks barely catch the red; and the water's reflection, dimmer than the sky itself, sits deeper in the mask and takes the least red of all (at 10:42 in the video). The red curve can be pulled hard — the mask gives the sky full effect and tapers everywhere else by brightness — and the glow lands naturally: reflective snow and lit water pick up the warmth on their own (at 12:06 in the video). A brush can still mask off the glacier where red isn't wanted. The three strengths are summed up on the video's outline slide (at 10:42 in the video).
03 Generating Masks: Free Action or Paid Panel
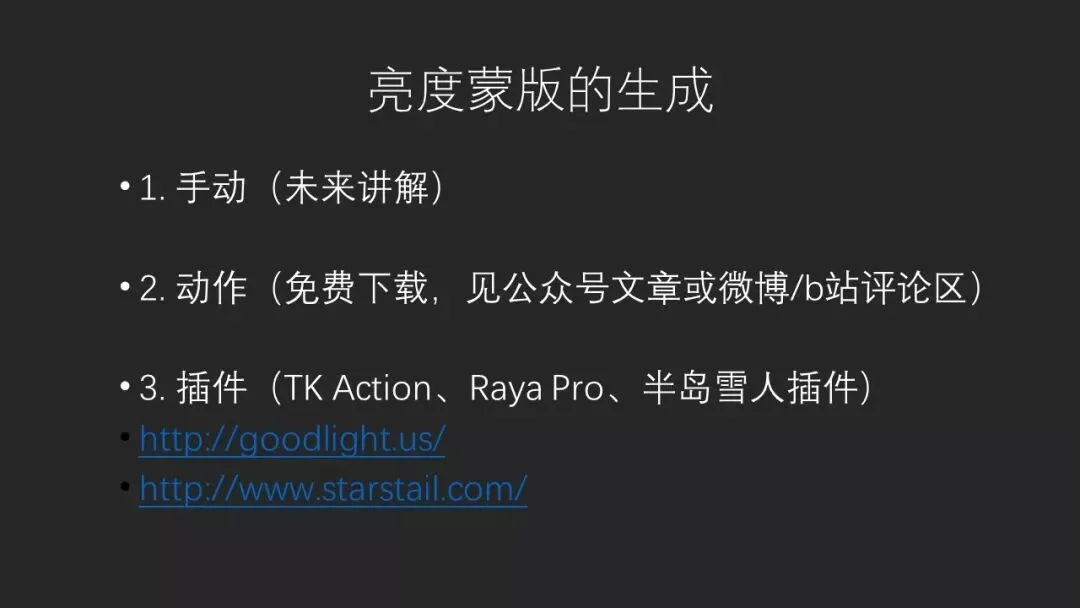
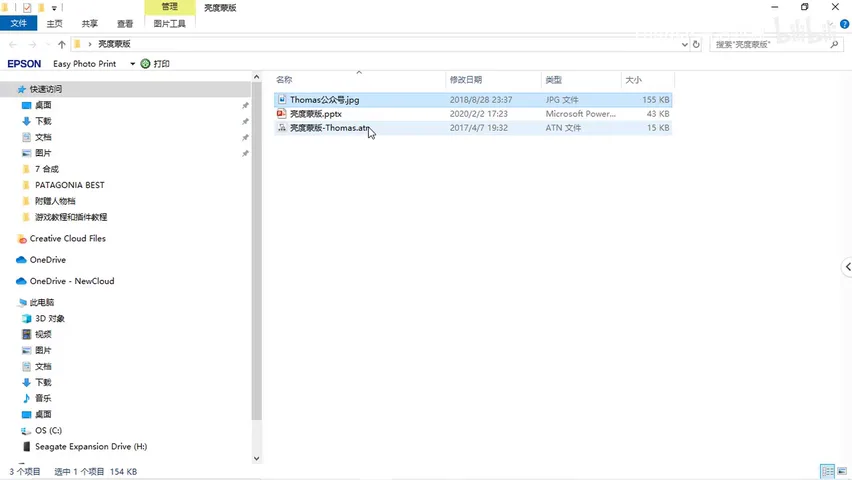
Manual generation is rare in real work (its principles come in a later lesson); start with the two fast routes. First, the Photoshop action: Thomas's homemade action is a free download — find the link in the WeChat article or the Weibo/Bilibili comments, get the 'Luminosity Masks Thomas .ATN' file, and with Photoshop installed a double-click loads it into the Actions panel (summon it via Window-Actions if hidden) (at 14:33 in the video). The action set has Generate and Delete: run Generate on the background or any pixel layer and nothing seems to happen in the Layers panel — the change is all in the Channels panel, where Lights 1-7, Darks 1-7 and Mids 1-7 appear alongside RGB.
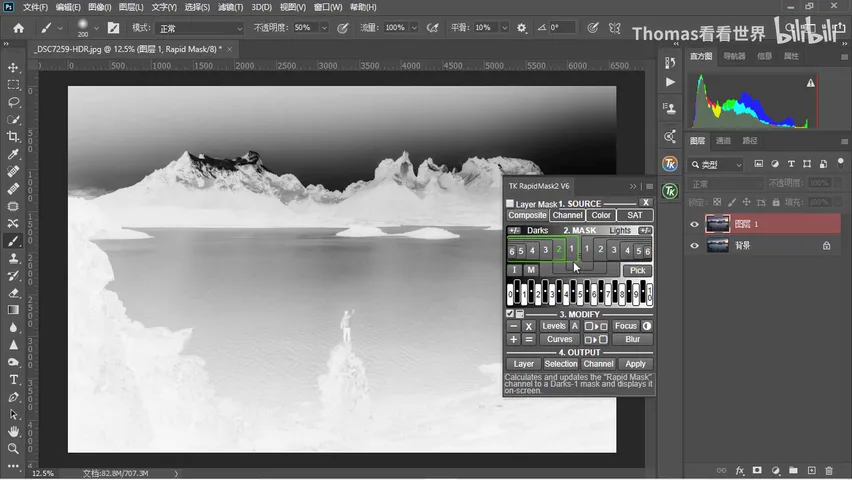
Know the channel logic: Lights 1 covers the bright regions, Lights 2 keeps only the brighter parts of that, and by Lights 6-7 a tiny brilliant patch remains — each step brighter and narrower; Darks 1-7 descend from faint shadow to the deepest blacks; Mids 1-7 cover the midtones at increasing widths (at 15:42 in the video). Second route, plugins: the TK Actions Rapid Mask panel lays the ranges out left to right like a histogram — click a number to generate and preview that mask; for midtones click Midtones 3, for the very brightest spots Lights 6 is the obvious pick, and for deeper shadows go Darks 1 then Darks 3 — highly intuitive (at 16:33 in the video). Raya Pro and the Snowman panel are paid, copyrighted software — buy them from their official sites; they are not shared in the video.
04 First Application: Contrast Through a Midtone Mask
The simplest application is adding contrast. The old way is an S-curve — contrast climbs, saturation and vibrance ride along, but the trouble shows immediately: highlights blow out and shadows that still held detail collapse into a black blob (at 18:06 in the video). Ask instead: which tonal band needs the contrast? The midtones — highlights and shadows don't (at 18:42 in the video).
The workflow: browse the generated channels — MID 1 runs gray, MID 2 looks right, MID 3 is broader — and note how a midtone mask already blacks out shadows and highlights: the rock shadows and the blown sky both sit dark (at 19:02 in the video). Ctrl-click the MID 2 channel to load it as a selection (or select the channel and click the first icon at the panel's foot); add a Curves adjustment layer and the selection converts into its layer mask automatically. If the curve already exists, Ctrl-click the channel as before, fill the mask with black via Edit-Fill, then invert with Ctrl+I — white is always the region you want to affect (at 19:48 in the video).
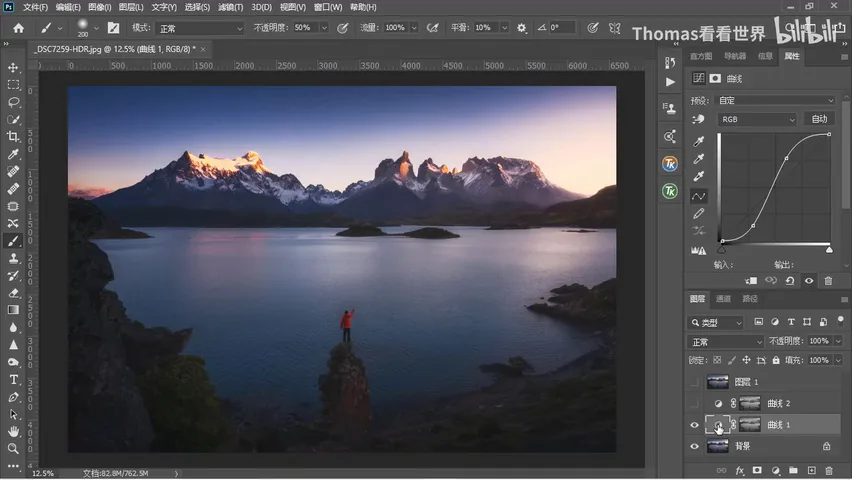
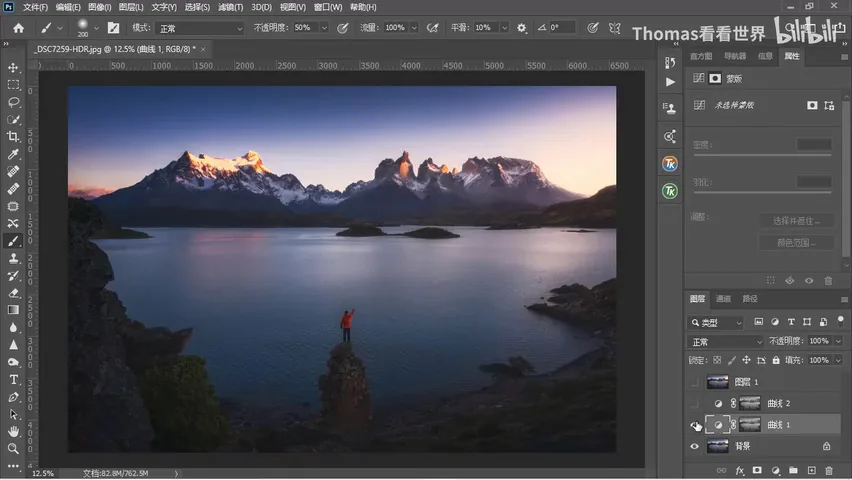
The comparison is instant: the same contrast curve, masked to the midtones, acts only on the middle of the image — midtones grow more vivid and punchy while highlights and shadows barely move, and the little they do move actually smooths the transition instead of cutting it (at 21:00 in the video). Alt-click the mask off to compare: without it the contrast is violent, highlights, shadows and midtones all overshooting; the same trick with MID 3 on a Brightness/Contrast layer holds too — masked it feels soft and comfortable, unmasked the frame goes harshly black and blown (at 21:30 in the video). Midtone contrast shows the biggest gain and the most natural saturation lift — the simplest on-ramp to luminosity masks.
05 After the Basics: Where the Series Goes
This episode lays the foundation: a luminosity mask is a channel-based local selection tool whose three strengths are precise tonal-range selection, complex-edge and translucent cutouts, and naturally feathered transitions; actions or plugins generate it, and channel-to-selection-to-mask is its pipeline. Later episodes cover the advanced applications — local selection, exposure blending, local adjustments (at 23:12 in the video). Pair it with the six foundation articles on layers, masks and channels — reply 'channels' on the WeChat account to get them.
1. Photo editing in Photoshop is two cores: local selection plus applied effects; luminosity masks are no mystery — just an advanced, channel-based selection tool running the pipeline channel-to-selection-to-mask; 2. Three strengths: precise tonal-range selection, complex-edge and translucent cutouts, and naturally feathered transitions — anything that differs from its surroundings in brightness can be isolated cleanly; 3. Two fast generators: Thomas's free action (double-click to install; running it adds Lights/Darks/Mids 1-7 to the channels, narrower as numbers rise) and the TK Rapid Mask panel, histogram-style, one click per mask; 4. Starter case: don't yank an S-curve for contrast (blown highlights, dead shadows) — hang it on a MID 2 midtone mask so contrast lands only where it's needed.
Download the custom luminosity mask action:
Link: https://pan.baidu.com/s/1pLUY8IC4pEOuJ3DWuTb4hA
Extraction code: kci3
PPT