Photography Tutorial · 2019-12-29
Luminosity Masks: One of the Most Important Tools in Modern Landscape Photography
Thomas Chu Photo
Luminosity Masks are a brightness-based local adjustment tool.
If Ansel Adams' Zone System guided photographers in the field, then luminosity masks give photographers — landscape shooters especially — an essential local-adjustment tool in post-processing.
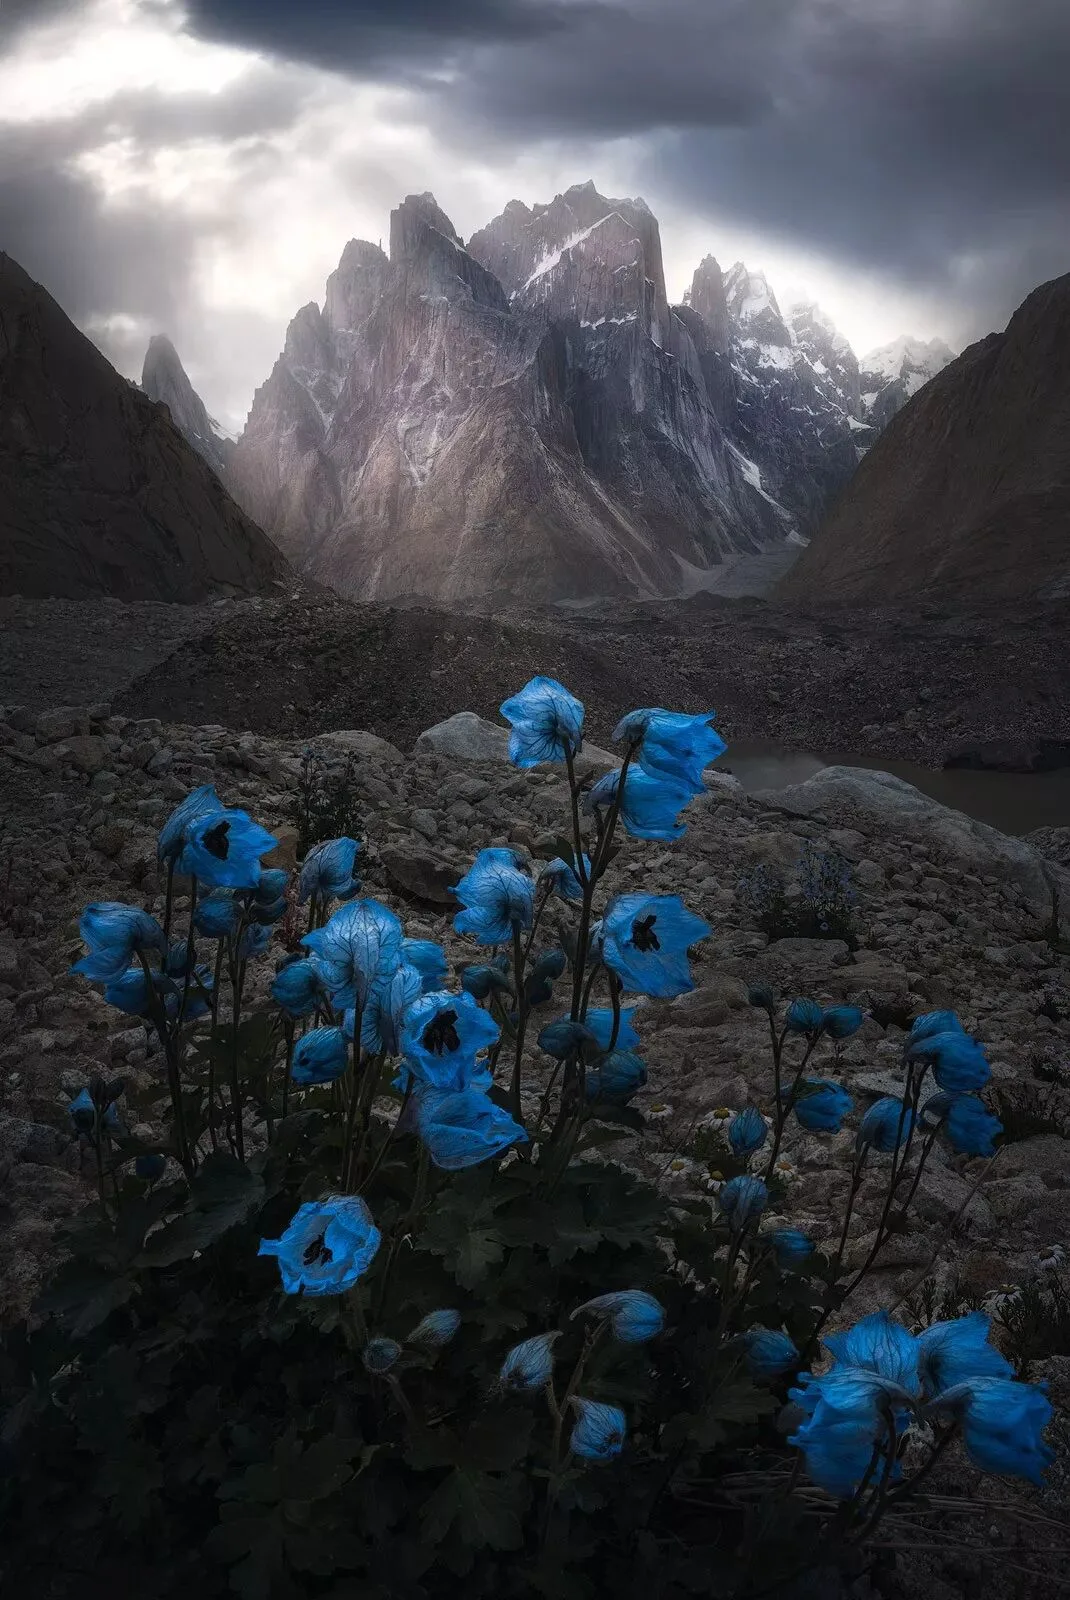
With luminosity masks, for example, we can precisely target a specific brightness range — the shadows, or even the dark-but-not-darkest Darks 2 zone, or the bright area on the right side of the frame — and apply extremely fine, naturally blended color, tonal, or even compositing adjustments.
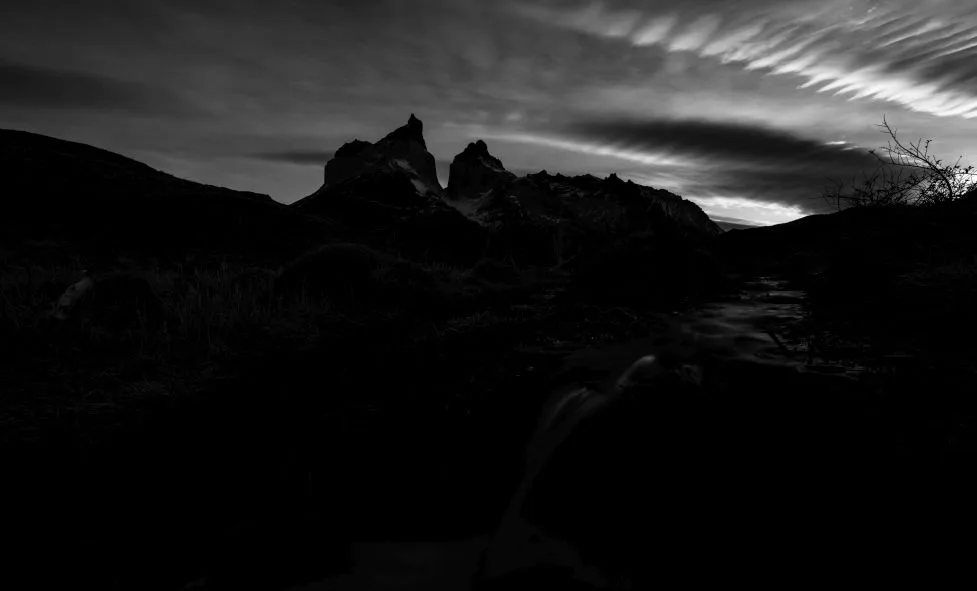
Luminosity masks have existed since Photoshop was born — their underlying mechanism is one of PS's cores: channels.
American photographer Tony Kuyper began systematically documenting and promoting the technique in 2006. The later arrival of tools like the TK Actions panel, Raya Pro, and StarsTail made luminosity masks one of the most-used tools among landscape photographers.
In 2017, Adobe officially brought the luminosity-mask concept into Camera Raw and Lightroom via Range Masks.
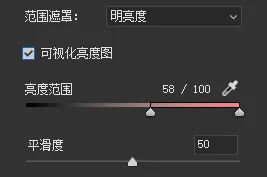
Since Chinese-language resources on luminosity masks are still scarce, Thomas is opening this series — over the next six months he'll publish a systematic set of tutorials on luminosity masks and related techniques.
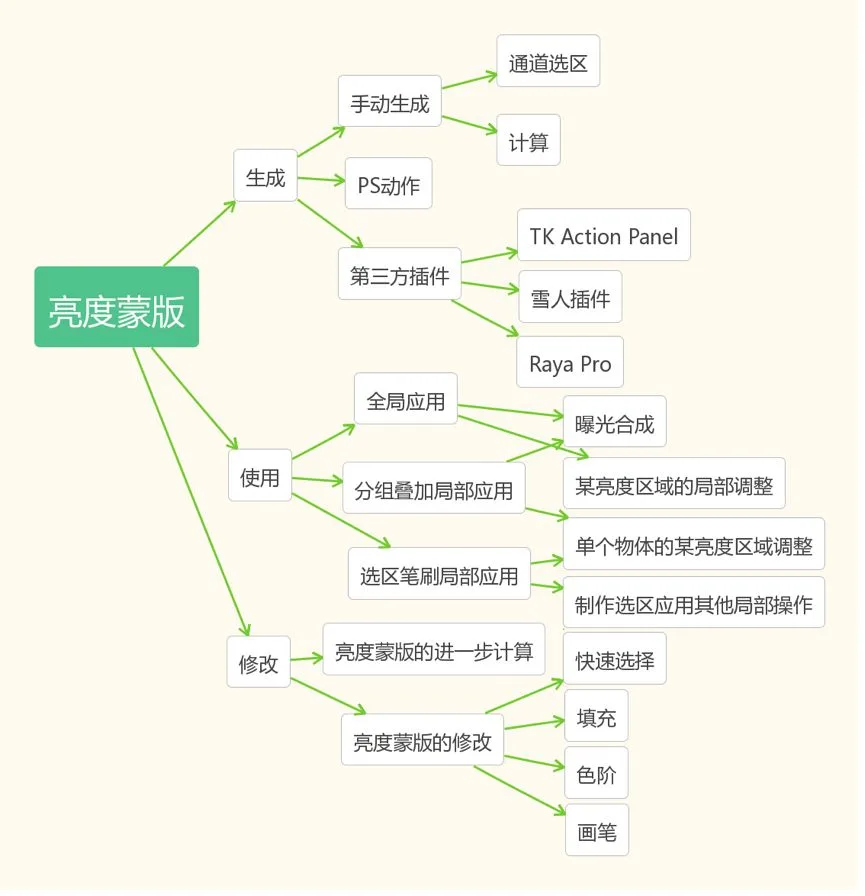
Above is the luminosity-mask mind map Thomas introduced in "Landscape Photography Post-Processing Fundamentals" — this series will follow and expand on it.

Qianliao channel:
https://m.qlchat.com/wechat/page/channel-intro?channelId=2000007309687761

Learning path and outline for luminosity masks:
1. Understanding the ideas and theory behind luminosity masks
1.1 Local adjustment is the core of photo post-processing
Why does Lightroom have graduated filters, radial filters, and adjustment brushes?
And why does Photoshop add layers, masks, channels, and even luminosity masks?
Because local adjustment is the core idea of photo post-processing.
Once you understand this, you'll realize that no matter how advanced the tool or complex the technique, post-processing really does just two things:
1) Select a specific part of the photo
2) Apply some effect to that part
The above is excerpted from "Local Adjustment Is the Core of Photo Post-Processing."
At its core, a luminosity mask is just a more sophisticated selection tool serving local adjustments. Understanding this helps you grasp its real uses without mythologizing the technique.
1.2 Selections, Channels, Masks
Luminosity masks are generated through channels, then applied to Photoshop's adjustment and effect layers via selections and masks.
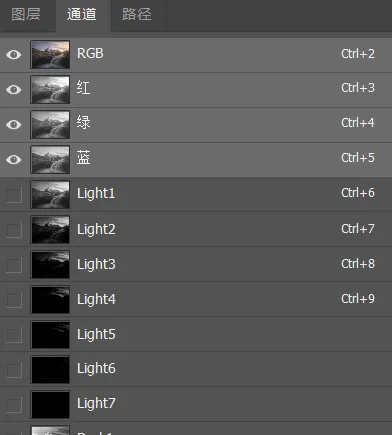
So understanding the three PS fundamentals — selections, channels, masks — is a prerequisite. Recommended reading first:
Intro to layer masks:
"The Cornerstone of PS: Layers and Masks"
Intro to selections and common selection tools:
"The Best Selection Tool in Photoshop — Fast and Precise!"
"Learn These Two Tricks to Solve 90% of Selection and Cutout Problems!"
Intro to channels:
"Understanding Photoshop Channels in Depth: New Skills for Color Grading and Selections"
"How to Use Photoshop Channels for Fast, Complex Cutouts"
Intro to how selections, channels, and masks relate and convert:
"One Article to Clarify PS Selections, Channels, and Masks"
1.3 Intro to Luminosity Masks — selections based on the luminosity channel
A luminosity mask is simply a local selection built from the different brightness values in the frame.
The TK and StarsTail panels divide the luminosity range intuitively into Lights 1–6, Darks 1–6, Midtones 1–3, and so on.
You can even follow the Adams zones, selecting precise tonal ranges from Zone 1 to Zone 10.
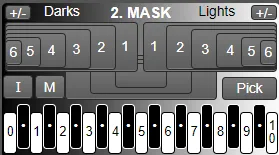
A detailed introduction to luminosity masks will be updated in future tutorials.
1.4 Luminosity Masks in Camera Raw
In 2017, a new version of Camera Raw added a Range Mask tool; its Luminance Range Mask follows the same idea as luminosity masks.
Read this article to learn the technique:
"The Most Powerful Photo-Editing Feature in the New PS/LR: Range Masks"
1.5 Common ways to build local selections, with pros and cons
A luminosity mask is ultimately just a selection tool. A future tutorial will compare brushes, lassos, Quick Selection, Select and Mask, the Pen, channels, and luminosity masks — their differences and uses.
1.6 Other brightness-range-based adjustment tools
Curves, Split Toning, Color Balance, Blend If, Dodge & Burn, and similar tools all carry a built-in brightness-range filter, so to speak.
Of course, these built-in filters are generally less precise and less naturally blended than luminosity masks — a future tutorial will summarize them.
2. Generating and modifying luminosity masks
2.1 How to generate luminosity masks with PS actions
2.2 Intro to common luminosity-mask plugins — TK Actions, Raya Pro, StarsTail panel, etc.
2.3 How to choose the right luminosity mask
2.4 Modifying luminosity masks — Levels, brushes, lassos
Upcoming tutorials in this series will cover generating masks with plugins, choosing the right mask, and further modifying masks.
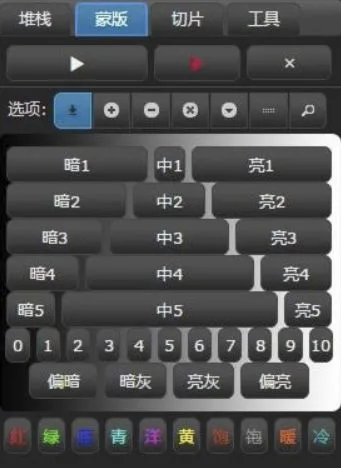
3. Using luminosity masks
3.1 Tonal adjustment of highlights, shadows, and midtones
3.2 More localized use: group stacking and selection brushes
3.3 Multi-exposure blending with luminosity masks
3.4 Dodge & burn with luminosity masks
3.5 Local color grading with luminosity masks
Upcoming tutorials will cover the most important part: how to flexibly combine luminosity masks with other tools in real editing scenarios.
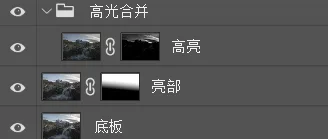
4. Advanced luminosity-mask techniques
4.1 Manually building luminosity masks with channels and selections
4.2 Generating 16-bit luminosity masks with Calculations
4.3 Strengthening mask effects with fills
4.4 Luminosity masks based on color channels
4.5 Hue and saturation masks
4.6 More features of the TK Actions panel
Upcoming tutorials will cover the deeper techniques and principles — e.g., manually generating masks via channels or calculations and how that works, plus mask variants like color-channel-based luminosity masks.
That's the overall learning path for luminosity masks. Read the recommended prerequisite articles first; over the next six months Thomas will fill in the remaining content.
Suggestions and feedback are welcome — thank you all.