Photography Tutorial · 2021-12-19
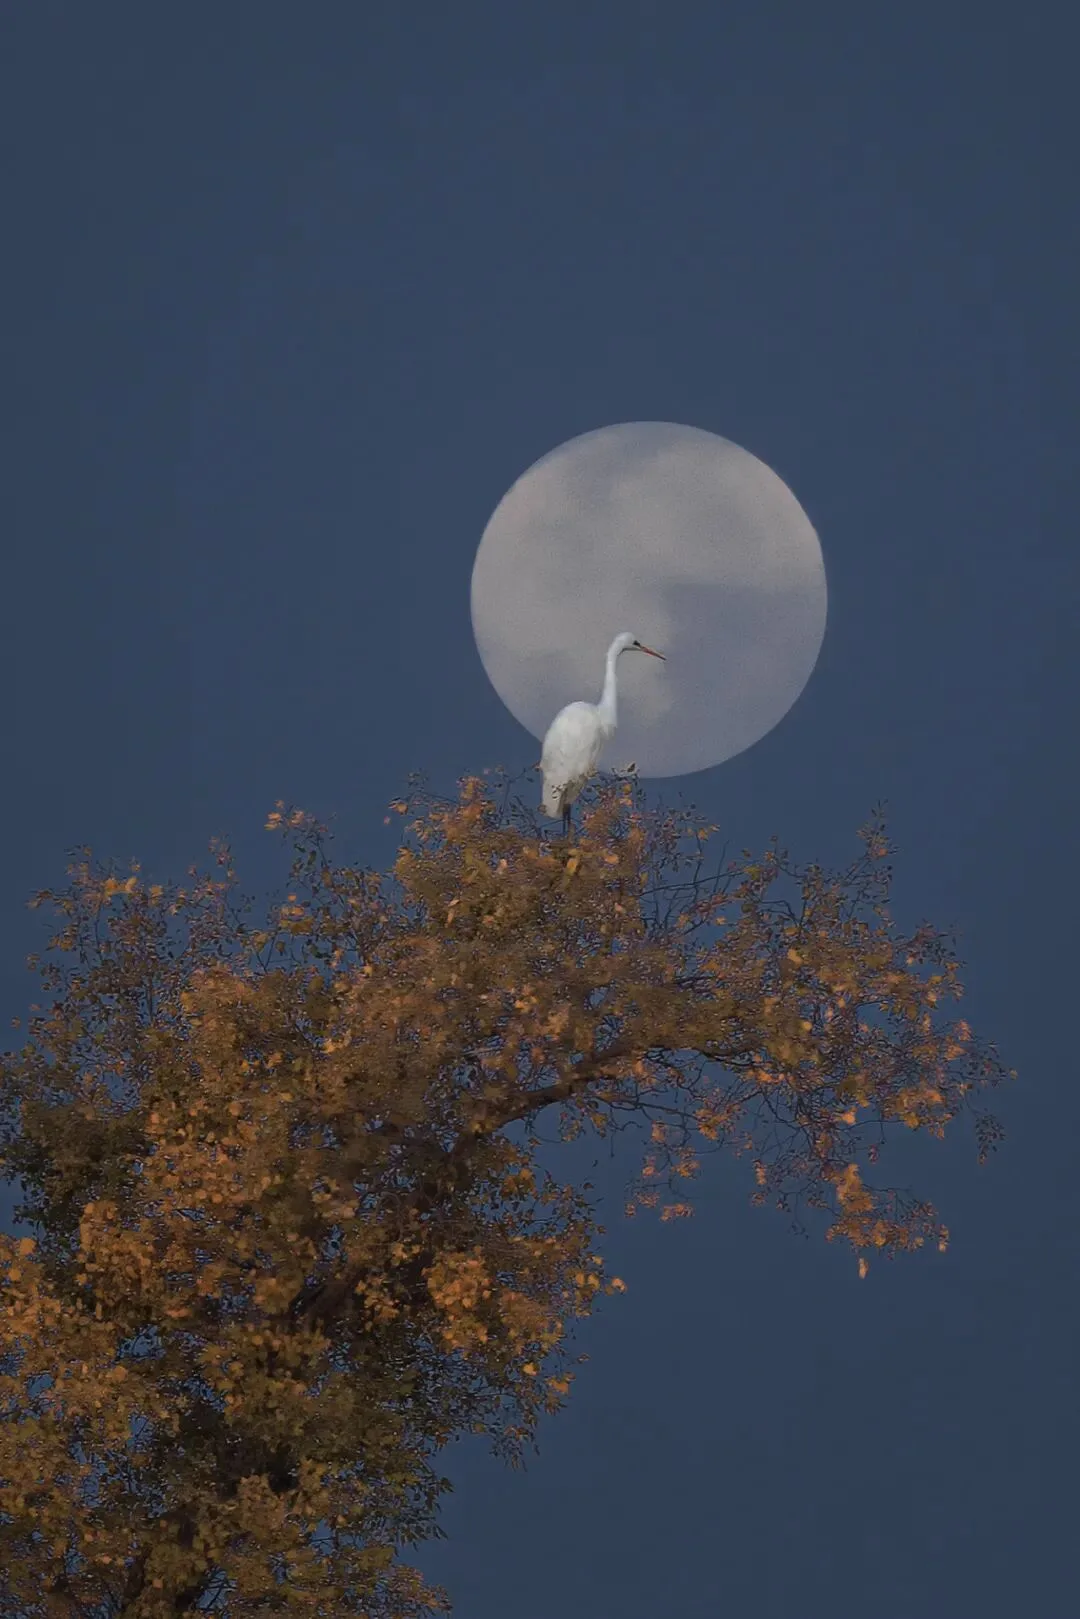
This Photo Really Isn't a Painting? Shooting and Post-Processing Ideas for Egrets in Moonlight
Thomas Chu Photo
A core step of photo post-processing is redirecting the viewer's visual focus within the frame.
In today's tutorial, I'll share the post-processing and grading ideas behind the recent 'Egrets in Moonlight' image.
Redistributing brightness to redirect the viewer's eye is the key technique of this photo's post-processing!
Video Tutorial
▶ Watch the video tutorial on Bilibili
This is the full illustrated write-up of the video above. Photography is, most of the time, the art of subtraction: the real world is complex and chaotic, and it takes deliberate simplification — both in the field and in post — to make your subject and mood stand out. Using his moonlit aerial of Zizhu Monastery in Tibet, Thomas breaks down the complete subtraction workflow: drone positioning, cropping, color, and rendering fog.
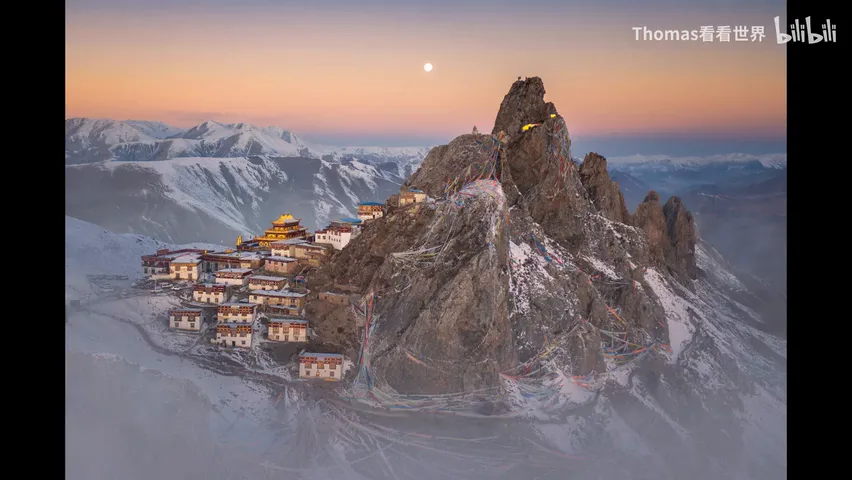
Start with the final image (0:01): the moon hanging above the snow peaks of Zizhu Mountain, the monastery buildings half-hidden along the ridge, fog concealing all the clutter — a photograph built on subtraction.
01 In the Field: Subtraction from a Drone View
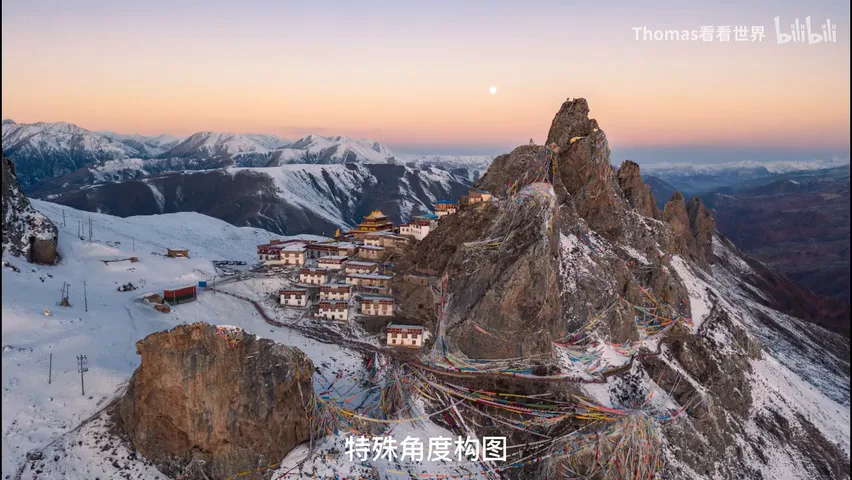
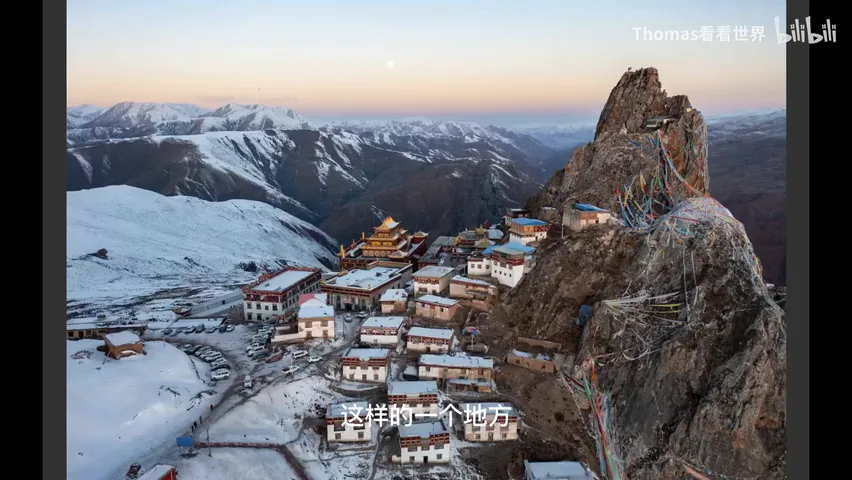
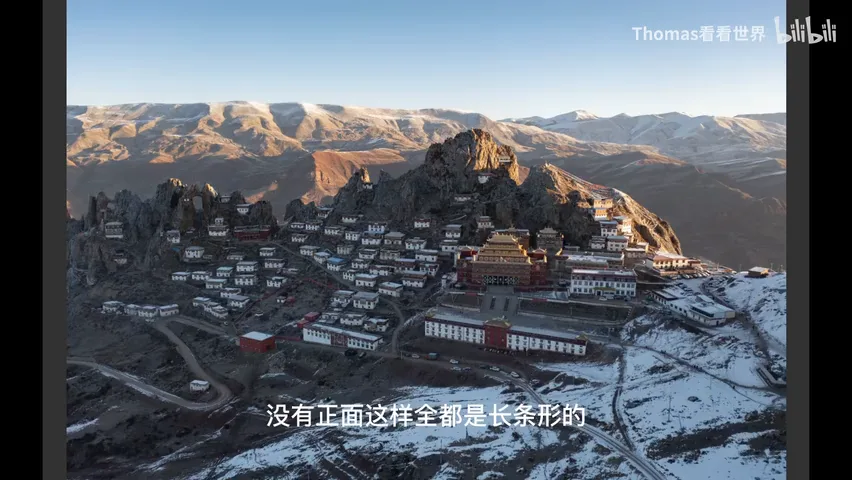
This vantage point at Zizhu Monastery is a classic — the viewing platform sits right here, and most people fly their drones from exactly this spot. But Thomas felt the subtraction was insufficient: with more and more buildings added in recent years, the scene turned cluttered, losing the sense of a hermitage adrift above the clouds and looking like a city planted on a summit (0:43-1:20).
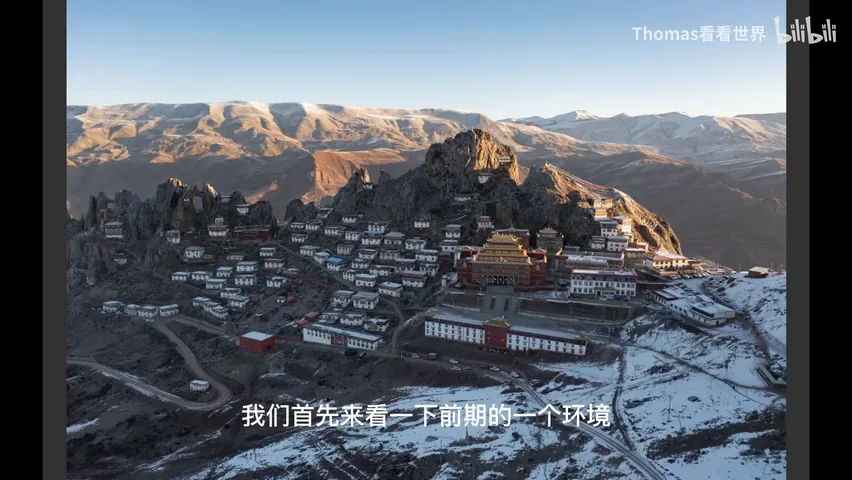
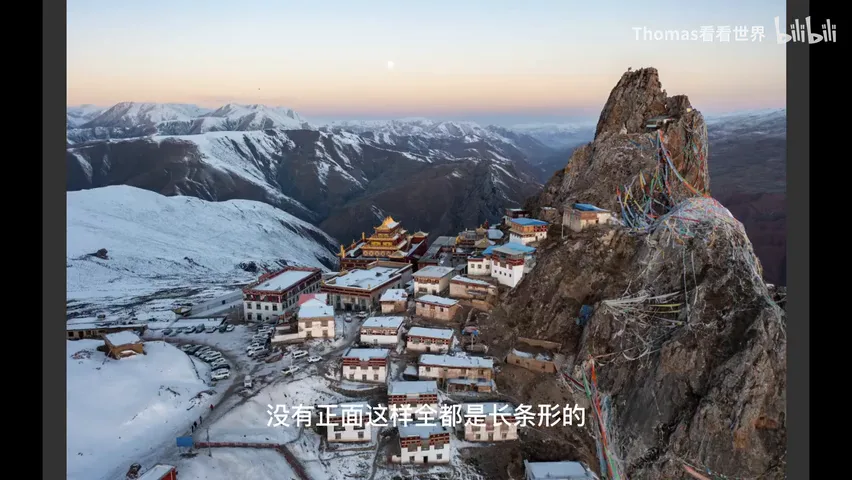
So he flew the drone to the upper right and shot from the side: the hillside conveniently blocked the front row of buildings, and what you see are the buildings' narrow sides rather than their long frontal facades. Finding the angle still too high — every big rooftop crying for attention — he flew lower and farther, and the roofs instantly stopped dominating (1:20-2:15). Two adjustments of viewpoint, two layers of subtraction done in the field.
02 Post Step One: Subtract by Cropping
One layer of subtraction in the field, three more in post: crop for composition, subtract from color, and finally mask away much of the detail. He first cut the tangle of power poles on the left; set his preferred 3:2 aspect ratio; then cropped out two small yellow and red houses and the overly dense mass of prayer flags in the lower right (2:31-3:29).
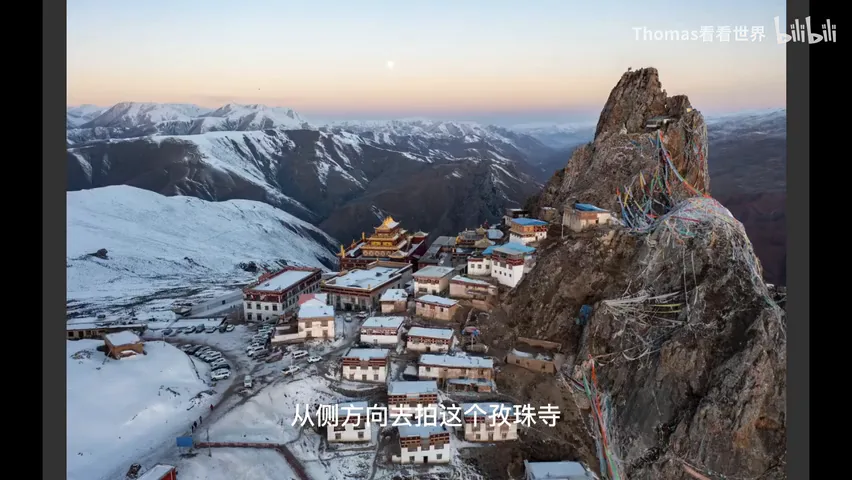
He kept the moon near the center of the frame — moon at the middle, the loftiest peaks anchoring both ends, forming a dynamic, balanced composition. After cropping he moved into Photoshop for a few Lightroom-style basics: brightening the center of the frame and adding a touch of softening (3:30-4:05).
03 Post Step Two: Color, Less and More
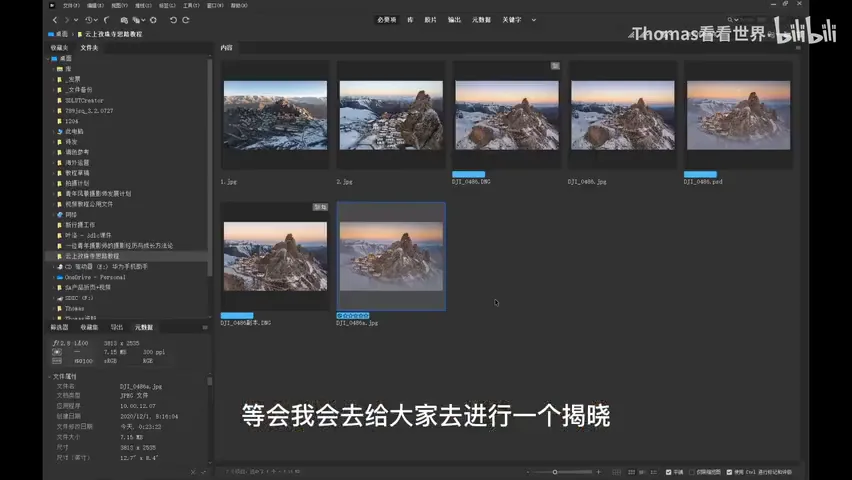
Then come the mask-guided color operations. First: with the Hue/Saturation tool he targets yellows and drops lightness — which lowers both saturation and brightness at once — taming the garish prayer flags and yellowish rocks. The key is a mask to limit the damage: without it, the sky and the resplendent golden roofs would fade along with them (4:10-5:07).
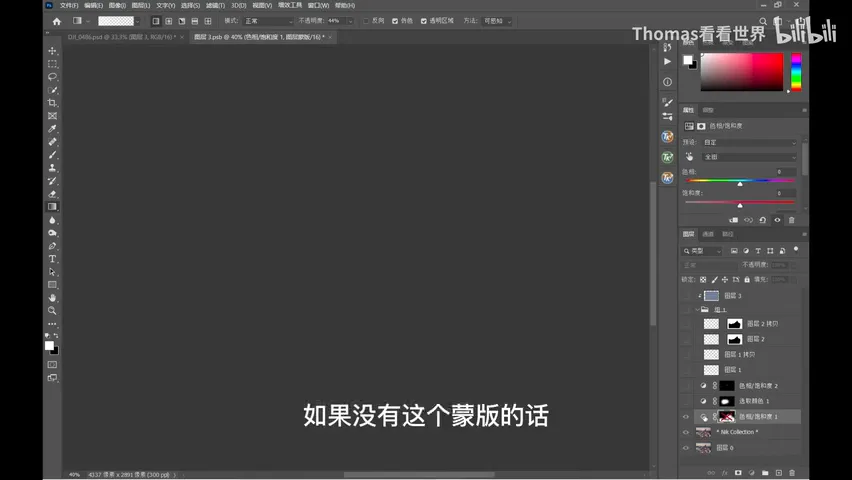
The second move subtracts nothing and adds instead: on the golden-roof area he uses Selective Color on yellows — cutting cyan to add red, plus a touch more yellow, reinforcing the gold; then reducing black, which brightens. Tibetan architecture already glows with red walls and golden roofs; this step makes the resplendent parts gleam even more. Third, the few blue canopies get a modest desaturation (5:13-6:08).
04 Rendering Fog: One Move, Three Wins
Even after these steps, two problems remained: the prayer flags and the kora corridor below still looked cluttered, badly eroding the mountain's sense of mystery; and with such clear morning air, the nearest and farthest ridges were equally sharp, leaving the image flat (6:12-6:46).
Then inspiration struck: render fog in post — one move, three wins. Anything cluttered gets veiled; fog brings mystery, as if he had actually arrived on a misty morning; and best of all, depth returns — fog in front, clear detail in the middle, another bank of fog behind, then a fainter ridge, and finally sky and moon (6:47-8:00).
05 Two Ways to Build the Fog
Method one: search online for PS cloud/fog brushes — they are everywhere. Avoid stamping the same brush repeatedly: vary position and size, even push the fog's direction with a soft brush, and once several strokes blend together the repeat disappears; switch brushes again and use large and small dabs to imitate the texture of natural fog. This is the method Thomas used for this image (8:02-9:00).
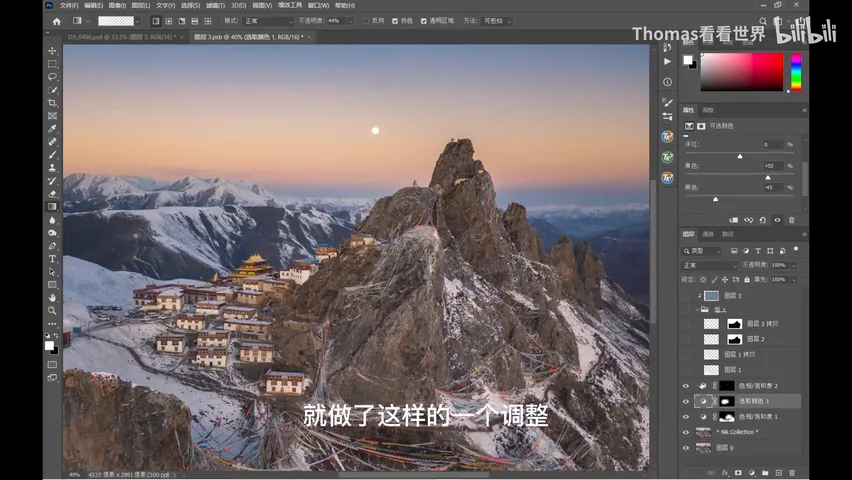
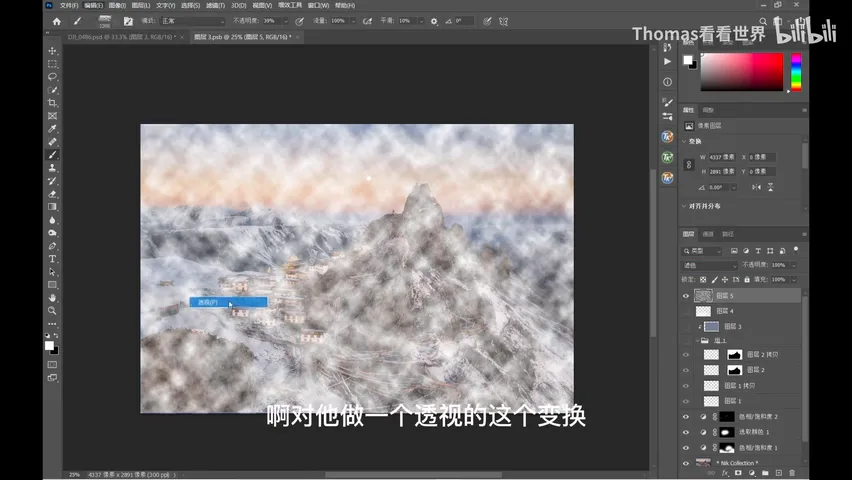
Method two: run Filter > Render > Clouds for a base layer, set the blend mode to Screen; use Ctrl+T for a perspective transform — near clouds big, far clouds small — then stretch it, since clouds tend to be elongated. One layer always looks fake, so drop opacity to 20-30%, duplicate and offset the layer (clouds are random, so every shift stacks new randomness), then duplicate once more, larger and offset again — the result is remarkably believable. Finally group the layers, add a black mask, and paint the fog in where it belongs (9:03-10:34).
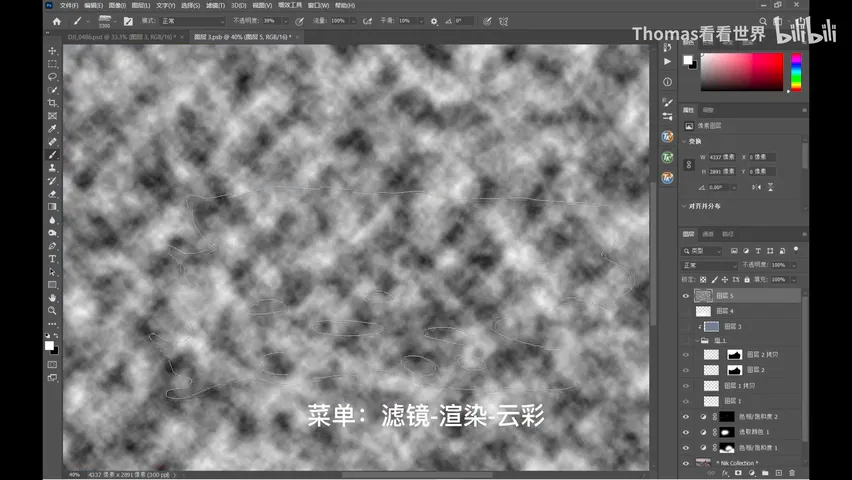
See the final image at 10:34: moon, snow peaks, monastery and fog each in their place — clutter hidden, depth restored. The photograph is also featured in the 'Seeing the World 2022' week-by-week calendar, with space for notes and tear-off prints that work as postcards or mini posters; search for it on major e-commerce platforms.
1. Subtract in the field: skip the classic spot, fly the drone higher to the side then lower and farther, letting the slope and side views hide the clutter; 2. Keep cropping: 3:2 ratio, cut poles, odd little houses and dense flags — moon centered, peaks anchoring the ends; 3. Color: drop yellow lightness to calm the flags behind a protective mask, boost the gold with Selective Color, mute the blue canopies; 4. Rendered fog does triple duty — hiding clutter, adding mystery, building depth — via fog brushes or Render Clouds with Screen blending and layered randomness.