Photography Tutorial · 2022-05-11
Snow Peaks & Peach Blossoms: A Live Tutorial in Suosong Village Under Mt. Namcha Barwa
In today's tutorial, Thomas shares the shooting and editing workflow behind my recent photos from Suosong Village in Nyingchi. Topics include:
How to use a drone to explore and compose?
How to juggle multiple elements for a layered yet uncluttered image?
How to grade a dark teal tone in broad daylight?
Video
▶ Watch the video tutorial on Bilibili
This is the fully illustrated companion to the video above. Thomas teaches on location in Suosong Village at the foot of Mt. Namcha Barwa: how to fit snow peaks, a village and peach blossoms into one drone frame, then how to grade a daylight shot into the dark teal look that earned the most likes online. The notes below follow the video's arc: fieldwork, RAW foundation, Photoshop fine-tuning, and finishing.
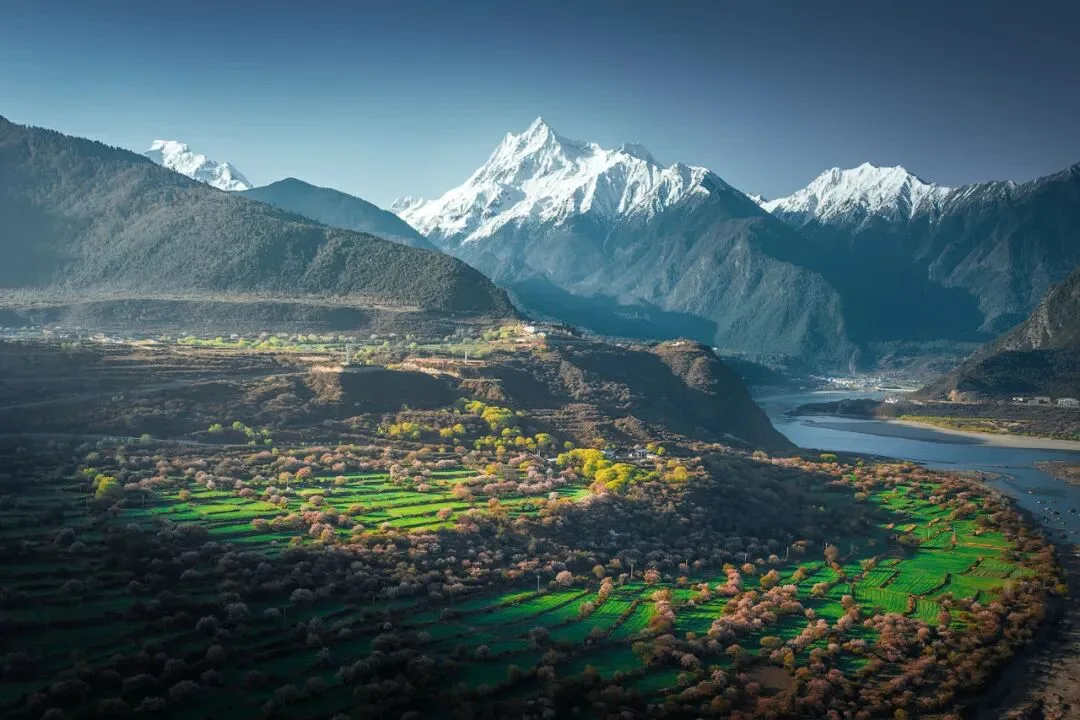
First, the final image: a village framed by peach blossoms, teal river water and fields, and Mt. Namcha Barwa wrapped in cloud — layers, light and a cool mood all in one frame. How it was shot, and how it was graded, follows.
01 Drone Scouting: A Flying Camera and Three Layers
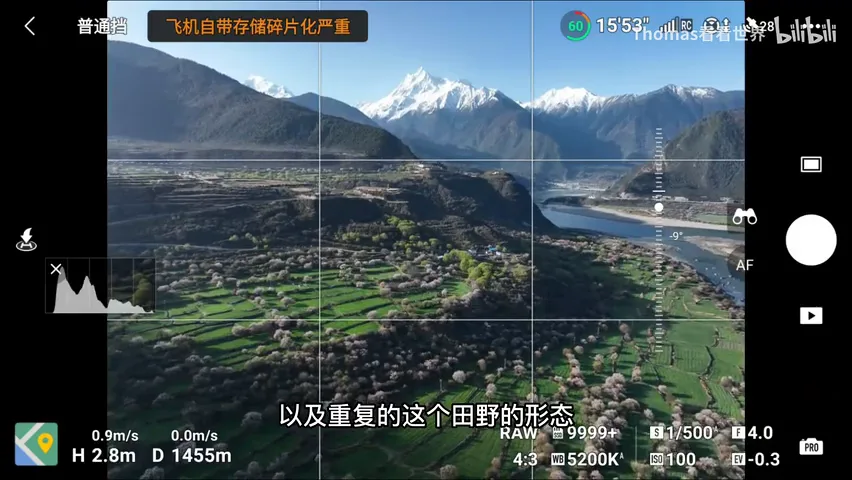
In Suosong Village, Thomas first studied the wild peach trees: thin branches, small flowers — honestly not much to look at up close. So the plan for the day: send the drone high enough to take in the whole village, the blossoms and the snow mountain together.
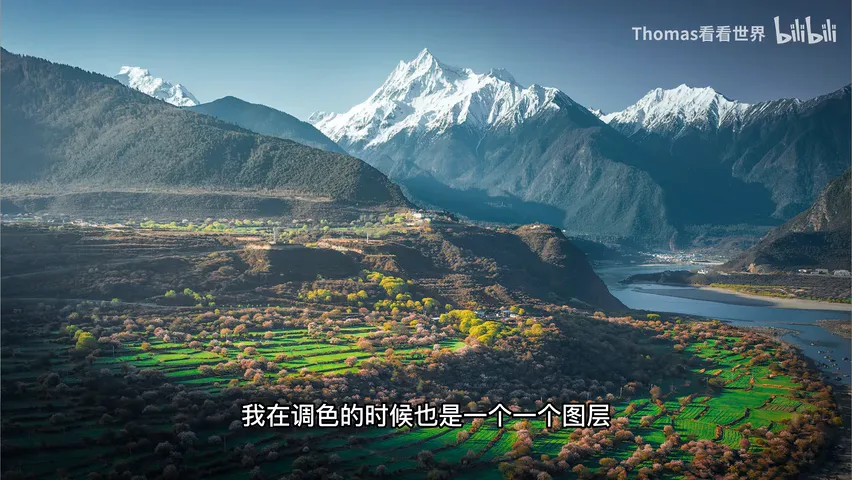
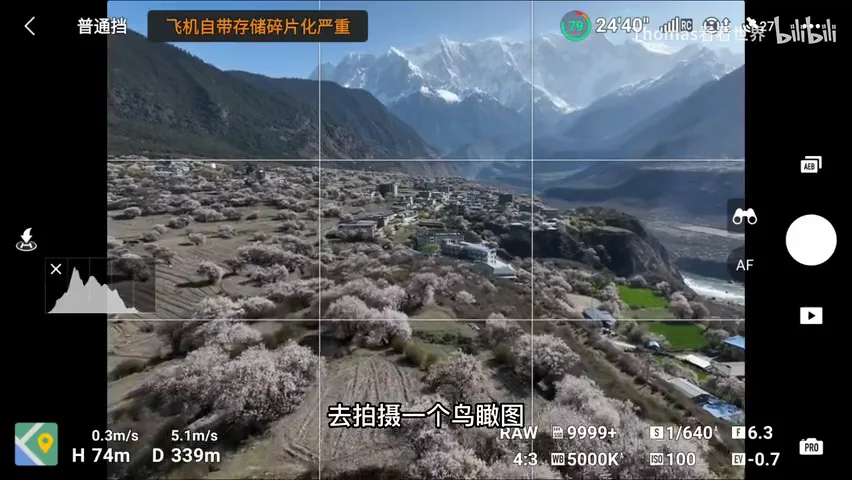
He then corrects a common misconception: many drone pilots love flying high for bird's-eye shots, while he mostly doesn't fly that high. Treat the drone as a camera that can stand anywhere, not as an aerial platform — then all your ground-based composition skills apply: nearby peach trees as foreground, Suosong Village in the middle distance, Mt. Namcha Barwa as the far layer. The frame gains depth instead of collapsing into one distant peak plus a token foreground (at 0:56-1:36 in the video).
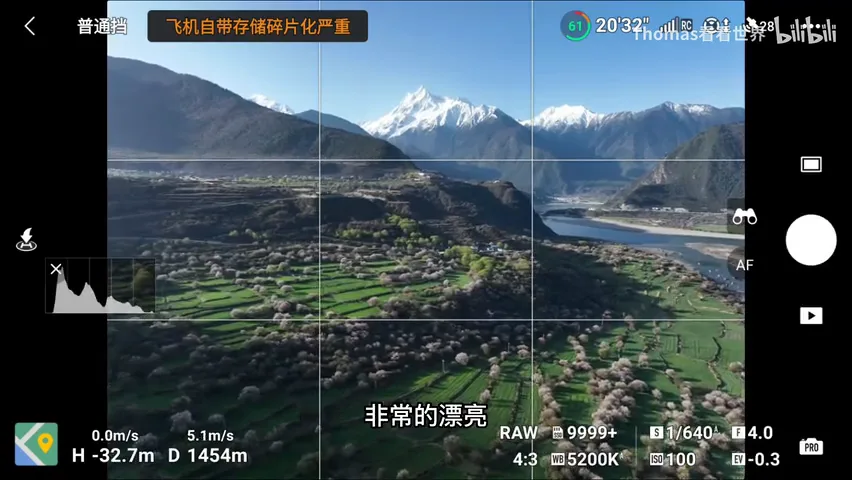
Scouting the exact position, he flew across the river: the fields there were carpeted with vivid green barley shoots, the peach trees in full bloom, and light falling across it all for a bright-dark contrast. Another reason to plant the camera here was repetition — the repeating peach trees and repeating field patterns, a compositional device he keeps coming back to (at 1:36-2:01 in the video).
02 RAW Foundation: The Calibration Panel's Blue Primary
Back at the hotel, editing happens on a Dell XPS 17 9720 — a 4K touch screen with a 93.7% screen-to-body ratio that still fits the footprint of a typical 15-inch laptop. He shows the selected finals in several different tones first — the teal one earned the most likes — then opens the PSD to review what was done to the RAW file (at 2:05-3:02 in the video).
The first RAW move is in the Calibration panel: blue primary saturation straight to +100. As covered in his earlier tutorials, maxing the blue primary's saturation lifts the warm colors beautifully while blues themselves overshoot — you simply claw blue saturation back later in the HSL mixer (at 3:08-3:26 in the video).
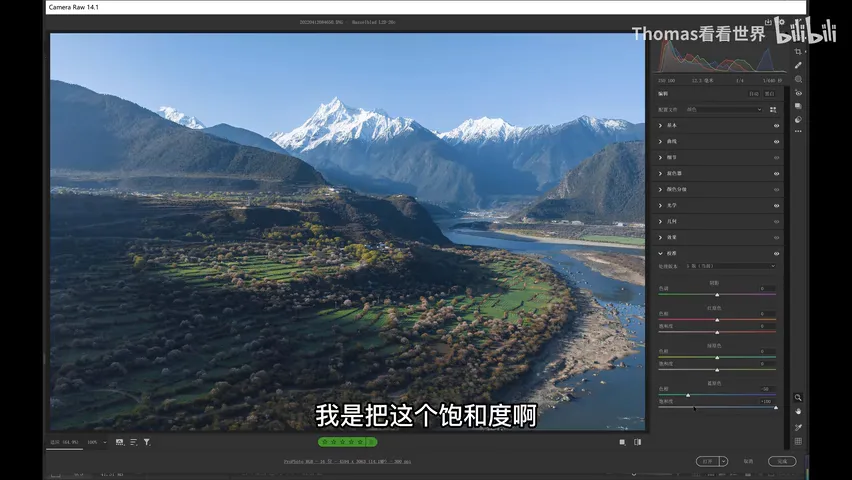
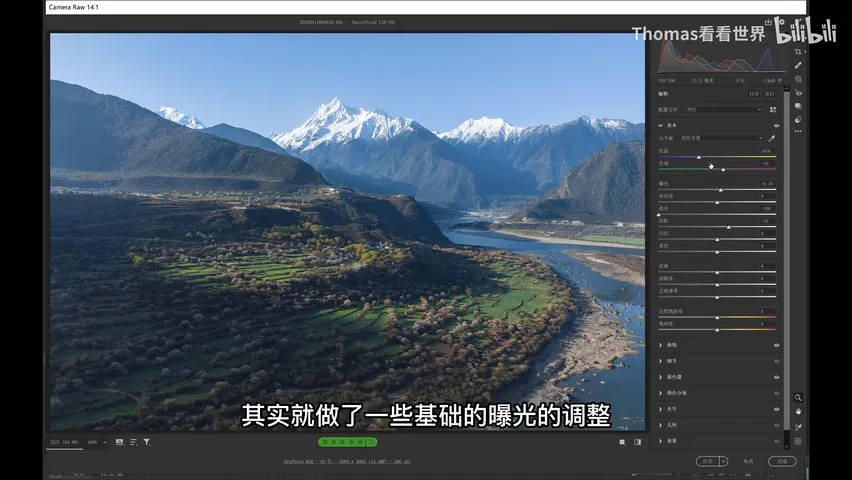
Alongside it, the blue primary's hue slides left, set to -50 here: greens lean yellow-green and the pink blossoms read pinker — one slider, two wins. The Basic panel sees only basic exposure work: highlights recovered, with a slight lift to exposure and shadows (at 3:26-3:49 in the video).
03 Photoshop: Denoise, Edge Darkening, Cooling the Highlights
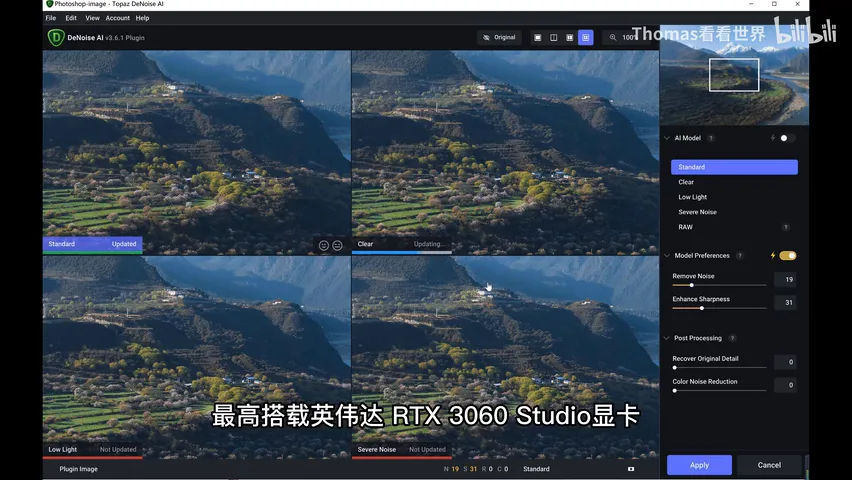
The first stop inside Photoshop is always Topaz Denoise AI. Friends often complain the plugin is painfully slow — this XPS 17 9720, with an NVIDIA RTX 3060 Studio GPU, a 12th-gen Intel H-series CPU, up to 64GB of RAM and up to 8TB of SSD, handles it without breaking a sweat (at 3:50-4:22 in the video).
After denoising comes a Brightness/Contrast adjustment layer: brightness -100, contrast -20, masked so it only affects the frame's edges — a vignette that gathers the light toward the center (at 4:22-4:36 in the video). Next he spots a pink cast in the highlights; since the target is a teal look with no warmth up top, Color Balance adds cyan and blue into the highlights to push that warmth out (at 4:37-4:54 in the video).
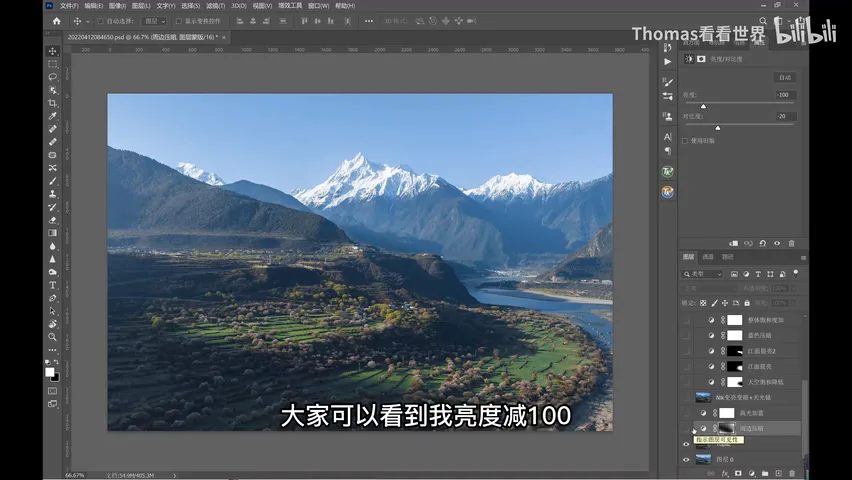
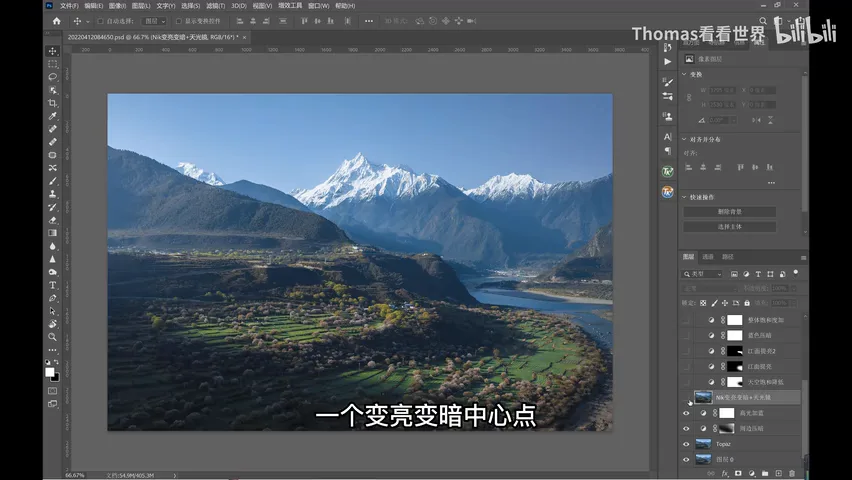
Then he calls in a Nik filter — "Lighten/Darken Center": disarmingly simple, it brightens the middle of the frame wherever you park its center point. A Skylight filter follows, laying a very comfortable warm veil over the image that balances the teal (at 4:55-5:10 in the video).
04 Fine-Tuning: Sky, River and Forest, Each in Its Place
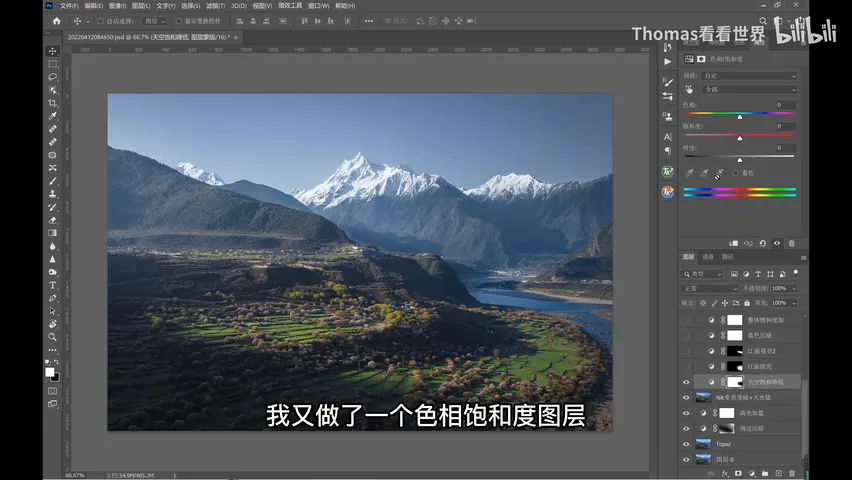
Next, the sky's blue feels oversaturated overall, so he builds a Hue/Saturation adjustment layer: blue saturation +20 but lightness -50. Here's a nugget worth remembering — moving lightness feeds back into perceived saturation; with lightness down 50, even a +20 saturation bump still reads as a net desaturation (at 5:11-5:35 in the video).
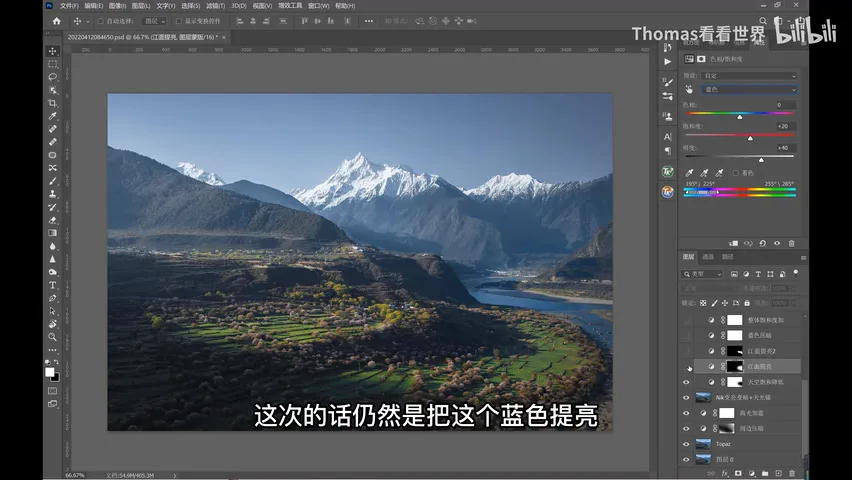
Another Hue/Saturation layer then brightens the blues, but this time the mask confines the effect to the river surface, leaving the sky alone; one pass isn't enough, so the river gets a second lift. The blues overall still need pressing down, so Selective Color adds black into blues to darken them. He admits it plainly: these moves are walked through step by step on long-built grading intuition (at 5:37-6:08 in the video).
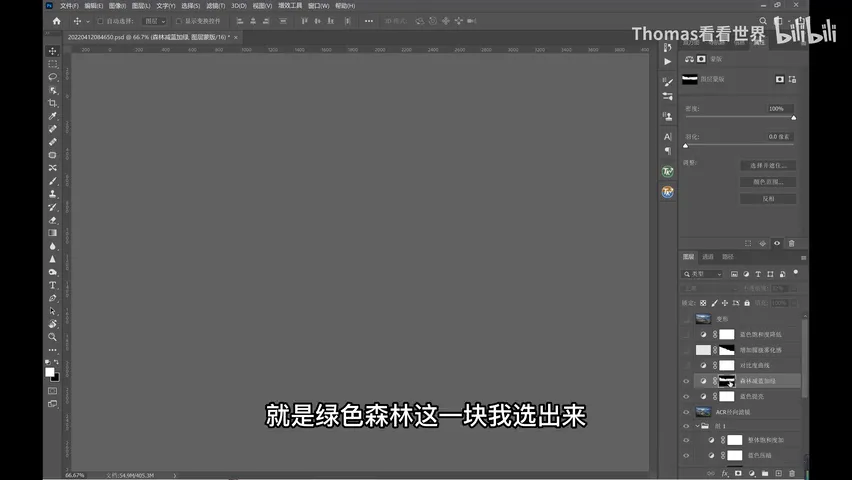
With blue saturation tamed, the frame now feels under-saturated — the vegetation in particular — so vibrance goes up 30. He then selects the green forest band, subtracting blue and adding green to soothe it, and lays in an S-shaped contrast curve. The central glow comes from a Camera Raw radial filter brightening the middle, as if light were streaming through — a technique from his earlier tutorials (at 6:09-7:12 in the video).
05 Light and Warping: Brushing Mist, Restoring the Summit
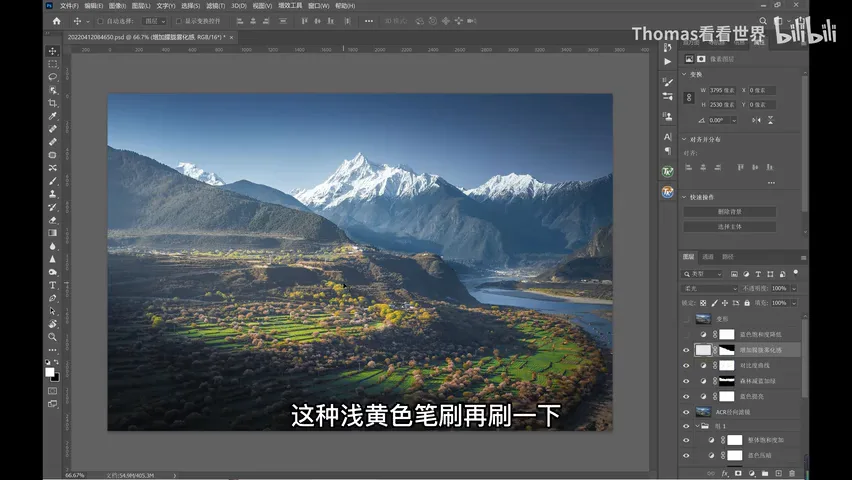
The final piece of the light puzzle: a blank layer set to Soft Light, brushed gently with a pale yellow brush across the mist, suggesting light catching the fog — together with the earlier Camera Raw radial filter, the photo now carries the light of that hour. Blue saturation gets a final slight trim, since the earlier boost had tipped it into oversaturation (at 6:57-7:21 in the video).
The very last step is a tiny warp: pull the secondary peak on the left down, lift the main summit in the middle up, so the all-important snow mountain commands the highest point in the frame — the subject's status is non-negotiable. With that, the edit is complete (at 7:22-7:39 in the video).
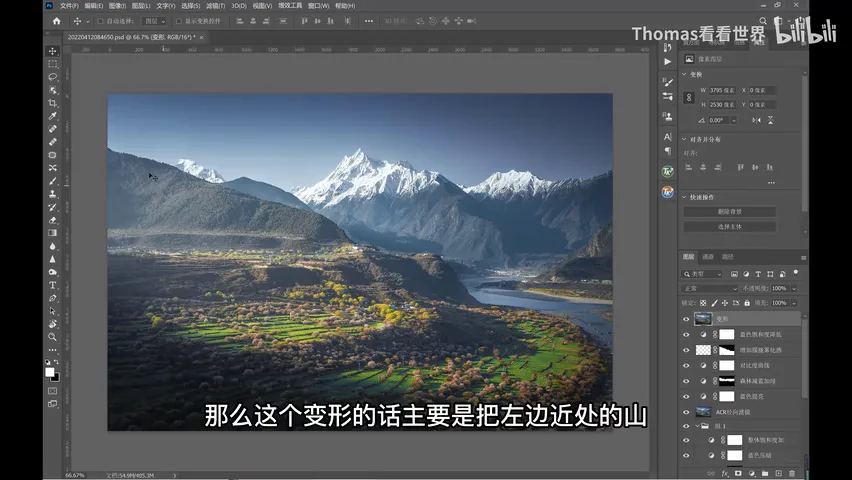
Looking back at the final image, the lesson is clear: grading is never one move — it's layer after layer, step after step, guided by years of accumulated instinct, gradually converging on the final look. Through it all, the laptop's ~94% DCI-P3 wide-gamut screen rendered colors richly and accurately, and hardware-level blue-light reduction kept his eyes fresher over long editing sessions (at 7:40-8:08 in the video).
1. Treat the drone as a camera that can stand anywhere, not an aerial rig: peach trees as foreground, Suosong Village mid-ground, Namcha Barwa far — pick the spot for repetition and bright-dark contrast; 2. The RAW foundation: blue primary saturation +100 and hue -50 in Calibration (pinker blossoms, yellow-green fields) with blues clawed back in HSL, plus recovered highlights and slight exposure/shadow lifts; 3. The Photoshop spine: Topaz denoise → masked Brightness/Contrast to darken edges → Color Balance to cool the highlights → Nik Lighten/Darken Center and a Skylight filter; 4. Fine-tune sky, river and forest region by region with hue/saturation and masks, then brush light onto the mist on a Soft Light layer and warp so the main summit stands tallest.