Photography Tutorial · 2018-09-30
Nik Cross Processing: Instant Film-Like Cinematic Tones
Thomas Chu Photo
One tutorial every week — making photography easy to learn
The Color Efex Pro set in Nik Collection includes several grading filters beloved by photographers, often used to create film looks and cinematic tones.
They are Cross Processing, Colorize, and the various Film Efex filters.
This article covers the Cross Processing filter, a favorite of renowned Russian portrait photographer Sean Archer. Related link: "Masterclass | The Russian Portrait Style Revealed! Sean Archer's Official Chinese Course"
1
Cross Processing: An Introduction
The term "cross processing" may be unfamiliar to photographers who grew up in the digital era.
The technique actually originated in the film days: deliberately developing film the "wrong" way — processing slide film in negative chemistry, or negative film in slide chemistry — to create special color casts and contrast effects.
Nik Collection offers a quick cross-processing simulation. First, open "Filter - Nik Collection - Color Efex Pro 4".
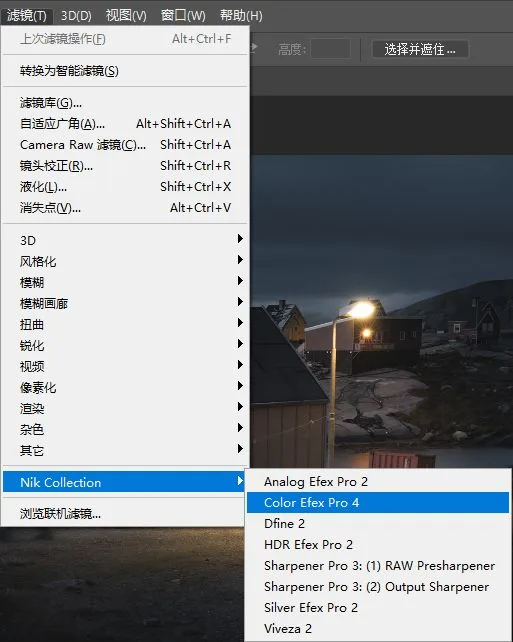
If you're new to Nik Color Efex Pro 4, I recommend reading the tutorial "Nik Color Efex Pro Plugin User Guide" first.
Nik Collection plugin (the formerly free version) download links:
(Mac) https://pan.baidu.com/s/1c1Q6WCC
(Windows)https://pan.baidu.com/s/1eTHsQfo
In the filter list panel on the left side of the workspace, you'll find "Cross Processing" around row 12.
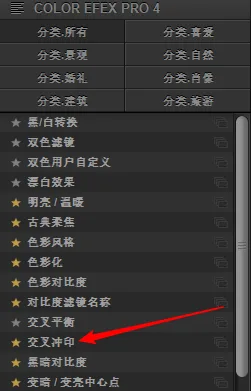
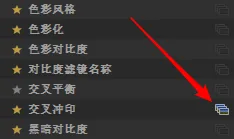
The Cross Processing filter ships with many useful presets that help you quickly find a color cast you like. To open them, click the "three stacked rectangles" icon to the right of the Cross Processing label.
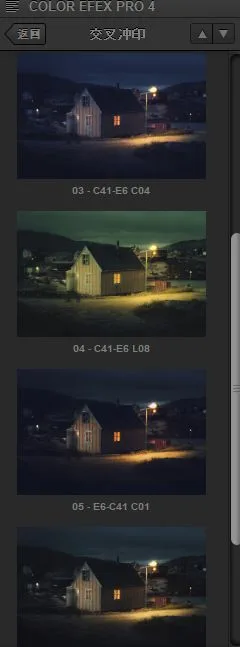
You can then see a visual overview of the presets; clicking any one loads its effect and parameters. For this image I quite like preset 03.
2
Adjusting the Parameters
After choosing a preset, a parameter panel appears on the right side of the workspace with all of the filter's controls, which we can modify on top of the preset.
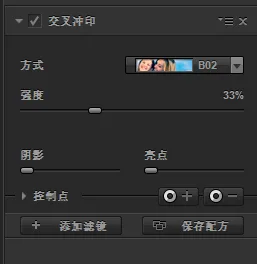
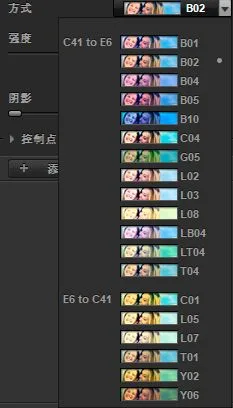
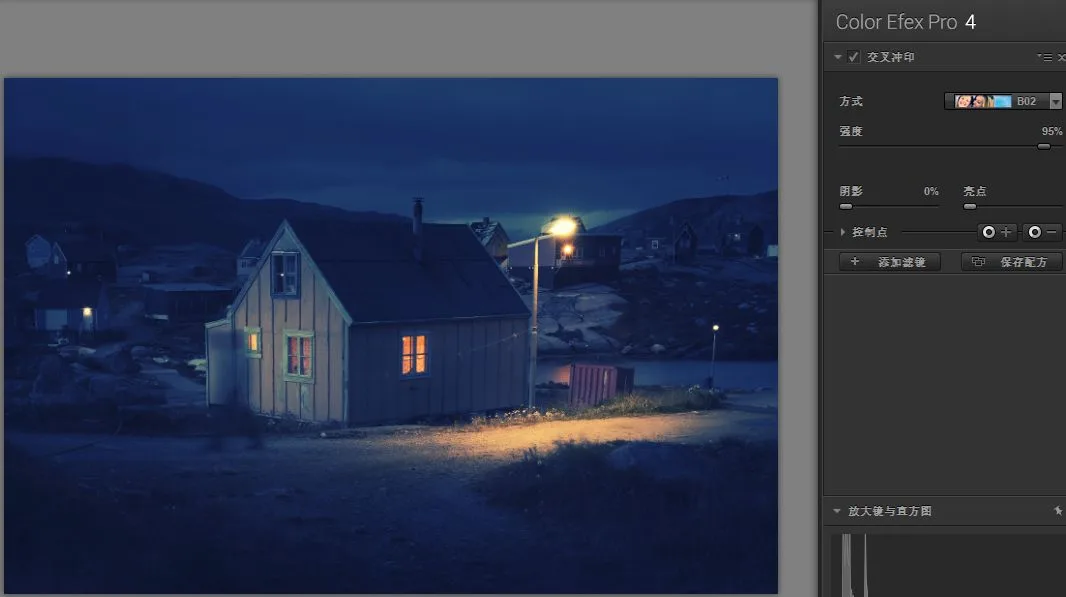
The first parameter is "Method". Open its dropdown to see a series of development methods, corresponding to various negative-as-slide and slide-as-negative looks. Each method maps to different color casts in highlights and shadows, and different contrast strengths.
Each method's icon gives a rough idea of its brightness, contrast, and color-cast pattern. You can also simply hover over a method (without clicking) to preview the result in the image.
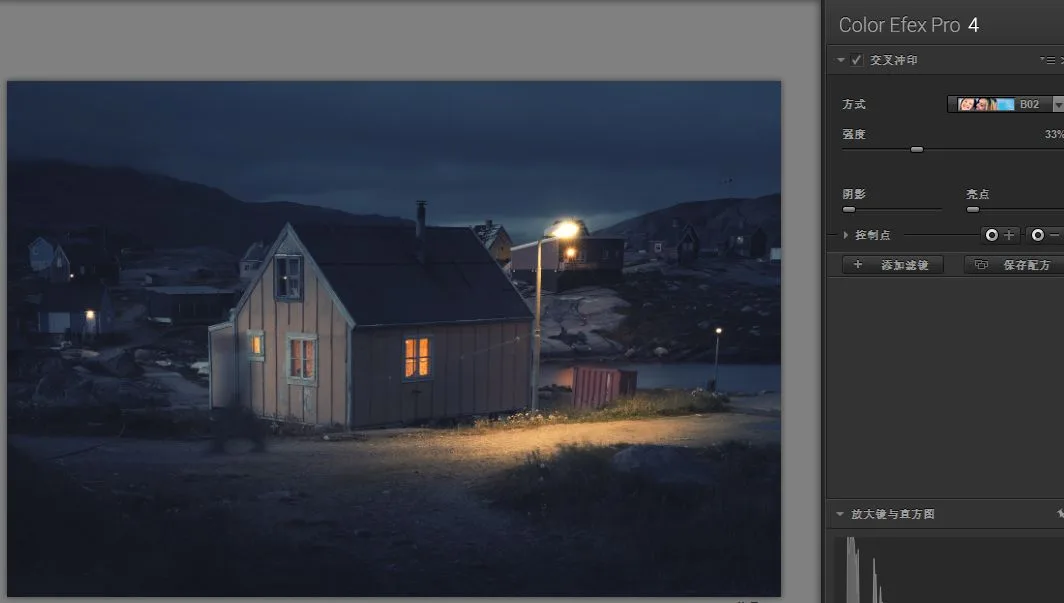
The second control parameter determines the strength of the filter.
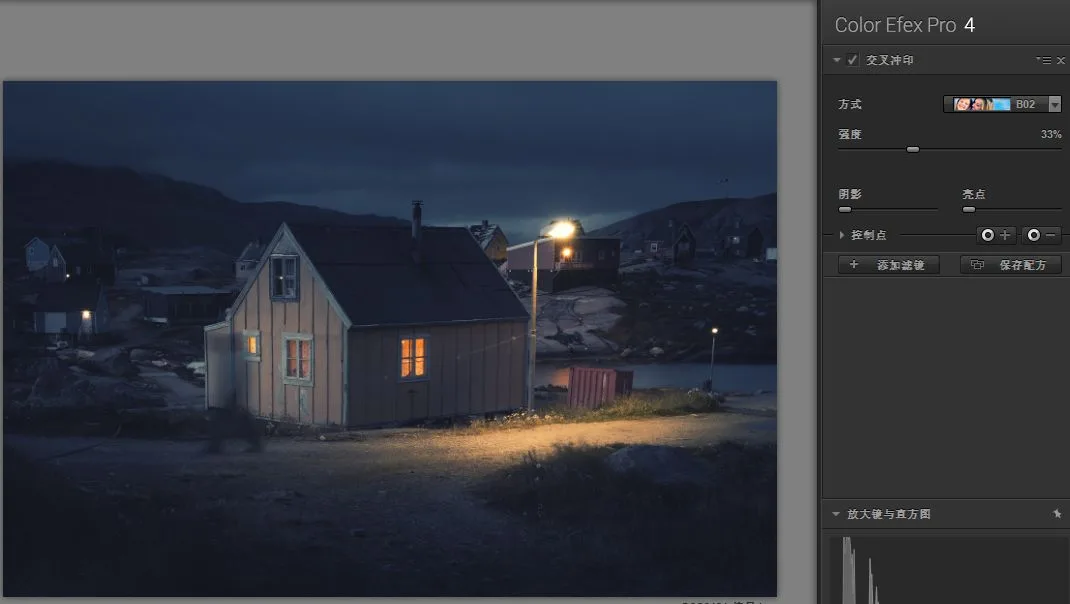
The lower the strength, the weaker the effect and the closer the photo stays to the original.
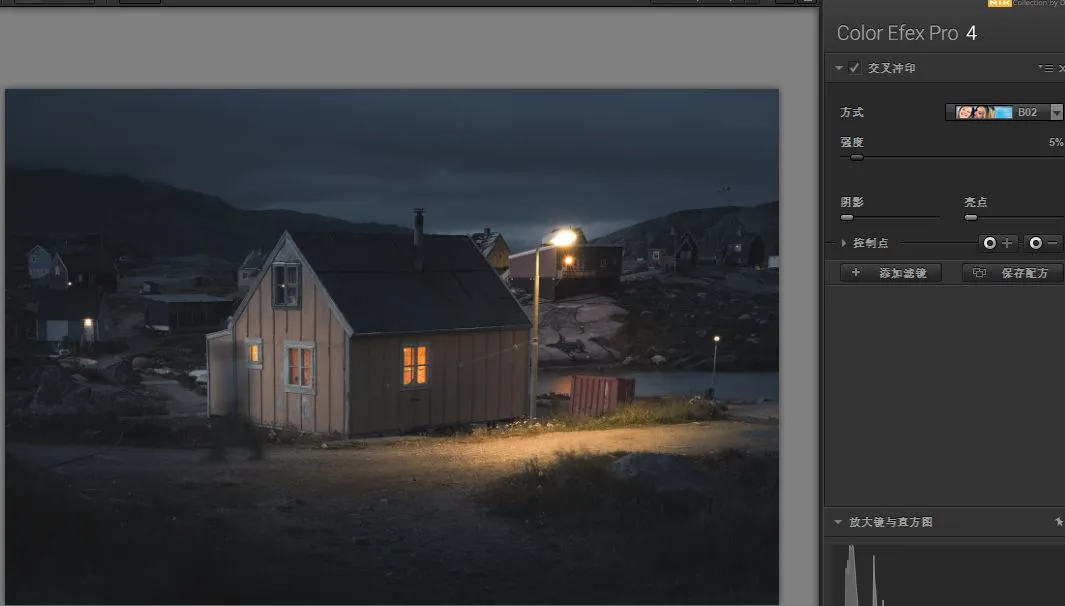
The higher the strength, the more intense the color cast and contrast shift.
For this image, a strength of around 33% feels comfortable to me.
Those are the two core parameters of the Cross Processing filter.
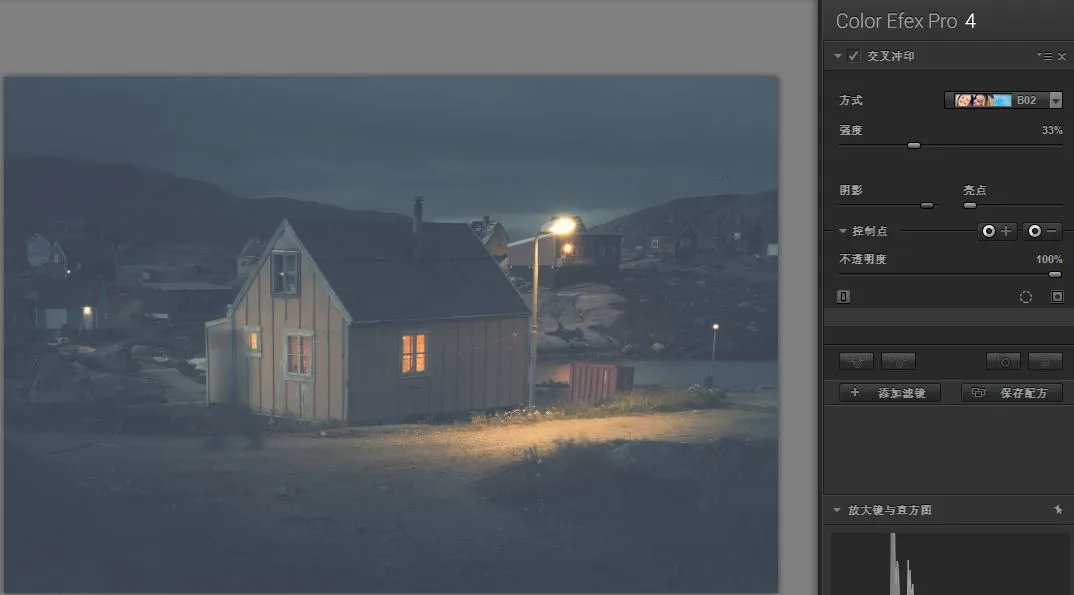
Below them are Shadows and Highlights sliders, which can lift shadows and recover highlights respectively, fixing over- or underexposure caused by some high-contrast cross-processing looks.
3
Applying the Filter Locally with Control Points
Local adjustment is a core principle of photo post-processing. For any Nik filter, control points let us control the filter's effect area by area.
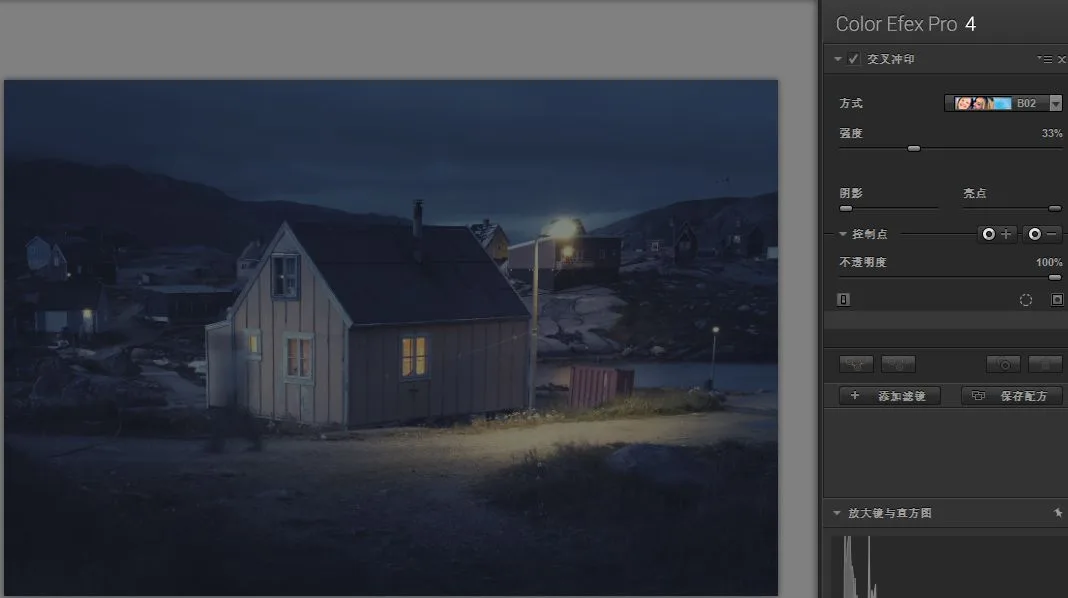
In this image, for example, I felt the highlights were a bit too cold-toned and unpleasant. So I used minus control points to remove the filter effect from the houses and parts of the road.
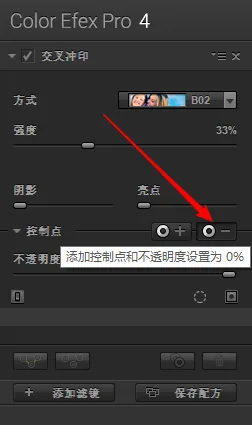
With a minus control point selected, click on the areas where you want to remove the color cast — the houses and some of the ground, for instance.
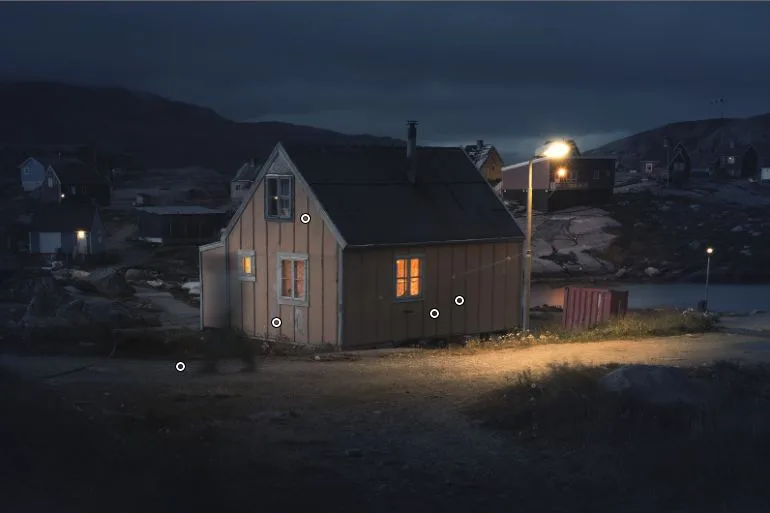
The power of control points is that they automatically recognize object edges, helping us quickly build precise masks.
Click the "Mask" icon — the "show/hide all selected control points" icon — to view the mask currently applied to the filter effect.
White areas of the mask receive 100% of the filter effect. Black areas receive none. Gray areas receive a partial effect.
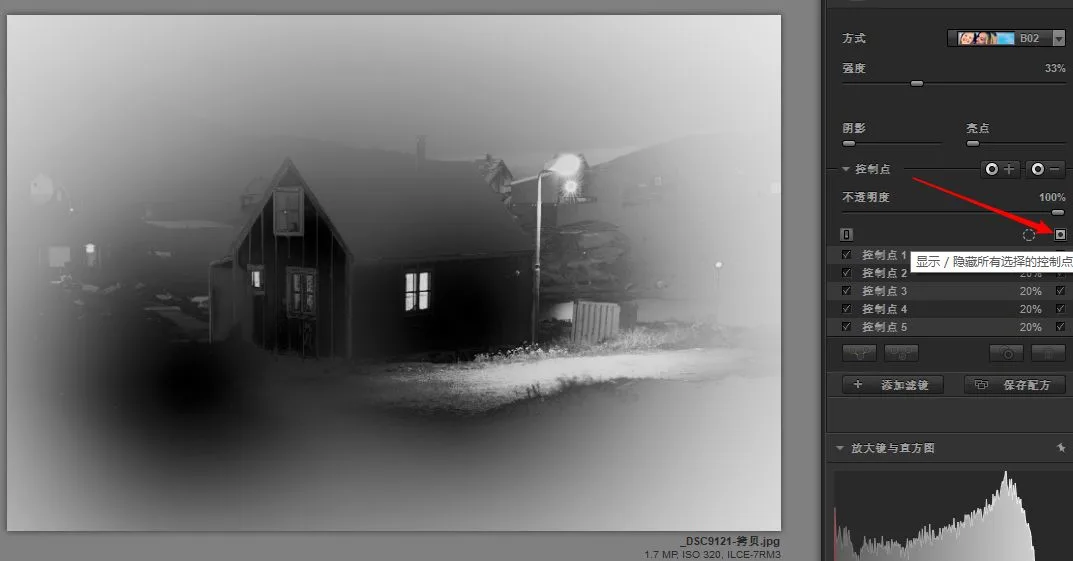
With the control points in place, you can see the houses and ground are essentially black in the mask — no filter applied — so they keep the original image's natural warm tones.
The image below is my final result after applying the Cross Processing filter.
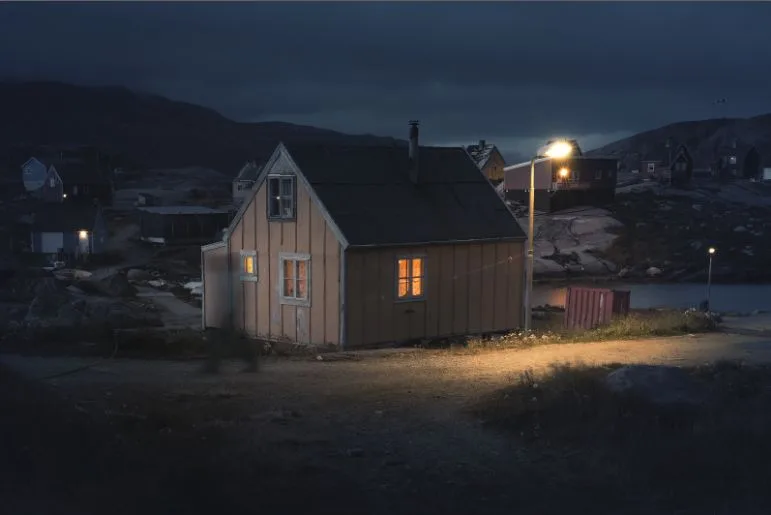
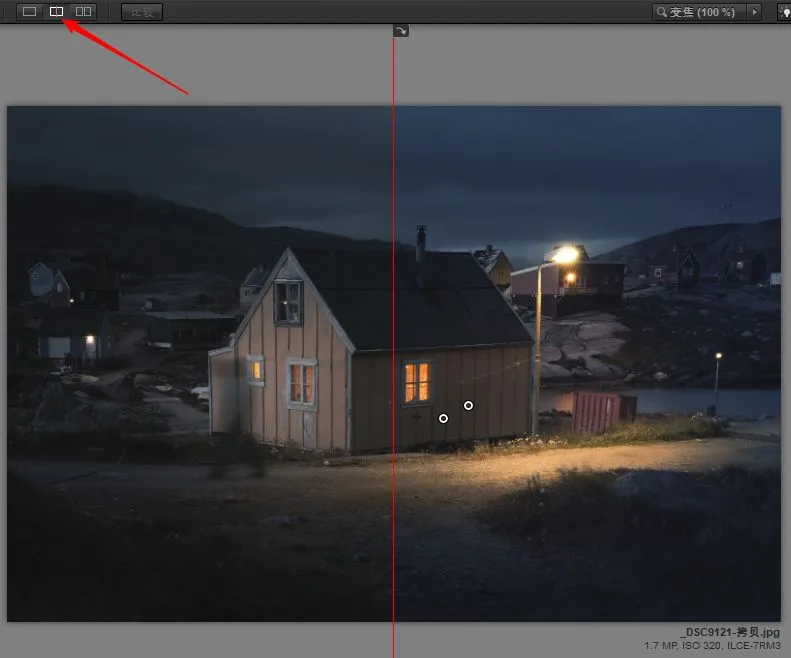
Clicking the "Compare" icons in the upper-left corner of the workspace lets you quickly toggle before-and-after views.
Feel free to join the discussion in the comments: what's your favorite way to create film or cinematic tones?