Photography Tutorial · 2017-03-19
Simulating a Polarizer in Post? It's Easy!
In the earlier tutorial "A Travel Photography Essential: Using Polarizers", Thomas shared his experience with physical polarizing filters at capture time.
Today I'll explain how to use the Nik plugin to simulate a polarizer's color effect in post.
1
Nik Polarization in Post vs a Physical Polarizer
The Nik Polarization plugin simulates the tonal effect of a physical polarizer: darkening skies, boosting contrast, and intensifying colors.
Compared with a physical filter, the post plugin has these advantages:
1) A free plugin can partially replace the physical filter's effect — and saves you the trouble of mounting filters on location.

2) A physical polarizer only works at certain angles in clear weather. The post plugin can enhance skies from any direction, overcast and rainy shots, and even night photos — a far wider range.
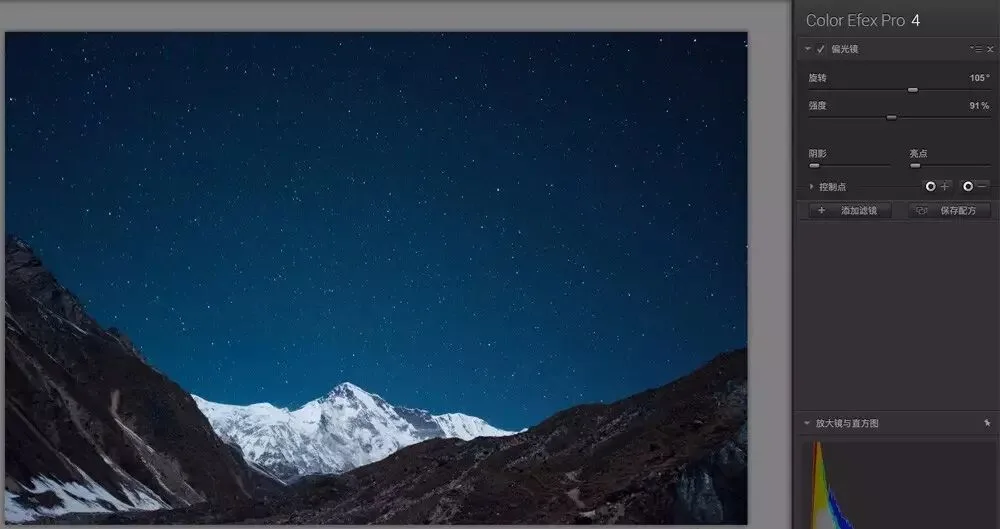
3) The post plugin lets you flexibly control the effect's strength, even confining it to part of the frame.
Take the two images below: the top is the original, the bottom shows the Nik Polarization result. With control over strength and range, the grass and foliage colors get a gentle, measured boost.
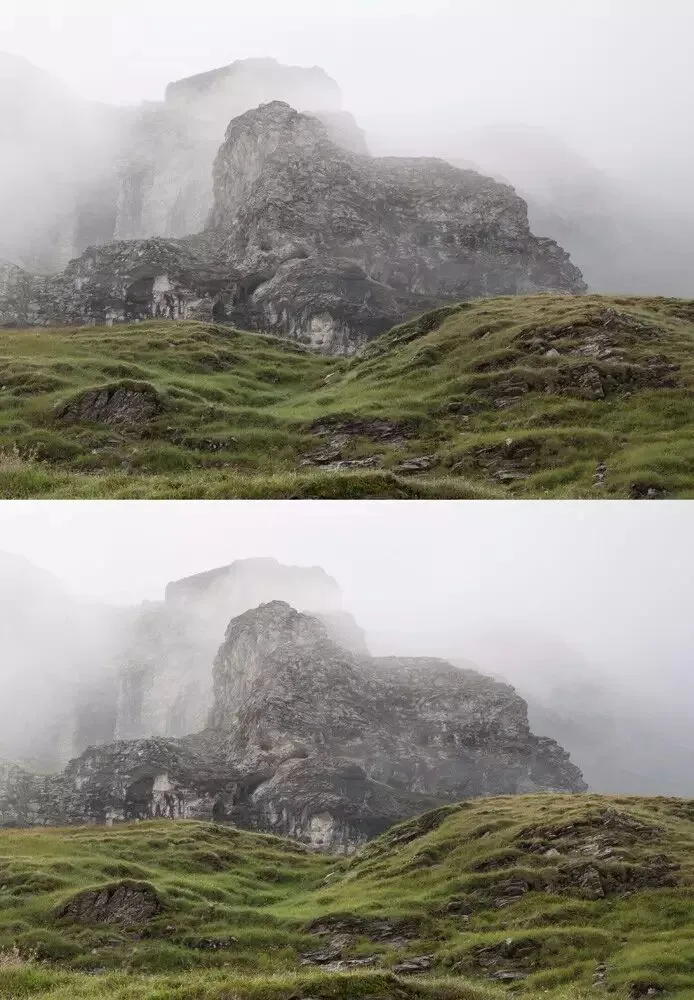
4) A physical polarizer is hard to use on ultra-wide lenses and panorama stitches, or it leaves ugly uneven brightness across the sky.

The post polarizer, by contrast, darkens skies evenly no matter how wide the angle.
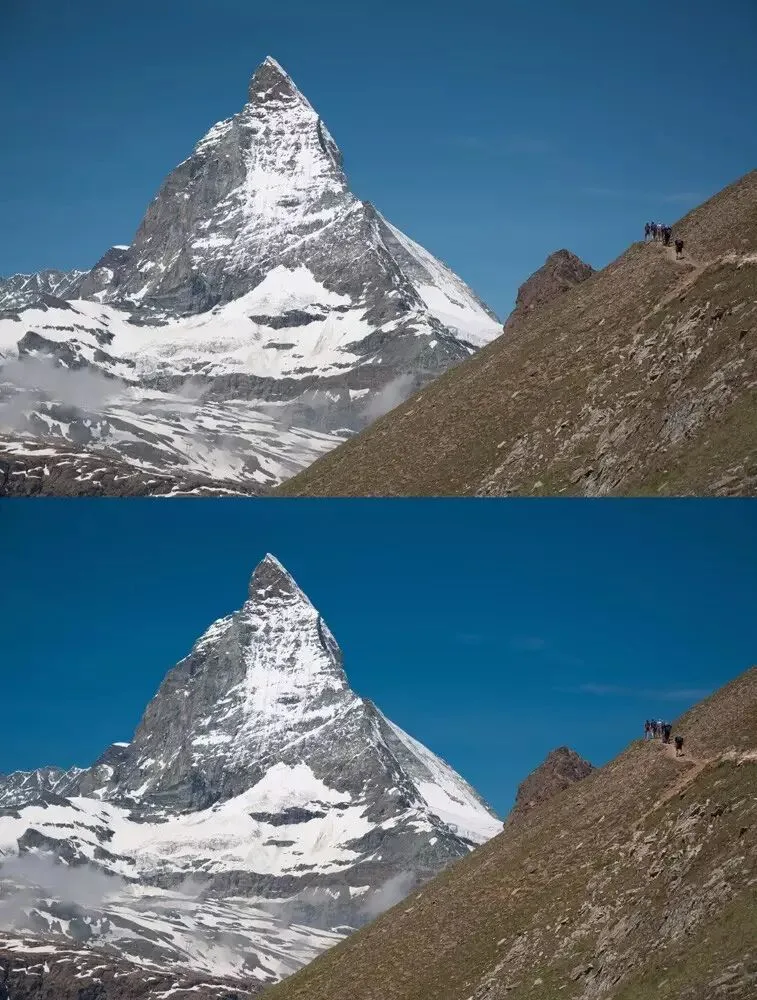
But note: the post polarizer cannot fully replace a physical polarizer.
The physical filter's sky-darkening, color-boosting, and contrast-lifting effects can be replicated in post.
However, its ability to cut reflections from water, glass, and foliage cannot be simulated by any post filter.

In the image above, for example, the physical polarizer removed reflections from the sea — something post filters still cannot do.
So physical filters and post plugins each have their strengths; we need to combine them.
2
Nik Polarization Video Demo
HD video link: https://v.qq.com/x/page/k03859thvr9.html
Nik Collection free plugin, download links for China (v1.2.11):
Windows: https://pan.baidu.com/s/1o8jhgxk
Mac: https://pan.baidu.com/s/1hsJlkpQ
Follow @Thomas Chu Photo, and learn one photography skill every week.