Photography Tutorial · 2023-10-19
How Pros Denoise and Sharpen (2023 Edition)
In 2023, with the explosion of AI technology and the release of various PS plugins and tools, my sharpening and noise-reduction workflow has been greatly optimized.
In today's photography tutorial, Thomas shares my current noise-reduction and sharpening post workflow!
Video
▶ Watch the video tutorial on Bilibili
This is the fully illustrated companion to the video above. Thomas demonstrates the whole pipeline on a yardang starry-sky photo: one-click AI Denoise in Lightroom / Camera Raw, local texture enhancement with an inverted mask, and multi-step downscale output sharpening via the TK Actions panel — the 2023 workflow takes just three steps, far simpler than the old "three-pass sharpening". Skim the text for the framework, then dive into the video for the details.
01 Input Denoise: One-Click AI, the Earlier the Better
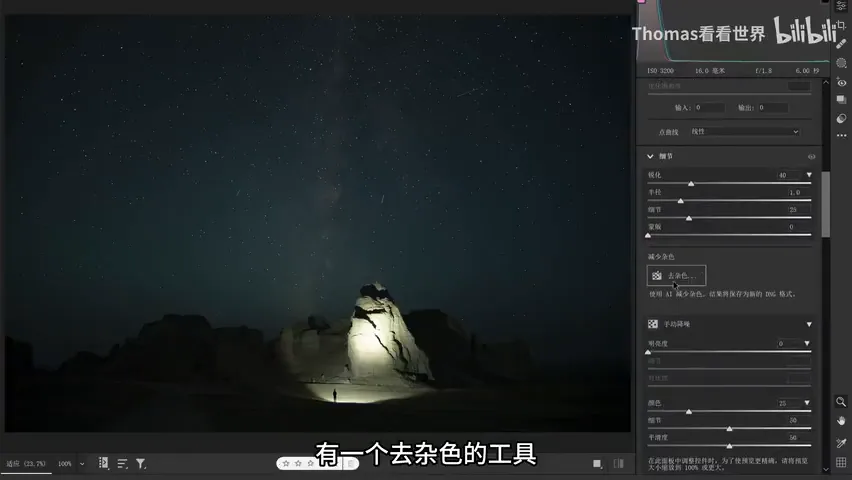
Denoise as early as possible, sharpen as late as possible — the principle Thomas keeps repeating. Step one, input denoise, starts in Lightroom or Camera Raw: after importing, open the Detail panel and click the Denoise button, and the AI algorithm takes over the whole process (at 1:00 in the video).
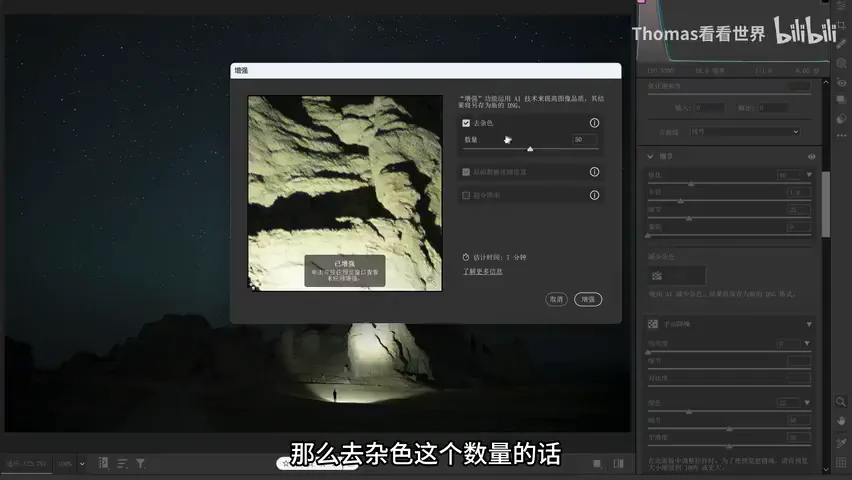
The Enhance dialog that pops up has just one Quantity slider: keep it between 30 and 50 and never above 50, or fine detail gets wiped away. Unlike Topaz Denoise AI with its many models and options, you simply set the amount and click Enhance — the software then generates a new DNG file, which becomes your denoised master (at 1:20 in the video).
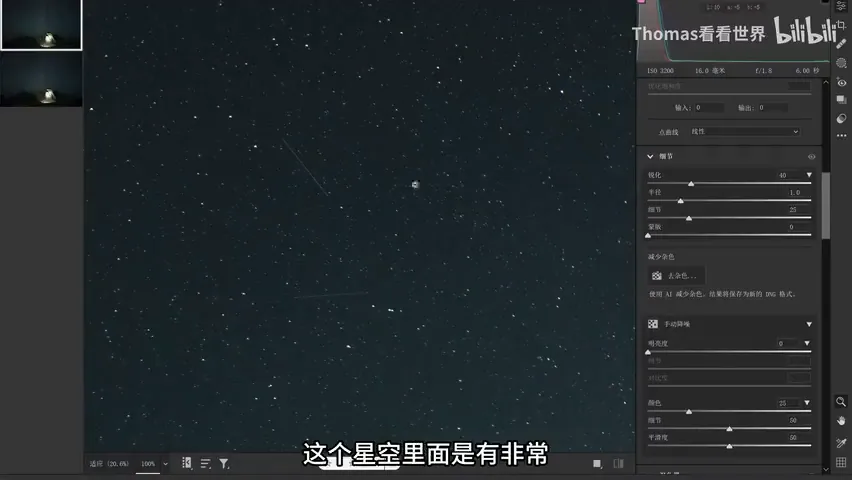
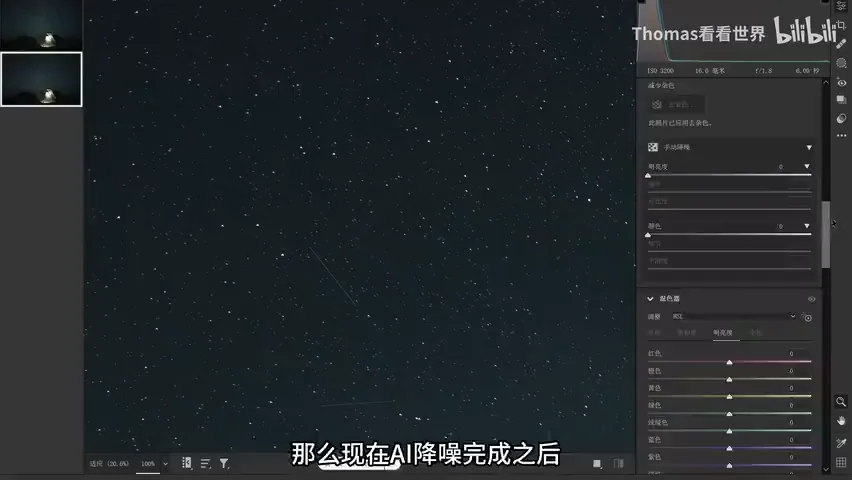
After roughly two minutes the comparison speaks for itself: the original sky, even with color noise reduction already at its default 25, is speckled with white noise at 100% view (at 2:08 in the video); once AI Denoise finishes, the sky is clean and transparent, the manual noise sliders all reset to zero, and the sharpening sliders in the Detail panel simply stay at their defaults (at 2:20 in the video). Input denoise is now done.
02 Local Sharpening: Invert the Mask, Add Texture
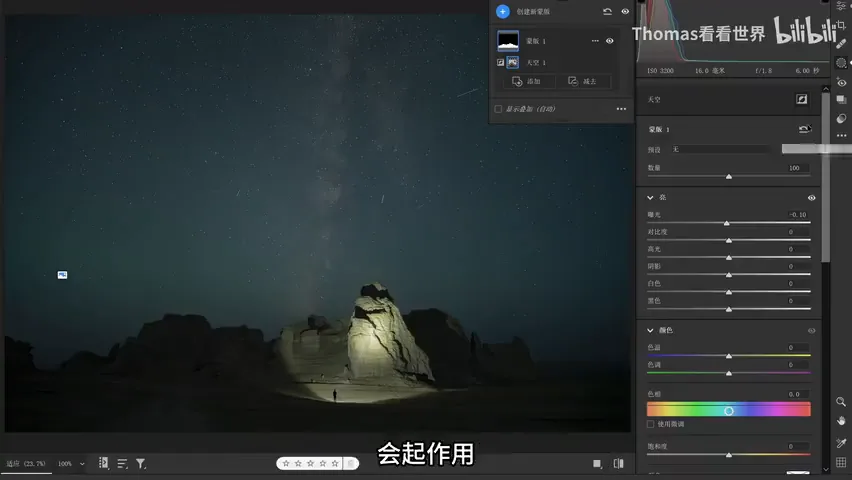
Step two, local sharpening, is not needed on every photo — only when the frame contains textures worth enhancing, such as rocks, ice or skin, and it comes after the basic adjustments like exposure. The yardang rock in the lower half of the sample photo starts out with mushy texture, making it a perfect demo (at 2:44 in the video).
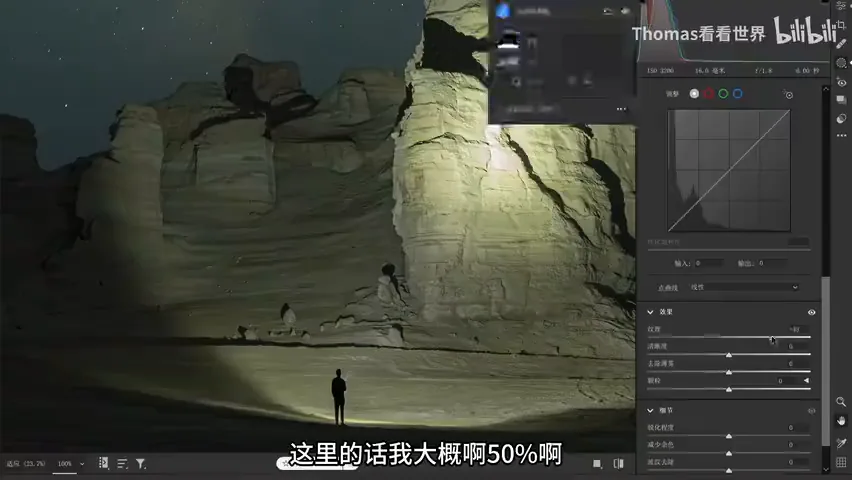
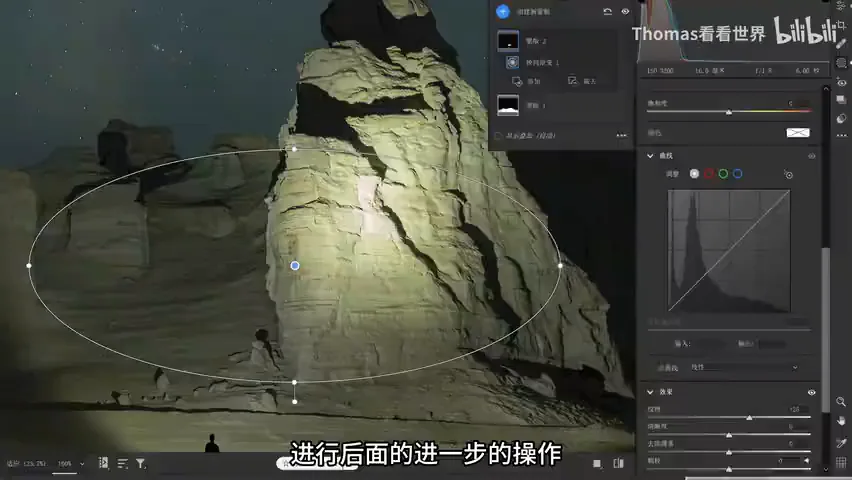
The trick is to select the sky with a mask first, then check Invert — what remains outside the sky is exactly the rock area, so any adjustment applied to the mask acts only on the rocks (at 3:38 in the video). Then push only the Texture slider on that mask and the rock strata pop out immediately: 10-30% across the whole rock zone, plus another 10-20% on the sunlit spotlight area to strengthen the focal point (at 3:50 in the video); the same effect can be achieved in Photoshop with High Pass plus a mask (at 6:20 in the video).
03 Output Sharpening: A New File with TK Actions
Step three, output sharpening, targets export compression: images get compressed on output and can look soft, so extra sharpening compensates for it. The key rule is to always work in a newly created file and never run output sharpening on the original PSD — that would be a destructive edit to your master file (at 4:22 in the video).
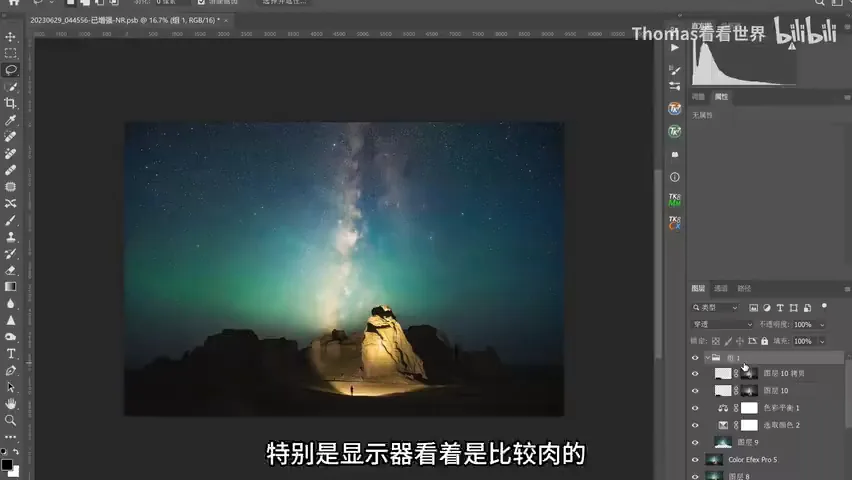
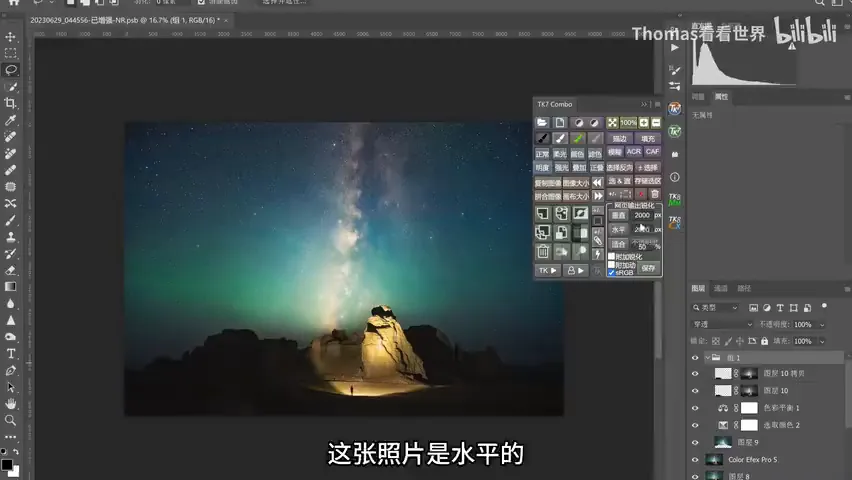
Thomas's most-used output sharpening tool these days is the TK Actions panel: for the web he picks Web output, a 2000-pixel long edge, landscape orientation, and the plugin converts Adobe RGB / ProPhoto RGB to sRGB automatically (at 5:00 in the video). One click does everything: it stamps the layers, copies them into a new document, downsizes in several steps, and sharpens after each downsize.
Each sharpening pass stays in the file as its own layer with a mask, so the final strength can be fine-tuned at any time with opacity (at 5:35 in the video); if the rocks below look oversharpened, paint them out directly with a black brush on the mask so the sharpening no longer reaches that area, then hit Save and you are done (at 5:52 in the video).
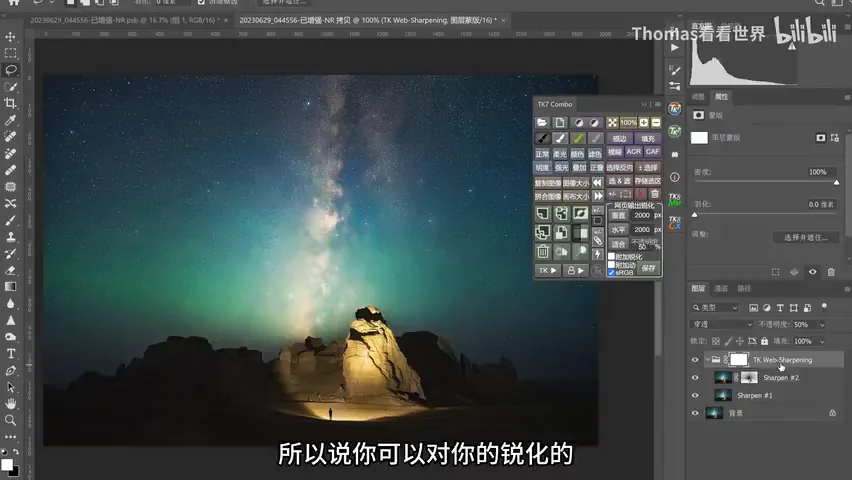
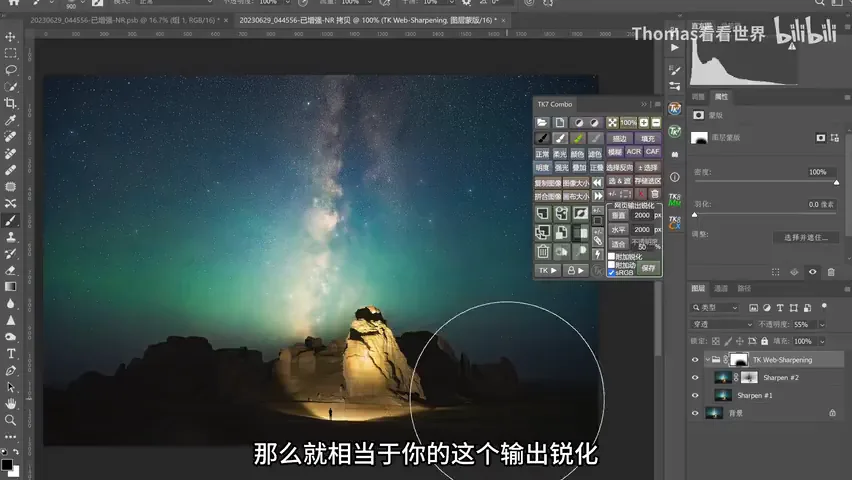
1. Denoise as early as possible: one-click AI Denoise in Lightroom / Camera Raw, quantity 30-50 and never above 50, outputting a fresh DNG master; 2. Local sharpening only when needed: select the sky with a mask and invert, add 10-50% Texture to rocks, ice and other textured areas — High Pass in Photoshop works too; 3. Sharpen for output as late as possible: always in a new file, TK Actions web output at 2000 pixels with sRGB conversion, controlling strength via layer opacity and excluding oversharpened areas with masks; 4. Keep the original PSD untouched as a lossless record — never destructive sharpening there.