Photography Tutorial · 2017-08-25
The Ultimate Cutout Tool: The Photoshop Pen Tool
When a subject and its background share similar colors — a person dressed in black standing in the night, say — our usual cutout methods like Quick Selection, Magic Wand, and channels all fail.
That's when we call in the ultimate cutout weapon: the Pen Tool. It demands patience, but pen cutouts are remarkably flexible. Today, Headbang shows us how the Pen Tool works.
Many people find Photoshop's Pen Tool hard to master — it really isn't. Today, let's focus on just one thing: how the Pen Tool builds selections.
HD video link:
https://v.qq.com/x/page/d0533wa49fl.html
The Pen Tool web game mentioned in the video:
http://bezier.method.ac
Pen cutouts are very flexible — most of the time they just take a bit more patience. Let's recap today's lesson:
1
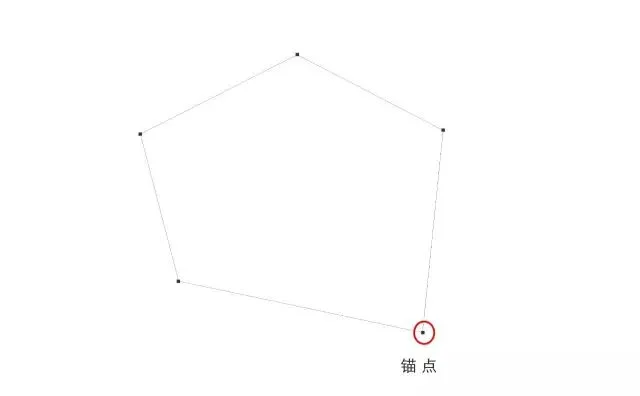
Anchor Points
With the Pen Tool selected, left-click to place anchor points; the line between two anchors is our working path. Hold Ctrl and drag with the mouse to adjust an anchor's position.
2
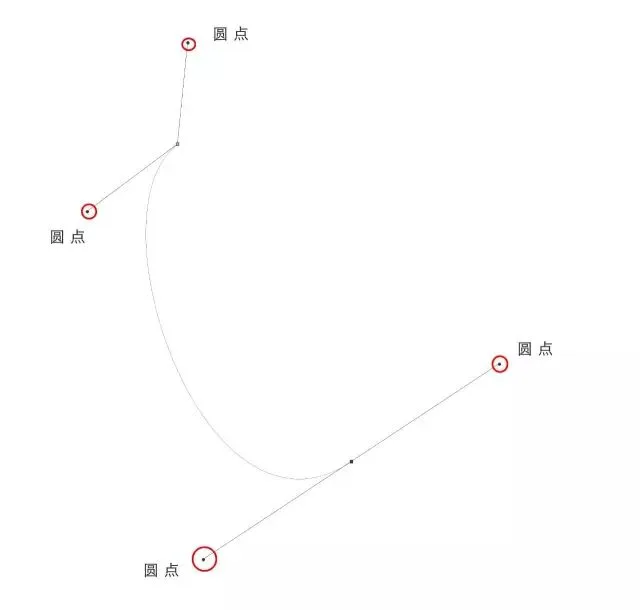
Drawing Curves
Hold the left mouse button and drag to draw a perfect curve between anchors; use Alt + mouse to adjust the control handles between anchors and shape the curve exactly as you want.
3
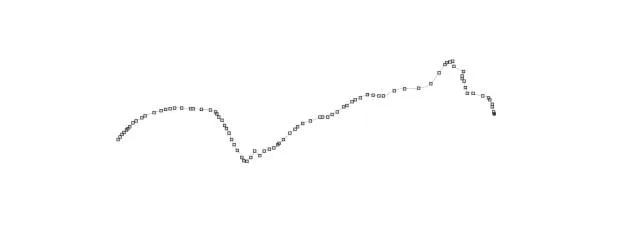
Irregular Subjects
For subjects with highly irregular edges, place points close together as you go — keeping the distance between anchors small reduces error.
Author: Headbang

▲ Li Dawei (Headbang)
IPA 2016 China Photographer of the Year
Visual China contracted photographer
Tuchong contracted photographer