Photography Tutorial · 2021-04-08
Too Many Photos! How to Back Up, Manage and Output Them?
Thomas Chu Photo
For many photographers and enthusiasts, every shoot produces a large number of photos.
If these photos aren't managed, things get chaotic and hard-won masterpieces are easily lost; but backing up everything consumes too much storage.
In today's tutorial, Thomas shares his own photo-management experience: folder organization, batch renaming, tiered backup, storage formats and more.
Video Tutorial
▶ Watch the video tutorial on Bilibili
A single trip can easily produce thousands of photos. Not finding the frame you want is annoying; losing a hard-won shot to a missing backup is a real accident. The video above walks through Thomas's complete travel workflow for managing, backing up and outputting photos, and this is its illustrated companion: folder structure, batch renaming, label-based culling, redundant backups, and the dual PSD + JPG export — each step shown with real screenshots from the video.

01 Folder Structure: by Destination, Then by Device
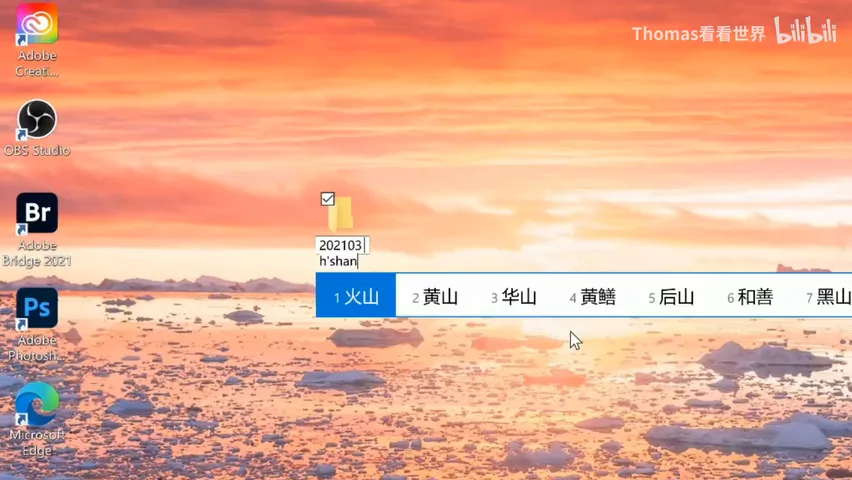
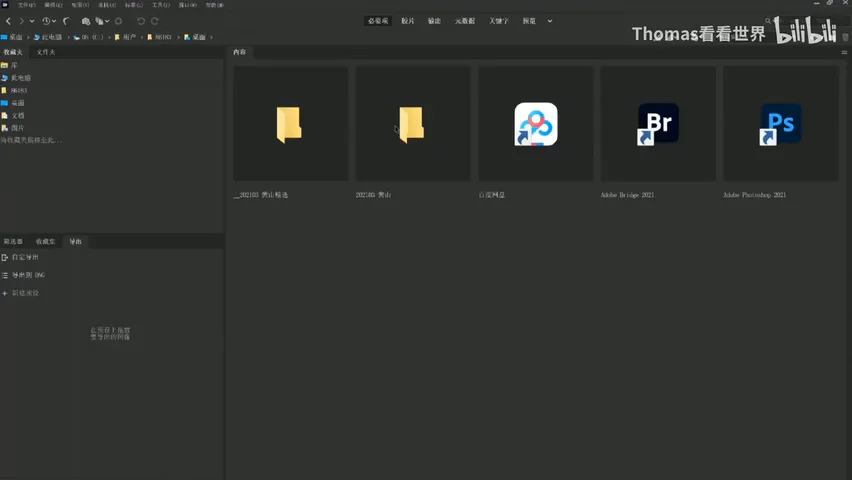
The hub of travel photo management is the laptop — Thomas normally carries a high-performance Dell XPS 17, and switches to the light XPS 13 when packing matters. At organizing time, start by creating a top-level folder named for the destination plus the rough date (at 1:44 in the video), like "Huangshan 202010"; what really decides your later efficiency is how you subdivide inside it.
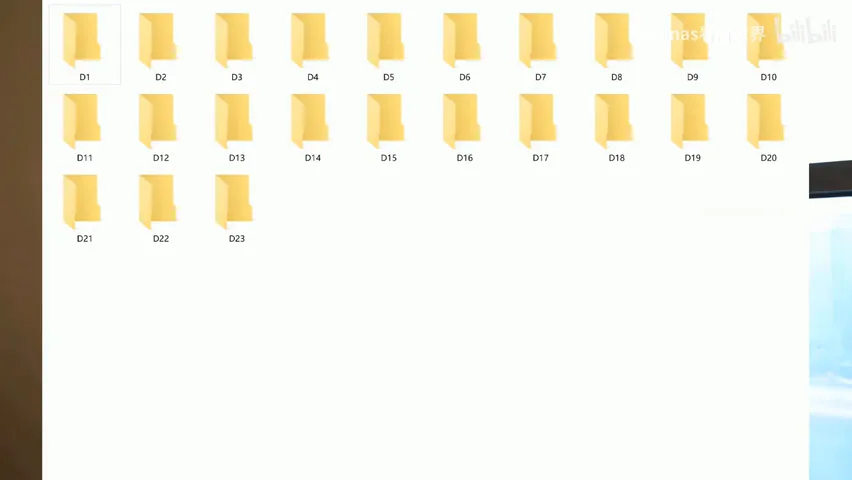
His answer: don't subdivide by day, subdivide by device — everything from the A7R3 goes into the camera folder, drone files into the drone folder, phone shots into the phone folder (at 2:03 in the video). Each day you simply dump each card into its folder, clear and leak-proof. Day-by-day folders look tidy but hide traps: a 20-day trip means 20 folders, and night shots that cross midnight plus the next morning's sunrise are easy to forget — miss one day and the loss is real (at 2:45 in the video).
02 Sorting and Batch Rename: Put Information into Filenames
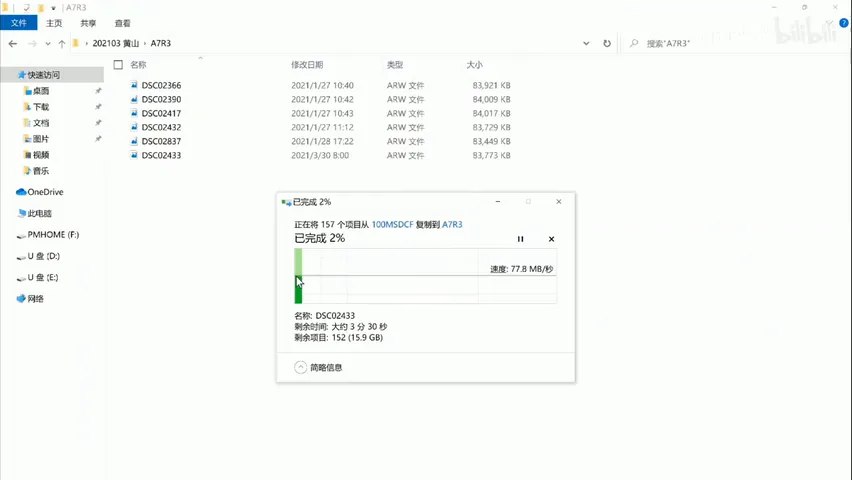
Connect the camera to the laptop over Type-C (the XPS 13's two Thunderbolt 4 ports transfer very fast, at 3:25 in the video). Before copying, do one small thing: sort the folder by Date Created rather than by filename. Camera filenames roll over from 0001 after 9999, so name order interleaves different days; only the capture date guarantees nothing slips through (at 3:38 in the video).
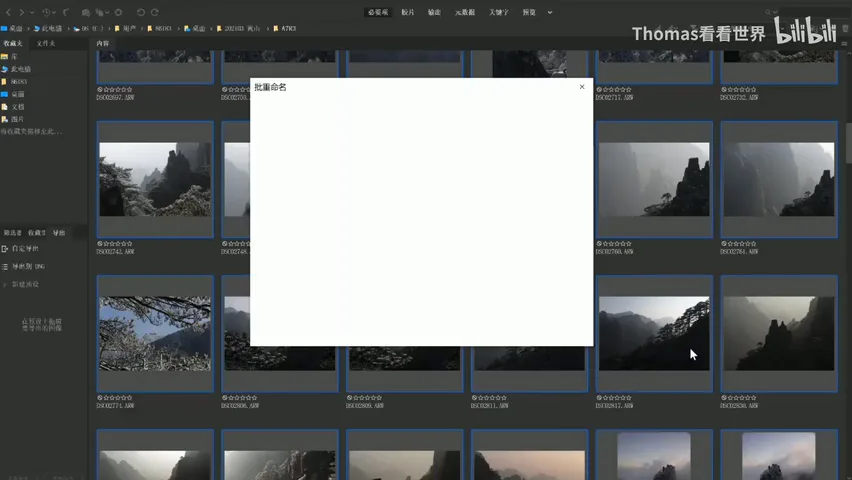
Once the photos are in Lightroom or Bridge, he strongly recommends one more step: select all, right-click, batch rename (at 4:21 in the video). The camera's meaningless DSC-plus-digits become a structured name — device text, underscore, creation date (Y-M-D), underscore, creation time (H-M-S), like R3_20201012_183025 — so every filename instantly tells you which body shot it and when, searchable at a glance.
03 Labeling: Pick the Few Worth Finishing
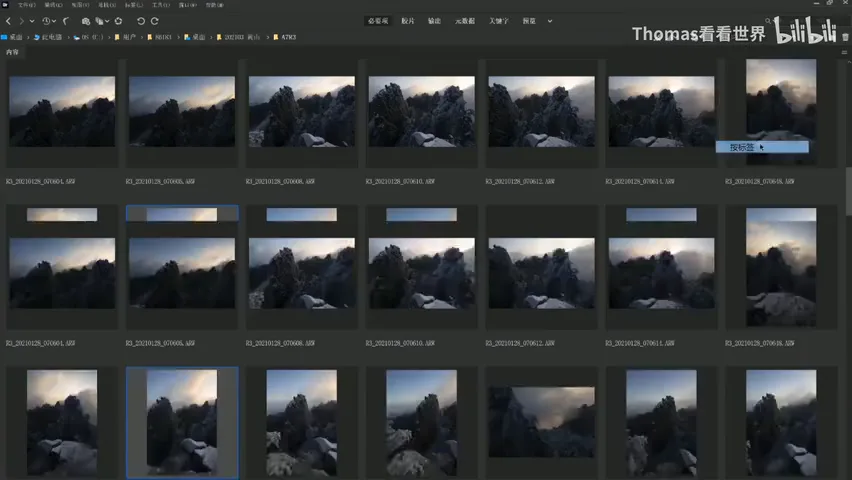
Next comes culling. Skim quickly in Lightroom or Bridge and tag the keepers with color labels or stars — Thomas prefers color labels as the fastest method (at 5:54 in the video). No need to be perfect here; the step only has to answer one question: which photos are worth my finishing time.
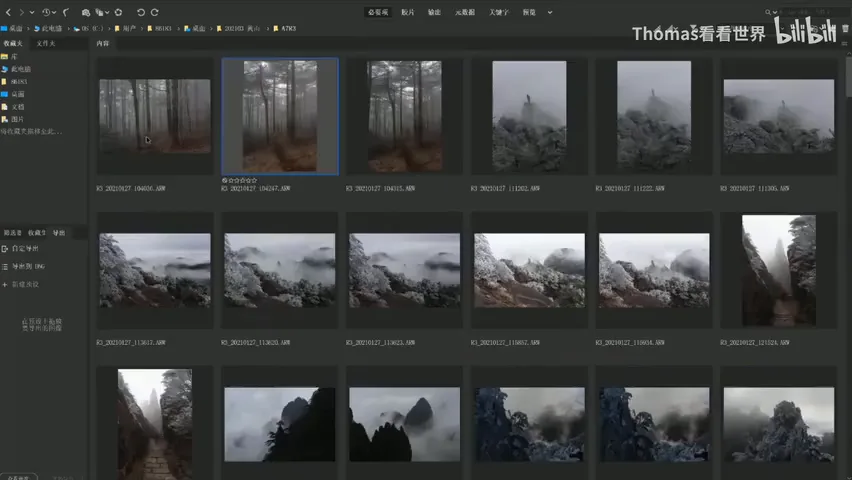
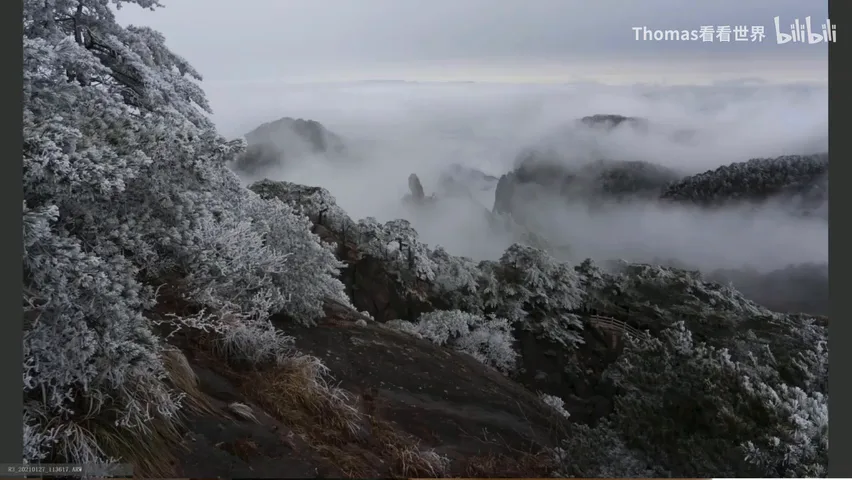
After culling, go back out and create a folder named exactly like the original plus the word "picks", prefixed with an underscore so it always sorts above the raw folder (at 6:21 in the video). Then copy the labeled photos into it — like the snow-covered foggy forest above: the original stays in the camera folder, and the picks folder now holds a duplicate.
04 Redundant Backups: a Picks Copy Plus the Cloud
That copy-paste is already the first layer of backup for your best work: originals in the device folder, duplicates in the picks folder — two copies on the laptop by construction (at 7:06 in the video). Backing up everything wastes both space and time; backing up only the keep-worthy fraction is exactly where this workflow's efficiency comes from.
The second layer is off-site: whenever the network on the road allows, upload the entire picks folder to a cloud drive (at 7:15 in the video). Even if the laptop is lost or the camera stolen, a safe copy survives far away — that is the whole point of off-site backup: you cannot predict single-point failures, but you can make them non-fatal.
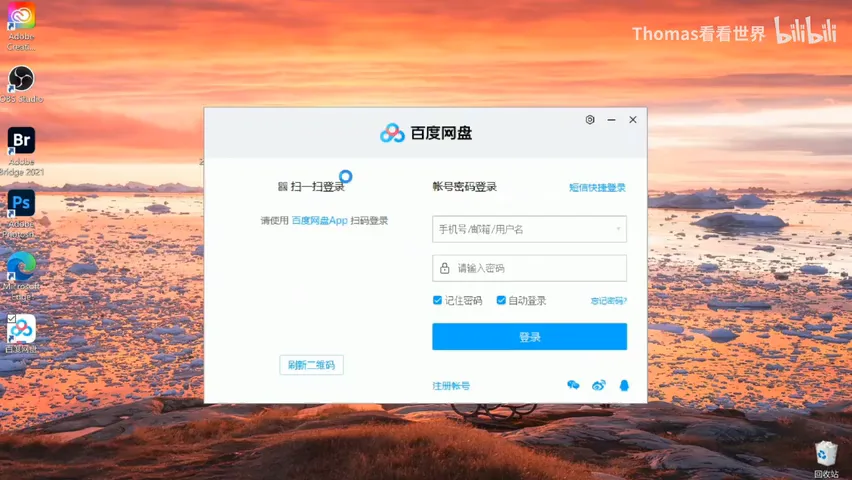
05 Editing and Output: PSD Keeps the Process, JPG Goes Online
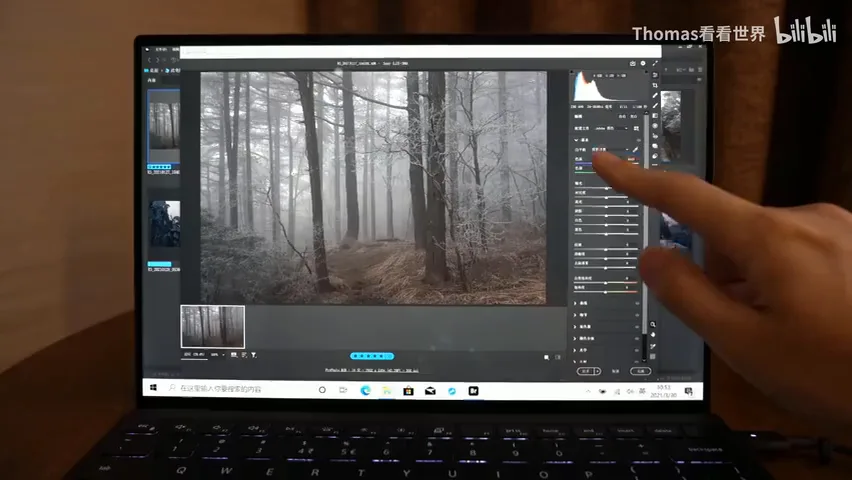
With backups in place, editing can begin with peace of mind. In the demo, Thomas cools the color temperature of the foggy Huangshan forest, adds dehaze through graduated filters to thicken fog on both sides while keeping the middle clear, and boosts clarity on the two branches for separation — the XPS 13's 4K touchscreen lets him drag the sliders with a finger (at 7:55 in the video). After multi-layer work in Photoshop, save a PSD file.
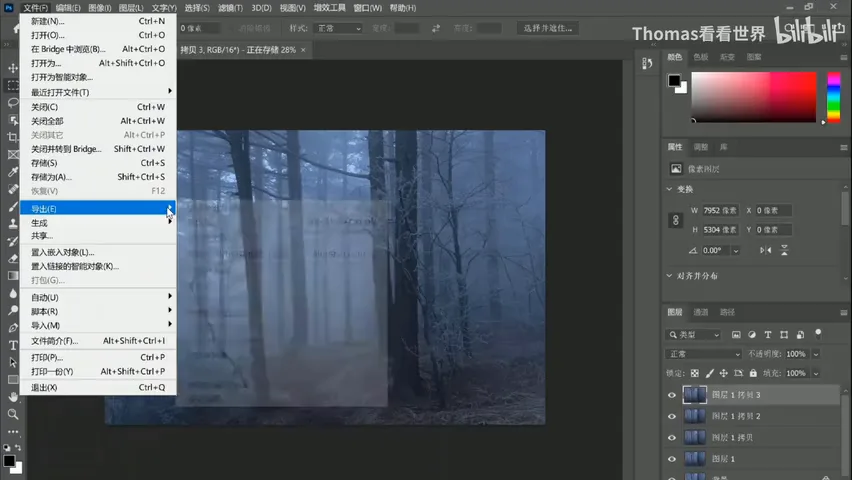
A few saving details: PSD is the default choice, TIFF works too, and anything over 2 GB should use the large-document PSD (PSB) format; a PSD keeps every layer plus a wide-gamut profile like ProPhoto — a reusable "digital negative" you can return to and re-edit (at 9:01 in the video). If color management is new to you, pair this with his color-management tutorial series.
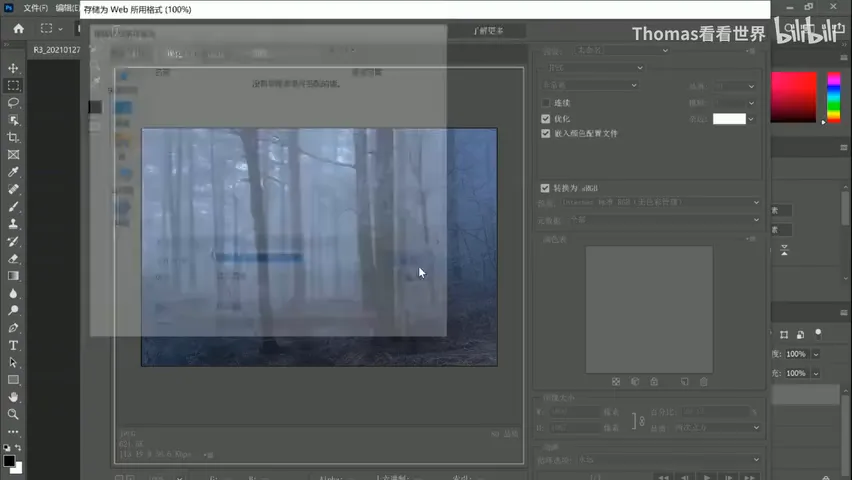
Besides the PSD, export a small web copy via Save for Web: JPG at quality around 80, with "Embed Color Profile" firmly checked; for metadata keep only copyright and contact info for privacy, or all of it to retain EXIF; a long edge of 1600-2000 pixels is ideal for the web, saved straight into the picks folder (at 10:00 in the video). Each finished work ends up as two files — the PSD holds every editing step for future re-edits and print-size exports, while the JPG handles quick sharing; each does its own job (at 10:43 in the video).
1. Manage folders in two levels — destination/date, then device — never by day, so shots that cross midnight never get missed; 2. Sort by creation date to survive filename rollover, and batch-rename into device_Y-M-D_H-M-S so filenames become searchable metadata; 3. Tag picks with color labels, copy them into an underscore-prefixed picks folder for a second laptop copy, then upload to the cloud for a third, off-site one; 4. Output two formats: a PSD keeping layers and the ProPhoto gamut for re-editing and printing, and a quality-80 JPG with embedded profile at a 1600-2000px long edge for the web.