Photography Tutorial · 2019-05-19
What Format Should You Save Photos In? DNG, TIFF, PSD and More Explained
Thomas Chu Photo
On our computers, images can be stored in many formats — the ones photographers commonly encounter include NEF, TIFF, DNG, PSD, JPG, and more.
What's the difference between these formats, and when should each be used? Thomas summarizes it all in this article.
1. Native Raw Formats
Native raw files record the digital signal straight off the camera's sensor, which is why they're also called "digital negatives."
Raw files preserve everything the camera captured, in the sensor's native color space — extremely high quality with enormous editing latitude. Photographers almost always shoot in raw.
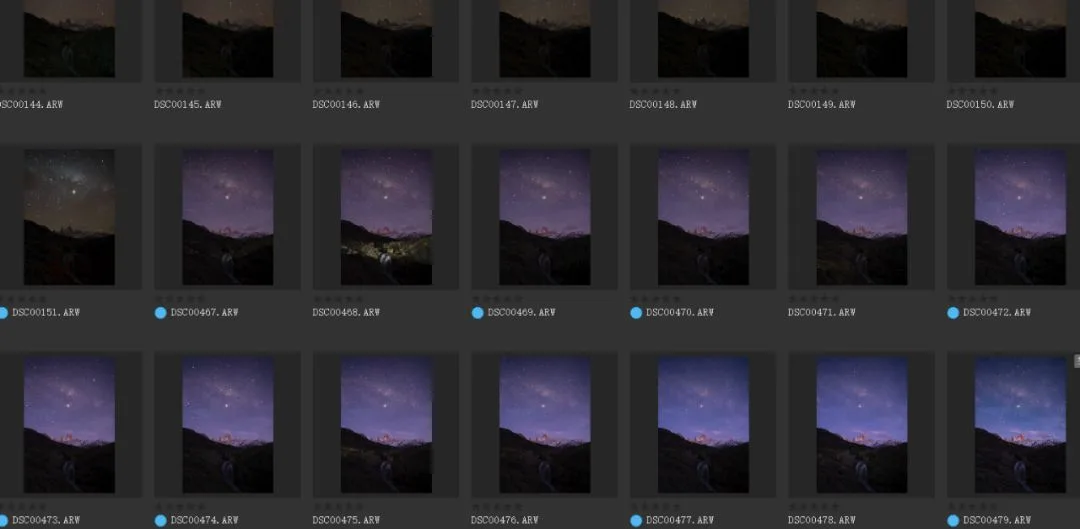
But raw files have a downside: poor compatibility. Most raw files can't be opened directly by mainstream computer software.
Only each camera maker's own software, or processors like Adobe Camera Raw, can open native raw files. And whenever a new camera comes out, older software needs an update before it can open that camera's raw files.
It's worth noting that Photoshop itself can't read raw files directly — they must first be interpreted and converted by the Camera Raw processor built into PS or Lightroom.
Each maker's raw files use different extensions. The common ones:
.ARW: raw extension for mainstream Sony cameras
.NEF: raw extension for mainstream Nikon cameras
.CR2: raw extension for mainstream Canon cameras
.DNG: raw extension for mainstream DJI drones and Huawei phones
2. The Universal Raw Format: DNG
As mentioned, every maker has its own raw format with terrible compatibility — hard to maintain over time.
So Adobe developed DNG (Digital Negative), a format for storing raw files losslessly and universally.
If you often do HDR merges or panorama stitches in Camera Raw or Lightroom, you may have noticed that the merged digital negatives the software produces always carry a .dng extension.
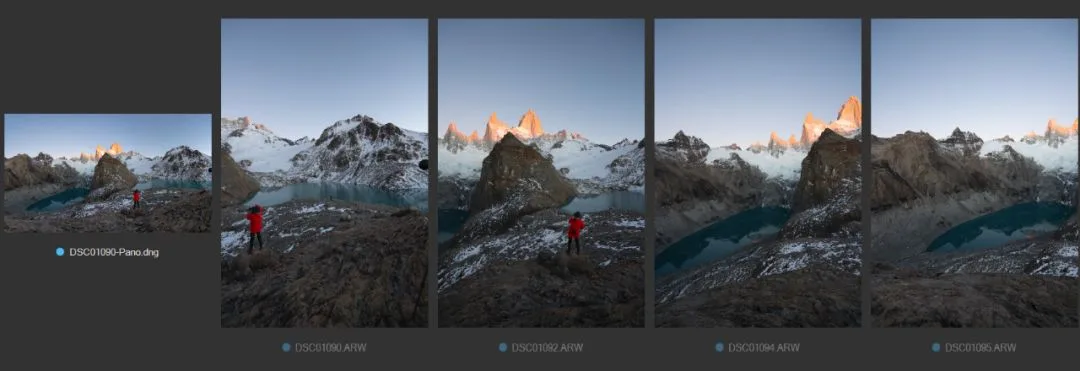
DNG's greatest strength is universality: not only Adobe software, but also the built-in viewers of Windows, Apple, and Android, plus many third-party apps on computers and phones, can preview the format.
Many camera, drone, and phone makers even output DNG files straight from the device.
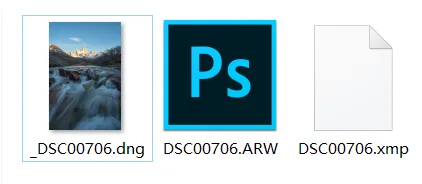
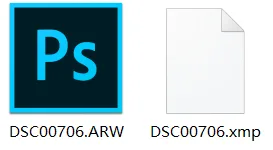
As shown in the Windows screenshot above, DNG raw files display previews directly, while Sony's native .arw files don't. Originals in DNG are simply easier to manage and maintain.
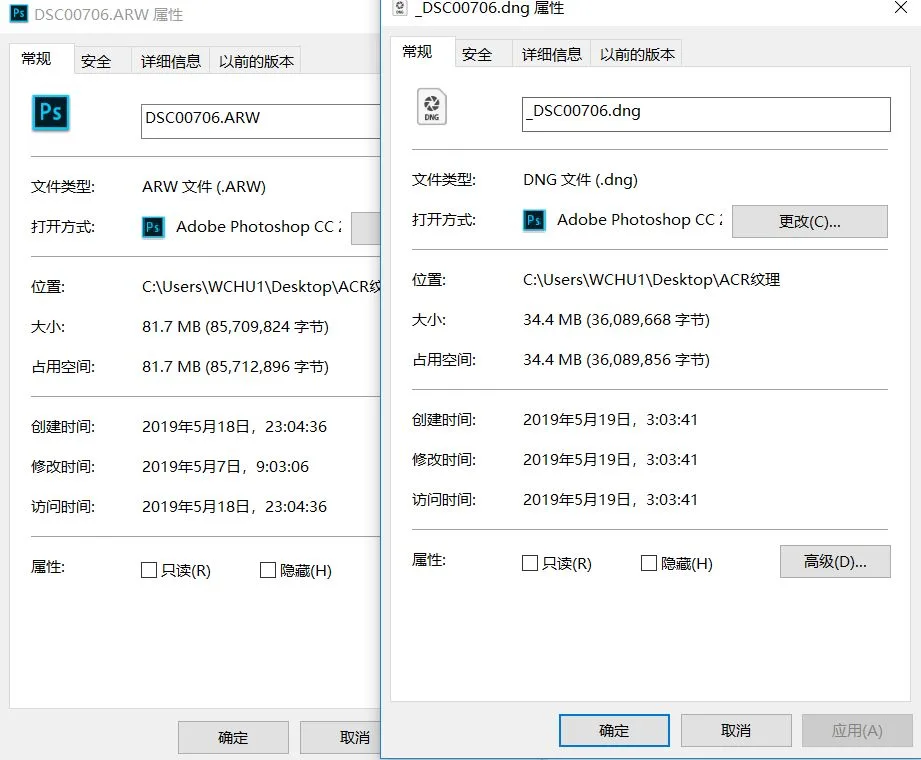
DNG also applies lossless compression, so files are smaller — sometimes less than 50% of the native raw file.
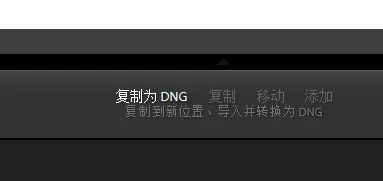
Because DNG is lossless, universal, and compact, some photographers convert native formats like NEF to DNG on import for better storage and management.
For most photographers and enthusiasts, of course, that extra step is unnecessary — keeping the native raw files is enough.
One more difference worth mentioning: native raw files can't be modified. When you edit a native raw in Camera Raw, the changes aren't stored in the raw file — a new .xmp sidecar file is created to hold them. Lightroom, meanwhile, stores them in its catalog.
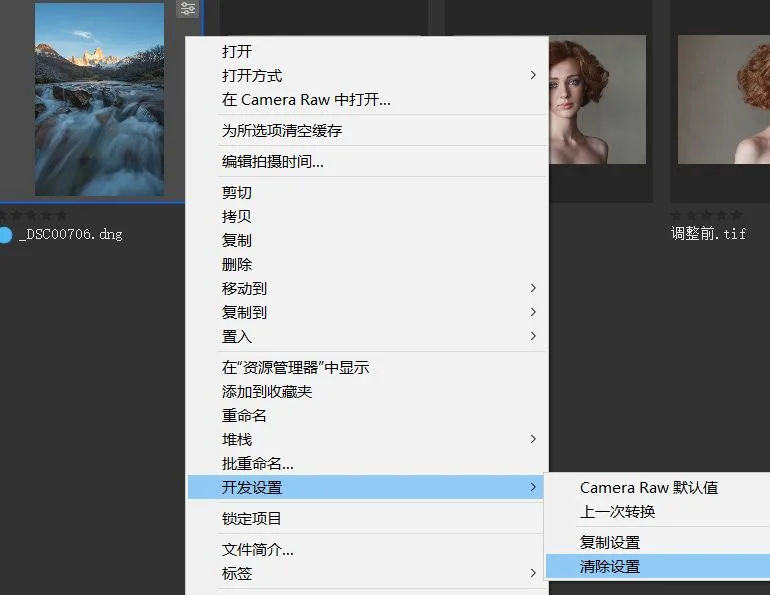
DNG is different: edits can be written directly into the DNG file itself without generating a new file. And these writes are lossless — you can revert to the original state with one click at any time.
3. Editing Files: PSD and TIFF
PSD stands for Photoshop Document — in short, Photoshop's native storage format for edited files.
A PSD can store the edited photo along with layers, alpha channels, masks, and other very specific adjustment states. If we might need to revise a photo later, we save it as a PSD.
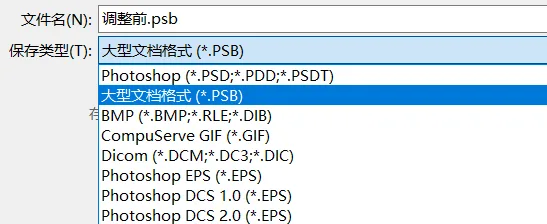
One small drawback of PSD: file size is capped at 2GB.
Intensive retouching with many layers and channels often exceeds 2GB; in that case we use PSB (Large Photoshop Document) instead.
Another drawback of PSD: only Adobe software can open and edit it directly.
Suppose we want to process the photo further in third-party software — stitching panoramas in PTGui, focus stacking in Helicon Focus, or blending star trails in Startrails.
Those third-party editors can't open PSD or raw files directly, and saving as JPG first costs too much quality. That's where TIFF comes in.
TIFF (Tagged Image File Format) is a flexible, universal image format.
It supports color modes like RGB and CMYK; color spaces like Adobe RGB and ProPhoto RGB; bit depths of 8, 16, and 32 bits; and it can even preserve layers and alpha channels. Most importantly, the vast majority of third-party software and printers support TIFF.
TIFF supports LZW and ZIP lossless compression, shrinking files dramatically — typically to about the same size as a PSD, or smaller.
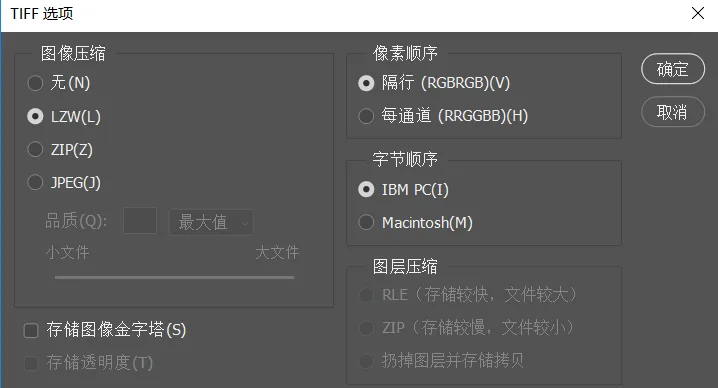
That's why many photographers prefer TIFF over PSD for saving edited images.
From Thomas's personal perspective, saving as TIFF or PSD makes little practical difference.
If you rarely use other editing software, PSD/PSB is the most convenient. If you often edit in other apps, TIFF is the recommended choice for edited files.
4. Output Files: TIFF and JPG
As mentioned, TIFF is supported not only by all major editing software but also widely by the printing industry.
So for high-quality prints or viewing on a professional display, we generally output files as 16-bit Adobe RGB TIFF.
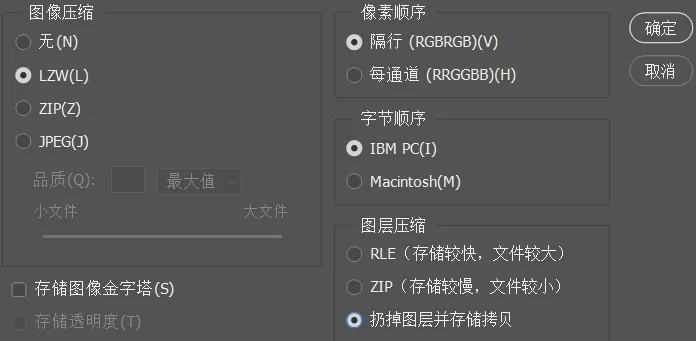
For print-bound TIFFs, check "Discard Layers and Save a Copy" when saving — this shrinks the file enormously, often from several GB down to a hundred-odd MB.
In fact, most photography enthusiasts rarely revisit and re-edit their PSD or TIFF files, so flattened TIFFs work fine for final storage and backup too.
Although TIFF is widely supported in the imaging and printing industries, mainstream operating systems, browsers, and websites still don't support it for photo sharing.
So for sending photos to others or sharing online, JPEG remains the best format.
JPEG is a lossy format that supports only 8-bit depth, typically a few MB or even a few hundred KB in size — but its quality is entirely adequate for sharing online.
So my usual practice: after finishing an edit, I save one full-resolution TIFF for viewing, printing, and further editing, plus one resized JPEG (e.g. 1600px on the long edge) for online sharing.
5. Summary
In short, here's how to use each format:
In-camera capture: native raw format
Backing up and storing originals: native raw or DNG
Storing edited photos: PSD/PSB or TIFF
Print output: TIFF
Online sharing: JPG