Photography Tutorial · 2020-07-12
Worth Saving: The Most Useful Photoshop Shortcuts for Photographers — Double Your Efficiency
Thomas Chu Photo
In past tutorials, Thomas used shortcuts to speed up Photoshop work, often leaving friends wondering "how did it change in a flash?"
In today's tutorial, Thomas summarizes all his most-used PS shortcuts in one place.
Once you master these most common shortcuts, your post-processing efficiency will leap forward.
Video Tutorial
▶ Watch the video tutorial on Bilibili
This is the fully illustrated companion to the video above. Photoshop has one or two hundred shortcuts — memorizing them all is neither efficient nor necessary. Thomas groups the ones he actually uses as a photographer into five buckets — viewing, selections and masks, brushes, transforms and commands, saving and export — and walks through each with live demos. Screenshots and timestamps below; practice along with the video.
01 Viewing: Zoom In, Zoom Out, Pan
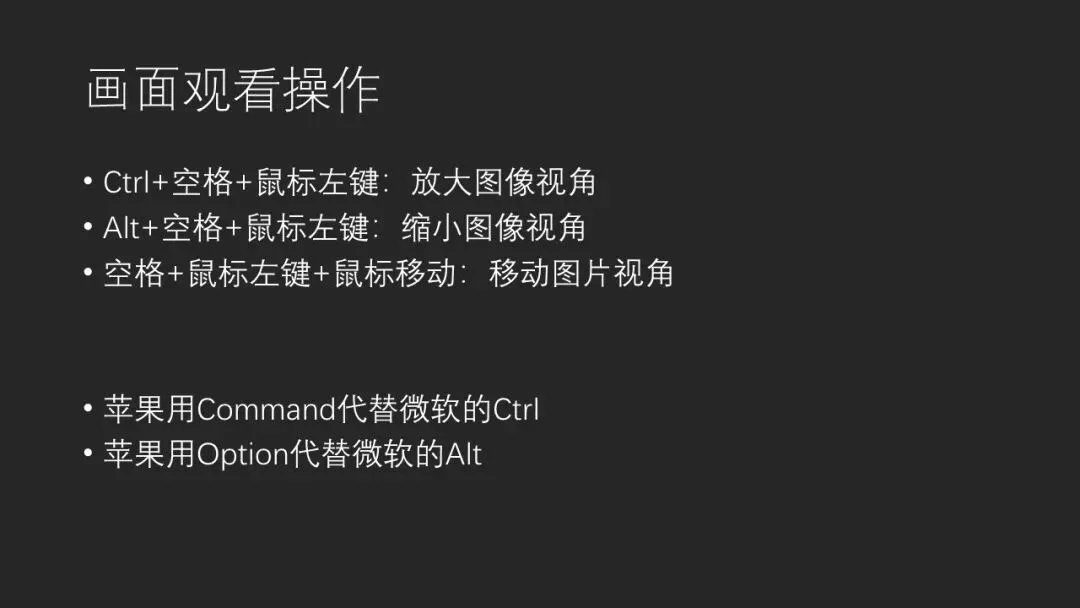
The first group is about viewing the image (at 0:50 in the video): hold Ctrl + Space + left mouse button to zoom in, Alt + Space + left button to zoom out, and Space + left button alone to pan. On a Mac, swap Ctrl for Command and Alt for Option to get identical behavior.
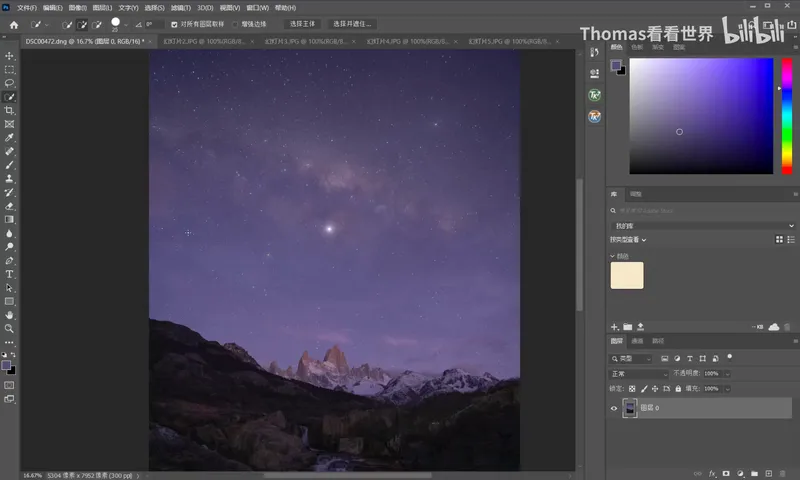
These are the shortcuts you will use most: zoom in to inspect quality and detail, zoom back out for the overall effect, and pan with the Space bar in between (at 1:29 in the video). Building the habit of checking detail-versus-whole constantly is a huge help for post quality.
02 Selections and Masks: The Main Battlefield
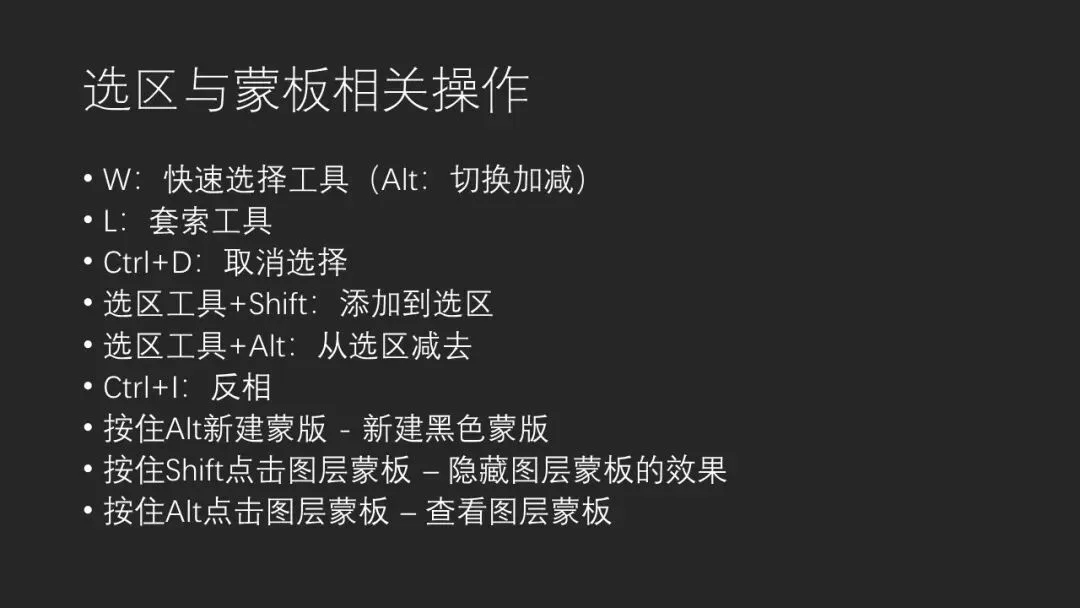
The second group covers selections and masks (at 2:02 in the video): W switches to the Quick Selection tool, L to the Lasso, Ctrl + D deselects; while selecting, Shift adds the new region to the existing selection and Alt subtracts from it. In the video Thomas builds a sky selection on a night shot: press W for Quick Selection and sweep out most of the sky in seconds (at 2:39 in the video).
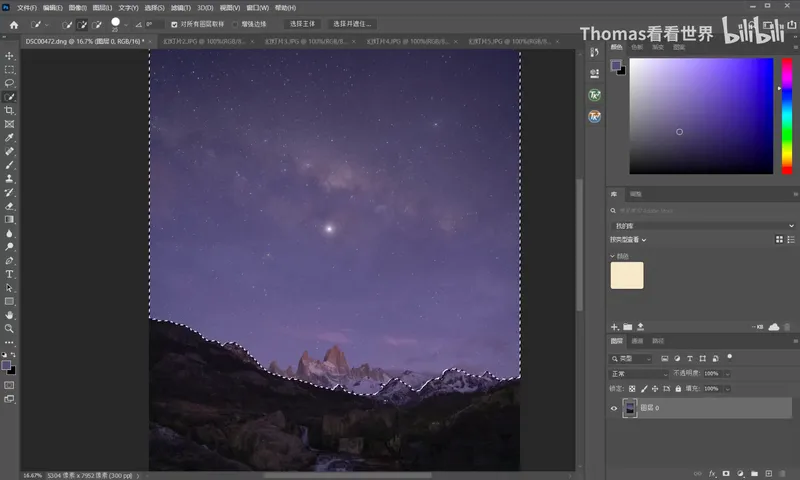
Inside the Quick Selection tool, holding Alt flips it to the minus mode to remove over-selected mountains; release Alt and it flips back to plus (at 3:13 in the video). The Lasso complements it: where Quick Selection struggles, hold Alt to jump to the Lasso and outline by hand, with the same Shift-to-add and Alt-to-subtract rules (at 4:02 in the video). With these shortcuts, selecting becomes silk-smooth.
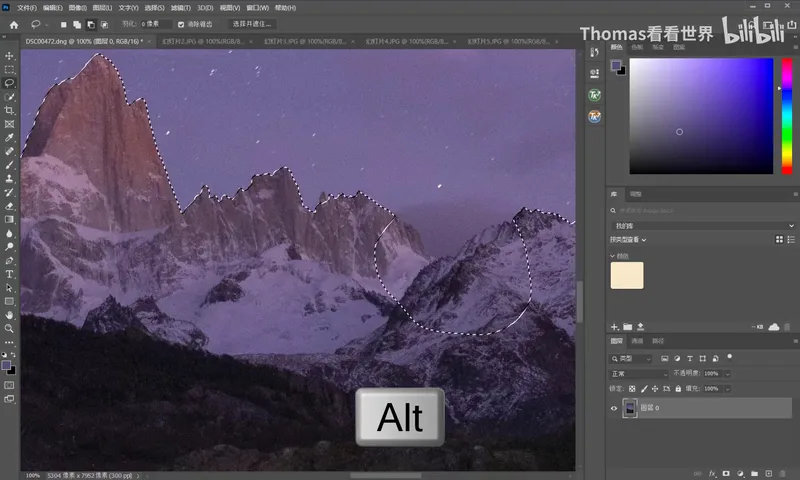
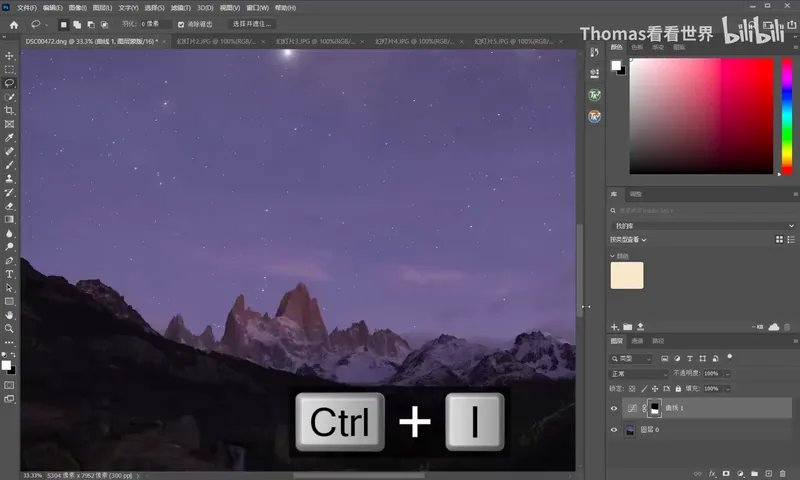
With the sky selected, add a Curves adjustment layer to darken or brighten it (at 4:45 in the video). The high-frequency mask shortcut is Ctrl + I to invert — one keypress decides whether sky or ground is white on the mask (at 4:57 in the video). Also, Alt-clicking the new-layer-mask icon creates a black mask directly, much faster than making a white one and inverting (at 5:31 in the video); Ctrl + T starts Free Transform on a selection or layer (at 5:46 in the video).
03 Brushes and Brush-Based Tools: Refining Masks
What counts as a brush-based tool? Anything whose engine is a brush — the Quick Selection tool is really a brush, and so are Dodge and Burn (at 6:00 in the video). Three high-frequency shortcuts for mask work: B switches to the Brush tool; Alt-click a layer mask to preview the mask alone (at 6:37 in the video); Shift-click a layer mask to disable or re-enable it — say, to compare a curve that only darkens the sky against the full image (at 6:56 in the video).
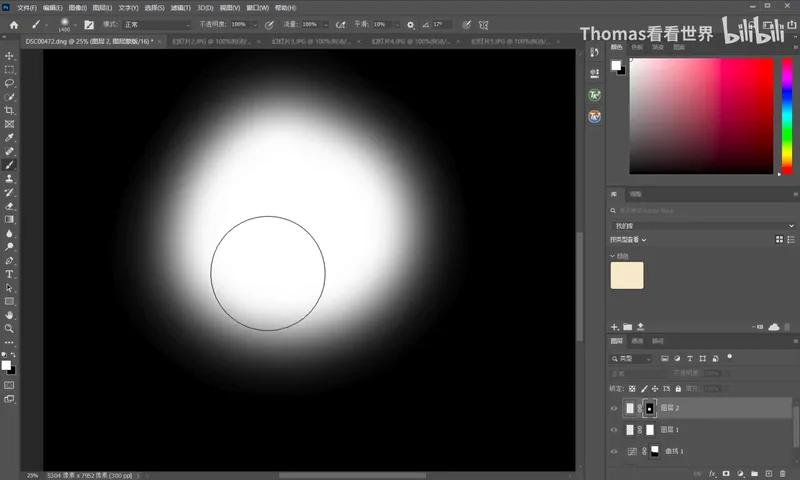
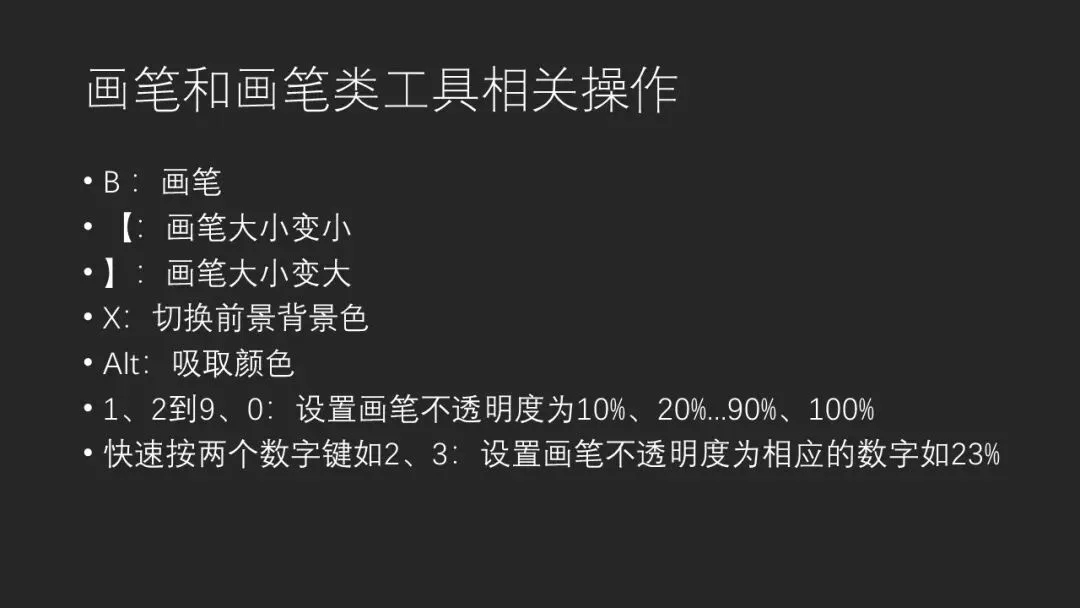
Once you start painting, X swaps the black and white foreground colors so mistakes can be corrected instantly (at 7:34 in the video); the bracket keys [ and ] shrink and grow the brush (at 7:47 in the video). Opacity has its own shortcuts: pressing 1 sets 10%, 4 sets 40%, 0 sets 100%; two digits typed in a row give two-digit values — 3 then 4 is 34%; and for something fainter press 0 first, then 3, for 3% (at 8:01 in the video).
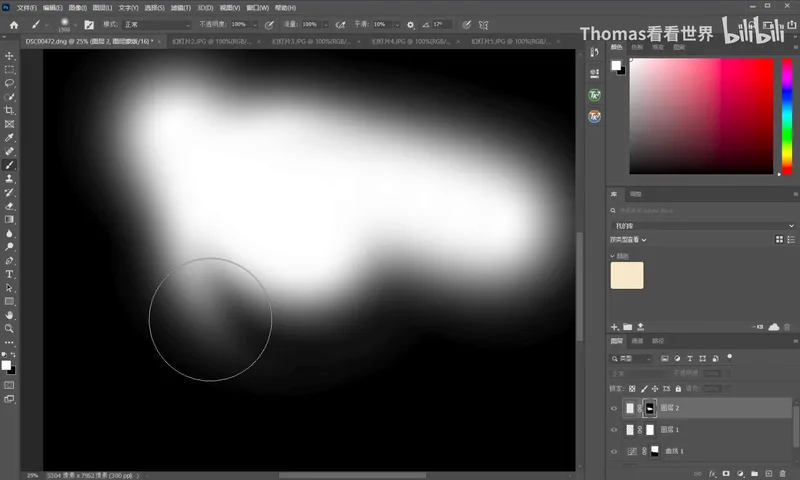
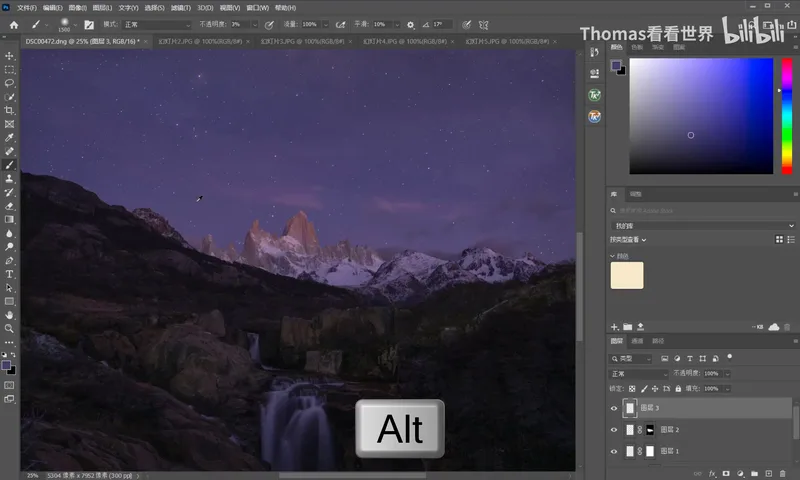
One advanced trick for brush tools: when painting fog, plain white can look out of place. Hold Alt — the Brush temporarily becomes the Eyedropper — sample the evening sky's purple from the image, then paint, and the fog picks up a faint ambient tint that blends in naturally (at 9:11 in the video).
04 Transforms and Commands: Stamp, Warp, Undo
Among everyday commands, V is the Move tool and S the Clone Stamp — optional to memorize (at 9:33 in the video). The vital one is stamping visible layers: Ctrl + Shift + Alt + E merges everything below into a new layer, and all whole-image operations — warping, rendering and so on — happen on that stamped layer (at 9:48 in the video).
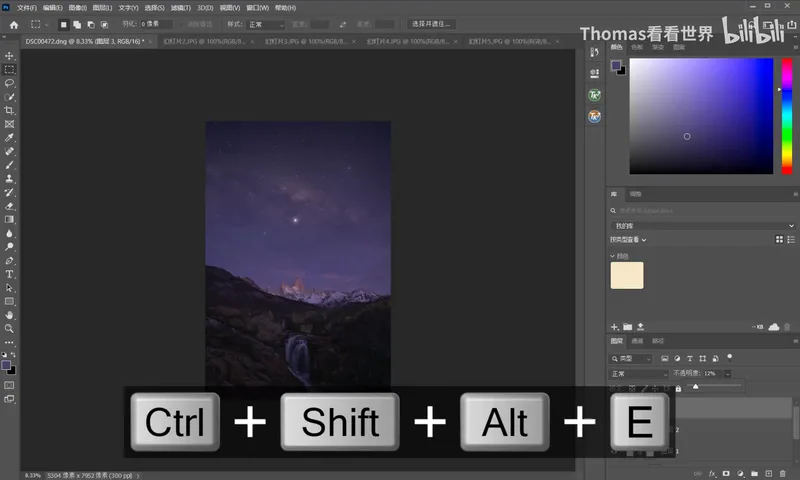
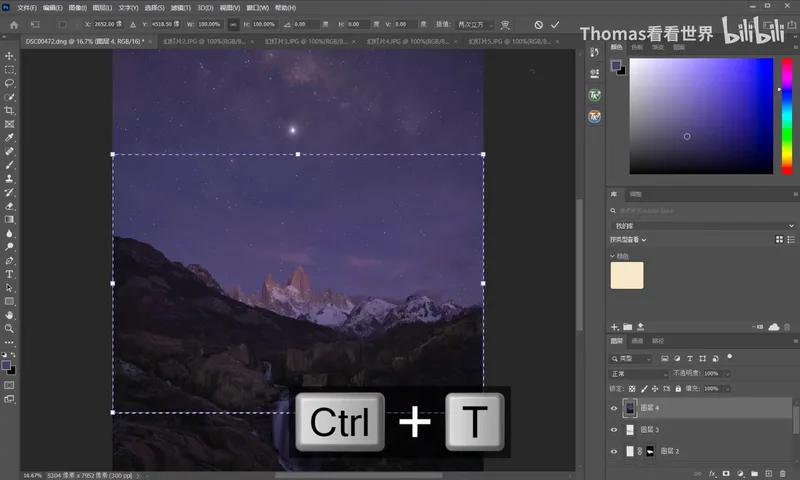
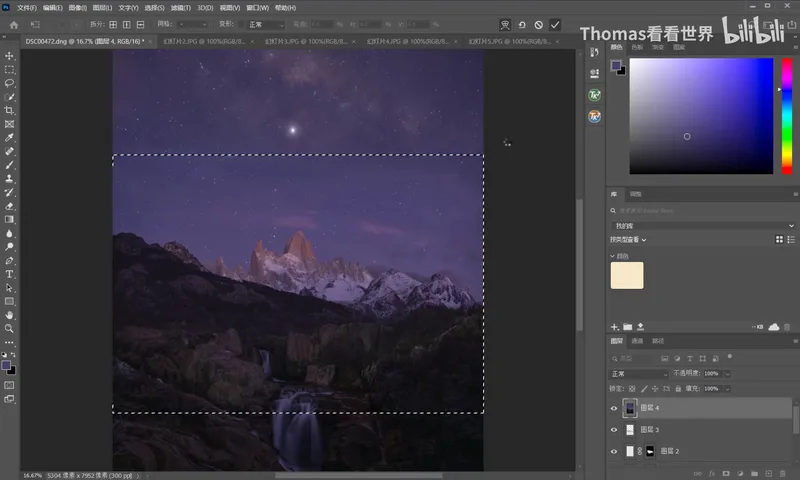
After stamping, Ctrl + T enters Free Transform; dragging with Ctrl, Alt and Shift stretches and raises the mountains, and clicking the Warp icon in the top bar switches to the Warp tool to pull the peaks up even more (at 10:05 in the video). The before-and-after shows the mountains visibly larger in seconds — which is exactly why the Ctrl/Alt combos are the ones worth memorizing (at 10:32 in the video). If it looks too unnatural, Ctrl + Z undoes the last step and walks you back through history (at 10:47 in the video).
05 Saving and Export: PSD vs. Save for Web
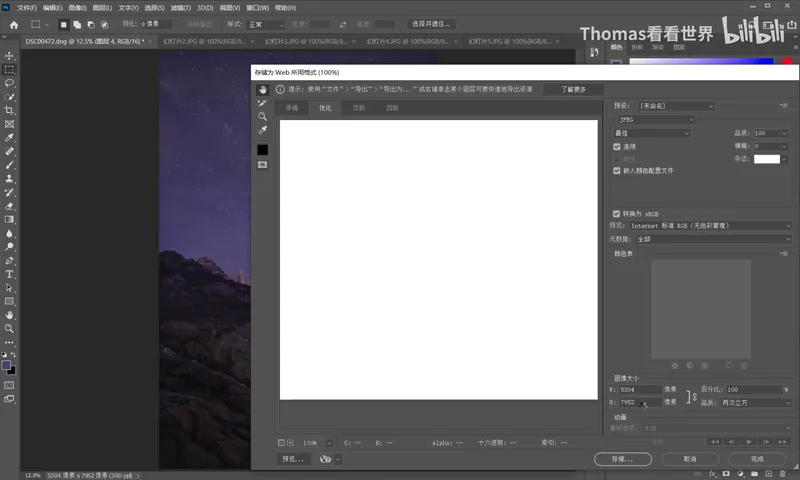
Finally, saving comes in two flavors. To keep a layered working file, Ctrl + S saves as PSD with all layer information intact (at 11:03 in the video). To share online, Ctrl + Shift + Alt + S opens Save for Web: it merges all layers and outputs a JPEG — tick 'Embed Color Profile' and 'Convert to sRGB' so the uploaded image doesn't shift color (at 11:28 in the video).
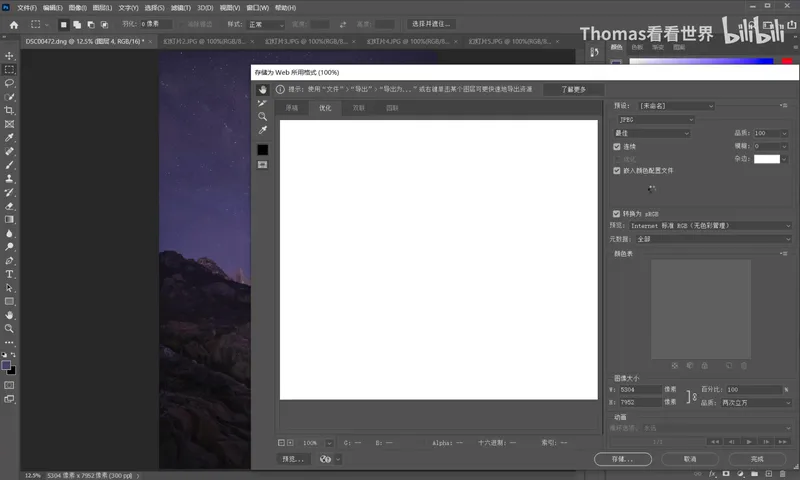
In the Web dialog push quality down to 50-60% and set the long edge to 1500-1600 pixels: WeChat Moments will then skip its own recompression, and the small size discourages people from stealing full-resolution files (at 11:54 in the video). The final result: a starry mountain-night image whose selection, mask, fog rendering and warping were all done through shortcuts.
1. Viewing: Ctrl/Alt + Space + left button zooms, Space + left button pans; 2. Selections and masks: W Quick Selection, L Lasso, Shift to add, Alt to subtract, Ctrl + D to deselect, Ctrl + I to invert a mask, Alt-click the mask icon for a black mask; 3. Brush tools: B for Brush, Alt-click a mask to preview it, Shift-click to disable, X swaps black and white, brackets resize, number keys set opacity, Alt-sample ambient color for effects like fog; 4. Transforms and export: Ctrl + Shift + Alt + E stamps visible layers, Ctrl + T Free Transform plus Warp, Ctrl + Z to undo, Ctrl + S saves PSD, Ctrl + Shift + Alt + S exports an sRGB JPEG via Save for Web.
Tutorial Slides