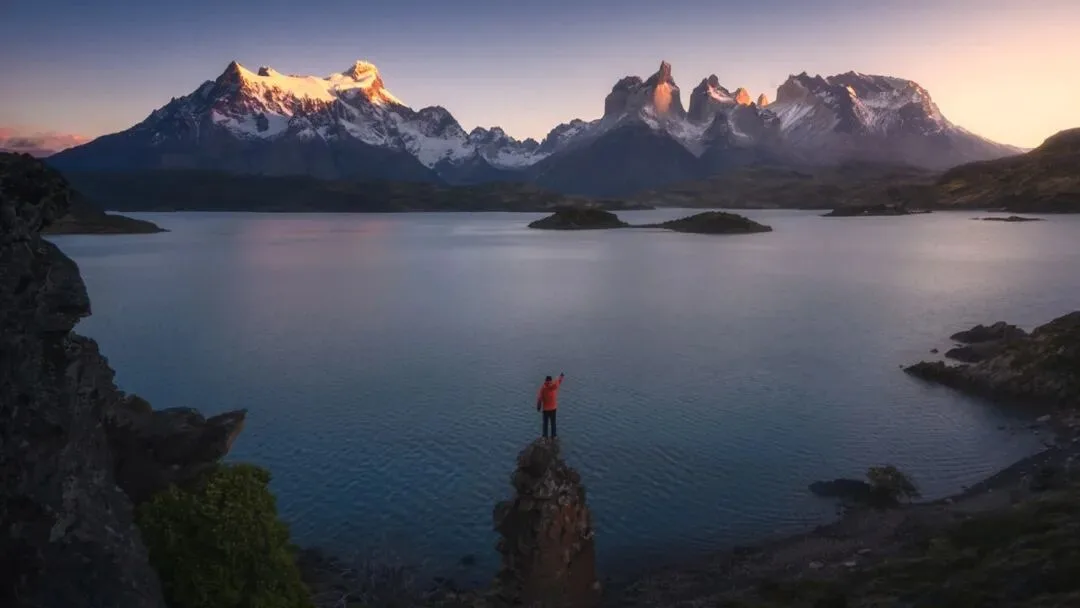
Photography Tutorial · 2020-11-08
PS Sky Replacement Tutorial: What Photographers Think of One-Click Sky Swap
Thomas Chu Photo
The new Photoshop 2020 adds a "Sky Replacement" feature for one-click sky swaps — Thomas explains it in detail in today's tutorial.
Sky replacement has always been controversial in the landscape photography community: is it acceptable at all, and when? In today's video, Thomas also shares his experience and views.
Video Tutorial
▶ Watch the video tutorial on Bilibili
This is the fully illustrated companion to the video above. The new Photoshop ships with a one-click Sky Replacement feature, and Thomas uses the occasion to cover two things at once: his view as a landscape photographer on when replacing a sky is inappropriate and when it is perfectly legitimate, plus a full hands-on demo of the new tool. Below, in video order, are his outline cards, before/after case studies, and screenshots of the panel itself.
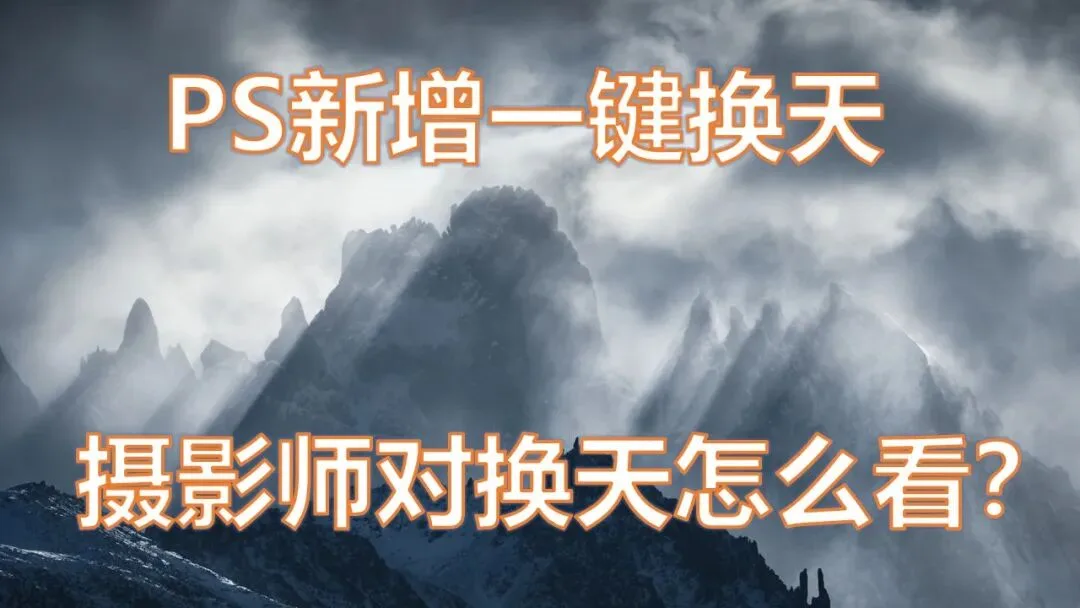
Start with the outline. This card, captured at 0:27 in the video, lists the three threads of the episode: when a sky swap is a bad idea, when it works, and how to use the new Sky Replacement feature in Photoshop.

01 Three Cases: Hold Off on That Sky Swap
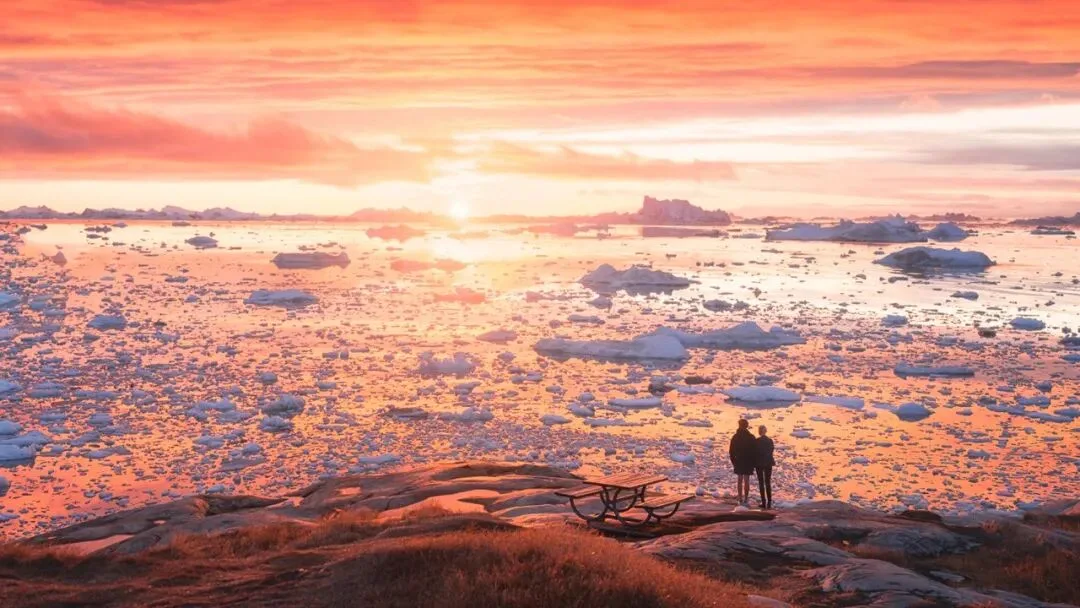
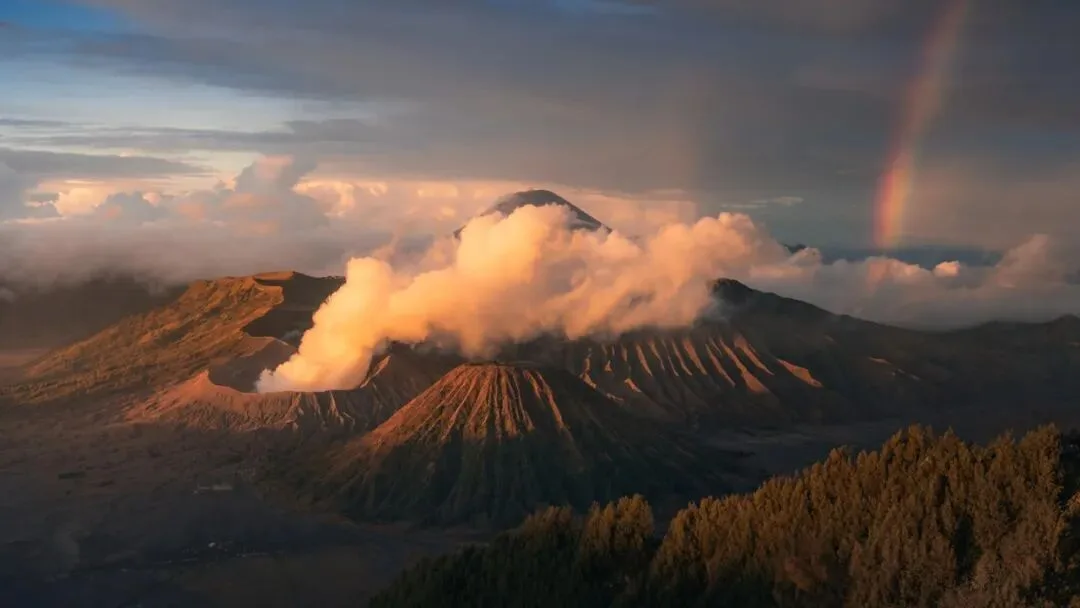
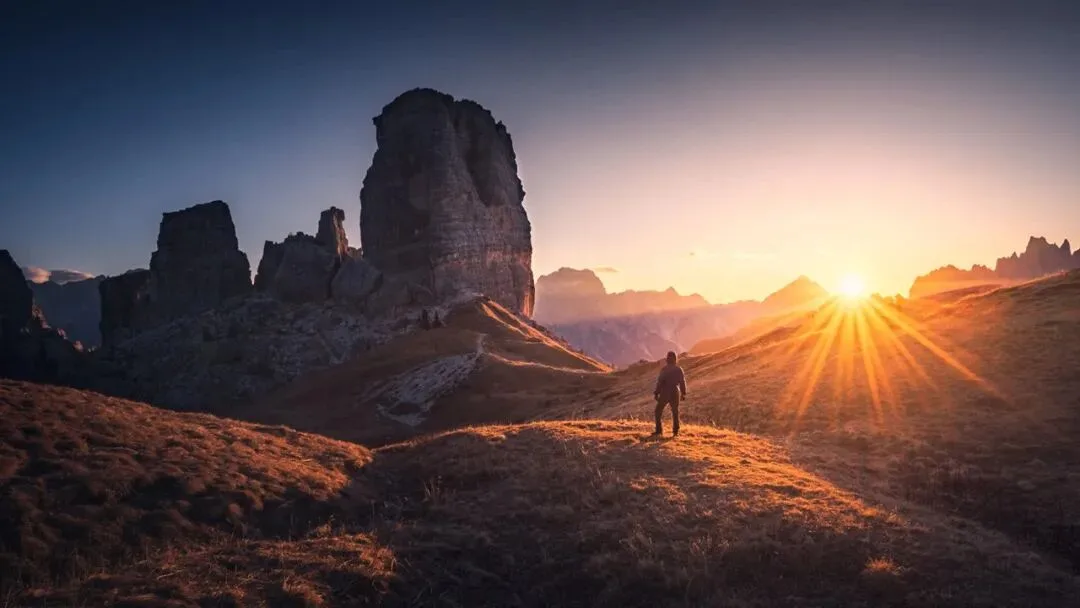
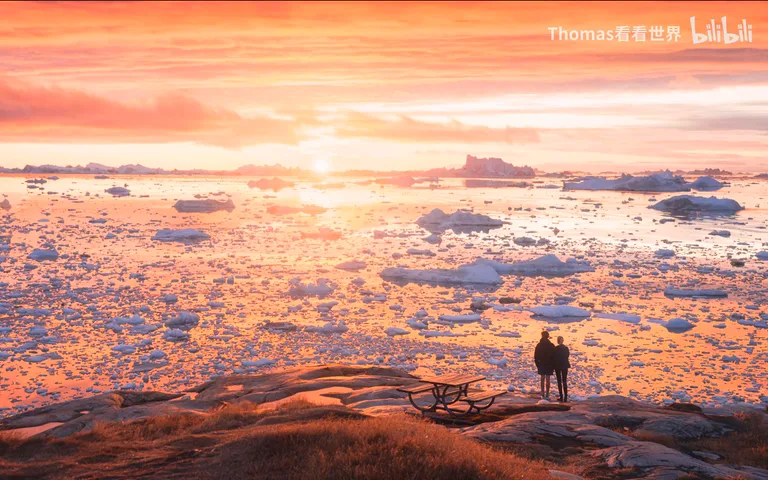
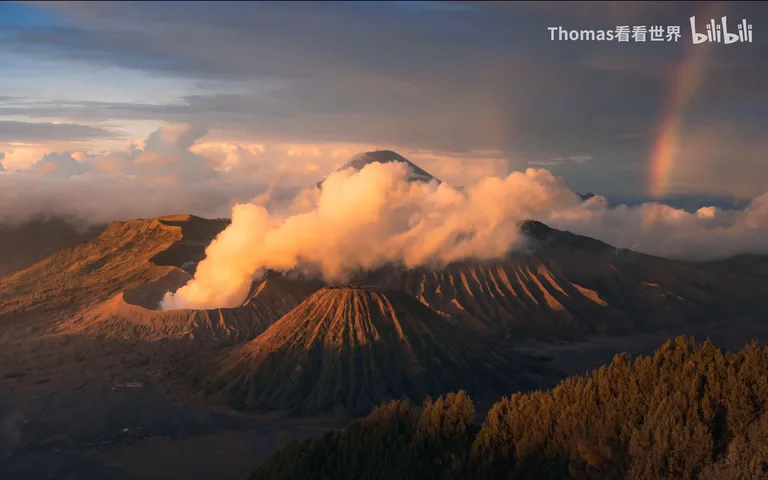
First case where a sky swap doesn't fit: when the sky or a rare atmospheric spectacle is itself the main point of the picture. Think a sky full of burning clouds mirrored in water (at 1:28 in the video), otherworldly storm clouds, or a rainbow over a volcano — when the sky outshines the landscape, the sky is the subject. Swap it then, and the edit is no longer a finishing touch but a different work altogether — digital art, which crosses a line.
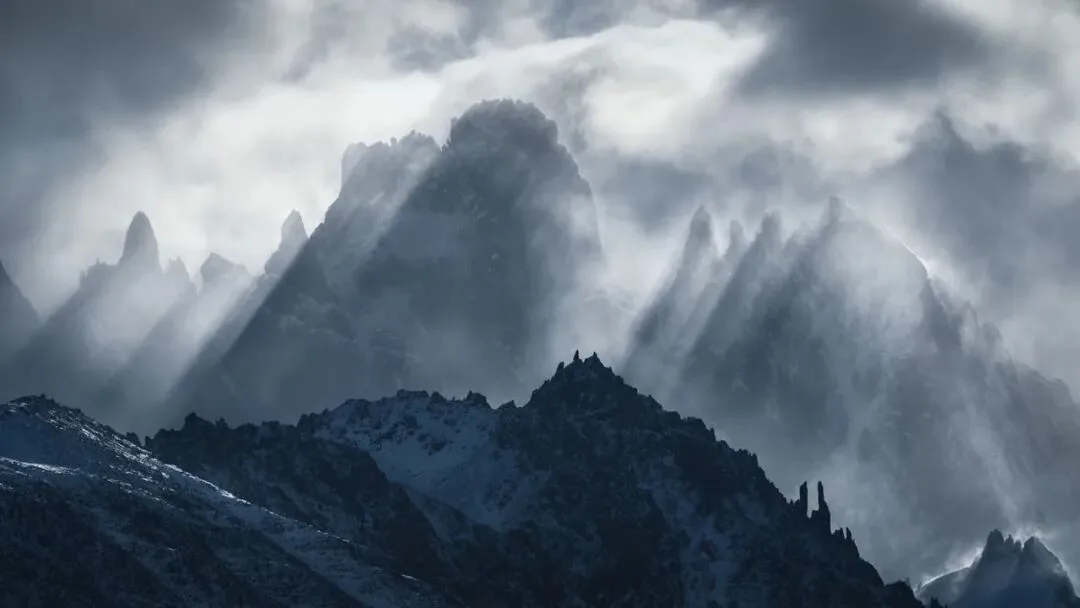
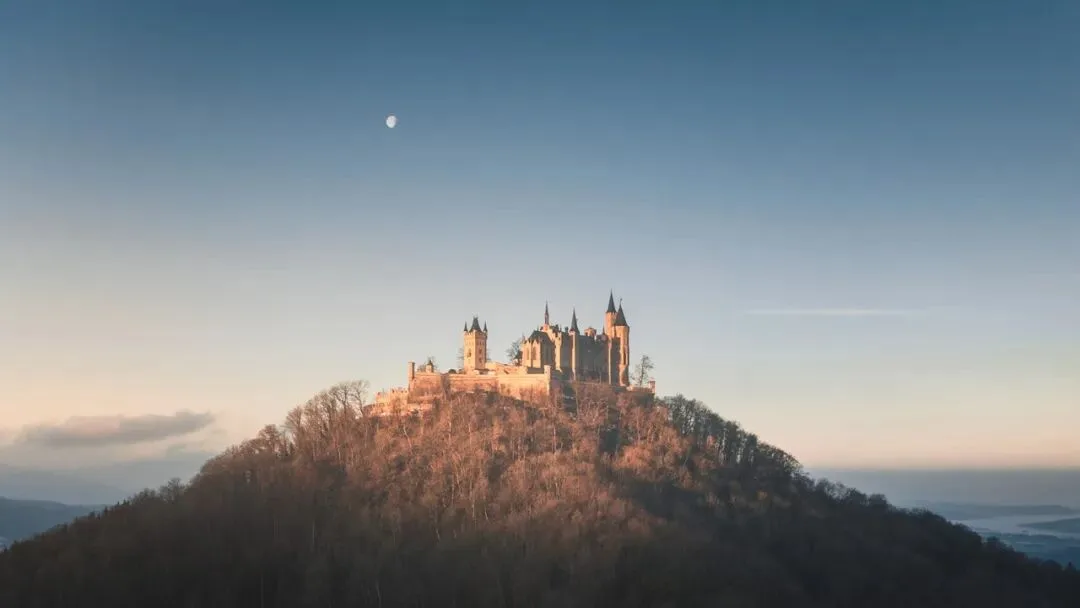
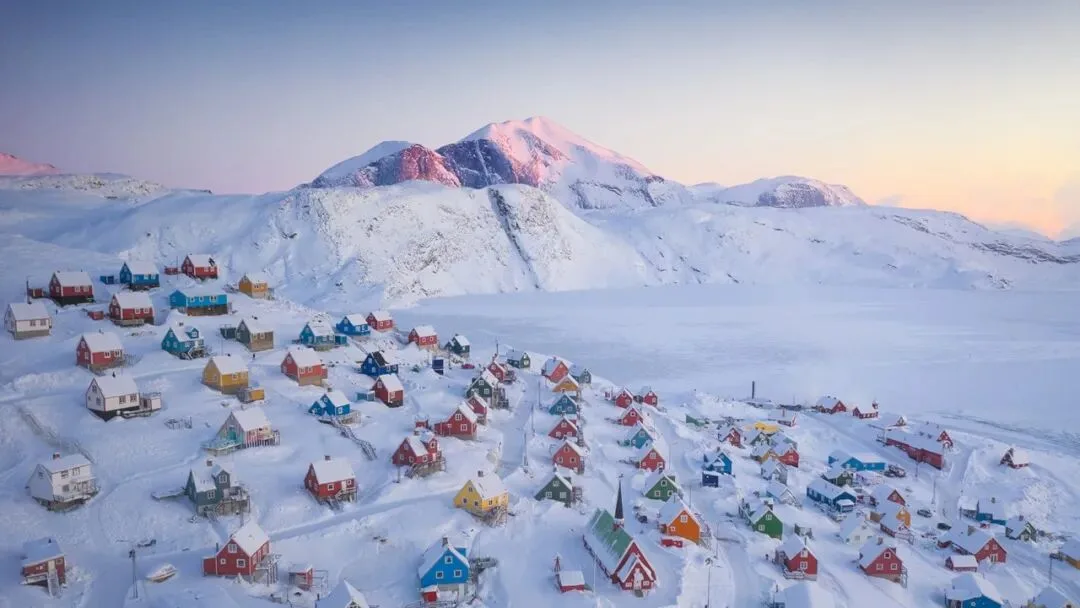
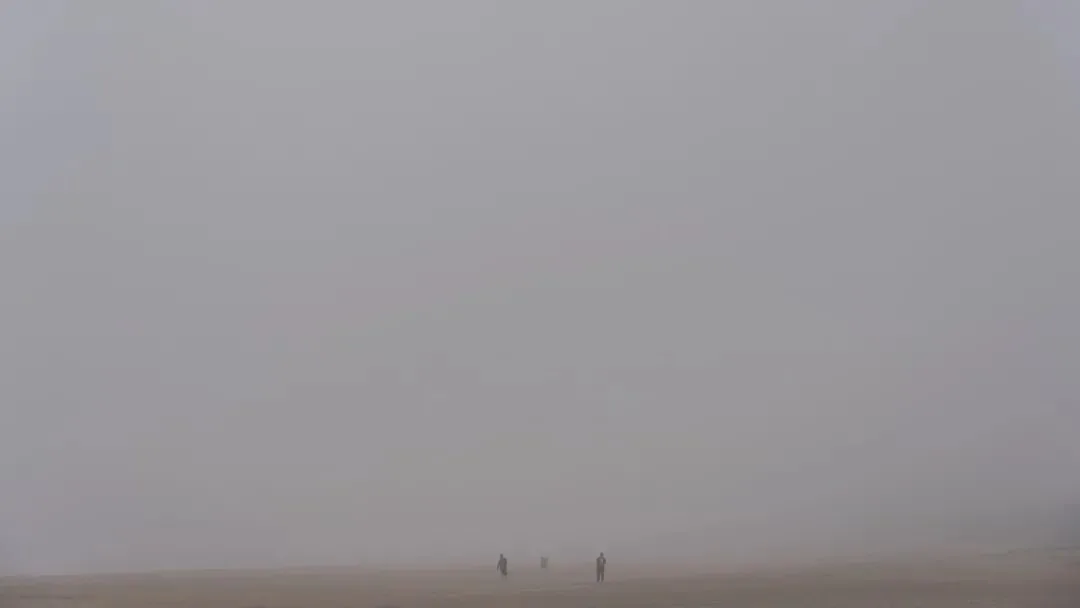
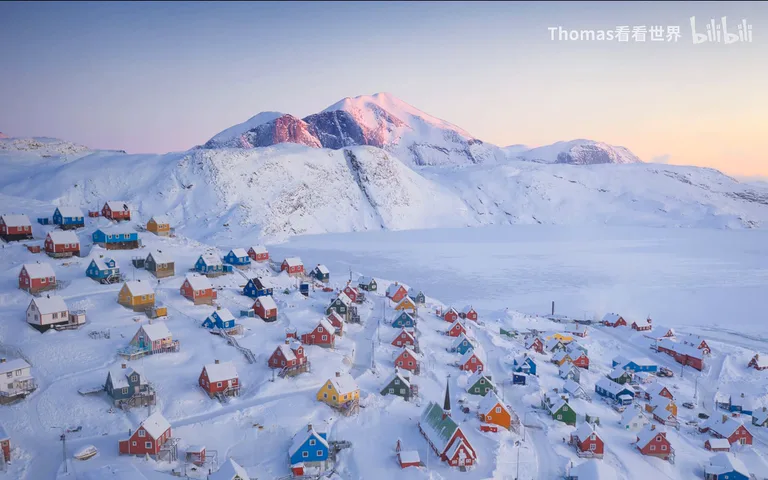
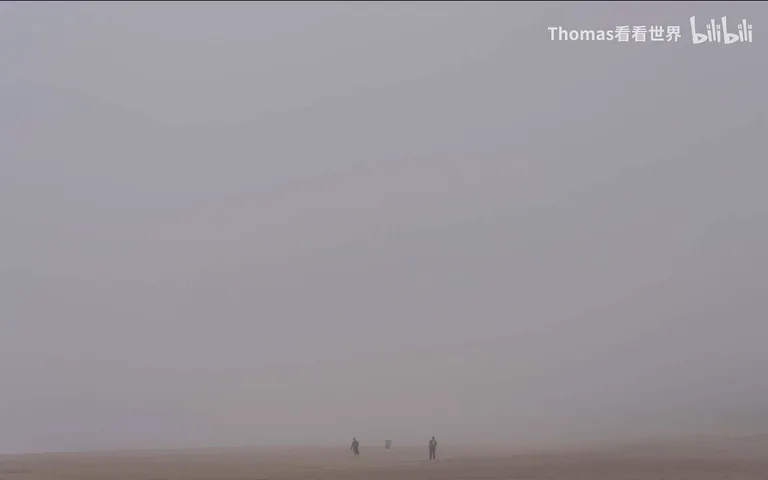
Second case: when the existing sky already matches the landscape and the intended expression. Most sky swaps aim to turn an ordinary sky into blazing clouds, but that doesn't automatically fit — especially when the landscape is already strong, fancying up the sky can be gilding the lily and actually weakens the ground (at 2:31 in the video). A quiet sunrise with the moon calls for a clean sky; blaze would kill the calm. When the land is already the star — a cluster of colorful huts under a dramatic sky — piling red clouds on top only steals attention (at 3:18 in the video). And when the mood you want is slightly oppressive and mysterious, even a hazy day is the perfect weather — a blazing sky is not the only good sky (at 3:47 in the video).
02 The Replacement Sky Must Match
When you do swap, the sky must match the ground on four counts, or the result looks fake. One, mood: drop blazing clouds onto a tranquil scene and the emotion breaks (at 4:20 in the video). Two, light intensity: harsh noon light pasted onto a low-light sunset scene never sits right.
Three, light direction: a backlit landscape under front-lit blue skies looks instantly odd (at 4:38 in the video). Four, geographic plausibility: conjuring ocean-style storm clouds over a desert will draw plenty of criticism. A swap must respect science and visual objectivity — no random pasting (at 4:56 in the video).
03 Three Moments When a Swap Works
So when does a swap make sense? By Thomas's standard: when the existing sky cannot deliver the needed atmosphere; when the landscape alone can't carry the whole picture and sky and ground need to work together; or when the new sky genuinely adds the finishing touch (at 5:48 in the video). Most of his own photos are unswapped — his Tuchong portfolio is full of empty skies — but the three cases below are the exceptions.

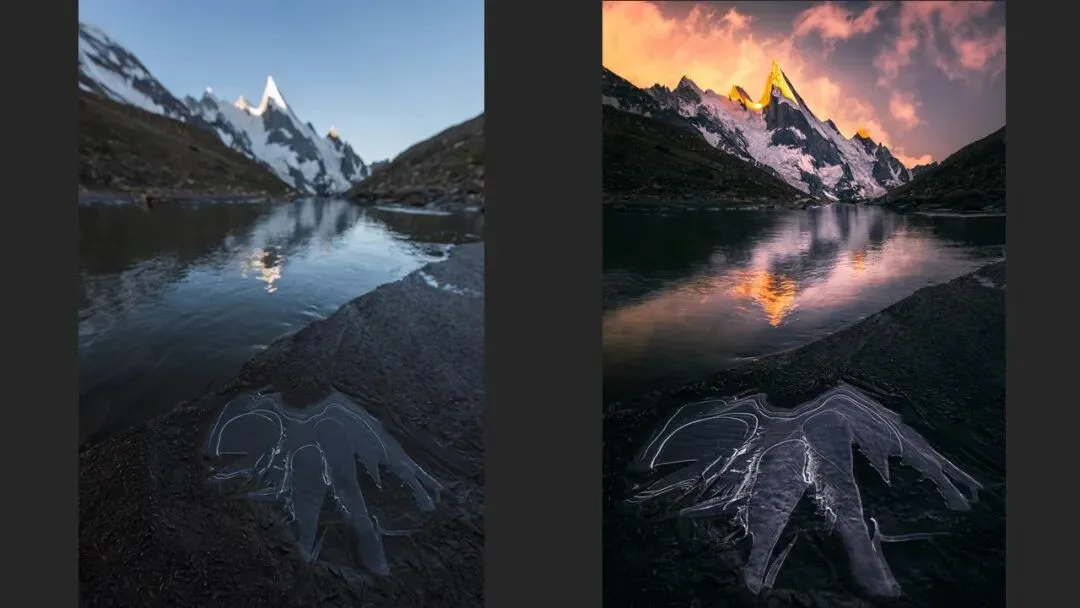
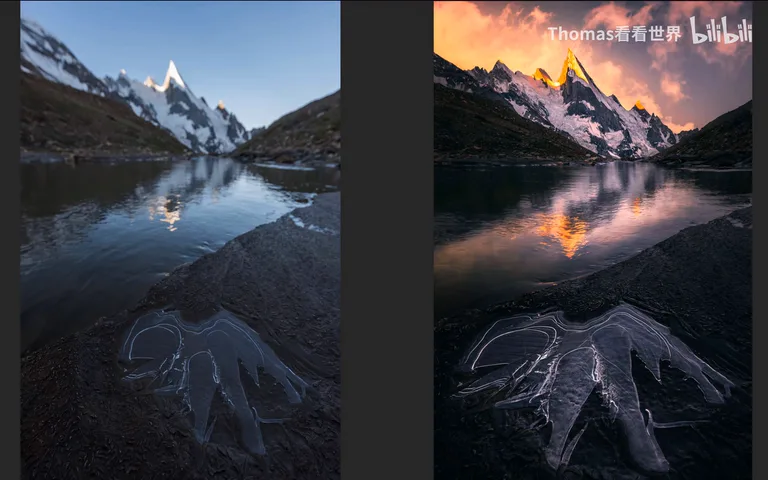
Case one: the remarkable ice formation below deserved a more magical, warmer mood than the plain original sky provided, so clouds were added in post to deepen the golden sunrise glow — and the fantastical atmosphere instantly appears (at 5:50 in the video).
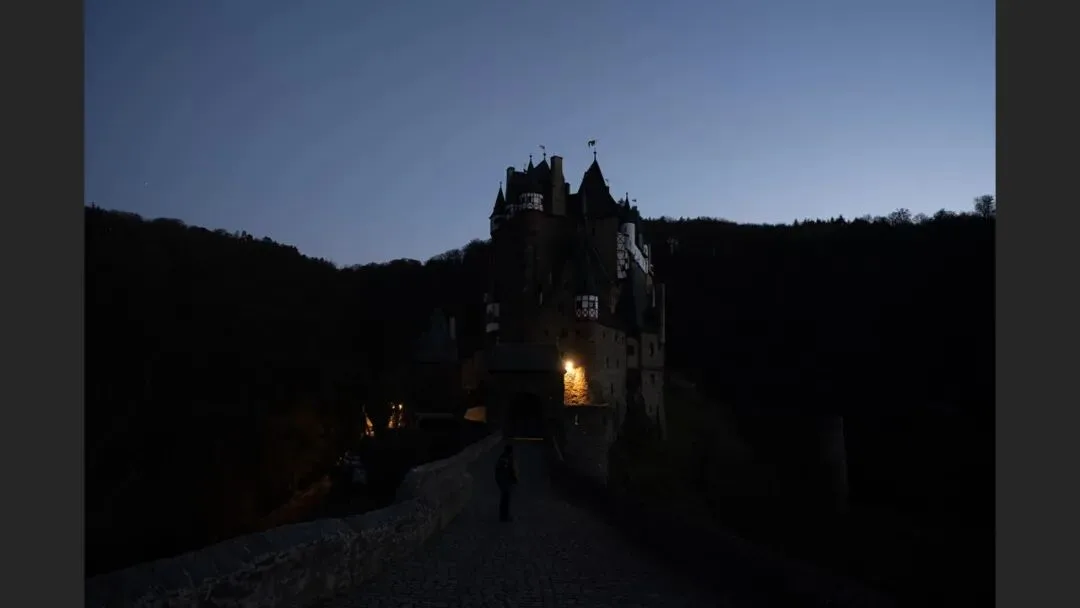
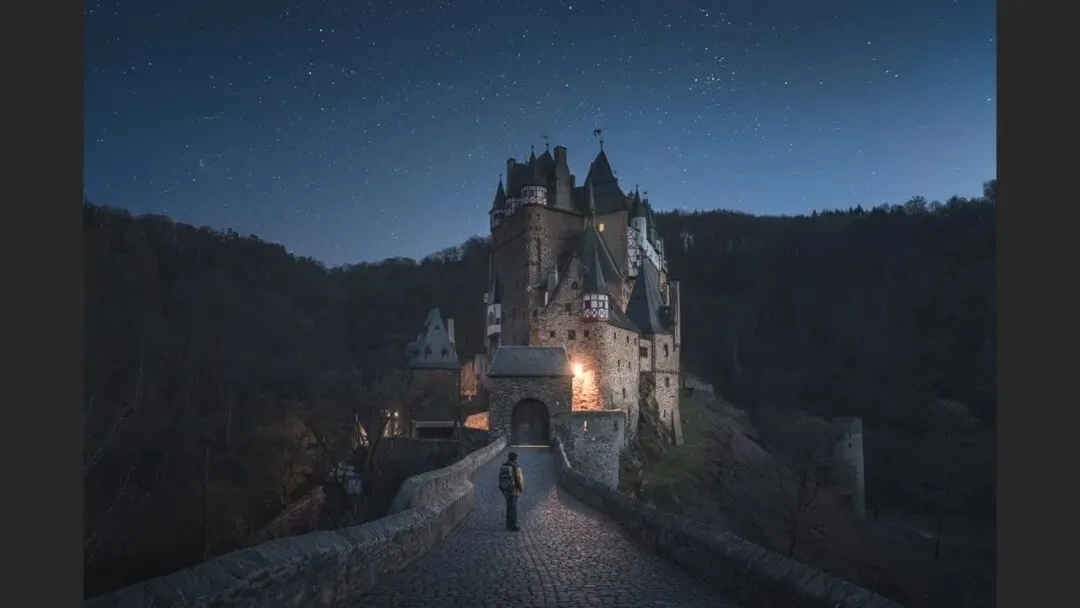
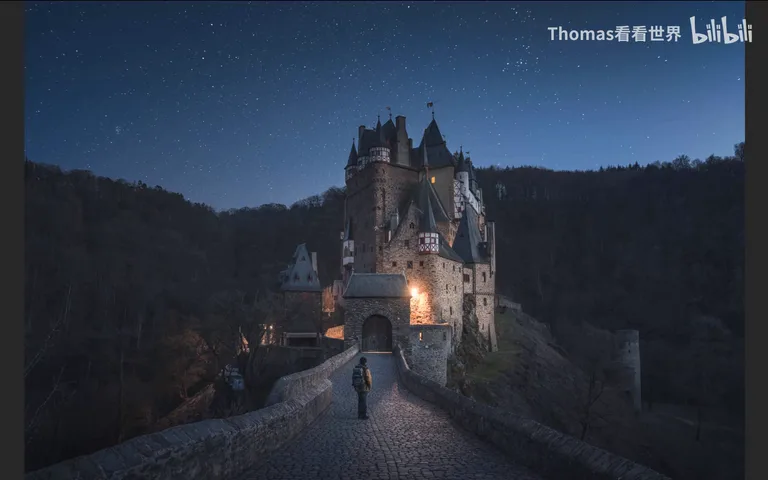
Case two: this castle in the deep forest was shot in blue hour, when the sky is still too bright for more than one or two stars — undercutting the mystery of exploring a hidden castle. The fix was a time blend: wait for full darkness, shoot a second frame of stars, and merge the starry sky with the blue-hour ground (at 6:38 in the video).
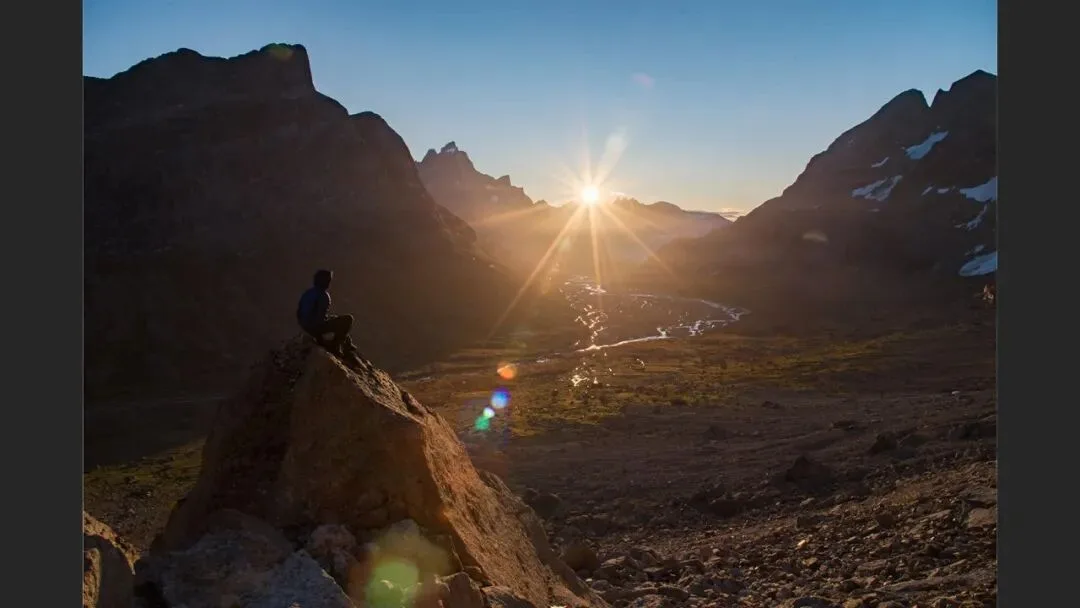
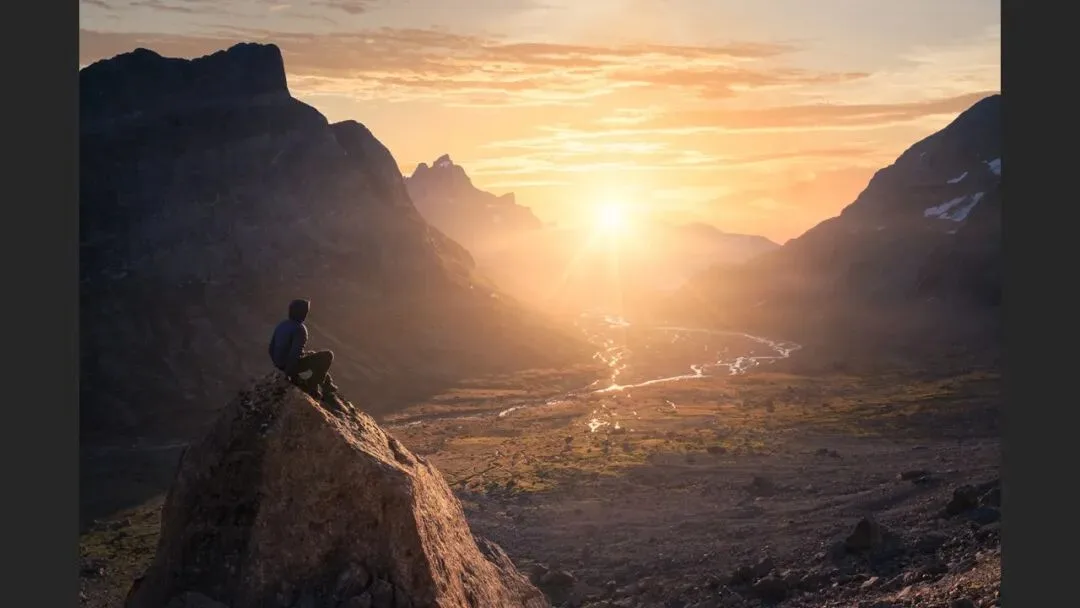
Case three: this Greenland sunrise was already decent, but its landscape was weaker than the sunrises that need no swap — not enough to carry the frame on its own — and the blue, empty sky felt cold rather than hopeful. Replacing it with a sky full of golden clouds and grading the whole image warm finally delivers the sense of hope and aspiration (at 7:33 in the video).
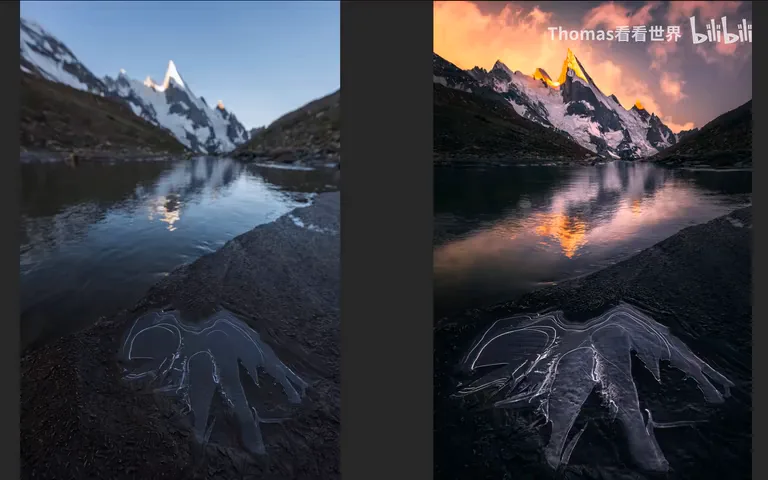
04 Sky Replacement: the Panel and Light Matching
Sky replacement used to demand painstaking cutouts and blending; Photoshop 2020 turned it into a single feature: find Sky Replacement under the Edit menu and its panel opens (at 8:25 in the video). The first step is choosing a sky — Photoshop ships with blue skies, all kinds of clouds, and even "spectacle" presets like rainbows and sunset glow (at 9:34 in the video).

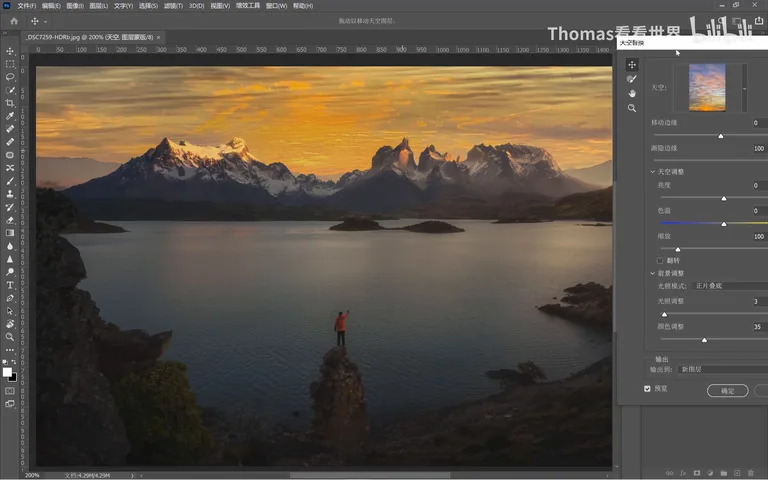
The biggest pitfall is the light matching discussed earlier: in this demo the ground light comes from the right of the frame, while many built-in skies have the sun clearly behind the clouds — put them together and the picture has two light sources, which is simply wrong (at 10:07 in the video). Pick a sky whose sun sits to the right, or flip the sky with the panel's flip control. The new-button also lets you import skies from your own photos — say, the blazing clouds from that Greenland shot (at 11:06 in the video).
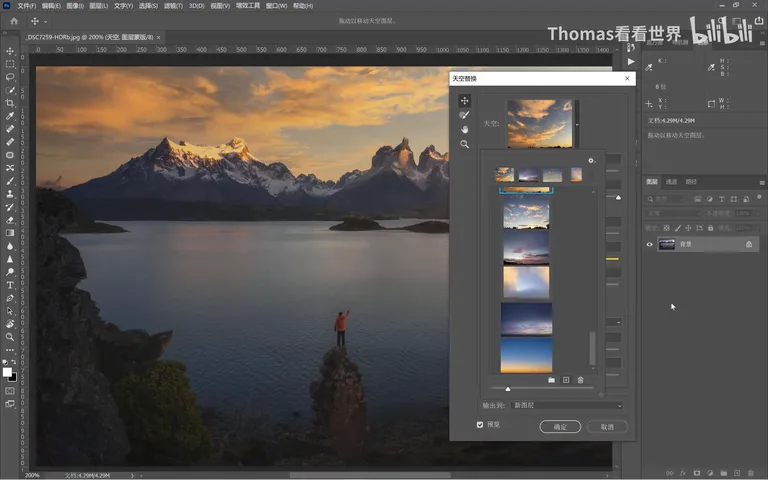
Once the sky is chosen it can be fine-tuned: shift it up and down; Shift Edge controls how far the sky bleeds into the ground; Fade governs the mid transition — skies carry moisture and glow near the horizon, and adding fade gives the blend a natural gradient (at 12:18 in the video). Brightness, color temperature and tint, scale and flip are all adjustable too.
05 Refining the Mask and Non-Destructive Output
The foreground is adjustable too: Lighting Mode offers Multiply or Screen — Screen brightens the foreground, especially where it meets the sky, while Multiply darkens it, which suited this frame better (at 13:30 in the video); Lighting Adjustment further dials the brightness of the blending zone; Color Adjustment pulls the ground's temperature toward the sky's until the two fuse (at 14:10 in the video).
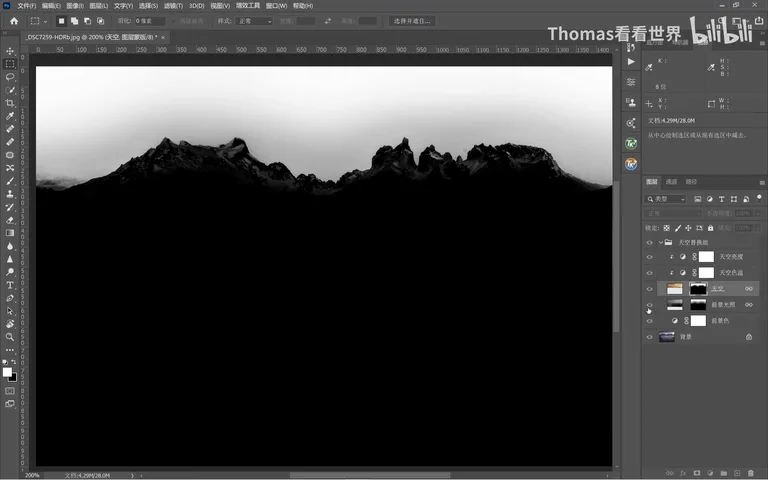
Clicking OK outputs the result to new layers — the whole operation is non-destructive: the sky and every adjustment live on their own layers, so you can keep moving the sky, inspecting the mask, and fine-tuning foreground lighting and temperature. If the sky reads slightly oversaturated, add a Vibrance layer and pull it down a touch (at 14:33 in the video).
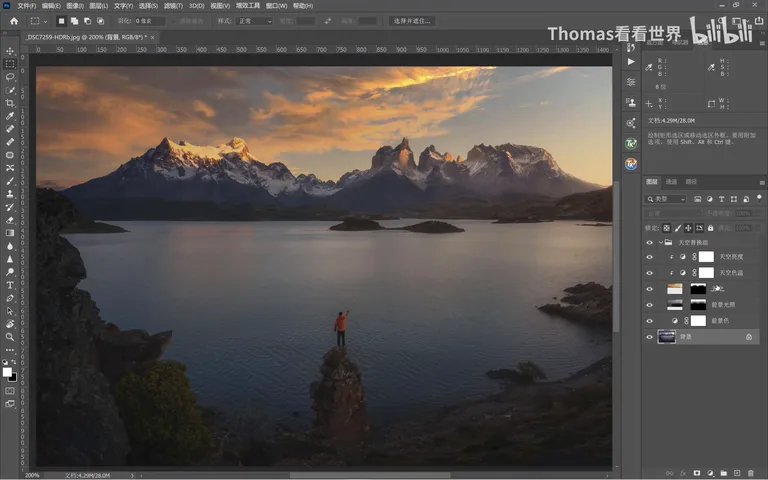
The final quality holds up: the mask the tool builds is remarkably precise, blending softly even around the highlights of the snowy peaks and the regions of the original clouds, with natural grey transitions. Thomas's verdict — this mask beats what most people would do by hand, with better transitions, gradients and blending zones (at 15:36 in the video).
1. Don't swap when the sky is the subject or already fits — post-processing should support and render, not overhaul the picture; 2. A replacement sky must match the ground in mood, light intensity, light direction and geographic plausibility; 3. A swap is justified when the sky can't deliver the mood, when sky and ground must work together, or when the new sky adds the finishing touch; 4. The new Photoshop Sky Replacement is fast, non-destructive and mask-precise — but still ask first whether the light direction and mood make sense.
The Sky Replacement walkthrough starts at 8:50
PPT