Photography Tutorial · 2023-12-10
How to Reverse-Engineer Photo Locations — and Create Original Compositions
When planning trips, we often collect beautiful photos — how can we reverse-engineer them to pinpoint the exact spots where they were taken?
In today's tutorial, Thomas shares three approaches and methods.
Once you master these methods, you can even use satellite maps to create original viewpoints of your own!
Video
▶ Watch the video tutorial on Bilibili
This is the fully illustrated companion to the video above. When a beautiful photo from your next destination shows up in a travel guide, how do you reverse-engineer its exact shooting location? Thomas breaks the method into three ascending layers — read the photo's metadata, sweep search engines and guides, then lock the spot with satellite maps and Street View — capped by a full case study on Max Rive's famous Cerro Torre shot. Master the thinking model and you can even originate your own viewpoints around the same landmark. Every operation screen below is a key frame from the video's screen recording.
01 Step One: Read the Title, Caption and EXIF
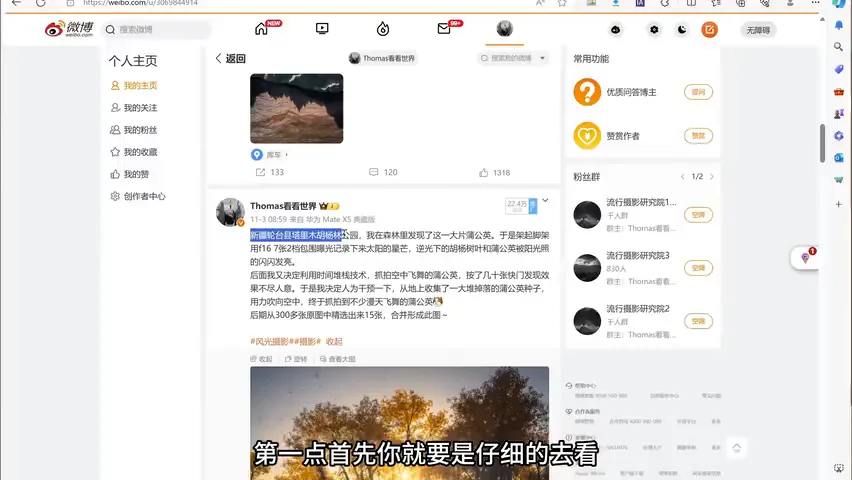
To crack a photo's location, first study its title, caption, author info and even the account's IP region. Even without a precise spot, posters usually mention the city or country, or which peak is in frame — exactly the clues you need to narrow things down later with satellite maps and web searches (at 0:51 in the video). Some photographers, Thomas included, even share exact locations outright.
Next, check the EXIF. Many drones and cameras now carry built-in GPS modules; if the photographer didn't strip the EXIF on export, download the image, right-click for Properties → Details, and you get the shooting time plus every parameter. Scroll further and a drone photo even lists longitude, latitude and altitude — with those three numbers you've cracked a very precise point (at 1:44 in the video).
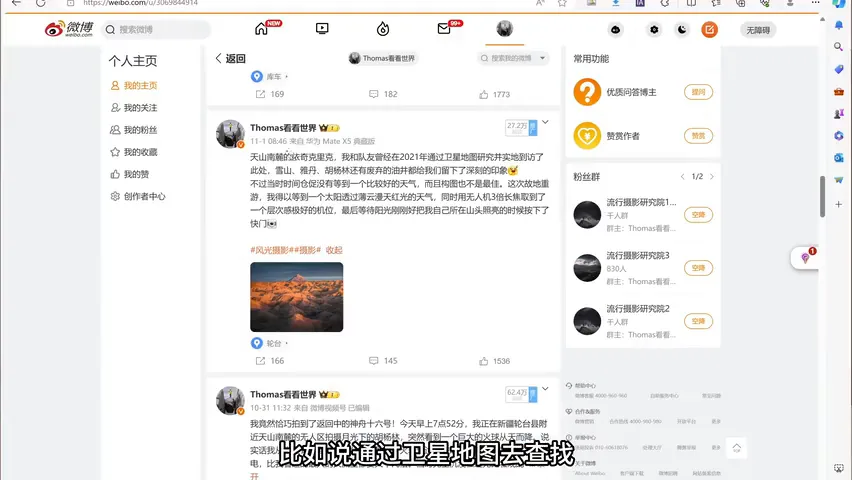
Of course, many photographers strip EXIF deliberately, and asking in the comments may go unanswered — some urban spots get sealed by property managers once they go viral, and heavy footfall genuinely damages fragile wild locations. Location hunting needs restraint — which is exactly why the next two author-independent methods matter.
02 Step Two: Sweeping Search Engines and Guides
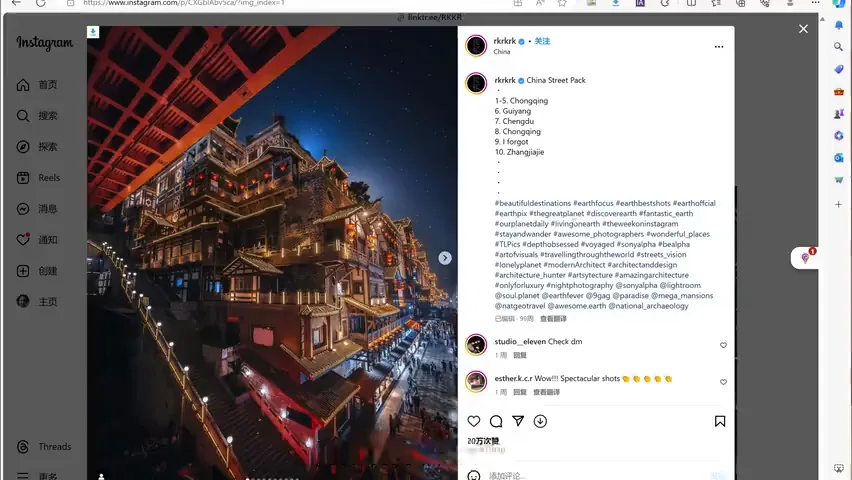
Take Japanese photographer RK's famous shot: on Instagram he tagged nothing more than "Chongqing" (at 2:48 in the video). With the city as an anchor, sweep image-sharing apps, short-video sites and travel apps with keywords like "Chongqing photography" or "Chongqing photo spots," then read through guides in bulk — if a spot is popular, it will be mentioned.
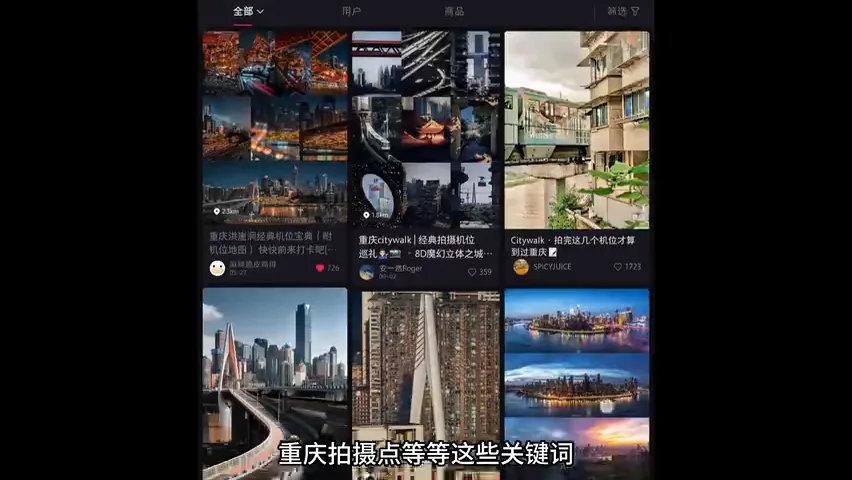
Sure enough, a guide spells out the precise vantage: beside Hongyadong, at the foot of Qiansimen Bridge (at 3:23 in the video). Cross-check the original and the red steel structure and perspective line up perfectly — method two complete. The essence of this step: someone has already walked the path for you; your job is digging that experience out with the right keywords.
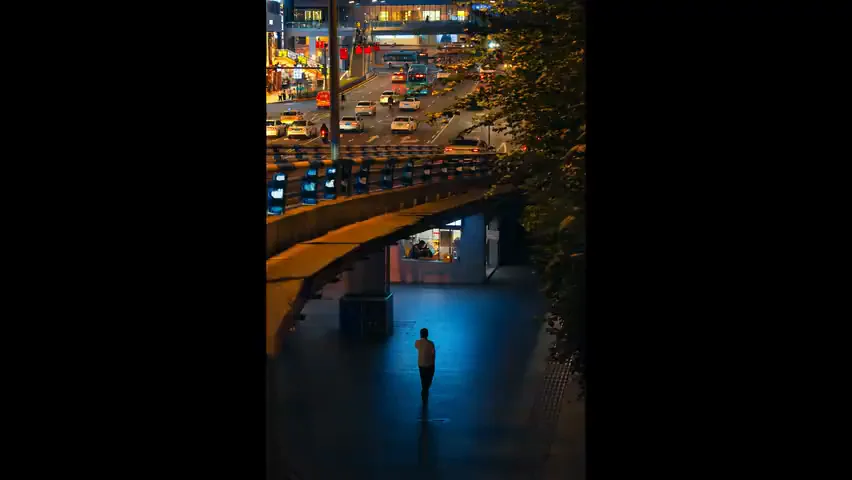
03 Step Three: Locking On with Satellite and Street View
With no textual clues, bring in modern tools: satellite maps, 3D maps and city Street View. The drill is the same — narrow the scope first via the caption to a city or mountain, then mine the photo itself for landmarks. In city shots, scrutinize billboards and shop signs; often a single hotpot restaurant's name pins the location. In this sample the key is the two characters "天街" on a rooftop behind — search "which 天街 in Chongqing" and you quickly land on Beicheng Tianjie shopping mall (at 4:23 in the video).
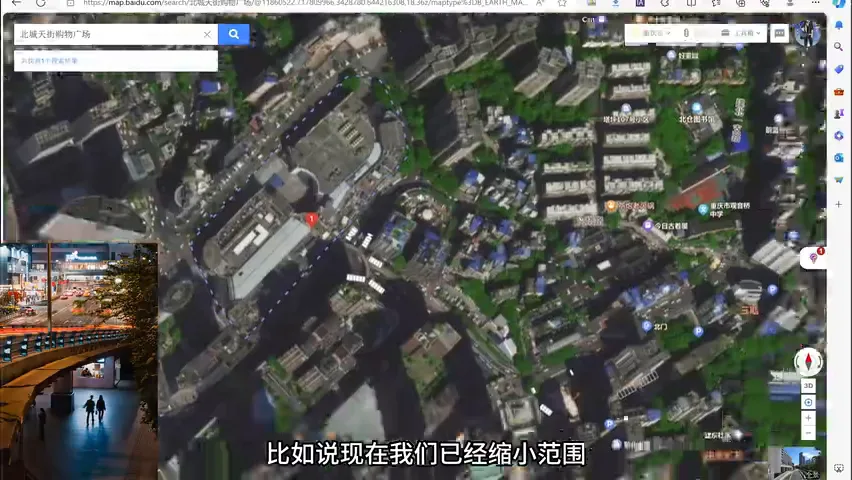
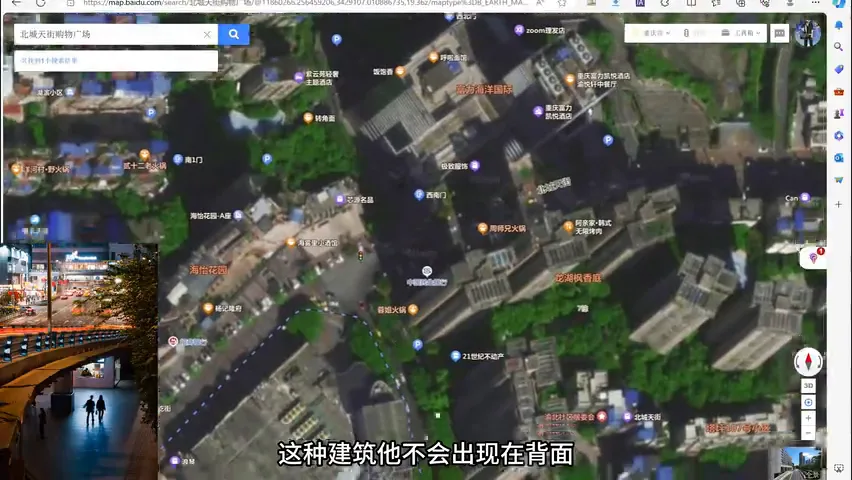
Switch Beicheng Tianjie to Earth/satellite mode and reason from evidence: if the photo was shot at sunrise or sunset, decide first whether it faces east or west; any skyscraper in the background must be a local landmark, which back-calculates the shooting direction. Then audit the roads one by one — the photo shows a street leading straight at the Tianjie building with a pedestrian bridge behind. Some roads on the satellite map point only at the road, not the building; some lack the bridge. After elimination, a single street satisfies both "points straight at the Tianjie building" and "a tall shadow (the bridge) beside it" (at 5:20 in the video).
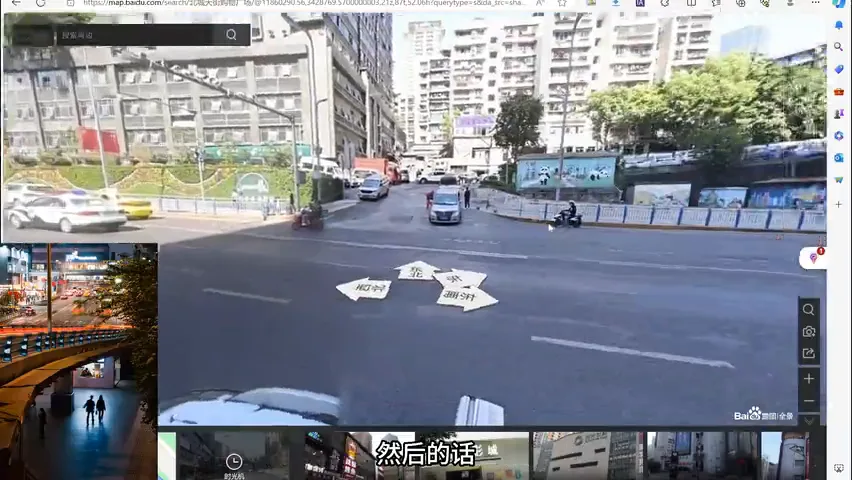
Finally, open Street View for the verdict: swing the view to the candidate point and the bridge plus the Tianjie building behind it align almost perfectly — "this is it." The layered street in the foreground and the sloping road with its elevation change all match (at 6:22 in the video). Now you can lock the exact coordinate on the map. The hard part was never the tools; it's the habit of extracting verifiable features from a photo.
04 Field Case: Max Rive's Cerro Torre
For a wild-land case, take one of Max Rive's famous frames: a figure beside a gnarled tree, a sharp snow peak behind. Geography plus the caption identifies the peak as Cerro Torre in Patagonia (at 7:01 in the video). Search "Cerro Torre" in Google Earth and you can see the photo faces the massif directly, with glacier, lake and river clearly in the near ground.
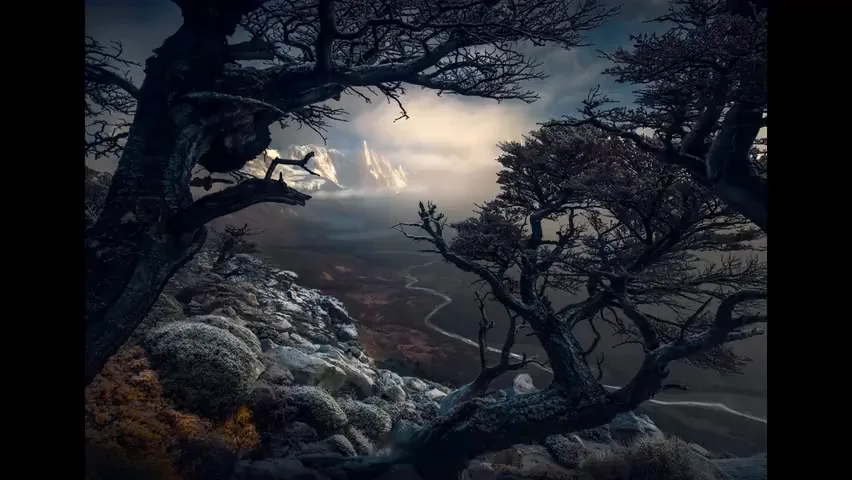
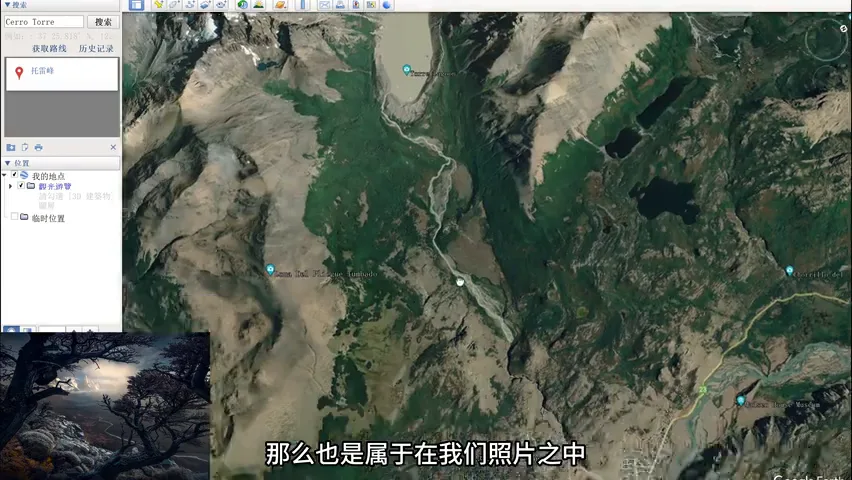
Only one area nearby combines glacier, lake and river, and the river in the photo forks in two places — a unique signature that shrinks the search box further; the vantage must lie inside this small zone (at 7:39 in the video). Next, the shooting angle: the frame looks down, so the camera stood on a nearby slope, tilted. Zoom into the satellite layer — the bigger the shadows, the bigger the drop — circle the candidate slopes, then drop the Google Earth pegman on them to verify.
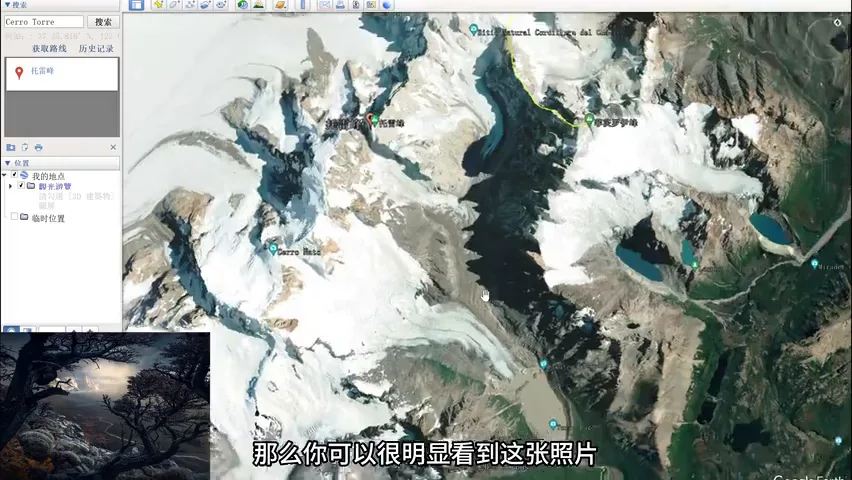
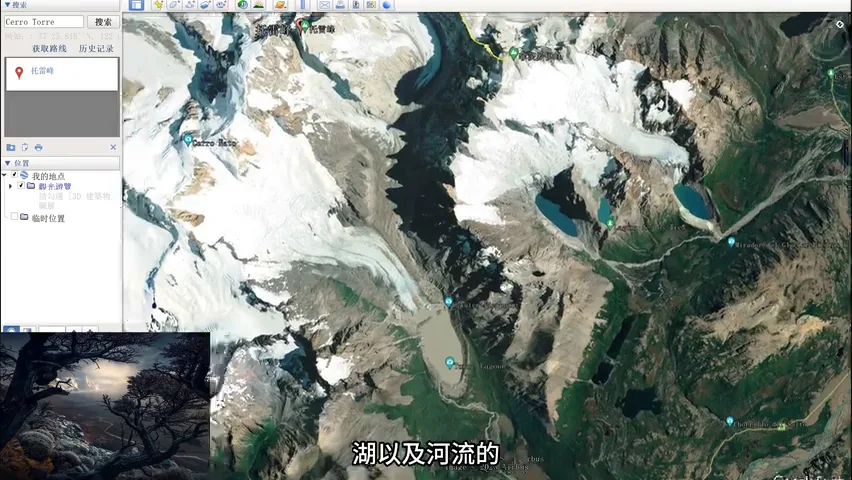
The moment the pegman lands, the view matches the original almost exactly. When Thomas later visited in person, he searched the shrunken map area on foot and found those very trees — location cracked (at 8:19 in the video). The satellite gives you a range that is certainly right; on site, your job is to collapse that range into the spot certainly underfoot.
05 Learn the Thinking, Not the Coordinates
The worst way to study a master's location is to stop at finding it. Standing there, most would judge the snow peak and river pretty enough and snap the shot or pose in front of it. Max Rive's extra step was finding a gnarled tree for the foreground, letting twisted branches answer the sharp peak — that awareness is what wins the photograph (at 8:48 in the video).
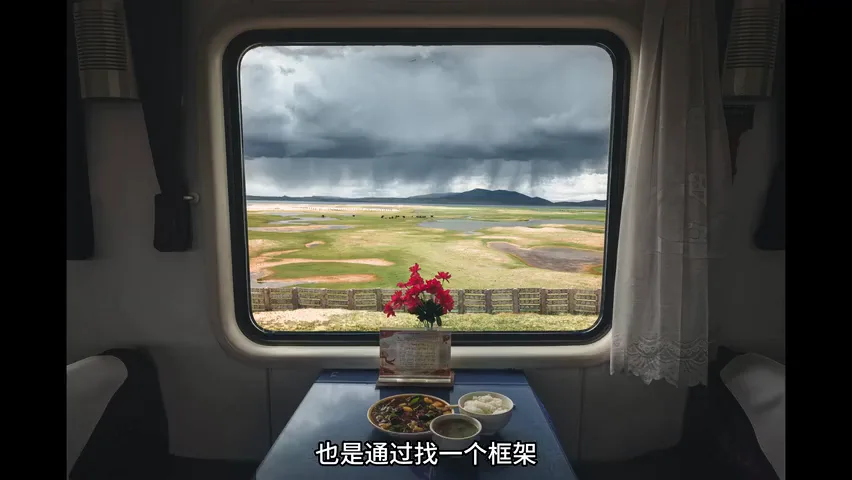
Turn "trees as foreground" into a transferable mindset and it works anywhere: at Mount Bromo in Indonesia, Thomas scanned the satellite map for woodland, then hunted oddly-shaped trees on site — and came away with a scene unlike anyone else's (at 9:21 in the video). Frames work the same way; his train-window series extends the idea of "find a frame to present the landscape." Cracking a location is the starting point; understanding the thinking behind a photo and originating your own compositions in future destinations is where this method actually ends.
1. Reverse-engineer a location in three steps: parse title, caption and IP region; check EXIF for GPS coordinates; then sweep search engines and guides with "city + photo spot" keywords. 2. Lock a spot on satellite maps with a chain of evidence: extract verifiable features from the photo — shop signs, roads pointing at the subject, a bridge's shadow — compare and eliminate one by one, and give the coordinate a final Street View audit. 3. For wild cases, fix the peak first, then find the unique landform combo (glacier + lake + a twice-forked river); read shadows for elevation and drop the pegman to verify. 4. The highest level is learning the thinking, not copying the spot: understand how foreground answers subject, then proactively scout woodland, frames and other elements on satellite maps at new destinations to originate compositions of your own.