Photography Tutorial · 2020-09-13
Seascapes Can Be Shot Like This? Time Blending in Seascape Photography
Thomas Chu Photo
Time blending is a technique widely used in modern landscape photography. In previous tutorials, Thomas shared its application in starry skies, city night scenes, car trails, dynamic street scenes and more.
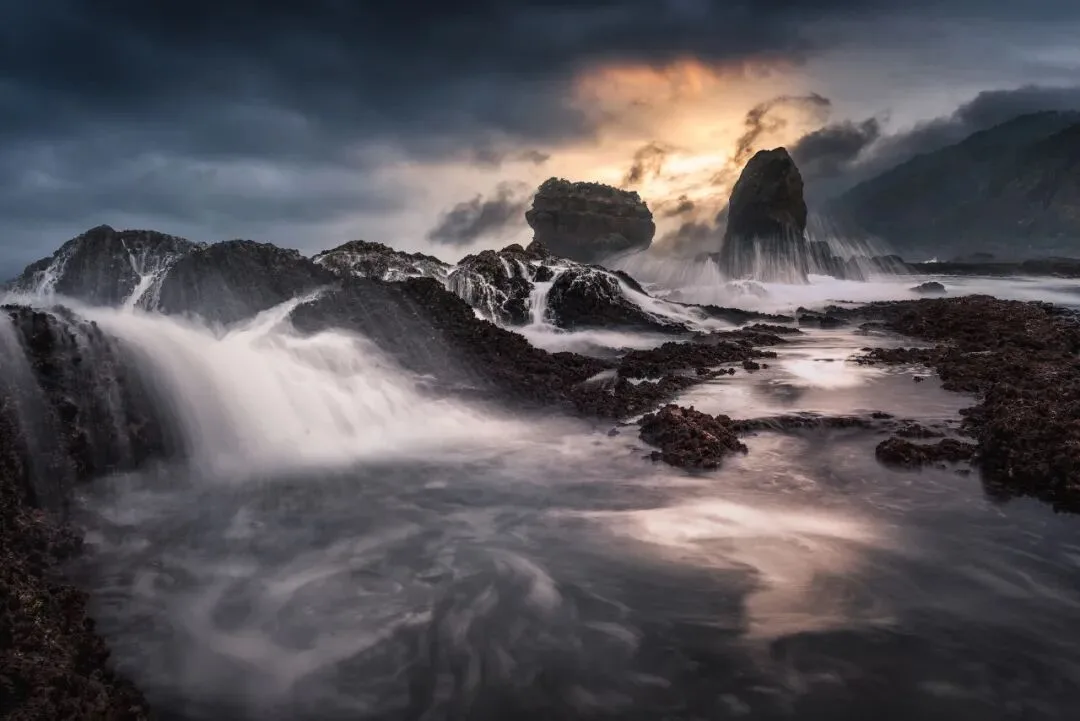
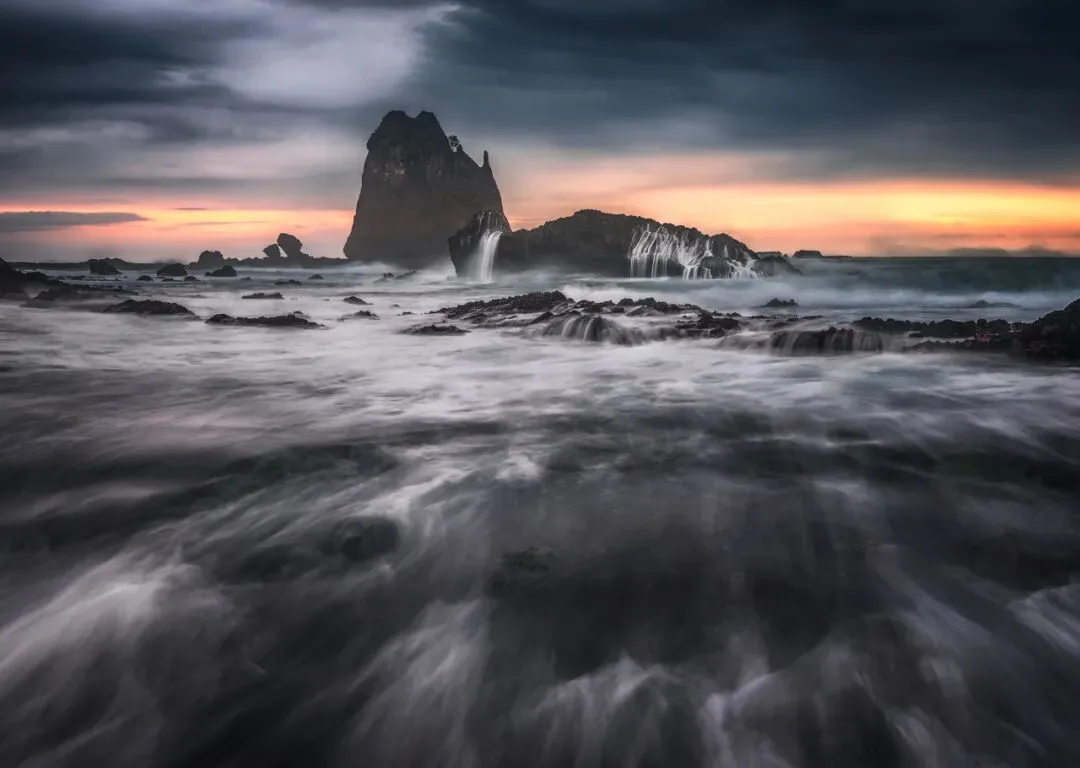
In this week's video tutorial, Thomas explains the practical application of time blending in seascape photography. Many stunning seascape photos, both from China and abroad, actually hide the secret of this technique.
Video Tutorial
▶ Watch the video tutorial on Bilibili
This is the fully illustrated companion to the video above. Time blending is a workhorse technique in modern landscape photography — Thomas has covered its principles and its use on city nightscapes in earlier tutorials, and this time he brings it to the sea: a burst of wave frames shot from one tripod position, each with a different wave shape. How to pick frames, blend them, avoid abusing the technique, then unify white balance and take the image further — all in one pass. The walkthrough below follows the video in order with keyframe screenshots.
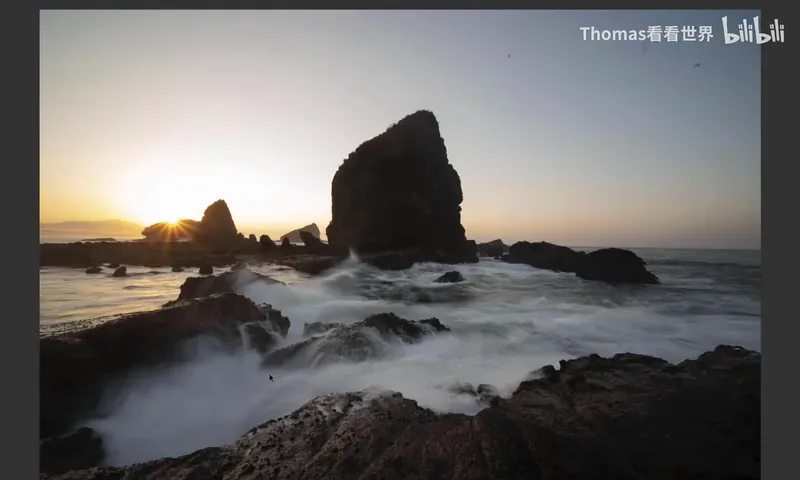
Start with the overview: this frame, captured at 0:46 in the video, is the goal of the whole tutorial. The bursting wave on the right and the one in the middle come from two different source frames — after time blending, a single photo holds two great waves at once.
01 Picking Frames: Motion and Calm in Balance
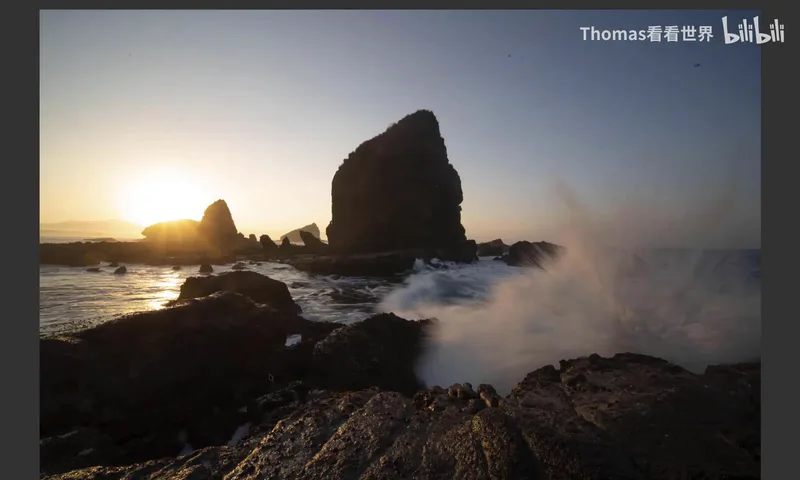
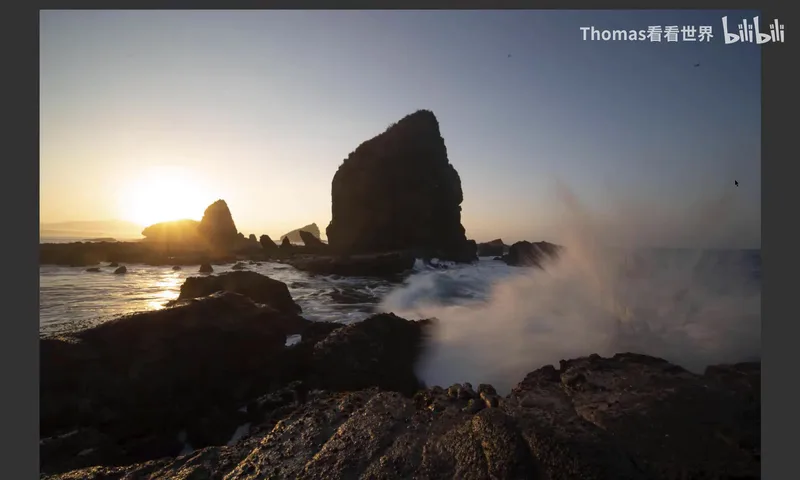
Time blending means combining moving elements of a scene — waves here — captured at different moments into one image. Thomas fired a burst of wave shots, and every frame's wave shape is completely different: one explodes with an impact wave on the right while the left is bare rock; another bursts right in the middle (at 0:17-0:38 in the video). Master time blending and you can put the middle wave and the right wave into the same photograph.
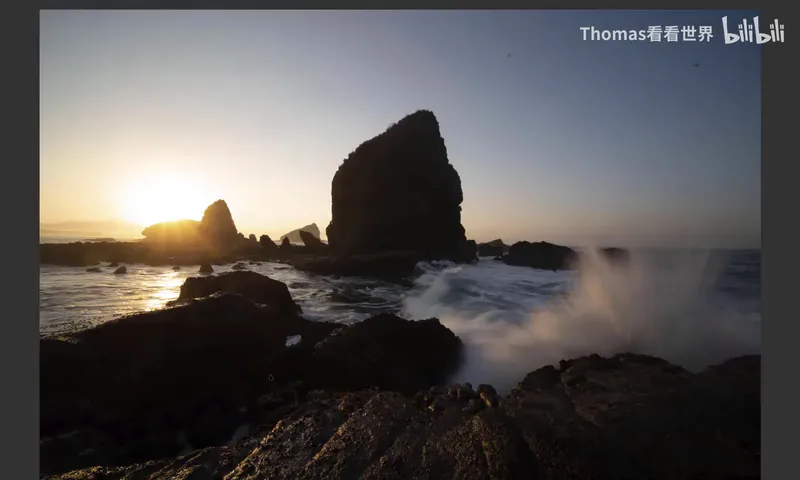
But blending must serve aesthetics — don't abuse a technique just because you know it. Some people, once they learn time blending, stack hundreds of aurora bands or a dozen ghostly people into every photo (at 0:56 in the video). On seascapes it means: if left, middle and right all get a bursting wave blended in, the photo becomes relentlessly intense, loses contrast, and reads fake and strange (at 1:13 in the video).
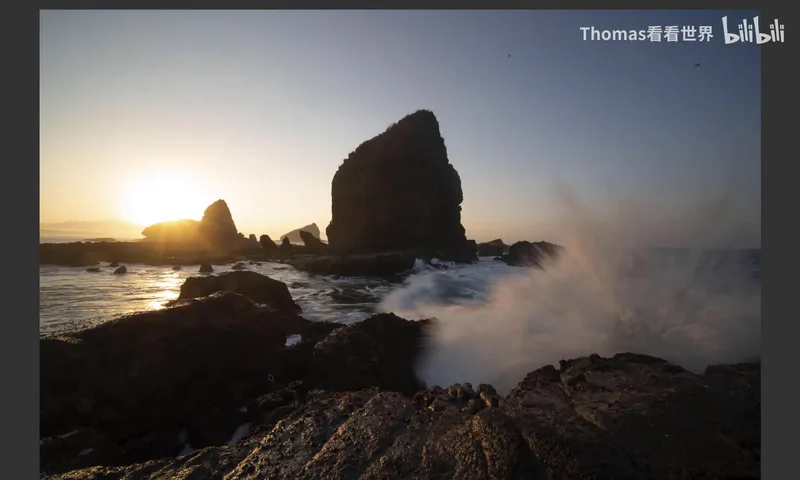
A more comfortable pairing: keep the bursting wave on one side and choose a silky, long-exposure flow on the other — one dynamic, one calm. The motion contrast gives the image power without noise (at 1:30 in the video). Thomas ultimately picked two such frames to blend.
02 Import and Align: Shift-Drag and the Black Mask
Open both photos in Camera Raw, select all with Ctrl+A and load them into Photoshop (at 1:54 in the video). In PS, hold Shift while dragging the second photo into the first one's document — Shift-dragging snaps the layer dead center. These two frames have virtually no positional shift, so even Auto-Align Layers can be skipped (at 2:10-2:19 in the video).
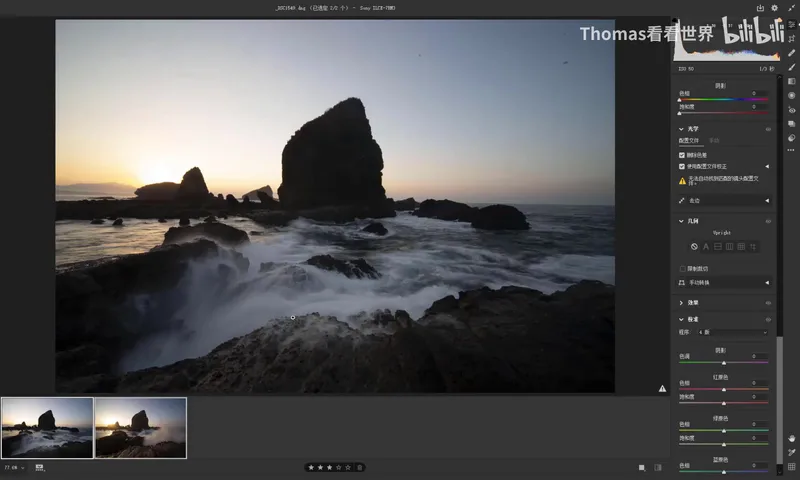
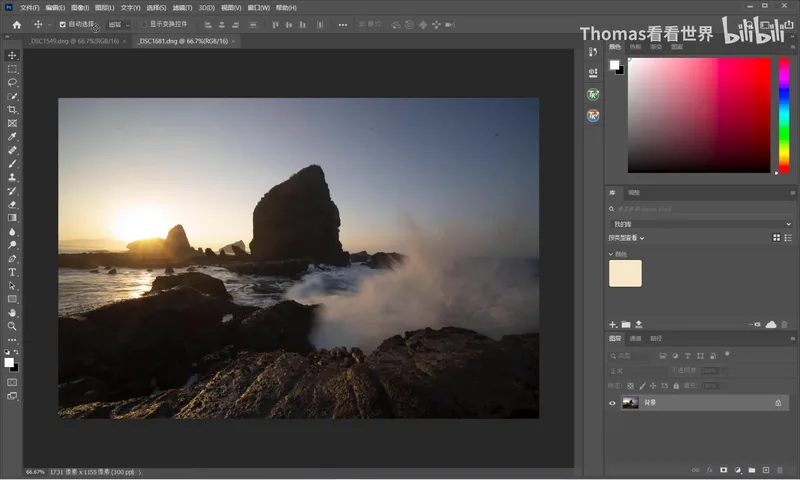
Decide which frame leads before blending: Thomas judged the top photo's wave more striking and made it the base, moving it below in the layer stack (at 2:31 in the video). Then add a mask to the upper layer — with a handy shortcut: instead of creating a white mask and filling it black, hold Alt while clicking "Add Layer Mask" and it comes out black immediately (at 2:43-2:58 in the video).
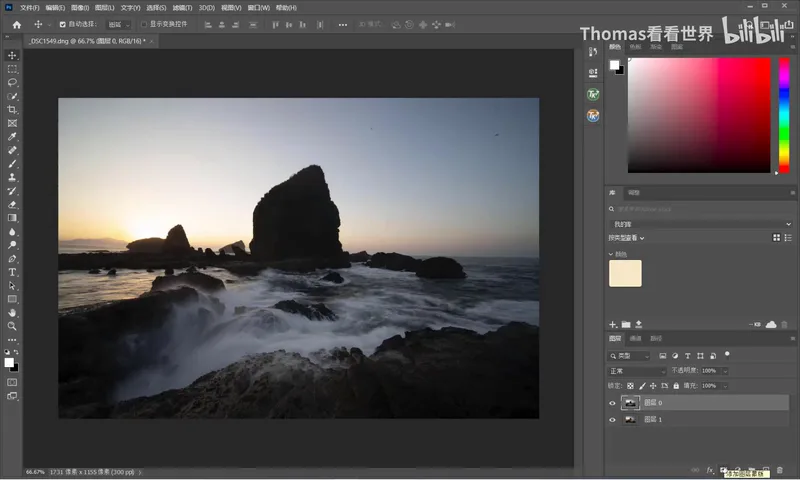
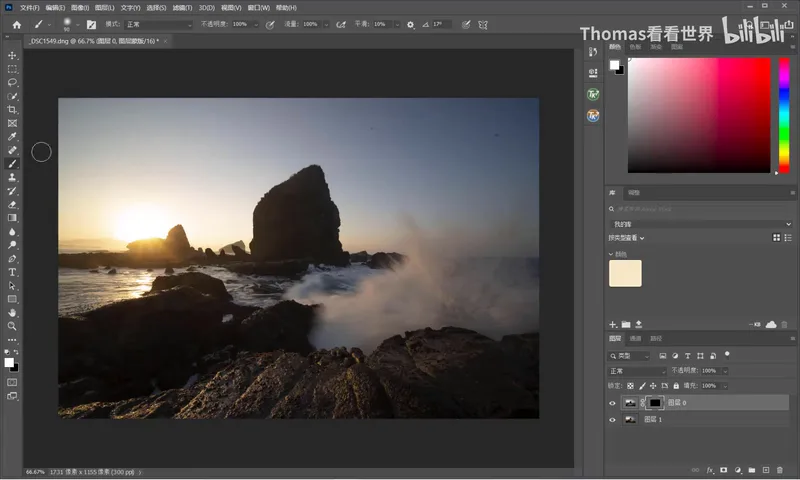
03 Painting In Waves and Local Transitions
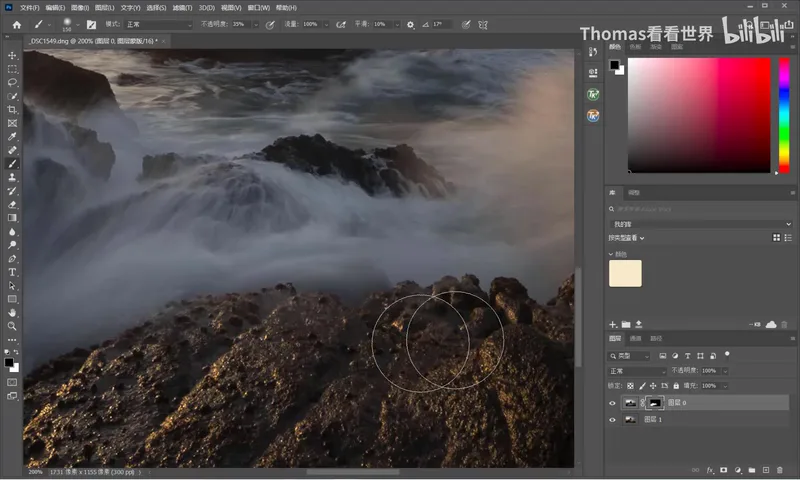
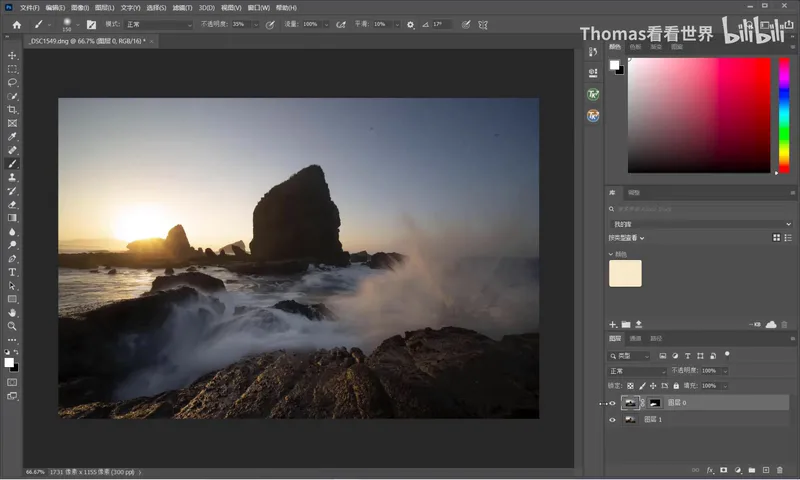
The black mask hides the upper layer; now paint back what you want with a white brush. Over the main wave area push opacity straight to 100% — one pass and the best waves from both photos merge into one (at 3:03-3:15 in the video).
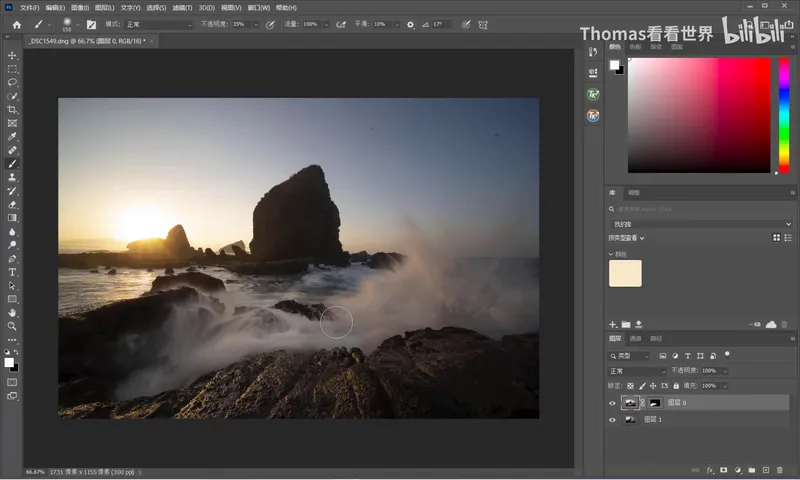
The transitional zones in between need a gentler touch: lower the brush opacity so the two stretches of water blend with no visible seam (at 3:19-3:24 in the video). As for the flowing water at lower left, Thomas preferred the sunlit look of the original frame to the silky long-exposure version — so he switched the brush back to black and restored that area to the base state (at 3:29-3:44 in the video).
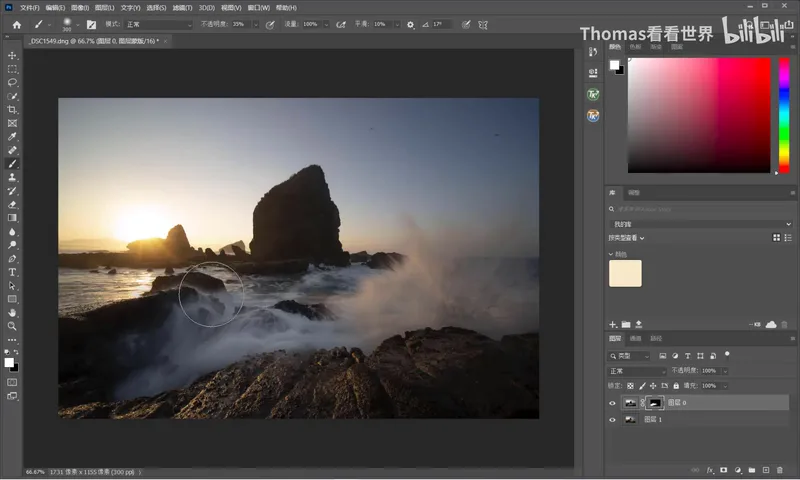
In a few brushstrokes, a photo with great waves on both sides emerges. Any other wave frames on hand can be blended in the same way (at 3:48-3:56 in the video) — and that's the entire core workflow of seascape time blending.
04 Unify White Balance, Then Grade Further
In hindsight Thomas admits he forgot one crucial step: unify the white balance and exposure of both frames before blending. Skip it and you get this problem — one wave renders cold and blue while the other is warm, and together they clash (at 4:01-4:13 in the video). The fix comes easily: in Camera Raw, nudge the colder layer's white balance warmer, add a touch of warmth and magenta, and once confirmed the two photos sit together as waves lit by the same golden light (at 4:19-4:36 in the video).
Finally merge everything into one layer and move on to further color grading — producing a striking, beautiful final image (at 4:41-4:48 in the video). Time blending solves the "which moment" problem, but the finished photo's character still depends on unified tones and color to close the deal.
1. Seascape frame-picking logic: a bursting wave on one side, silky flow on the other — motion versus calm creates contrast; bursting waves everywhere turn frantic and fake; 2. Open both frames in ACR with Select All, Shift-drag into PS for auto-centering, and skip Auto-Align Layers when there's no visible shift; 3. Make the better wave the base, Alt-click for an instant black mask, paint the subject in with white at 100%, blend transitions at low opacity, and switch back to black to restore the original where it wins; 4. Unify white balance and exposure before blending — cold meets warm always clashes, fixed in ACR by warming and adding magenta.