Photography Tutorial · 2021-10-17
Capturing Shanghai's Complexity: A Street Shoot Using Time Blending
Thomas Chu Photo
If you were to photograph Shanghai's cityscape, how would you do it?
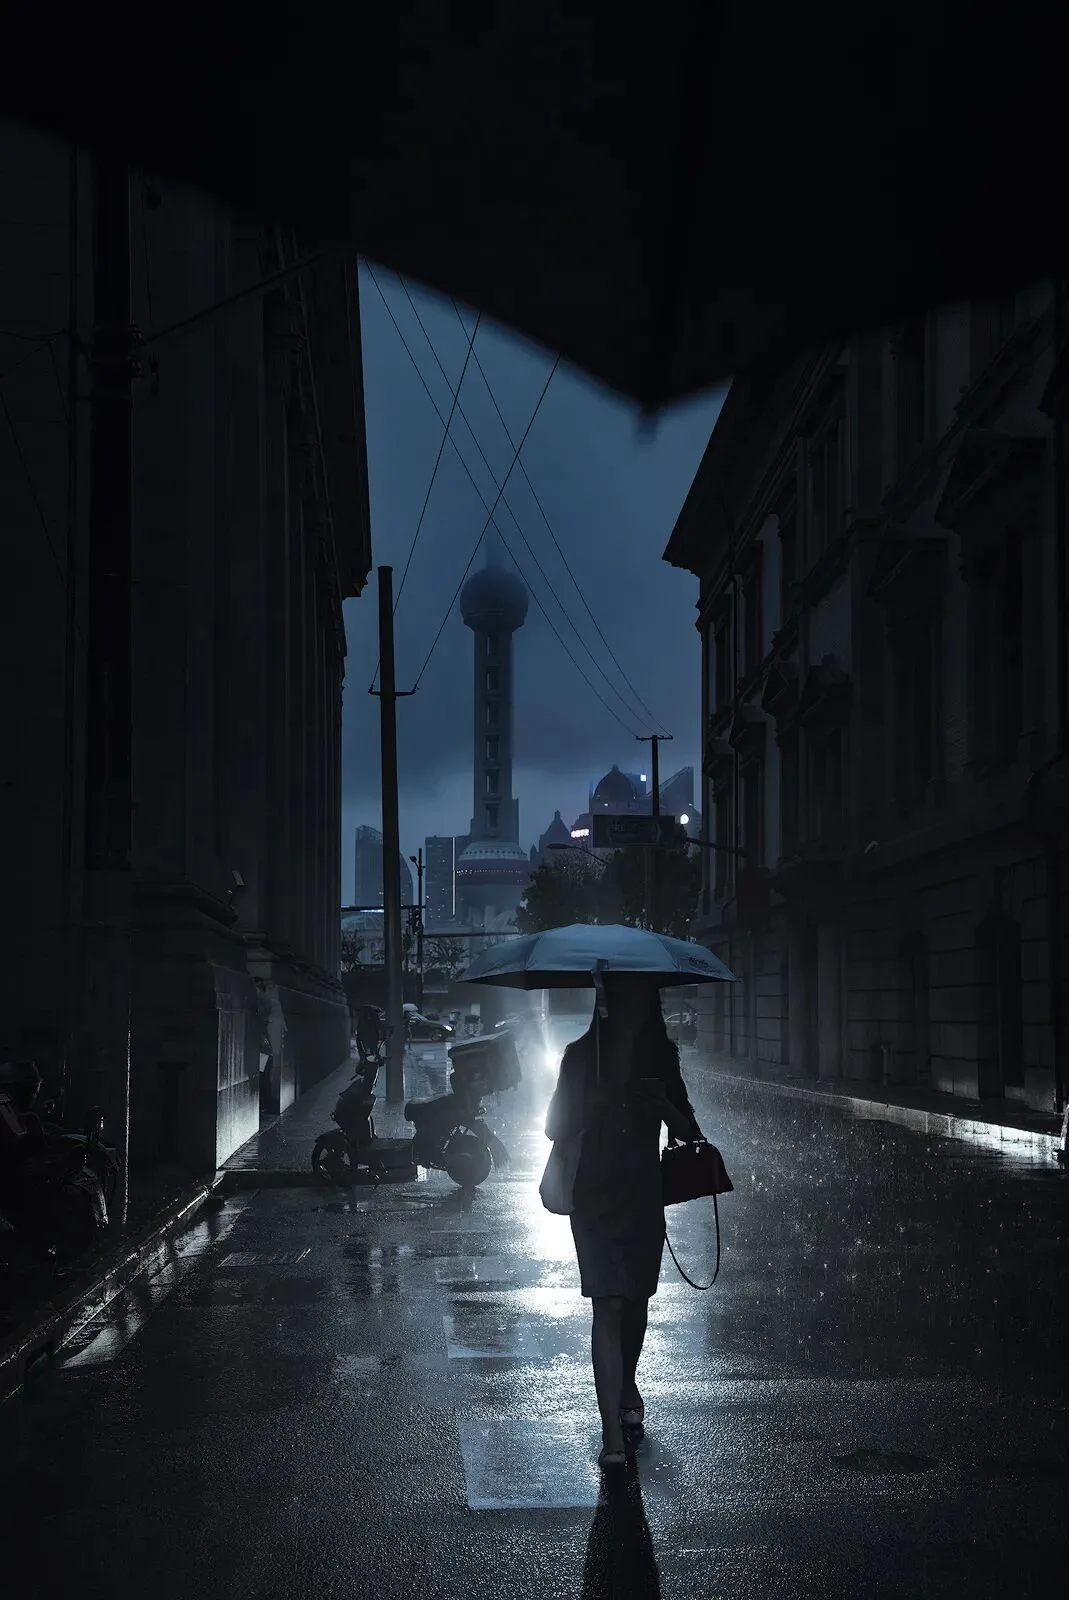
In my eyes, the charm of Shanghai lies in its scale, precision and complexity — here, modern Western glass towers collide with traditional Eastern streets and alleys, and all kinds of people meet, giving birth to many magical scenes.
So for this street shoot, I tried to use techniques such as time blending — both in capture and in post — to convey the spatial structure and complexity of a great metropolis.
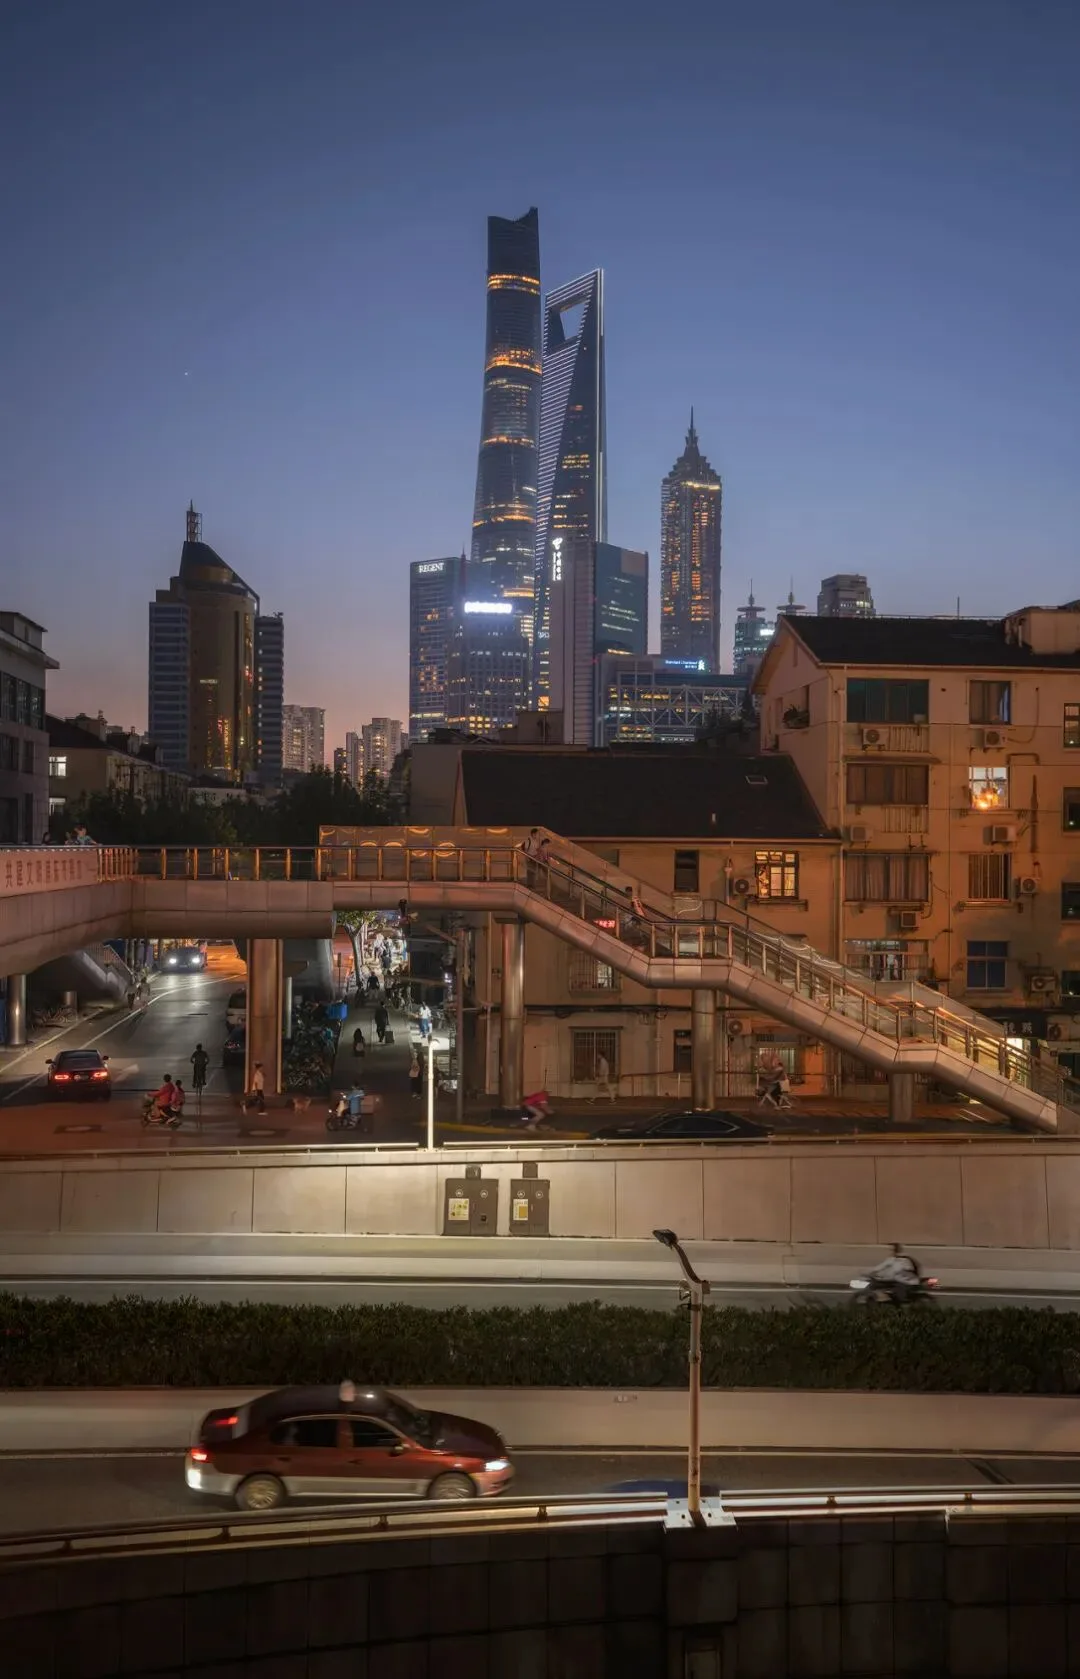
What do you think of the final image below? Feel free to share your views, thoughts and suggestions in the comments!
Video Tutorial
▶ Watch the video tutorial on Bilibili
This is the fully illustrated companion to the video above — an advanced time-blending field test. From a pedestrian bridge in Pudong, Thomas shot nearly 600 frames from one locked-off tripod, then selected and blended them into a Shanghai cityscape of enormous information density and complex spatial structure: the Lujiazui "three-piece set" towers up top for the city's height, street-level life below for its warmth. The walkthrough follows the video in order with keyframe screenshots.
Start with the final image. The video opens with the finished photo: skyscrapers and old apartment blocks in one frame, with the footbridge, streets, pedestrians and traffic unfolding layer by layer. How it was shot and blended is exactly what this tutorial answers.
01 The Spot: Leave Complexity to the Frame
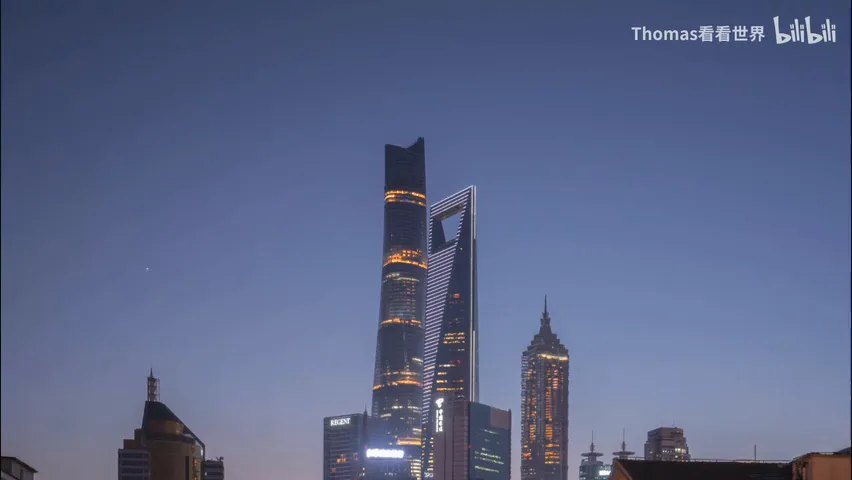
The location is a well-known footbridge in Pudong. Walk further back and you reach the classic spot — a street running like a leading line toward the three Lujiazui towers, flanked by atmospheric old apartment buildings. But Thomas wanted even more complex urban spatial structure, so he stepped back to this position instead (at 0:45-1:09 in the video).
The spatial layers here are rich: the bustling Lujiazui towers farthest away; older residential blocks in the middle distance; the footbridge cutting across, its roof and staircases slicing the whole space into many structures (at 1:10-1:18 in the video). And it's rush hour — residents cycling and walking beneath the bridge, shops still open along the street — all elements that dramatically boost the scene's sense of complexity (at 1:20-1:47 in the video).
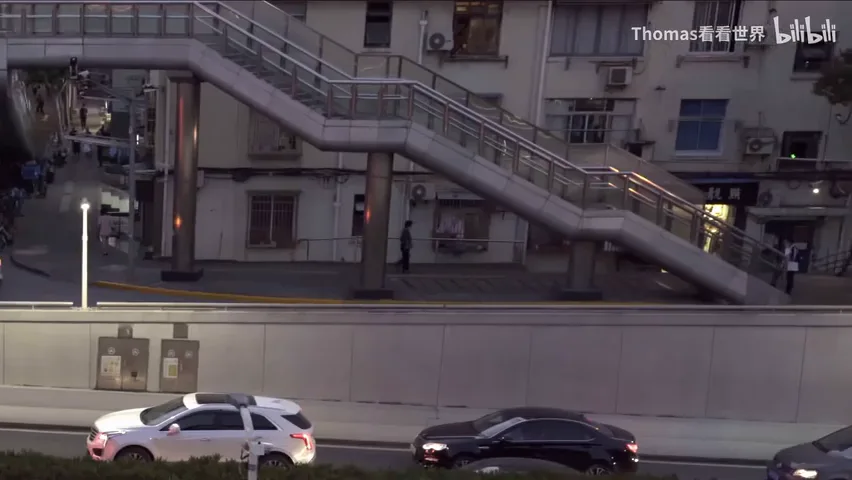
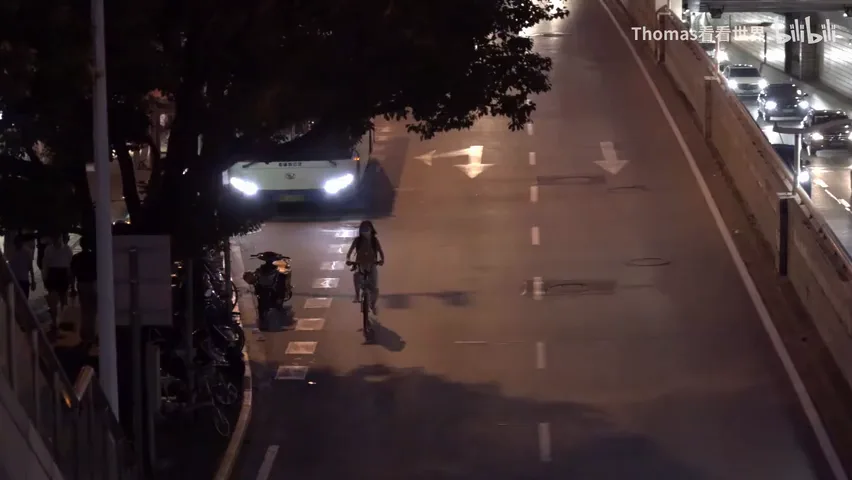
In the foreground runs a busy, traffic-filled road with endless rush-hour flow (at 1:48-1:55 in the video). Blended together, all of this becomes a cityscape dense with detail and spatial structure. But a single frame can't possibly capture it — the tripod stays locked in place, and every element you want is shot separately for the time blend (at 1:56-2:15 in the video).
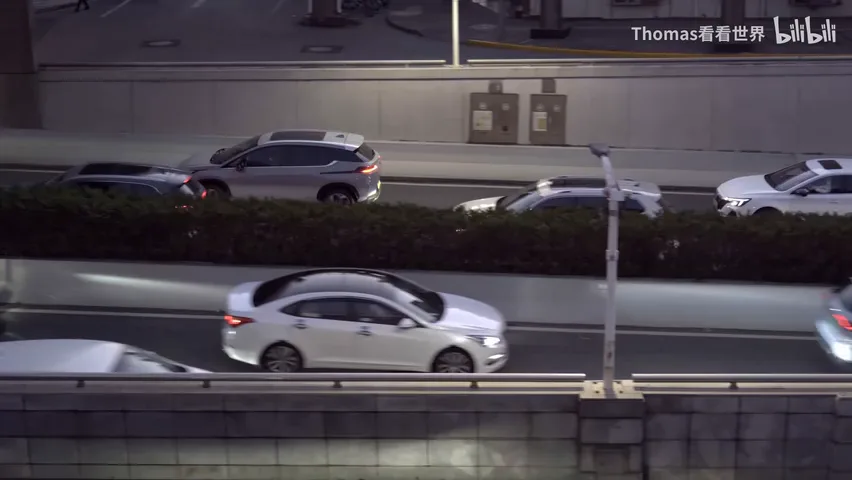
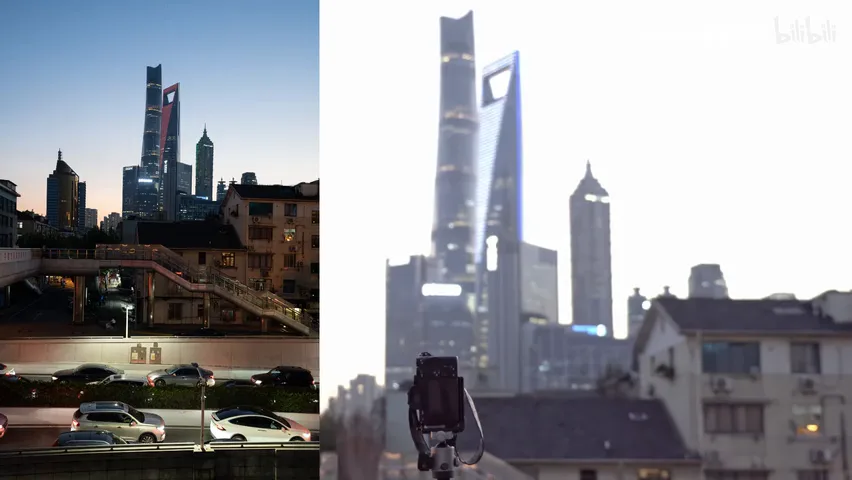
02 Shooting: 600 Frames In, 30 Frames Chosen
How big is the haul? Thomas imported nearly 600 frames into his computer (at 2:46 in the video). Scanning the batch reveals: the background — the towers — barely changes at all apart from faint lighting shifts; what keeps changing is the living, street-level half of the frame, its people and vehicles different in every shot (at 2:52-3:16 in the video). Shooting so many frames is precisely to record every vivid moment down below.
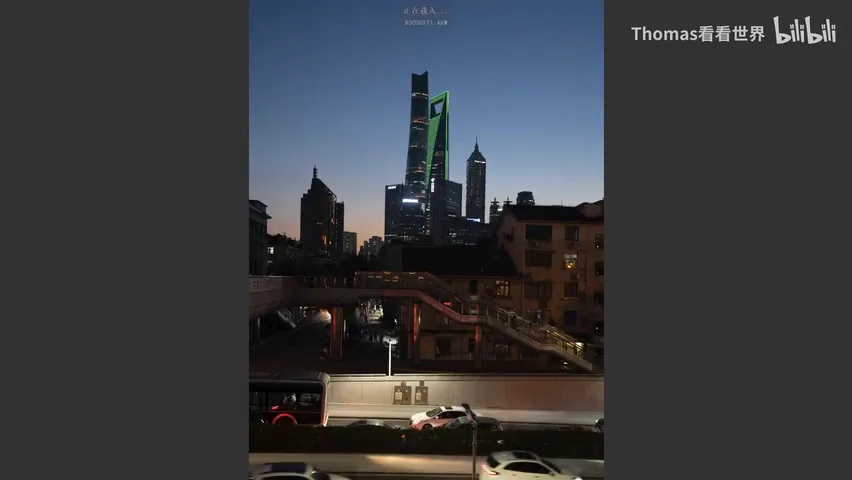
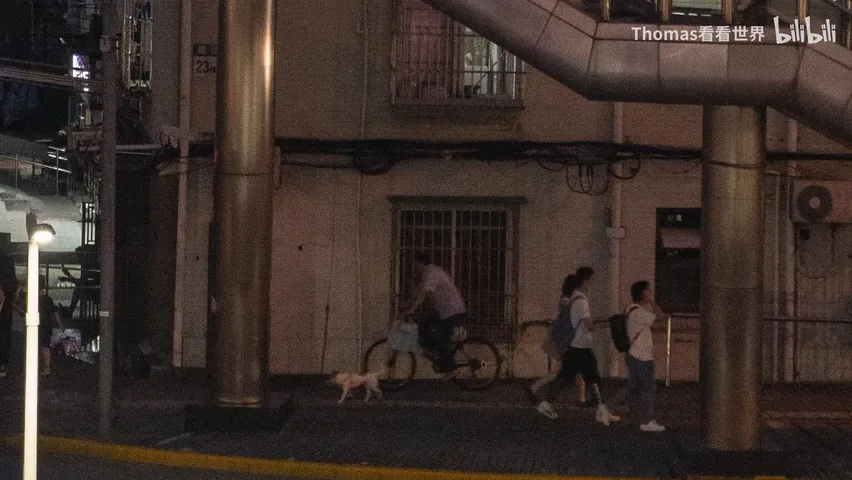
From the 600-plus frames he finally chose around 30, each with a standout element: in one, an elderly man walks with a dog trotting ahead — wonderfully distinctive; in a burst of others, a mother carrying her child and a small bag crosses the street (at 3:21-3:45 in the video). These representative frames are the protagonists of the blend to come.
03 Stacking Import and Plate Quality
The PS import is an old friend: File → Scripts → Load Files into Stack, browse to the frames, check "Attempt to Automatically Align Source Images", and hit OK (at 3:46-4:19 in the video). Even on a tripod, shutter vibration or a gust of wind can cause slight shifts — let PS's auto-align handle it.
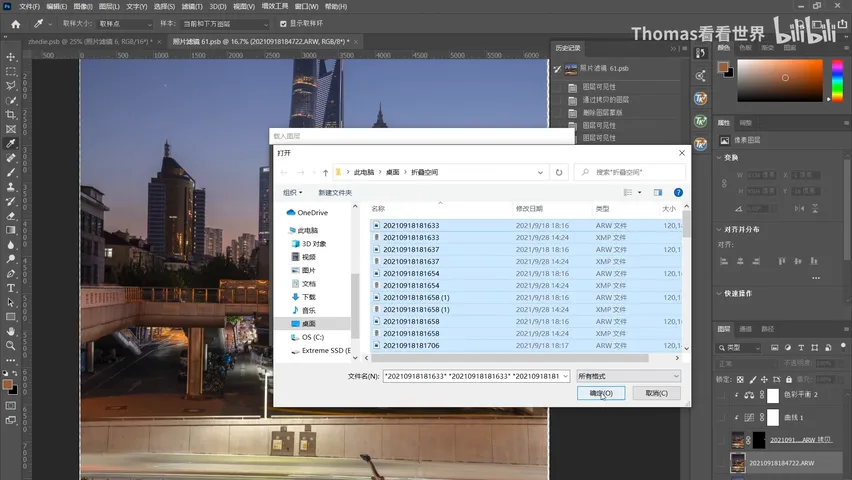
All photos land in one document as layers. The base among them is an HDR-blended DNG file (at 4:44-4:51 in the video). The rest of the material was shot at ISO 3200, f/4, 1/50 s — zoom in and the noise is heavy. Use those frames for the background towers too and quality suffers, especially in large prints (at 4:52-5:15 in the video).
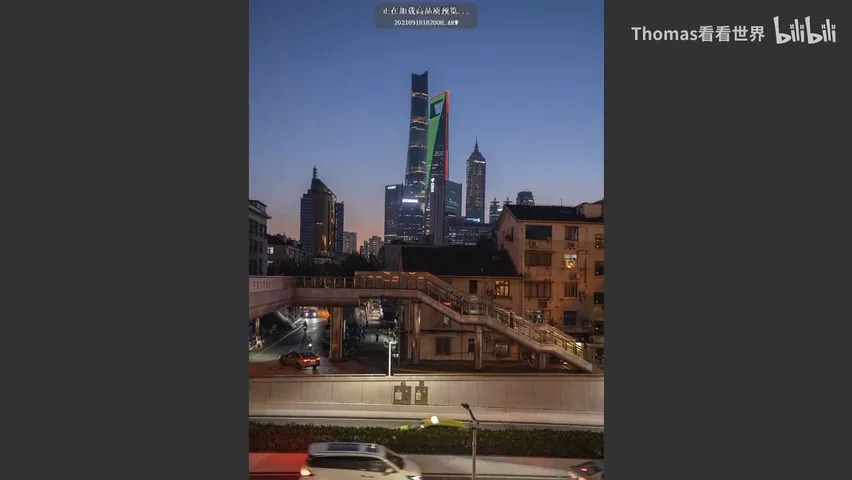
So he re-shot the background on clean plates: ISO down to 50, the sweet-spot aperture of f/8, and a two-stop bracket of -3, -1, +1 — corresponding to 1 s, 4 s and 15 s (at 5:16-5:36 in the video). At ISO 50 the files stay silky even magnified, resolving window detail in the distant towers. The bracket serves another purpose: blown areas like the SPD Bank logo are severely clipped at normal exposure, but the underexposed frame recovers them (at 5:37-5:59 in the video).
04 The 15-Second Base: From Light Trails to a Stairwell Lamp
In the 15-second base, everything moving smears: pedestrians blur into trails the moment they cross, unreadable; cars stretch into light streaks (at 6:03-6:16 in the video). That's the gap to fill — blending sharp elements back in via time blending, one frame at a time. Thankfully, on a locked tripod, blending in is easy.
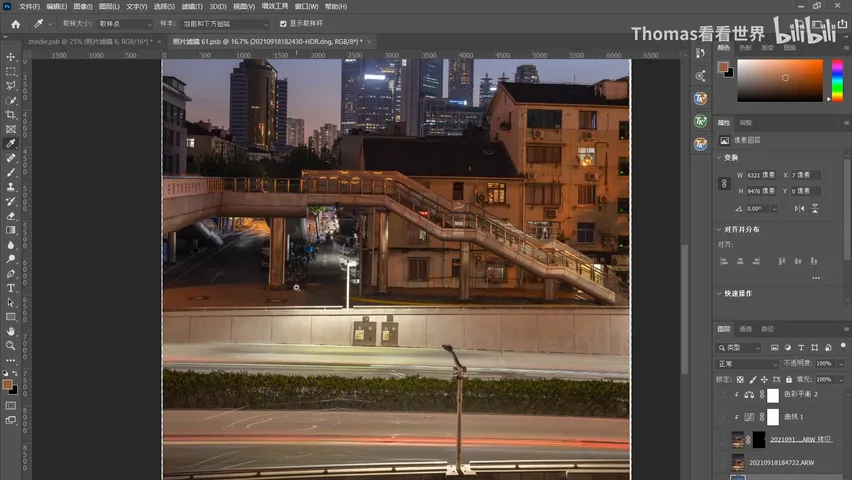
The first case isn't even a person: in one frame, a stairwell lamp in the old apartment building glows — but it's off in the base. Thomas wanted it lit, to show how these old Shanghai stairwells look (at 6:29-6:50 in the video). The method: create a mask, press Ctrl+I to invert it black — the layer vanishes completely; then paint over the lit window with a white brush at 100% opacity to reveal it (at 6:52-7:24 in the video).
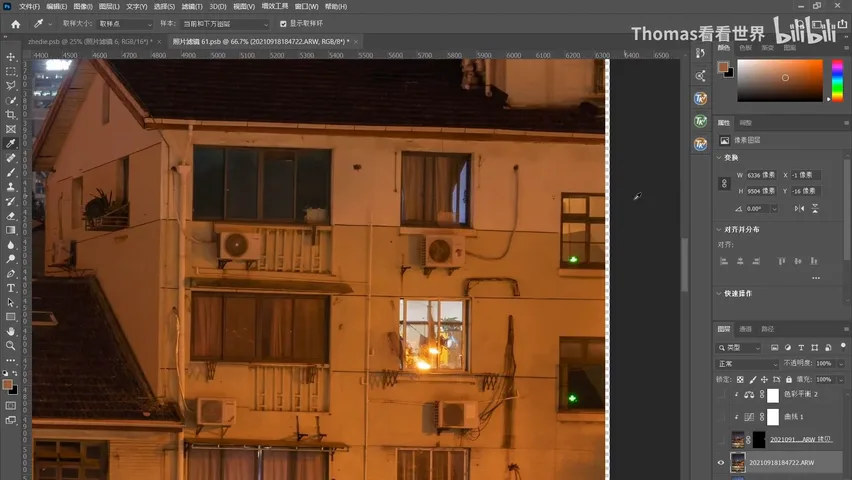
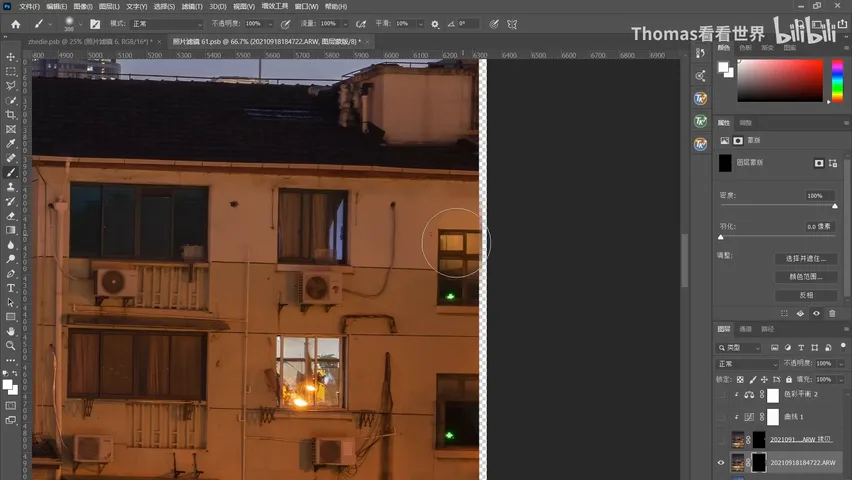
But the two frames differ slightly in color temperature and brightness, and blending raw would show — unification takes two steps (at 7:25-7:49 in the video). Step one, soften the transition: drop brush opacity to around 10, paint white generously around the window, then switch to black and paint the edges back — even a zero-hardness hard edge becomes a feathered blend, virtually seamless (at 7:52-8:43 in the video). Step two, unify tone: a Curves layer darkens the over-bright window — but right-click and "Create Clipping Mask" first, or the curves will hit every layer below; add Vibrance, clip it, and ease it down; finally a Photo Filter adjustment layer, also clipped, sampling the surrounding color at 20-30% density so the window's hue melts into the scene; still too bright? Nudge the curves down a touch more (at 8:44-10:11 in the video).
05 The Layer Tally and the Final Frame: a Many-Sided City
Then Thomas walks through what each layer contributed: a cyclist on the main road, a young man exercising on the footbridge, the lively street and a young woman, a traveler pulling a suitcase, people gazing off the bridge, one stretch of clean street with no light trails, the dog walker, the delivery rider — an indispensable part of a big city, he says — plus a taxi dripping with Shanghai character and someone cycling home from work (at 10:15-11:38 in the video).
Another blend brings in the headlight glow of two cars — backlit and front-lit at once, casting silhouettes and long shadows, while a grandmother collects a child from a car and small groups stroll through the lamplight — suddenly the scene turns theatrical (at 11:38-12:04 in the video). He picks people with distinct occupational traits to make the city feel alive; but too many and it turns messy — a constant trade between information density and cleanliness (at 12:05-12:27 in the video). The mother-and-child pair, for instance, clashed with other elements at every spot along their walk, so the chosen position isn't the best one — it's simply the one that collides with nothing (at 12:29-12:57 in the video).
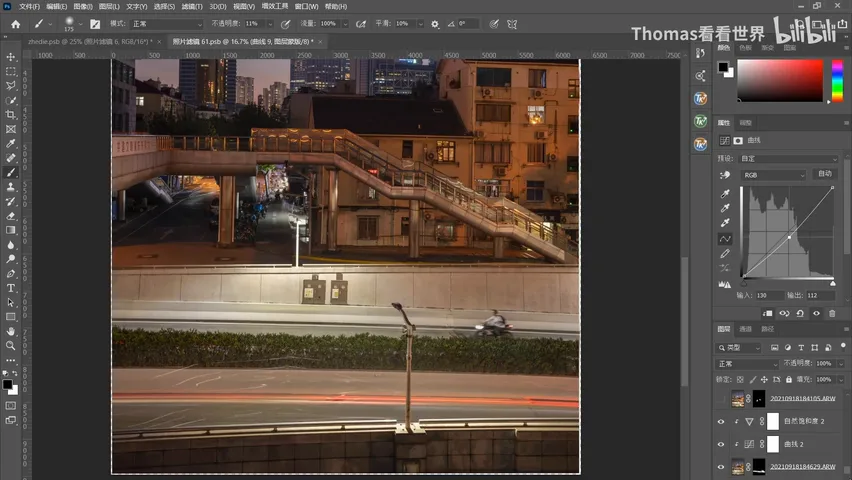
After some simple color grading, the final Shanghai picture comes together: the classic three towers up top, the lively after-work street below, and life hiding in every window (at 12:58-13:22 in the video). For Thomas, this spatially rich scene built by time blending expresses the many faces of the city — pedestrians of every kind, delivery riders, crowds in traffic, skyscrapers and old housing alike — the true, many-sided feel of a real metropolis (at 13:23-13:50 in the video).
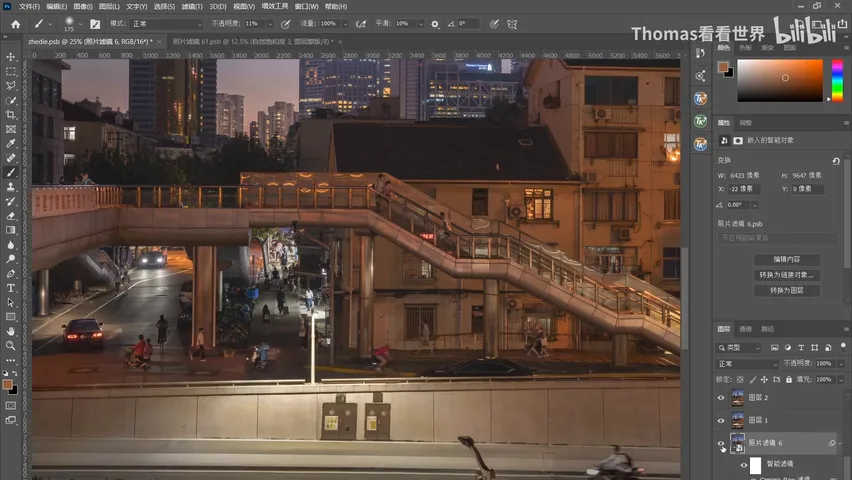
1. Choosing the spot: skip the classic viewpoint for one with richer spatial structure — the towers far, the old blocks and footbridge mid-frame, commuters and traffic near, all in one composition; 2. Shooting strategy: lock the tripod; the towers barely change, so the ~600-frame burst exists to capture street-level people and cars, refined to ~30 keepers; 3. Plate layering: bursts at ISO 3200, f/4, 1/50 s; background re-shot at ISO 50, f/8, bracketed -3/-1/+1 (1 s, 4 s, 15 s) for fine detail and recovered highlights; 4. Blending craft: black mask, paint in with white, feather at low opacity, then unify tone with clipped Curves, Vibrance and Photo Filter; fewer people, richer variety — let occupations color the scene without colliding.