Photography Tutorial · 2020-05-24
These 6 Points Are What I Want to Tell You
Thomas Chu Photo
Author of this article: Miller Yao Minglai
Today, I won't talk about photography post-processing, nor shooting techniques. These 6 points are what I want to tell you. I hope beginners take fewer detours, and advanced masters reach even higher
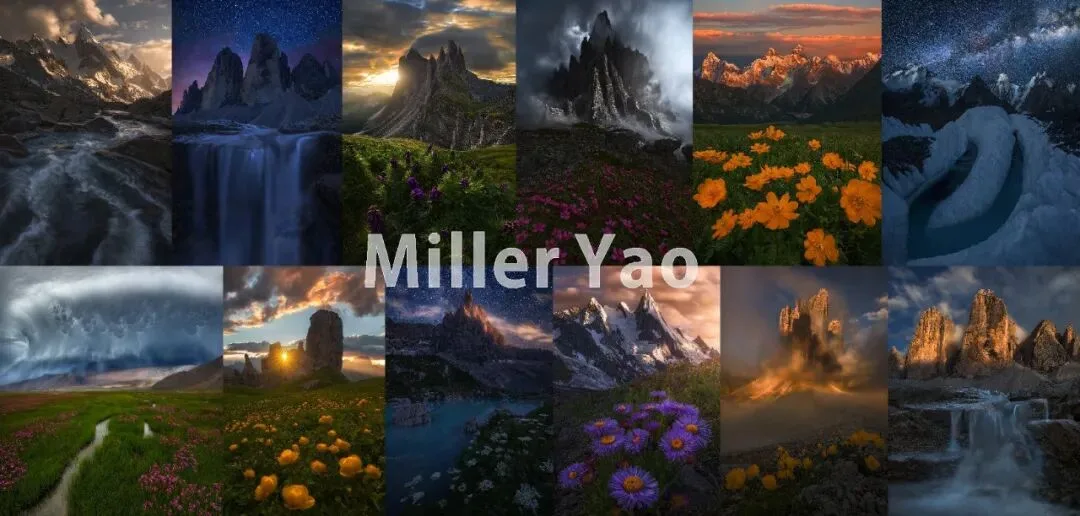
(1) You Need to Buy at Most Three Lenses
Too many people see camera gear as the most critical factor for great shots, spending a lot of energy and money on researching and upgrading equipment.
But what I want to say is that camera gear is actually the thing you should least over-invest in for landscape photography. An advanced full-frame DSLR and a few essential lenses are enough for many years.
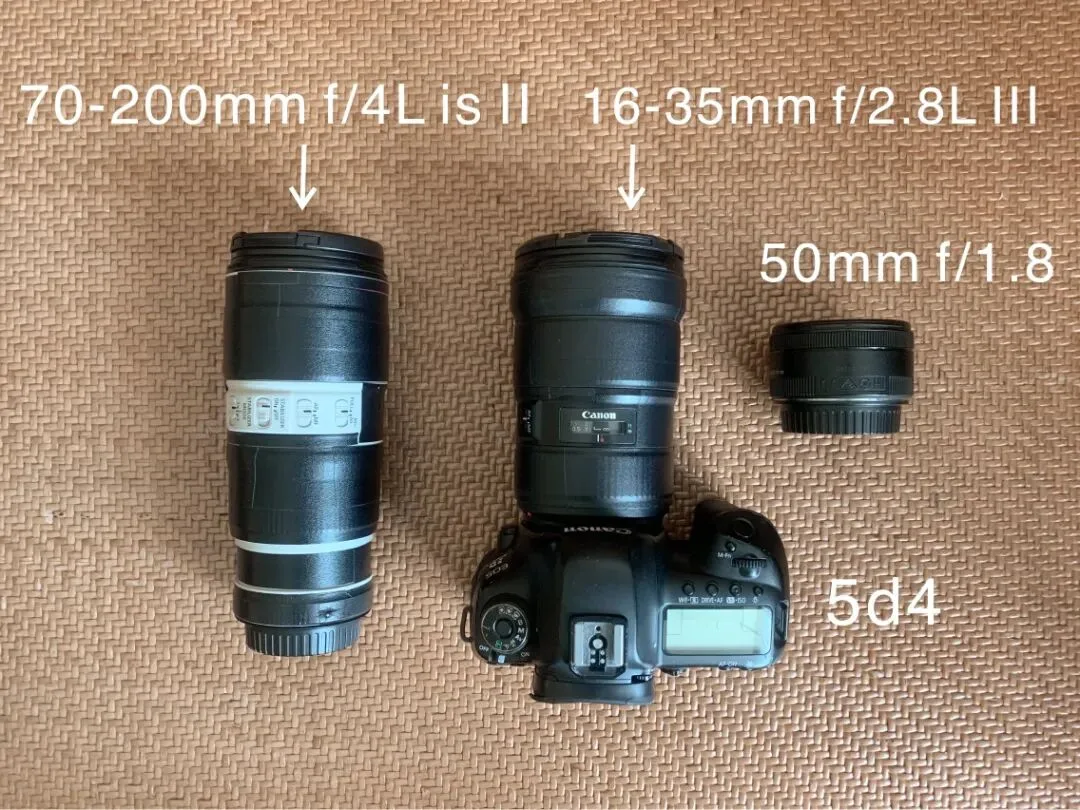
Canon 5D4; 16-35mm f/2.8L III; 70-200mm f/4L IS II; 50mm f/1.8. Three lenses and one body — that's my entire collection of bodies and lenses.
For so many years, I've always used this configuration. Over the years, I've only upgraded the body from 5D3 to 5D4, the wide angle from the 16-35 Mark II to Mark III, and the telephoto from the 70-200 Mark I to the latest Mark II.
Actually, apart from the depreciation of selling old gear second-hand, upgrading doesn't cost much either. Given Canon's incremental update pace, it really lasts for many years.
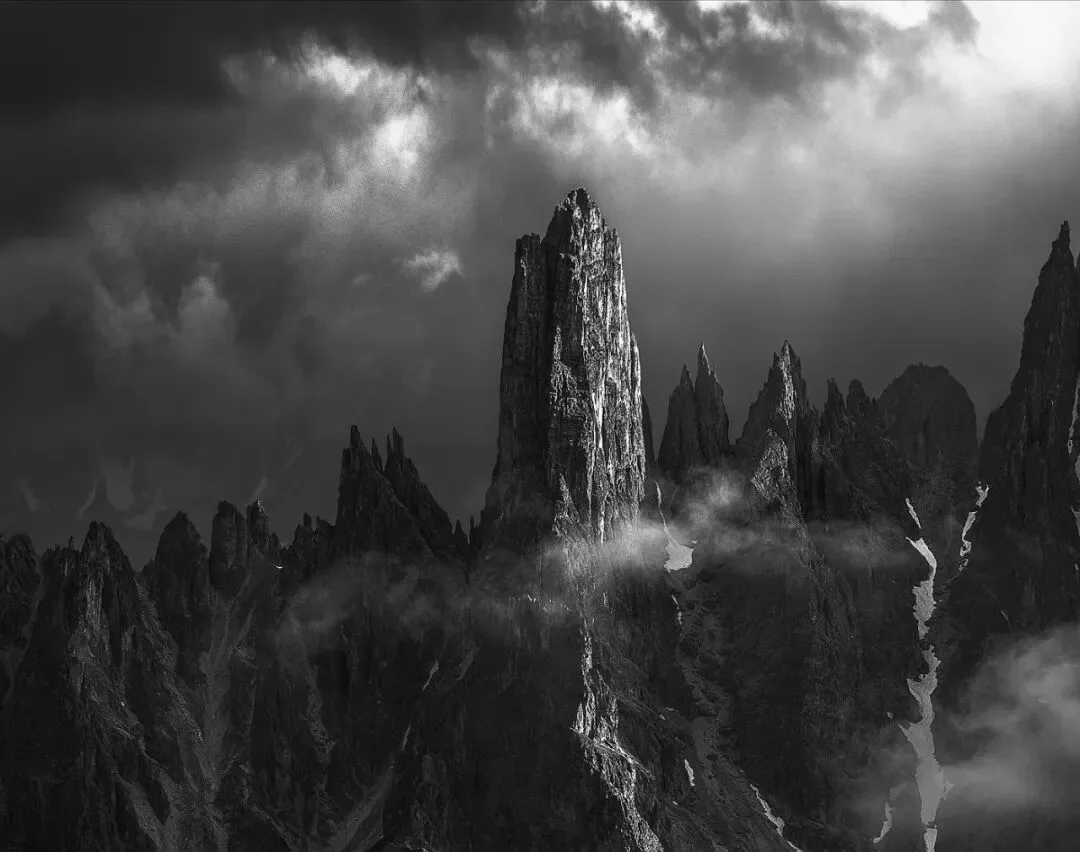
(Missouri Mountain under the 70-200mm f/4L IS II lens)
The 70-200mm f/4L IS II and the 50mm f/1.8 (the third-generation "Little Spitoon," as it's called) are lenses most gear fanatics look down on. But in my view, these two lenses achieve an excellent balance between weight and image quality. Besides, for landscape photography, which almost always uses small apertures below f/8, can you really tell the difference between these two lenses and top-tier glass without a magnifying glass?
The 50mm f/1.8, a lens costing only 600 yuan, replaced the heavy 24-70 and became my first choice for mid-focal landscape photography.
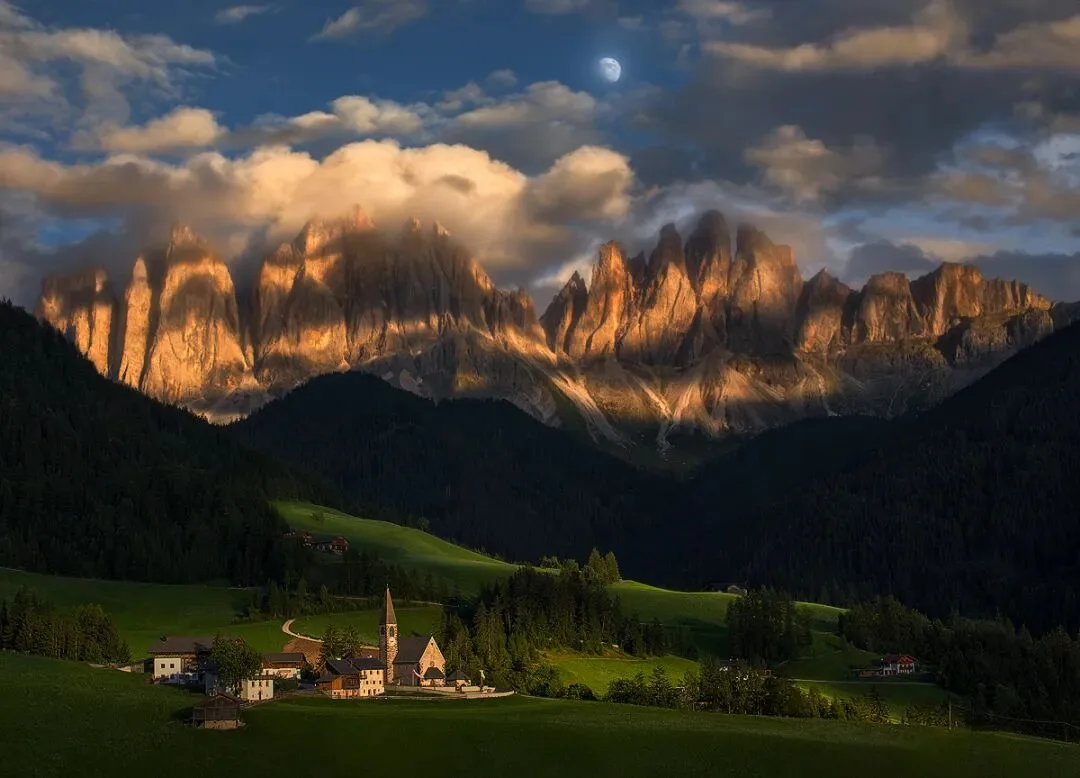
(Shot with the 50mm f/1.8 Little Spitoon in the Funes Valley)
Actually, mid-focal lenses, which have neither impact nor compression, are awkward in landscape photography and are used infrequently. When you go out carrying the 16-35 and 70-200, the gap of the 35-70 range can be well filled by a lightest 50mm prime.
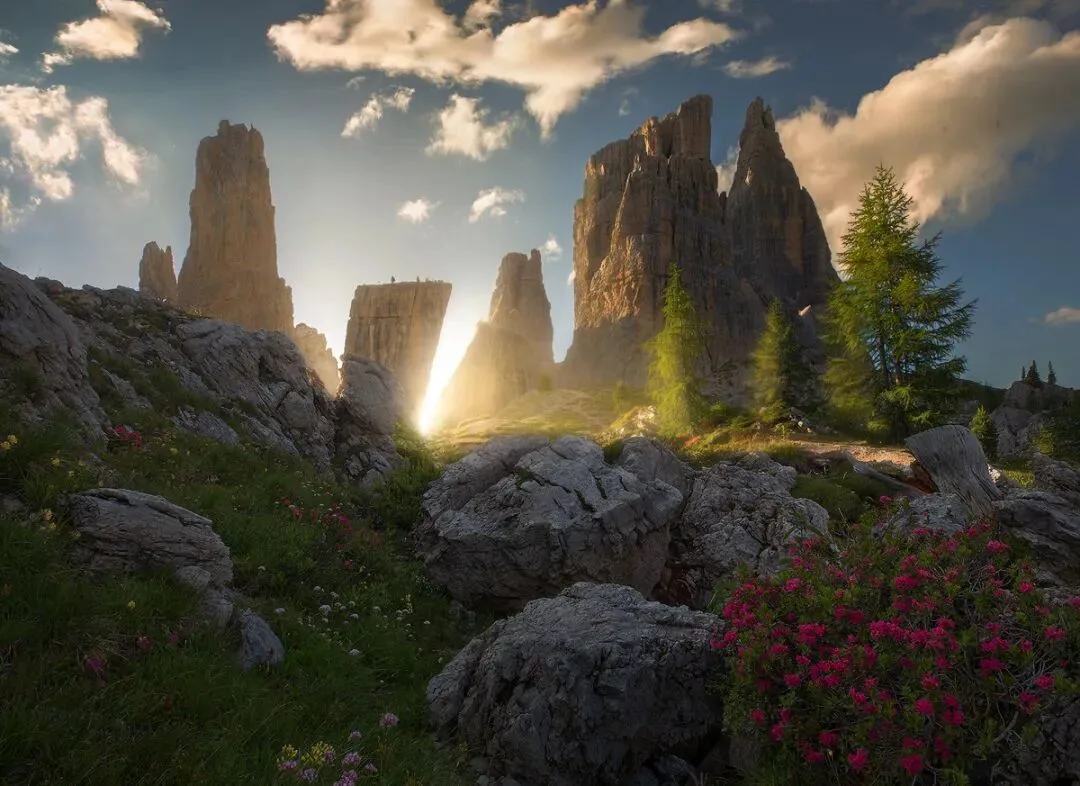
(Shot with the 16-35mm f/2.8L III in the Dolomites)
The 16-35 is the only top-tier Canon lens in this focal range I own. For this large-aperture ultra-wide zoom that bears 80% of the output responsibility, don't hesitate — buy the best you can afford.
These three lenses are enough to shoot any landscape. You can also buy a teleconverter to extend your telephoto reach. The money saved on lenses should be spent on an online photography course to improve your technique and aesthetics, or used as travel funds to shoot masterpieces — that's the right choice.
(2) Learn to Shoot Outside Sunrise and Sunset
When you see someone shooting in broad daylight, they're either a beginner or a master. Countless times, friends traveling with me have seen photos I took outside sunrise and sunset and regretfully said: "If only I'd known, I would have taken out my camera and shot too!"
Sunrise and sunset are indeed the best times for landscape photography, but not the only times. Shooting landscape masterpieces in broad daylight requires correct judgment of the scene and light.
A cloudy day is the best time to produce shots during the day. When sunlight is blocked by clouds, localized light appears — a quality light that creates light-dark contrast in images.
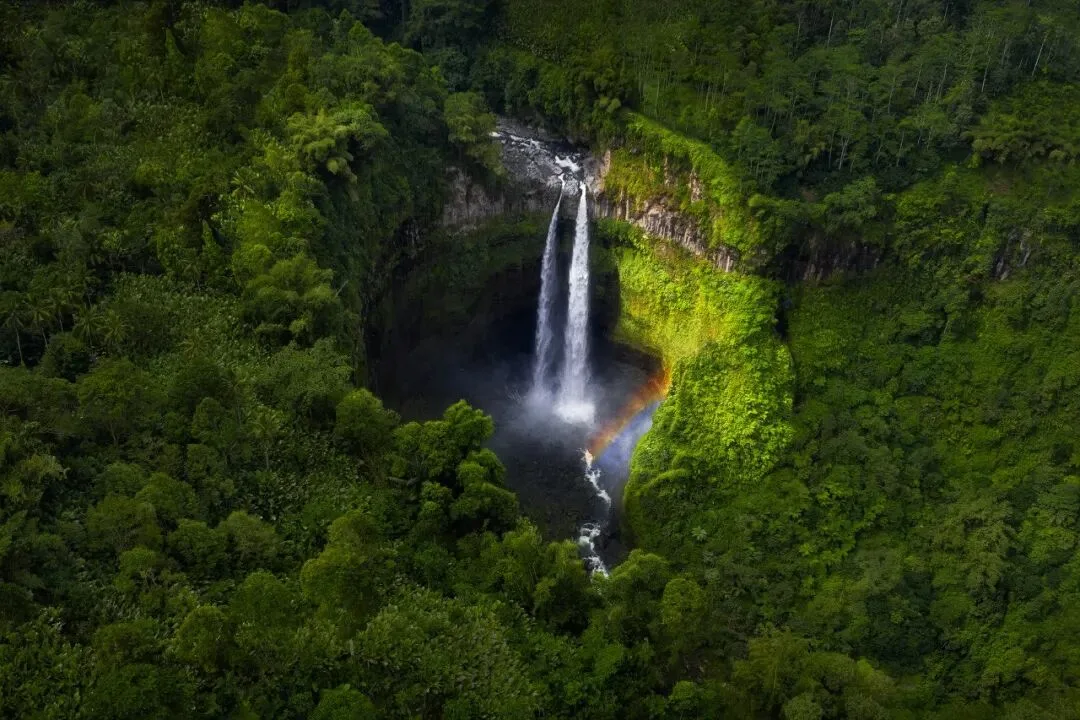
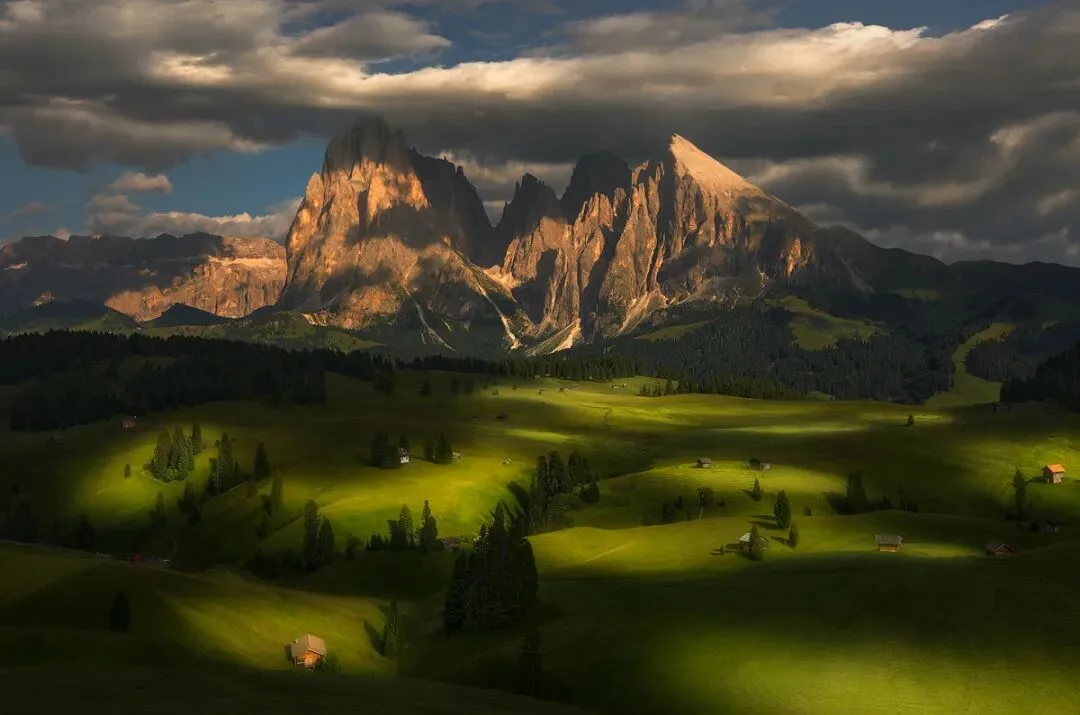
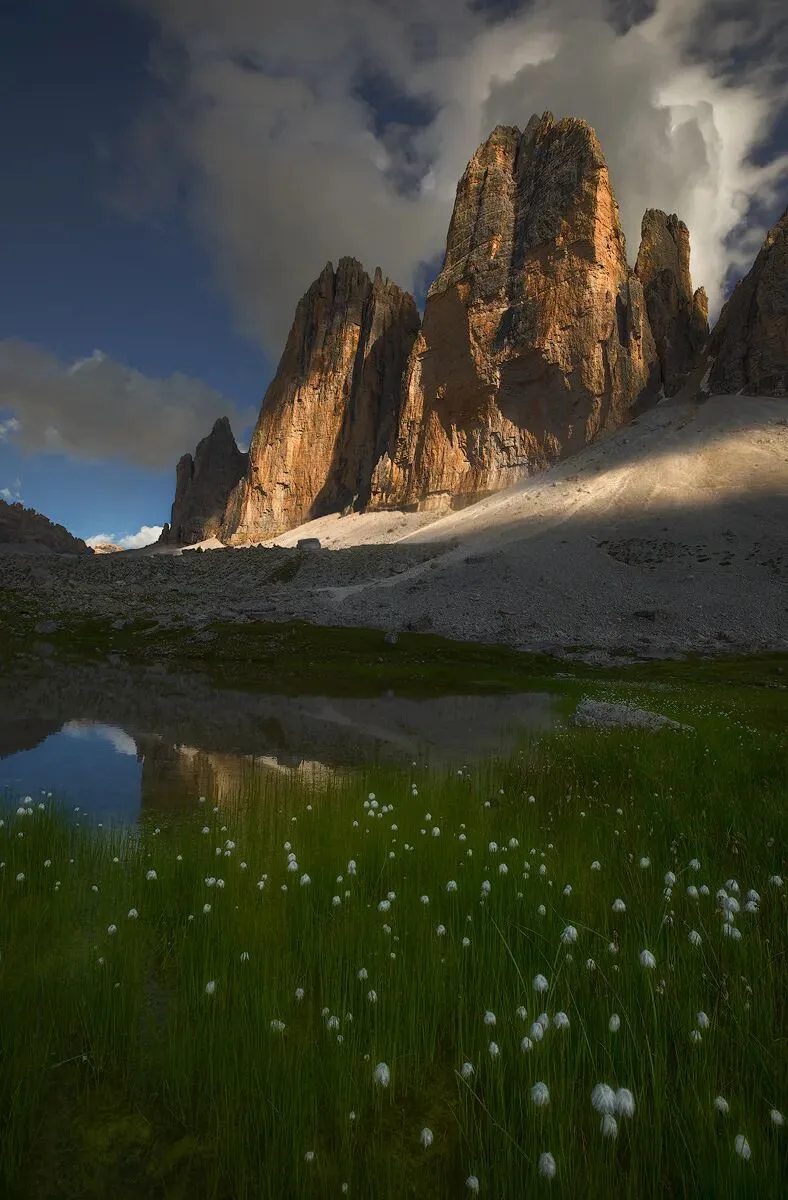
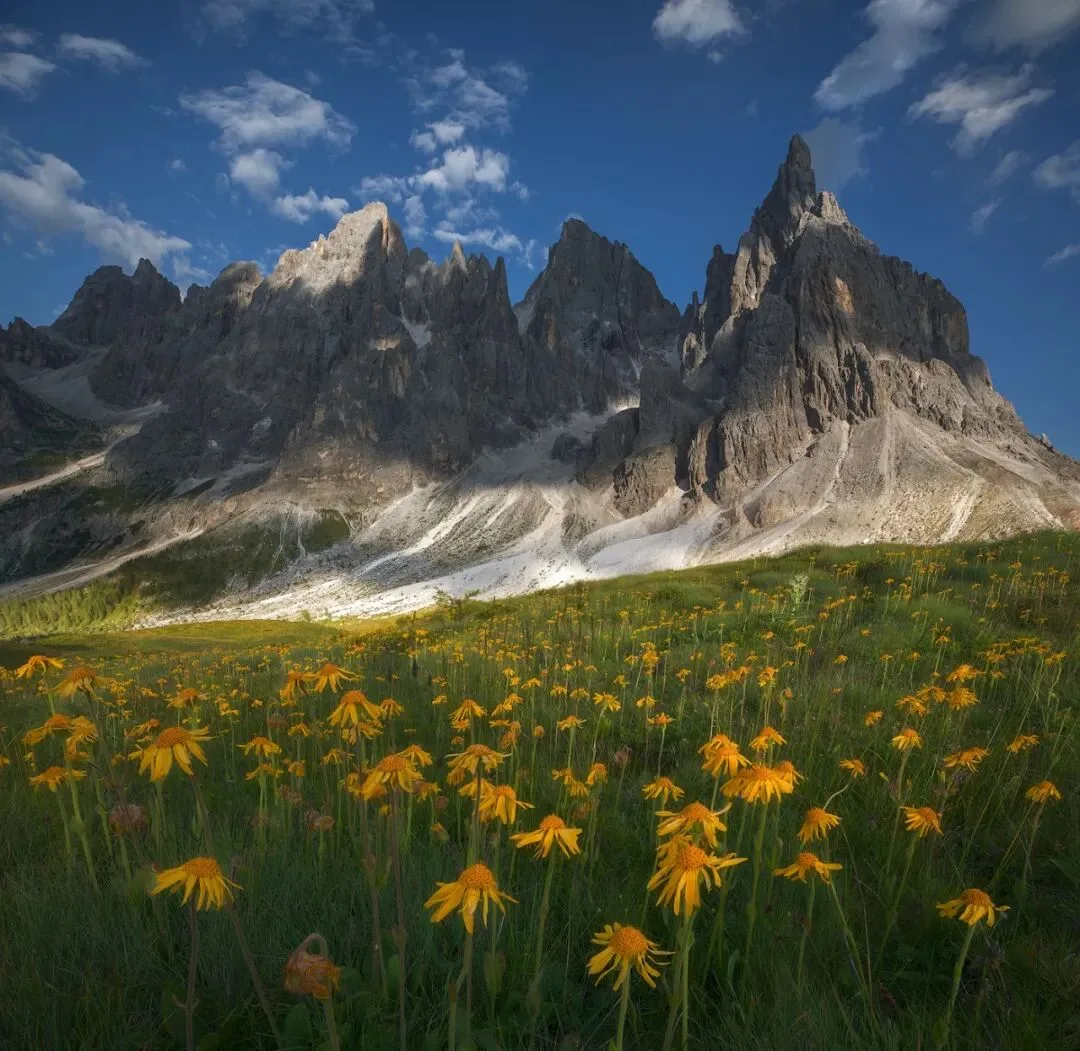
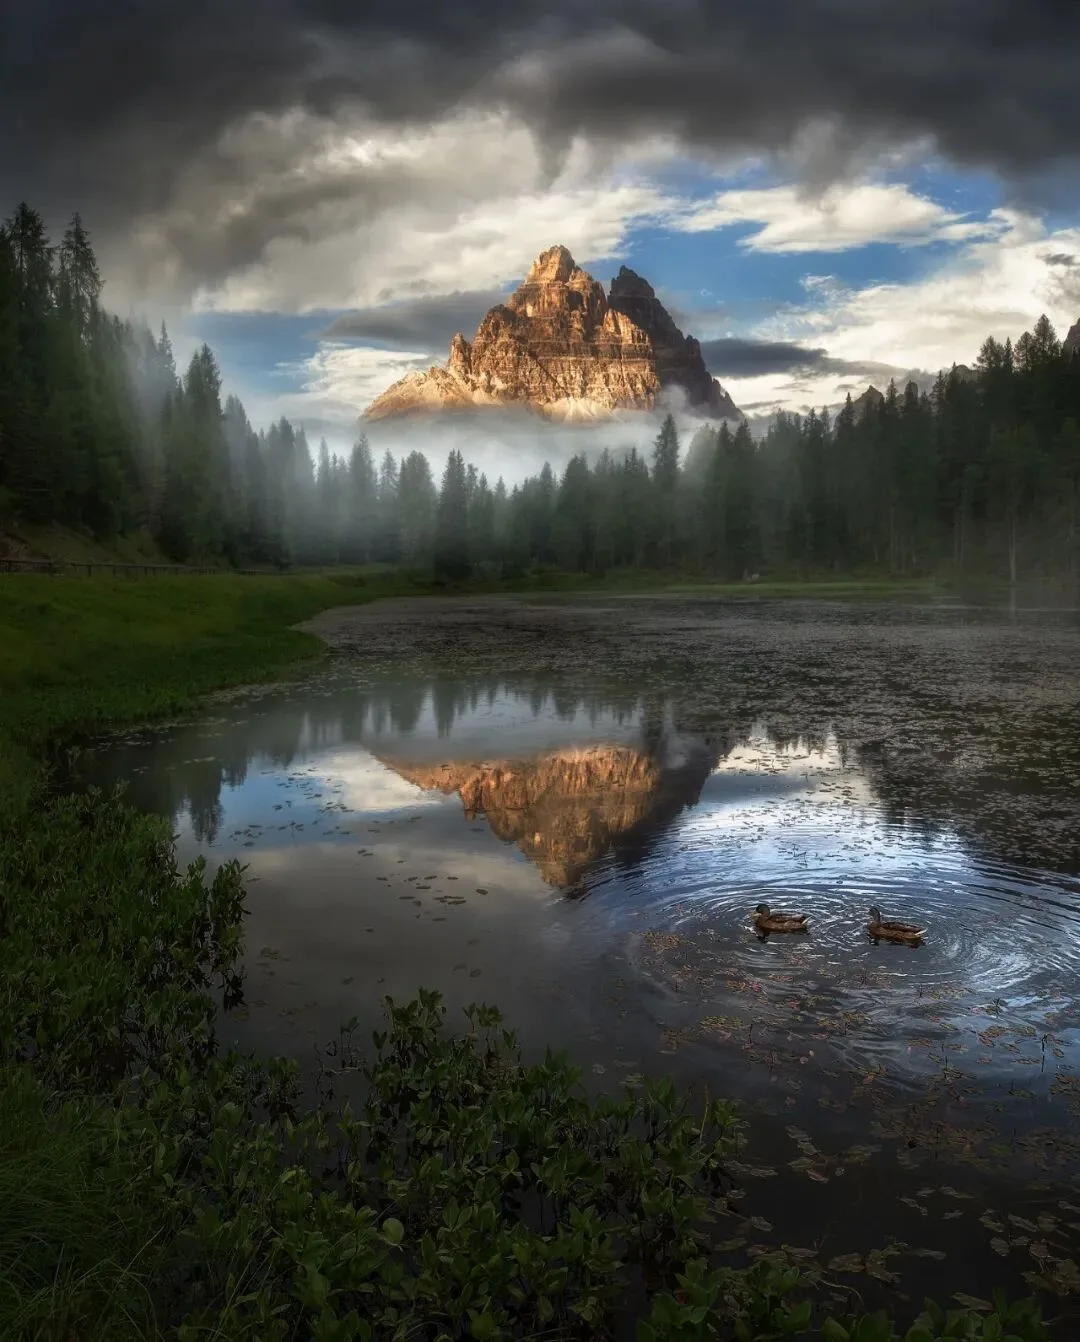
The Rainbow Waterfall in the first image was shot at noon, and the other four were shot in the afternoon. These time slots are not what we think of as the best shooting times. But localized light gave these images dramatic light-dark contrast, no less than sunrise and sunset.
So, on a cloudy day (cloud cover > 60%), you just need to find a suitable composition, set up your tripod, and wait for the clouds to move. When the light happens to illuminate only the local area you want, press the shutter — it's that simple.
If you encounter a clear day with few clouds, you can look for low-lying areas like valleys to shoot. These terrains come with a built-in shadow buff — even at noon they can still block out a lot of sunlight, easily creating localized light.
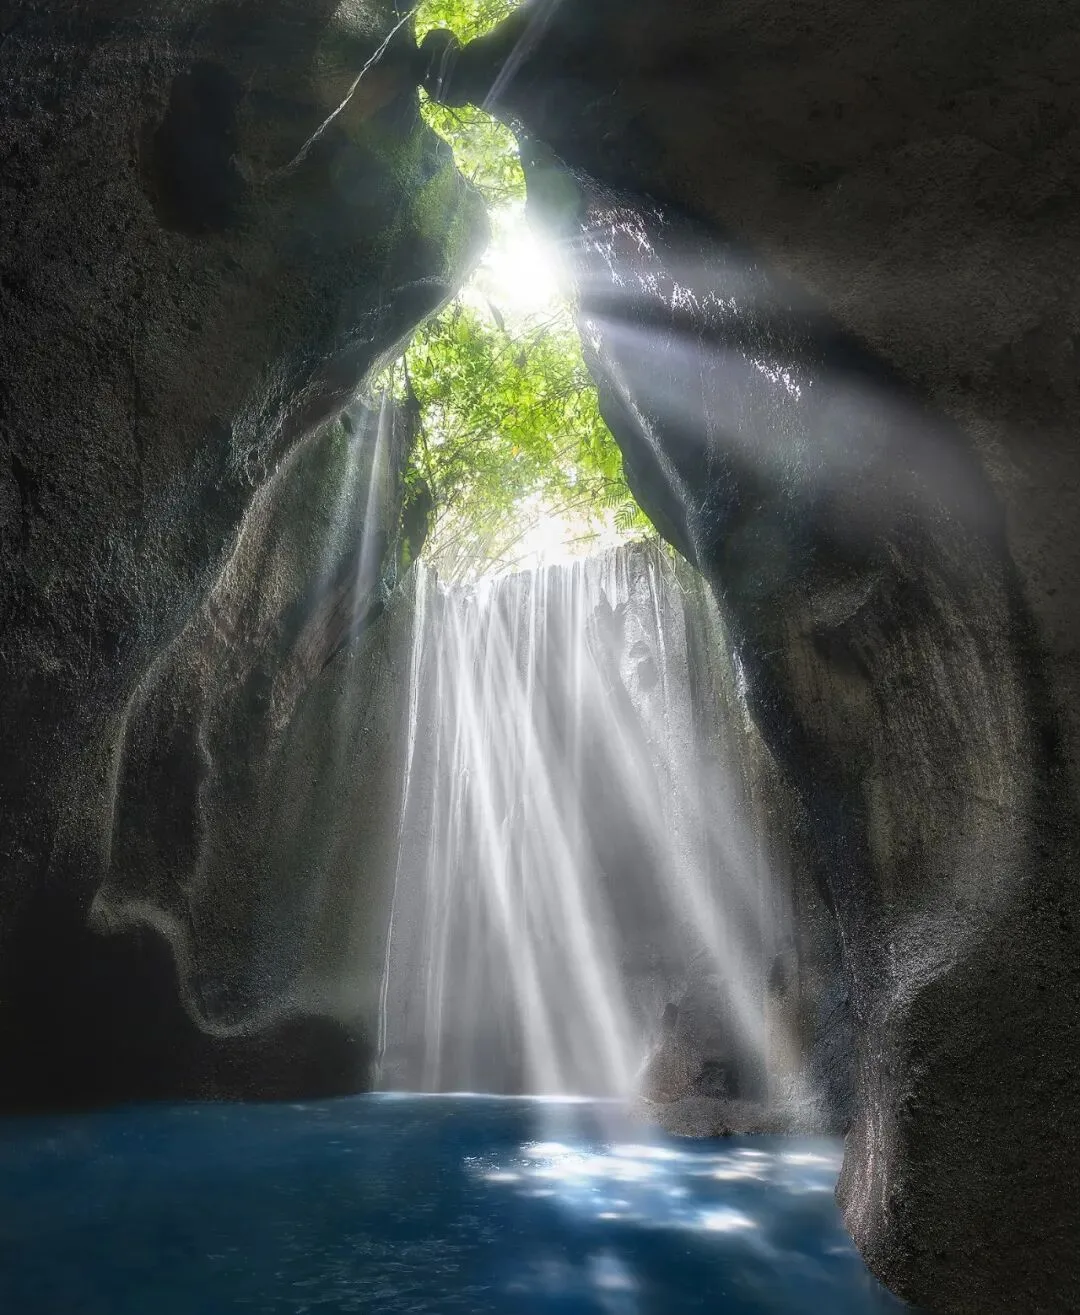
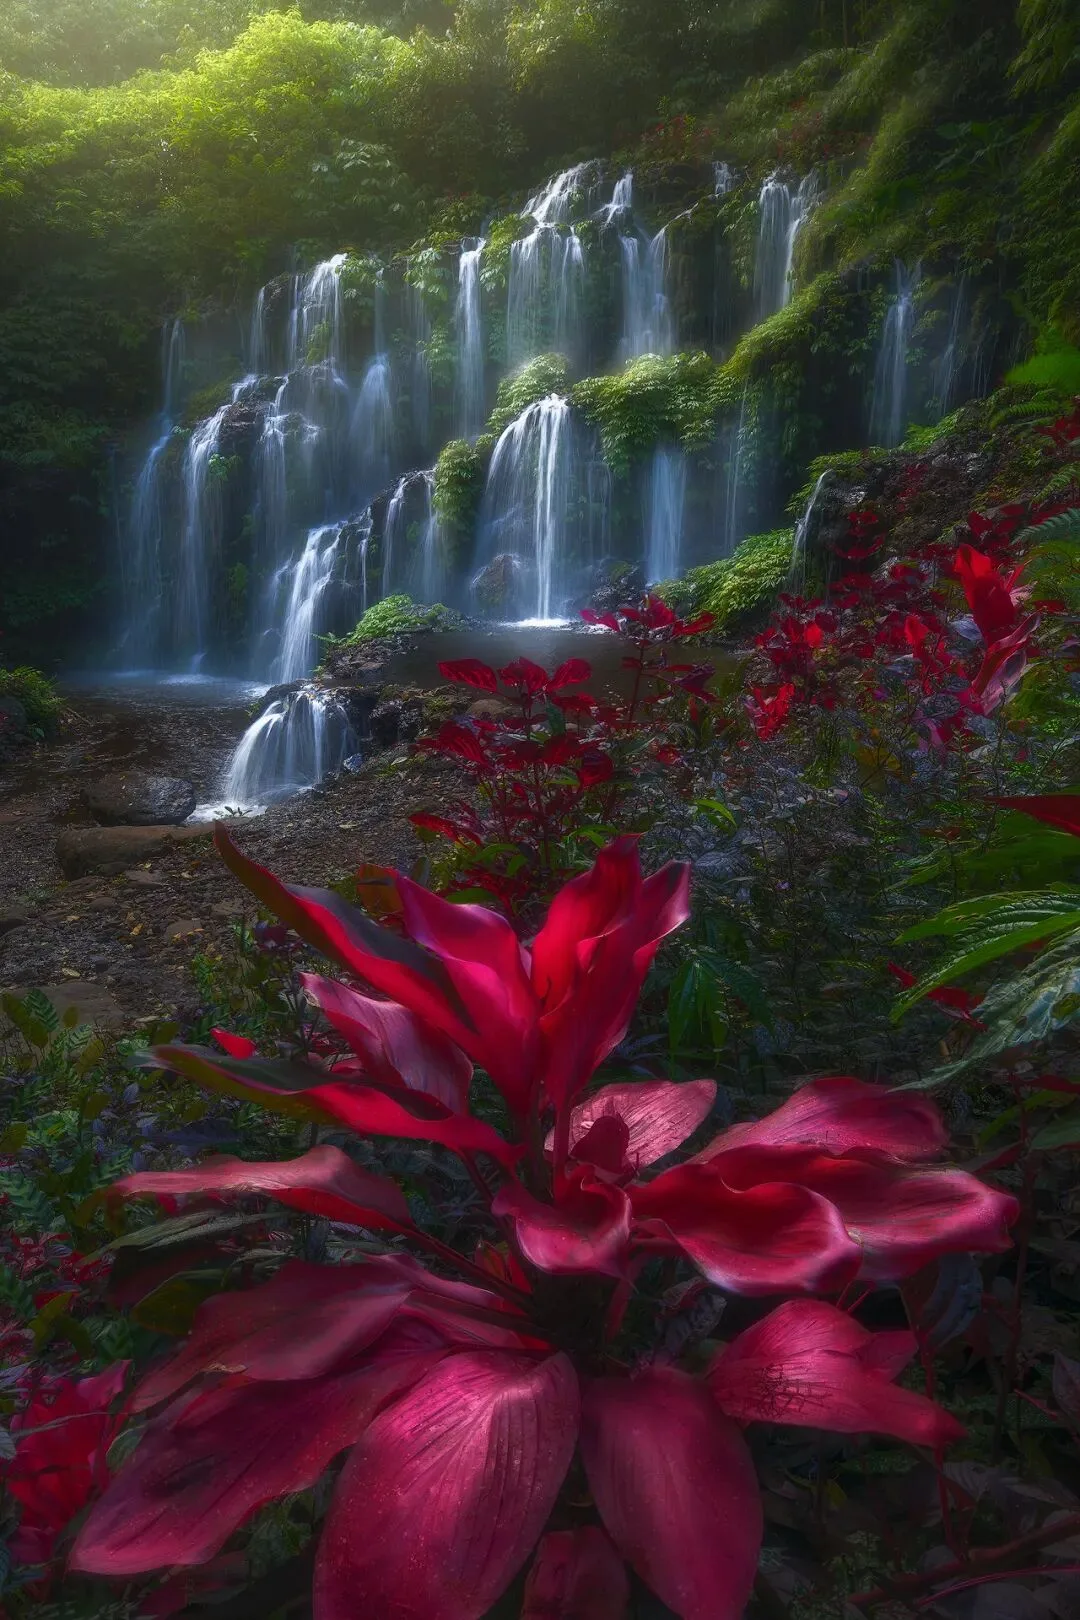
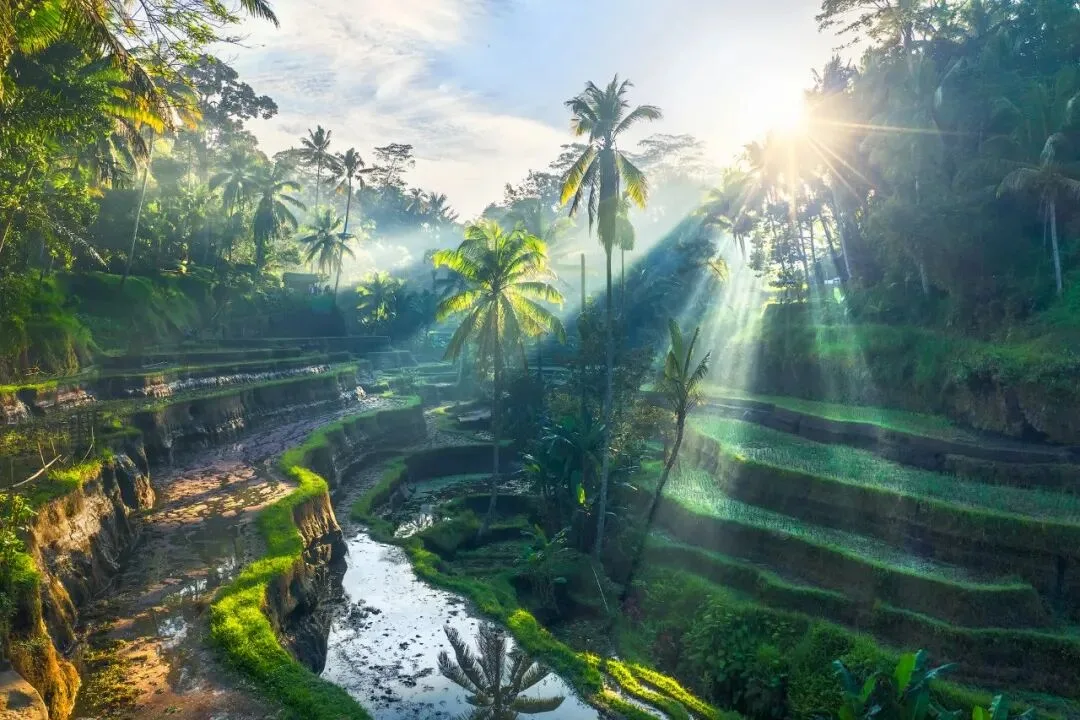
The three images above were all shot in broad daylight. The canyon terrain blocked most of the light, creating light-dark contrast in the frames. Contrast and opposition are precisely among the most important elements of photography.
What if it's overcast? Then try shooting subjects with a strong sense of structure. Let the lines and structures in the frame compensate for the plainness of light and shadow.
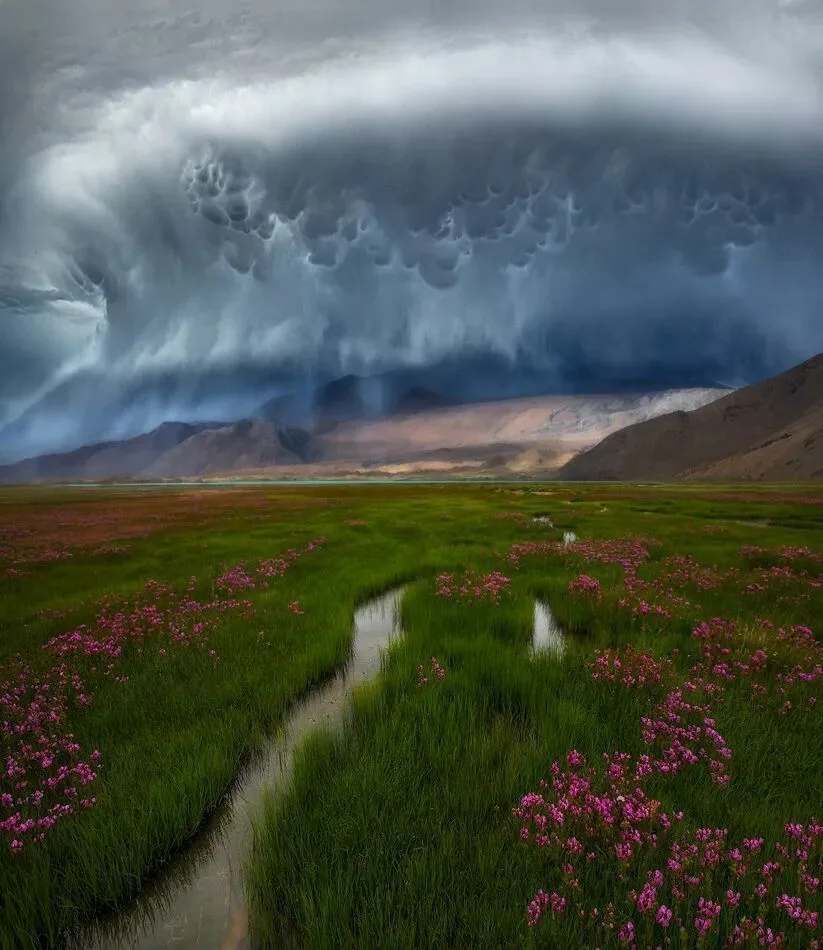
(The granular structure of mammatus clouds and the converging structure of ground leading lines)
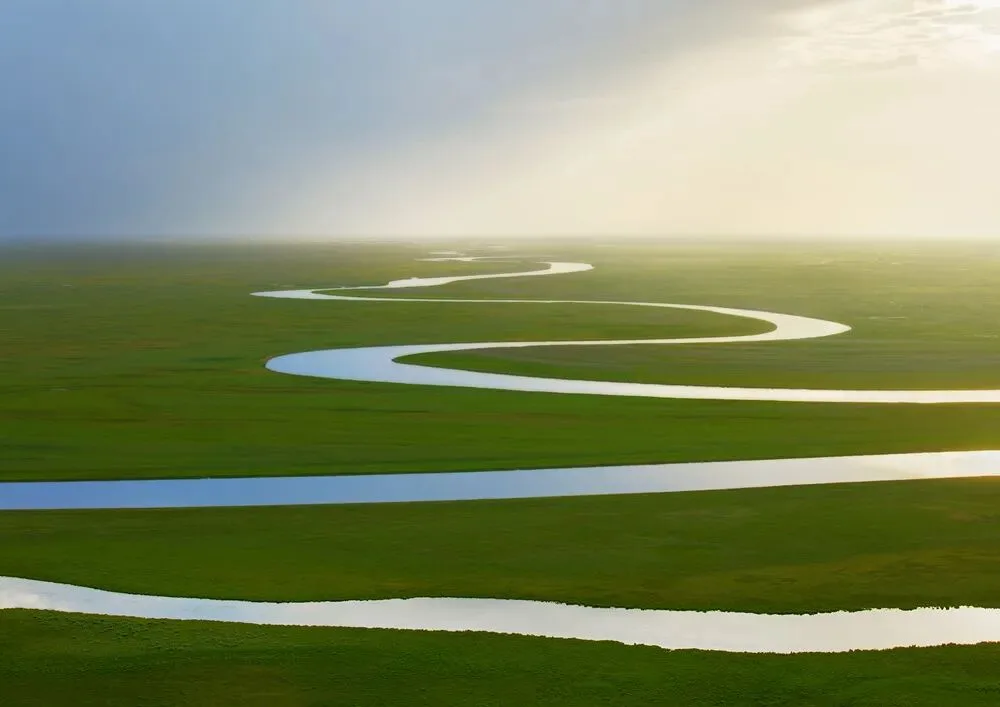
(The winding structure of a river)
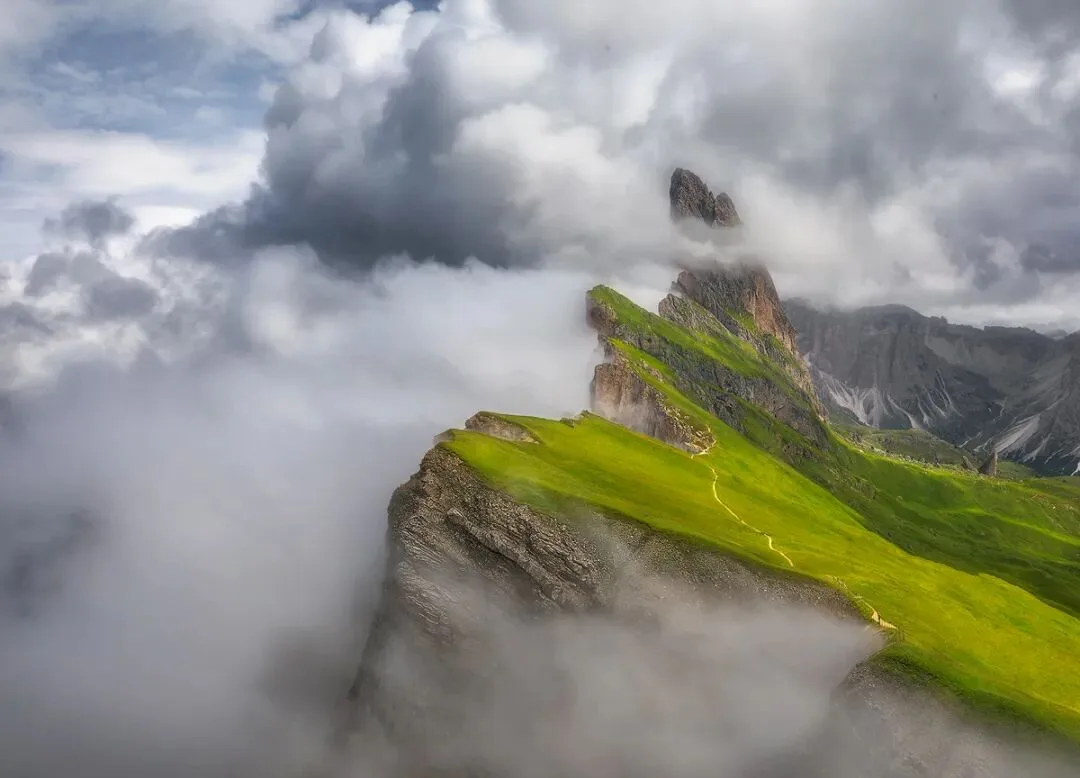
(The exaggerated structure of a mountain cliff)
When the structural sense of elements in the frame is full enough, you can produce shots even without light.
Beginners: shooting all day
Advanced: shooting at sunrise and sunset
Masters: shooting all day
(3) The Best Light Is Backlight
When I first started landscape photography, I often heard a saying: don't shoot into the backlight!
After shooting some backlit images back then, I did feel they looked soft, with colors that weren't vivid, plus annoying flare spots and unbalanced light ratios. This mistaken belief made me deliberately avoid backlight during my first two years of shooting.
Shooting with front light can indeed get clearer subjects and more vivid colors, but it loses a very important element in the image: the sense of light. The sense of light is the soul of an image and the bond between light and dark; it creates atmosphere. I believe the highest-level images must have a sense of atmosphere.
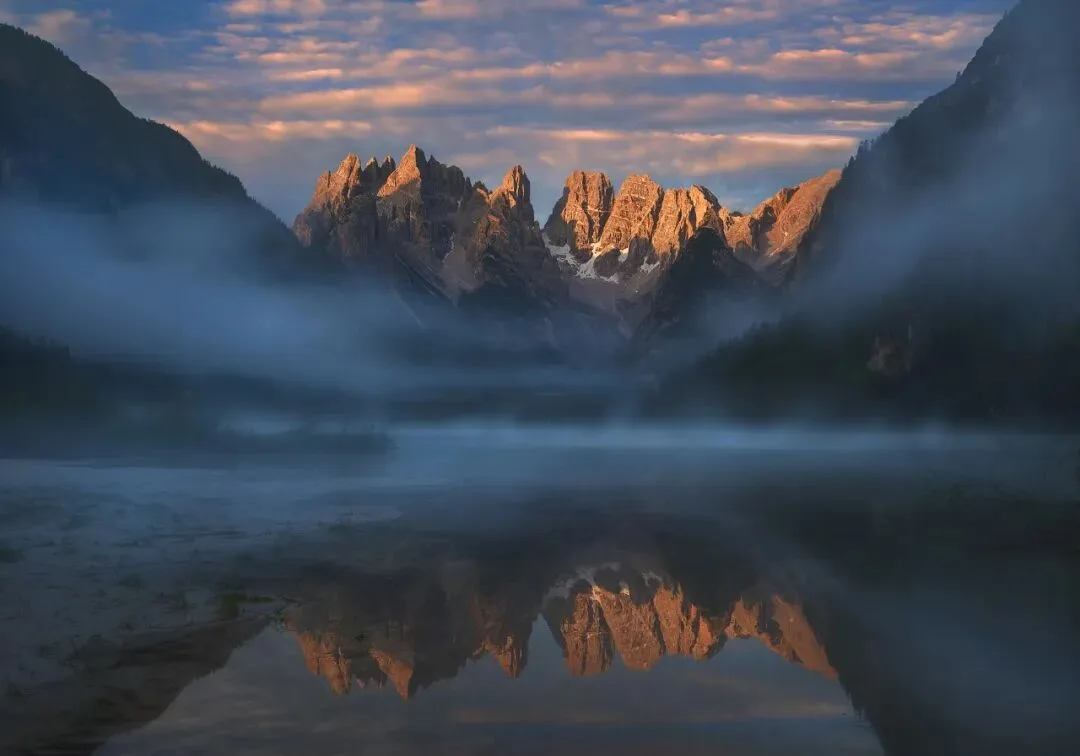
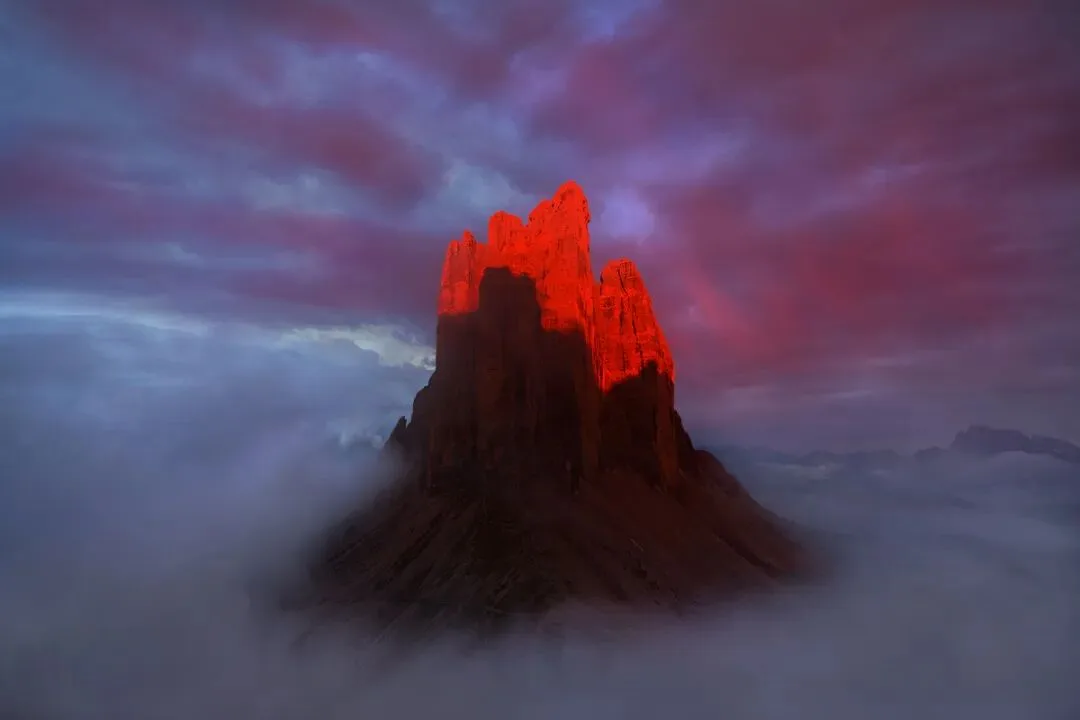
The two images above were both shot with front light. Though they have light and light-dark contrast, they lack atmosphere, lack a lot of tension, and look somewhat plain. Now compare the two backlit images below
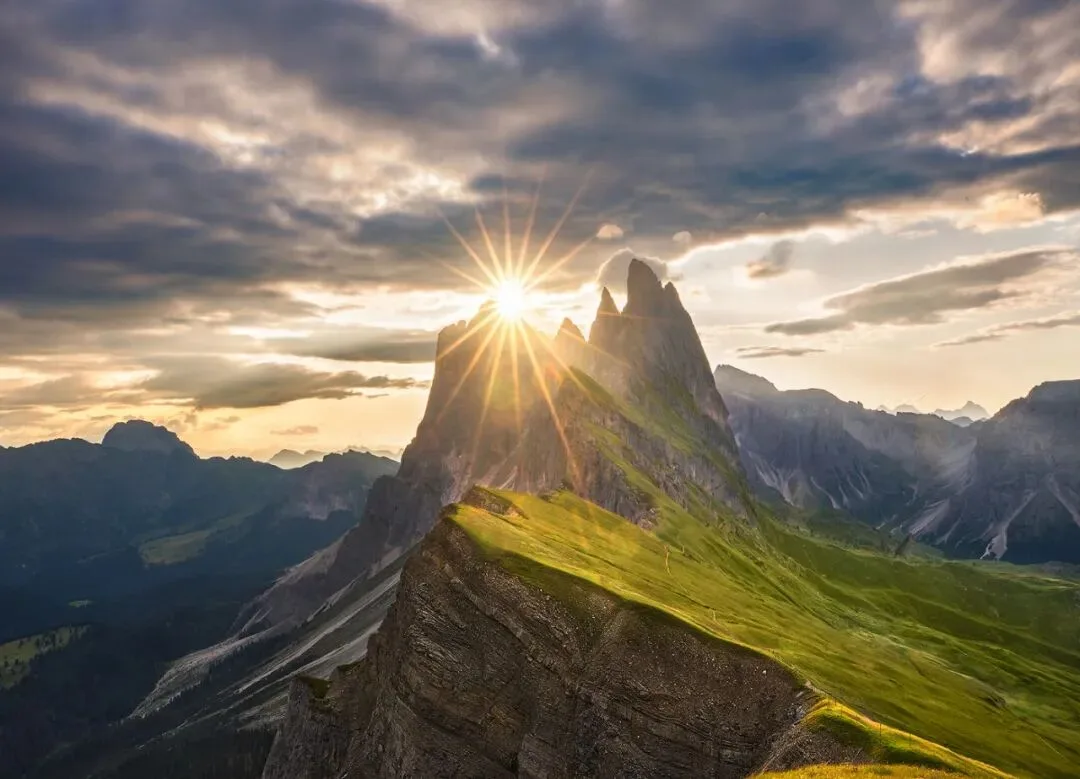
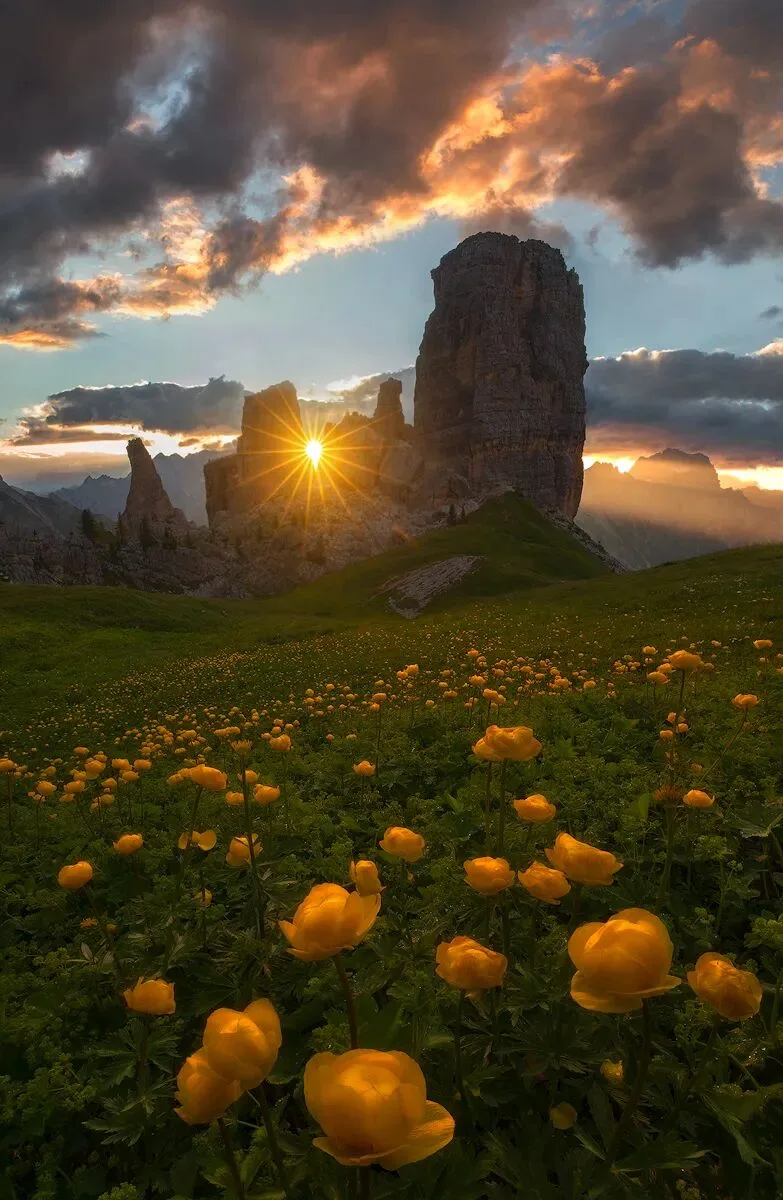
Can you feel that sense of light bursting forth? Backlight gives the subjects a charming outline and layering; I can almost feel a kind of vitality and faith (in tears~)
Today, various pre- and post-processing techniques can eliminate the side effects of backlight. GND filters, exposure blending, and even high dynamic range CMOS sensors let us face backlight's overexposure and crushed blacks without fear. Various PS tools can also remove backlight's impact on image quality.
So, point your lens at the sun and seek the direction of the light
(4) Landscape Photography Is a Scientific Plan
You need a spontaneous trip, but you don't need a spontaneous shoot.
Landscape photography is a scientific plan precise to the minute. The miraculous celestial phenomena, the incredible light, and the shooting angles you see in all kinds of masterpieces may all be attributed to detailed pre-planning and scientific prediction.
Without leaving home, Google Earth helps you quickly find promising shooting spots.

No need for scouting — the Planit mobile app gives you precise simulations of camera positions and shooting times

No need to wait it out — meteorological software like Windy can make precise weather predictions in advance.
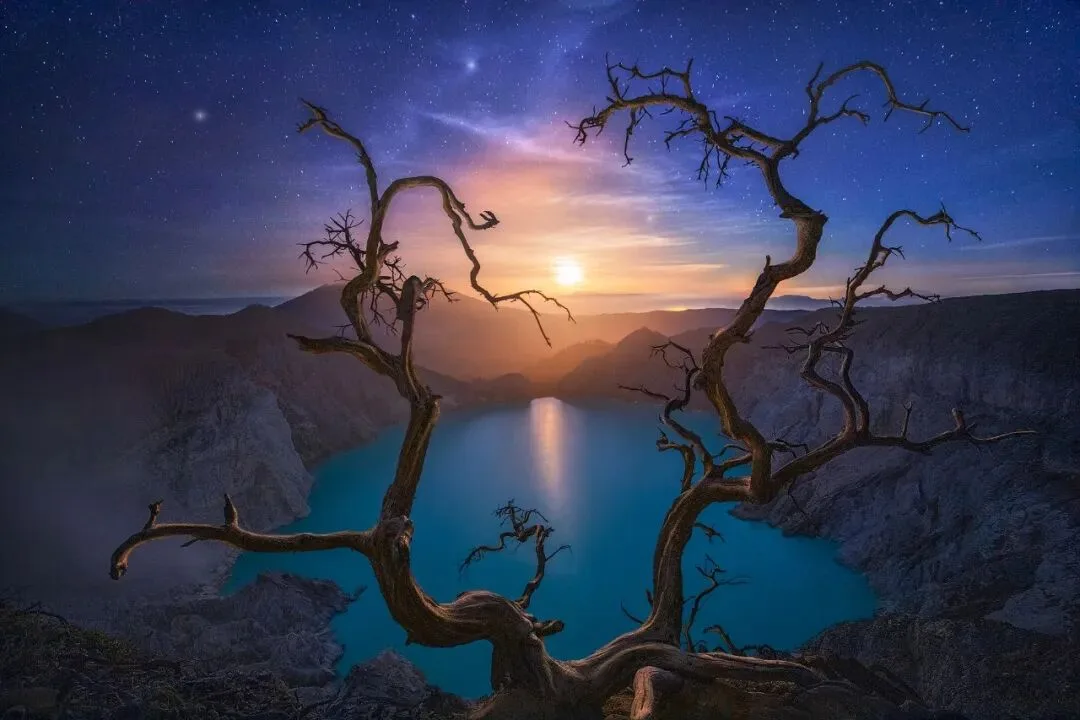
The Planit app helped me plan and calculate the time and direction of the moonset in advance, letting me stay composed during the night shoot. All I did was set up my tripod early and wait for the moonset to arrive as scheduled. That volcano moonset photo above was rightfully my best of 2019.
That day, when I got up and glanced out the window, the sky was overcast. In the past, such bad weather would surely have sent me back to bed for a second sleep, but Windy's cloud map showed a window in the east, so I decided to climb to the pass and try my luck. When the rising sun shone through the window in the clouds and turned the mountain top red, it was both as expected and beyond expectation.
The progress of smart technology has liberated shooting productivity. Every meticulous plan can greatly help the shoot!
(5) Never Stop Exploring
"Looking at your photos, there's always a sense of pleasant surprise that lights up the eyes." This comment by some unknown netizen under one of my photos is, I think, the highest praise for me. The uniqueness of the frame is what I've always pursued.
Countless people repeatedly shoot the same monotonous scenes at unchanging tourist spots. It's fine to call it self-amusement, but when it comes to reaching a higher level, that's where it stops.
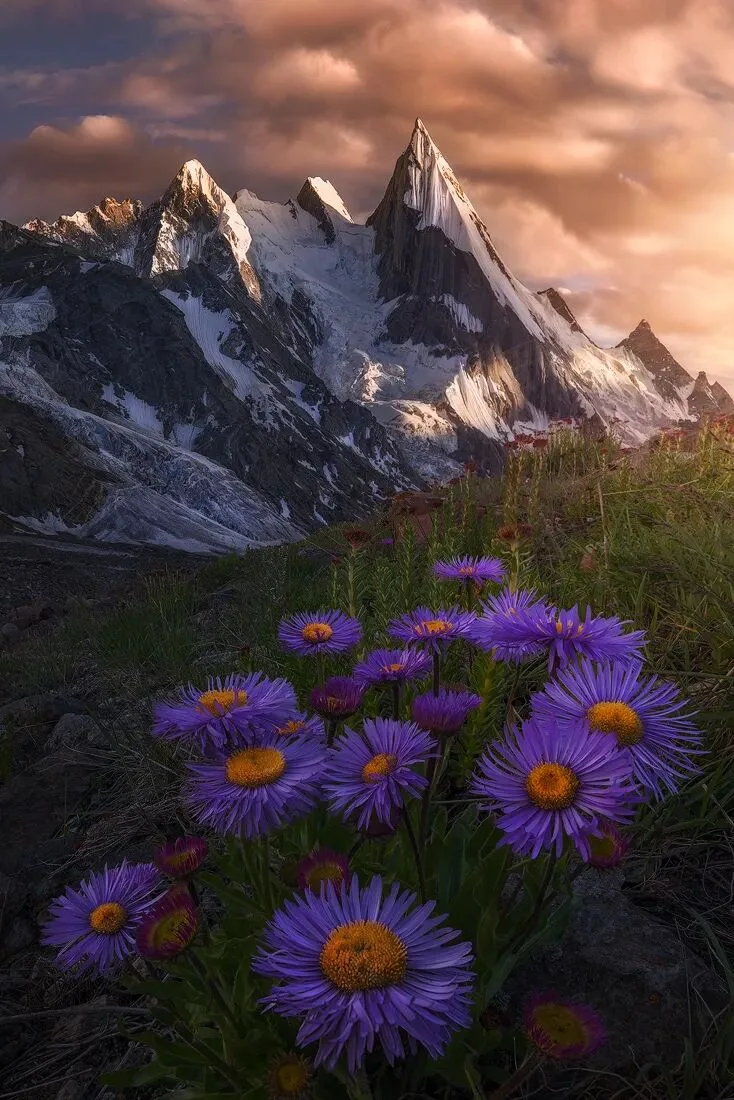
So, 12 hours of non-stop high-altitude trekking, crossing snow mountains and glaciers — all just to find that cluster of "blue lotus" hidden beneath the ice peaks
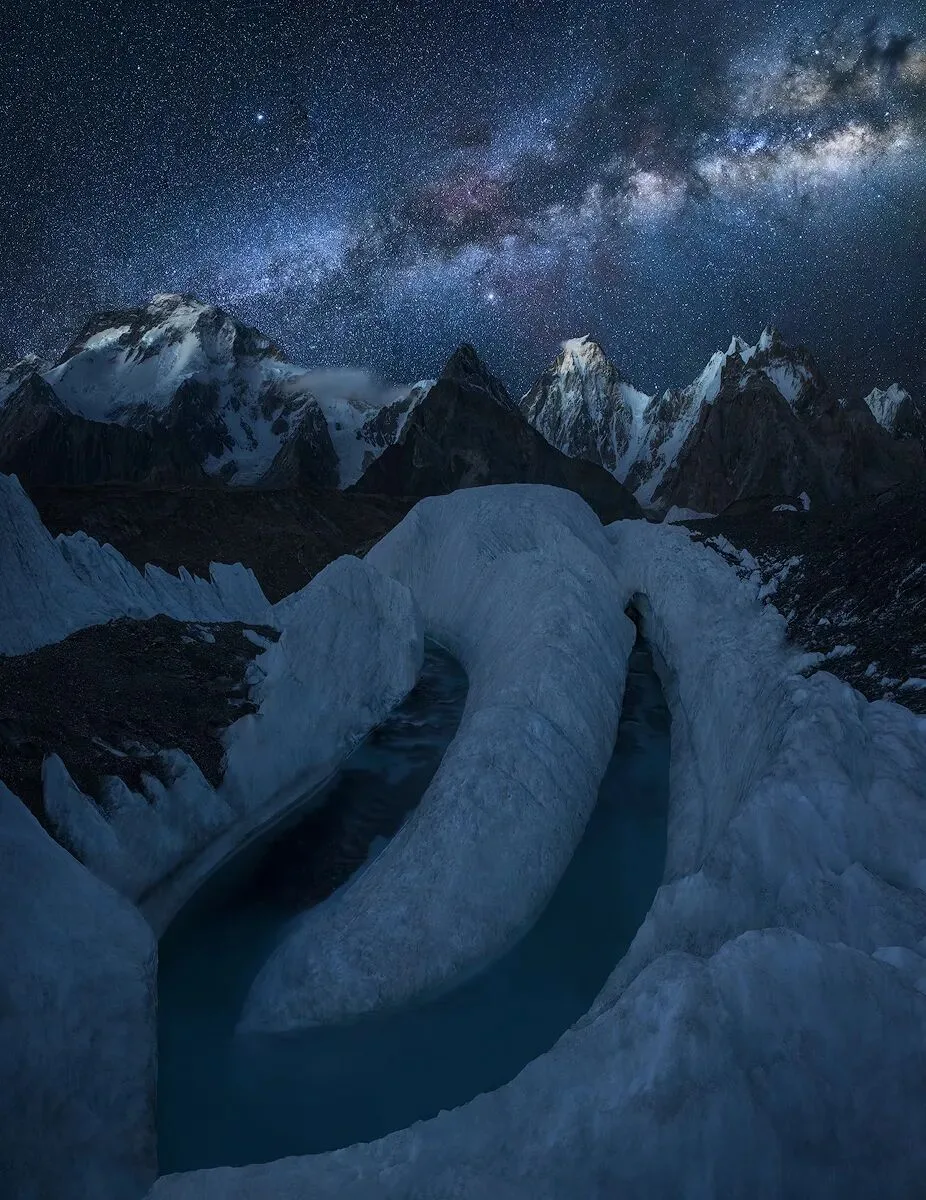
So, 7 consecutive days of trekking, through scorching dry river valleys and across bitterly cold ice caps — all just to explore the river of stars over this land of ice and fire.
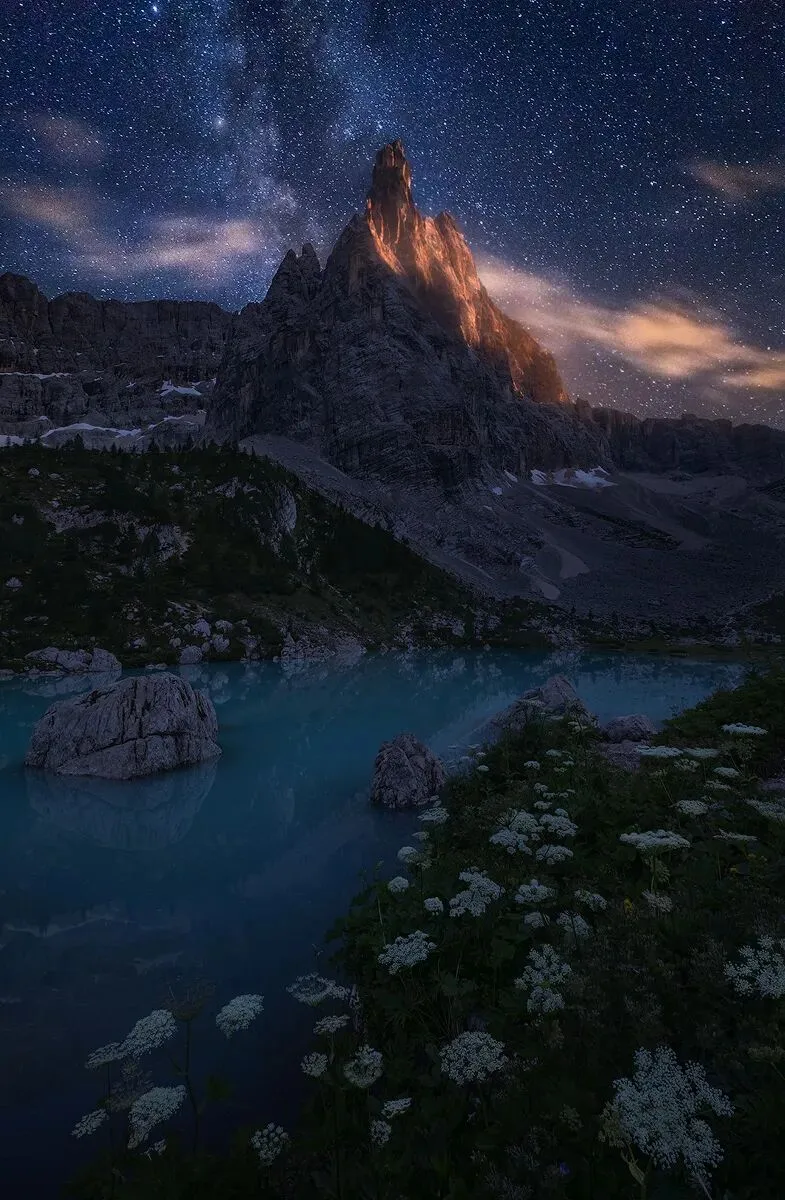
So, heavy-loaded trekking across ridges and deep into the heart of the mountains — all just to see the most beautiful waters of the Southern Alps with my own eyes.
"Never let the light fade from your eyes, and never stop exploring!" This is what I want to say to everyone, and it's also what I've always said to myself.
(6) Be a Person Who Loves to Share
Share this article so more people can see it. All who love sharing will become masters!