Photography Tutorial · 2019-04-14
How to Shoot and Edit Star Trails
Thomas Chu Photo
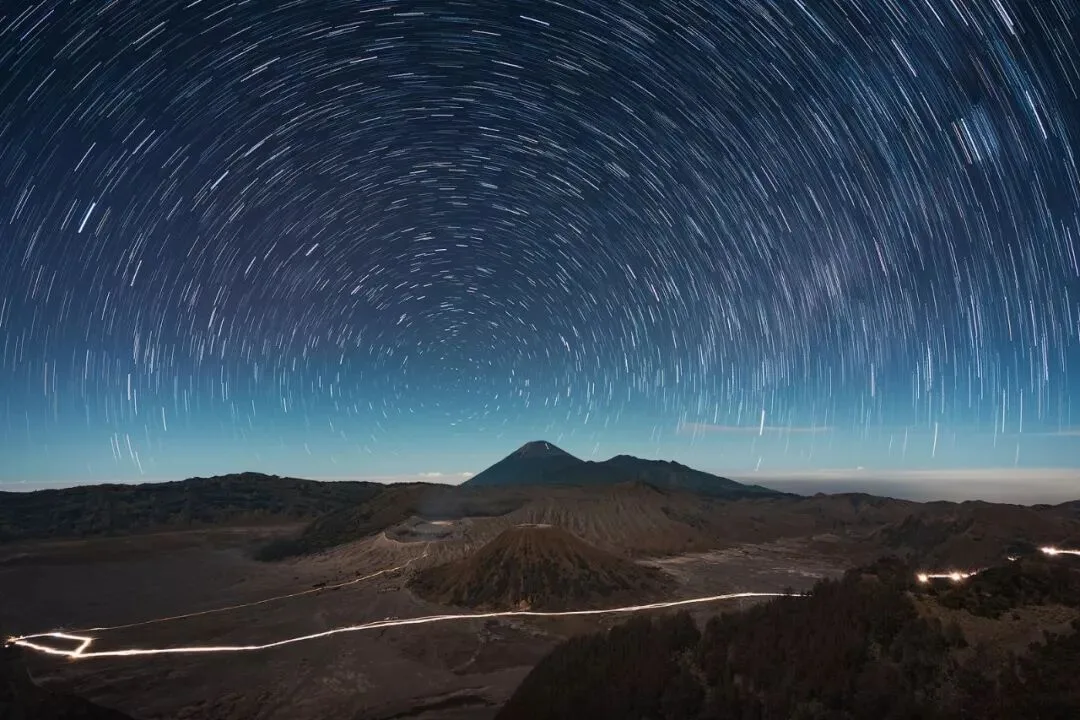
Astrophotography is a romantic pursuit. Starlight from hundreds of millions of years ago crosses the vast universe and piles onto the CMOS sensor for dozens of seconds before becoming a gift to humanity.
With even longer exposures, or by stacking star photos taken over a period of time, we can delightfully discover the traces of time. Photographers call these images star trails.
Today Thomas will teach you how to shoot and stack a star-trail photo.
Video tutorial
▶ Watch the video tutorial on Bilibili
This is the fully illustrated companion to the video above: with one live shoot, Thomas demonstrates star-trail shooting and processing end to end — choosing the moon phase, the gear list, settings nearly identical to ordinary astro shots, infinity focusing and continuous shooting, then batch edits in Camera Raw and the Lighten blend-mode stack in Photoshop. The 11-minute tutorial is laid out here with screenshots of every key step.
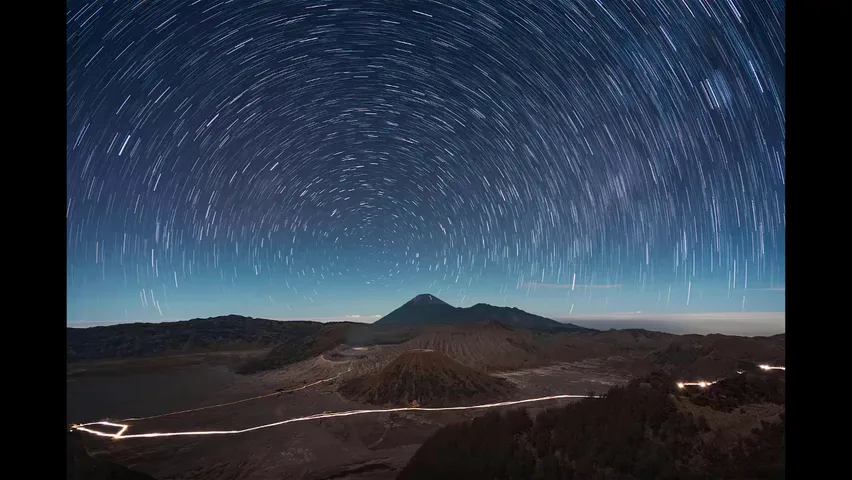
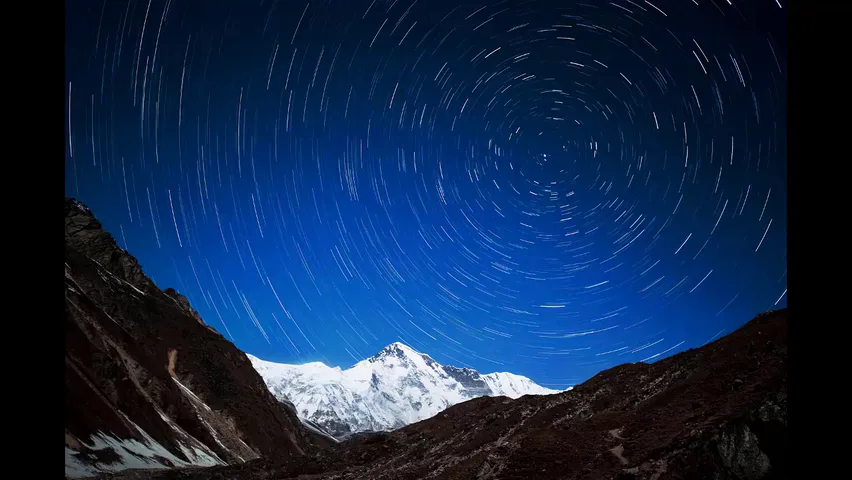
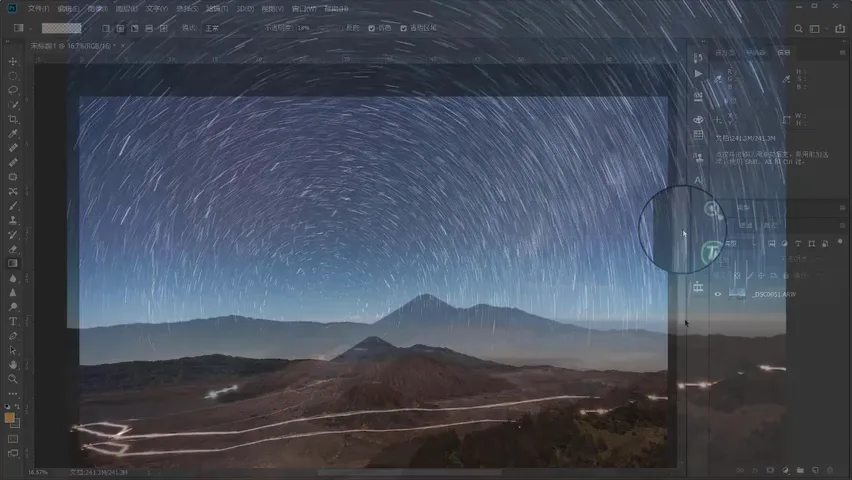
Start with the result: this star-trail image was shot over Mount Bromo in Indonesia. Because the Earth rotates, the stars never stop moving; stack a continuous sequence of astro frames and the stars trace concentric circles around Polaris — the very principle of star-trail photography (at 0:16 in the video).
01 Timing and Gear: The Moon Table and Three Essentials
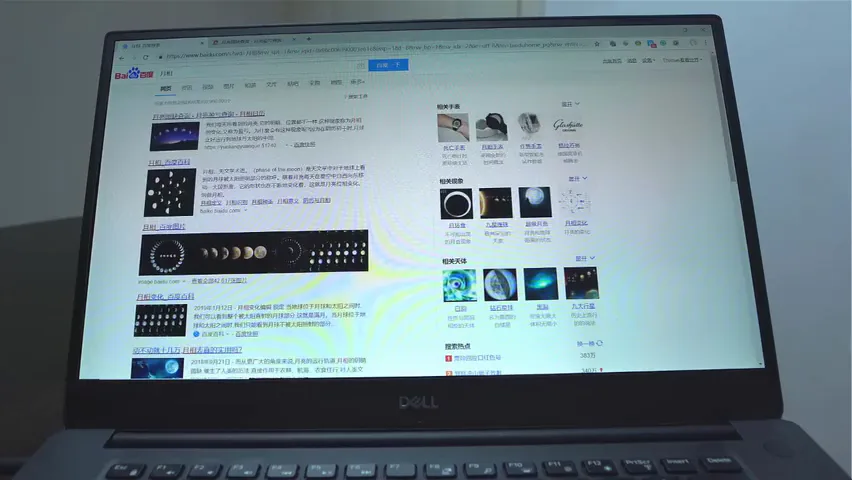
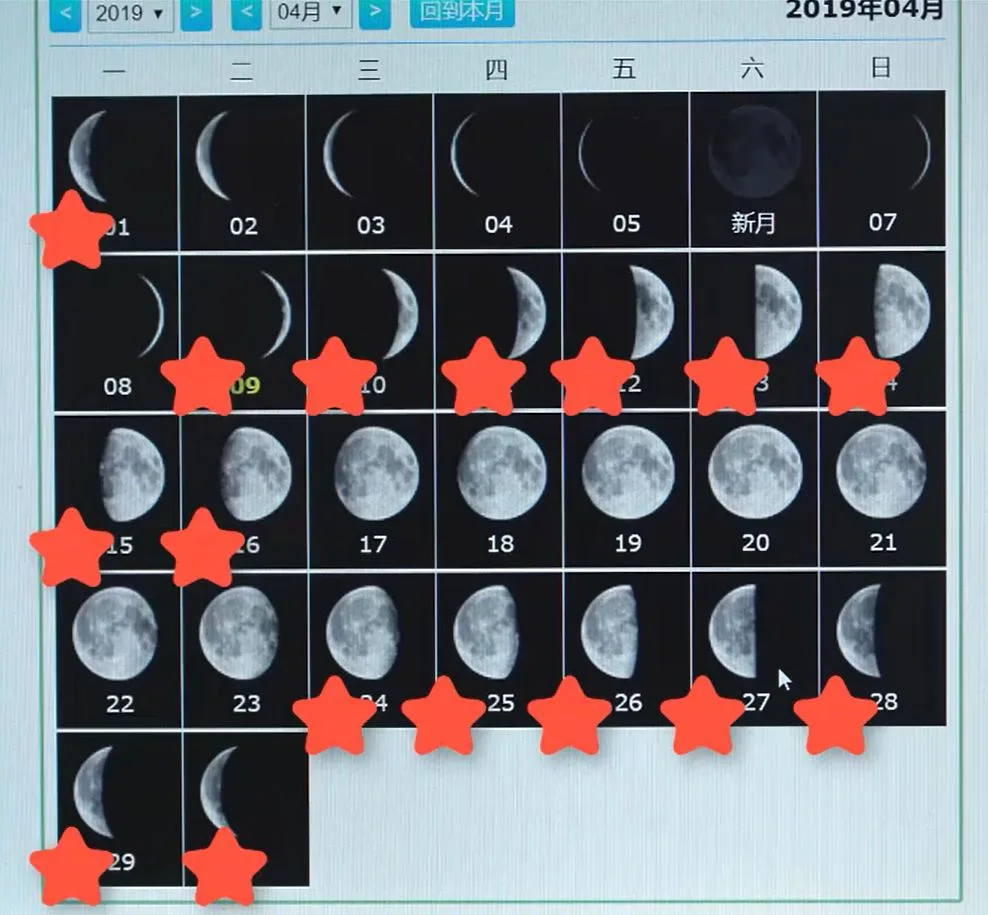
Star trails have an ideal window, and an online moon-phase table tells you when (at 0:36 in the video). The seven or eight days around the new moon leave a moonless sky: stars crowd too densely and the landscape gets no fill light; around the full moon the opposite problem hits — moonlight so strong that only a handful of stars show. The sweet spot is a half-lit moon, anywhere between quarter and three-quarter phases: moderate star density plus moonlit foreground (at 1:17 in the video).
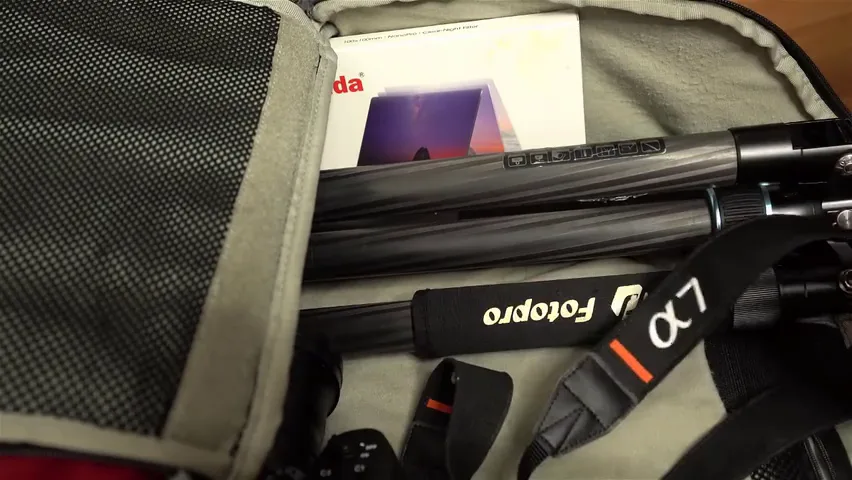
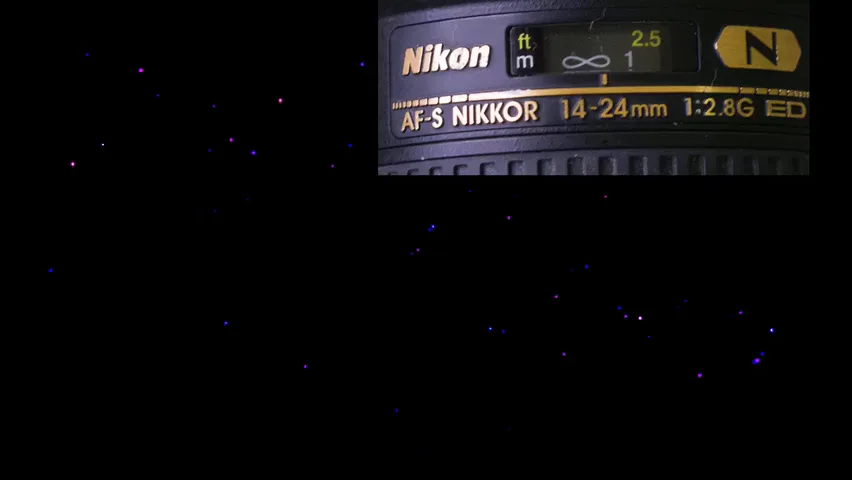
The gear is simpler than expected: a tripod for the long continuous shoot; a DSLR or mirrorless camera — even a phone can shoot the stars nowadays; and the widest-aperture wide-angle lens you can get, f/2.8 ideal, f/4 or f/4.5 acceptable (at 1:41 in the video); plus a phone or cable release for remote control, and a capable computer for post.
02 Shooting: Face North, Reuse Your Astro Settings
In the northern hemisphere star trails are circles centered on Polaris; in the southern hemisphere they center on the south celestial pole (at 2:33 in the video). Point the camera due north for complete concentric circles; any other direction yields partial arcs — both look great, depending on the effect you want.
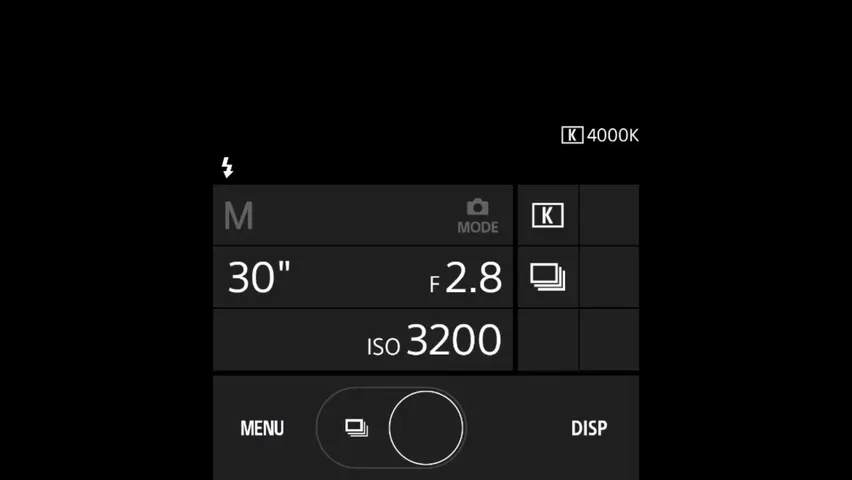
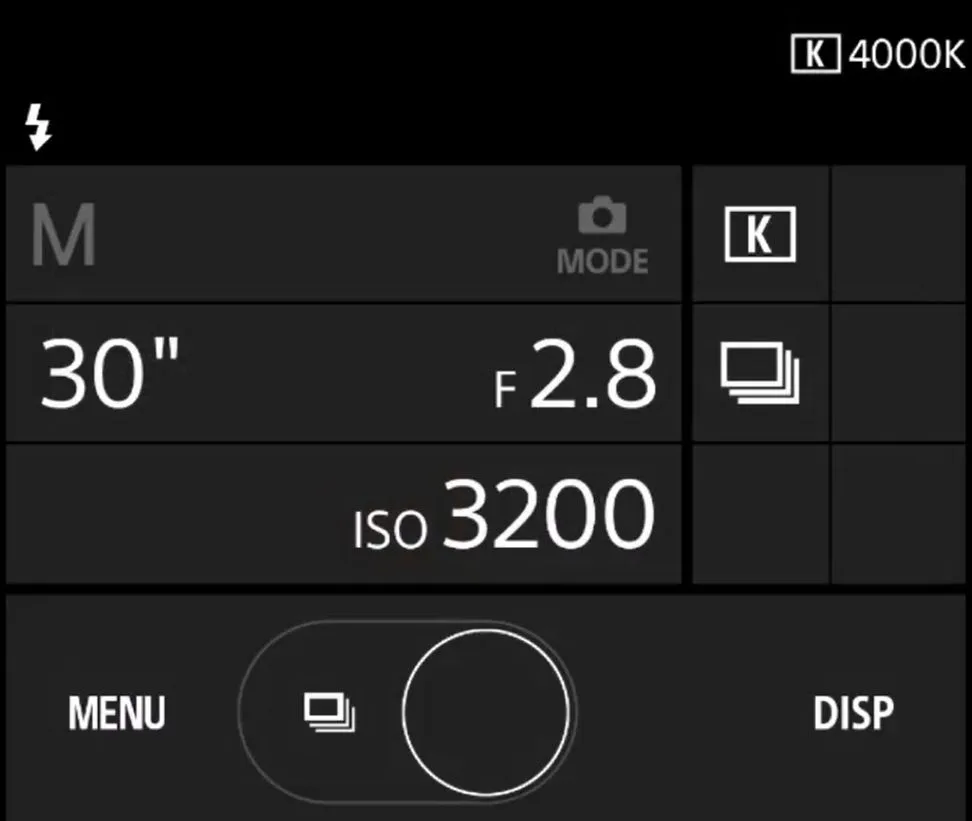
The simplest settings plan is to copy your regular astro setup (at 3:00 in the video): 30-second shutter, aperture wide open at f/2.8, ISO around 3200, fine-tuning only if the result is too bright or dark. The one difference is white balance — switch from auto to a fixed Kelvin value, anywhere from 3500 to 4500, just keep it constant throughout, or the stacked trails will shift in color (at 3:39 in the video).
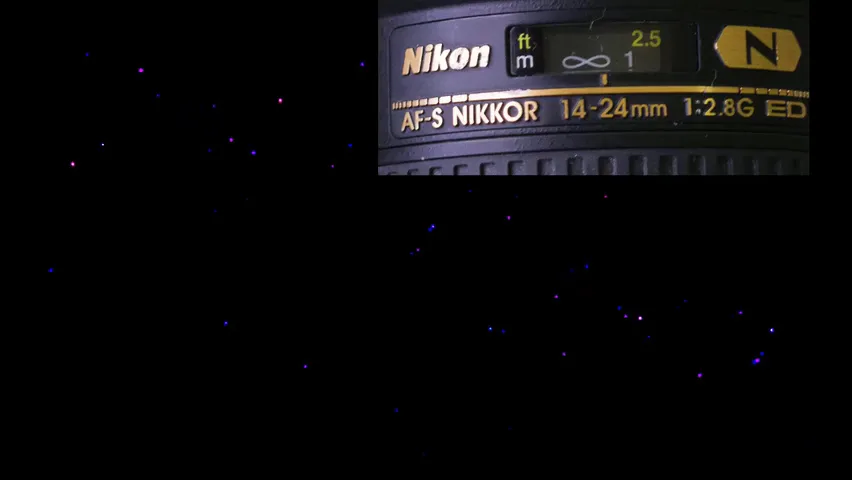
Focusing at infinity is straightforward too: magnify the live view on the back screen, pick a bright star, the moon or a distant lamp, switch to manual focus, and rotate the focus ring slowly — the star blurs first, then sharpens as you approach infinity; stop at the sharpest point (at 4:18 in the video). With settings locked, start the interval burst: 15-20 minutes already gives decent results, and 30 minutes to an hour — recommended — draws longer, grander trails (at 4:45 in the video).
03 Batch Editing: Sync Settings in Camera Raw
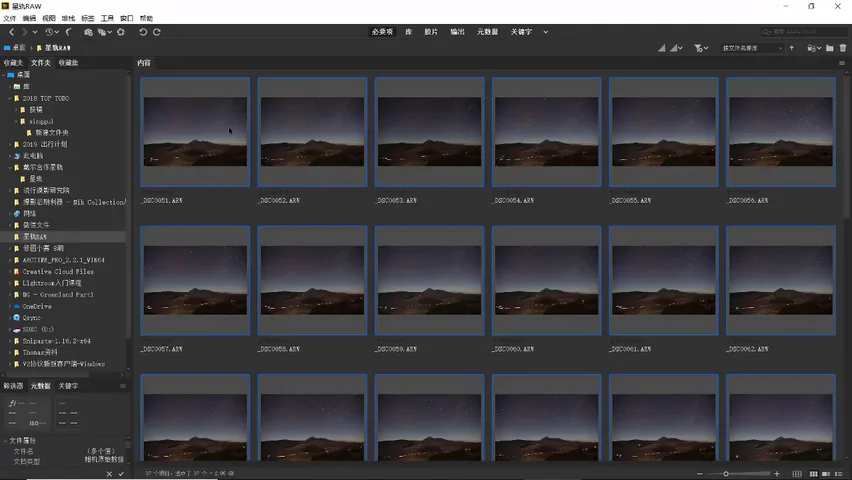
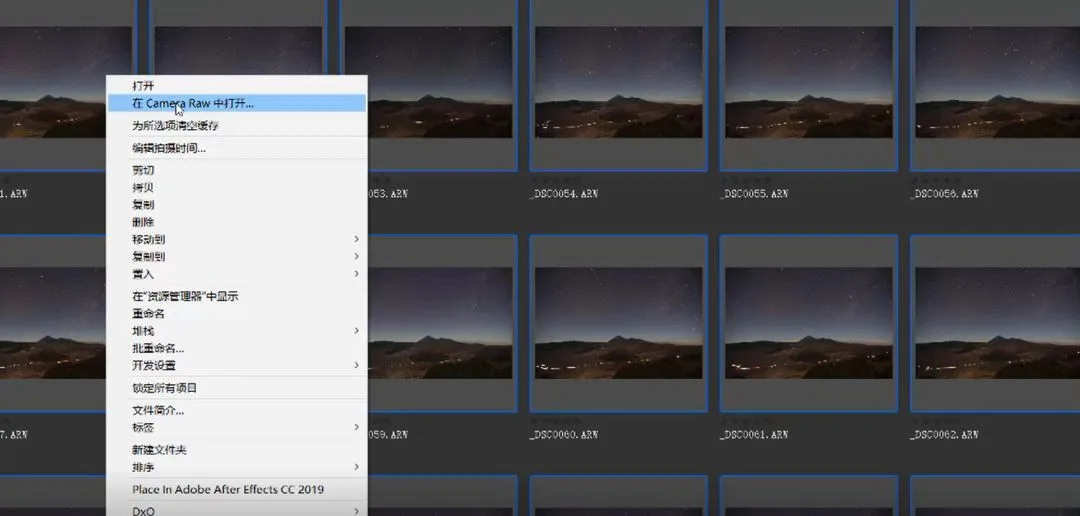
About 20 minutes of shooting yields roughly 40 star frames (at 5:02 in the video). Post starts in Bridge: select the whole set, right-click to open in Camera Raw, edit one frame, then sync the adjustments across all of them (at 5:29 in the video).
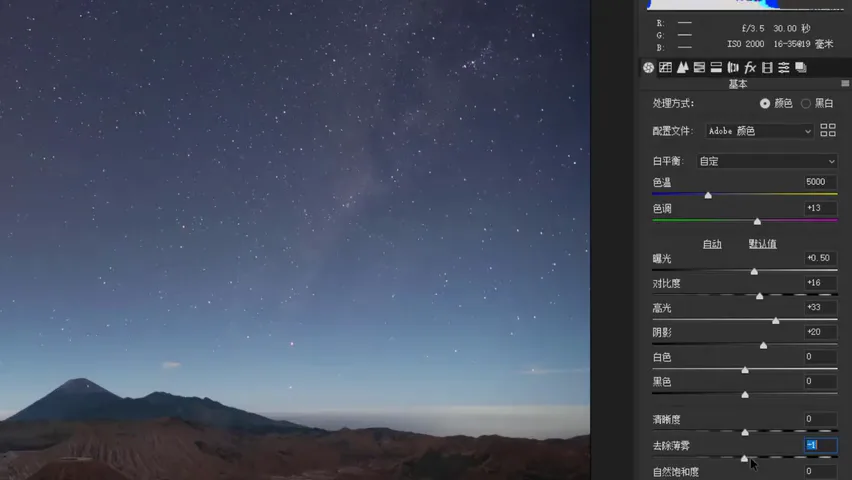
The per-frame recipe: nudge the slightly warm temperature left until the night sky turns blue (at 5:40 in the video); lift exposure a touch, since even 30 seconds runs a little short; raise contrast slightly and brighten shadows so the frame never goes muddy. Highlights go against habit — instead of pulling them down as in normal photos, push them up a little to make the stars brighter (at 6:25 in the video); a touch of Dehaze makes the stars pop immediately (at 6:33 in the video); finish with a curve lifting the deepest shadows to kill any dead black. Do not forget Remove Chromatic Aberration and lens-profile corrections, with vignette correction dialed back to about 80 (at 6:56 in the video). Then select all, sync settings, and all 40 frames are done at once (at 7:21 in the video).
04 The Stack: Lighten Blend Draws the Trails
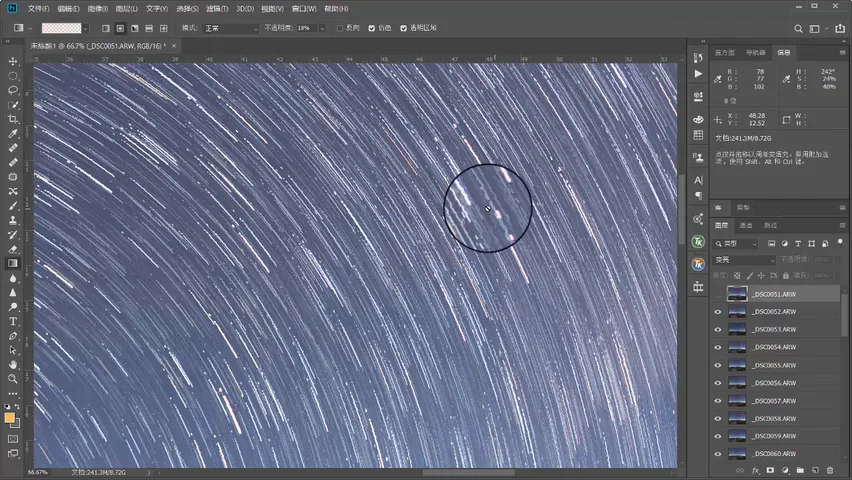
Next, open the edited set in Photoshop: run File → Scripts → Load Files into Stack, browse, select all and confirm (at 8:14 in the video). On a low-memory machine it is wise to convert the RAWs to JPEG first for speed and stability; in the video the 40 RAW files load directly without any trouble. Once loaded, click the top layer, Shift-click the bottom one, and select every layer (at 8:36 in the video).
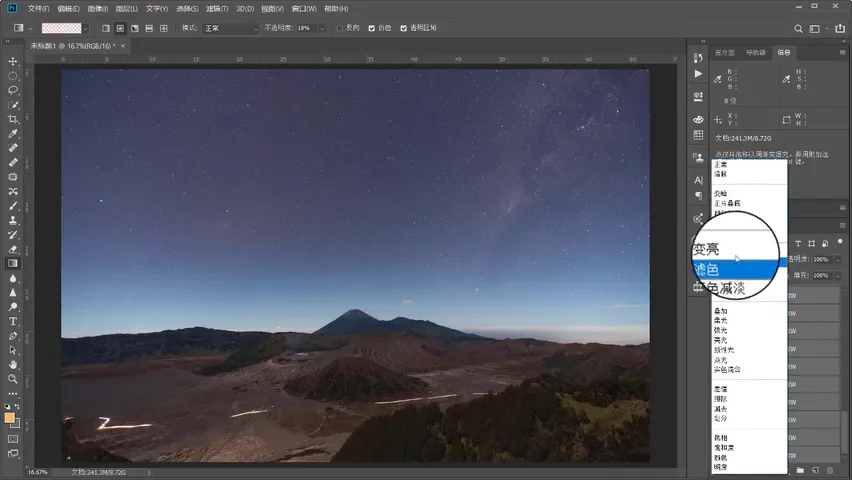
Then change the blend mode from Normal to Lighten — the star trails appear instantly (at 8:56 in the video). Thomas recommends Lighten blending over a maximum-value stack for trails: it is far more flexible to adjust. Say a section of trail breaks, with a sudden burst of dots above it — that means the shooting paused mid-sequence. Hide the top layers one by one to find the culprit; tucking away the three frames around the gap fixes the break (at 9:32 in the video). Finally right-click to merge the layers, refine color with curves and levels, and a star-trail image that records the Earth's rotation is complete (at 10:16 in the video).
1. Choosing the moon phase matters as much as choosing the weather: too many stars near the new moon, too much light near the full — a half-lit moon between quarter and three-quarter phases is best; 2. Reuse your astro settings — 30 s, f/2.8, ISO 3200 — with the one change of locking white balance to a fixed Kelvin value, then focus manually at infinity and run the burst for 30 minutes or more; 3. In post, sync every frame in Camera Raw, Load Files into Stack, select all layers and switch to Lighten — the trails appear; 4. Lighten blending is more flexible than a maximum stack: if a trail breaks, hide layers to find the frames around the pause and the gap repairs easily.
HD video:
https://www.bilibili.com/video/av49260086/
Written Outline
1. Because of Earth's rotation, the starry sky is constantly turning. So with a long exposure — for example, a Bulb exposure of 15 minutes or more — you can capture beautiful star trails.
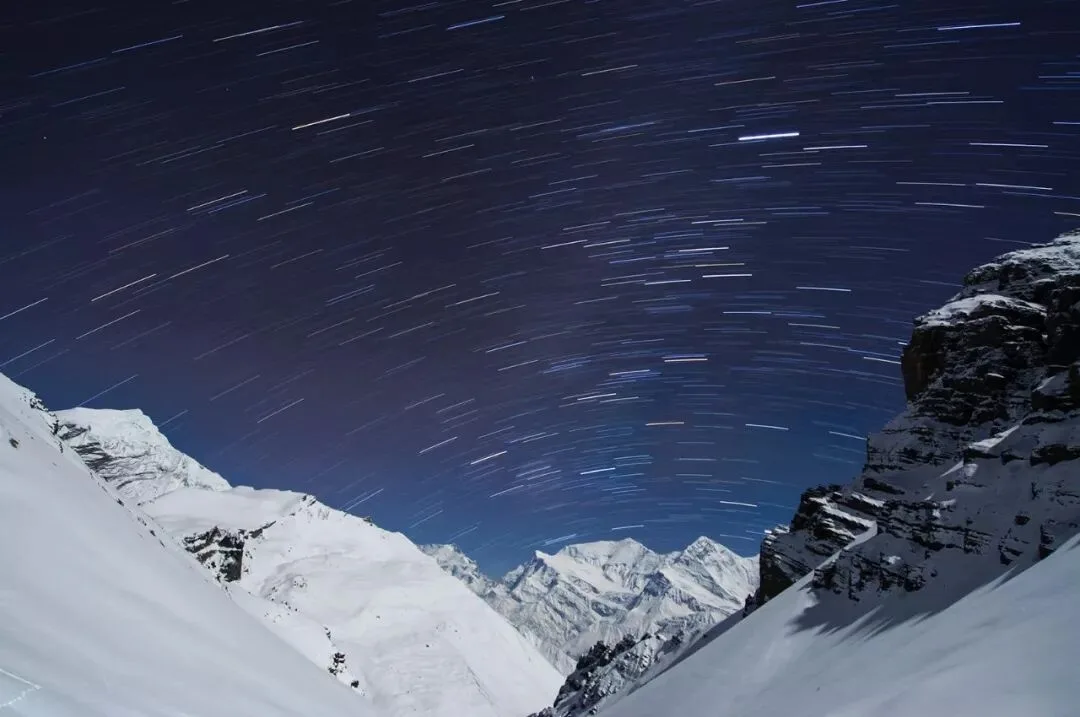
However, photographers generally prefer shooting a continuous series with normal astrophotography settings and stacking them, for the following reasons:
1) It effectively prevents long-exposure noise, and the stacked result doesn't accumulate much noise either.
2) Since normal star settings are used, any single frame can be processed into a beautiful regular night-sky photo, and playing the whole series in sequence makes a time-lapse video.
3) If one or two frames go wrong mid-sequence — sudden light pollution, a blocked lens — the whole set isn't ruined.
2. It's best to avoid the days around the full moon (the 15th of the lunar month) for star trails, because the moonlight is too strong and only a few stars are visible.
It's also best to avoid the days around the new moon (the 1st of the lunar month), because the foreground is very dark and the stars become overly dense.
The rest of the month, when part of the moon is showing, is more suitable for star trails: star density is just right and the foreground is lit by moonlight.
3. For star trails, single-frame settings are generally the same as for star photography: around ISO 3200, f/2.8, 30s under weak moonlight; ISO 800, f/4, 30s is enough under brighter moonlight. In the field, take one test shot first, then adjust settings based on the histogram and the result.
White balance can be set manually between 3500-4000K and kept consistent across the series. For shooting, use a shutter release cable with an interval timer — or simplest of all, set the camera to continuous drive and hold the shutter down with a cable release or app, and the camera will keep shooting.
Generally, 15-60 minutes of continuous shooting yields a nice star trail.
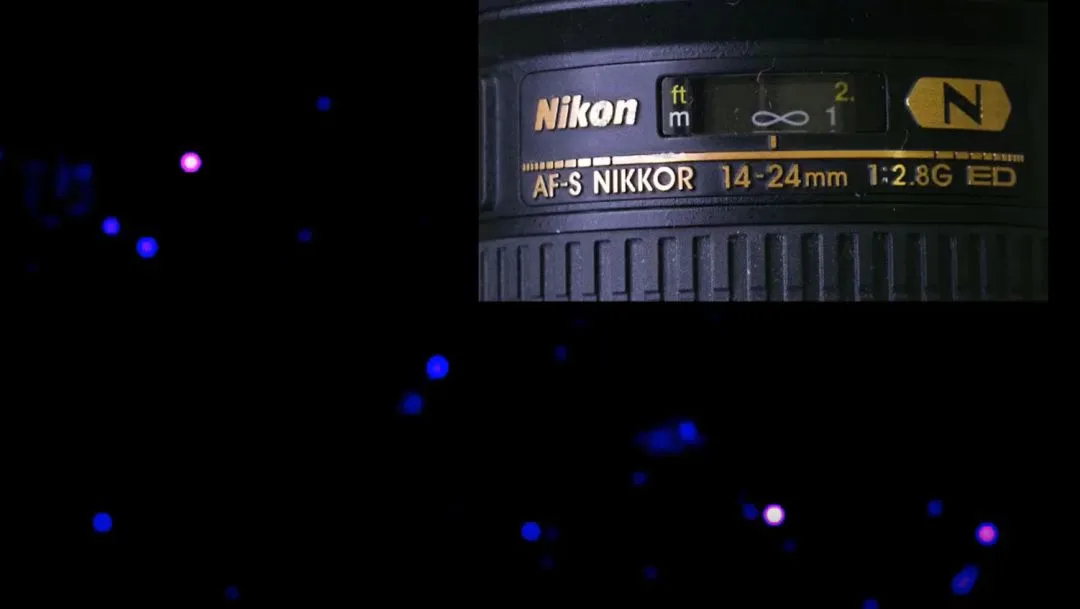
4. Star-trail focusing requires manual focus. Use the camera's rear screen to find a bright star (or a distant light, or the moon), and turn the focus ring until the bright star goes from blurry to a tiny sharp point.
For most lenses, turning the focus ring all the way to the far end is not accurate infinity — the star will still look soft.
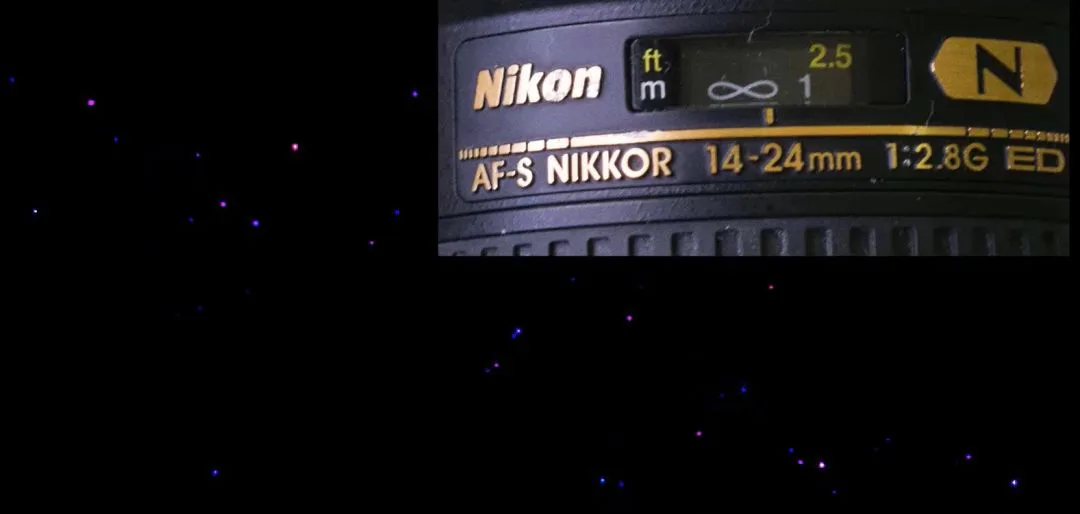
Usually you need to come back slightly from the far end to truly reach infinity focus, at which point the star appears as a solid point.
5. In the Northern Hemisphere, aiming north captures concentric circular star trails centered on Polaris. In the Southern Hemisphere, aim south for concentric circles.
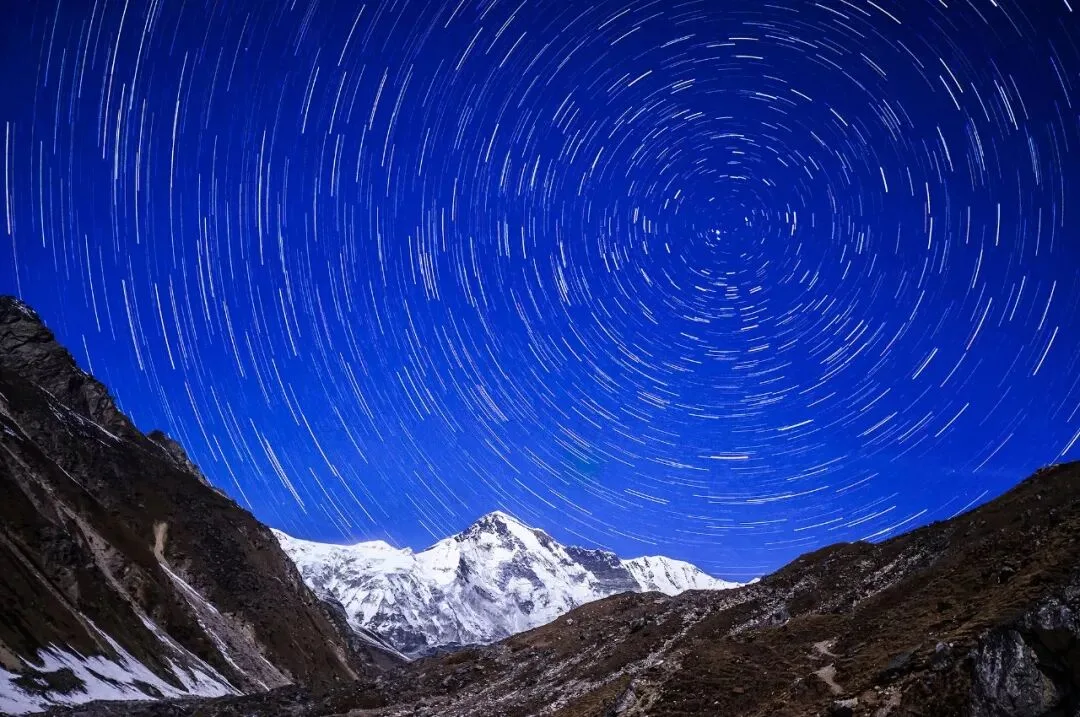
Aiming in other directions also produces arc-shaped trails whose center lies outside the frame.
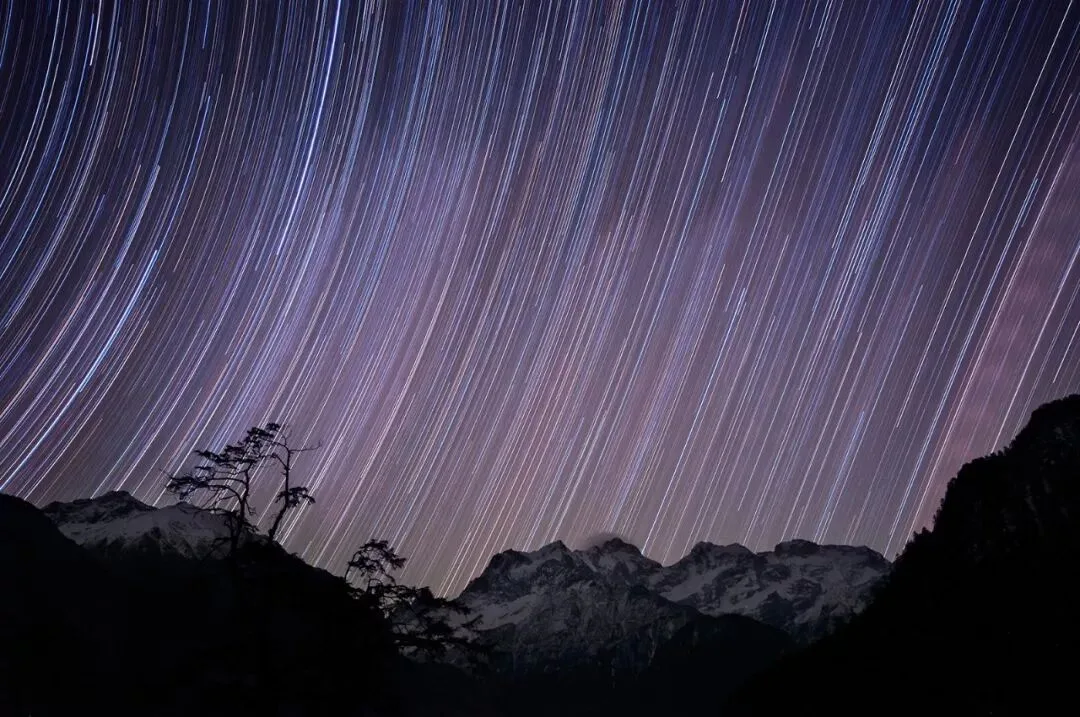
6. For star-trail post-processing, first apply basic Camera Raw exposure adjustments to one frame, then sync them across the entire series.
If there are too many photos or your editing computer has limited memory, export the series as JPEGs from Camera Raw.
7. In Photoshop, load all the images into one file and set the layer blend mode to "Lighten" — beautiful star trails appear.
Star-trail shooting and editing are not complicated, and you can even do it in the city. Give it a try!
You're welcome to submit your star-trail and night-sky photos to the Weibo hashtag #510100公里#.