Photography Tutorial · 2022-01-09
Plain Street to Magical Masterpiece? A Photographer's Shooting and Post Ideas Revealed
Thomas Chu Photo
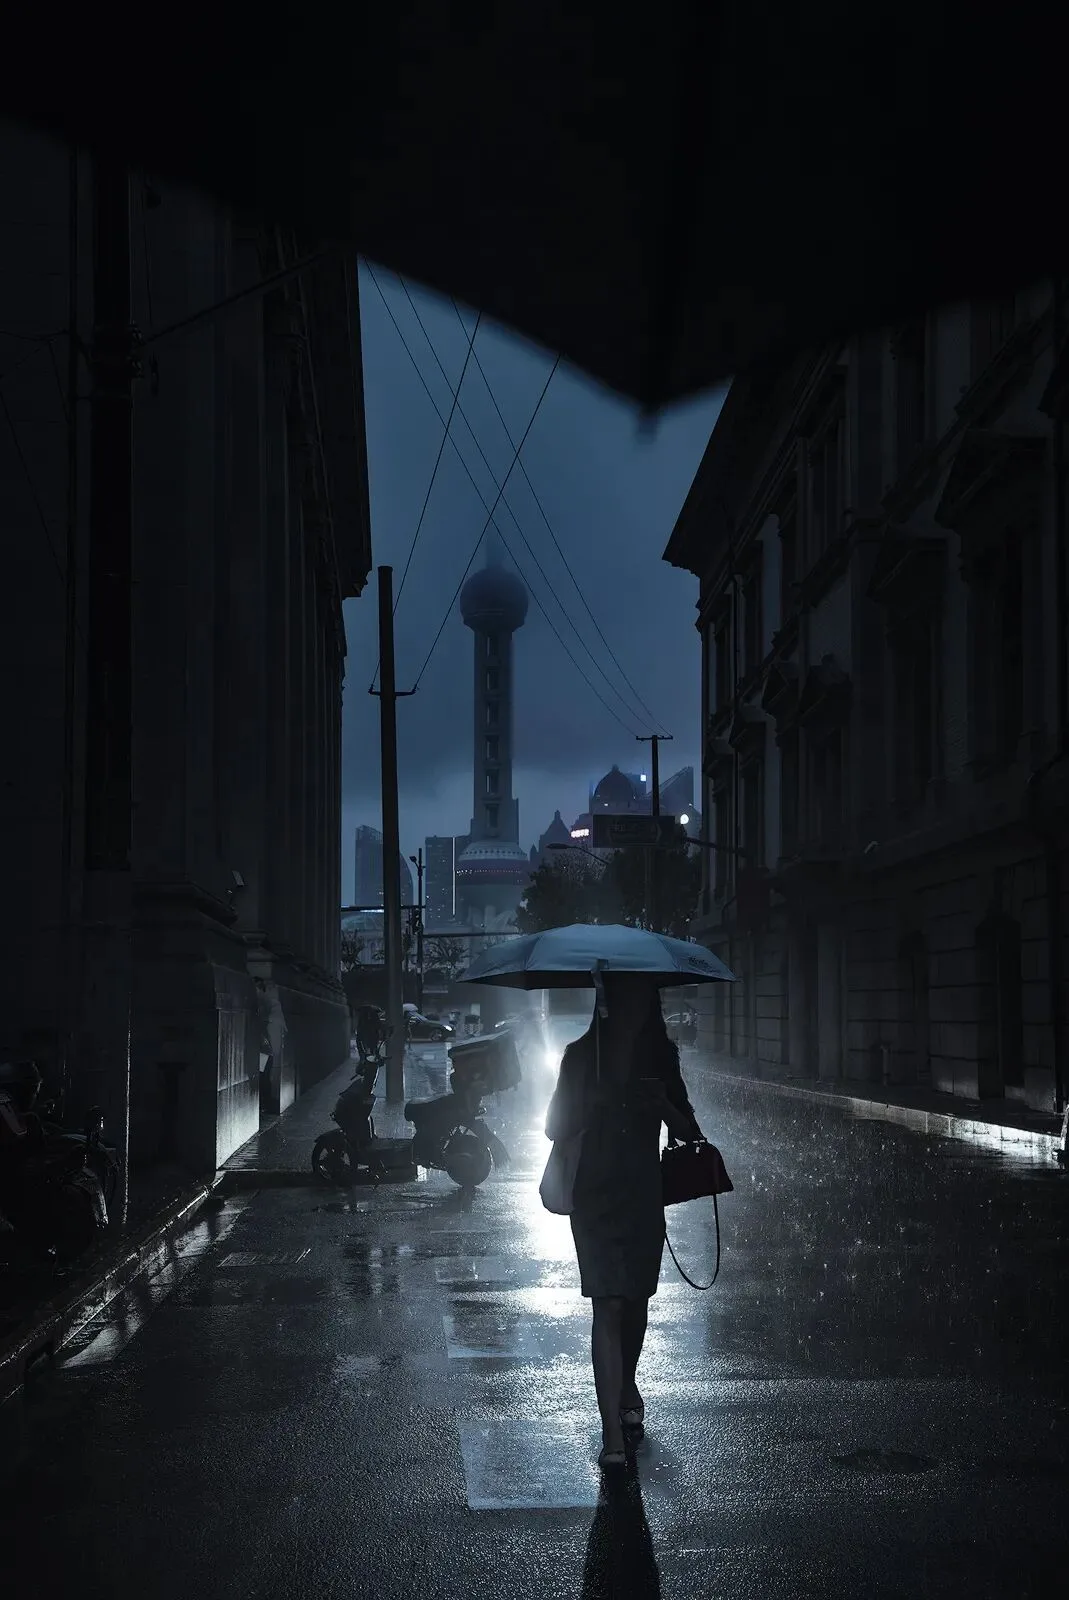
In today's photography case tutorial, Thomas shares the shooting and post-processing ideas behind this magical street photograph of Shanghai.
Key points include compositional thinking for street scenes, night capture settings, shooting and post for time blending, texture enhancement in post, and more.
Video Tutorial
▶ Watch the video tutorial on Bilibili
This is the fully illustrated companion to the video above. Using a rainy-night street shot in Shanghai as the example, Thomas breaks down how an ordinary street scene becomes a magical urban frame: why rain, how to find a stage with the Oriental Pearl Tower as backdrop, an umbrella that accidentally entered the frame, blue-hour capture settings in the rain, the time blend of two raw files, and the final hour of texture work in Photoshop. With keyframe screenshots — read it here for the workflow, then hear the details in the video.
Start with the final image: a rainy night, wet pavement, headlights and one umbrella — this is the end result, and the whole tutorial explains how it was built step by step (at 0:14 in the video).
01 Rain: Nature's Set for a Magical Shanghai
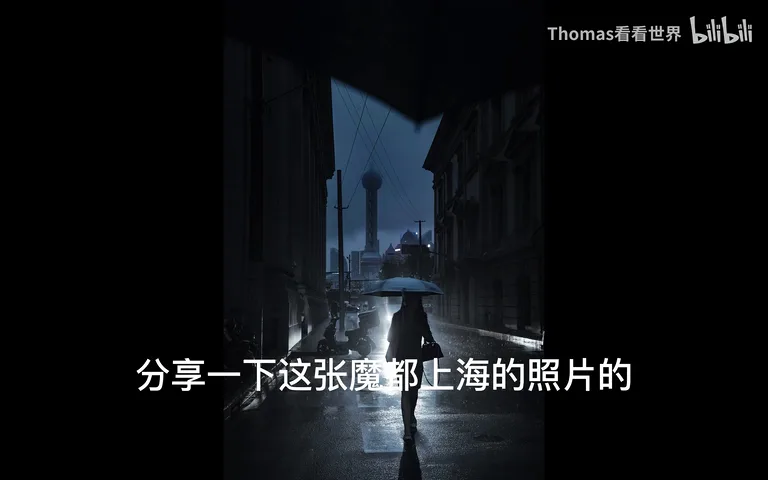
Why shoot Shanghai in the rain? He did arrive amid days of continuous rain, and rainy Shanghai is precisely where the city turns magical: distant skyscrapers shrouded in cloud and mist (at 0:44 in the video), with far cleaner overall tones than on sunny days — a perfect match for the city's "magic capital" nickname. But simply photographing scenery in the rain would be a little mediocre and short of a distinctive idea, which is what motivated the whole shooting design that follows (at 0:58 in the video).
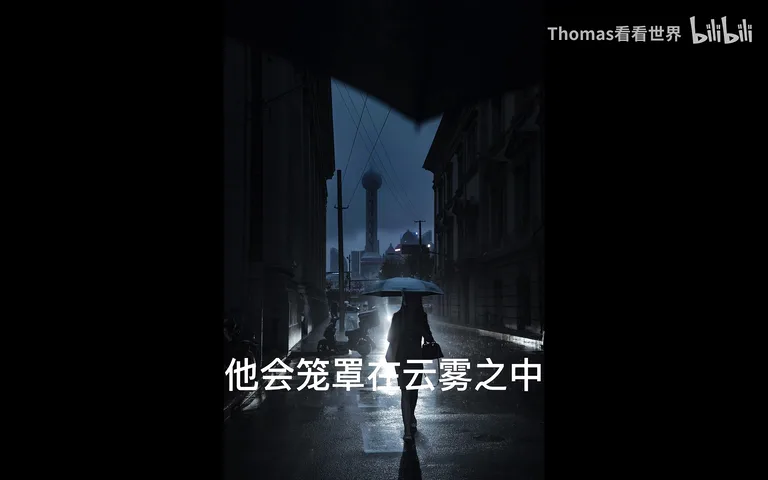
The location logic: around the Bund, very many streets frame the Oriental Pearl Tower — the city's most important symbol, which makes the place self-evident once it appears in the frame (at 1:08 in the video). The street he chose looks empty, yet people and cars keep passing through and stories keep happening — it is effectively a stage with the tower as its backdrop, where the photographer simply waits patiently to witness and capture the moment the stage performs at its best (at 1:19 in the video).
02 An Umbrella in Frame, Closing the Gap
The rain was still falling, and shooting with one hand holding the umbrella and the other on the tripod-mounted camera, the umbrella slipped into the frame — which turned out to be the better choice. A street like this is really a U-shaped bowl: blocked on both sides by buildings, paved at the bottom, and open only in the middle and above, where a bright sky leaves the frame looking like it is missing a piece (at 2:07 in the video).
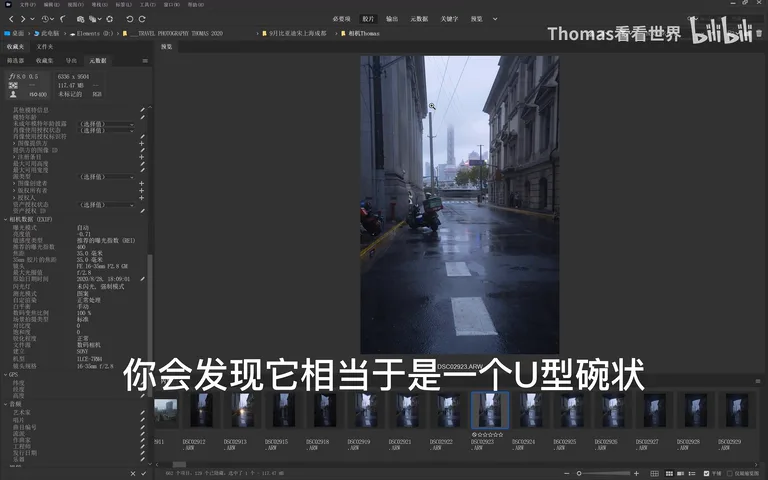
The umbrella in frame seals exactly that gap: it masks the bright but boring sky and the tangle of messy wires, funneling the gaze toward the Oriental Pearl Tower in the middle and the street scene below (at 2:31 in the video). It also creates strong immersion — the viewer feels like they are the one holding the umbrella, walking down this rainy street (at 2:46 in the video).
03 Capture Settings on a Blue-Hour Rainy Night
The shoot follows a "two-plate" strategy. The first plate is the background: continuous shooting at ISO 400, f/8 and a fairly slow shutter of about 1/6 s (at 2:52 in the video). This combination gives deep depth of field and fine quality, and blurred pedestrians do not matter — with enough frames, the median-stack technique covered in earlier tutorials removes them all effortlessly, yielding a clean empty-street plate (at 3:30 in the video).
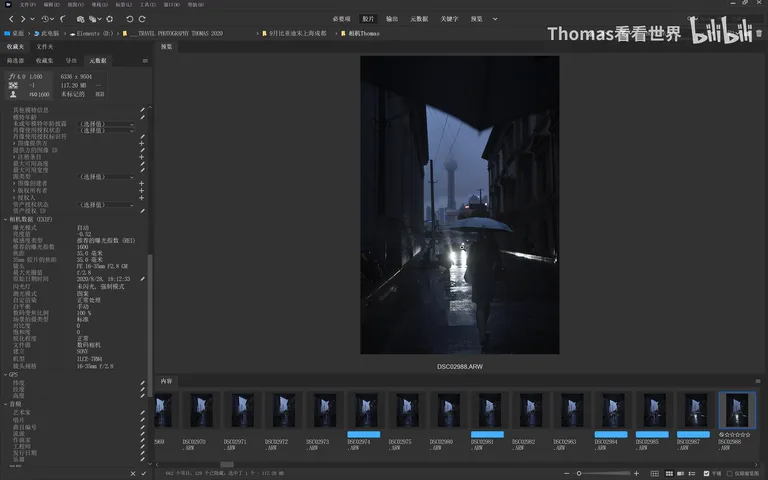
The second plate is the people: raise ISO to 1000 and, with fine-tuning of exposure compensation, push the shutter to around 1/30 s (at 3:53 in the video) — anyone walking toward the camera can be frozen, as long as they are not running or crossing the frame sideways. He adds that a National Geographic award-winning photo used a similar shutter of about 1/40 s, balancing image quality against the subject's motion (at 4:18 in the video). In the end came a stylishly dressed woman walking while glancing at her phone, radiating big-city bustle — exactly the Shanghai he wanted to express (at 4:26 in the video).
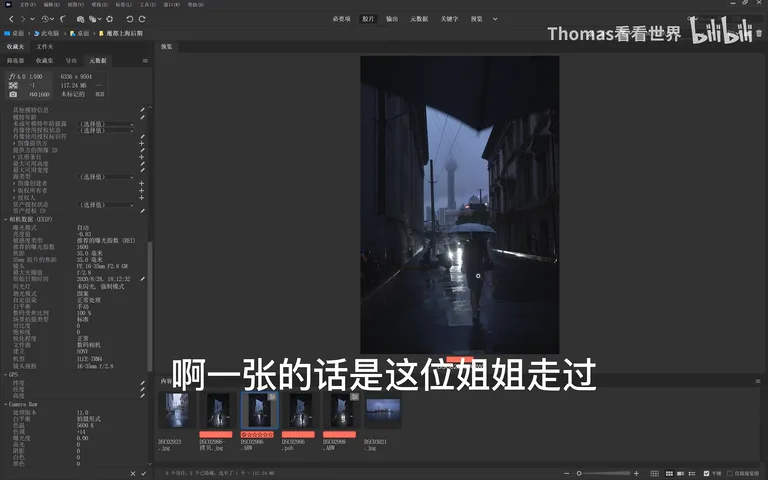
04 The Time Blend: Two Moments Merged into One
Among the burst, two raw frames each have strengths and flaws. The first: the umbrella sits exactly right, the woman's expression and motion are excellent, and her position near the golden ratio is both balanced and full of tension; the flaw is a monotonous right side, where the car's headlights shine straight in, far too glaring and stealing attention from the figure (at 5:46 in the video).
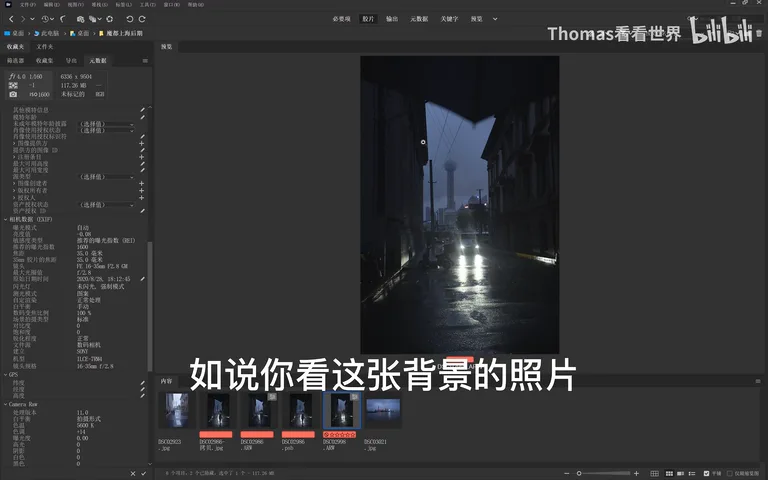
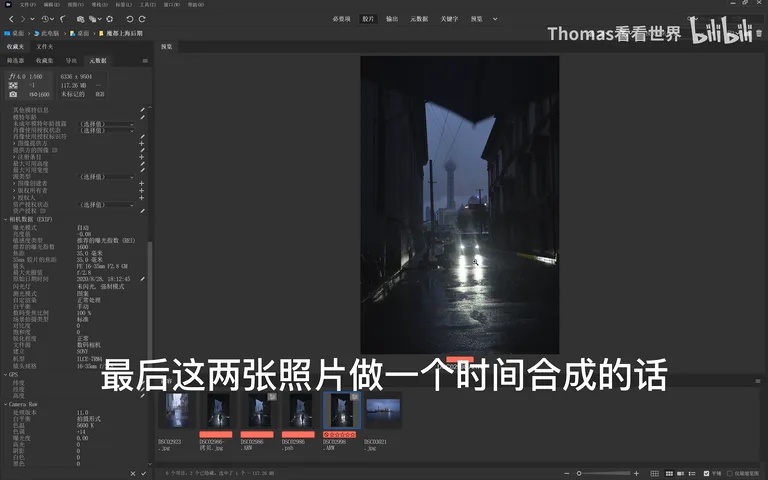
The second frame wins on rain and light: a minute or two later the rain suddenly intensified, and the headlights lit up every raindrop — the streaks and their reflections on the water are clearly visible (at 6:54 in the video); and this car sits exactly behind where the woman stood in the first frame. So blending the two as a time blend, the figure precisely blocks the car's two headlights behind her — the harshest, inevitably blown-out light source, best handled by having the subject cover it (at 7:24 in the video).
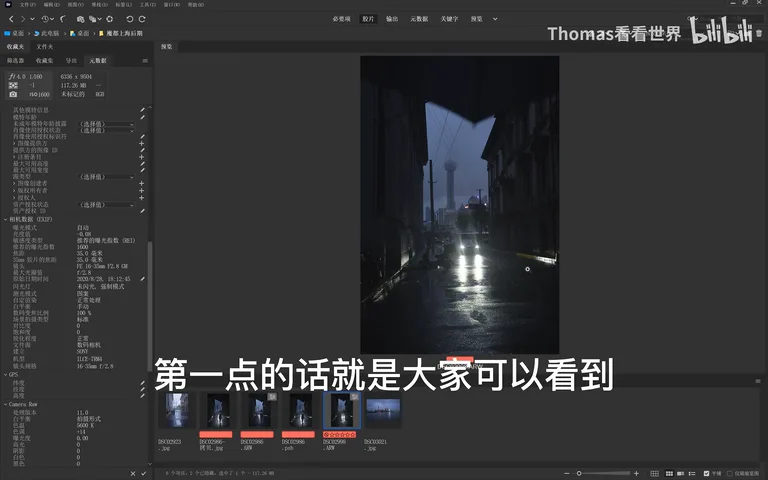
This is the time blend: both frames shot on the same tripod from an identical position, identical framing, differing only in the moment they captured (at 9:02 in the video). It is not a collage of stock elements, but two real moments from the same street — two 80-out-of-100 decisive moments merged into a new, 100-point decisive moment (at 10:15 in the video).
05 Post: Masks, Darkening and Rain Texture
Post-processing took about an hour in total (at 8:06 in the video). First, white balance is unified between the two raws in Camera Raw — the originals already carry the low-saturation blue palette of a rainy blue hour (at 8:20 in the video); then, with the Quick Selection tool or channels, the woman and her shadow are roughly cut out, hair edges refined with Select and Mask, and a mask built (at 8:36 in the video). After the blend, behind the figure there is the car's halo and the rain — far richer than the pitch-black right side of the original frame (at 9:50 in the video).
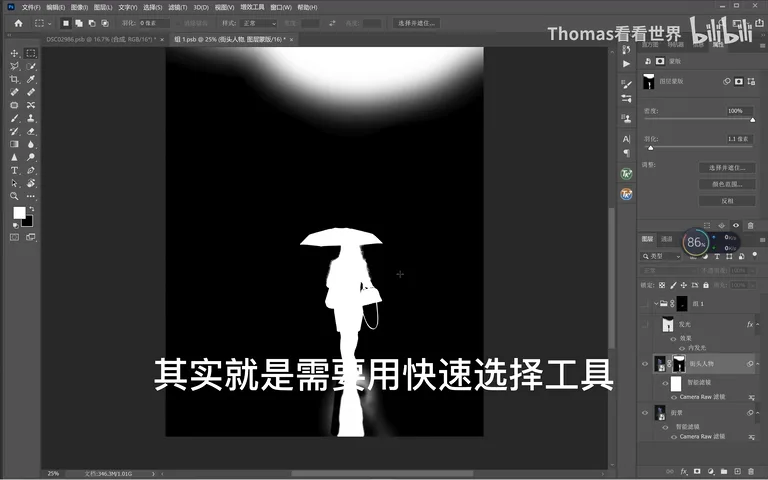
With the headlights now behind the figure, he duplicates the layer and applies an Inner Glow to simulate the backlight rimming her clothes and hair (at 10:31 in the video); then the whole image is darkened for the oppressive low-key mood of a rainy night, while a luminosity mask brings the area around the figure and the wet ground back up, shaping the texture of the silhouette light (at 11:28 in the video); finally Nik's Tonal Contrast sharpens overall detail and the umbrella's texture separately, and yellow and red saturation are pulled down so the yellow glow of a Ping An sign no longer fights the unified teal-blue palette (at 12:24 in the video).
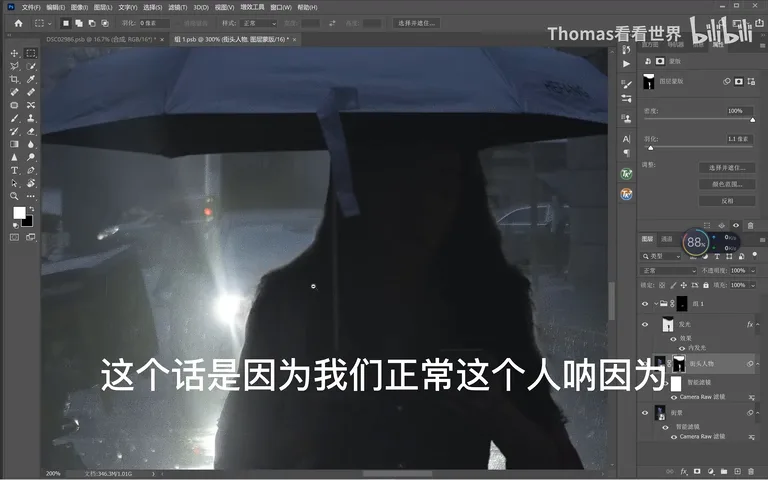
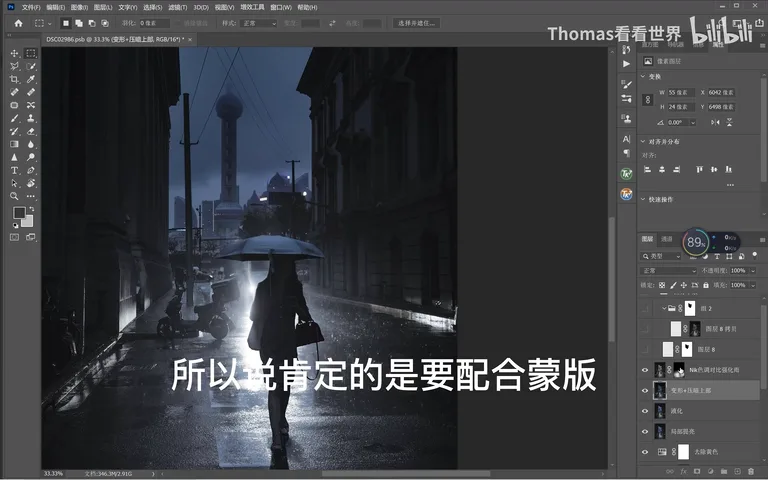
The finishing moves are a warp and a gradient: the lower part is stretched slightly longer for better proportions, and a gradient filter darkens the upper part so the eye settles on the story unfolding on the street (at 12:55 in the video). The most crucial step is pulling out the texture of the rain — Nik's Tonal Contrast acts like cranking clarity to the max, and the rain streaks instantly emerge, but the surroundings go too far, so it must be restricted locally with a mask (at 13:23 in the video). Before versus after, the rain feels like an entirely different texture.
1. Scout for city symbols and a stage: a street with a view of the Oriental Pearl is a ready-made set — waiting and capturing matter more than wandering; 2. An umbrella in frame seals the sky gap of a U-shaped street, hides clutter, focuses the gaze and adds immersion; 3. Shoot two plates — a slow ISO 400 f/8 burst for a clean background with median stacking, and a raised ISO near 1/30 s for people; 4. The time blend is not fakery but the fusion of two real moments from one position, where 80 plus 80 makes 100.
Follow Thomas for more travel & photography tips