Photography Tutorial · 2020-06-07
Starbursts Made Easy: Shooting & Post-Processing Secrets
Thomas Chu Photo
Author: Miller (Yao Minglai)
This article has two parts — shooting and post-processing:
(1) Tricks for Capturing Sunstars
(2) Creating a Sunstar in 3 Minutes of Post
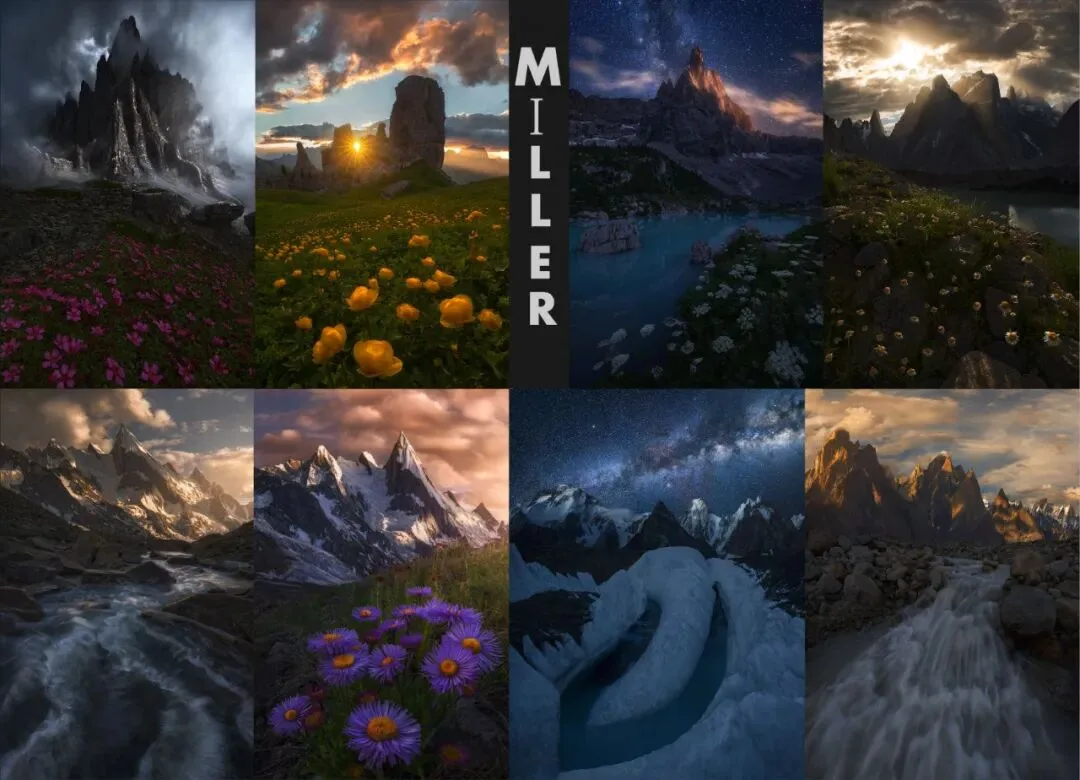
Sunstars are formed by light diffraction: aim your lens at the sun and you may capture this dramatic burst of light. It adds a visual anchor to an image and enriches the frame.
Here are the four keys to shooting sunstars:
1. The Hand-Block Trick to Remove Flare
When light rushes straight into the lens, flare is unavoidable — hood or no hood.
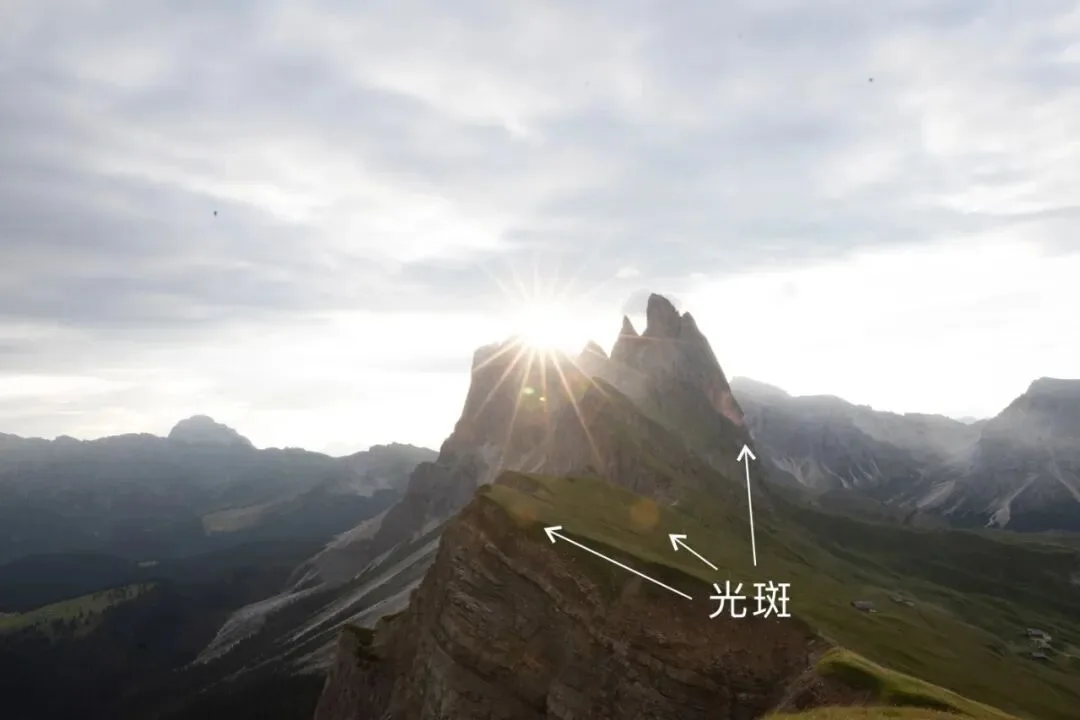
Flare areas differ hugely in hue and sharpness from their surroundings, making them extremely hard to remove in post. So after capturing the into-the-sun frame, I keep the camera in place and shoot one more frame with my hand blocking the sun, so no light rushes into the lens.
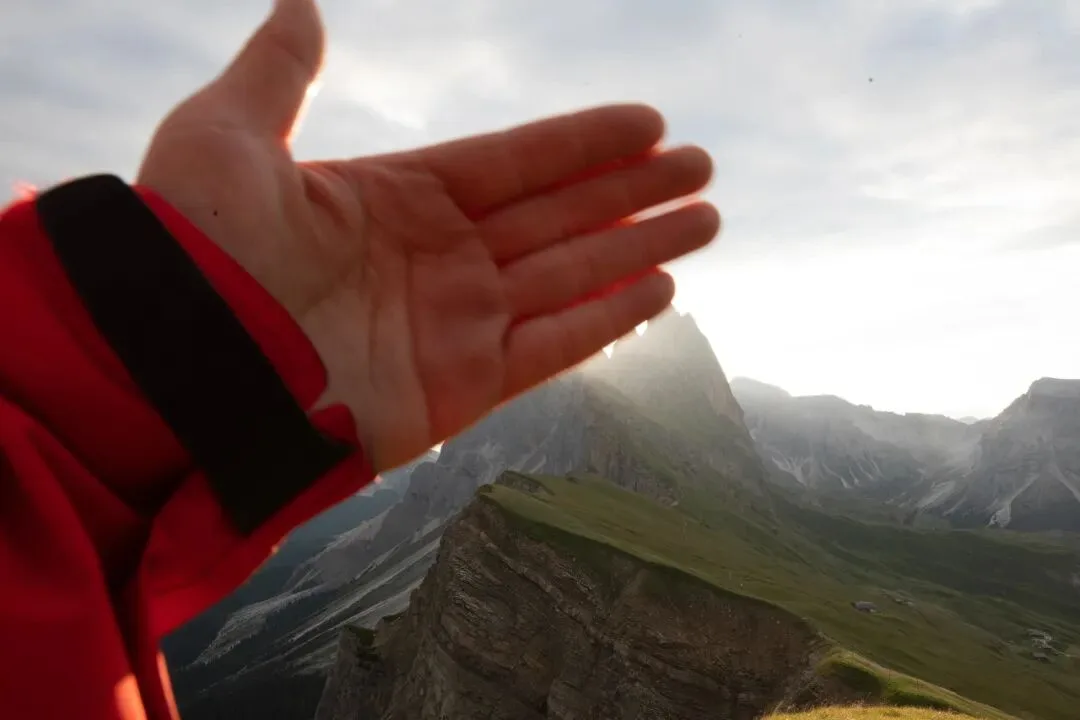
Two things to note:
First: when blocking, don't cover the areas that contain flare in the first image — we need those clean pixels to replace the flared areas.
Second: blocking the sun causes a sudden light drop. Even in aperture-priority mode, where the camera recalculates exposure, my experience is the second frame comes out noticeably darker — so dial in exposure compensation beforehand to match the two frames.
In post, import both images into Photoshop and drag them into the same Layers panel.
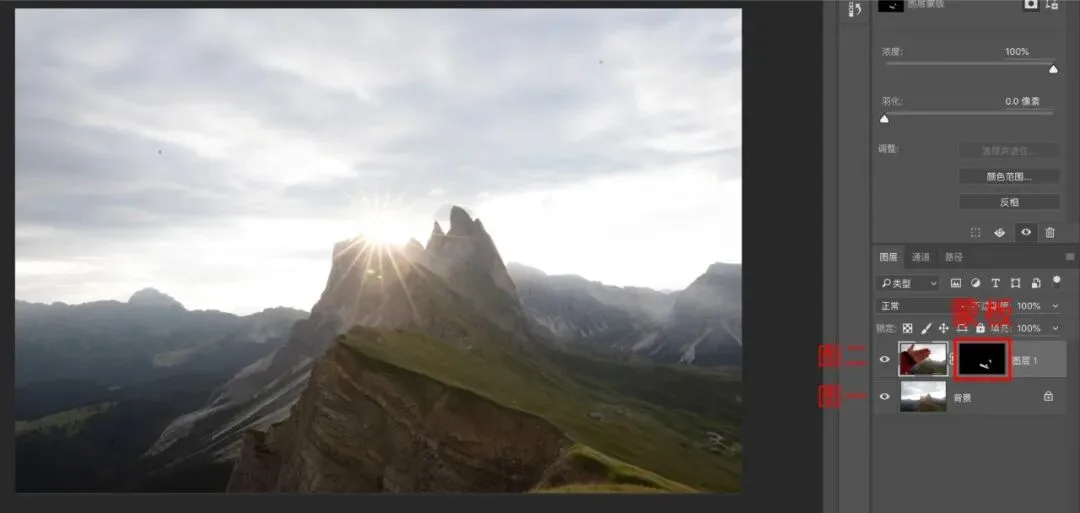
Then use a mask to paint away the flare in the first image. (If brightness or white balance differs slightly, add adjustment layers to match them.)
A simple operation removes the annoying flare. Here's the final image:
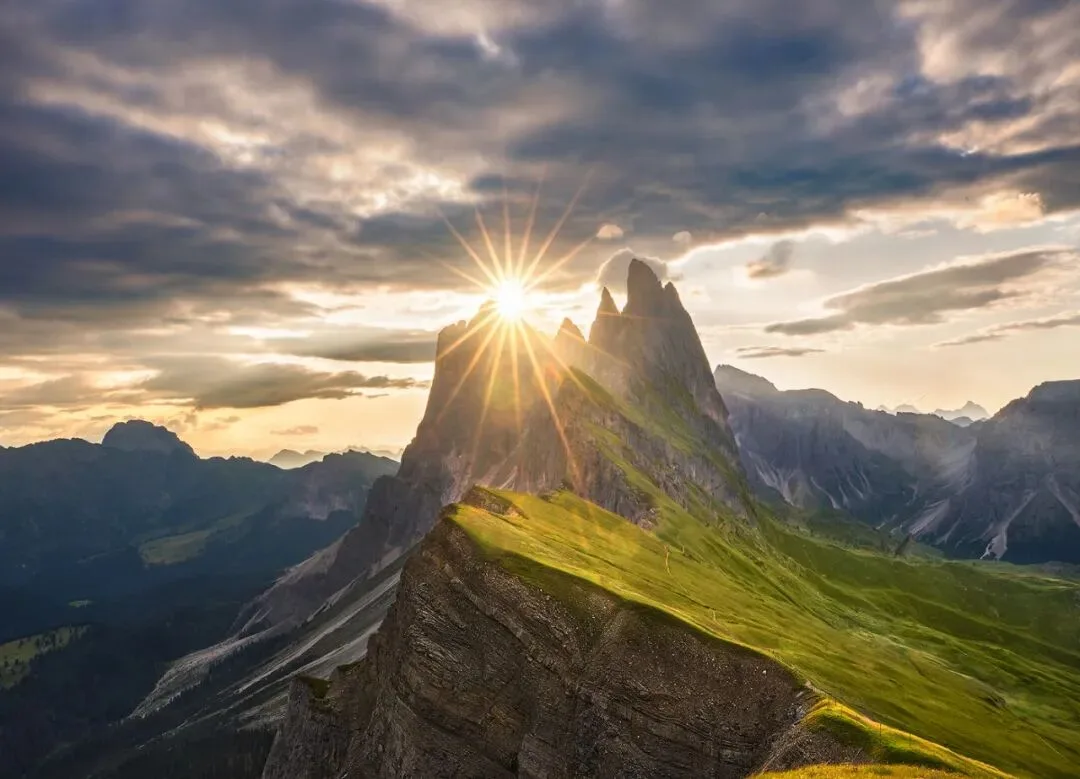
Another case — a sunset in Guilin.
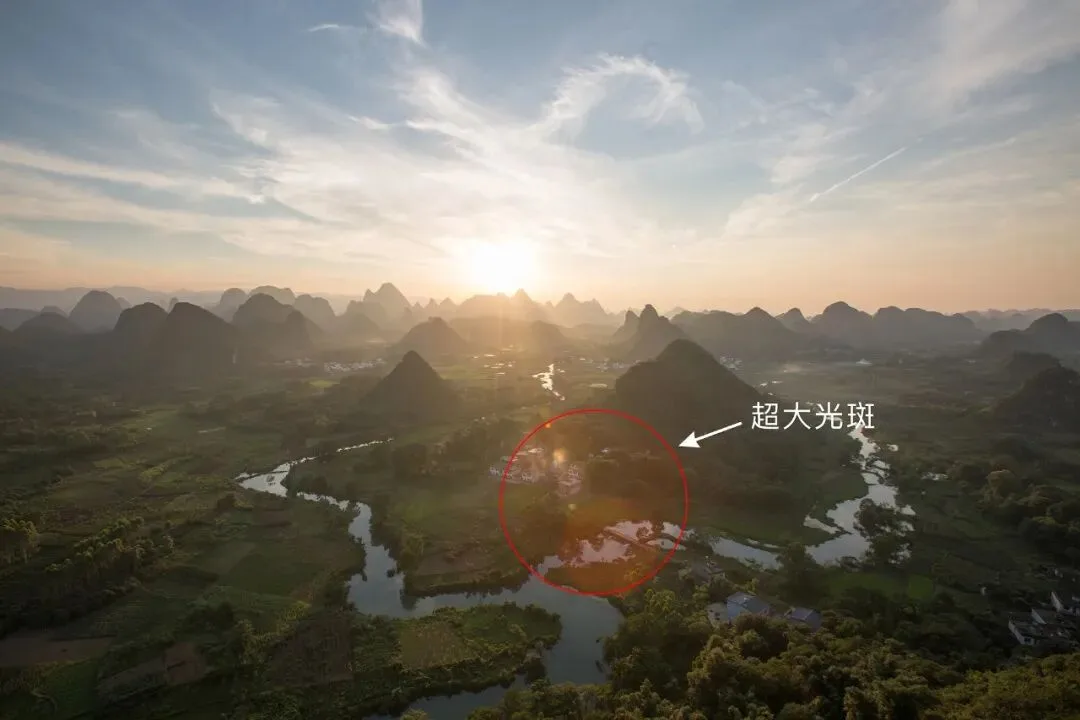
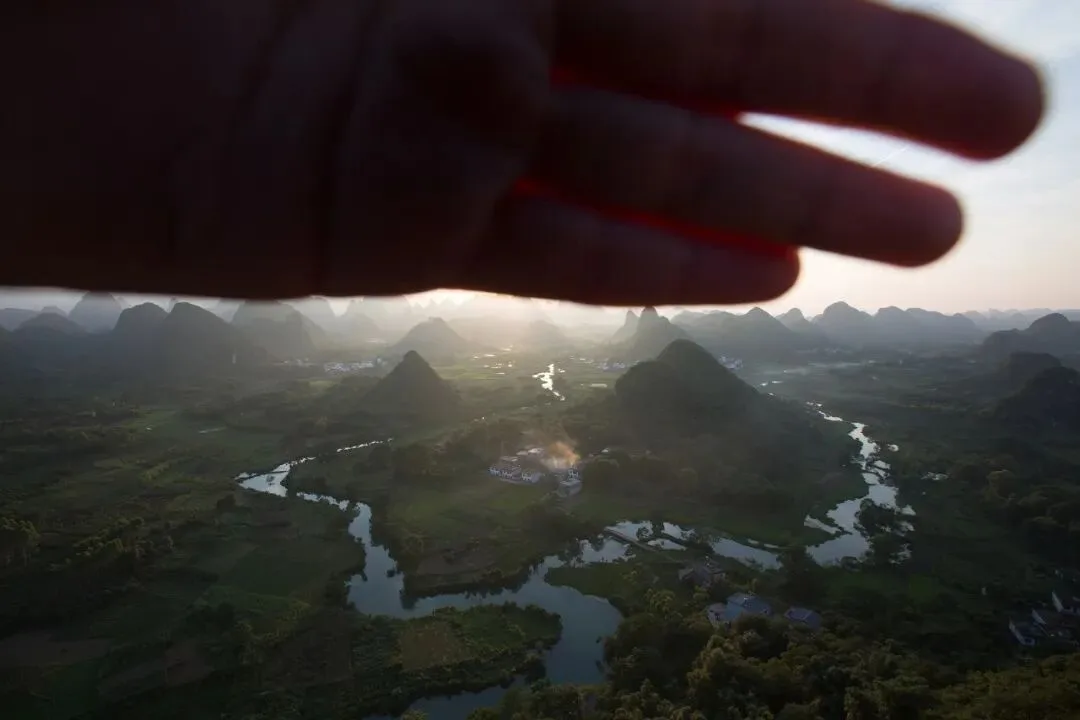
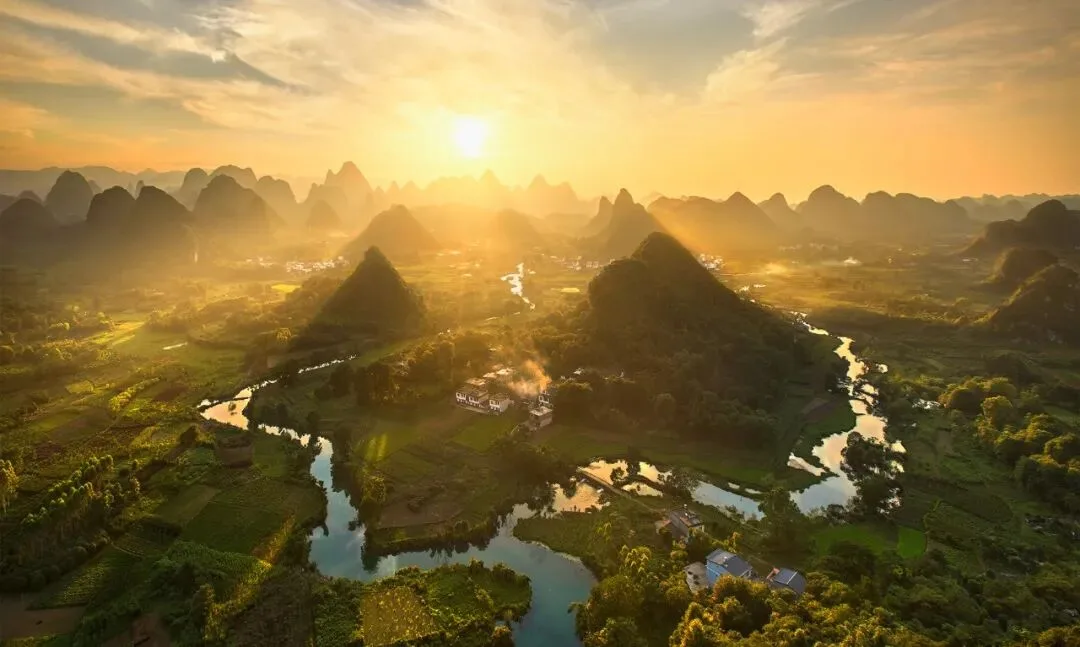
The same hand-block trick removed the flare in post. Here's the final result.
2. The Sun Must Shine Bare
Many students say: I shot toward the sun too, so why no sunstar — or only a weak one? One likely reason is obstruction in front of the sun. A hard requirement for a clean, crisp, beautiful sunstar is that NOTHING blocks the sun — the light must shine 'bare'. Even a thin veil of cloud greatly weakens the effect.
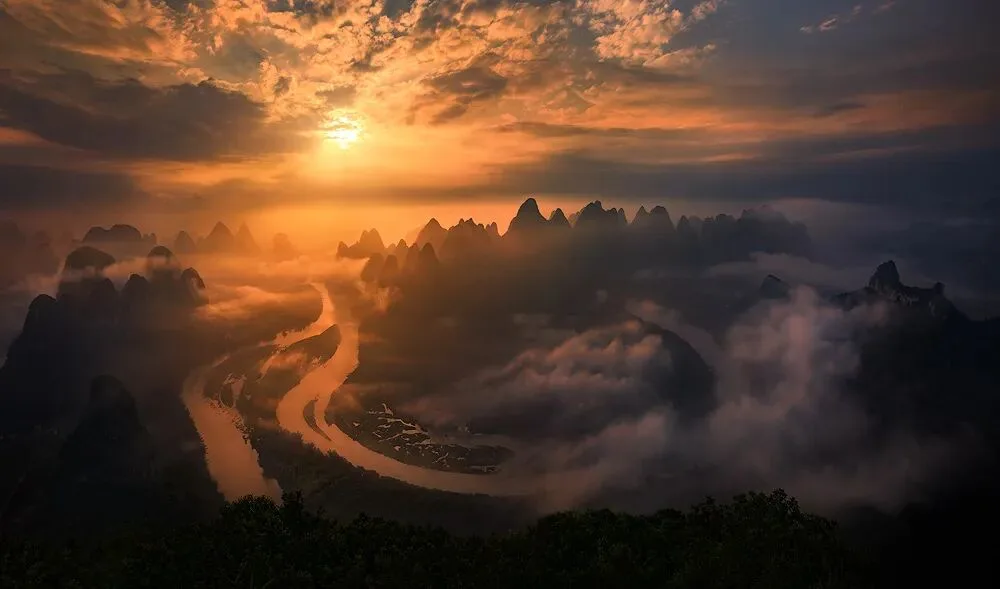
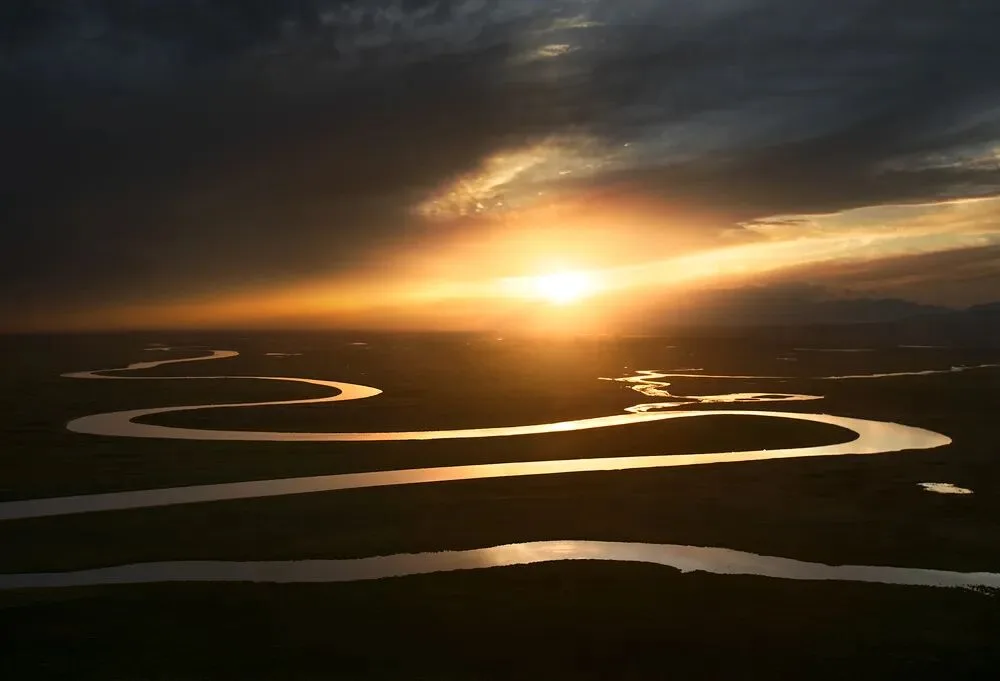
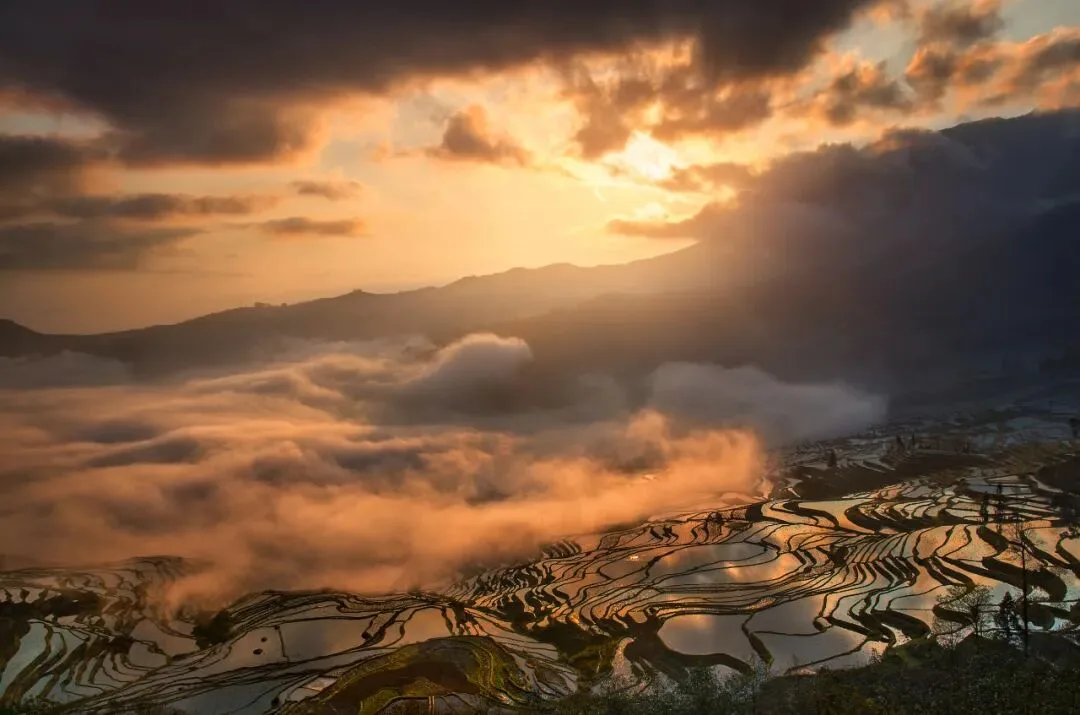
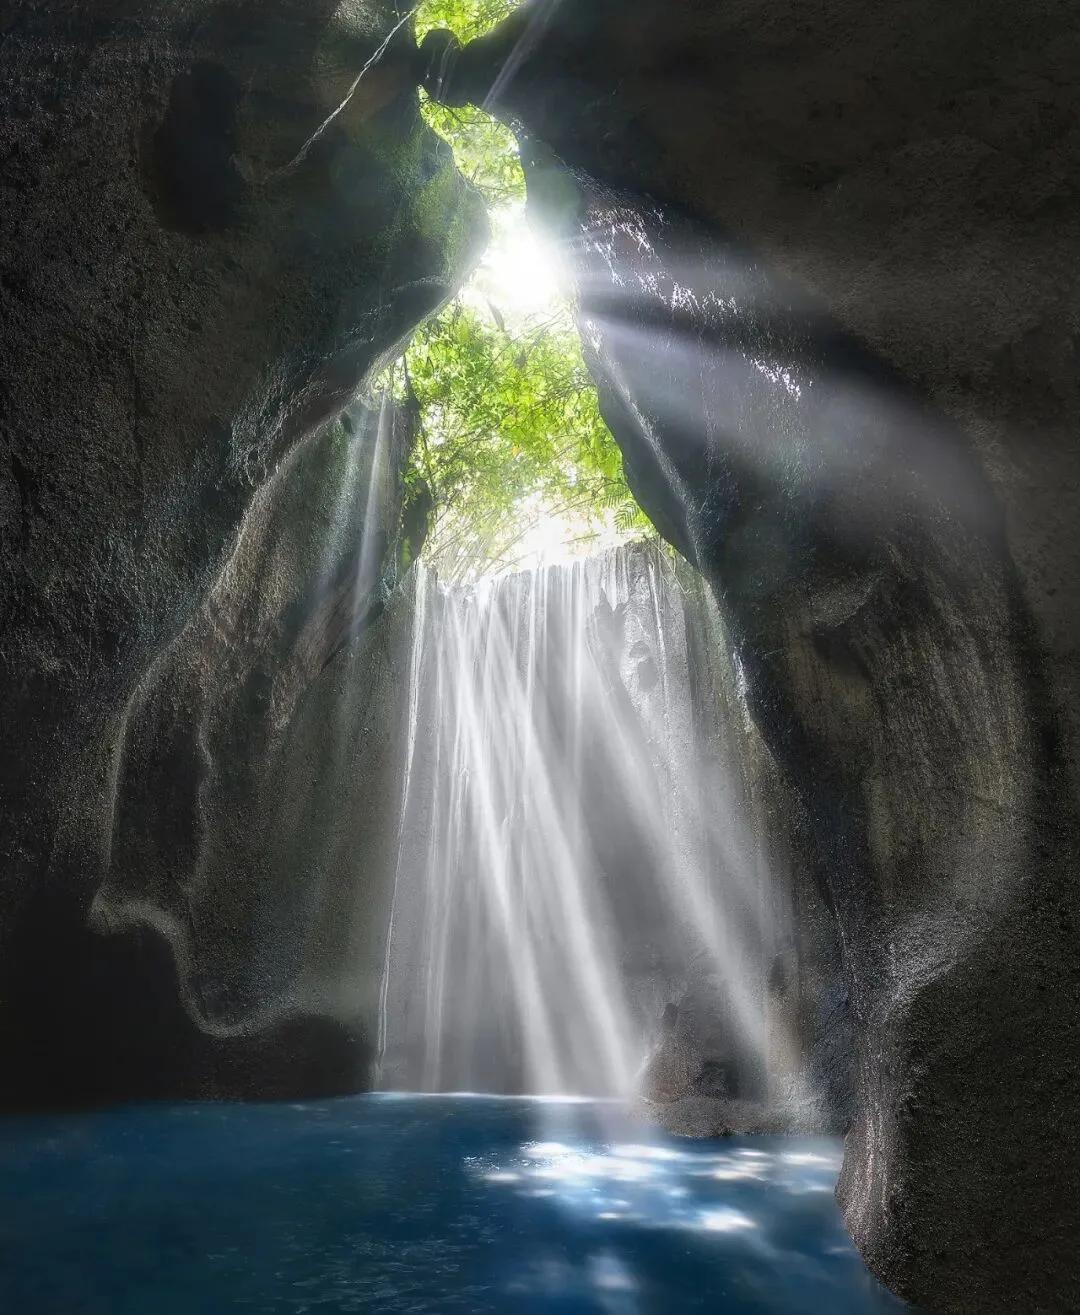
All four photos above were shot toward the sun, and sunlight did pour through onto the scenery — yet no sunstar. Because the sun was behind thin cloud (images 1-3) or leaves (image 4).
So an open field with sparse cloud cover is the easiest place to get sunstars.
3. Wide-Angle Lens, Small Aperture
Wide-angle lenses produce nicer sunstars than mid-to-long telephotos, and generally the smaller the aperture, the prettier and crisper the star. The f/8 we often use for landscapes does produce stars, but not the best results —
so I recommend stopping down to f/11 or smaller when shooting.
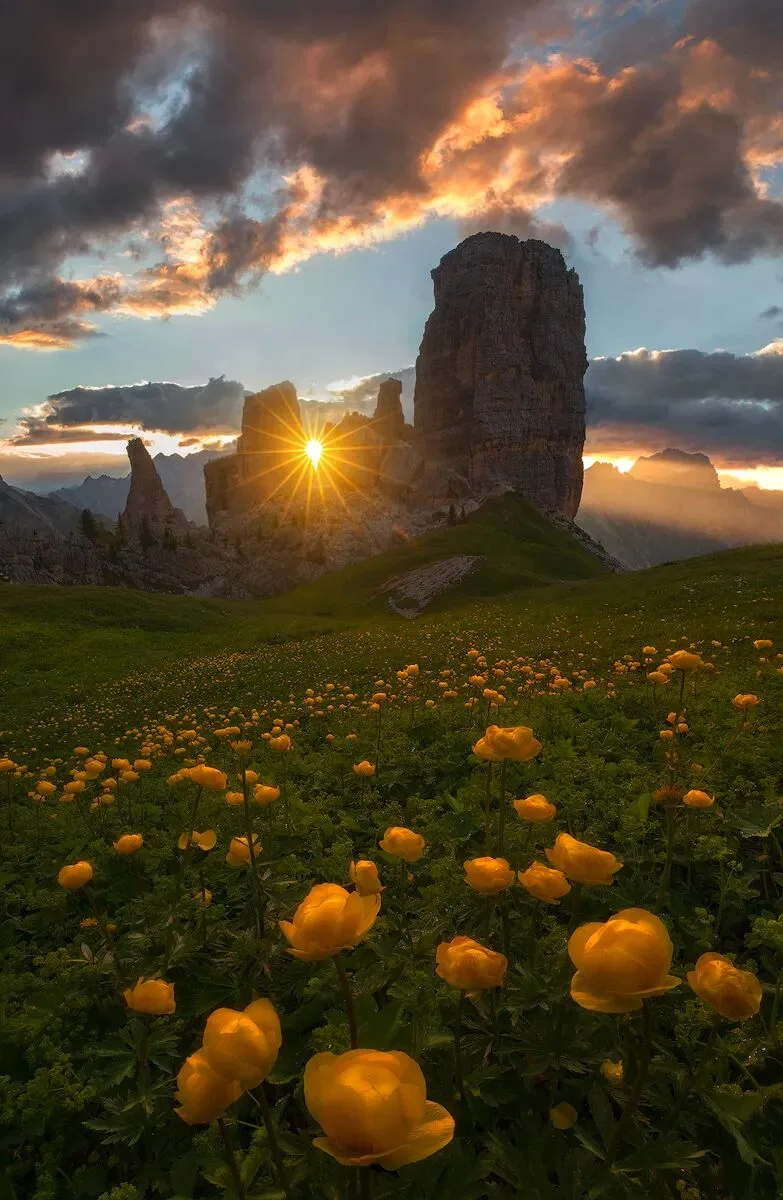
16-35mm wide-angle at f/13, shot in the Dolomites
4. Edge Occlusion
When the sun's edge is slightly covered by surrounding scenery while most of its light bursts through, sunstars come more easily. Adjust your composition, wait for the moment, and press the shutter as the sun pierces past the occluder or sits right at its edge.
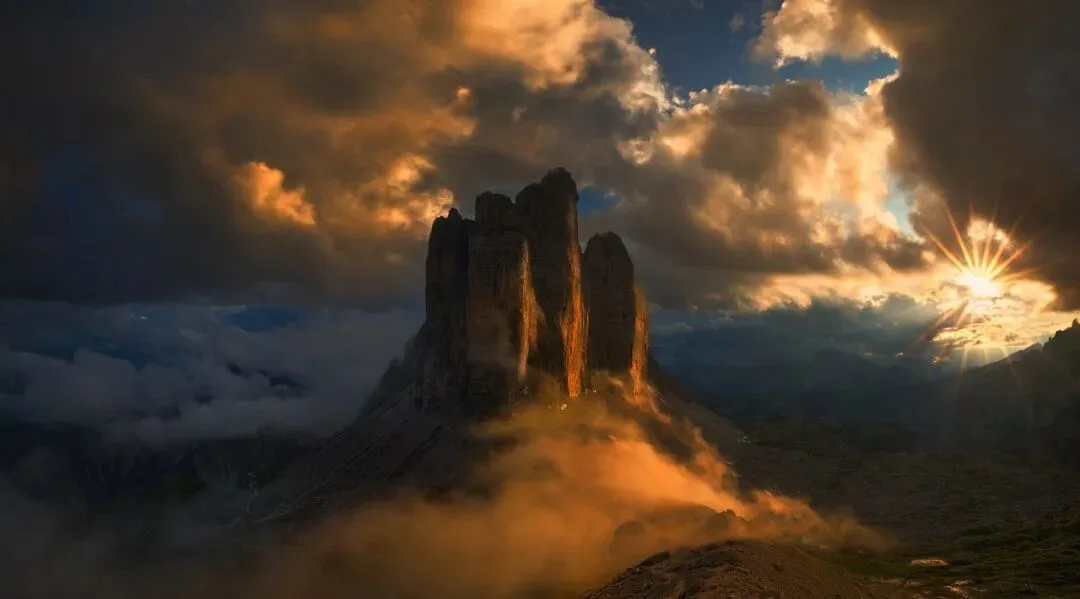
The sun's edge covered by cloud
The sun's edge covered by a rock wall
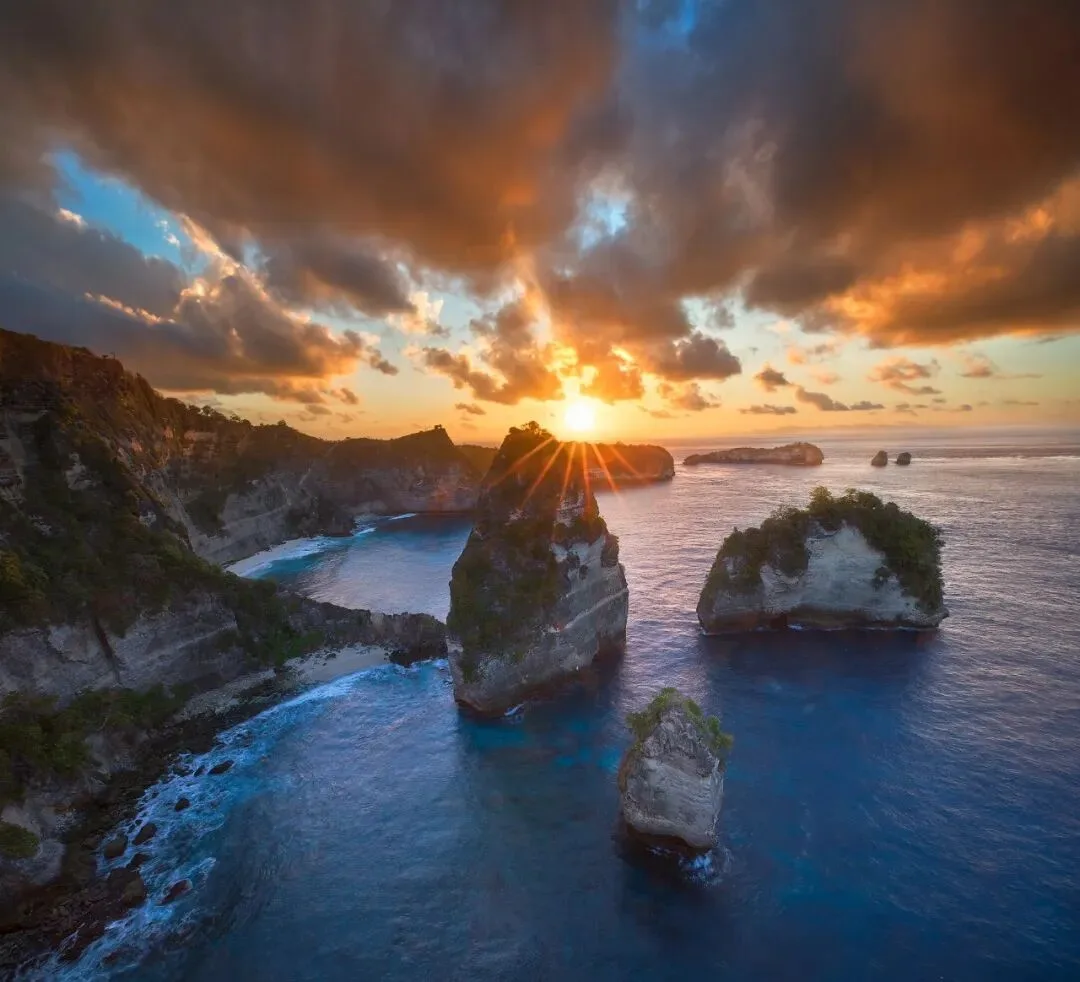
The sun's edge covered by a reef
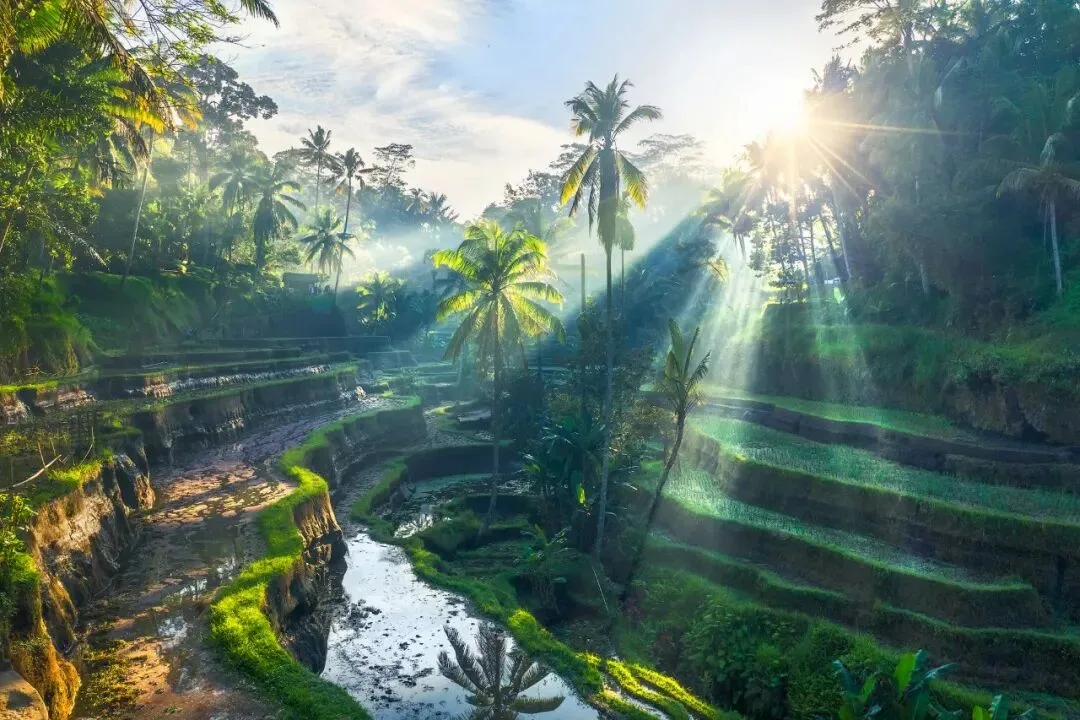
The sun's edge covered by trees
Edge occlusion greatly strengthens the star effect. In my tests, even when thin cloud in front of the sun prevents a star, if the surrounding terrain allows, waiting for the sun's edge to touch a landscape feature can still produce a decent weak star.
In reality, weather or other factors may deny you a sunstar. What then?
Here's the key: in the second half I'll teach you how to create a realistic sunstar in 3 minutes of post — the icing on the cake.

One declaration first: all sunstars in my current portfolio are genuinely captured in-camera. Use the following post technique at your own discretion.
We'll use a Photoshop sunstar filter.
This filter auto-detects highlight areas and generates a star, but offers poor control. I developed a more controllable method combined with this filter for more realistic results.
First, take the Brush tool, hold Alt and sample the color of the highlight area.
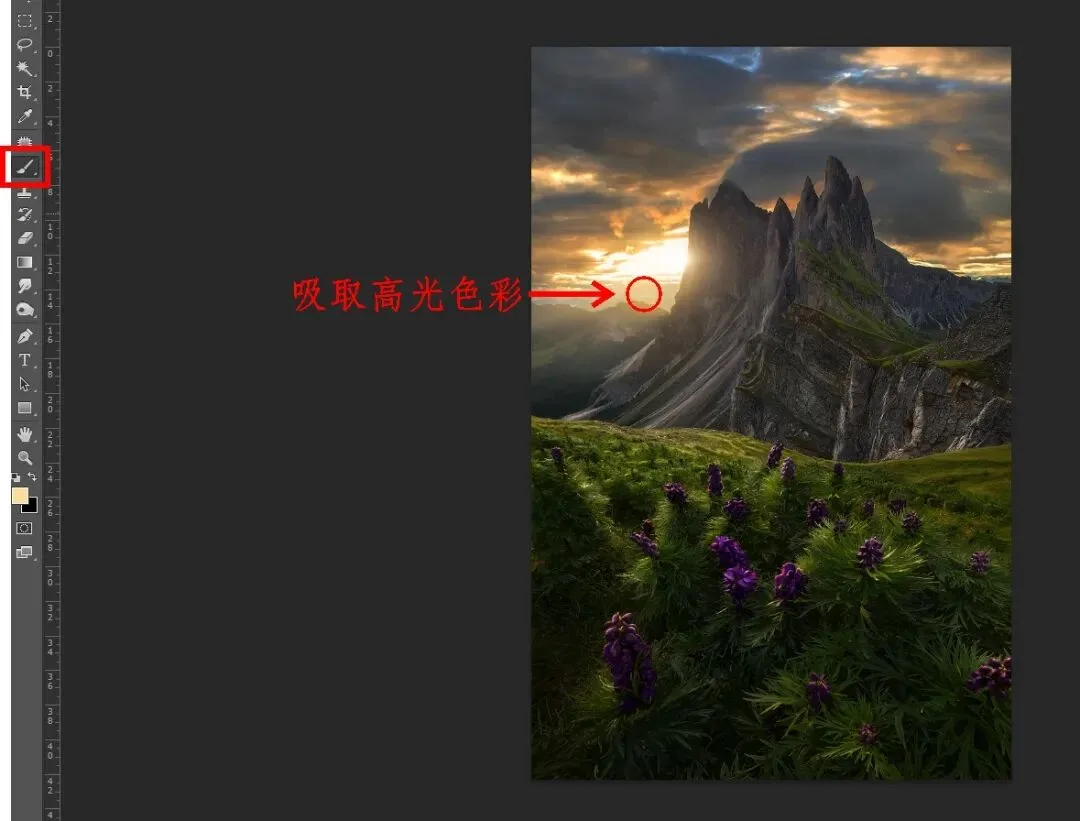
Note: if the highlight is fully blown to white as above, at sunrise or sunset sample a nearby area with warm yellow tones instead.
Next, create a new blank layer.
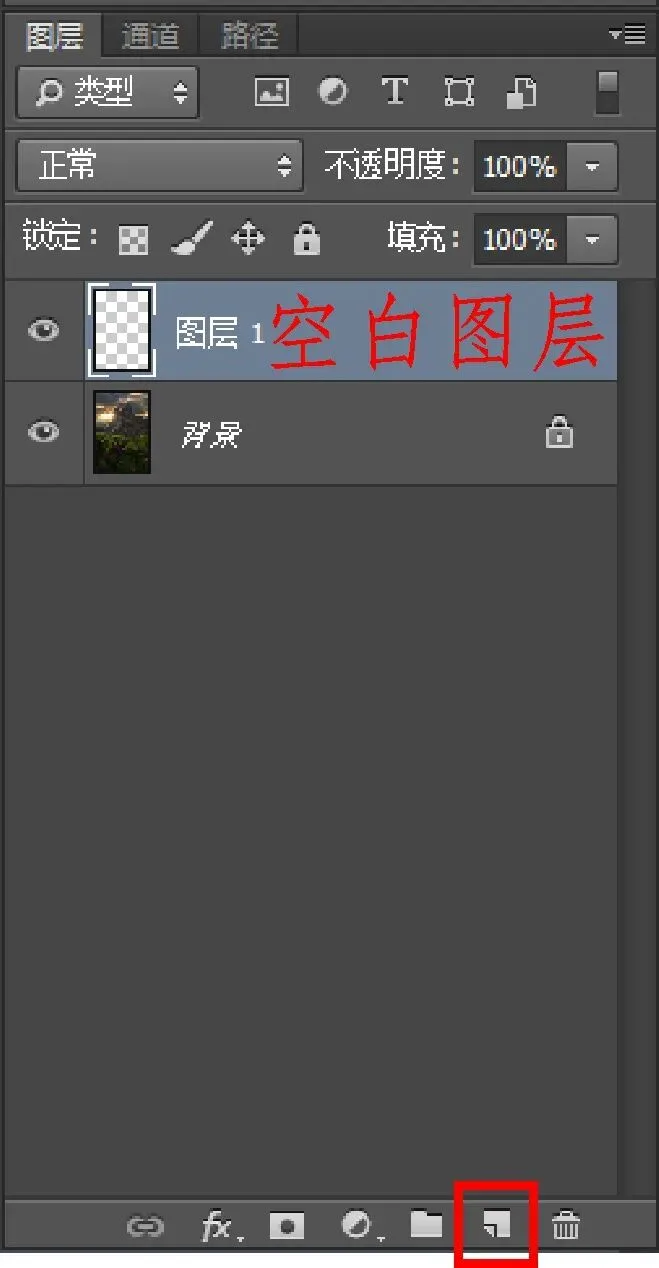
Edit → Fill
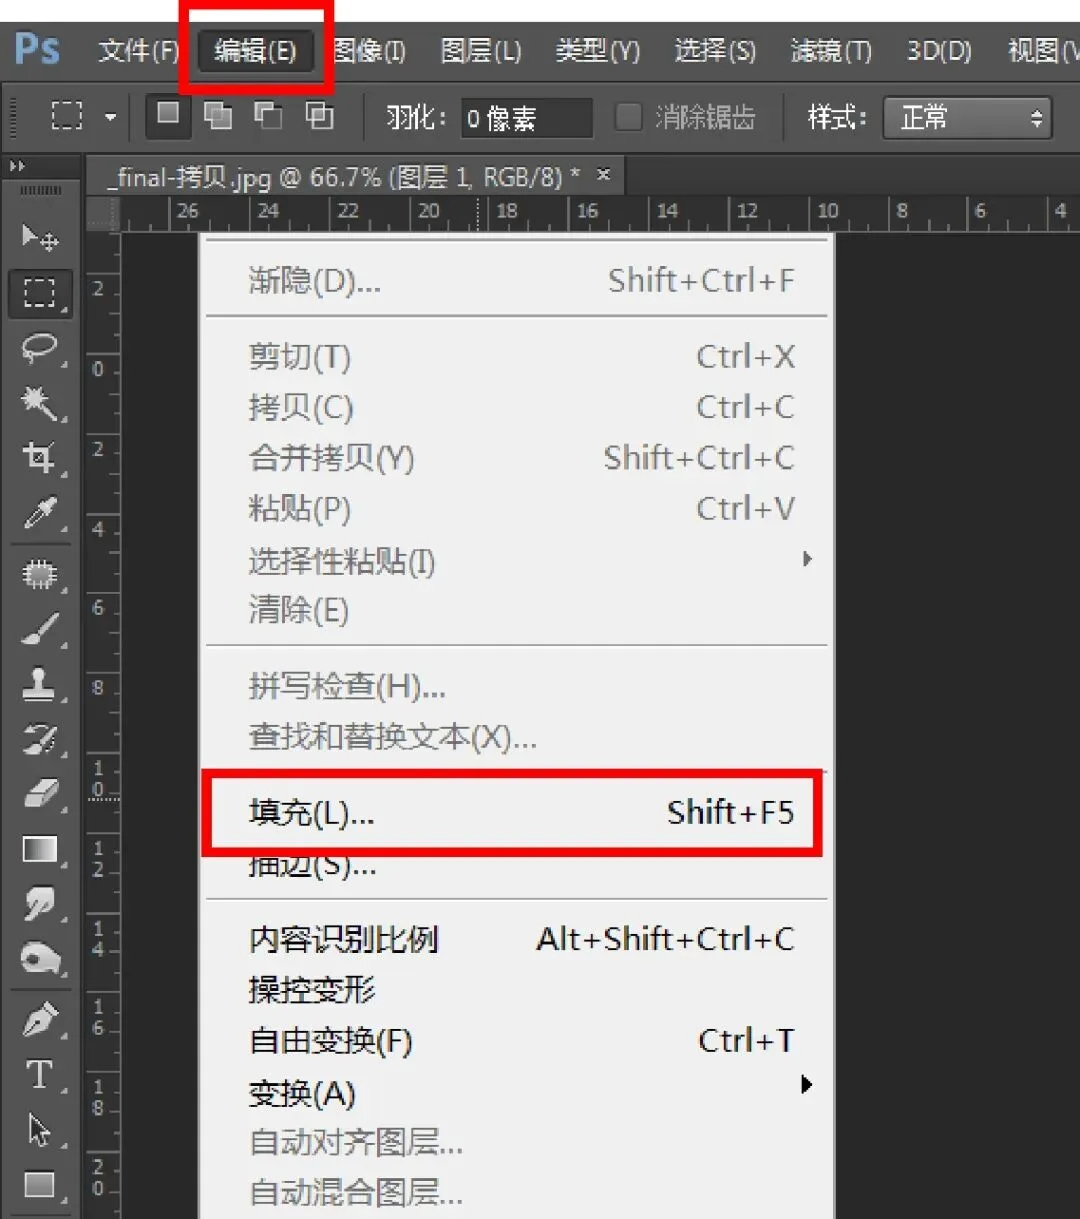
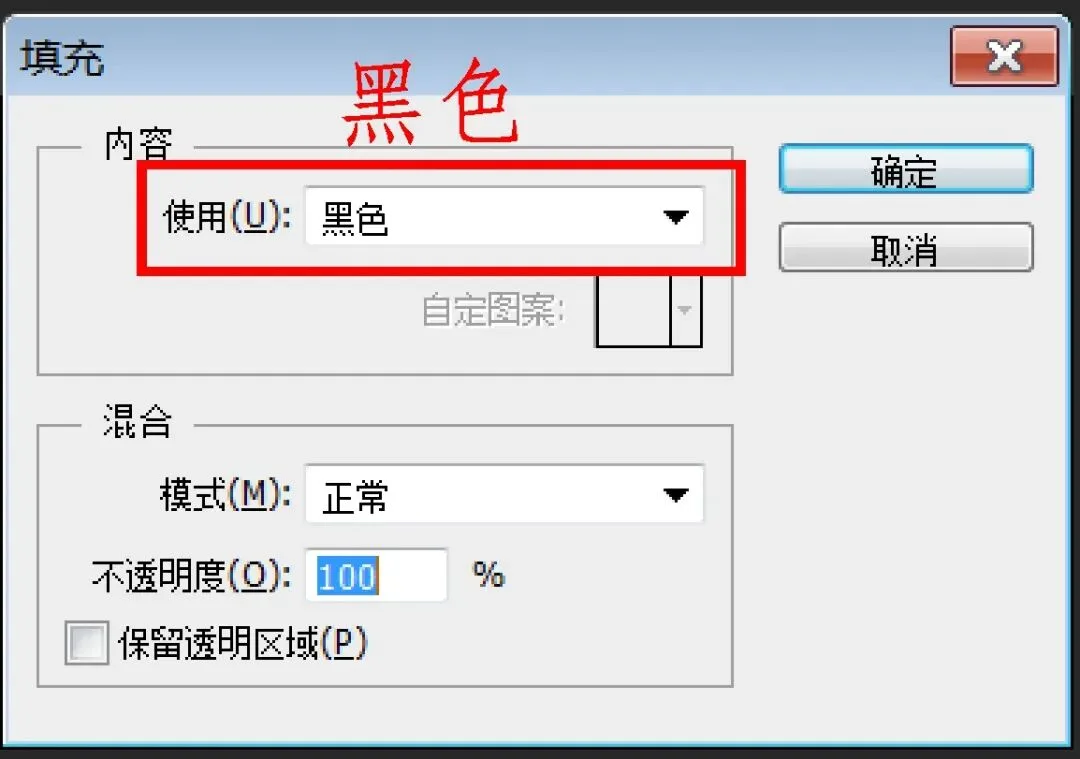
Choose 'Black' as the fill content and click OK.
Set the brush fairly small (I use 40), hardness 0, opacity 100%. On the black-filled layer, click once in the center area.
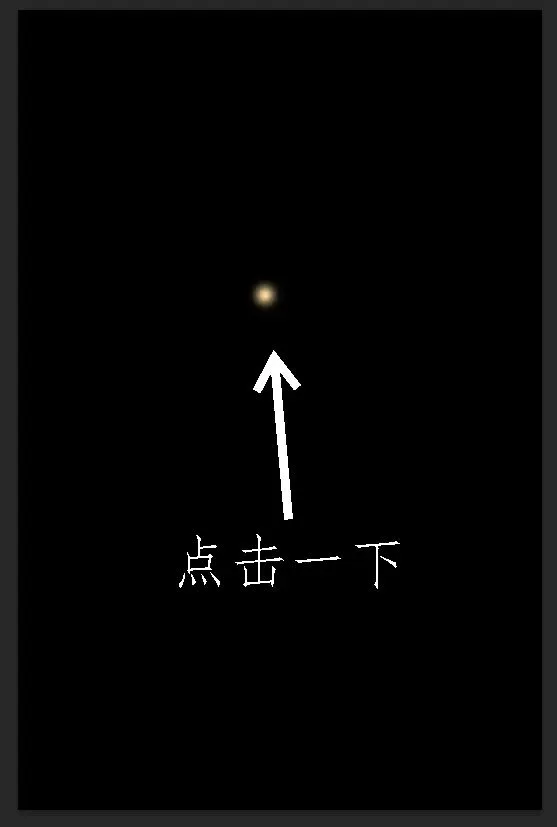
That creates a highlight point. Now launch the sunstar filter from Photoshop's filter menu.
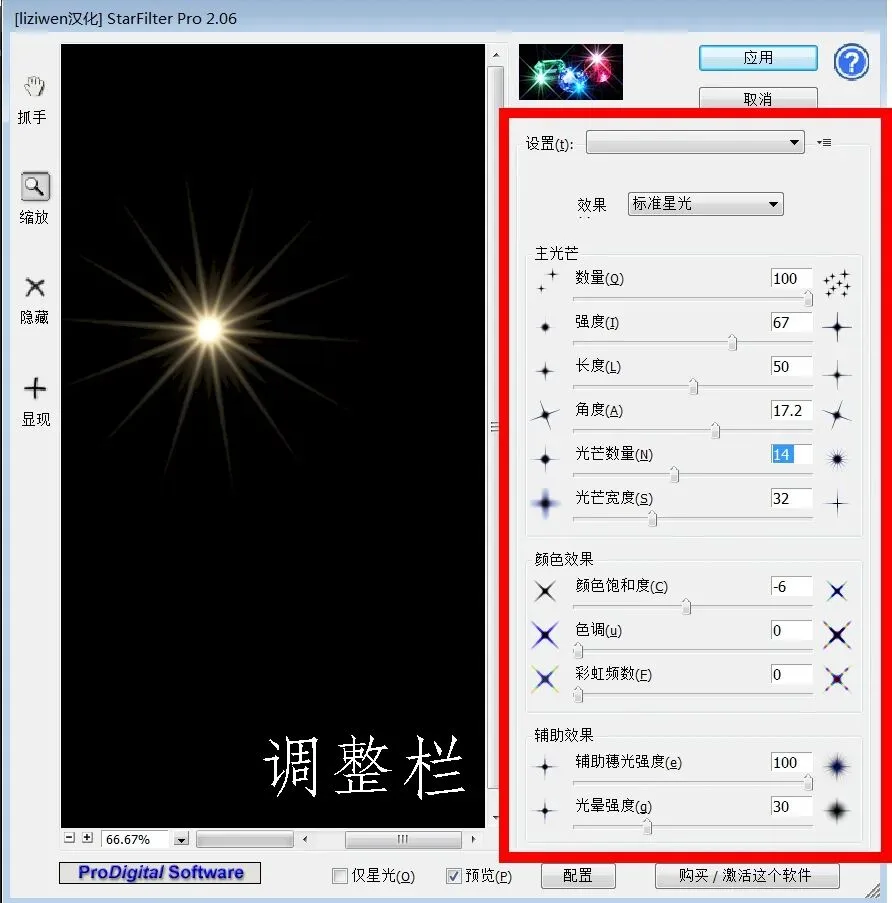
The filter automatically generates a star from the highlight point we painted. We need to tune the parameters on the right to make it realistic.
Below is my usage guide for each parameter of the sunstar filter:


When done adjusting, click 'Apply' at top right to output the effect into Photoshop.
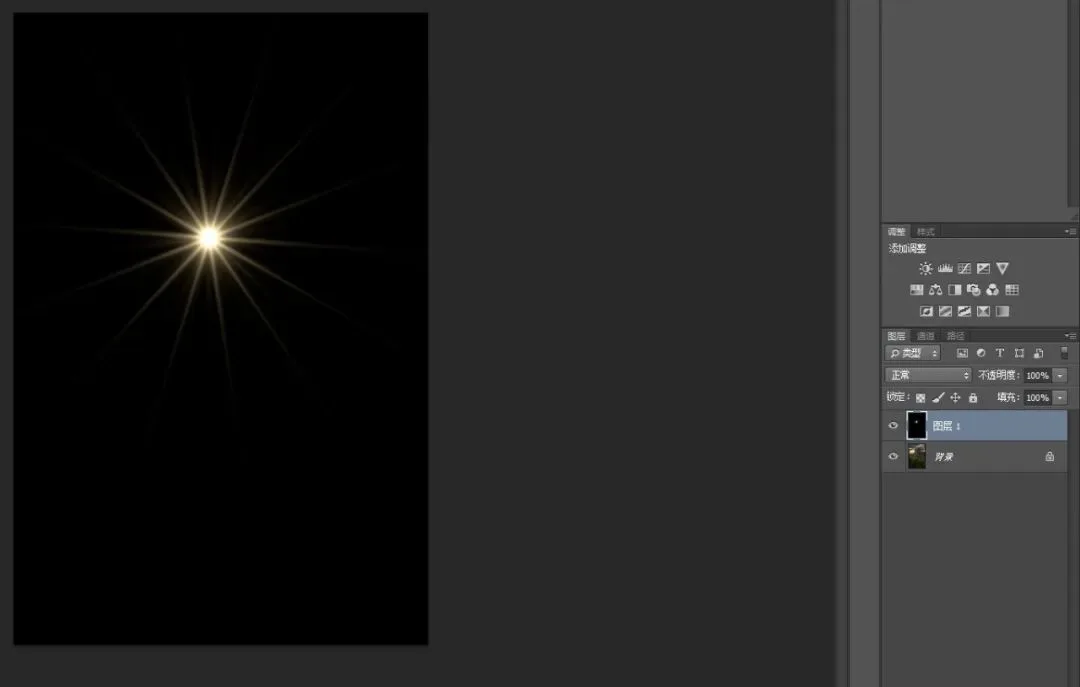
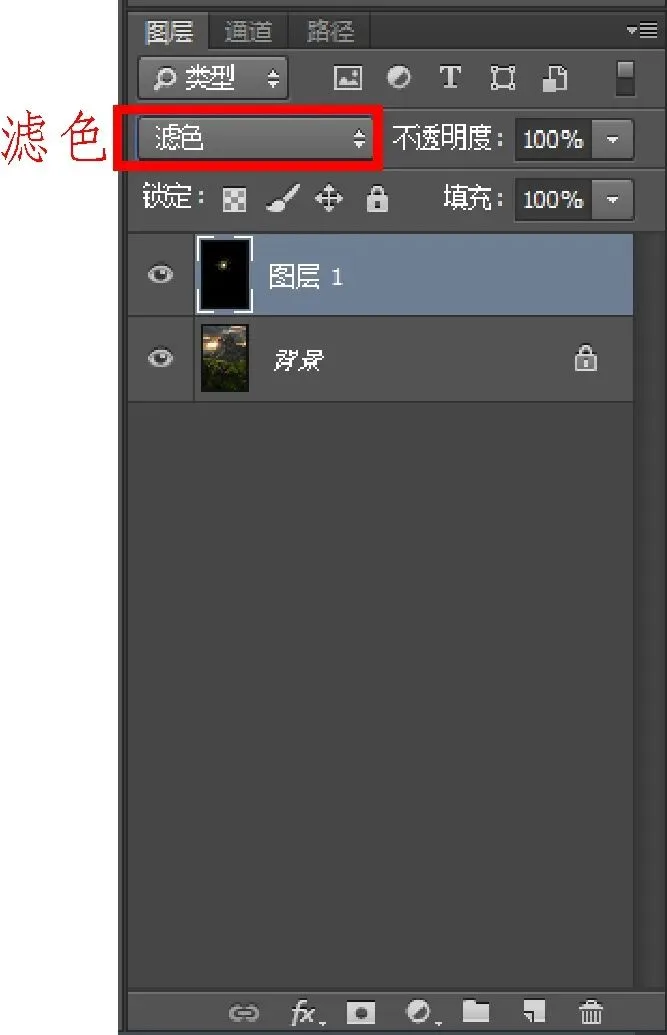
Then change the layer blend mode to 'Screen' — the star now appears in the image.
Drag the star into position over the highlight. It's usually a bit too large, so press Ctrl+T for Free Transform and drag the corners to shrink it to a suitable size.
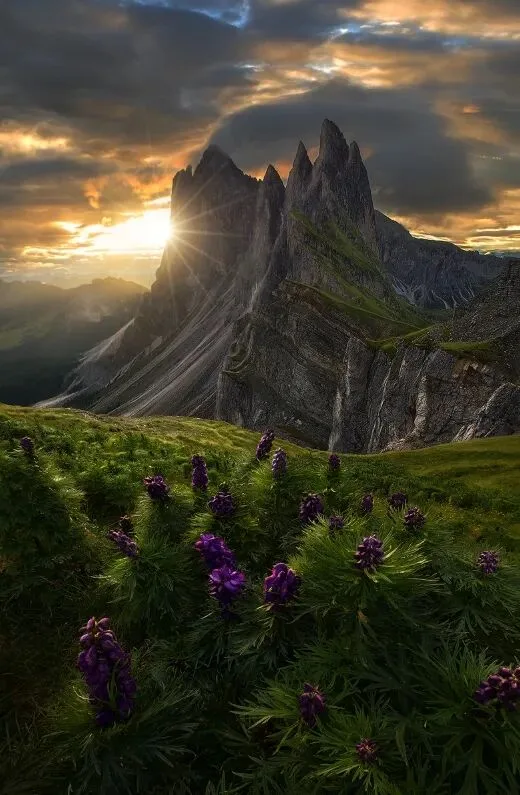
It's taking shape, but the star looks weak — let's strengthen it.
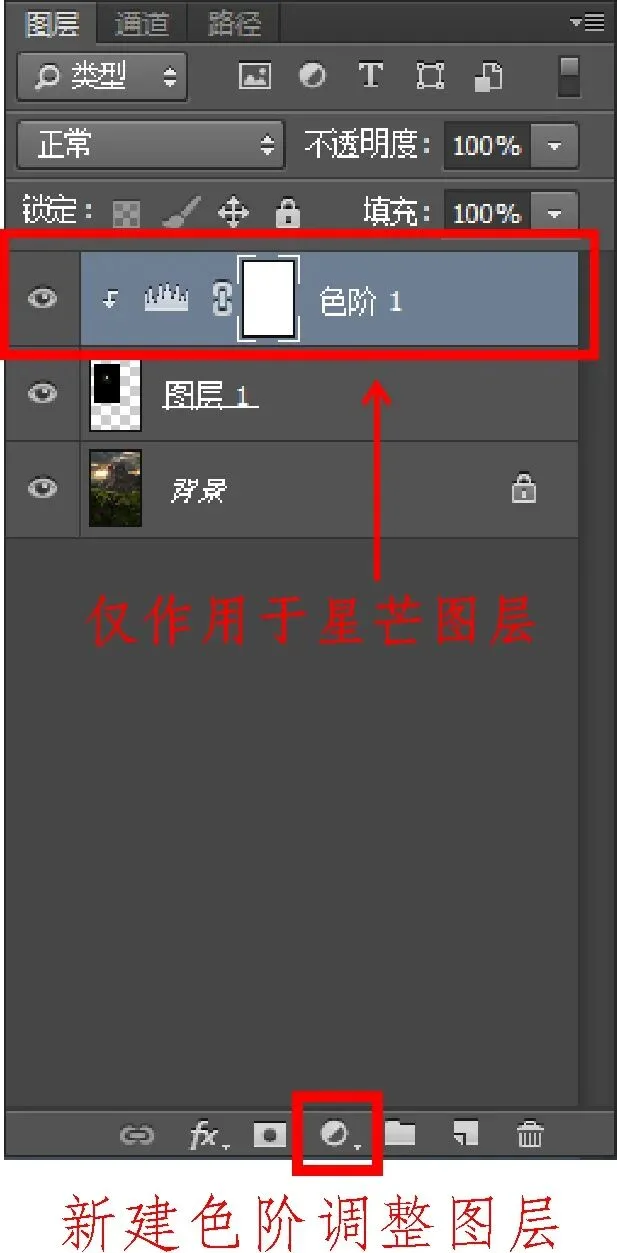
Create a new Levels adjustment layer, hold Alt, and click between the Levels layer and the star layer. The Levels layer (now showing a downward arrow) then affects only the star layer, not the background.
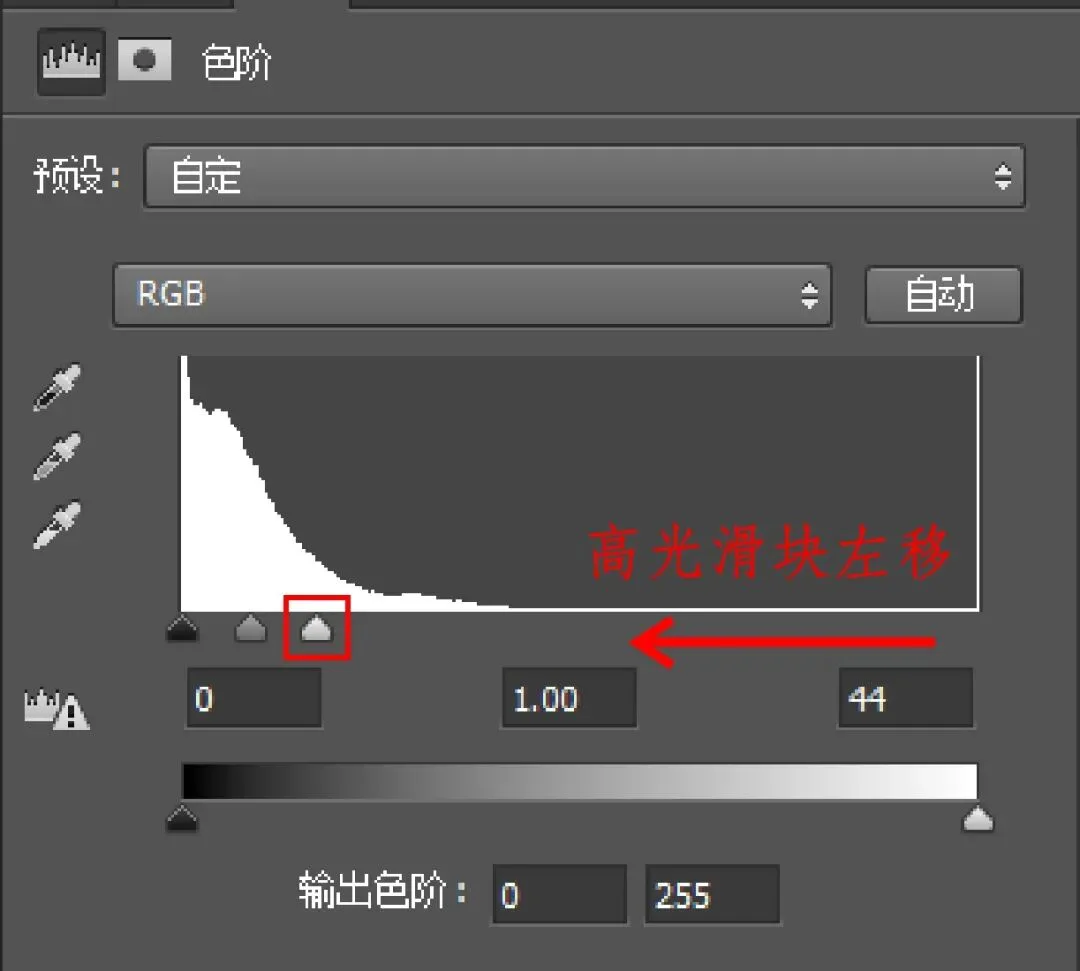
In Levels, drag the highlight slider left by a large amount — heavy overexposure is fine, since a sunstar is inherently blown out.
Here's the result after Levels — the star is much stronger!
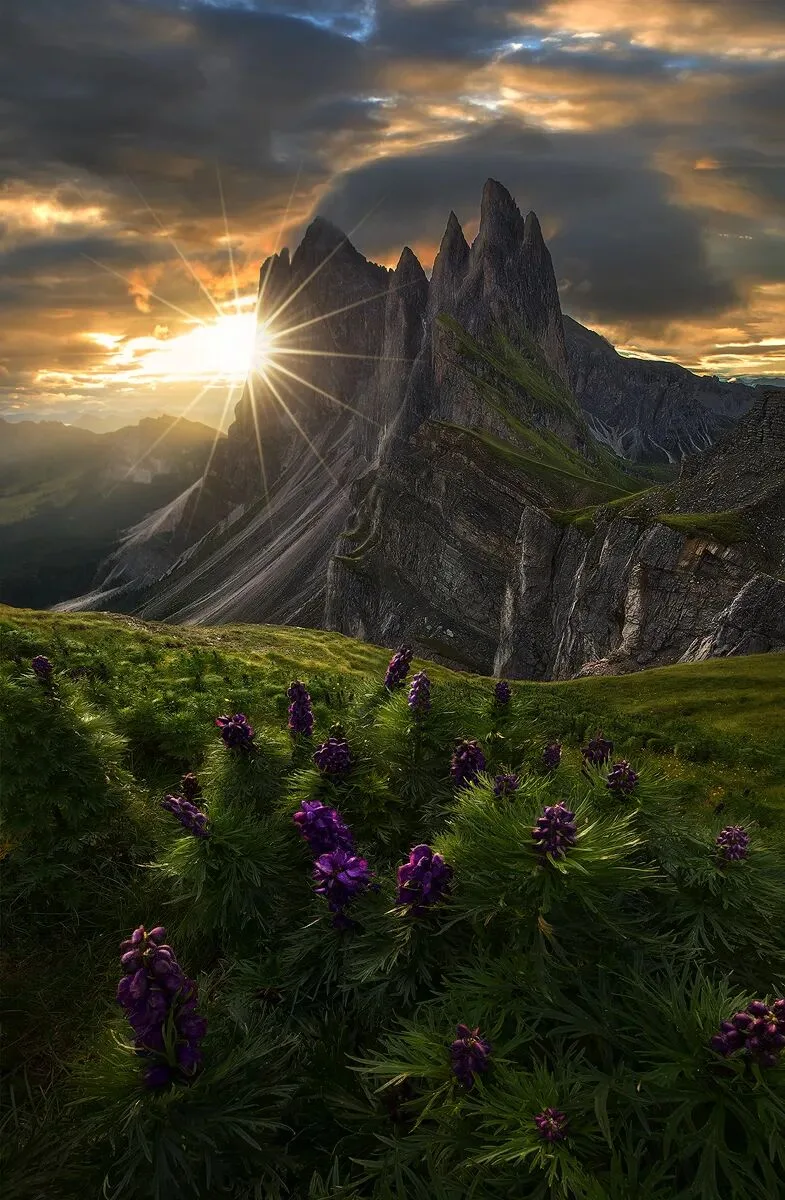
Zoom in: if unnatural textures appear inside the star,
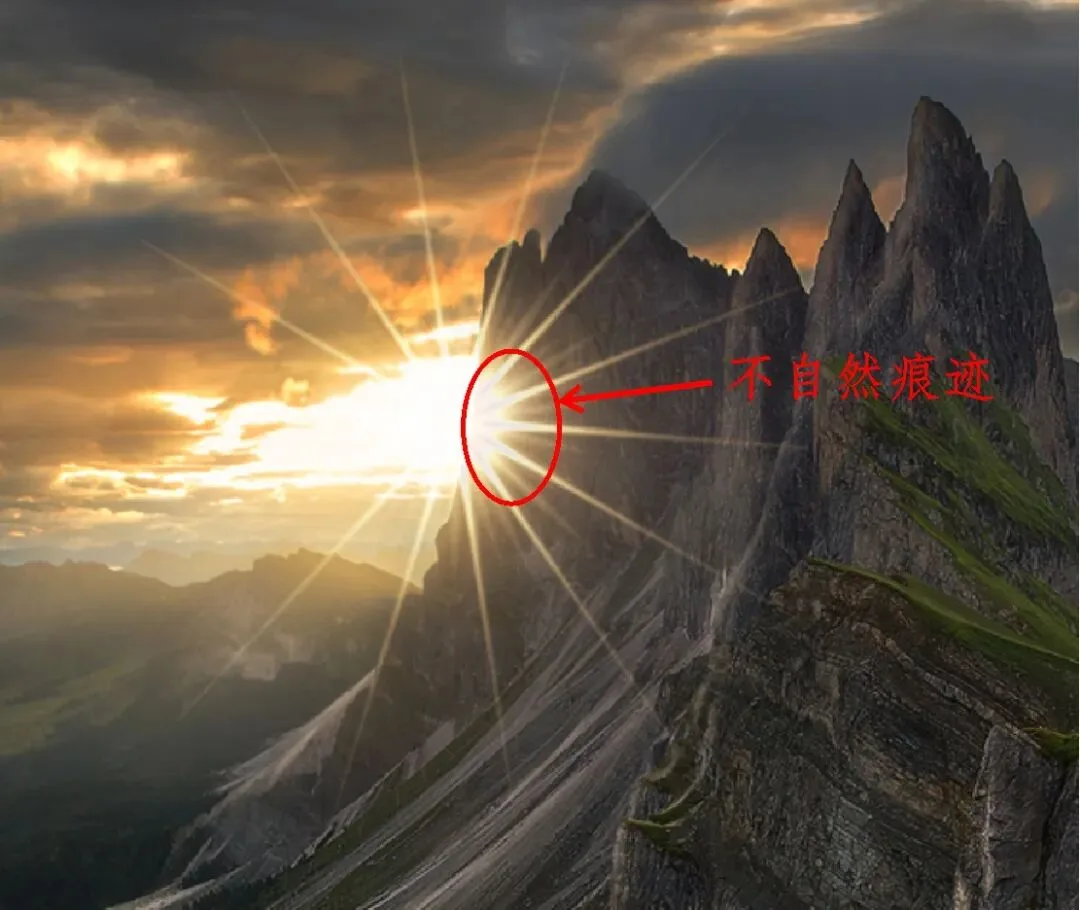
after flattening the layers, use a 30%-opacity brush, sample the star core's color, and paint over the textured spots — they disappear easily.
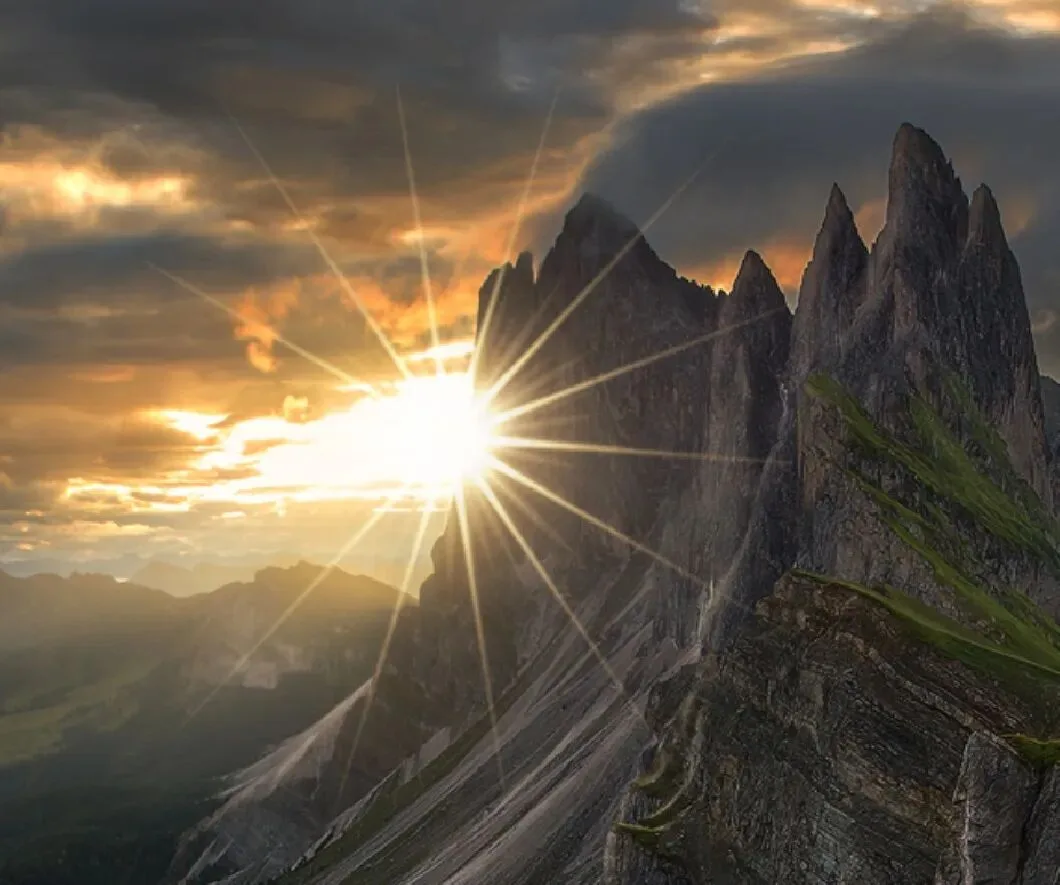
Here's the refined star detail — very natural.
Three minutes total for an eye-catching sunstar. Here's the final image:
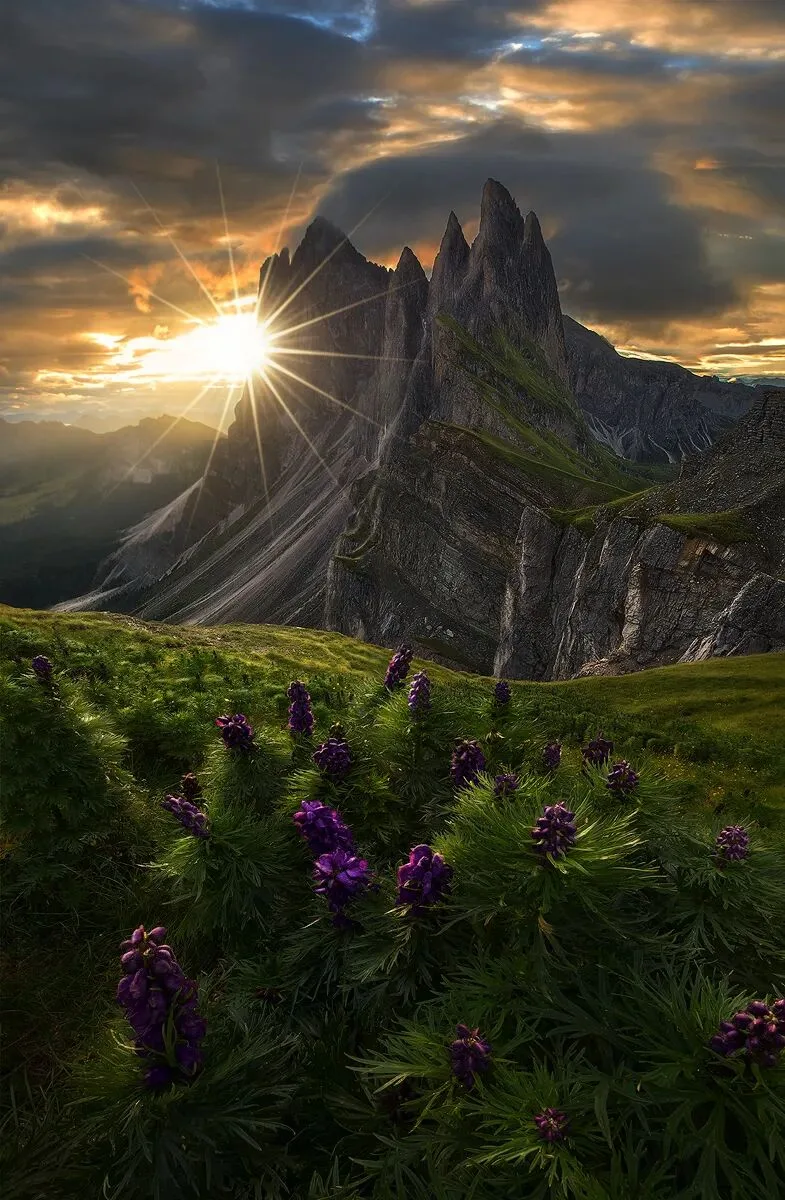
Actually, during the shoot the sun was blocked by the peak and clouds — the original frame had only a faint glow in the foreground. Below is the focus-stacked original:
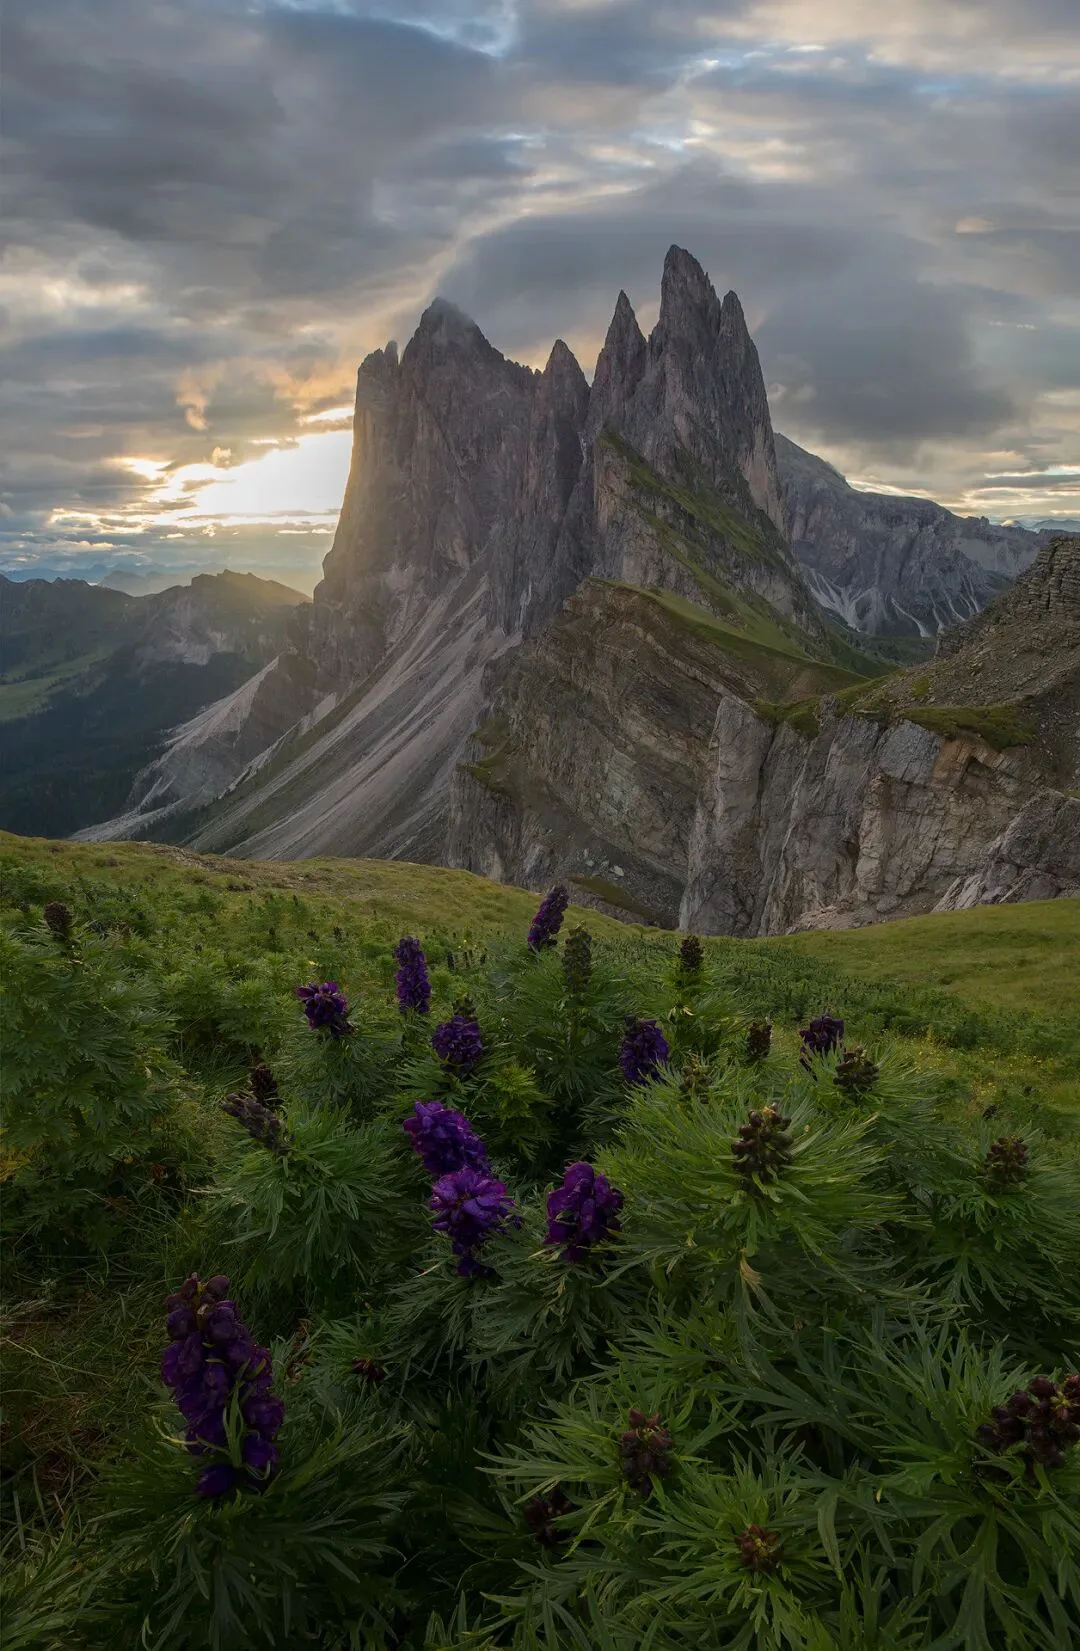
Through a series of light-and-shadow sculpting steps, I built out the tonal layers (below).
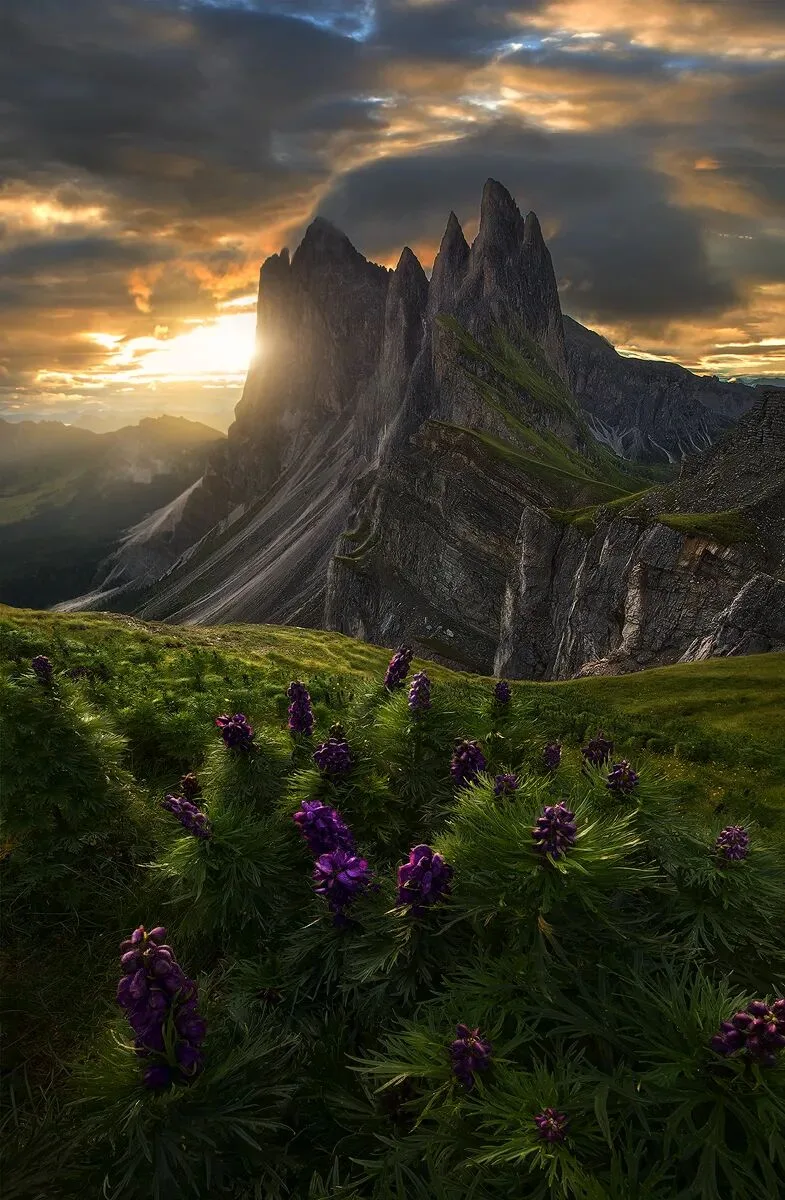
This time, adding the sunstar completes the final creation:
Note: the added-star method doesn't suit front-lit images — it looks fake. Backlit images where the sun is veiled by cloud, mist or mountains but light still leaks through are ideal. And if your captured star looks poor, you can clone-stamp it out and replace it with a nicer one in post. How far to take it is up to your imagination.
A sunstar brings unique vitality to an image. I've told you how to shoot it, and how to 'cheat' it in post. This article is the complete guide to sunstar photography!