Photography Tutorial · 2022-06-05
How to Shoot Sunrises and Sunsets: Lessons from Popular Masterpieces
With soft light and color and rich tonal layering, sunrise and sunset are landscape photographers' favorite times to shoot.
But which sunrise/sunset scenes suit backlight, side light and front light respectively?
What are the tricks for framing and composition in sunrise light?
How should the foreground be shot to have depth without looking messy?
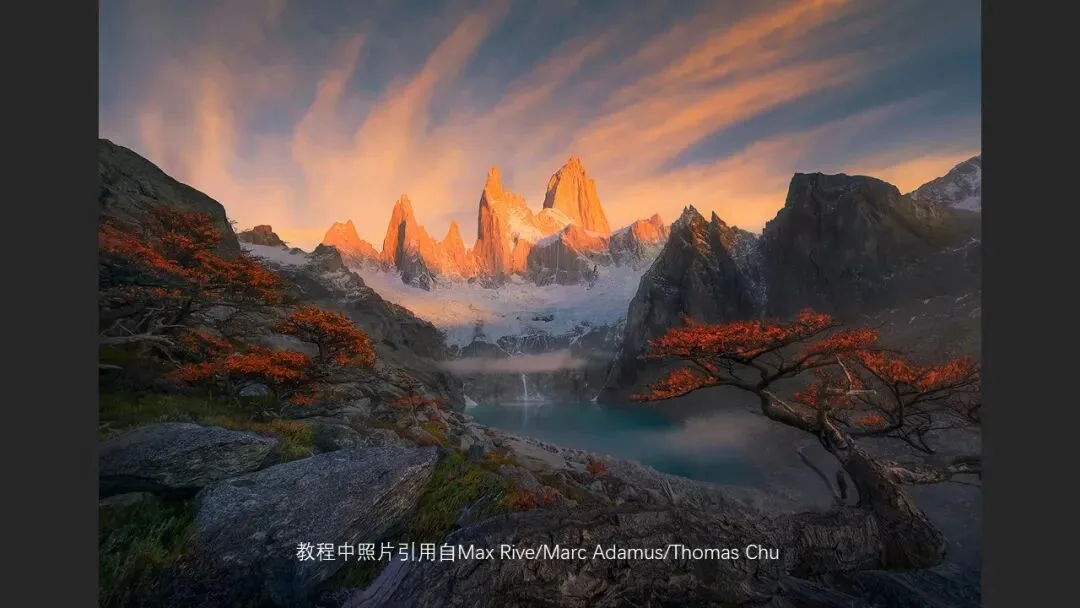
Today Thomas will analyze landscape masterpieces by Max Rive and Marc Adamus together with you, summing up some common patterns and techniques.
Video
▶ Watch the video tutorial on Bilibili
This is the illustrated companion to the video above. Sunrise and sunset offer soft light and rich layers — the golden hours of landscape photography — yet behind the popular masterpieces lie rules and patterns. Analyzing work by Max Rive, Marc Adamus and himself, Thomas organizes sunrise/sunset composition into a reusable method by three lighting situations — backlight, sidelight and frontlight — with keyframe screenshots throughout.
Start with the overview. This card, captured at 0:50 in the video, frames the method: sunrise/sunset composition unfolds across three lighting situations — backlight, sidelight and frontlight — each suited to different scenes, unpacked one by one below.

01 Backlight, Leveled Up: Bringing In the Sun
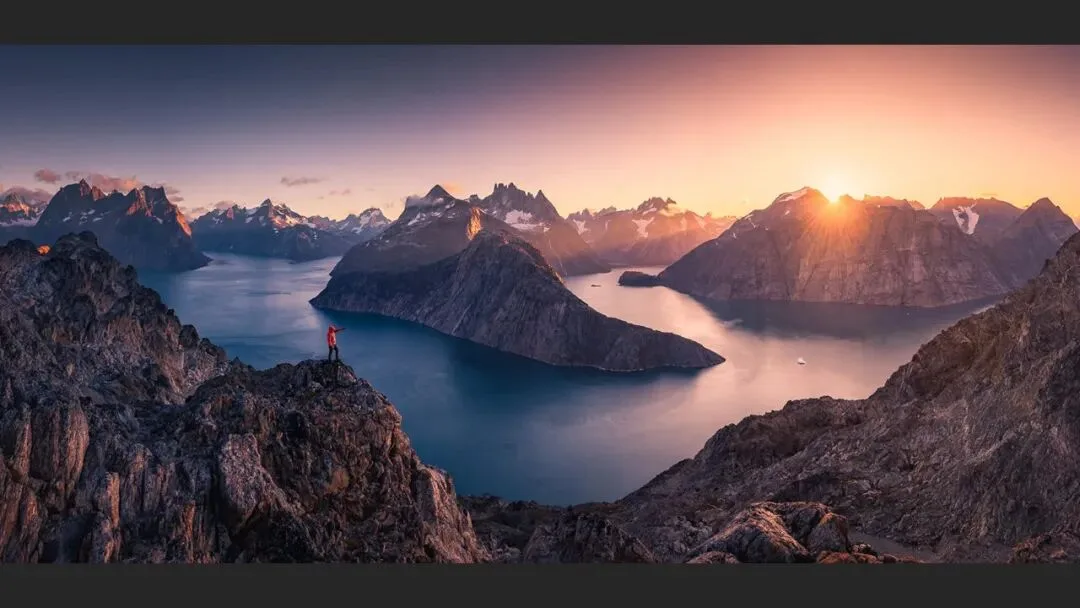
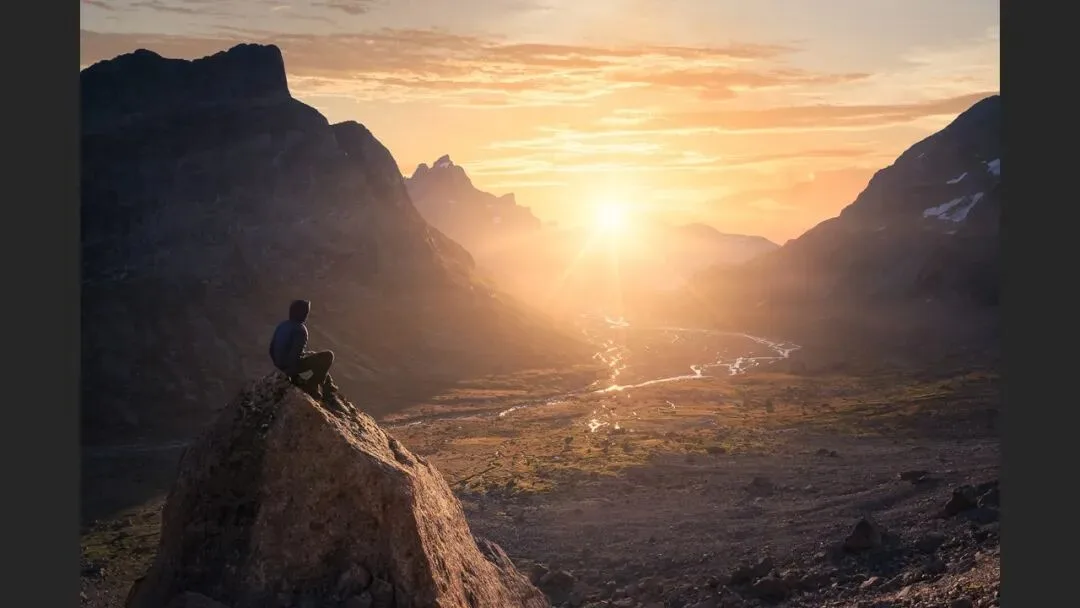
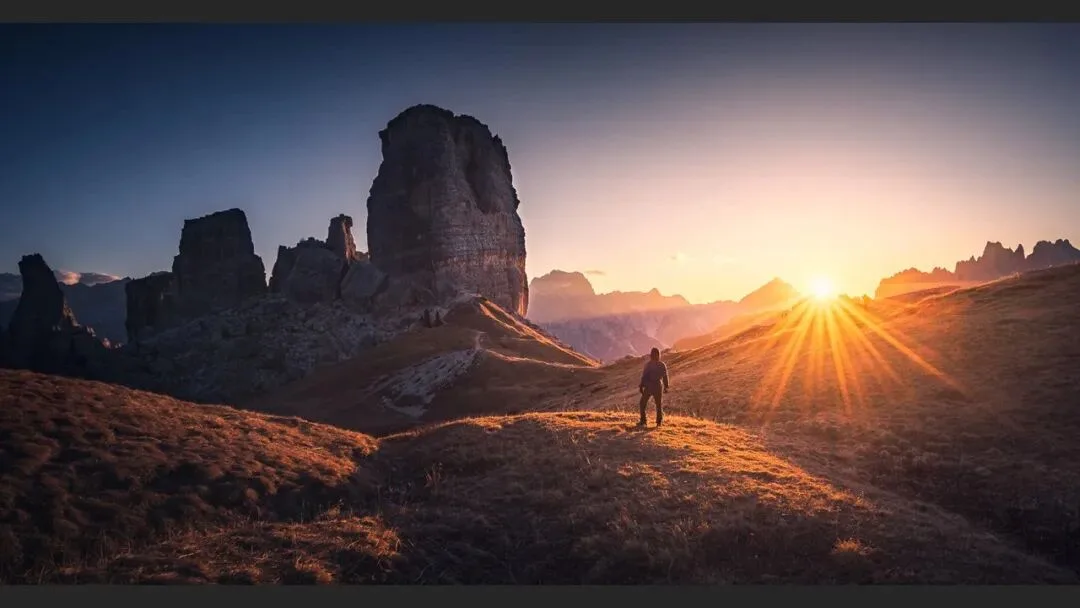
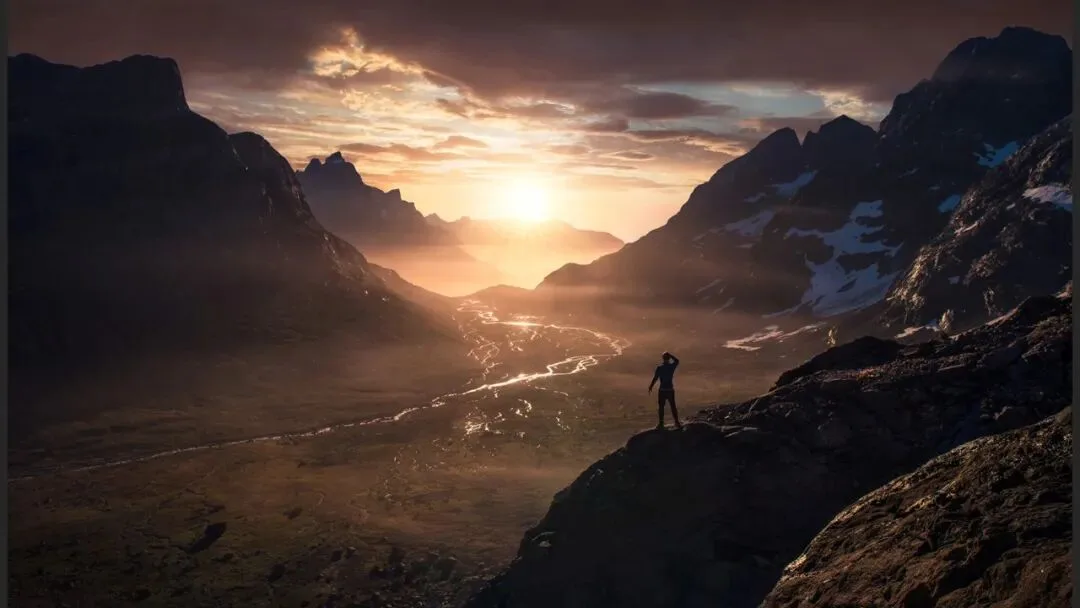
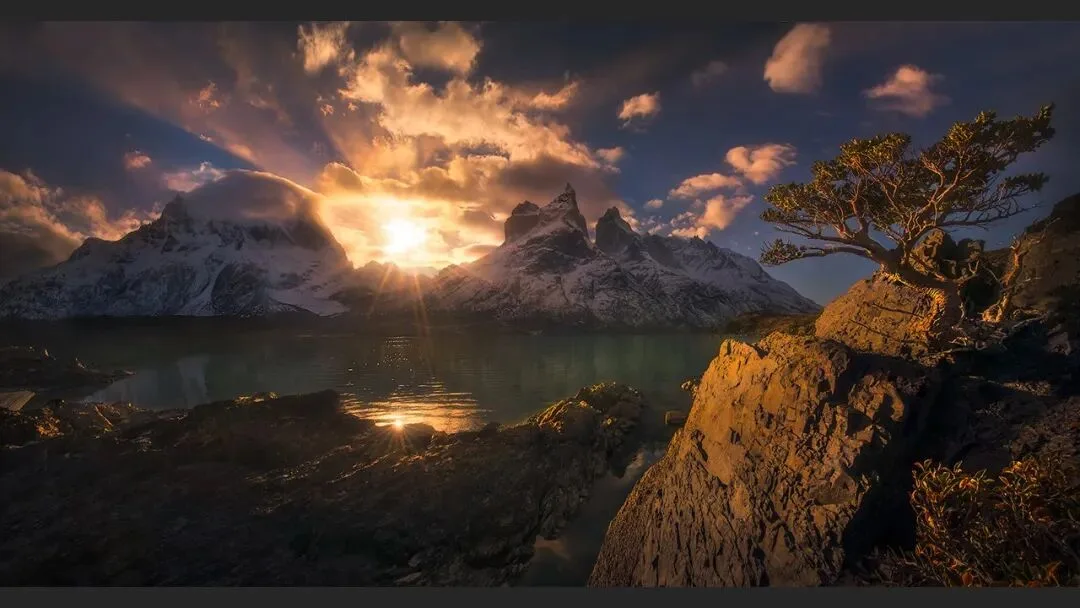
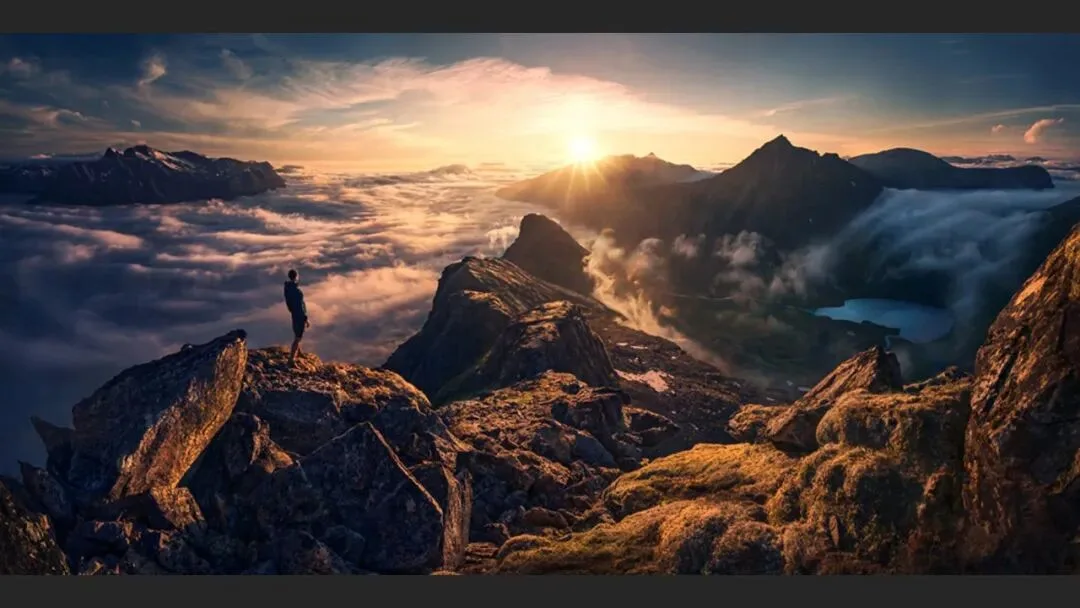
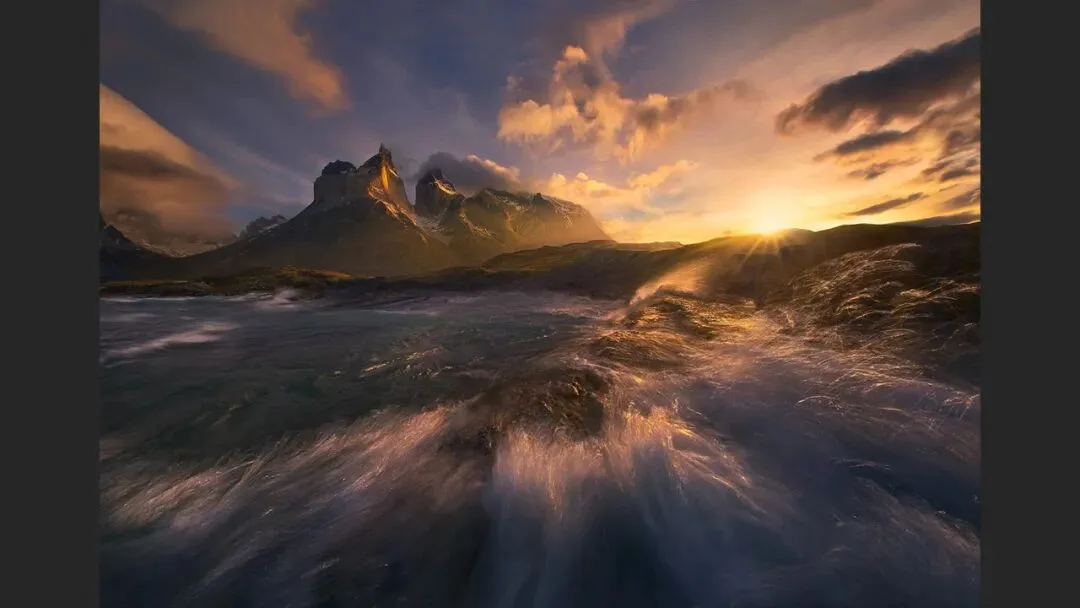
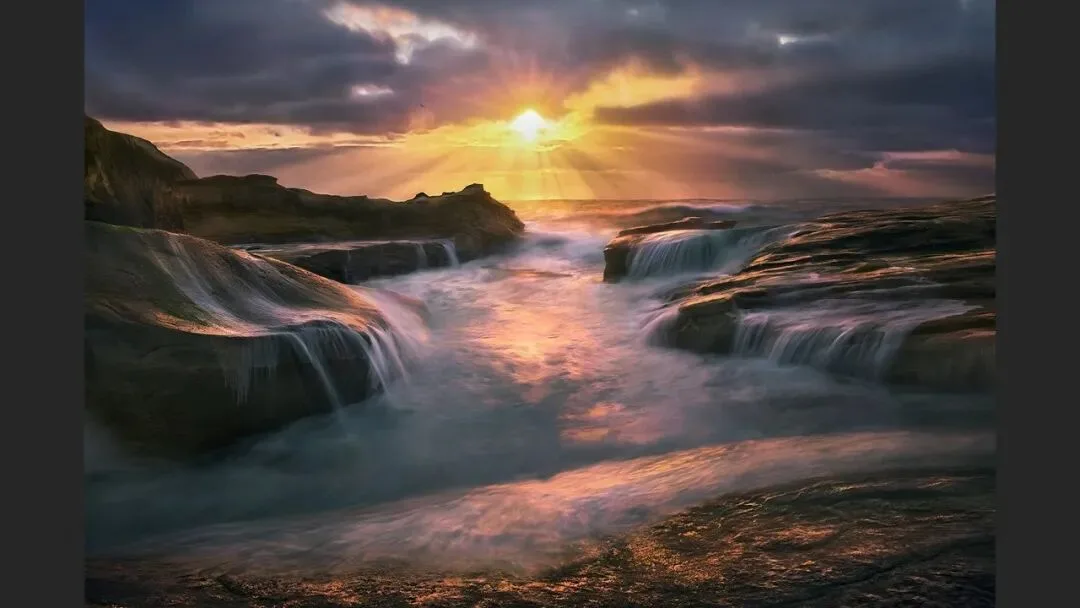
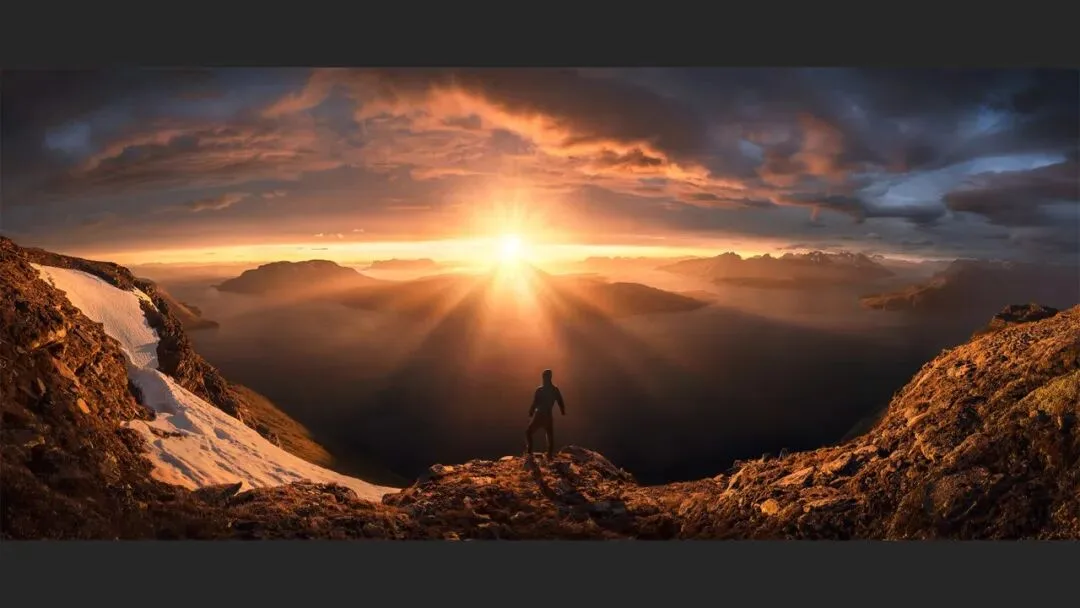
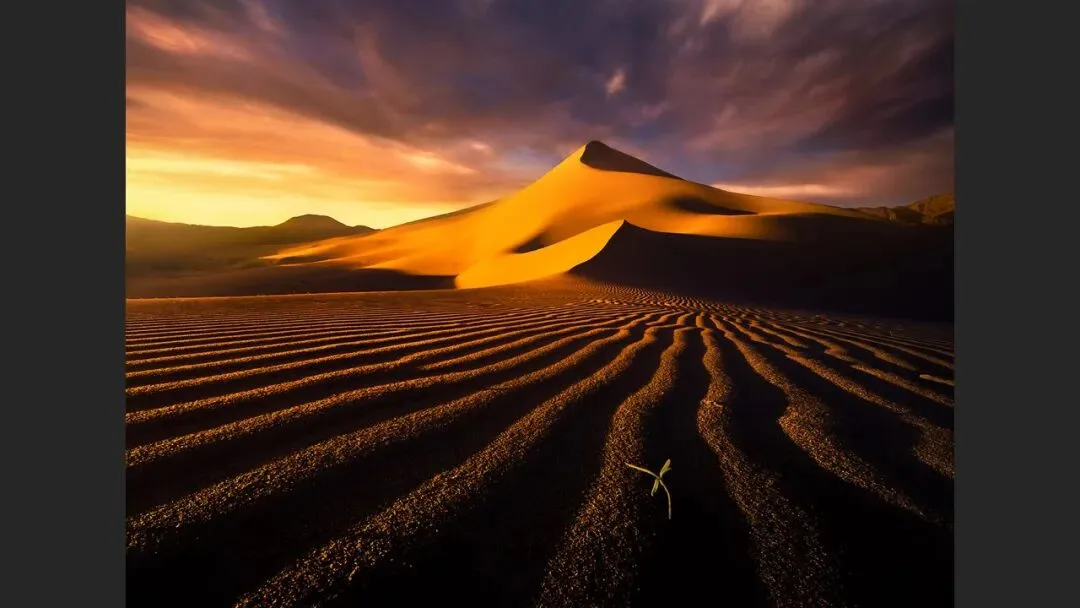
Backlight is the workhorse of sunrise and sunset shooting. Watch the sun's position, seek out layered subjects like deserts and mountains, and choose foregrounds — rock, ground, water — that carry texture and light-shadow interplay (at 1:05 in the video). With the sun in frame it becomes a powerful visual anchor — but it cannot go just anywhere: under a cloudless sky the best window may last only a minute or two as the sun clears the horizon; with some cloud the sun can sit slightly higher, though never too high (at 2:29 in the video).
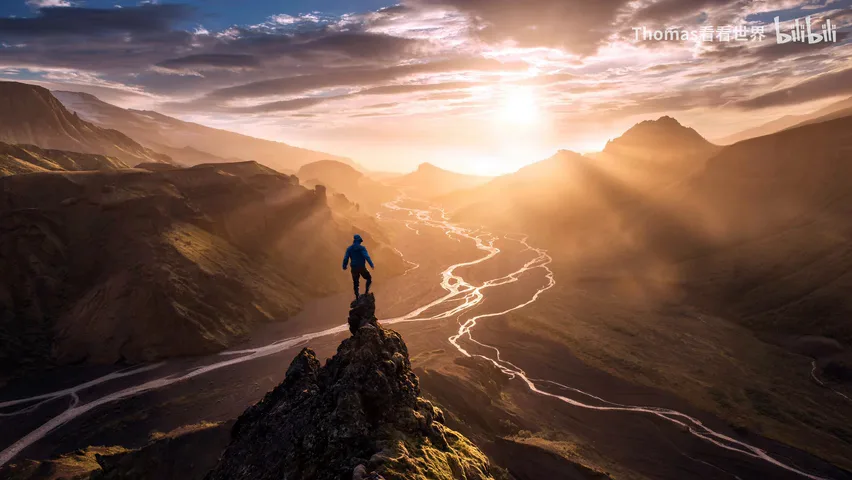
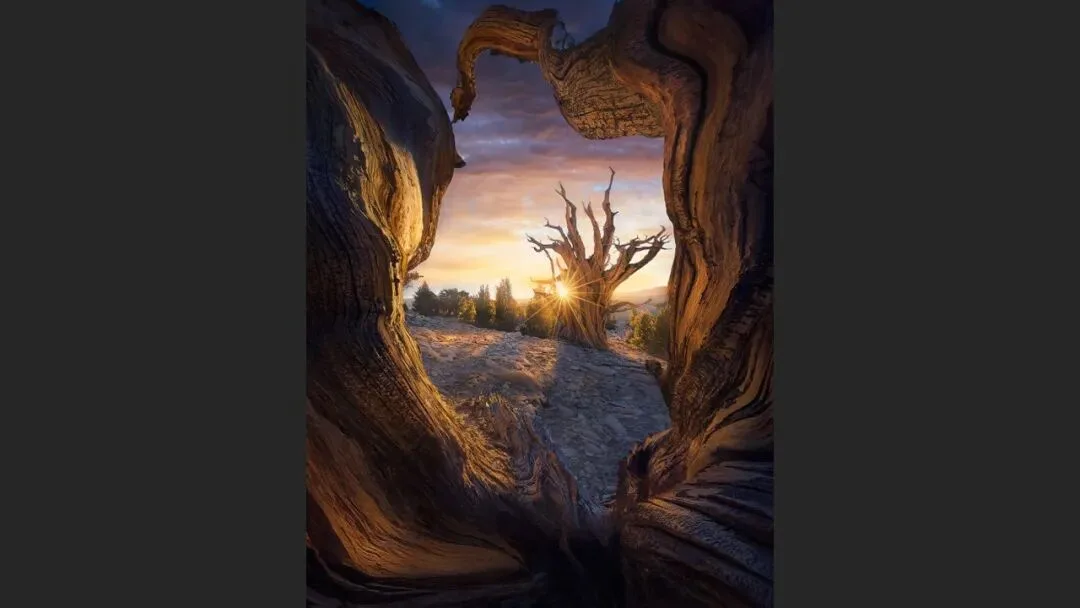
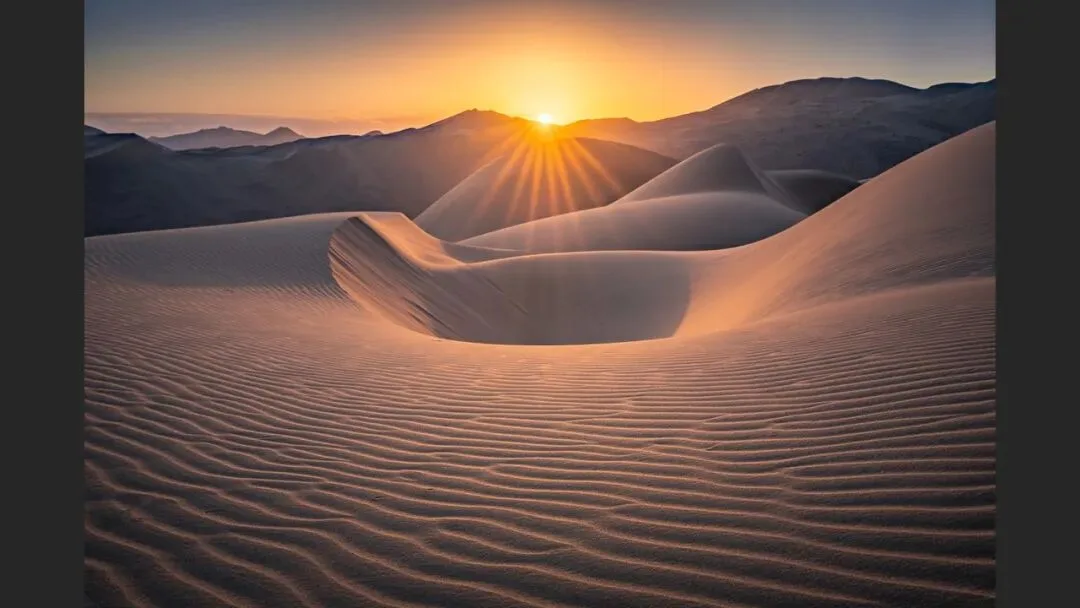
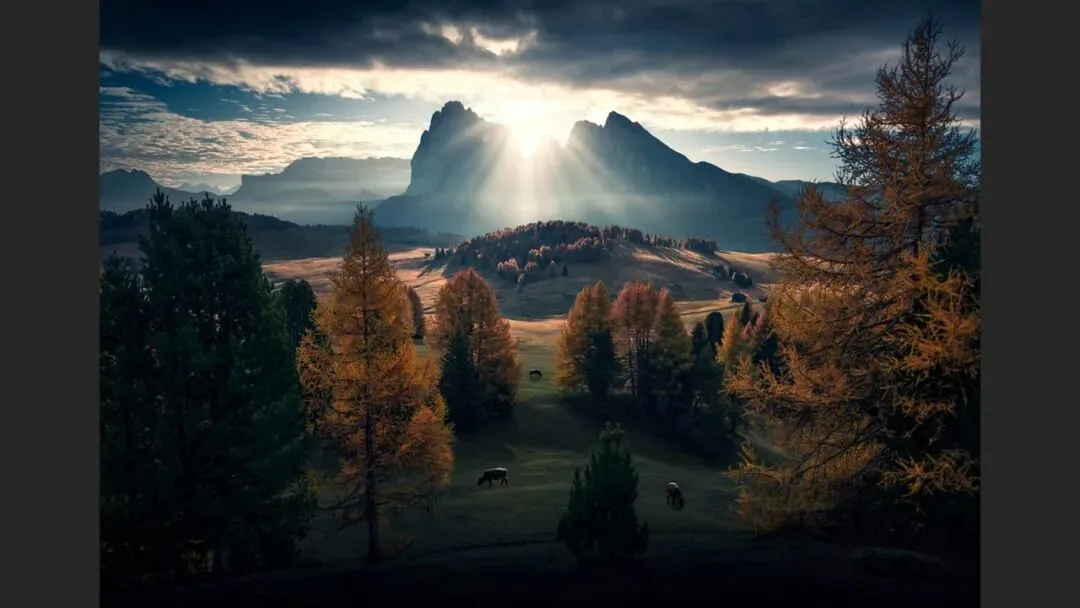
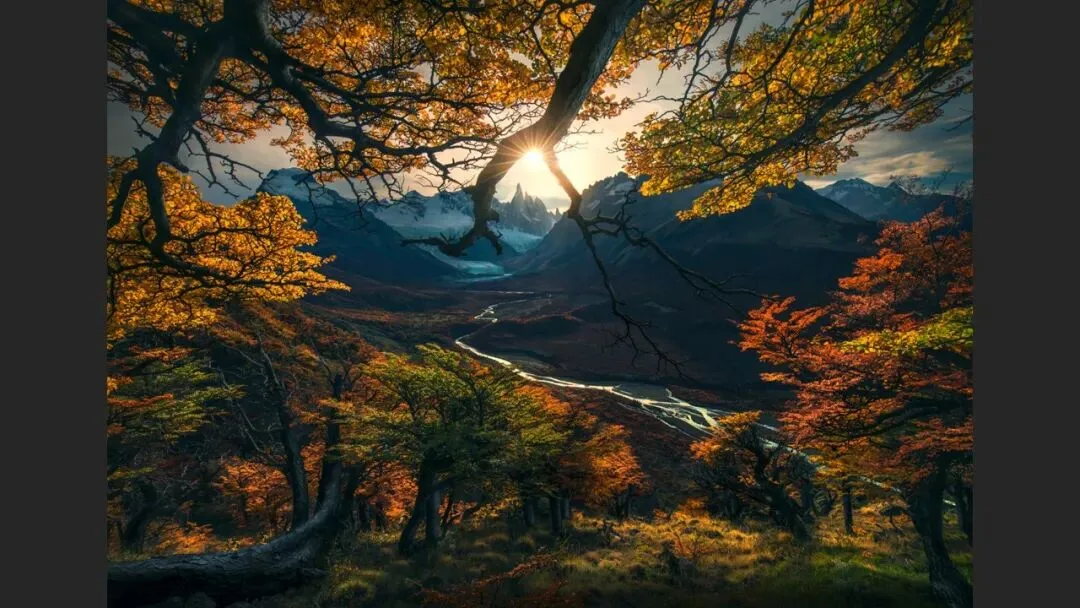
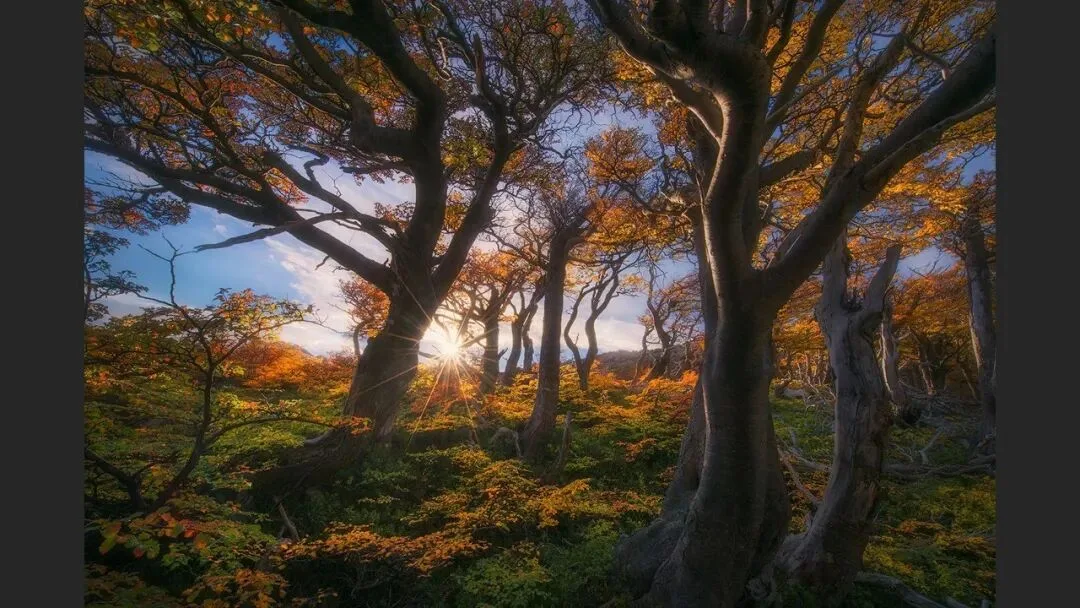
For a pronounced sunstar the aperture must be small — f/13, f/16, even f/20 — but that alone is not enough: you generally need something to partially occlude the sun, such as the horizon (at 3:13 in the video), a branch, or a strip of cloud. With the sun half-hidden, rays fan out from the occluding edge and the starburst becomes far stronger.
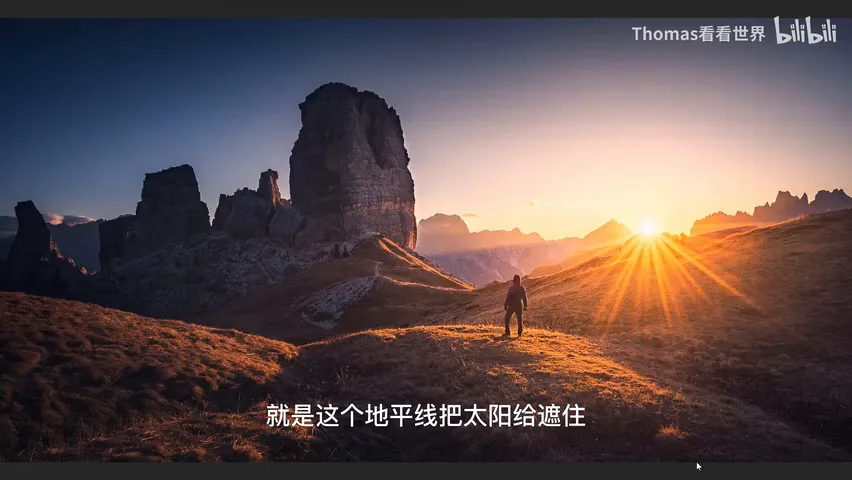
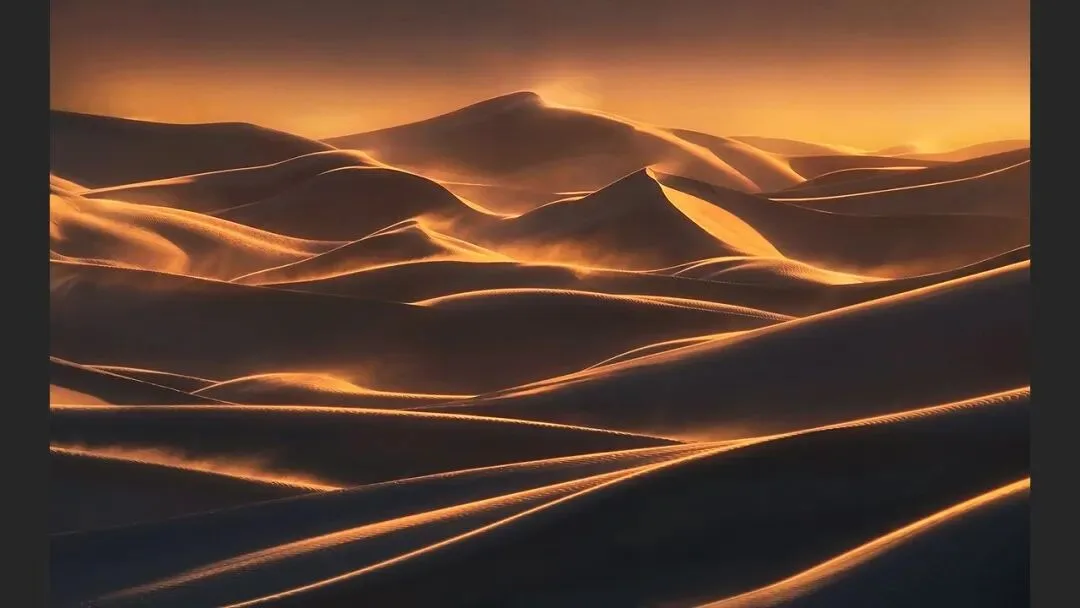
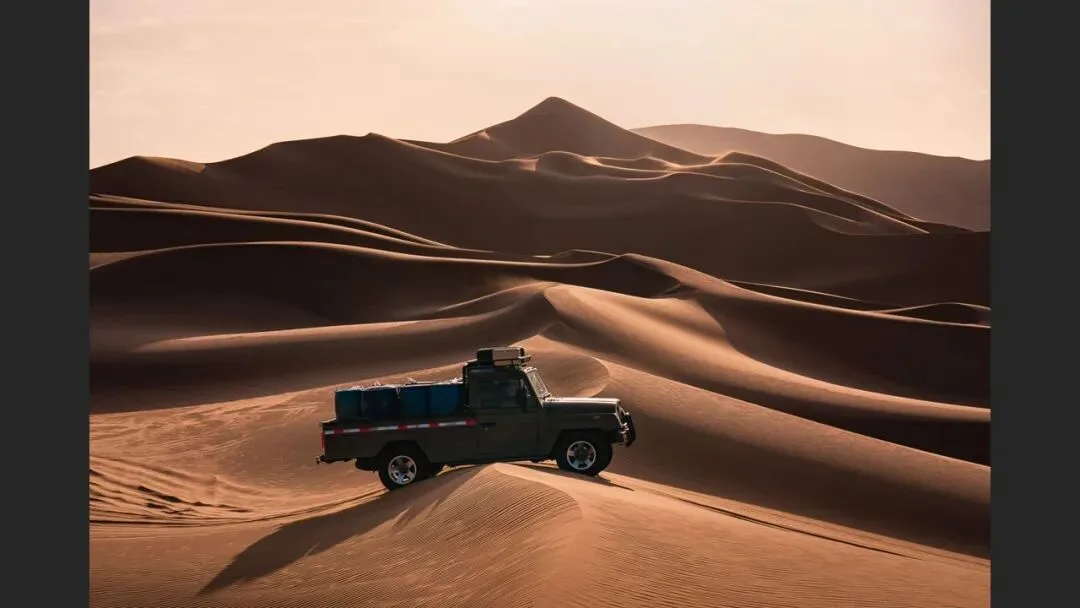
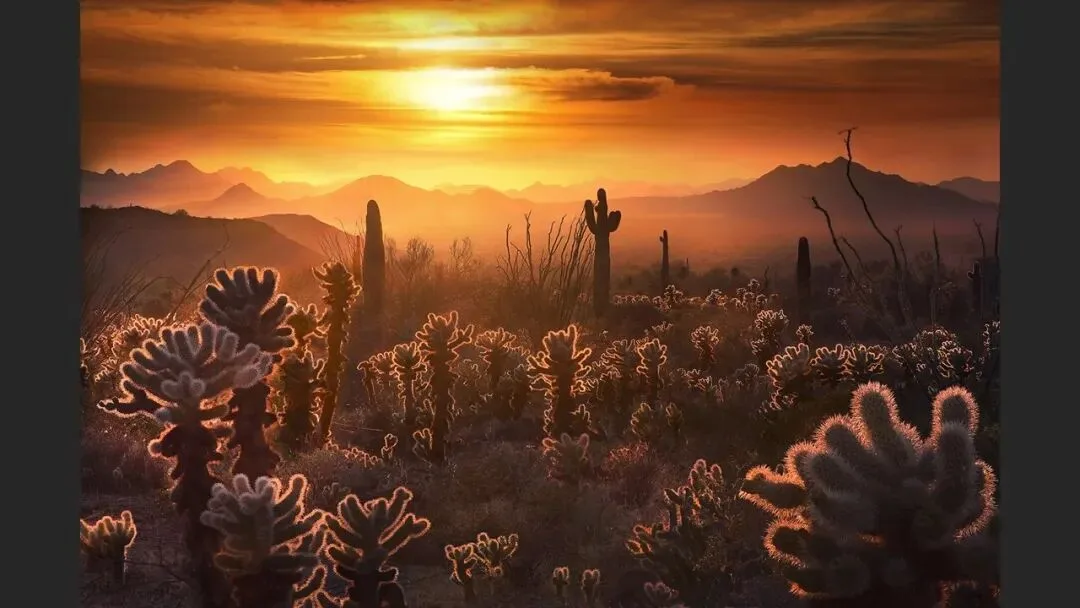
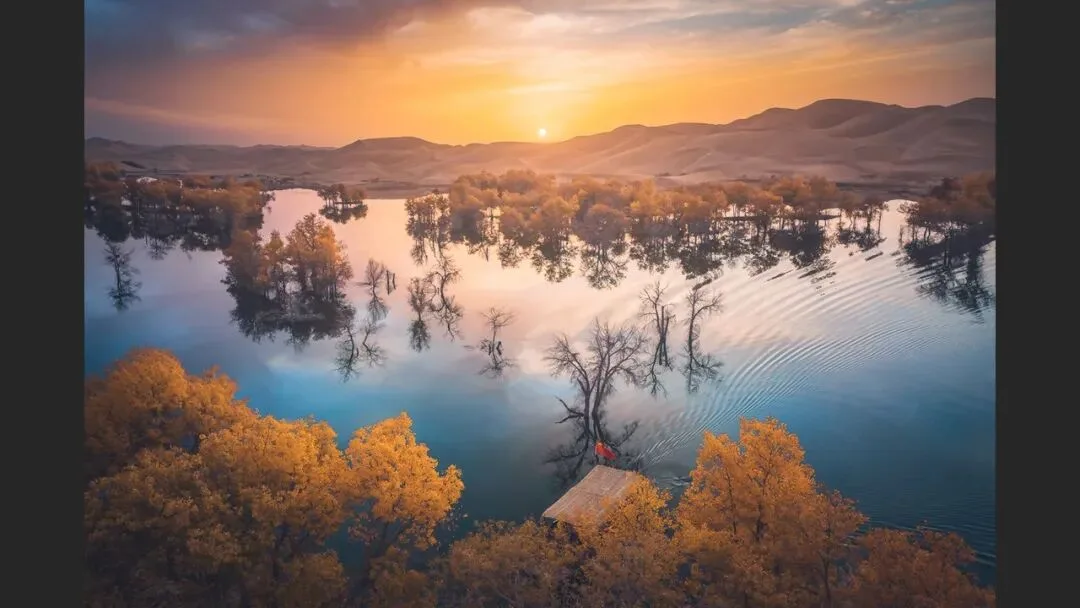
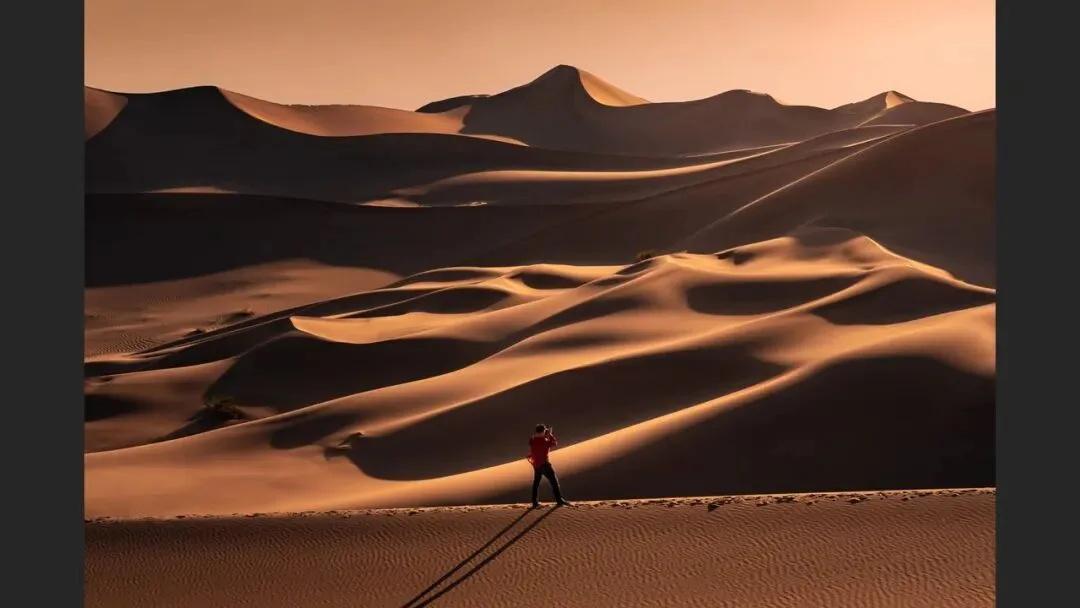
Also mind the sun's height and placement: over the same desert, a sun hanging dead-center can actually disturb the gaze, keeping the eye from settling on the essential textures and layers (at 3:43 in the video). So bring the sun into frame mainly when there is a clear focal anchor and the sun converses with the landscape.
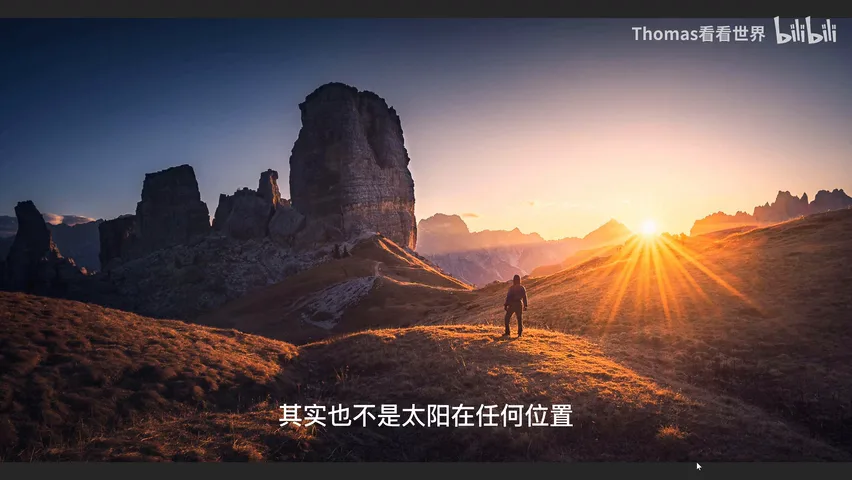
02 Backlight for Layers: Leaving the Sun Out
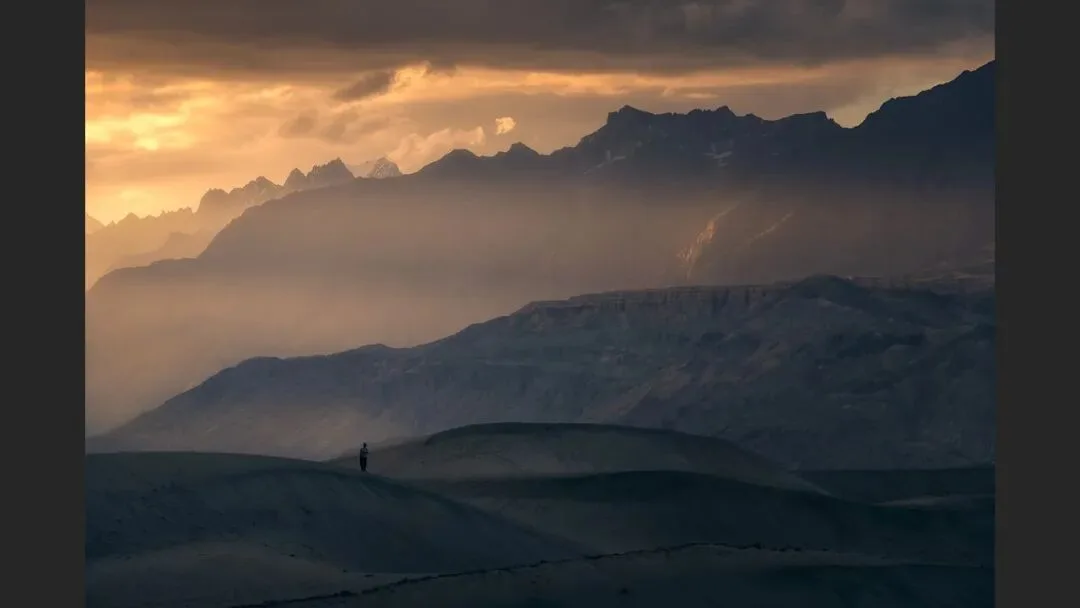
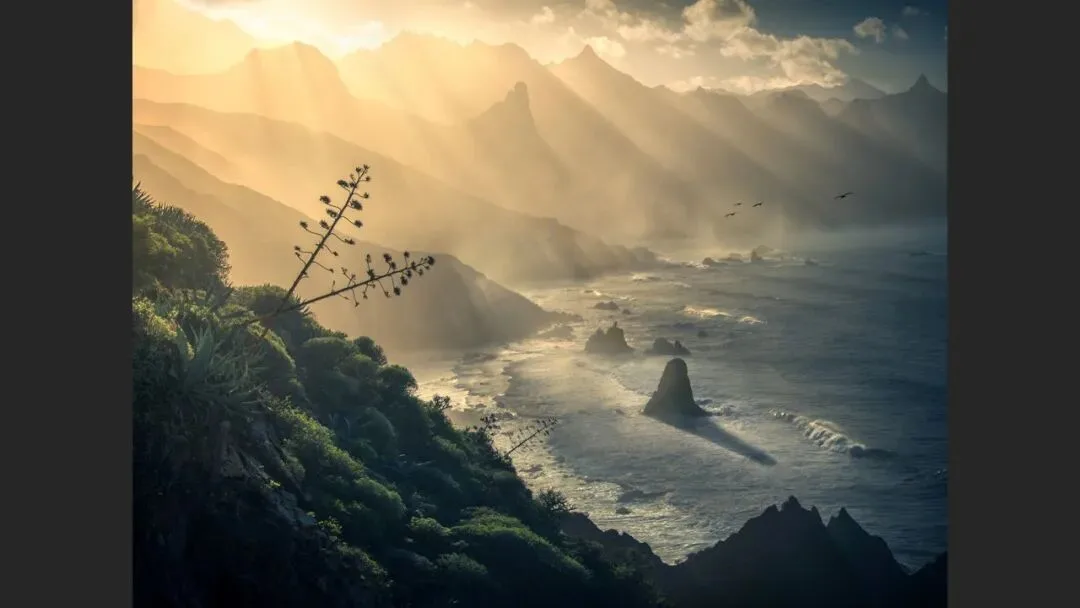
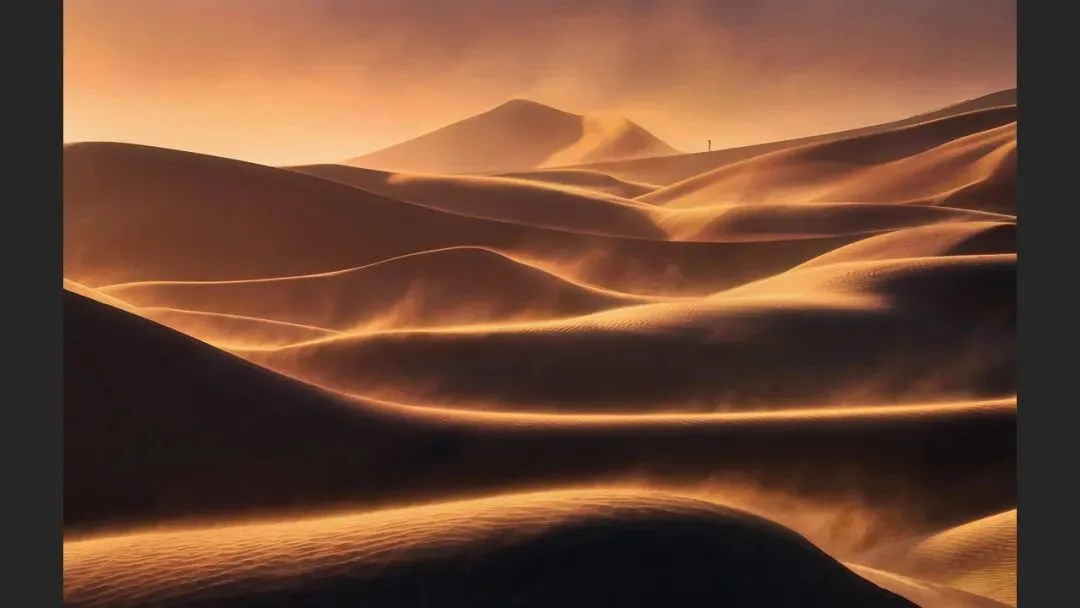
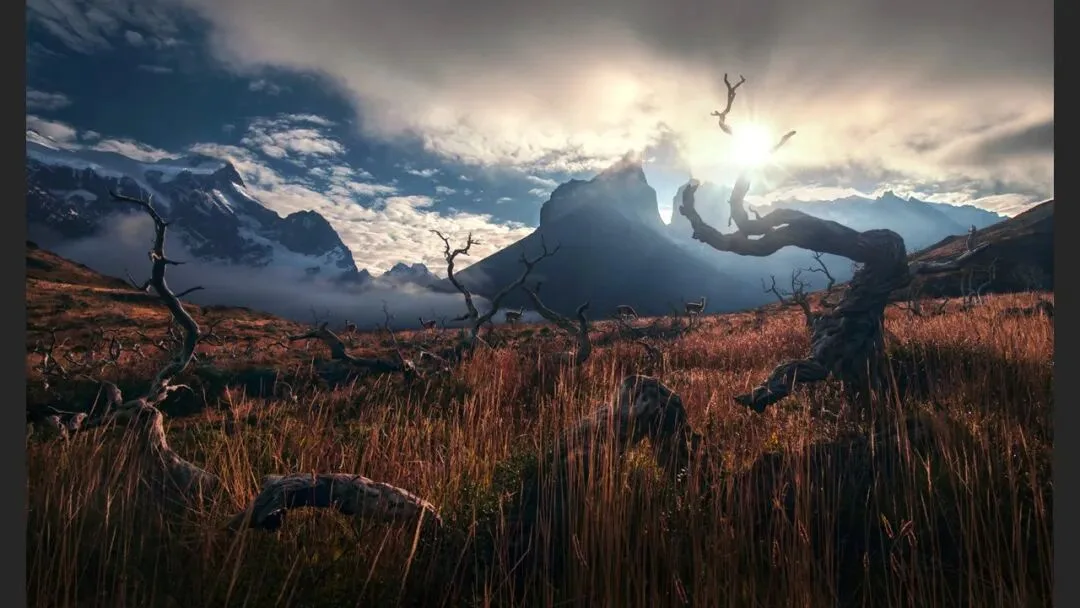
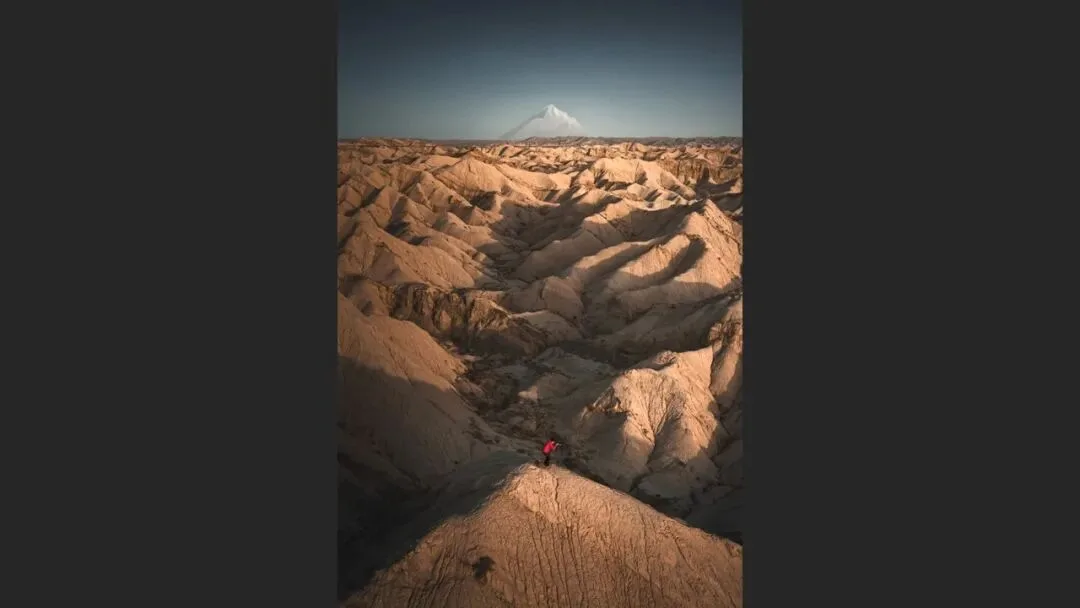
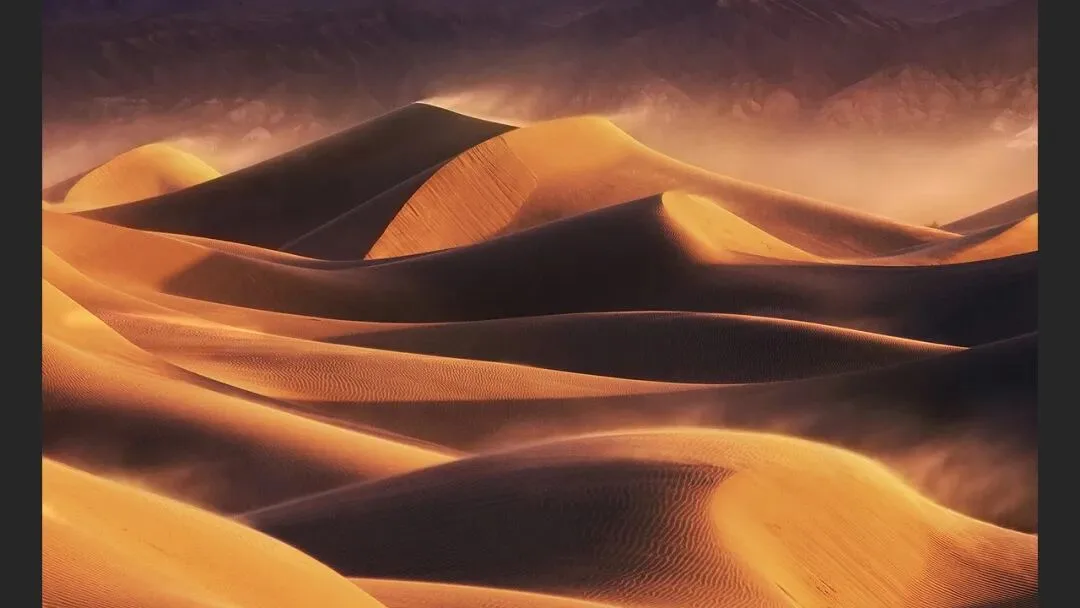
The second situation: when the sun sits slightly higher or you are working in semi-backlight, simply leave it out of the frame and hunt for layered terrain instead (at 3:26 in the video). In such photos the scene grows steadily brighter from near to far, with the crest of each dune or ridge lit and its face in shadow — the shaded side against the sunlit edge makes a beautiful contrast (at 3:56 in the video). Deserts and mountain ranges are mostly shot this way.
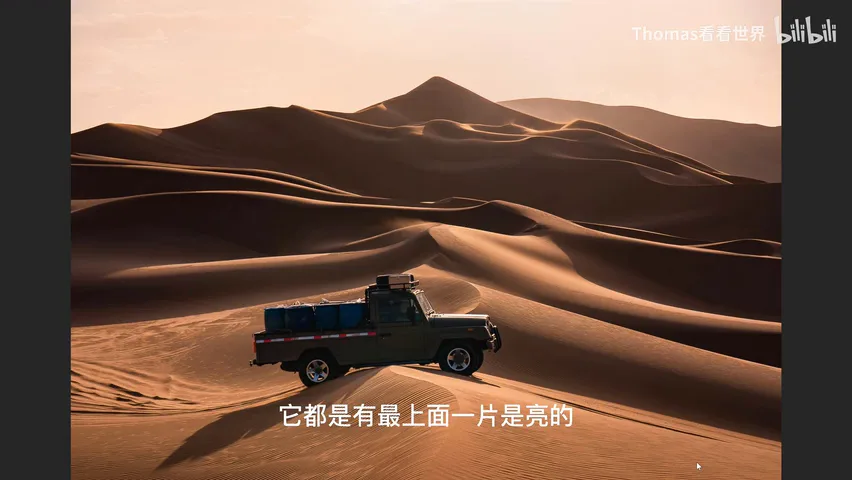
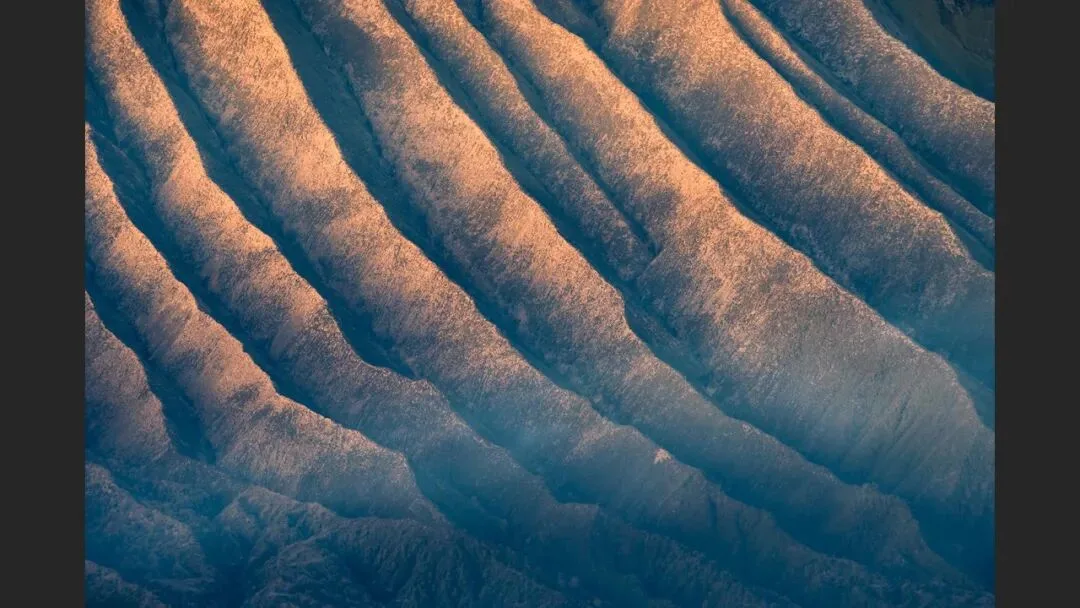
In such backlit scenes the foreground texture is decisive: dune ripples, rock patterns, the sculptural relief of a mountain — these carry the frame (at 4:46 in the video). Compare: in pure backlight only the crest of a dune catches light, while sidelight splits the frame about half lit and half shadowed — use the two in combination and you gain both layering and volume (at 7:46 in the video).
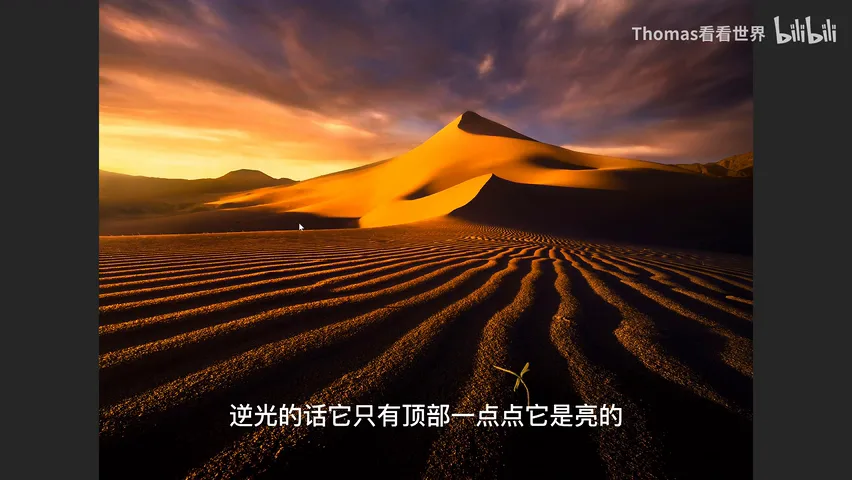
03 Translucence and Reflection: Backlight's Bright Spots
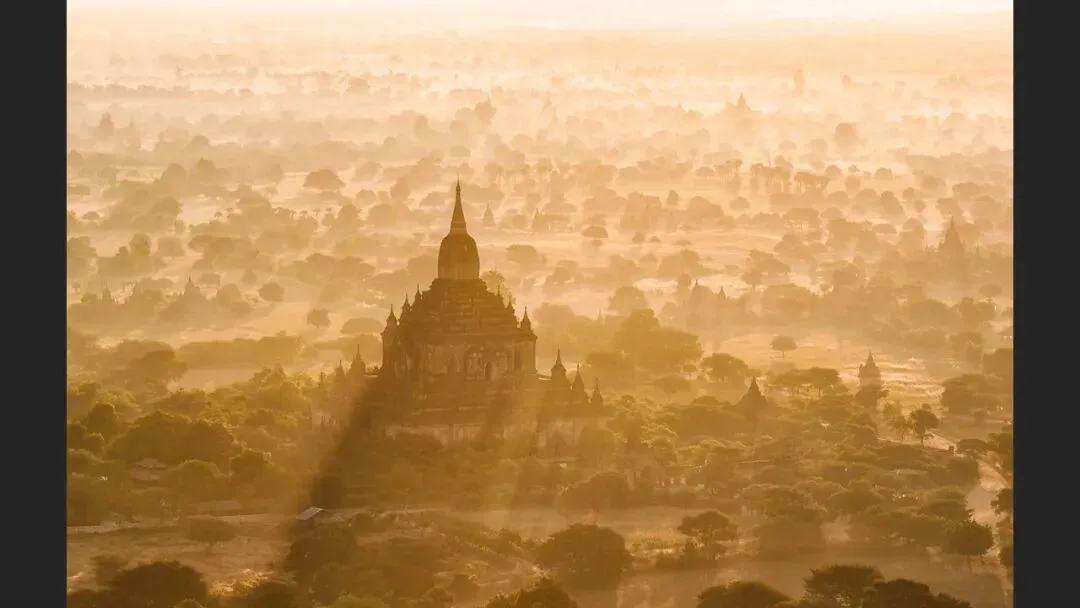
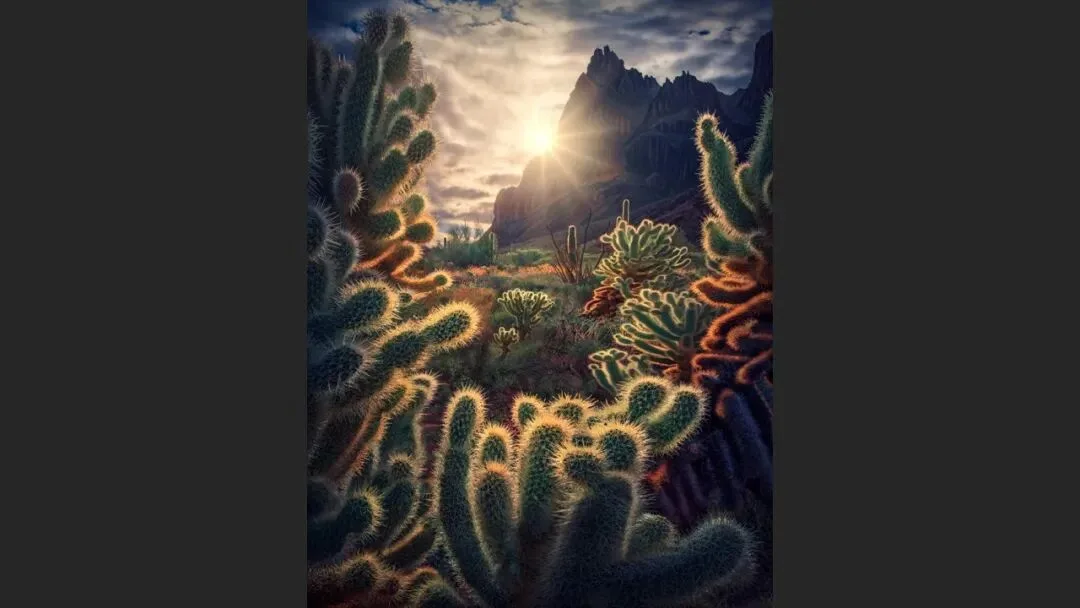
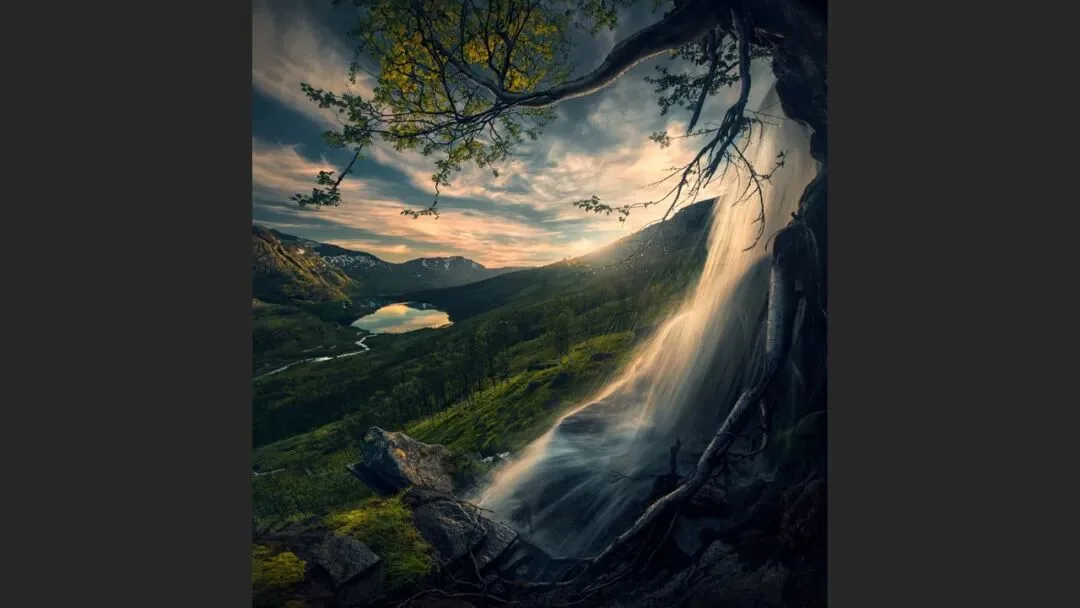
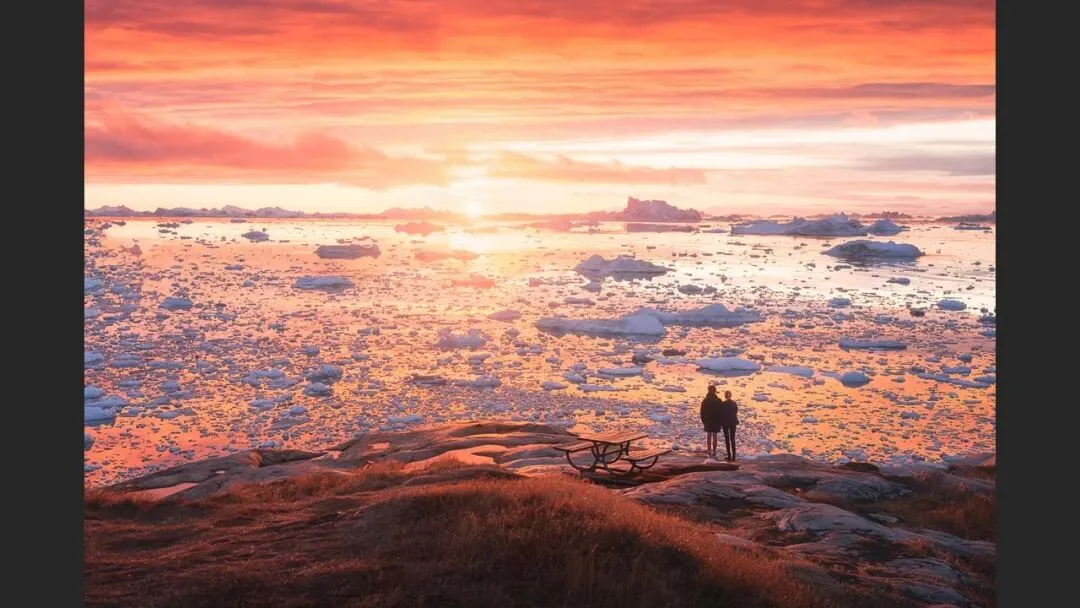
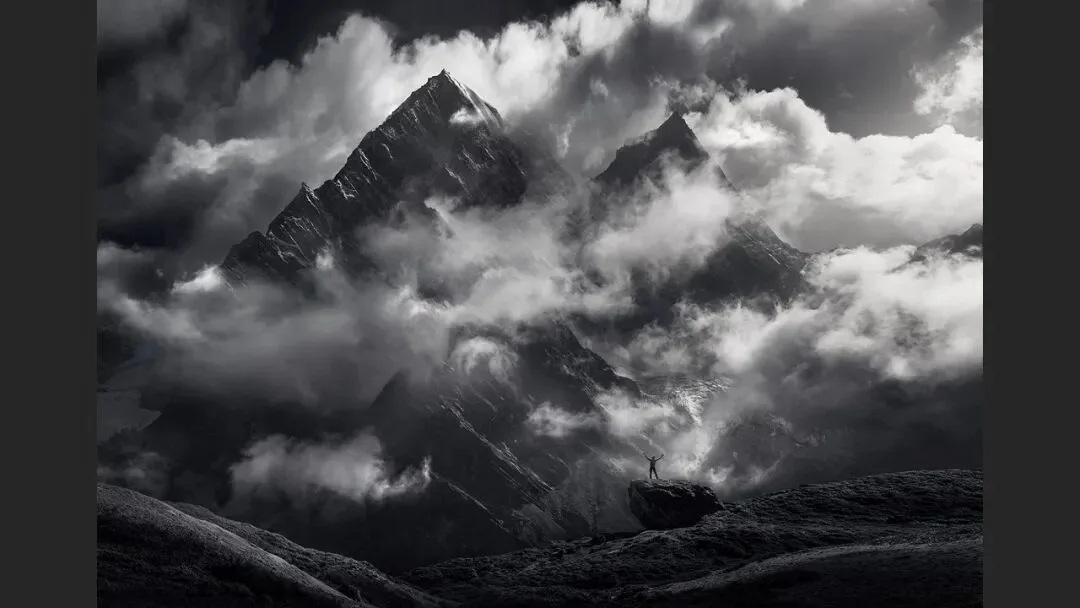
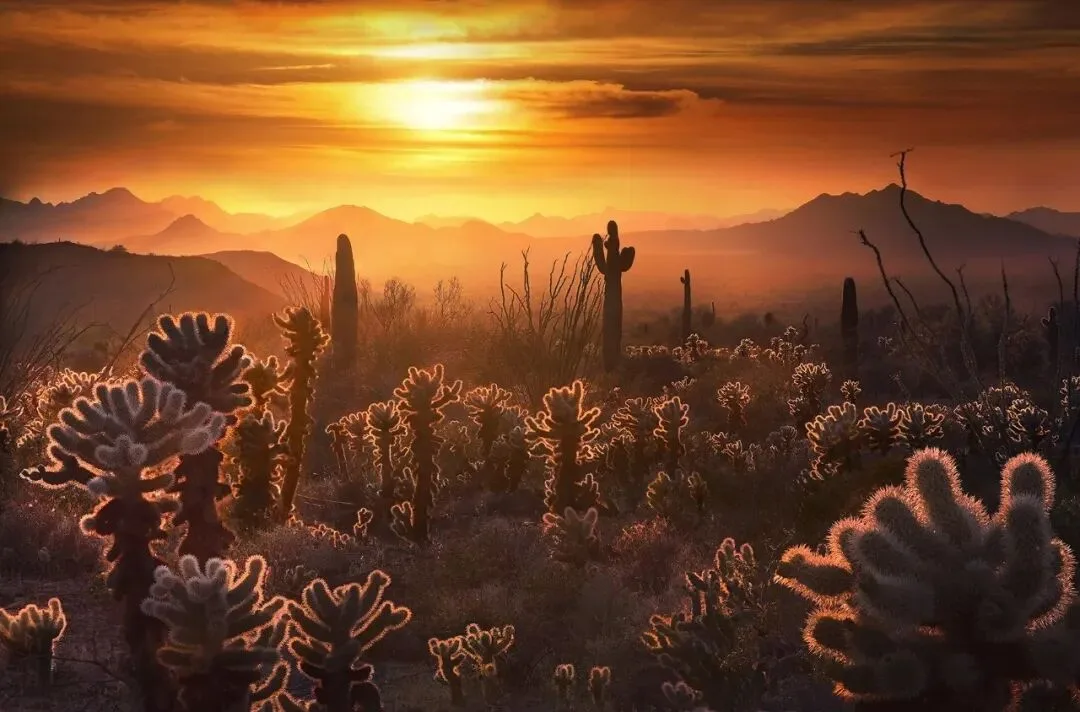
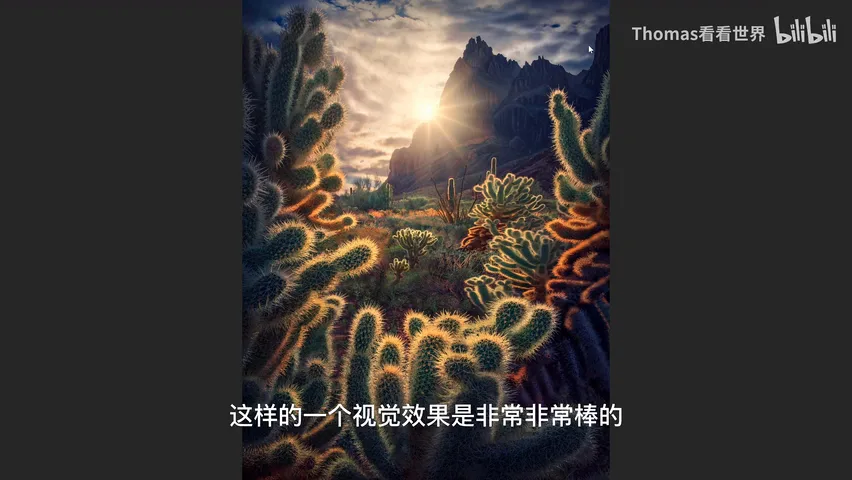
Backlight's most enchanting trick is hunting translucent subjects: dark at the core and bright at the edges, they read as pure contour (at 5:06 in the video). The fuzz on a cactus catches light (at 5:21 in the video); leaves turn translucent and glowing; the fur of cattle acquires a soft rim; flowing water becomes semi-transparent, and ice excels too; and for plants like the desert poplar, backlight ignites the foliage into brilliant color (at 6:11 in the video).
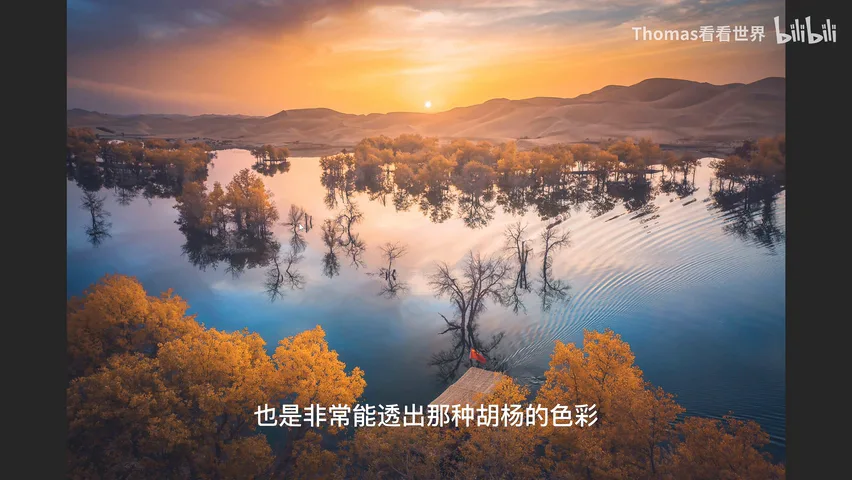
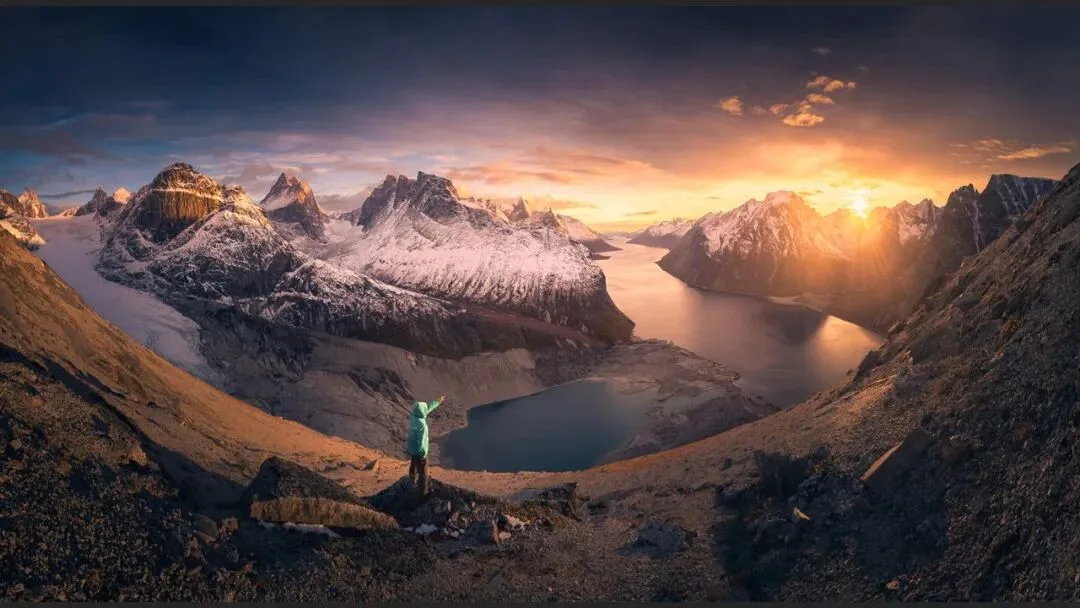
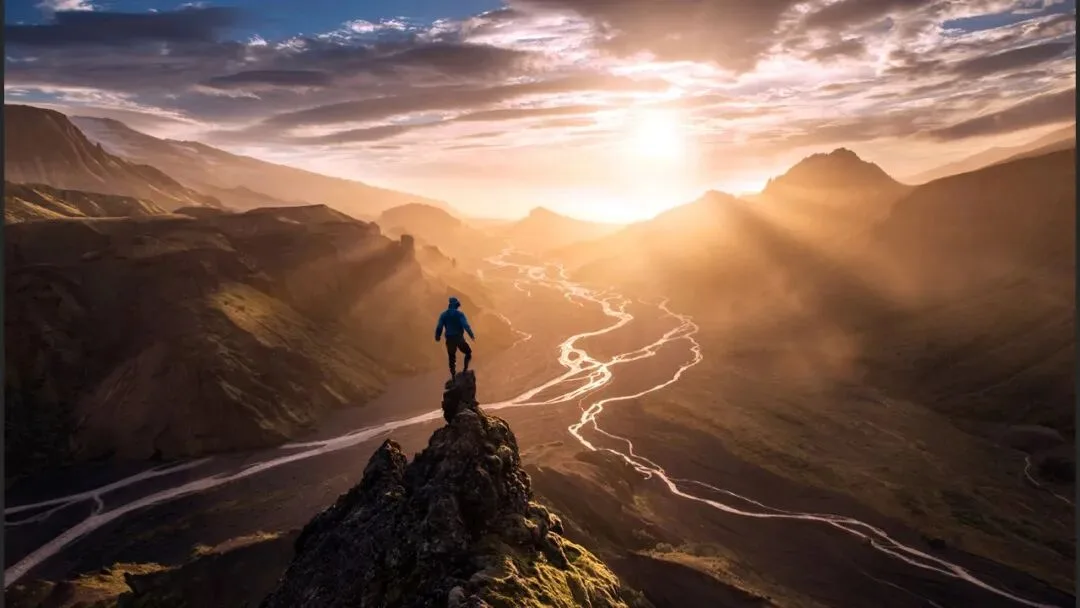
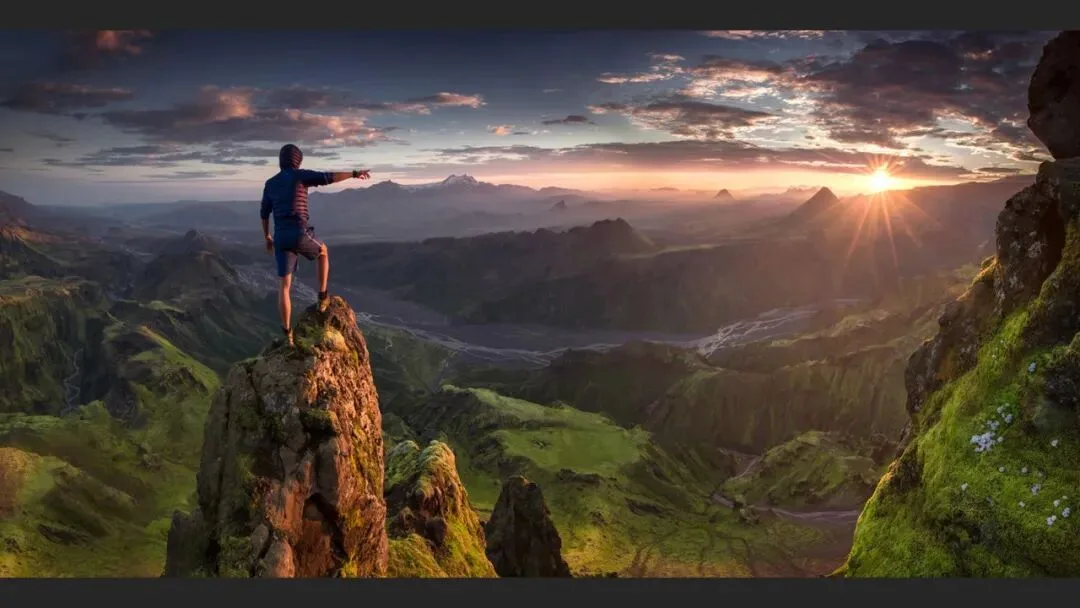
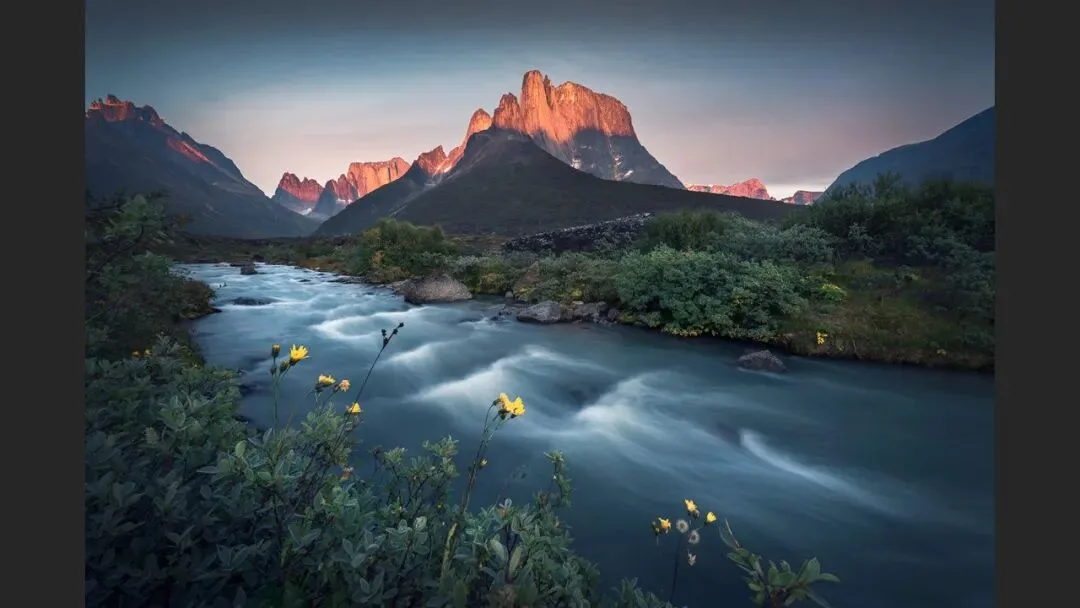
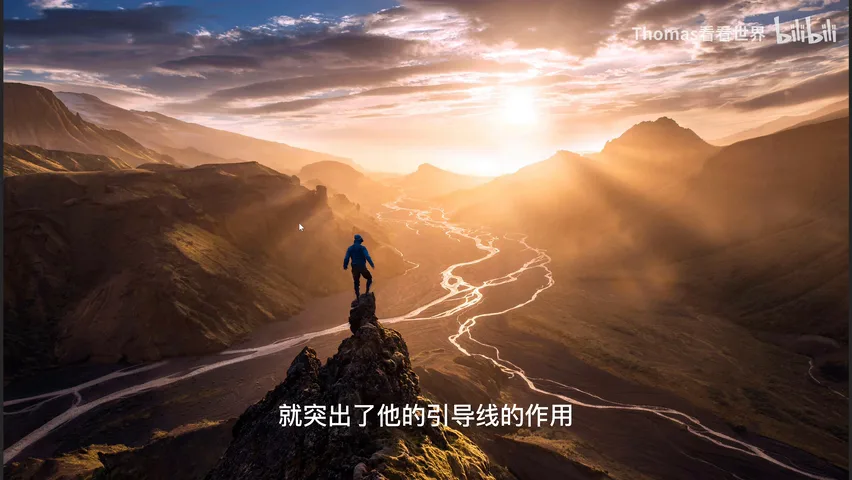
The other class is highly reflective subjects: rivers, roads, water, glass. Max Rive's frames often include a river in backlight — water reflects so strongly that it shines far brighter than its dark surroundings, and that contrast throws the line into relief, underlining its role as a leading path (at 6:56 in the video). Backlit people are spectacular too: the figure darkens against a bright background, rim light peeling them off the backdrop; with the sun in frame, person and sun can interact — gazing at it, pointing at it, sunlight spilling back onto the body — creating a lovely visual circuit (at 7:01 in the video).
04 Sidelight: The Other Half of Dimension
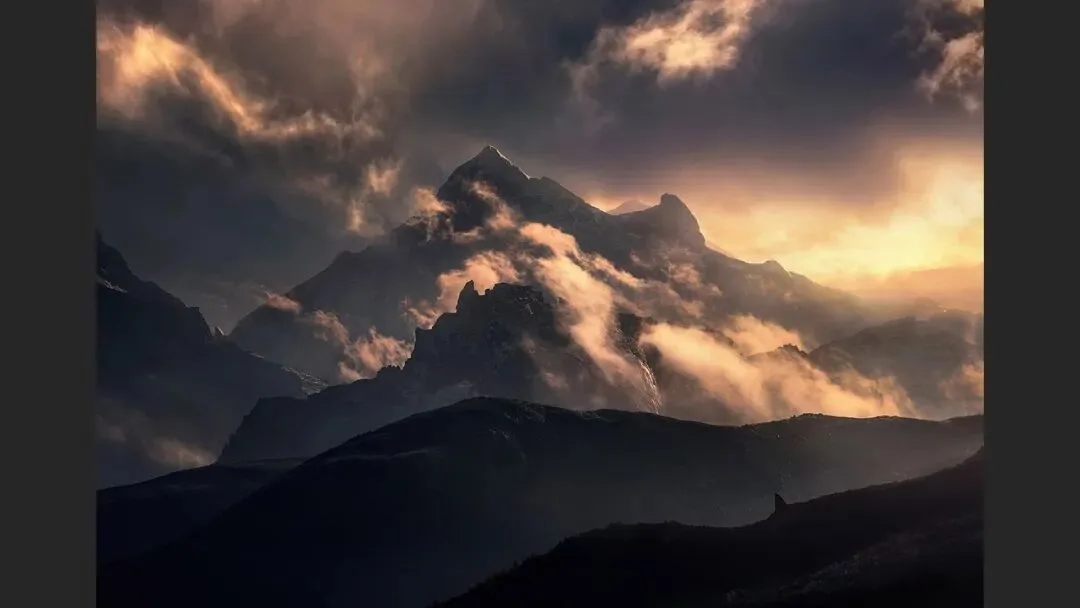
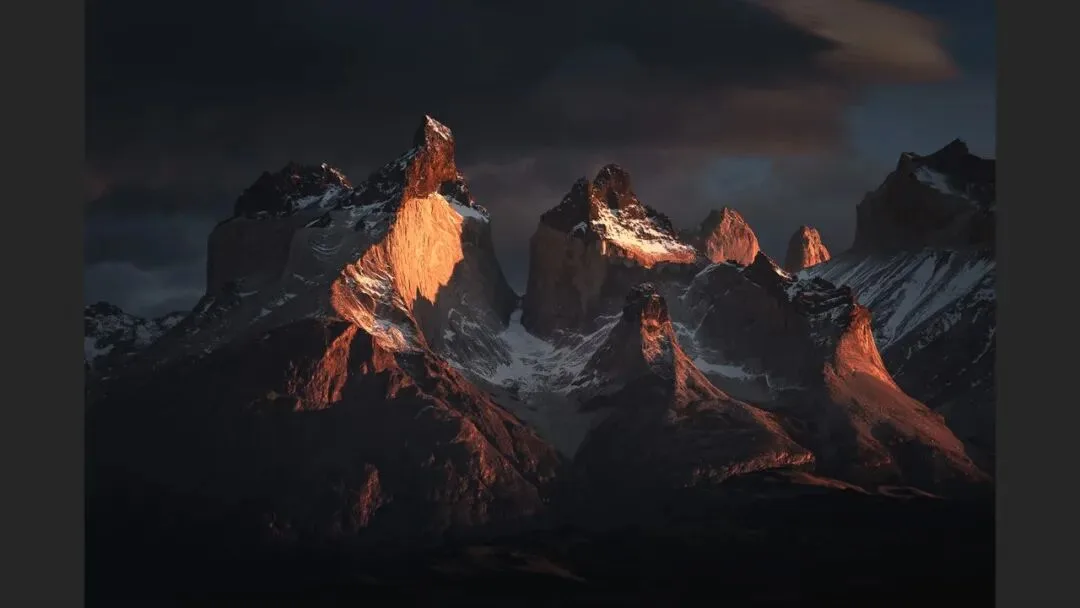
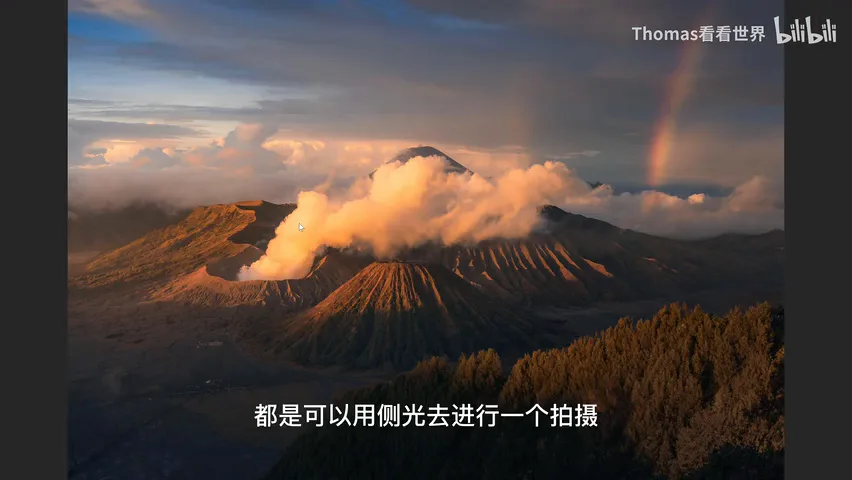
Sidelight suits fewer scenes than backlight, and works mainly when the subject is exceptionally sculptural and layered (at 7:41 in the video). For deserts it rivals backlight: where backlight lights only the crest, sidelight splits light and shadow about half and half with a crisp boundary, and the volume reads stronger (at 7:54 in the video). For peaks, sidelight ignites one face and leaves the other in shadow; earth textures take to it just as well (at 8:14 in the video).

05 Frontlight: Only for Alpenglow
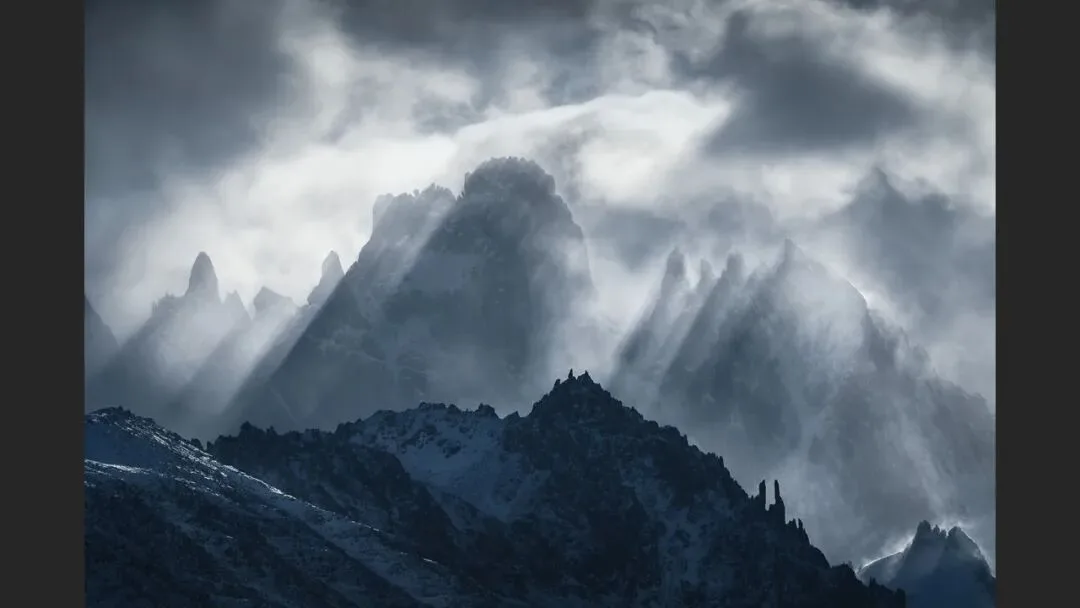
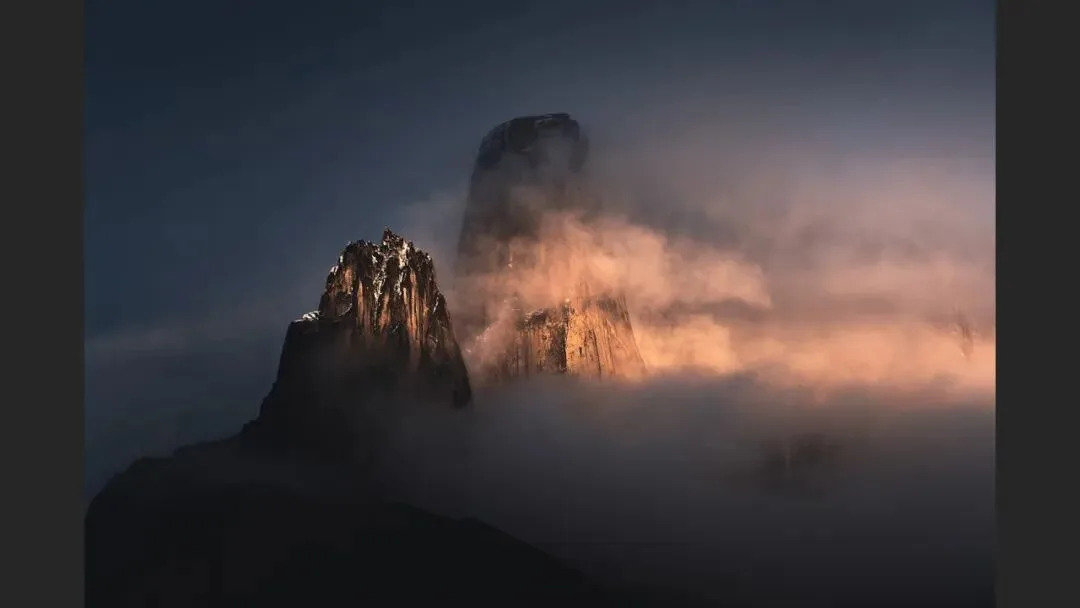
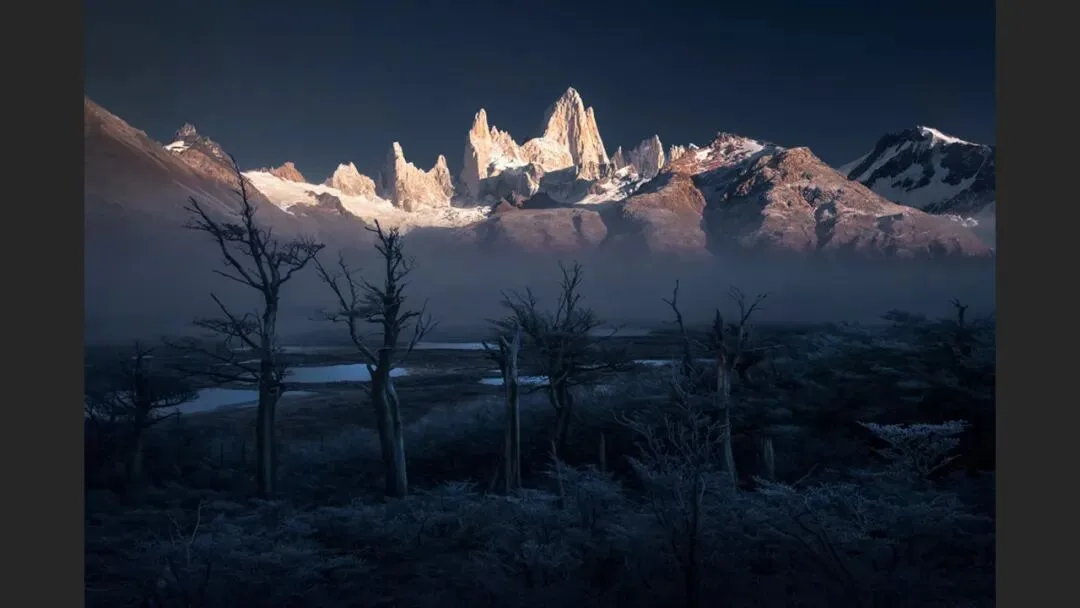
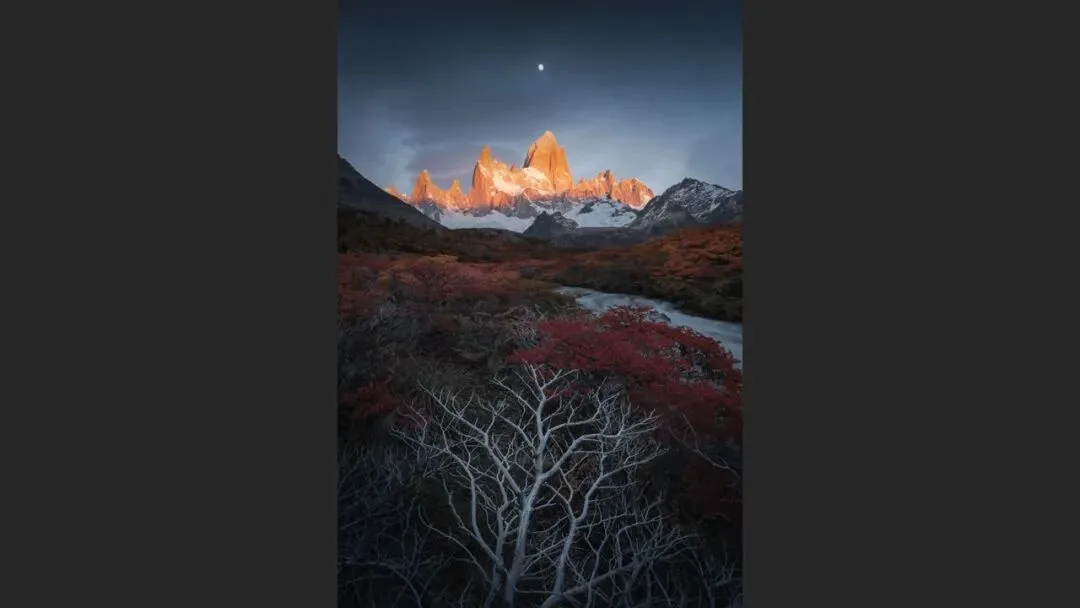
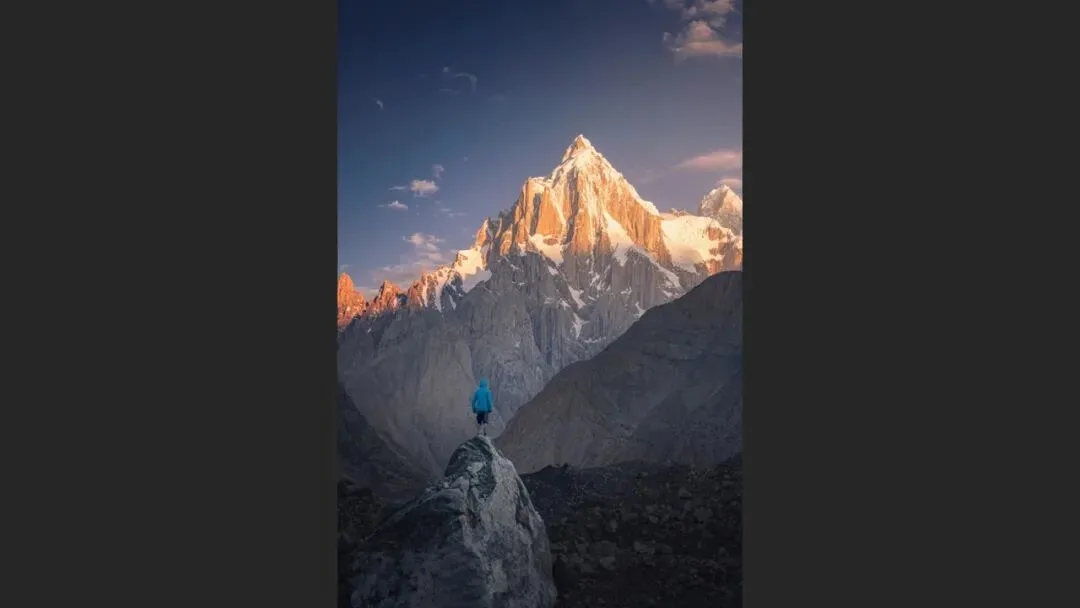
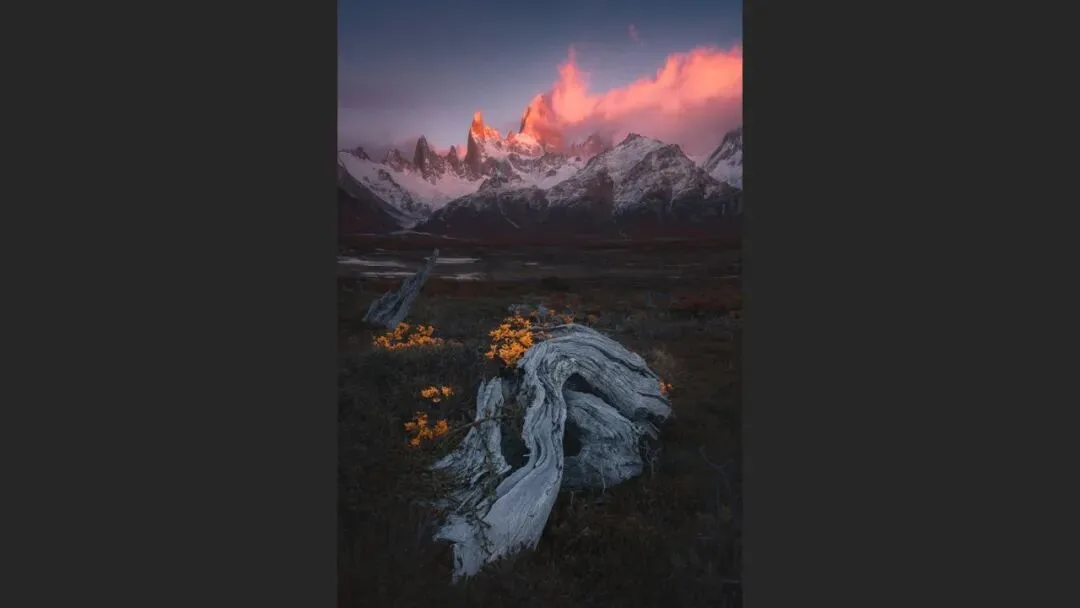
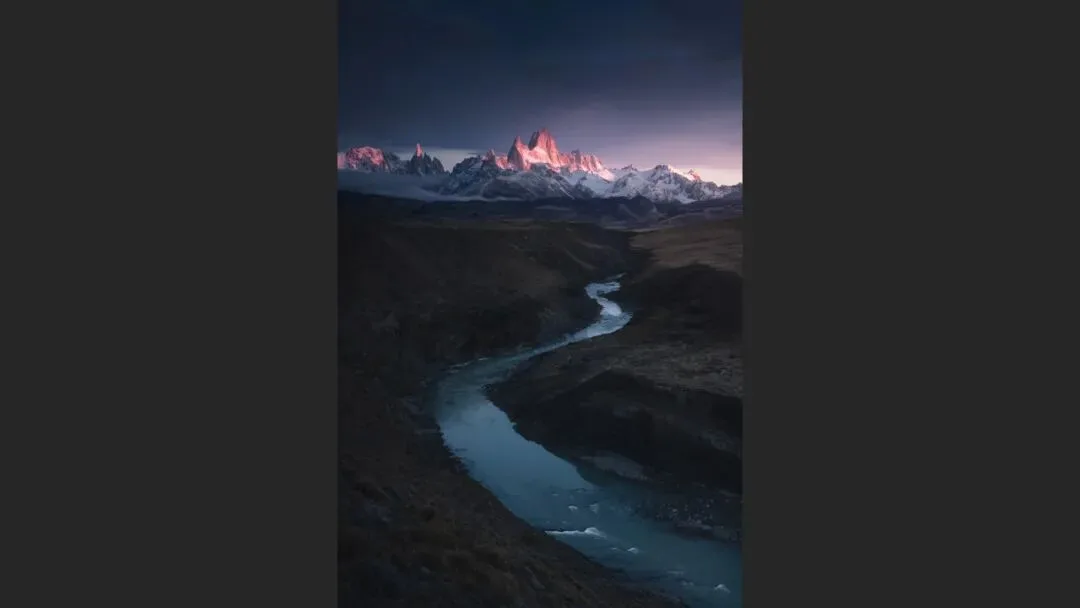
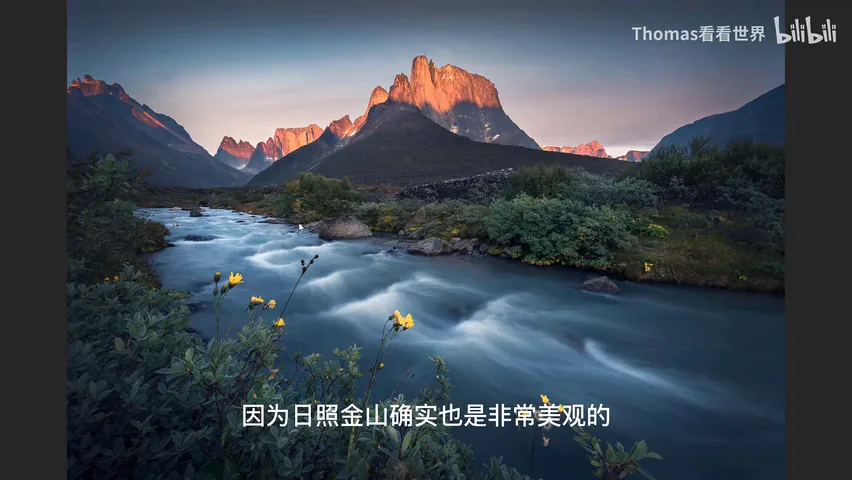
In natural landscape work there is essentially one frontlit sunrise/sunset scene worth shooting — alpenglow on a snow peak (at 8:31 in the video). The key is to wait for the moment when the near ground is dark and the distance is bright: the foreground still sunk in shadow while the far peaks have turned gold. Some wait until the foreground is lit too, but that leaves the frame cluttered and the subject weak (at 8:50 in the video).

Once near-dark and far-bright are set, push further into a warm-cool contrast: cool the white balance of the dark foreground a touch while restoring the alpenglow to its golden warmth — layered on top of the brightness contrast, this gives the frontlit frame its point of interest (at 9:06 in the video). Since frontlight is inherently weak in depth, hunt for foreground anchors — a figure, a leading line — to build the frame's skeleton (at 9:21 in the video).
1. Backlight is the mainstay of sunrise and sunset: bringing the sun in takes timing and placement — a minute or two under a cloudless sky — and a small aperture plus a partial occlusion for a true sunstar; 2. When the sun rides higher or you work semi-backlit, hand the frame to layers — a near-to-far brightening and lit crests, standing on foreground texture; 3. Translucent and highly reflective subjects are backlight's two bright spots: rim light and leading lines both flow from them; 4. Sidelight suits sculptural dunes and peaks with light and shadow split in half; frontlight is reserved for alpenglow — wait for dark-near, bright-far, then stack a warm-cool contrast on top.
PPT