Photography Tutorial · 2020-09-15
The 'Textured City' Look Revealed: Cold-Tone Luminosity Architecture in Post
Thomas Chu Photo
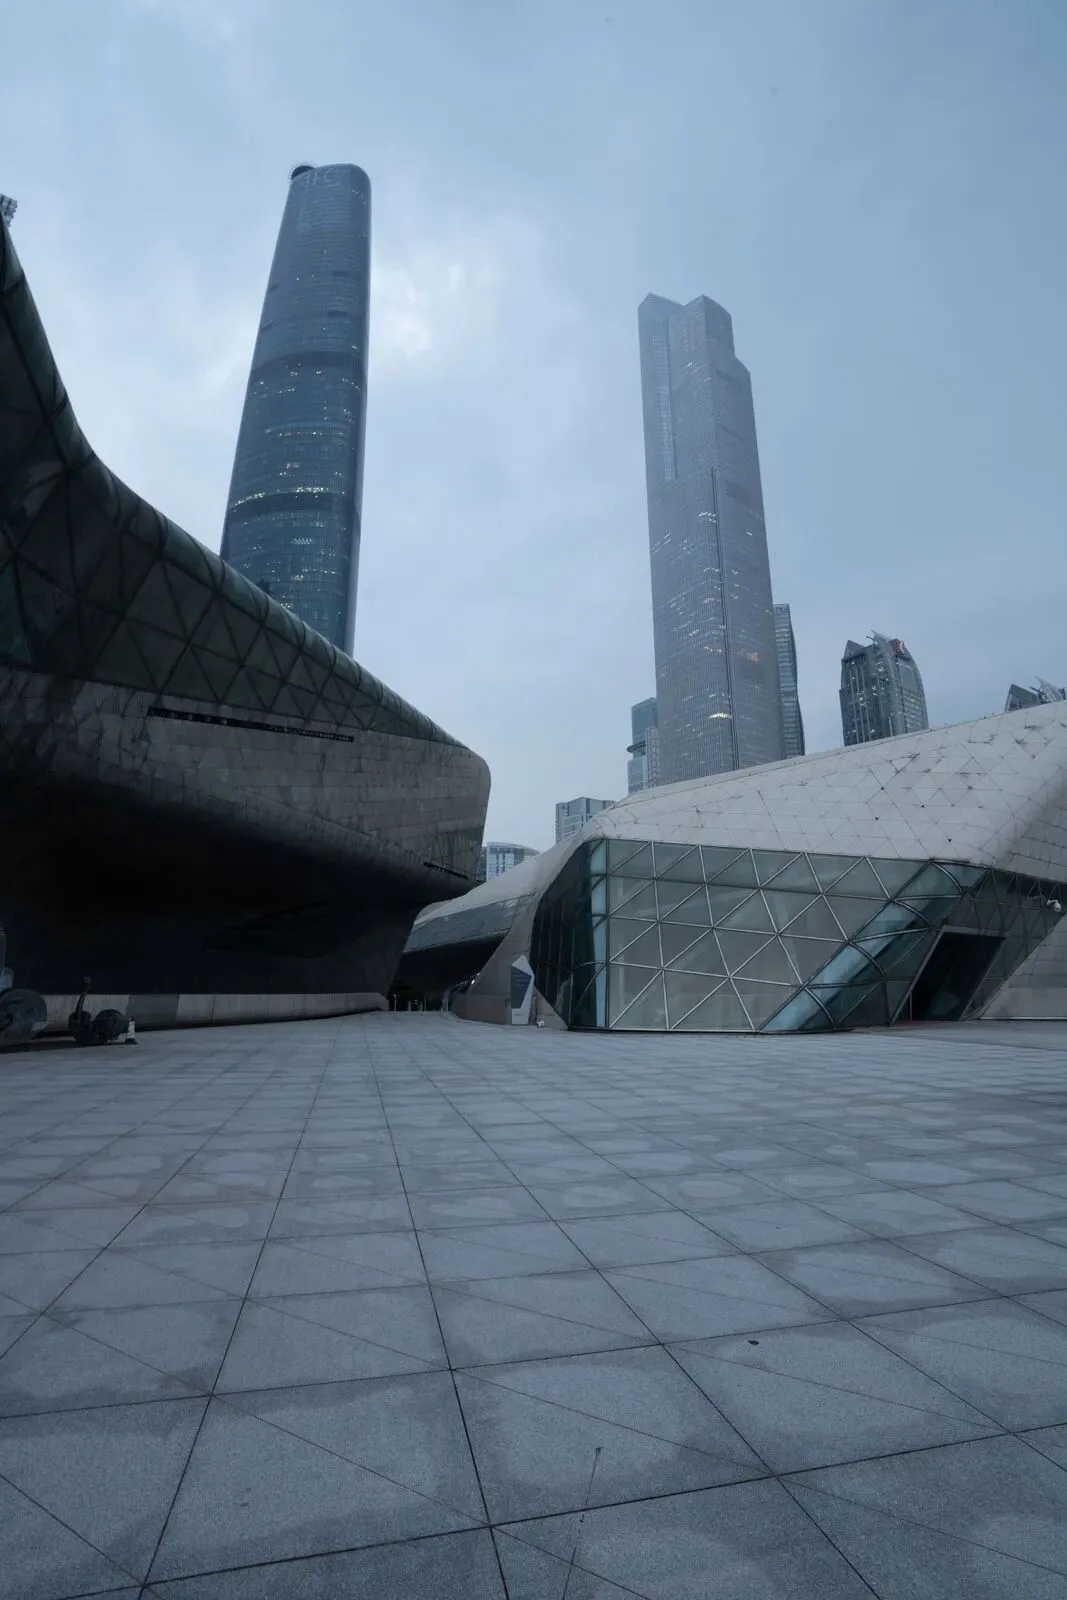
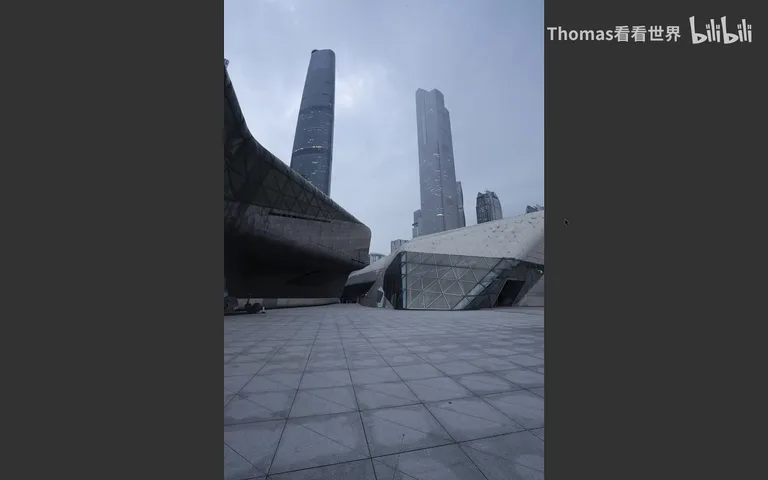
Today I'll teach you how to take a very ordinary cityscape RAW file like this one:
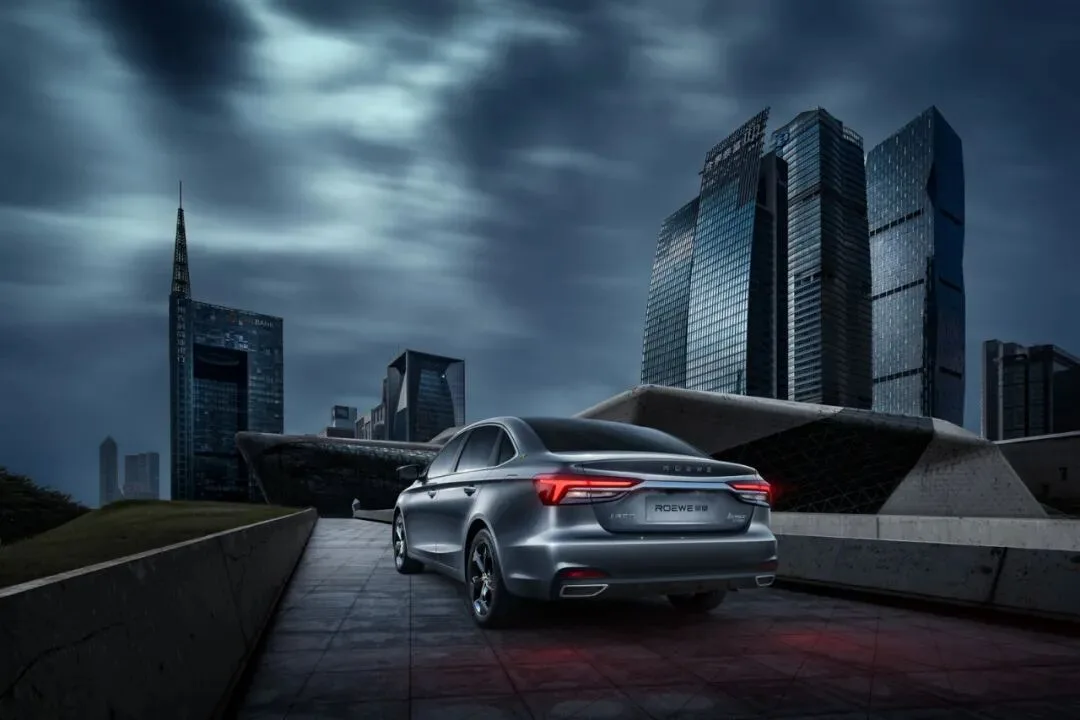
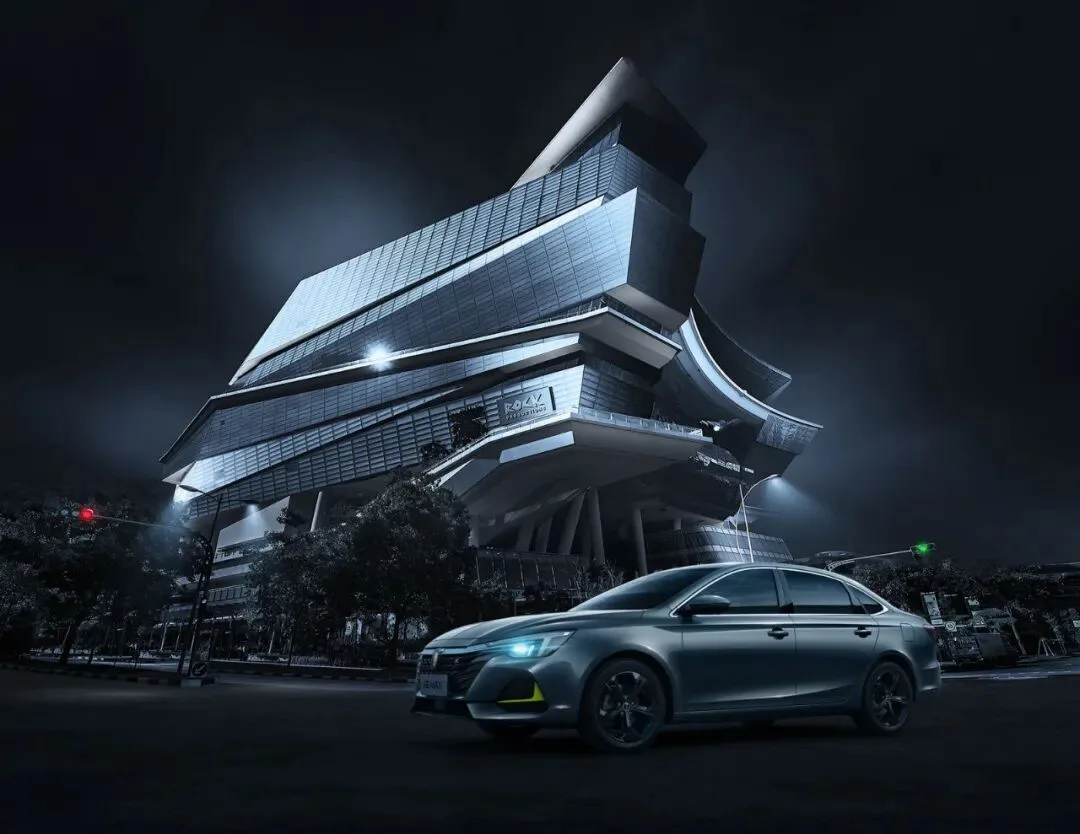
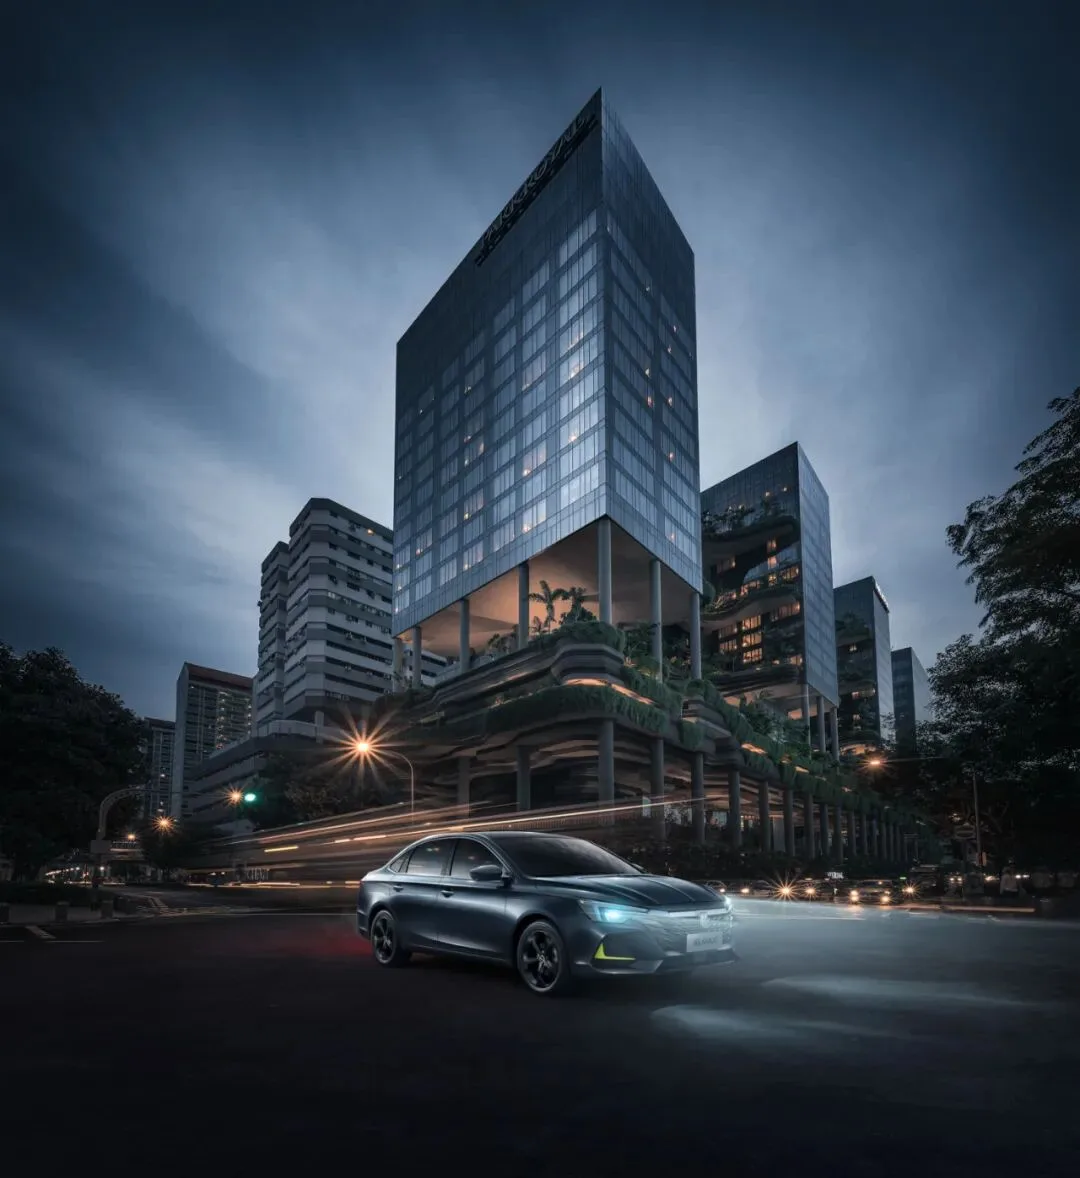
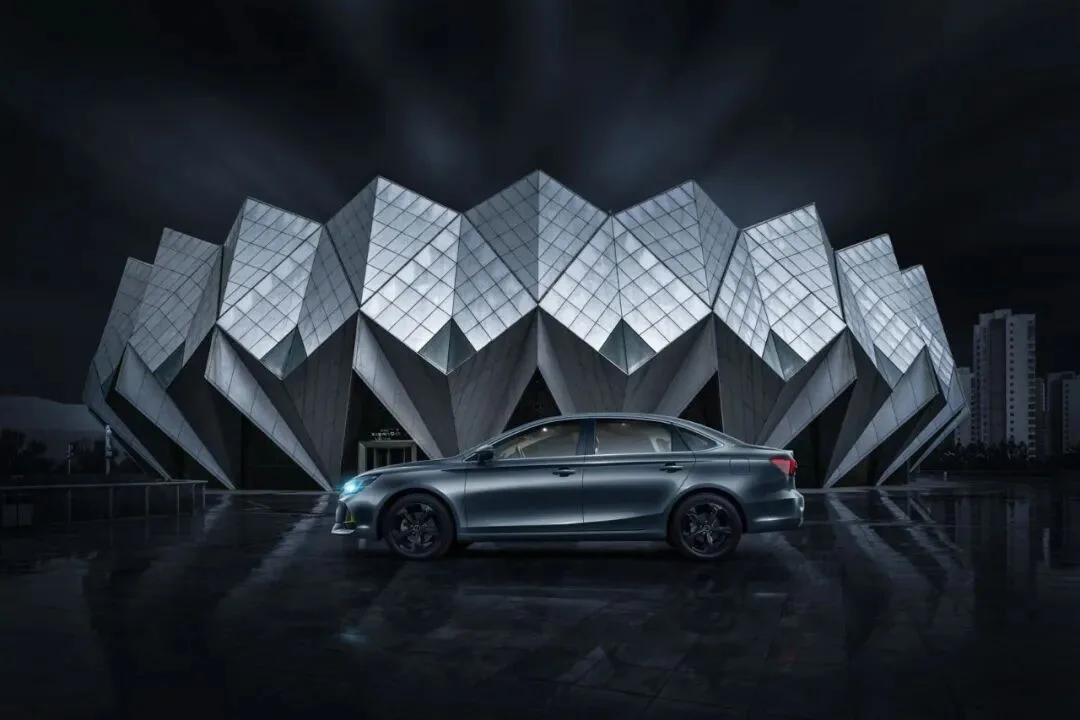
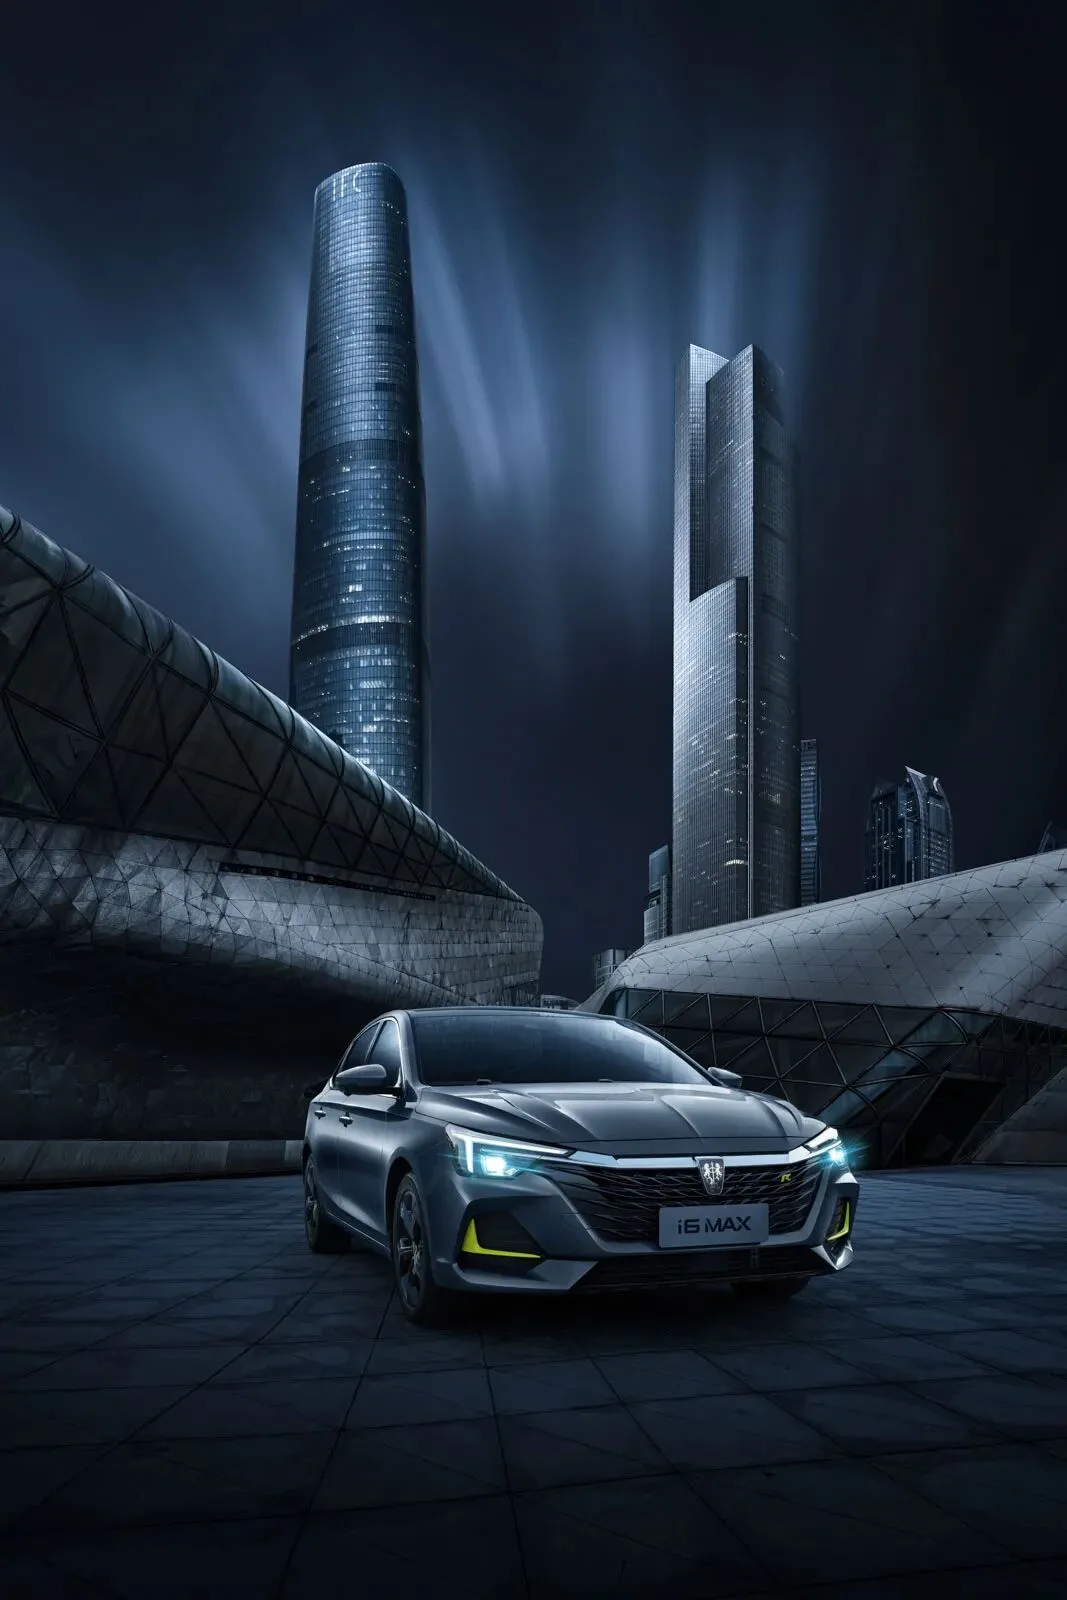
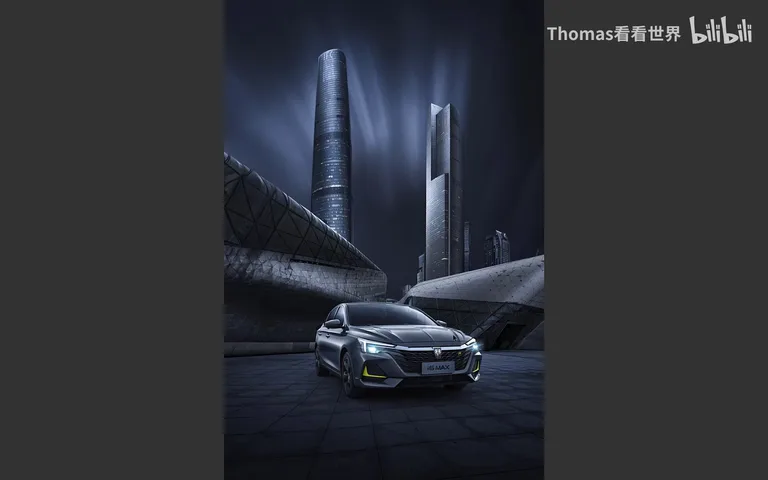
and post-process it into a highly textured, futuristic commercial-grade image like this. I call this cool-toned luminosity architecture style the 'Textured Metropolis' style.
Video Tutorial
▶ Watch the video tutorial on Bilibili
This is the fully illustrated companion to the video tutorial above. How do you turn a plain overcast city frame into a commercial-grade image with real texture and futuristic feel? Using the "Textured Metropolis" style he created for the Roewe i6 Max, Thomas demonstrates the whole pipeline — from setting the tone in Camera Raw and replacing the sky, to "relighting" each building one by one. Follow along with the keyframe screenshots below and this color variant of the luminosity-architecture style is yours.
Start with the finished image below: cool silver-blue tones, crisp sculpted light on the towers, and streaks of motion in the clouds. The rest of this walkthrough unpacks how it was built, step by step.
01 The Inspiration: A Silver-Blue Take on Luminosity Architecture
The "Textured Metropolis" style draws its inspiration from the well-known luminosity-architecture look. But that style is black and white, and its texture alone falls a little short for a car commercial — so Thomas added blue and silver, two colors that carry a strong technological, futuristic feel, on top of the luminosity-architecture foundation (at 0:48 in the video).
02 In Camera Raw: Straightening and Setting the Cool Tone
The original was shot at the Guangzhou Opera House, and the wide-angle lens introduced distortion. The first big job in Camera Raw is straightening the towers with the guide-line tool, then patching the blank wedges left behind with fill or local warping (at 1:31 in the video).
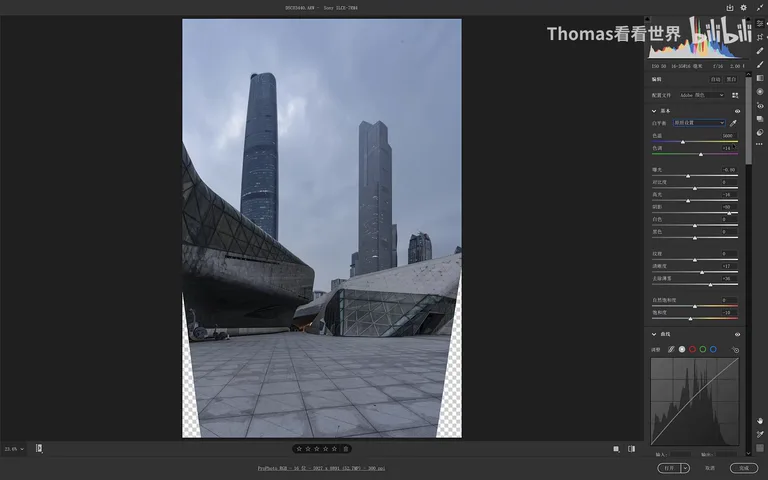
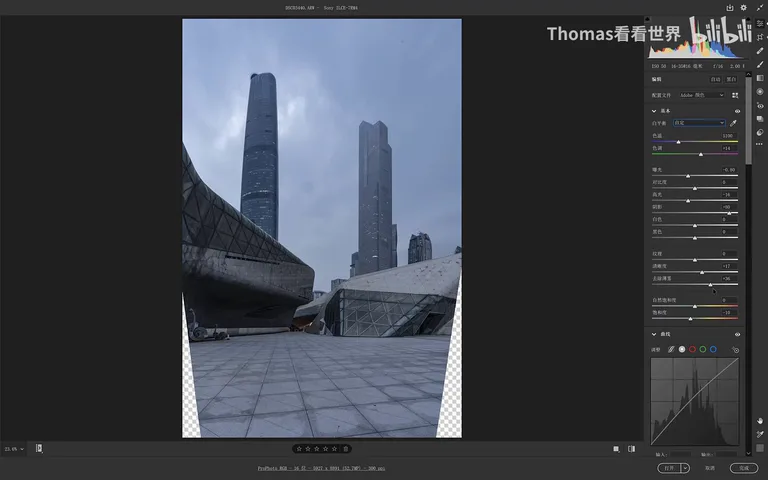
Since the target is a cool-toned style, white balance is critical: push further toward the cool end from the already-cool raw file to land on a blue cast. Luminosity architecture reads dark overall, so exposure drops by 0.8 while highlights come back and shadows lift to recover detail; Clarity and Dehaze can be pushed hard on textured buildings — the before/after difference is immediate. Camera Raw does only part of the work; the heavy lifting happens in Photoshop (at 1:56 in the video).
03 Sky and Base Plate: Cutting Out and Motion Clouds
Inside Photoshop the groundwork comes first: the small-aperture raw file is full of dust spots, so remove them one by one; patch the straightening gaps; then nudge the building slightly rightward so it reads more symmetrical. Finally, build a darker version of the plate, pressing the whole structure down for the work ahead (at 2:41 in the video).
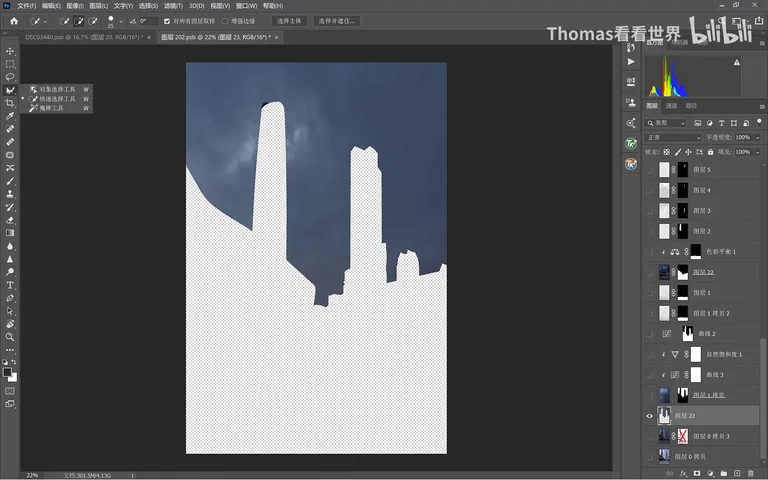
Next, the sky: select it with Quick Selection, press Ctrl+J to copy it onto its own layer, and hide the others. On that sky layer, use the Magic Wand to select the blank wedges, run Select - Modify - Expand by 5-6 pixels, then Edit - Fill - Content-Aware to close them — otherwise transparent or white patches would show up once the blur is applied (at 3:23 in the video).
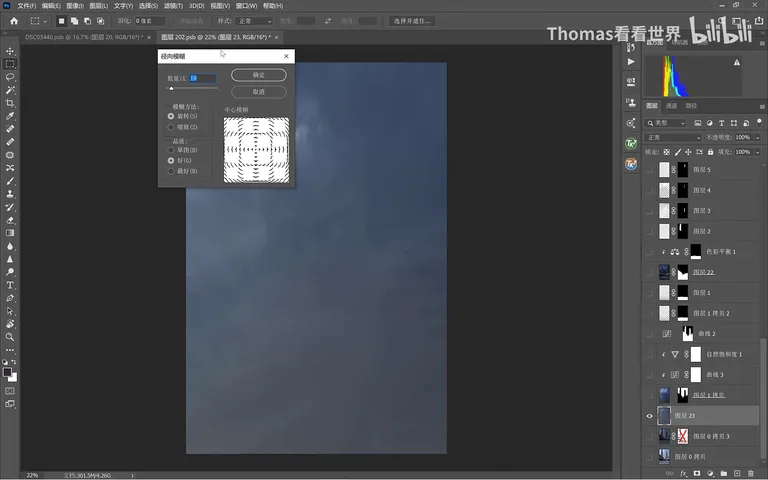
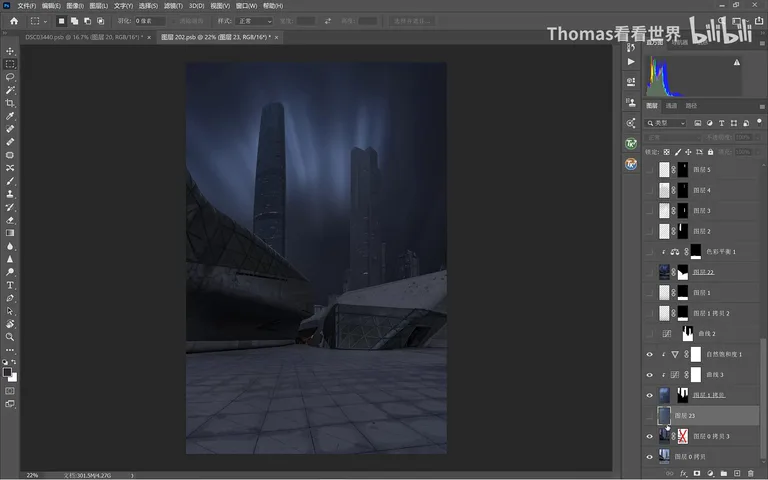
Then comes the trick behind the streaking clouds: Radial Blur (Motion Blur also works). Place the blur center somewhere suitable above the frame, set the method to Zoom, and start with an amount of 50 — out comes radiating, motion-swept cloud texture. Darken it and pull some saturation out, and a magical, ethereal sky takes shape (at 4:02 in the video).
04 The Core Technique: Sculpting Light with Gradients
Now the most important step: re-sculpting the light on every face. Create a blank layer, set its blend mode to Soft Light or Overlay (Overlay here), ready to receive the bright and dark planes. Then trace the building with the Polygonal Lasso — you only need to click the key corners; on curved sections, placing adjacent points closer together still follows the surface nicely (at 4:58 in the video).
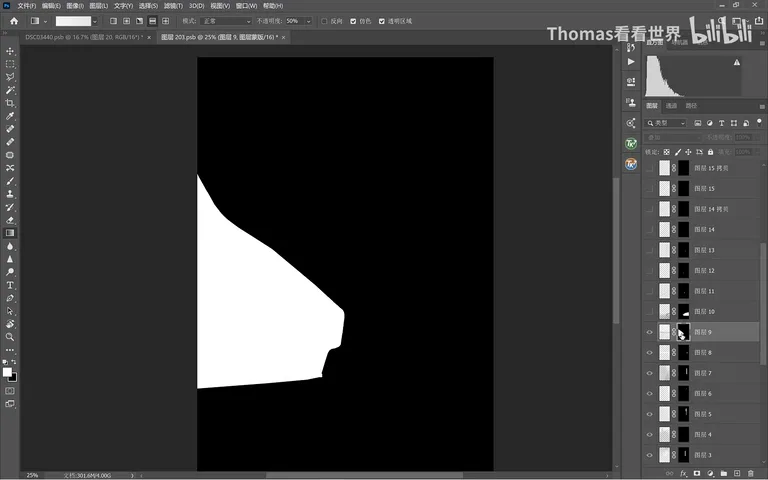
With the selection made, add a mask — it converts automatically into a layer mask — and feather it about 0.6 pixels for natural edges. The lighting tool is the Gradient tool: set it to Foreground-to-Transparent and lean on three kinds — linear for a long strip of light, radial for a round pool of center light, and reflected, which brightens the middle strip while leaving both sides untouched, ideal for columnar subjects. Keep opacity around 50: pull a narrow gradient first, then a slightly wider, longer one, and the building gains volume. Not enough? Add another blank layer, Alt-drag the mask over, and stack more gradients. Before and after, the sense of form is transformed (at 6:34 in the video).
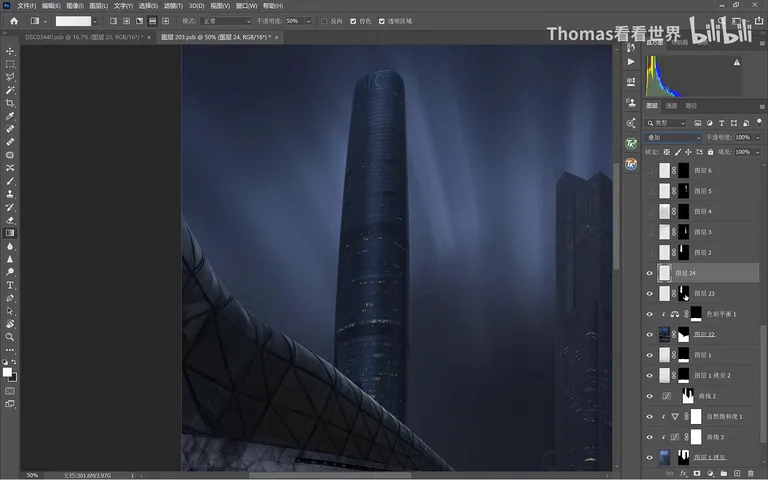
More complex towers are built face by face: a long linear gradient for the lit side, then the shaded side — mostly kept dark, its top lifted slightly — so the boundary between light and dark sharpens. Before lighting, fix a key light direction and think through how the planes stack; this craft rewards studying excellent luminosity-architecture work. Every tower is selected and lit individually, and afterwards the texture is unrecognizable — each building looks suddenly studio-lit, full of form and sheen (at 8:43 in the video).
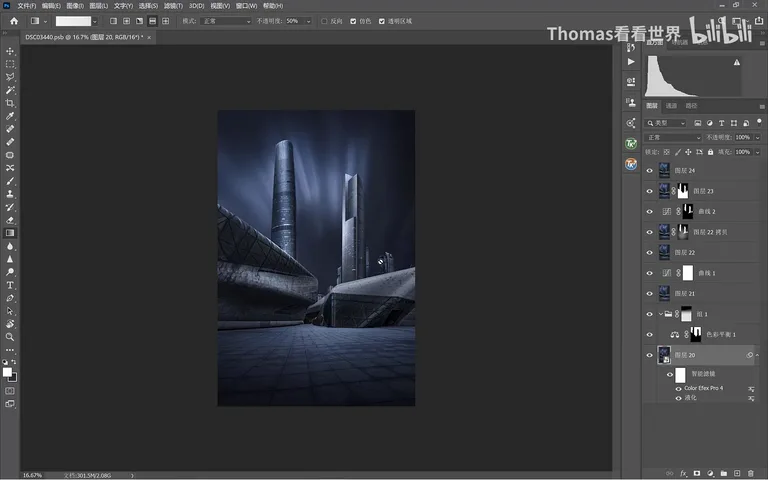
05 Finishing: Texture Boost and the Car Composite
The finish is conventional: Color Efex Pro's Tonal Contrast pushes the texture further; the Liquify tool smooths the tower edges; and Color Balance lays a pleasing blue cast back into the grays while strengthening the sculpted light. After these passes the image carries the silver-blue tone and the Textured Metropolis look (at 10:15 in the video).
Finally, the Roewe i6 Max — shot and retouched by the professional automotive team at Guangzhou Xinxingshe — is composited onto the finished platform, completing the image. Looking back: from a dull overcast frame to a futuristic silver-blue visual, the heart of the process is the lasso-plus-gradient dance on Overlay blank layers, building light tower by tower — the very essence of the luminosity-architecture style (at 11:11 in the video).
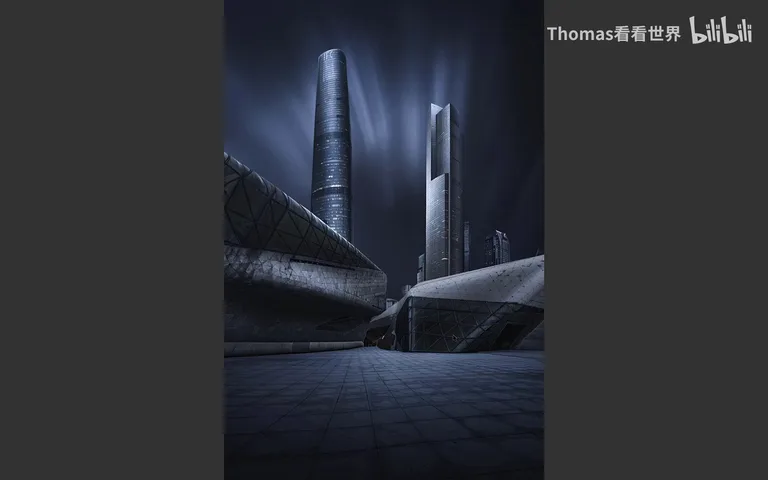
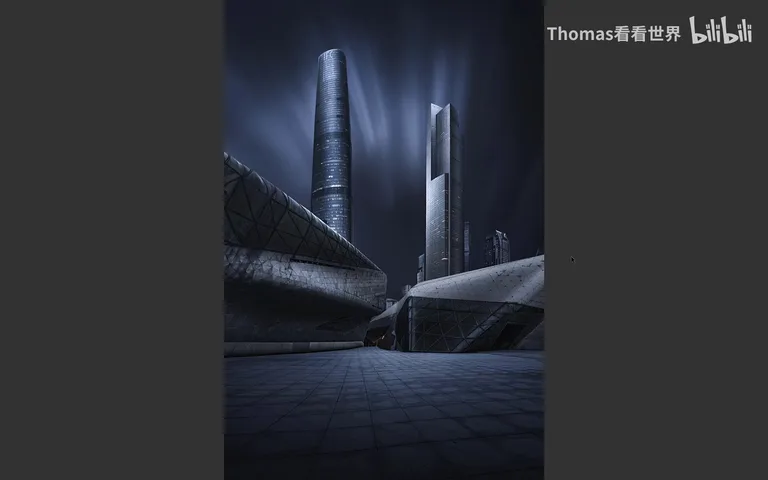
1. The shortcut to style innovation is a variant on a classic: add silver-blue to black-and-white luminosity architecture and you have a commercial look with a tech edge; 2. Build the plate first — straighten, patch, de-dust, and darken — so every later move lands on a clean stage; 3. The post-production lighting kit: Polygonal Lasso for each face, a feathered mask, and gradients pulled on blank Overlay layers — fix the key light first, then order the planes; 4. The secret of motion clouds is Radial Blur in Zoom mode, darkened and desaturated until the sky moves and shimmers.
Textured Metropolis × Roewe i6 MAX Campaign
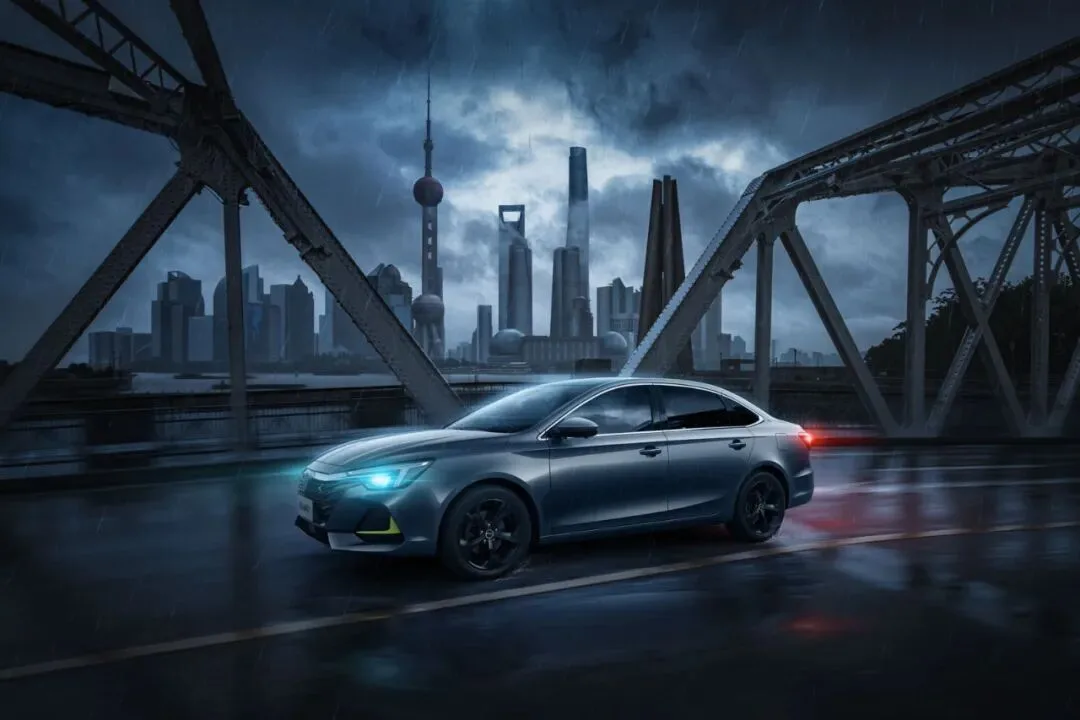
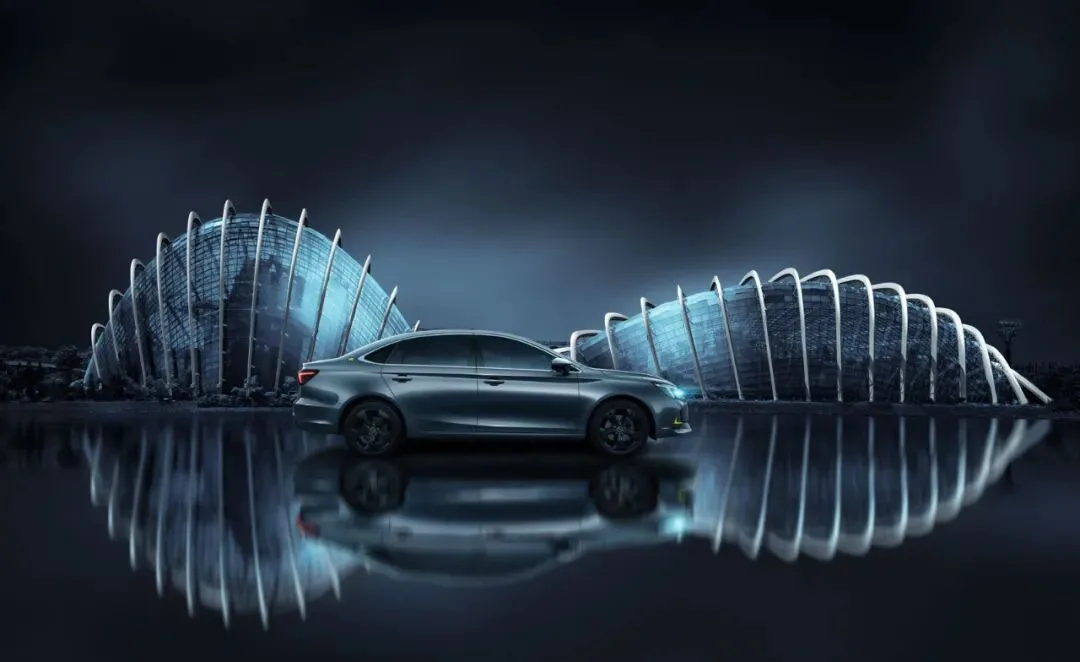
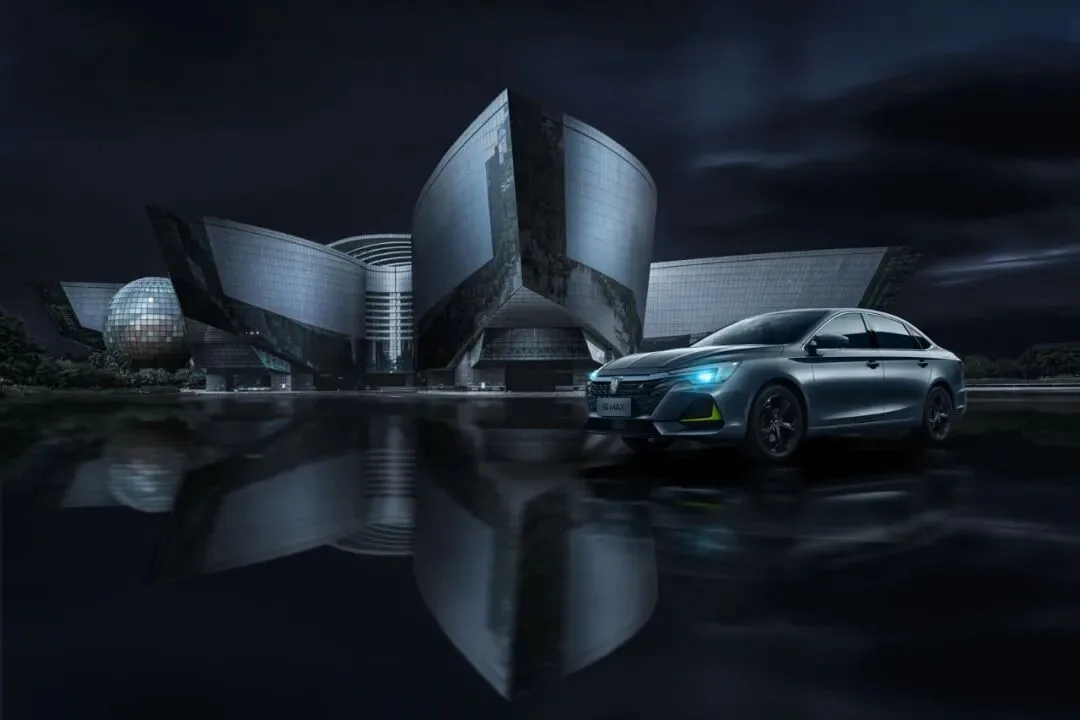
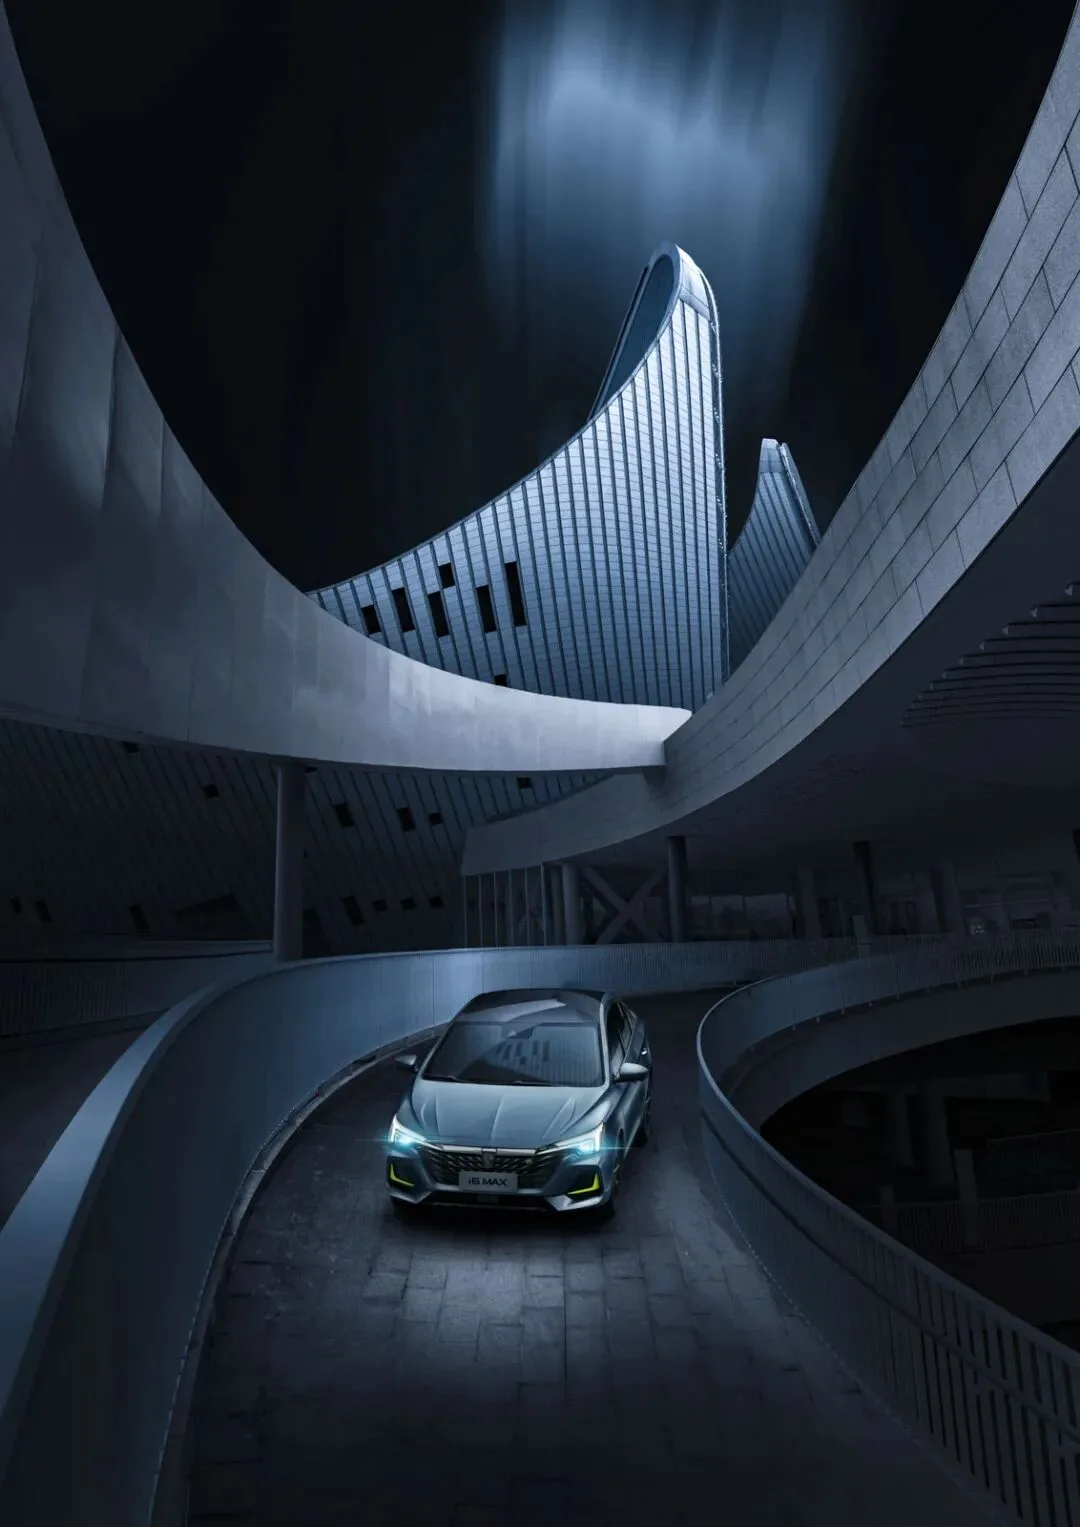
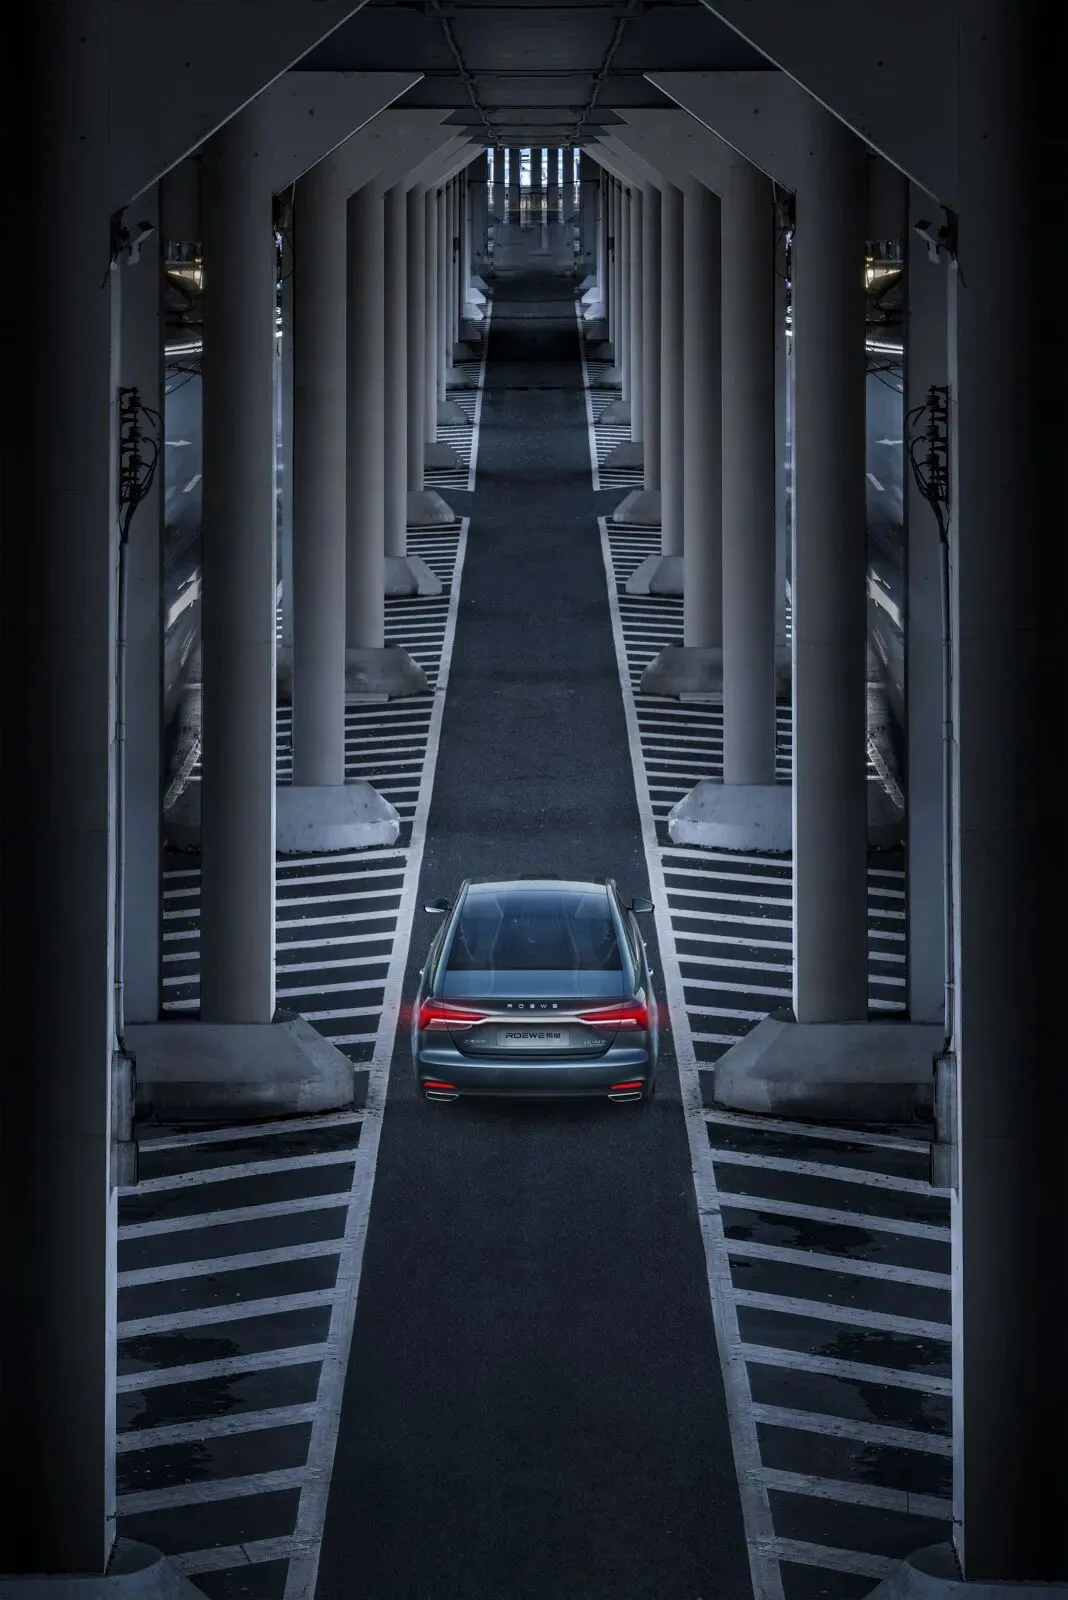
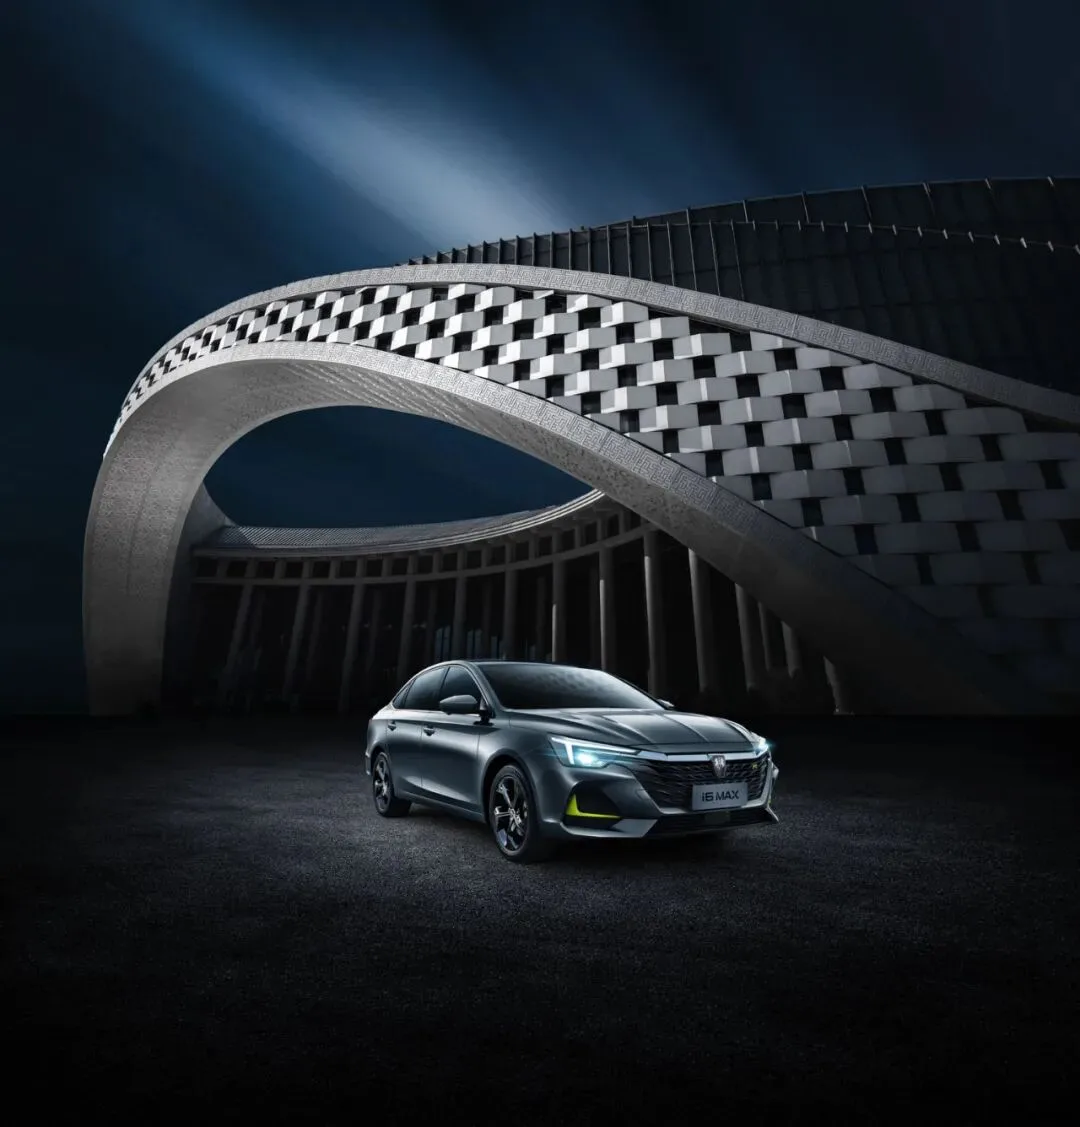
These are a series of silver-blue 'Textured Metropolis' images I recently directed and produced. Under surreal artificial lighting, don't Chongqing, Shanghai, Guangzhou and Singapore look even cooler?
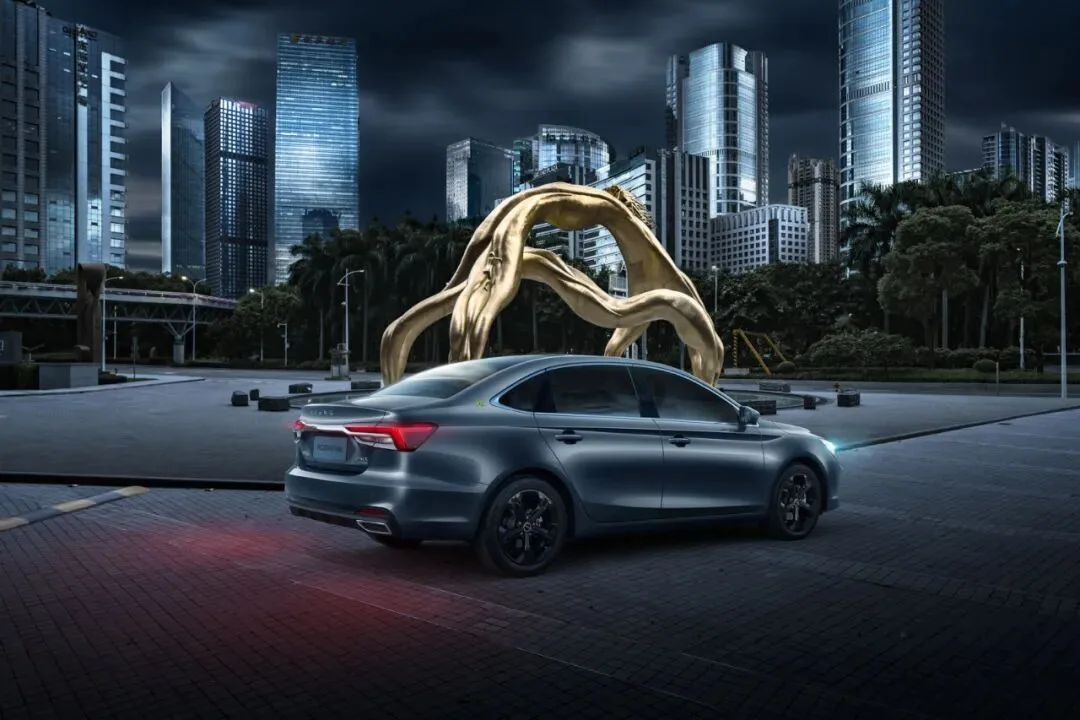
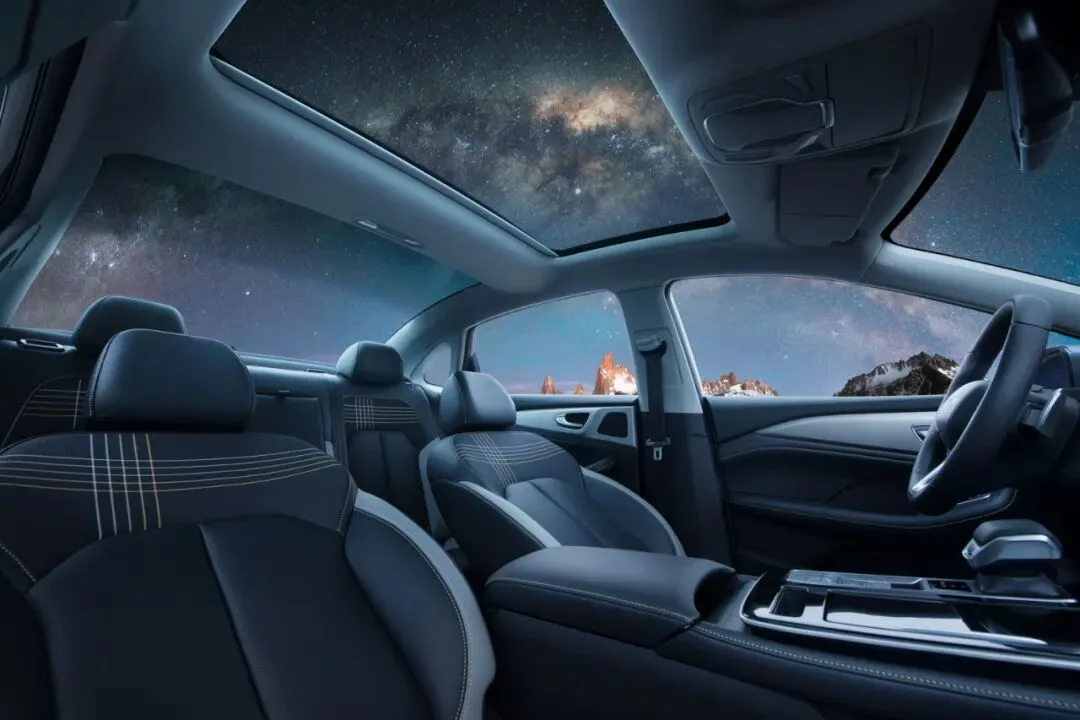
When I saw the high-tech body and huge panoramic roof of the Roewe i6 MAX, I immediately thought of the luminosity architecture style that likewise expresses a city's sense of the future.
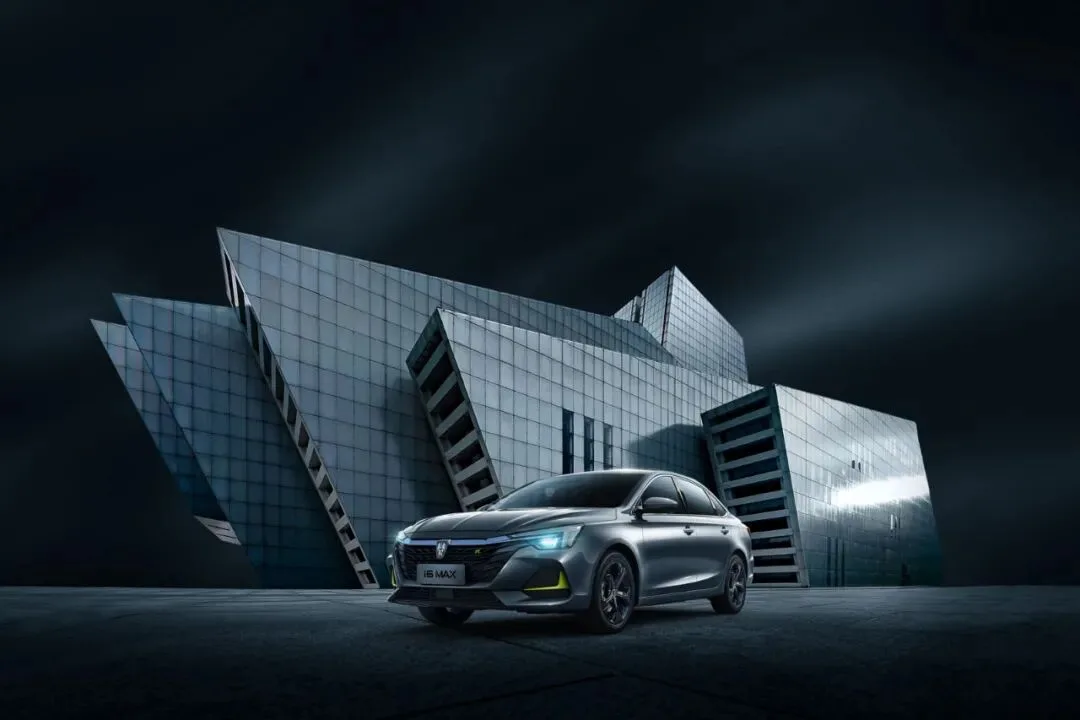
But the traditional black-and-white luminosity style alone couldn't carry the texture of an automotive commercial, so I blended in the cool tones often seen in urban films, finalizing the color and tonal palette of this series.
Silver-blue color schemes meet luminosity style; modern architecture meets a good-looking car — 'texture' and 'tech feel' both pushed beyond the limit.
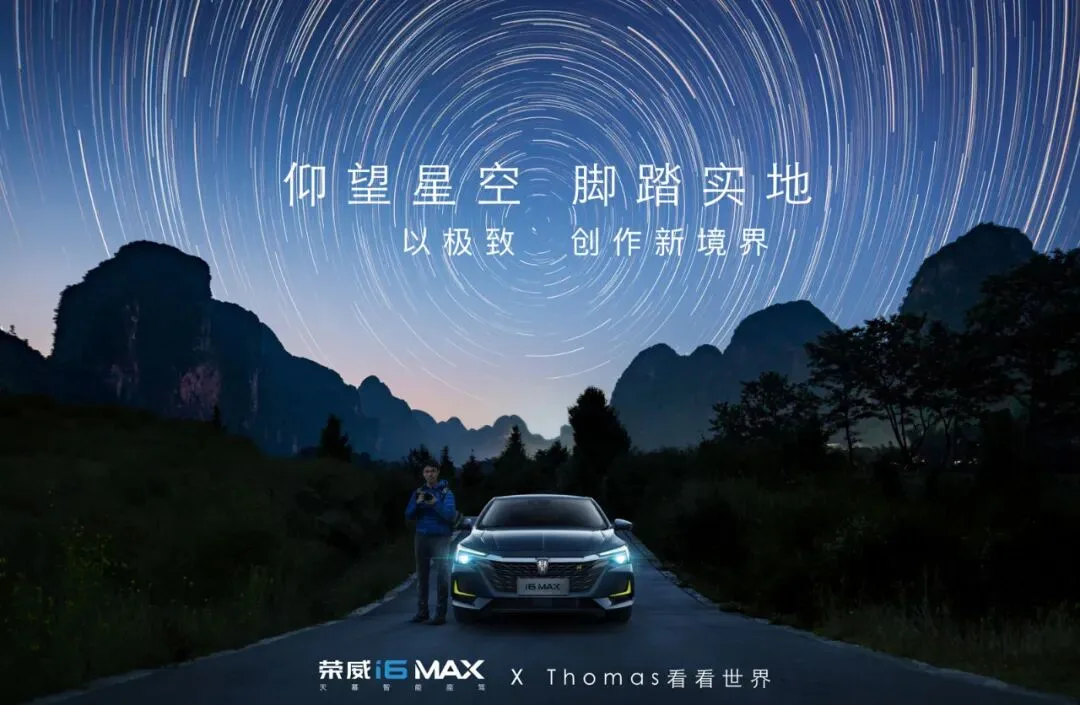
Project production: Guangzhou Xinsheshe
Art direction: Chu Weimin (Thomas Chu Photo)
Executive producer: ET
Producer: Wang Bo
Landscape photography: Chu Weimin, Lin Yuxian, Chen Yunyuan, Li Dawei, Lu Chunping
Landscape post-processing: Chu Weimin
Car photography & post: Guangzhou Xinsheshe