Photography Tutorial · 2022-05-01
Texture vs Clarity vs Dehaze in PS: What Each Slider Does
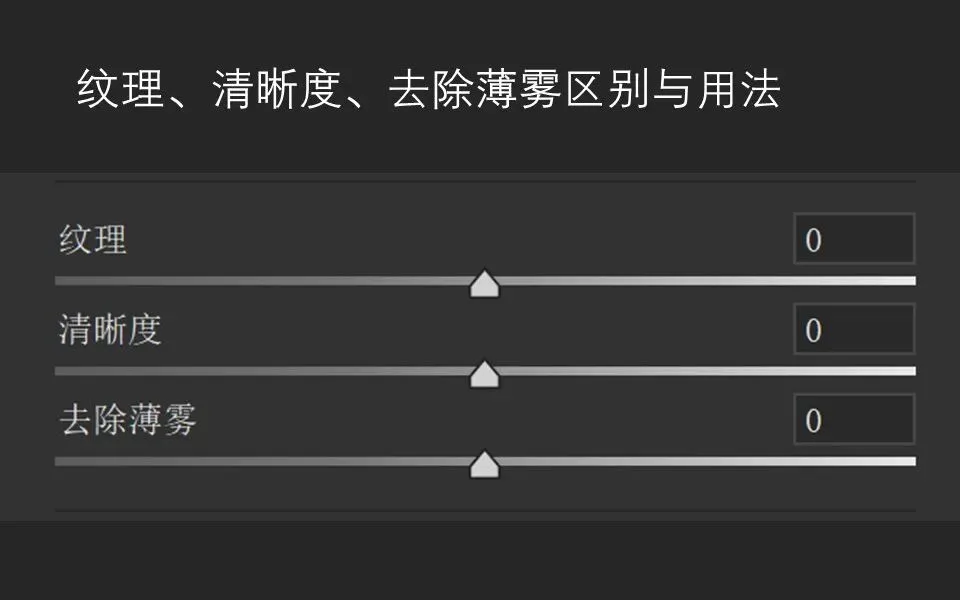
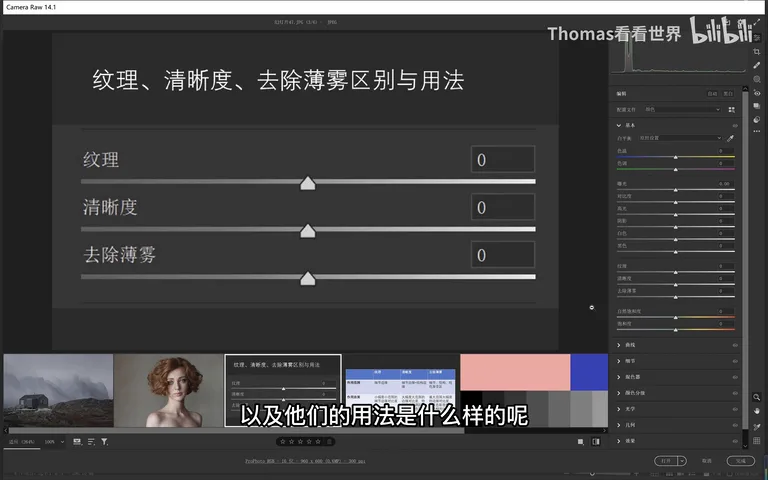
In Lightroom and Camera Raw there are three sliders sitting side by side — Texture, Clarity and Dehaze — all of which enhance edge areas in the frame.
So what's the difference between these three sliders, and in which scenarios should each be used?
In today's tutorial, Thomas explains these three sliders in an accessible, in-depth way.
Video
▶ Watch the video tutorial on Bilibili
This is the fully illustrated companion to the video tutorial above. Lightroom and Camera Raw stack three sliders side by side — Texture, Clarity and Dehaze — all of them edge-enhancers, and very few people can say which to reach for. Using one misty landscape, a set of color patches and one portrait, Thomas makes their range and effect crystal clear. With the keyframe screenshots below, you'll never drag these sliders blindly again.
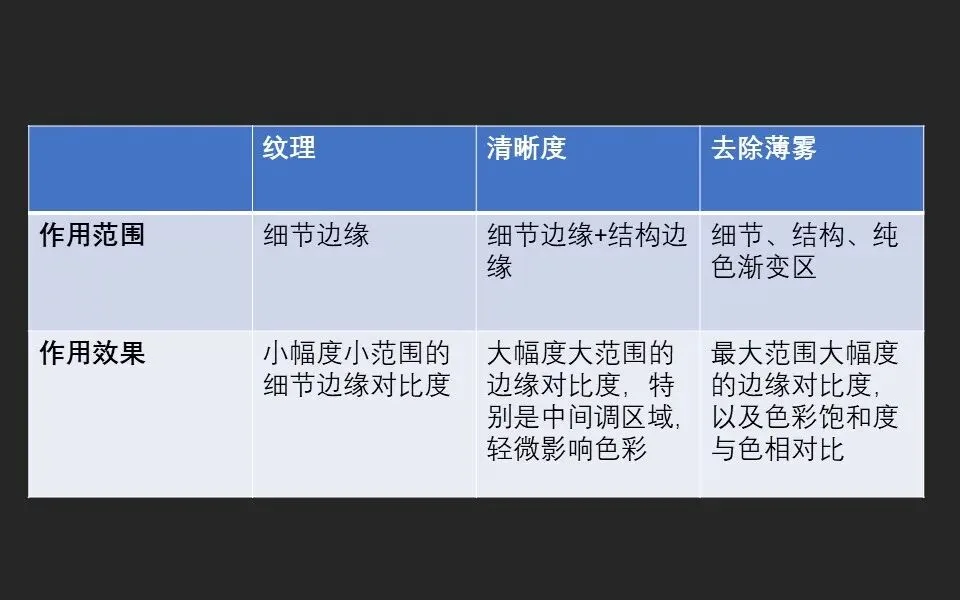
The conclusion first: the three sliders differ in both range and effect — Texture touches only the edges of fine detail, Clarity the edges of detail plus structure, and Dehaze almost the entire image. If that reads like jargon, the walkthrough below unpacks each one.
01 Three Concepts: Detail, Structure and Flat Areas
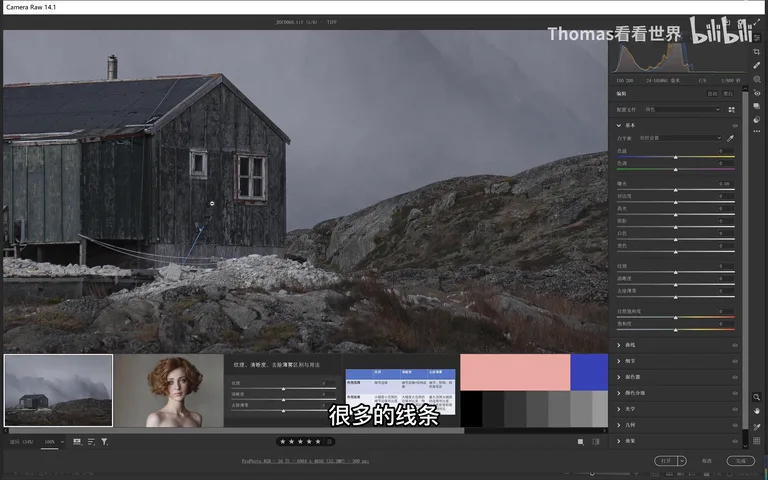
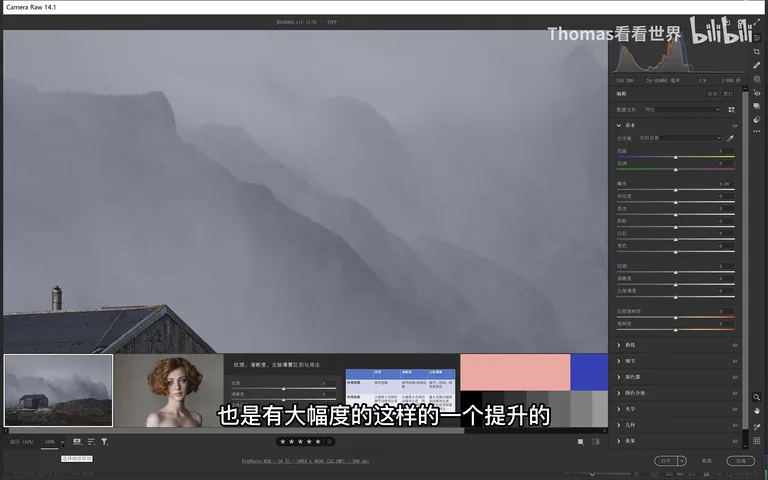
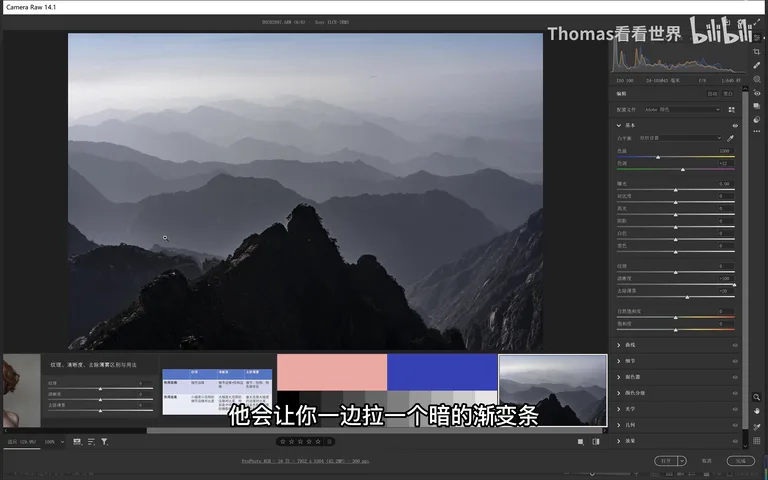
Take the misty cabin scene from the video. Edges of fine detail are the grains, lines and textures within tiny areas — on rocks, grass, roof shingles. Edges of structure span far larger zones: the boundary between ground and peaks, mist and sky — a tonal break that defines the whole composition (at 1:03 in the video).
The third category is flat, gradient areas: sky, water and mist — clean zones with almost no texture. The three sliders treat these categories very differently, and one table says it all: Texture manages detail edges only; Clarity adds structural edges; Dehaze reaches even the flattest sky and water. In strength, too, the order is Dehaze over Clarity over Texture (at 0:31 in the video).
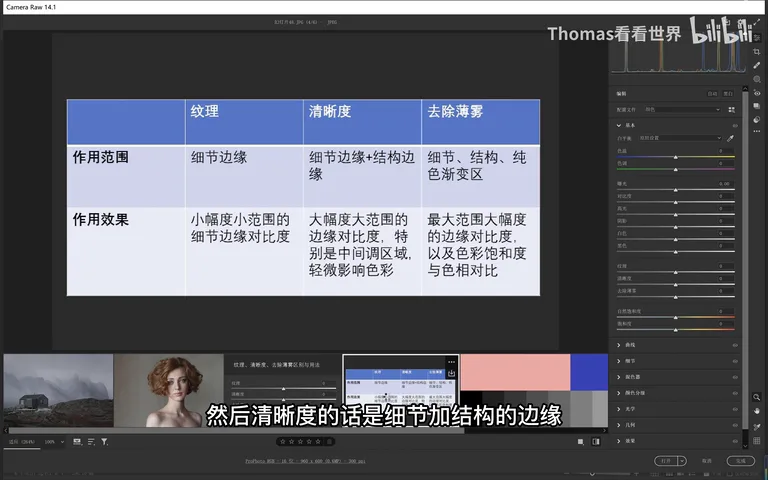
02 Range in Practice: From Rocks to Sky
Push Texture to +100, then -100, and compare: raising it mainly enhances the fine textures of rocks and houses, while the mist-to-ground boundary and the structural edges of the peaks barely move. Conclusion: Texture is an isolated boost of local edge contrast, focused on fine detail (at 2:08 in the video).
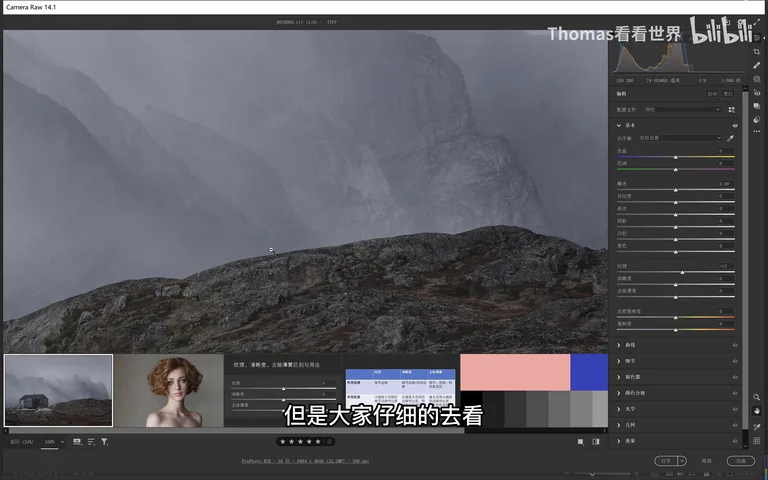
Clarity goes further: detail areas still enhance, but the ground-sky boundary changes visibly too — one side darkens, the other brightens — a large boost to structural edges. Dehaze is more sweeping still: raise it and beyond detail and structure, even the flat gradient of sky and water shifts (at 2:54 in the video).
03 The Patch Test: Effect Strength and Halo Risk
A set of flat color patches shows the effect most clearly. Raise Texture: a dark gradient strip appears on the dark side of each edge and a light one on the bright side — a modest boost of local edge contrast. Raise Clarity: the strips run deeper, blacks go blacker, and the affected zone expands to nearly the whole frame. Dehaze is the fiercest: gradients appear inside flat areas themselves, and its effect on color is the strongest of the three (at 3:51 in the video).
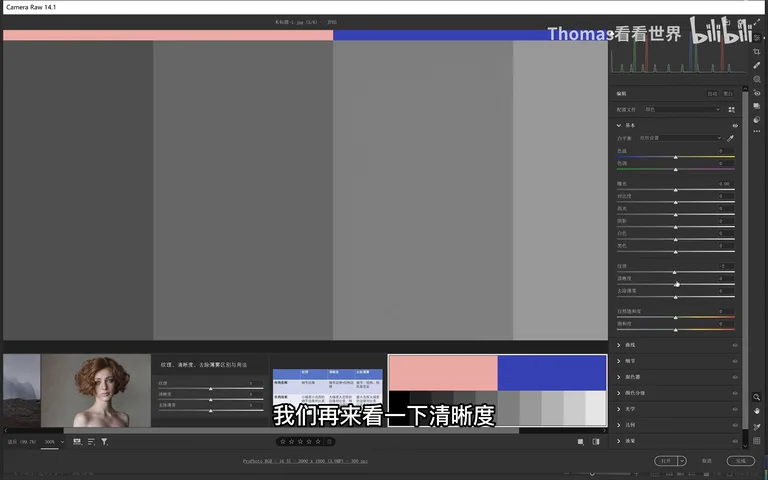
This also explains Clarity's risk: push it too hard and halos bloom along every edge while the photo turns murky — because it swings midtone contrast on a large scale. A sensible amount is all you need; restraint pays (at 7:53 in the video).
04 In Practice: Texture for Skin, Dehaze for Mood
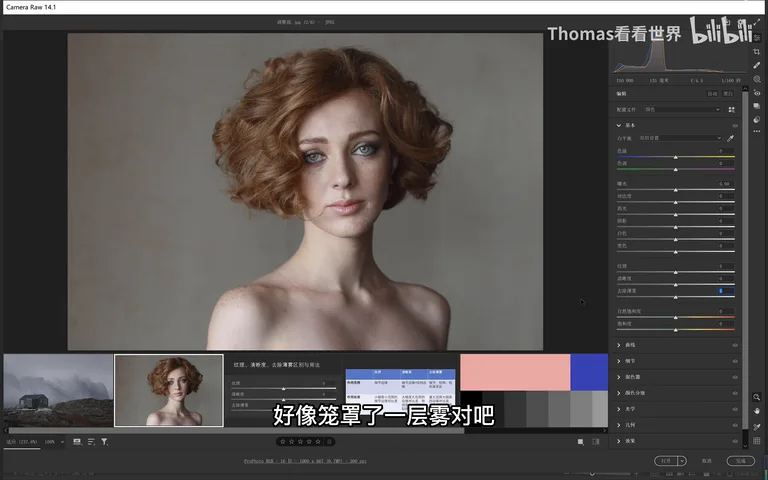
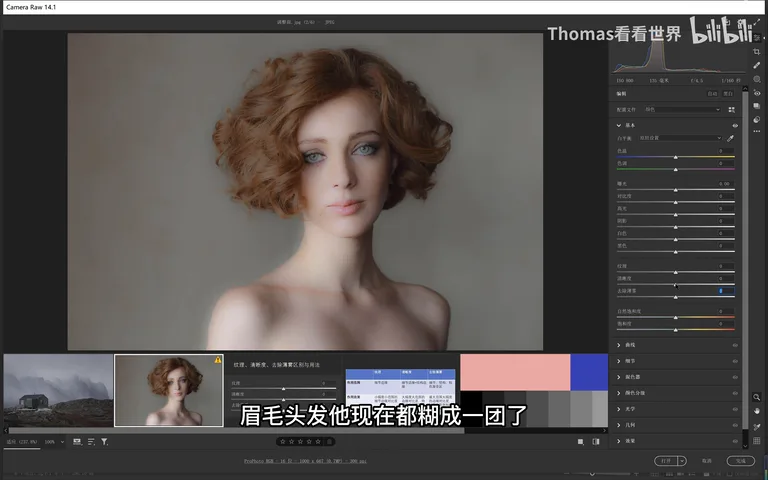
Once range and effect are clear, choosing a slider is easy. Take skin softening: pull Dehaze and the portrait sinks into fog; pull Clarity and eyes, nose, brows and hair melt into mush; but Texture touches only high-frequency detail on the skin while the larger features stay intact — which is exactly why softening calls for Texture, nudged negative for smooth skin (at 5:41 in the video).
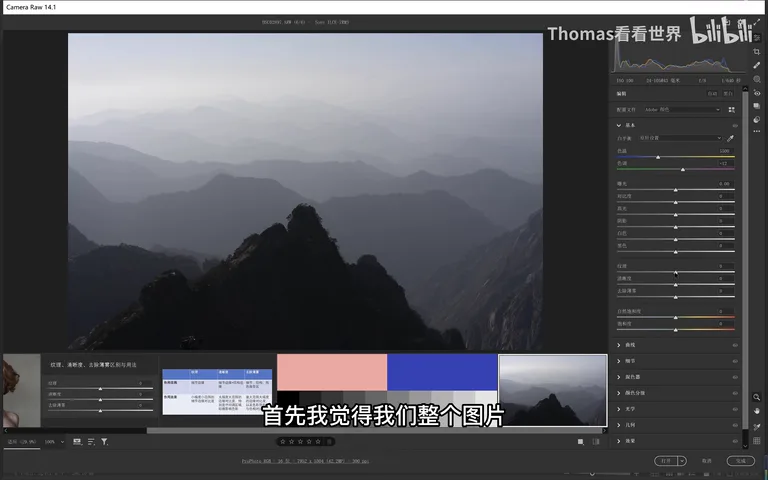
Or take this landscape, gray and washed out overall: to affect color and add the strongest edge contrast, Dehaze is the tool — around +20 is the sweet spot, beyond which the flat sky starts to band into color layers; a small Clarity boost adds depth; and Texture can stay untouched, even slightly negative, since the foreground trees need no more crispness (at 7:02 in the video).
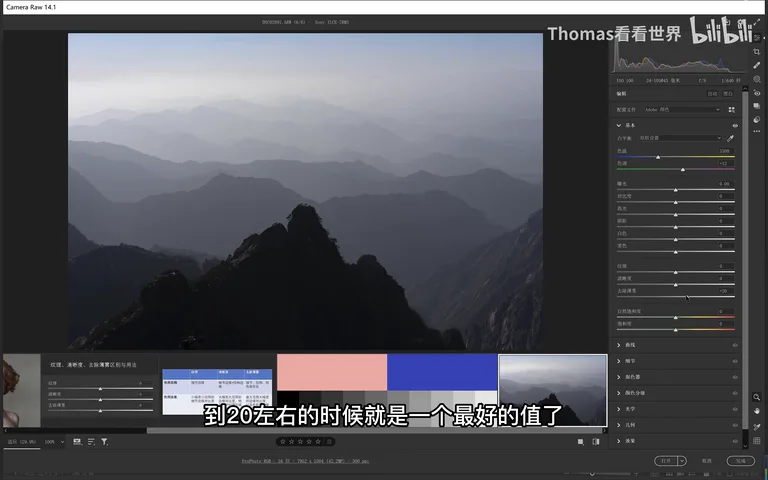
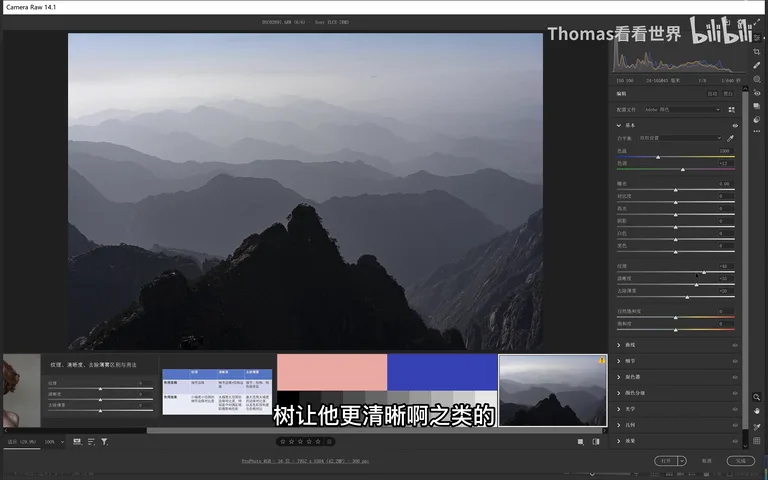
1. Texture touches fine-detail edges only, with the gentlest hand — the first choice for skin softening and subtle texture work; negative values are a softener; 2. Clarity covers detail and structural edges with more force and a hint of color shift — overdone it breeds halos and grime, so stop early; 3. Dehaze acts on the whole frame at the highest dose, even shifting hue and saturation — around +20 is the safety line; 4. Before reaching for any slider, ask: am I changing detail, structure, or the overall mood and color?