Photography Tutorial · 2017-10-25
Photos Lacking Texture? These Two Tricks Fix It
Many friends feel their photos lack texture, yet don't know what texture actually refers to or how to improve it.
In this tutorial, Thomas explores the relationship between texture and surface grain, detail, and the sense of light — and explains the real differences between clarity, contrast, and sharpening.
Texture represents the realism and tactile sensation brought by an object's material, surface, and quality. Objects without texture look as fake as over-retouched skin. Objects full of texture, by contrast, greatly enhance a photo's realism and expressiveness, making viewers feel as if they were there, experiencing it firsthand.
The core of texture lies in the grain, detail, and sense of light on an object's surface.
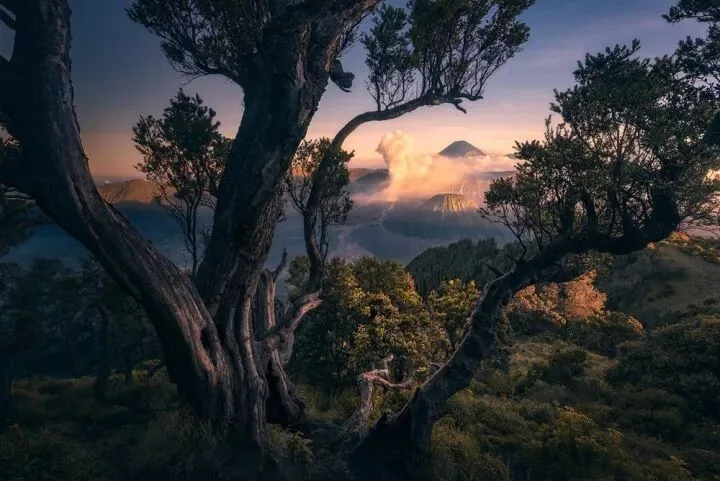
Objects that are inherently rich in grain — withered trees, cracked ice, weathered skin, brushed metal — appear more textured than smooth-surfaced rubber or plastic.
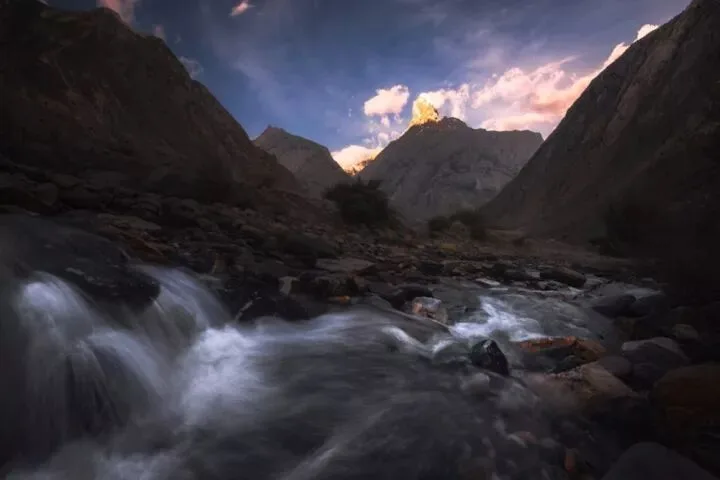
We often use long exposures of 0.2 to 1 second to stretch flowing water into silky strands. These linear patterns serve precisely to enhance the texture of water.
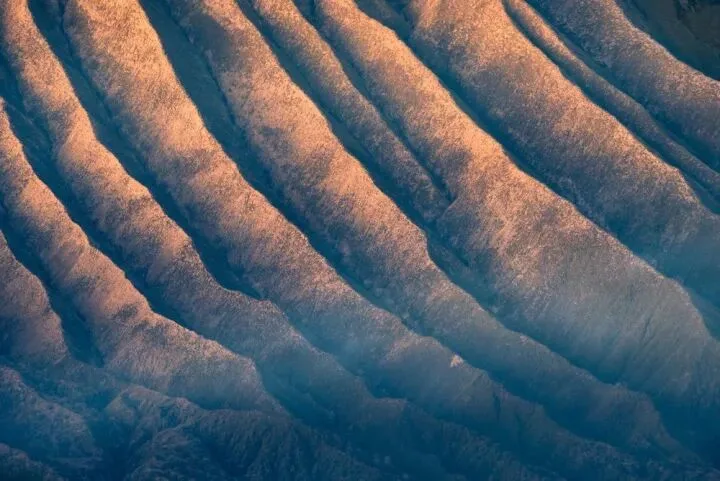
Texture is also closely related to light. Proper side lighting can outline and emphasize an object's grain and material, bringing out texture much better.
So the core of enhancing texture in post-processing is to strengthen the grain, detail, and sense of light on an object's surface.
1
Sense of Light
An object's sense of light is mainly embodied in its highlights. Whether the highlights come from reflections on the object's surface or from backlighting through a translucent object, they both express the object's grain and material very well.
Below is a crop of an ice-wall photo. Although there are some highlights on the ice, they are not strong and lack contrast against the surroundings — unable to convey the feeling of light shining on it — so the texture naturally appears insufficient.
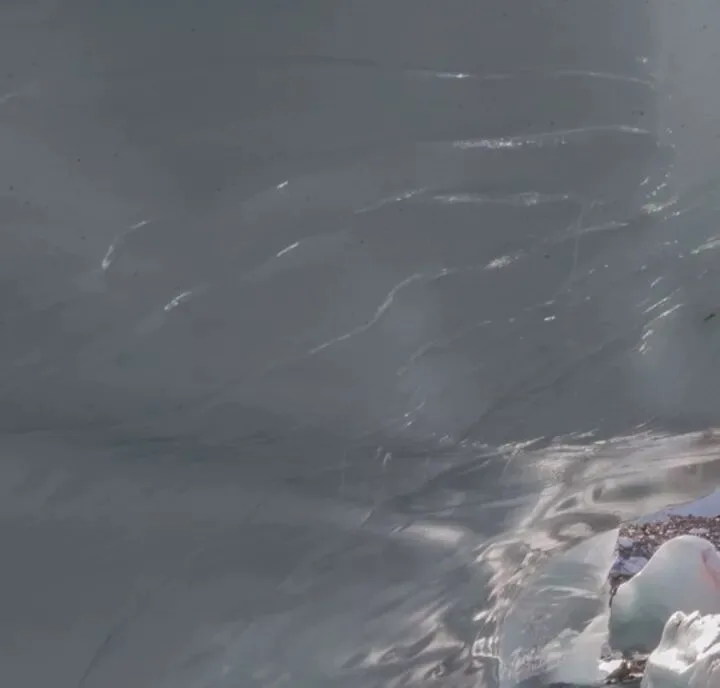
In the post-processed version below, I used the luminosity mask technique (explained systematically later) combined with dodging and burning to select and strengthen the highlights on the ice. These highlights nicely outline the ice wall's grain and make the ice look crystal clear — the texture improved by a whole level.

2
Contrast, Clarity, and Sharpness
To strengthen an object's texture, we can also increase contrast, clarity, and sharpness to emphasize its details and grain.
Increasing sharpness, clarity, and contrast — especially local sharpness, clarity, and contrast — makes edges and grain in the image show stronger contrast, standing out more in the frame. A photo with crisp texture and edges appears more textured.
To better explain the differences between contrast, clarity, and sharpness, I will use the example below: a texture edge magnified 20 times.

Contrast refers to the degree of tonal difference in an image. Increasing contrast makes bright areas brighter and dark areas darker, strengthening the overall tonal difference.
The image below shows the result of increasing contrast. Afterward, the original edge also looks more obvious because the difference between its two sides has widened.

But contrast acts globally and has a large impact on the photo's overall tonality. So the method of enhancing texture by increasing contrast has serious side effects once overused.
Is there a way to increase the contrast only on the two sides of an edge — making the edge stand out — without affecting the rest of the image?
That is why Photoshop and many other programs also offer a clarity adjustment. When we increase a photo's clarity, the darker side near an edge becomes darker and the brighter side becomes brighter — but this change is confined to a few pixels around the edge.
So increasing clarity only increases the contrast near edges, with relatively little effect on the photo's overall contrast.

Sharpening works differently from contrast and clarity. Sharpening mainly adds alternating black-and-white, high-contrast lines along both sides of an edge, making the edge look sharper.

Increasing contrast, clarity, and sharpness can all effectively enhance an object's texture. In the photo below, for example, the ice surface is full of bubbles and cracks — very rich in detail — and we only need to further strengthen these details in post to enhance the ice's texture.
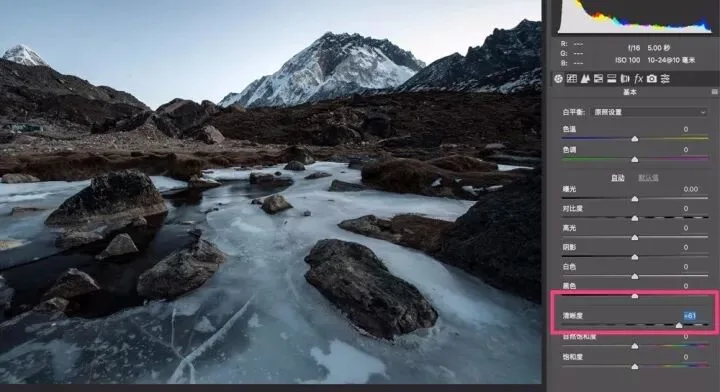
Because this photo's overall contrast is already high, here I only increased clarity and sharpness in the ACR adjustment panel. For a more detailed explanation of these sliders in ACR, see "Beautify Photos with Ease — Understanding the Tone and Tonal Controls in Lightroom's Basic Panel" (《轻松美化照片 - 理解Lightroom基本面板的色调与影调控制》).
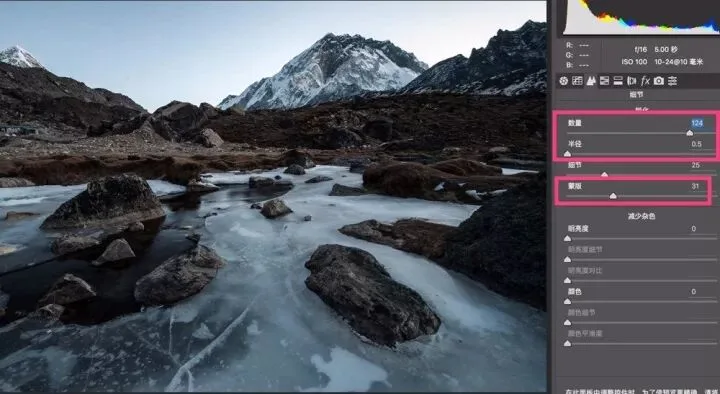
Of course, local adjustment is the core of post-processing. The sharpening and clarity boost above not only increased the ice's texture but also strengthened the detail of the distant rock pile — so a mask is needed to cover the other parts of the frame.
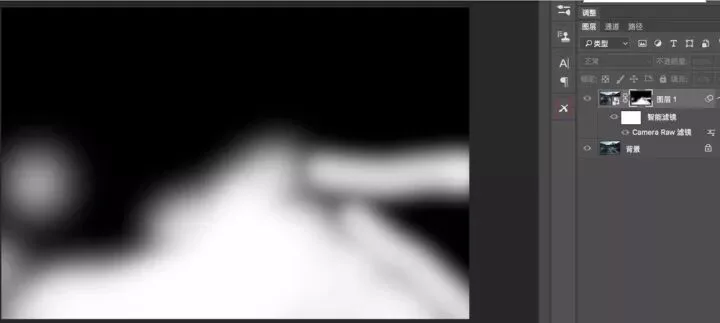
By simply increasing clarity and sharpness, we strengthened the texture of the ice in this photo.
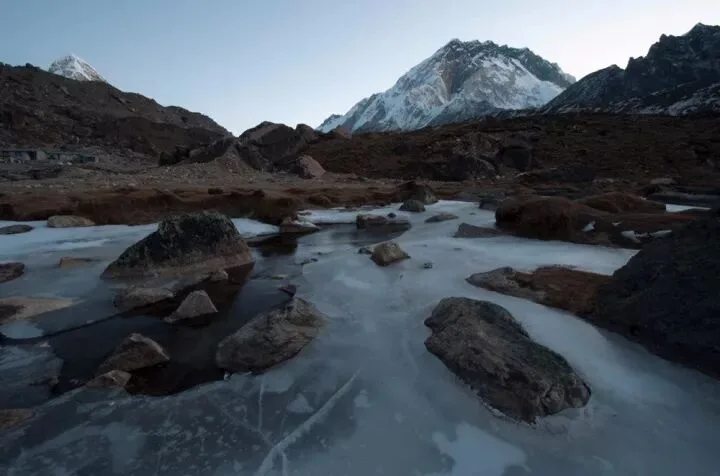
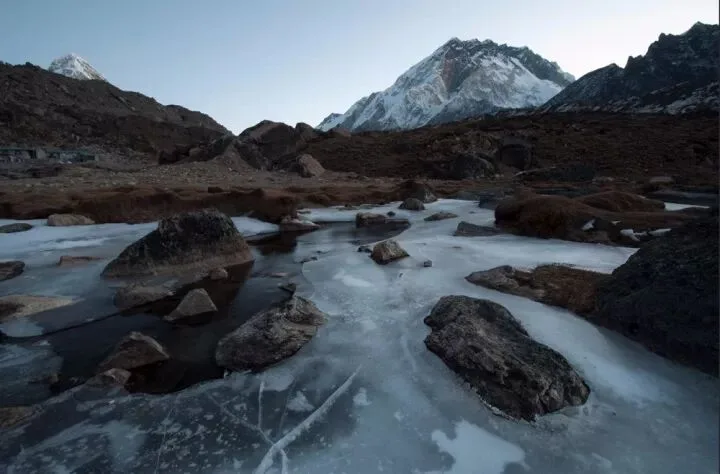
So enhancing a photo's texture in post is actually quite simple. Trick one: strengthen the highlights to give the photo a stronger sense of light. Trick two: increase local clarity, contrast, and sharpness to emphasize the object's details and grain.
If you found this article useful, feel free to repost and share it. Thank you~~
Author: Thomas Chu Photo

Other photography aesthetics tutorials by Thomas:
How to Sculpt a Sense of Three-Dimensionality in Post-Processing?
Making Photos More Layered and Dimensional — On Building a Sense of Space in Photography
The Core Technique of Photographic Composition — It's Not the Rule of Thirds, Nor Subtraction
Jiying AdventureX (极影AdventureX)
Push the Limits
Ultimate Imagery
Geek Sharing
http://www.theadventurex.com