Photography Tutorial · 2020-09-06
How the Tianyan Starry Photo Was Planned and Shot: Day-to-Night in Post
Thomas Chu Photo
This starry-sky photo of China's FAST telescope (Tianyan), shot and produced by Thomas, recently went viral online. Many friends are curious how I planned, photographed and post-processed it.
How did I combine film and digital capture and use day-to-night post techniques to achieve the final perfect Tianyan starry-sky effect — all while complying with the radio telescope's radio-quiet regulations?
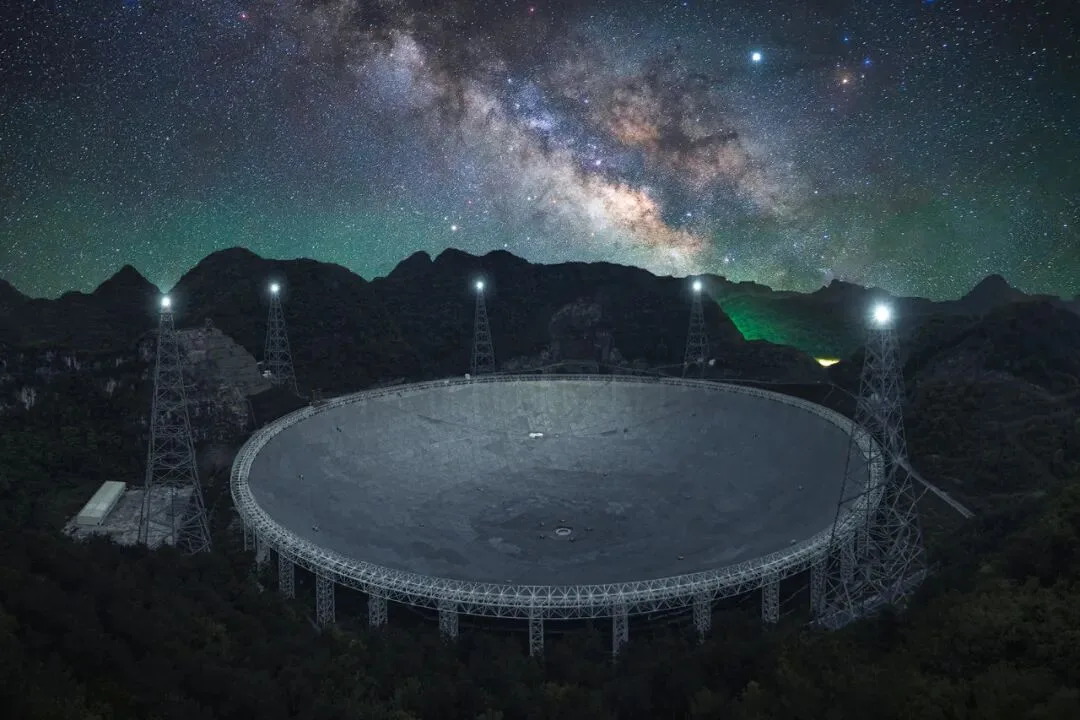
In today's video tutorial, Thomas fully breaks down the planning, shooting and post-processing of this FAST Tianyan starry-sky image.
Video Tutorial
▶ Watch the video tutorial on Bilibili
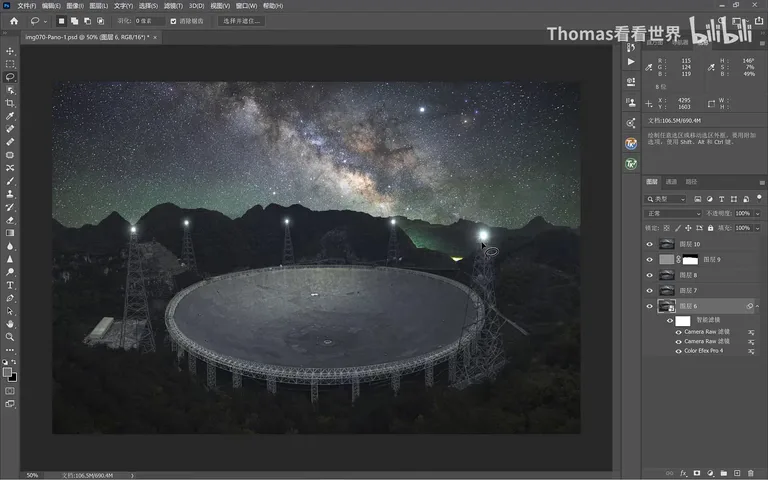
This is the fully illustrated companion to the video above: Thomas breaks the making of his Chinese Sky Eye (FAST) starry-sky photo into four stages — planning, scouting, shooting, and day-to-night post-processing — paired with keyframe screenshots: the near-empty search results for FAST night photos, the film-shot foreground, the noon light choices for the panorama, and the step-by-step compositing in Photoshop.
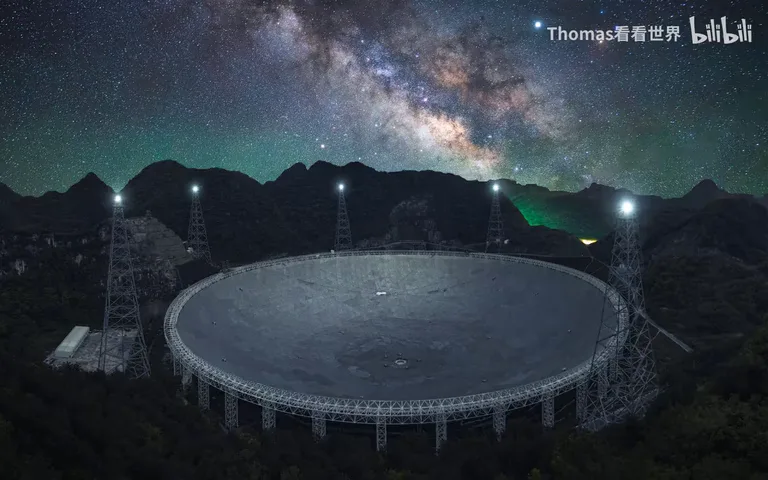
Start with the before and after: the first image is the original film-shot foreground of the dish in daylight (at 1:20 in the video), and the second is the finished goal — the dish under a starry night sky with the Milky Way overhead and lights glowing on five towers (at 1:34 in the video). This tutorial is about the journey from the former to the latter.
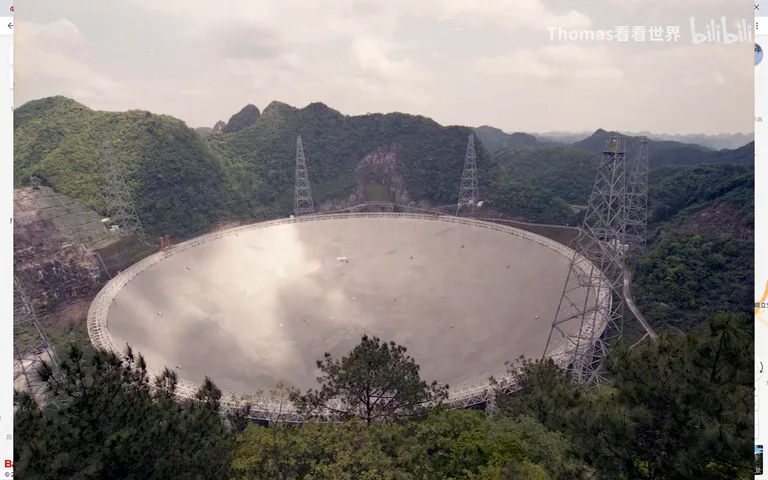
A scene impossible to capture in one take, delivered through planning and post-processing — that is the core of this episode.
01 The Challenge: the Radio-Quiet Zone and the Digital Ban
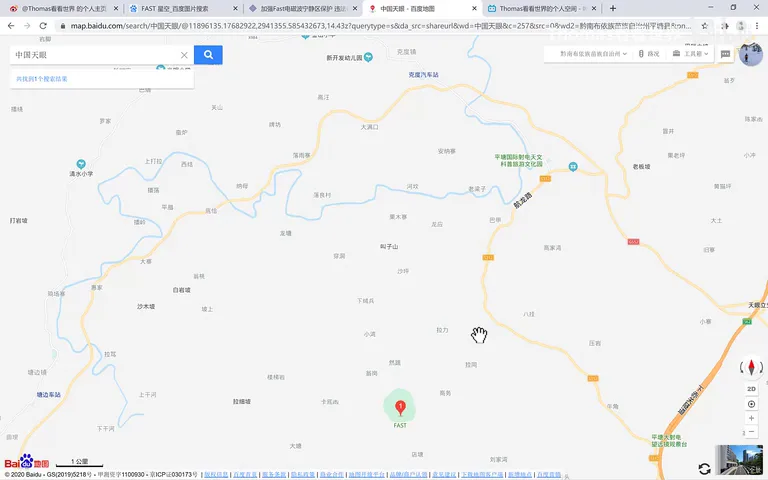
FAST, the Chinese Sky Eye, is a 500-meter-aperture radio telescope (at 0:15 in the video). The moment Thomas learned of it, he sensed a starry-sky photo there would perfectly match the telescope's sci-fi aura. But search "天眼星空" or "FAST 星空" online and the photos are vanishingly rare — the few that exist were taken by Xinhua reporters during construction (at 0:32 in the video).
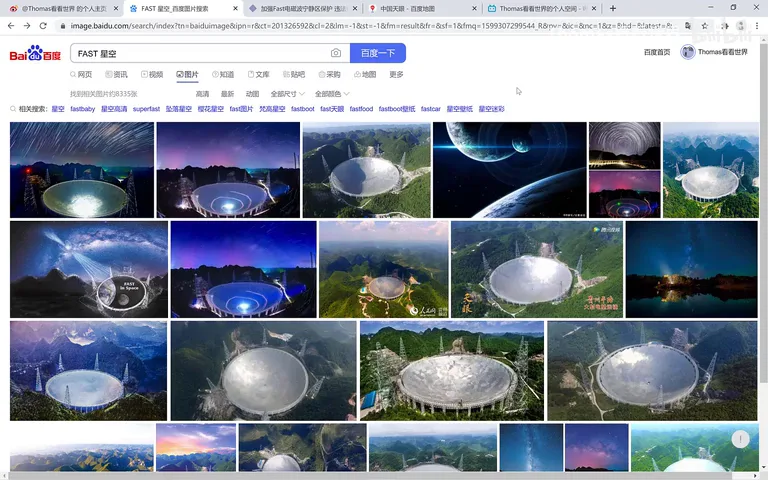
The reason: a radio telescope demands absolute radio silence — any phone, drone or even digital camera brought in could interfere with observations. Guizhou Province has even passed legislation designating a radio-quiet zone (at 0:52 in the video). Forget shooting stars — you cannot bring a digital camera in at all.

02 The Solution: Film Foreground Plus Digital Sky
Thomas's workaround was to split the shot (at 1:19 in the video): shoot the foreground with a film camera at the viewing platform in daylight, then at night shoot the sky with a digital camera from a spot outside the quiet zone, and merge the two in post to simulate the dish under the stars. The rules block "one frame" — they cannot block "two frames".
The visitor flow is worth noting too: you drive first to the Astronomy Town with its museum, hotels and visitor center; buy tickets, pass strict security where all electronics, bags, phones and digital cameras are stored for you; then take the park bus to the base of the dish (at 1:46-2:34 in the video). Film cameras can be rented right by the entrance — Thomas rented one plus a 25-exposure roll, and a 10-minute climb brought him to the viewing platform.
03 Shooting: Noon Soft Light and Vertical Panorama
Thomas went at noon on a cloudy day — exactly the light that suits day-to-night conversion later (at 3:03 in the video). The clouds kept moving; had sunlight fallen directly on the dish, the conversion would have to fake moonlight or erase the shadows the hard way — both a headache.
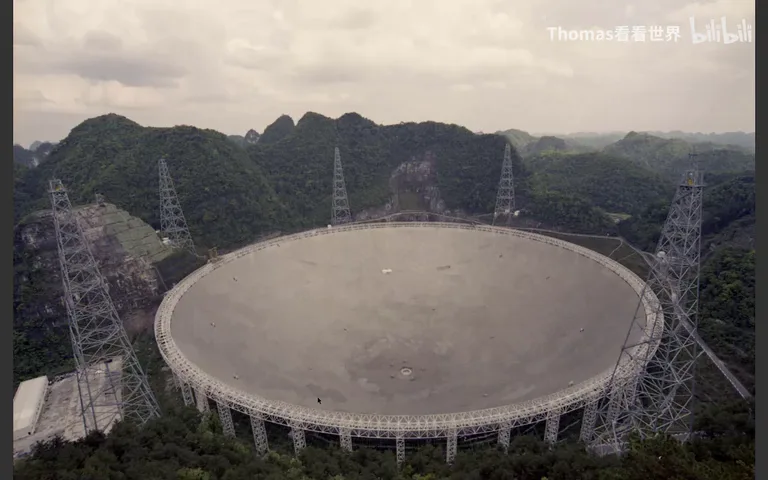
So for the panorama he waited until the clouds blocked the sun close to noon — the frame ends up nearly shadow-free, with only the leftmost peaks keeping a trace of sunlit highlights that can be erased in post (at 3:36-4:04 in the video).
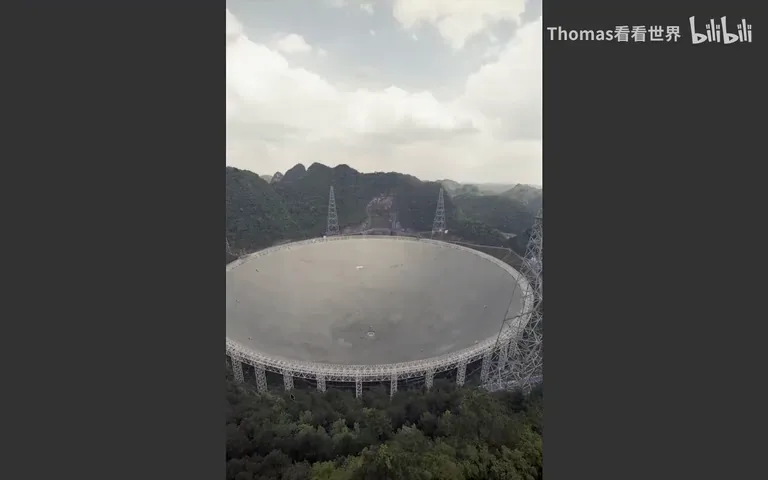
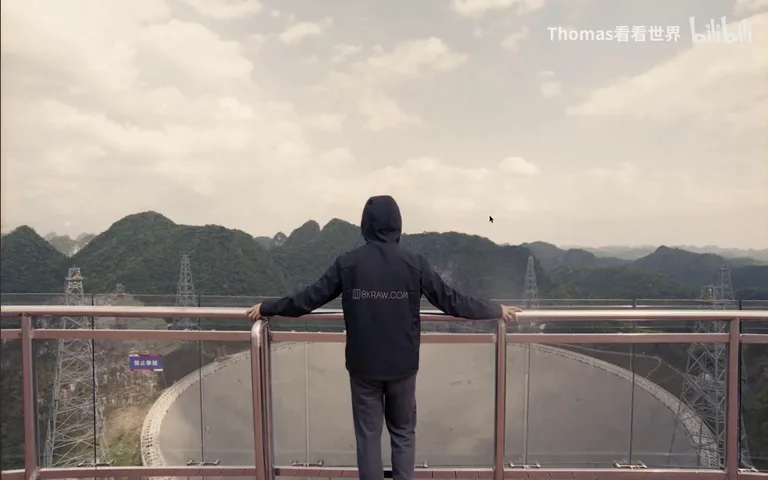
The film camera had a prime lens, so he shot a vertical panorama: three upright frames with blank margins left around the stitch, leaving headroom for vertical corrections later; and stitching several frames at a level angle distorts far less than a single wide-angle shot (at 4:07-4:29 in the video). There is a portrait of him on the platform at 4:36.
The park offers film developing and scanning; the three frames were stitched into one full panorama in Camera Raw (at 4:48-5:00 in the video), ready for the day-to-night conversion in Photoshop.
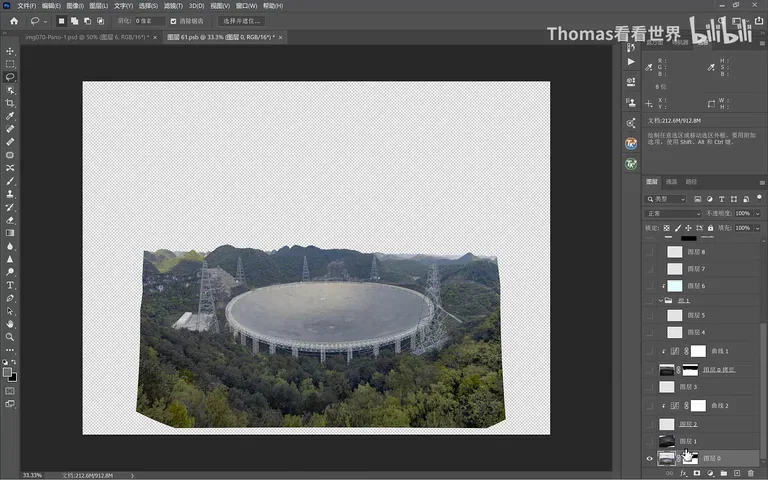
04 Day-to-Night: Sky Swap and Creative Touches
Step one of the conversion: remove the daytime sky entirely and cover it with a Milky Way night layer (at 5:10 in the video). The original plan was to shoot the sky material near the town that same night, but April rains in Guizhou meant not a single star all trip — so he used an old Milky Way frame shot in Pakistan, in the northern hemisphere, and cross-checked the orientation against star-trail photos Xinhua reporters took at the construction site: the Milky Way does indeed rise in that direction, keeping the science roughly honest (at 5:18-6:02 in the video).
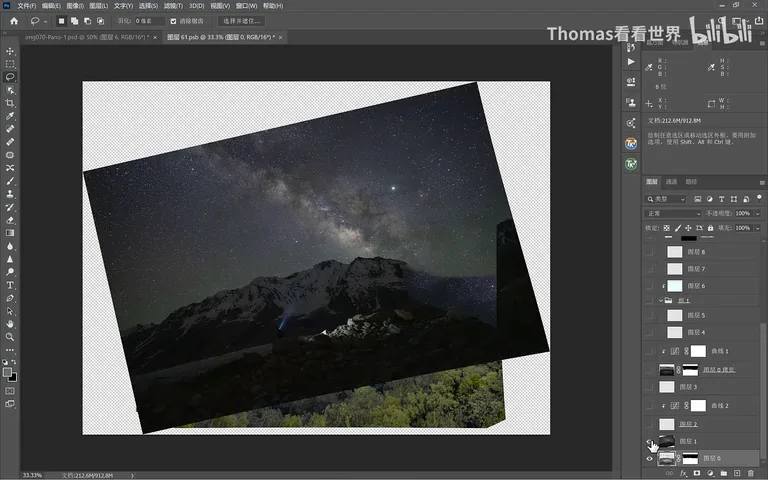
Next comes atmosphere: a layer of green airglow rendered where the night sky meets the landscape, making the scene dreamier (at 6:02-6:18 in the video) — a signature move from Thomas's star-shooting tutorials.
Then the creative flourish: the sky brims with stars — "signals" sent toward humanity — while the giant dish below receives them. Could we send some back? So he added five lights on top of five towers in post (at 6:45-6:57 in the video), as if humanity were answering the stars, perhaps replying to a signal from aliens — a touch of romance.
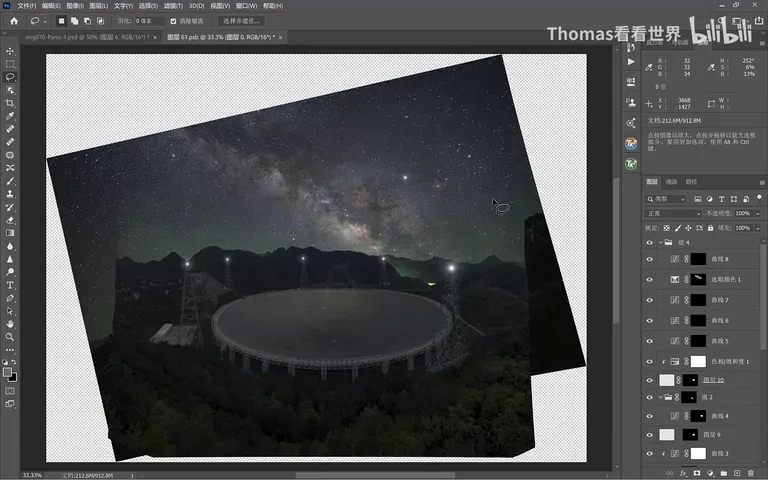
For storytelling he also painted faint light pollution behind the ridgeline, hinting at human activity nearby — a passing truck, perhaps, or a household up the hill (at 7:13-7:30 in the video); a soft-focus pass on some of the stars followed (at 7:33 in the video).
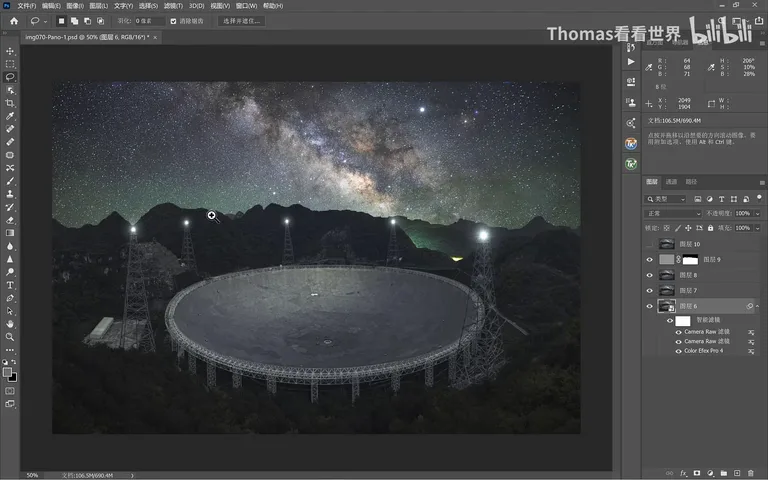
After merging, Camera Raw and Nik Collection filters push contrast and texture further (at 7:45 in the video); a slight transform widens the dish, corrects distortion and straightens the towers (at 7:53-8:03 in the video); and finally the sunlit peaks in the distance — the last flaws — are removed (at 8:03-8:16 in the video).
1. When shooting in one take is impossible, split the capture — film foreground plus digital sky — and blend; 2. Shoot day-to-night foregrounds around noon under clouds; shadow-free light is far easier to process; 3. Use a prime lens, shoot three vertical frames, leave stitching margins, and keep distortion low; 4. Verify the Milky Way's direction for scientific plausibility, then tell a story with creative touches — tower lights, light pollution, airglow.