Photography Tutorial · 2022-07-17
The Ultimate Time-Blending Tutorial for Landscape, Commercial & Street Photographers
Time blending is one of the most important techniques in modern commercial, landscape and street photography.
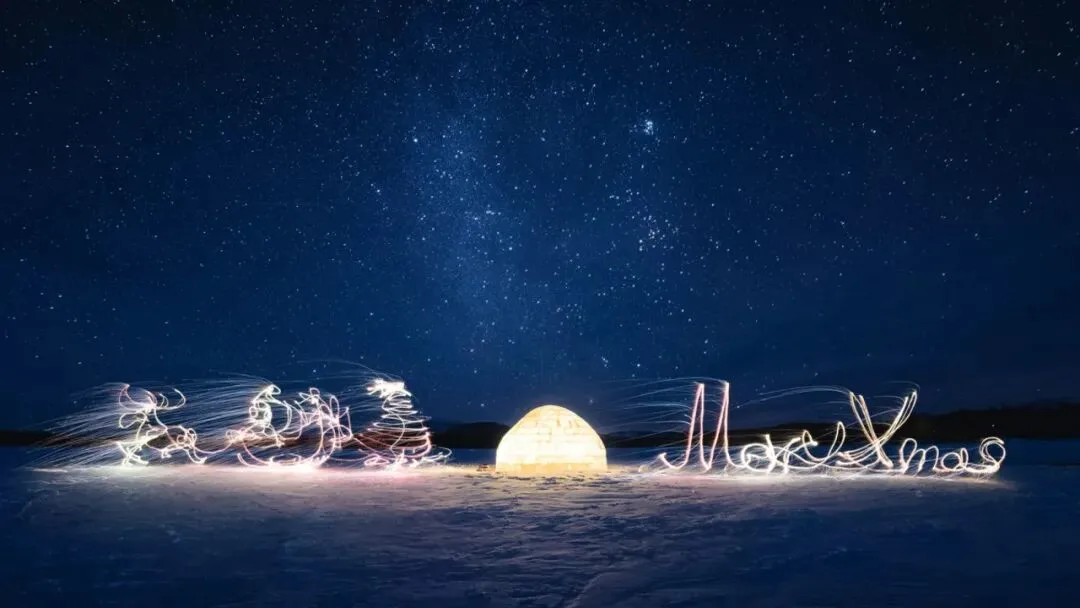
In previous tutorials Thomas shared many real-world applications of time blending — starry skies, city nights, seascapes, light trails and more.
Today, Thomas presents a complete classification and summary of time blending — easily the most in-depth teaching on the topic in the Chinese internet.
Video
▶ Watch the video tutorial on Bilibili
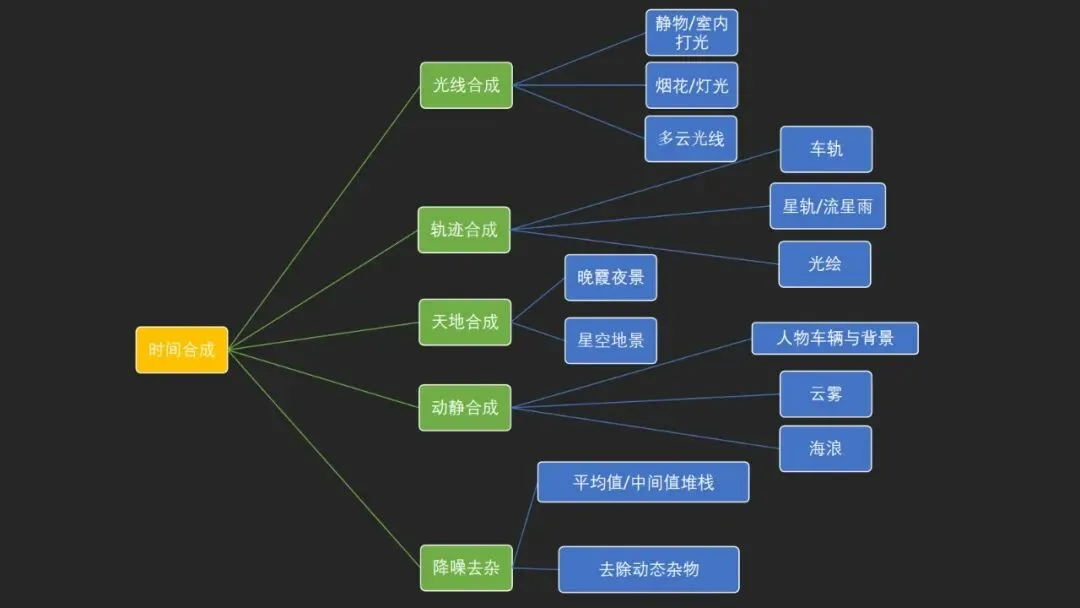
This is the fully illustrated companion to the video above. In one mind map, Thomas lays out what time blending is, why modern commercial and landscape photography depends on it, and its five major applications: light blending, trail blending, sky-ground blending, motion-still blending, and noise reduction & clutter removal. All key points and keyframe screenshots are preserved here; read it first for the framework, then revisit the video for the details.
First, the definition. Time blending means locking the camera on a tripod, shooting many frames over a stretch of time — minutes, hours, even days — and merging them into one image in post (at 0:38 in the video). The core idea: each frame only needs one region of the frame at its best; merge every 'local best' and you get a photo where nothing is compromised — a success rate no single frame can match.

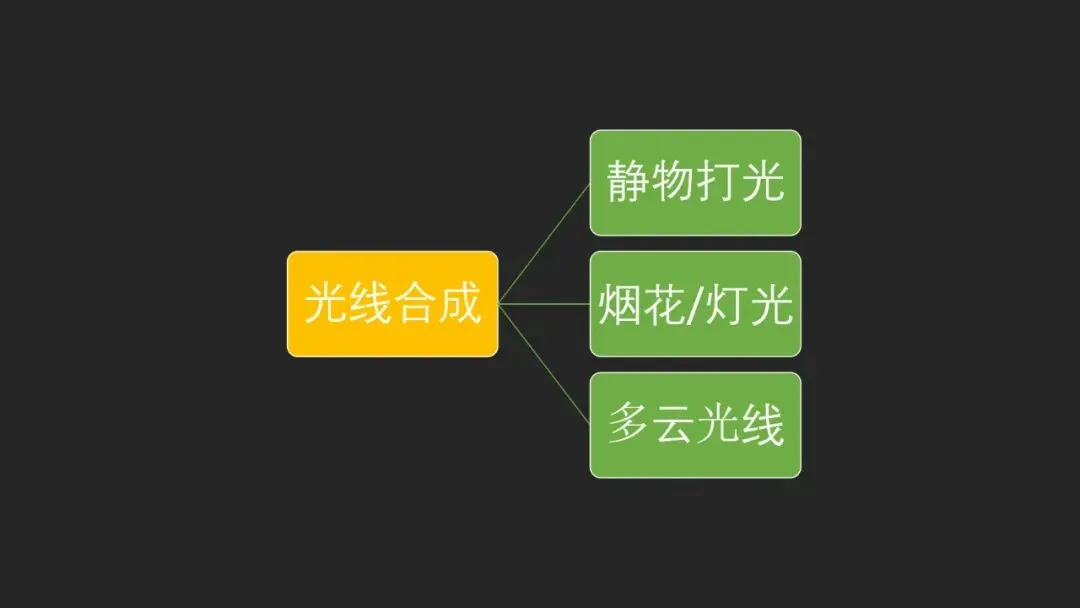
By scenario, Thomas splits time blending into five categories: light blending, trail blending, sky-ground blending, motion-still blending, and noise reduction & clutter removal. The sections below map one-to-one onto this diagram (at 2:17 in the video).
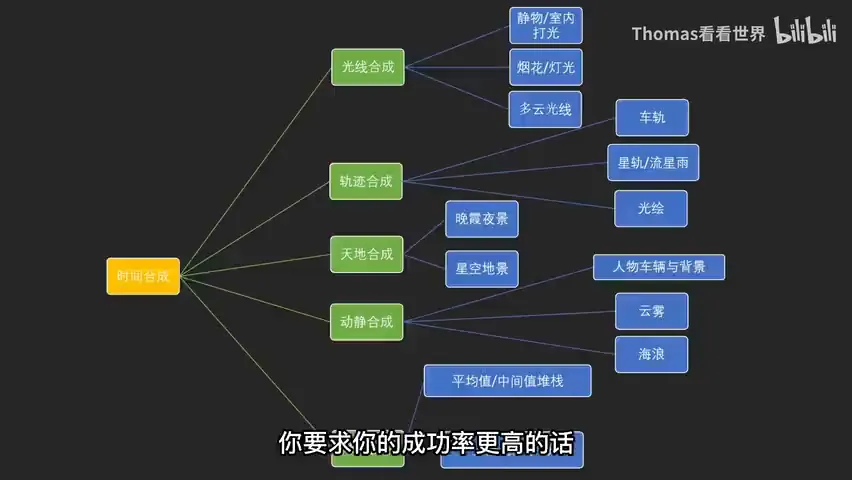
01 Light Blending: Merge Every Lighting Pass into One Photo
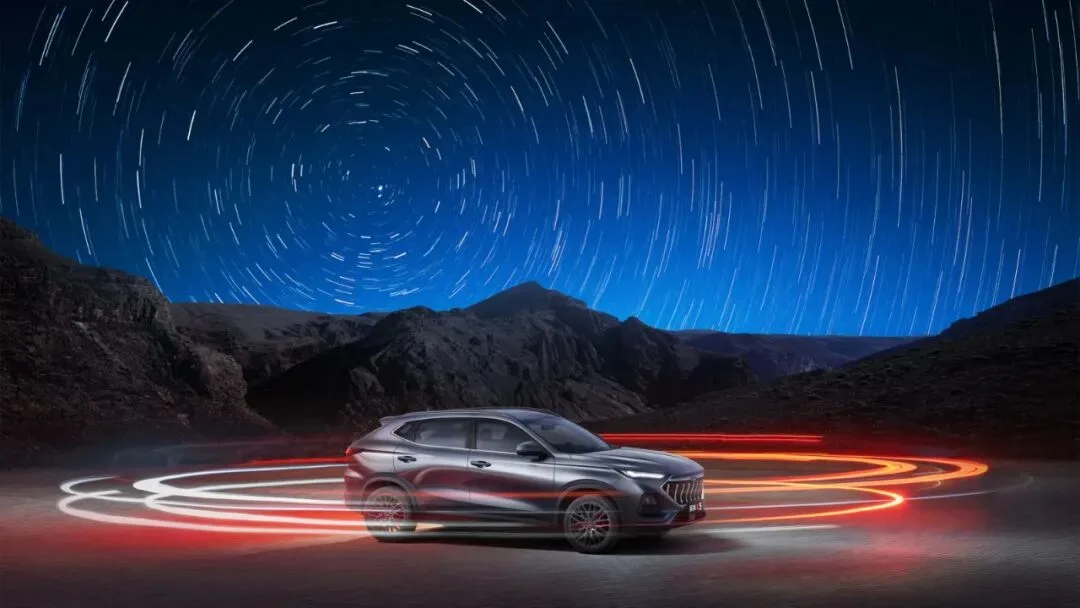
Commercial lighting is the most common use. Shooting a car outdoors: you have few lights, and firing them all at once causes interference. The fix is one light per frame — first the front, then the side, then a dedicated pass on the wheels for texture — and merge. Every surface ends up perfectly lit (at 2:50 in the video).

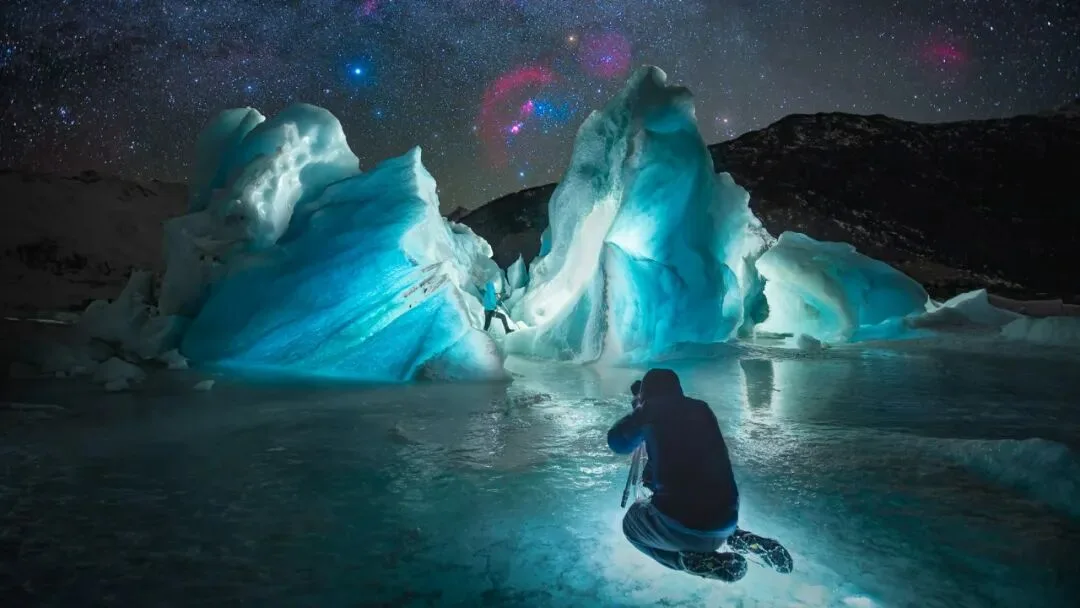
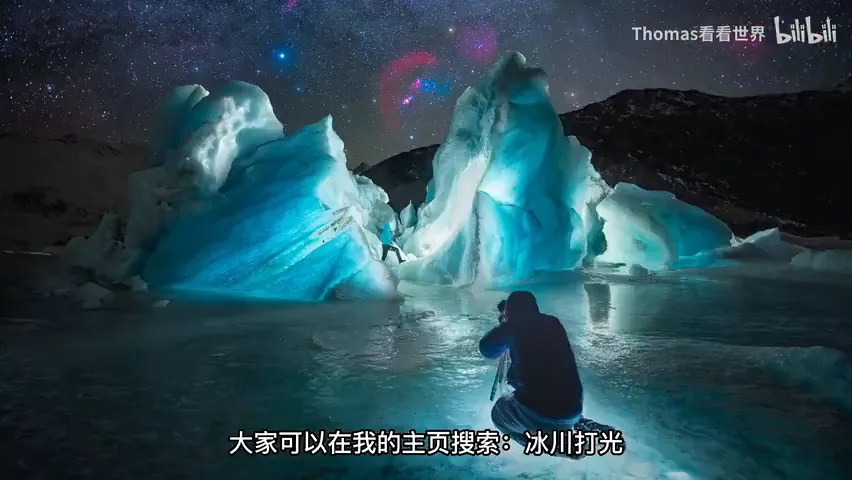
Natural subjects work the same way. This ten-meter iceberg was lit with a flashlight, one section per frame, a dozen or so frames merged into a single gem-like sculpture — search 'iceberg lighting' on Thomas's homepage for the full tutorial (at 3:52 in the video).
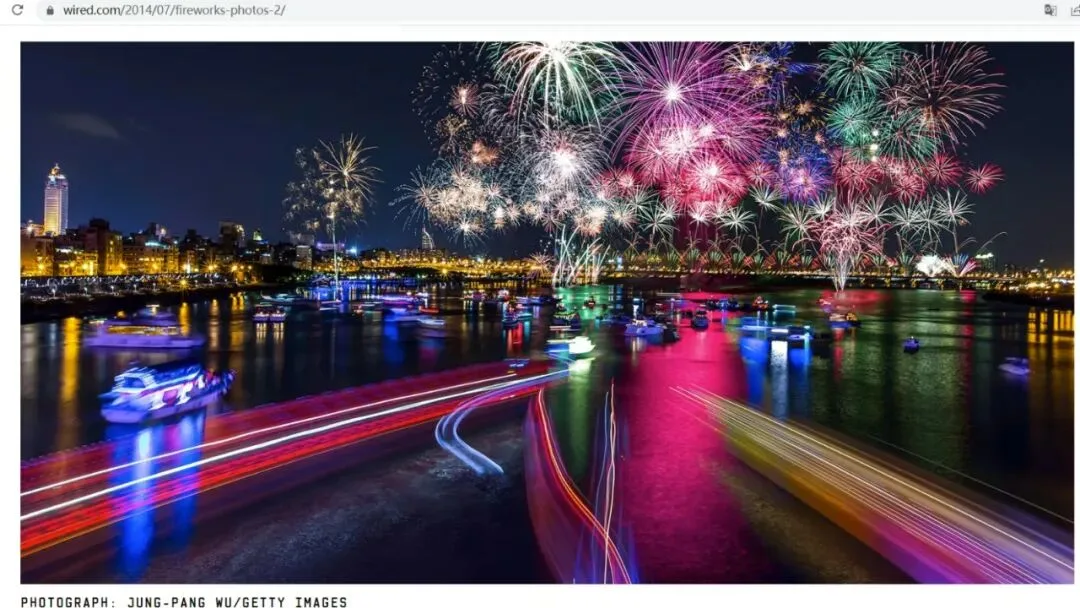
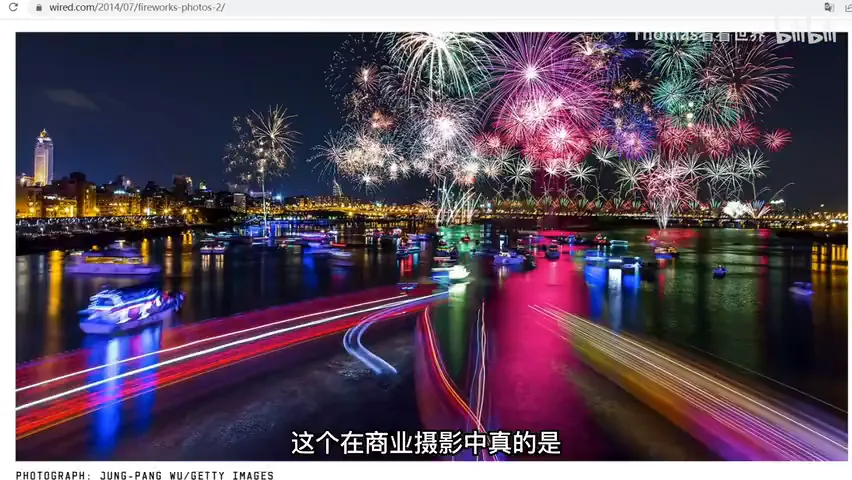
Photos where fireworks fill the whole sky work the same way: shoot each color and cluster separately, then merge them into one riotous sky (at 4:28 in the video).
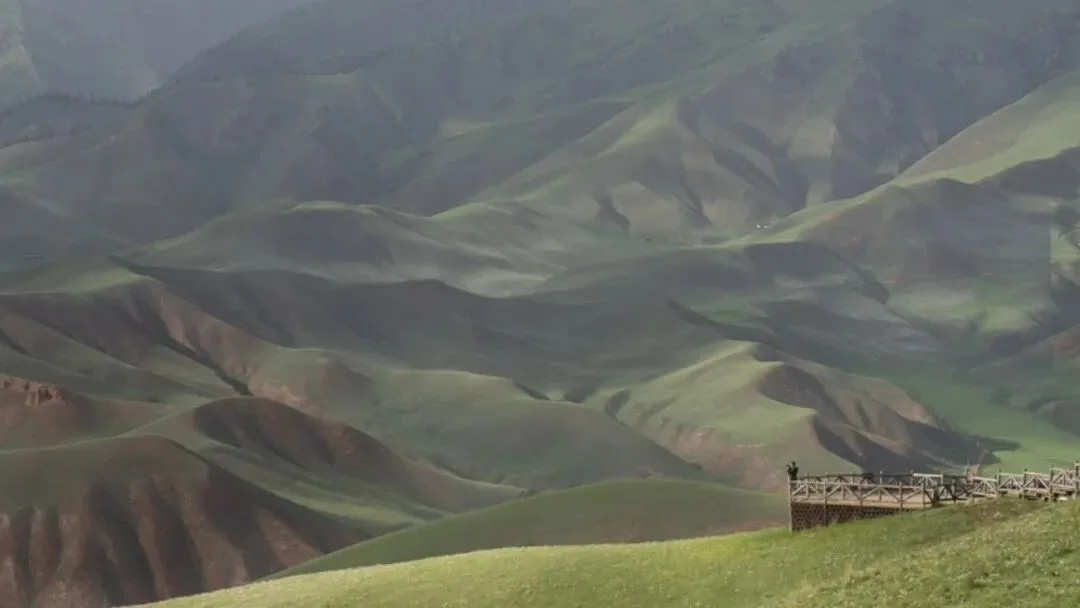
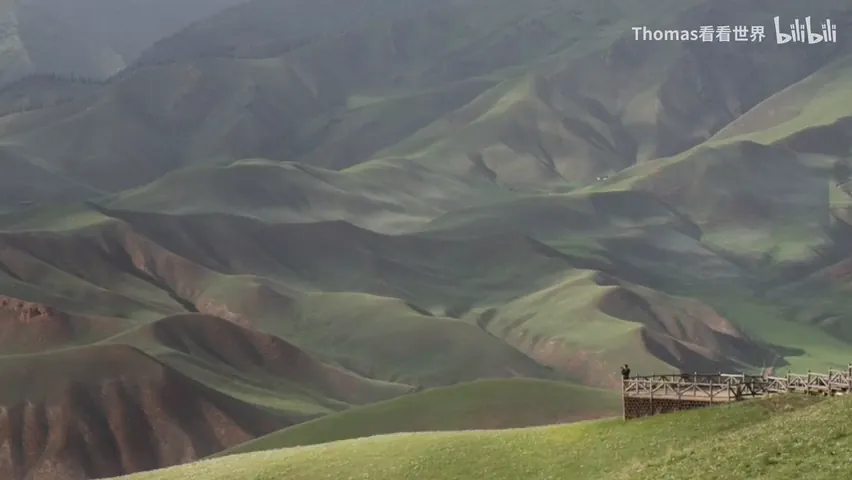
Cloud light counts as 'changing light' too: shadows sweep across the land continuously. Shoot continuously and blend, and every patch of light on the ground can be caught at its best — search 'landscape time blending' on the homepage (at 4:47 in the video).
02 Trail Blending: Stitch Light Trails into One Sweep
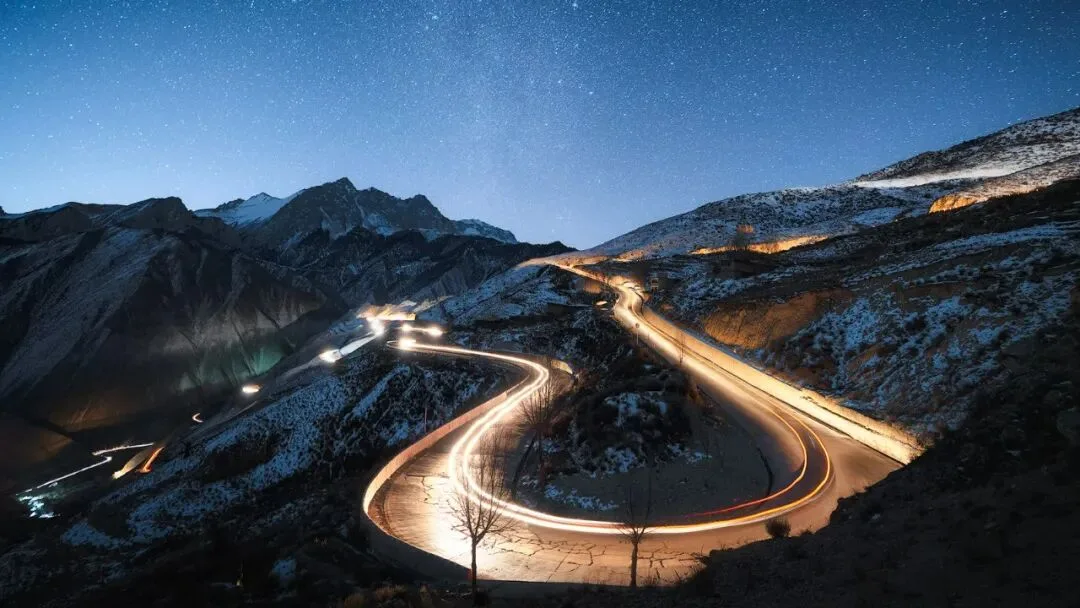
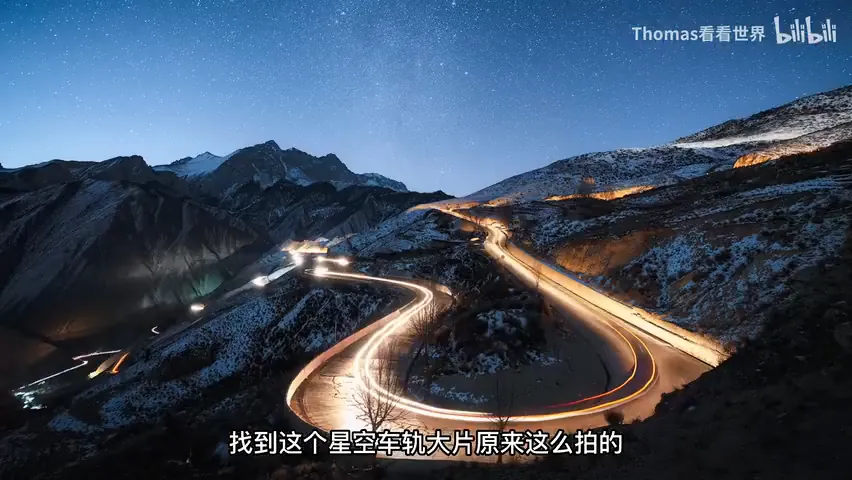
Car trails, star trails, meteor showers, light painting — all are trails left by moving light. For a winding mountain road: driving bottom to top takes 15–20 minutes, far too long for one exposure — one headlight flaring into the lens would ruin the frame. Shoot in 30-second to multi-minute segments and merge them into one unbroken ribbon of light (at 5:33 in the video).
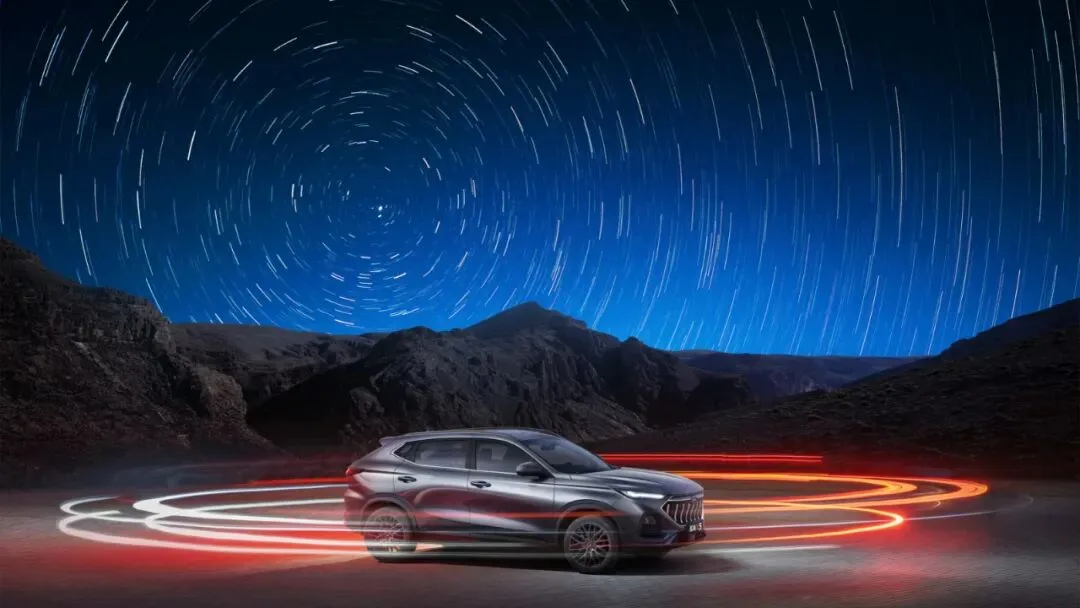
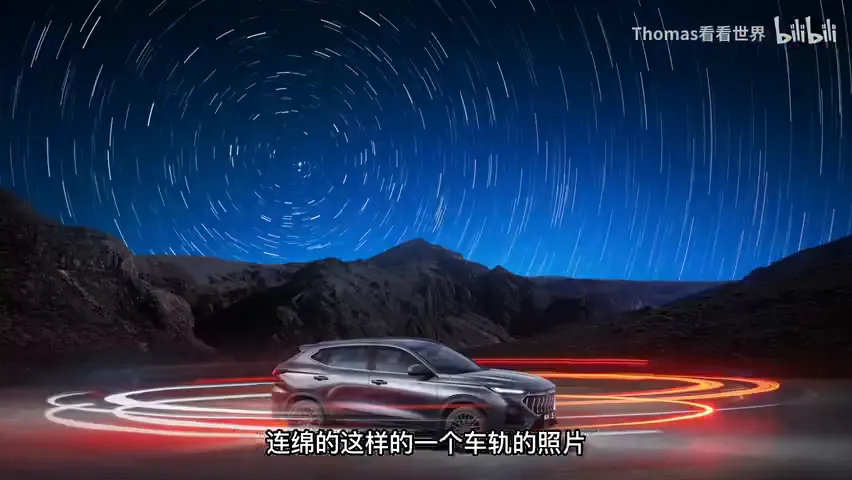
Star trails work the same way: 30-second to few-minute sub-exposures merged together produce less thermal noise and far more fault tolerance than one 30–60 minute exposure (at 6:16 in the video).
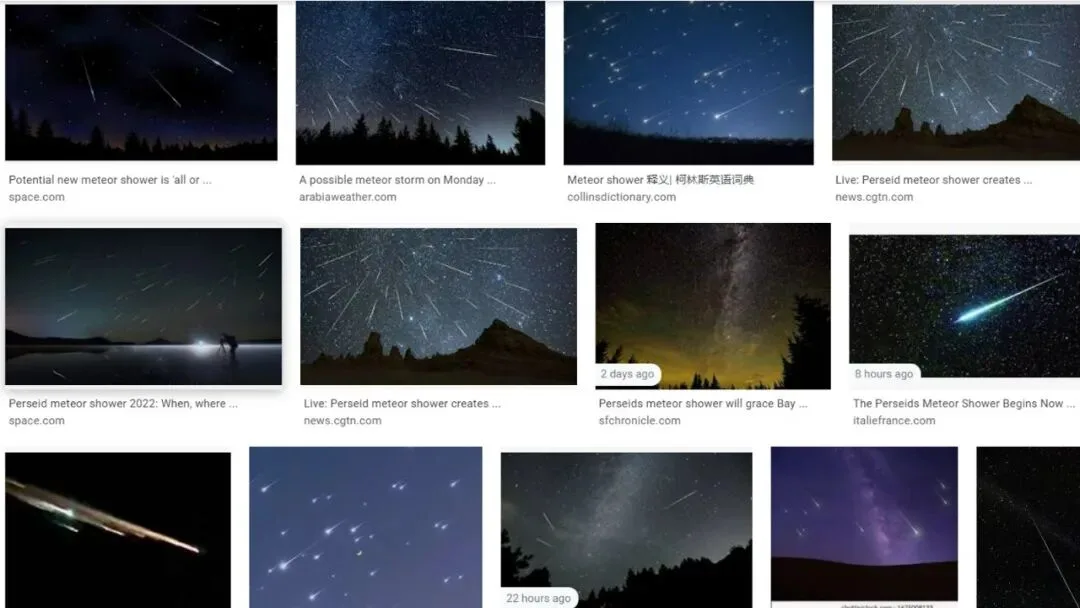
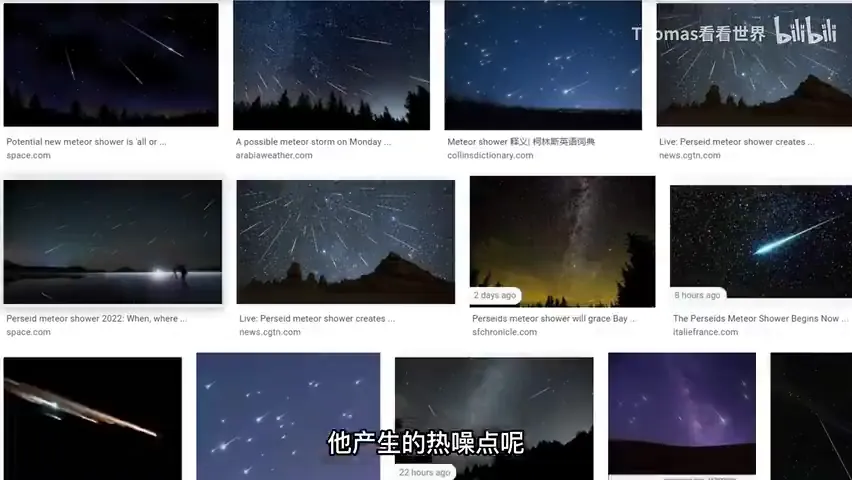
Those radial 'meteor storm' photos collect hours of captures: the best meteors from hundreds of frames blended into one image. That is the essence of time blending — distilling the best of a whole night into a single photograph (at 6:39 in the video).
03 Sky-Ground Blending: Shoot Sky and Ground Separately
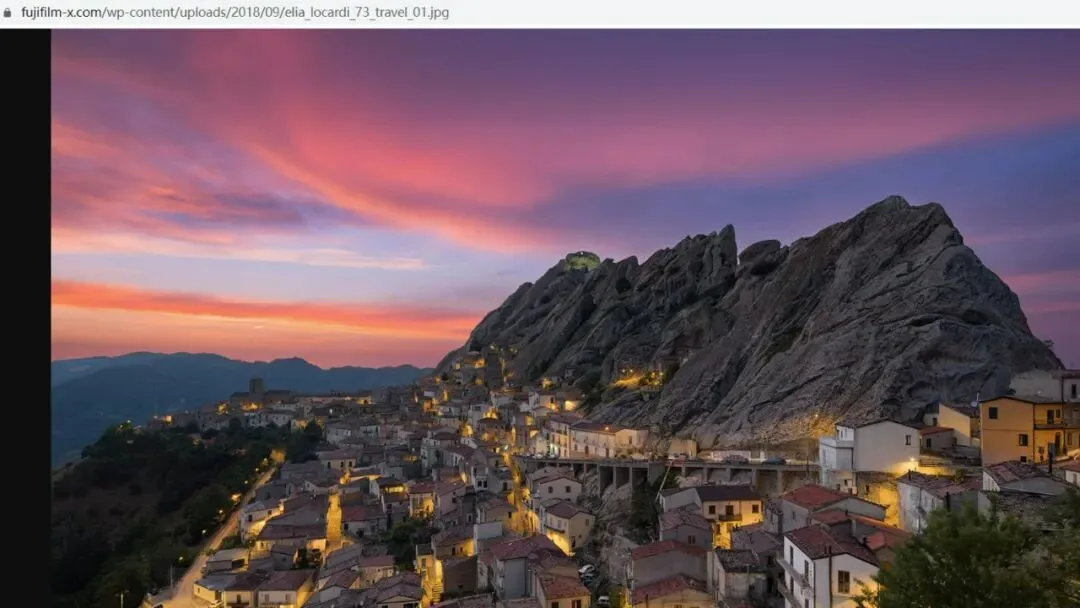
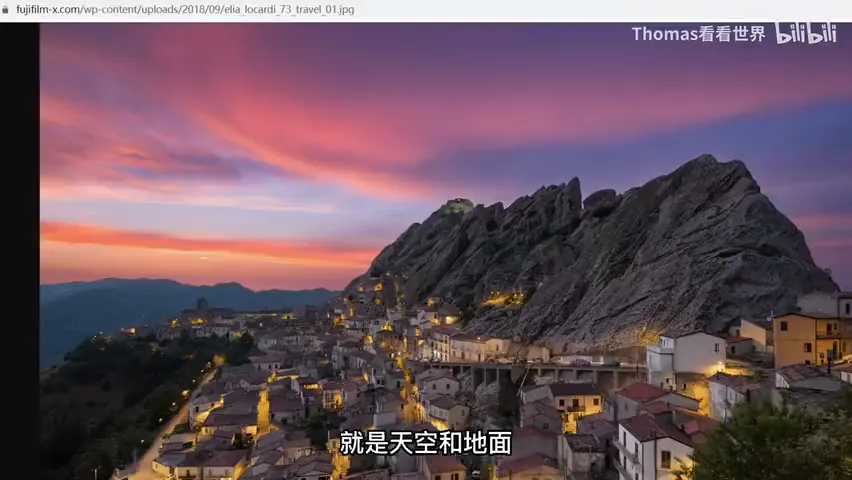
How do city shots hold both sunset glow and a fully lit city? Because at sunset the lamps are off, and by the time they light up the sky is black. Keep the tripod put: shoot the sky at sunset, shoot again after the lights come on, and blend the lights into the dusk base with the Lighten mode. Elia Locardi's cityscapes are built exactly this way (at 7:31 in the video).
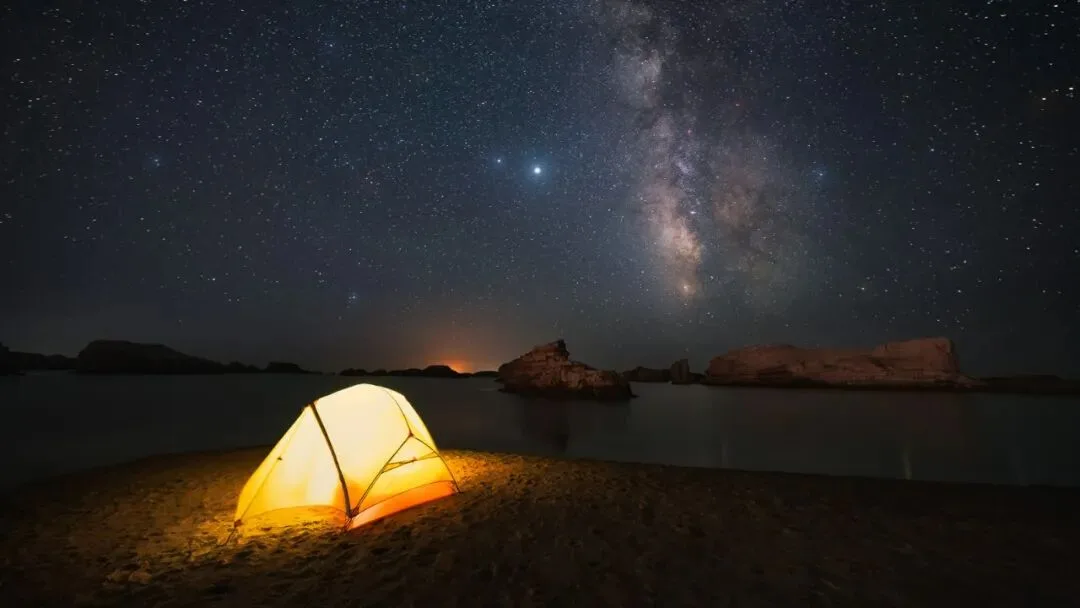
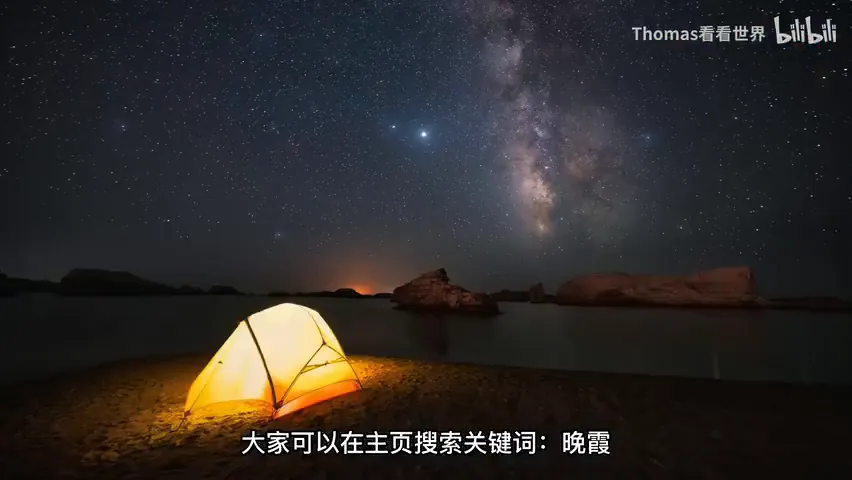
For astro work the foreground is usually shot separately, three common ways: one, after the sky frames, give the ground a dedicated 10–15 minute exposure (lower ISO, stopped down) or stack bursts for less noise; two, shoot the ground while the moon is up or still setting — moonlight is close to the sky's color balance and adds gentle fill without harsh contrast; three, shoot the ground in blue hour and the stars later — mind the color-temperature gap, or the blend will read fake (at 8:33 in the video).
04 Motion-Still Blending: One Frame for the Moving, One for the Still
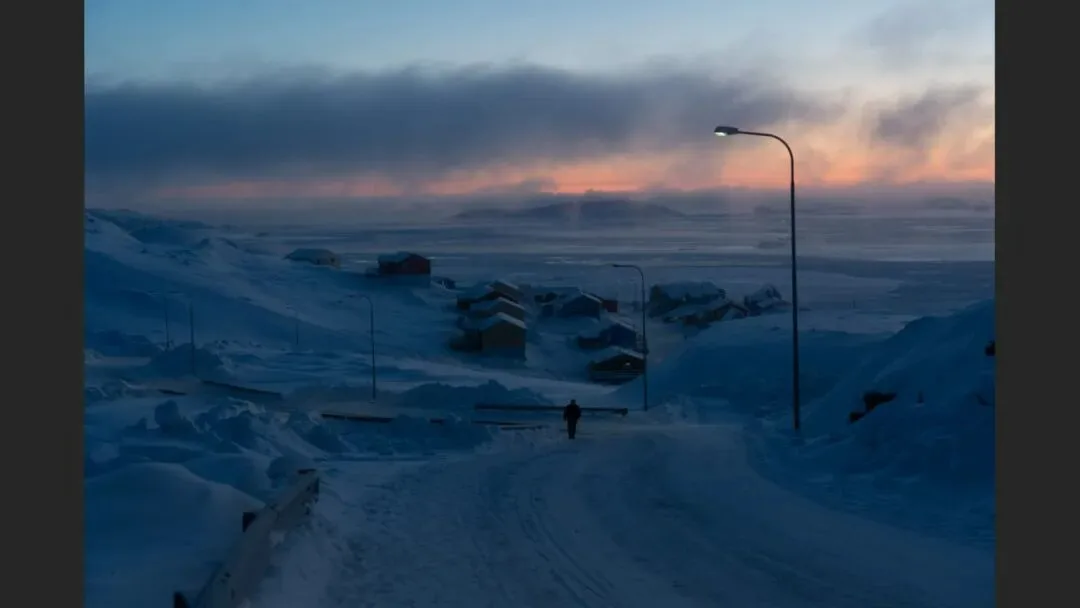
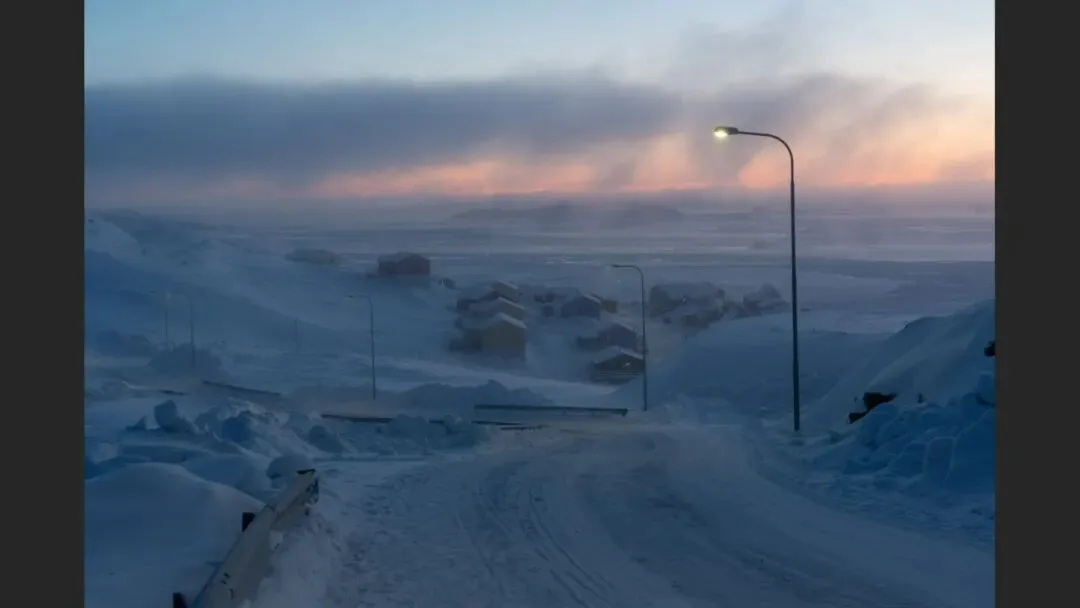
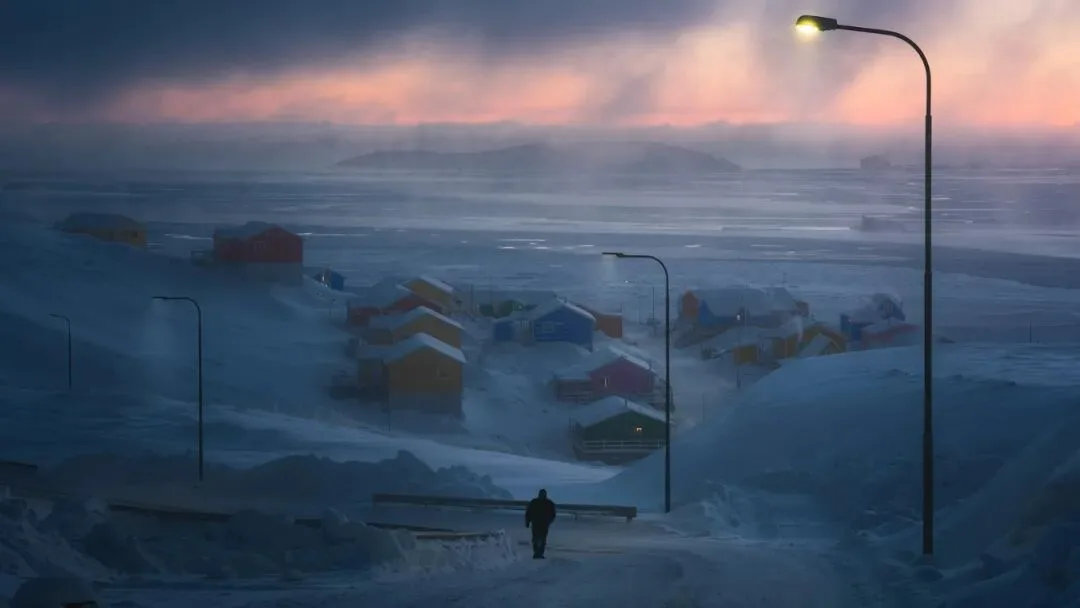
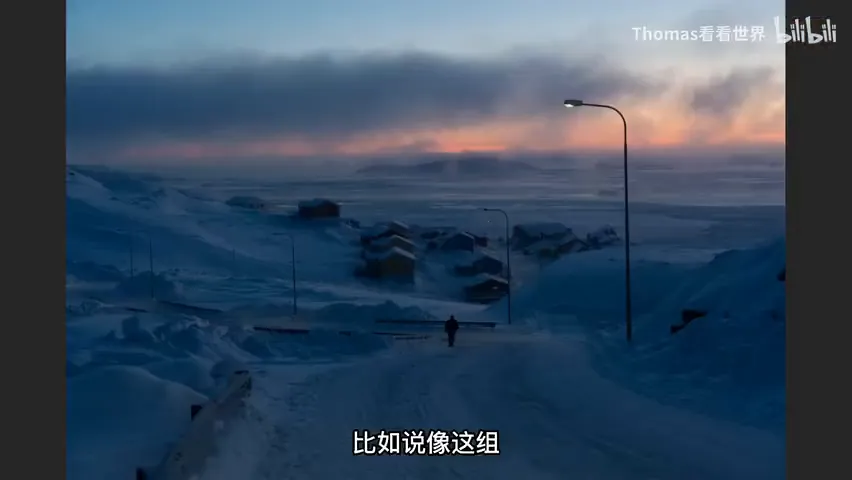
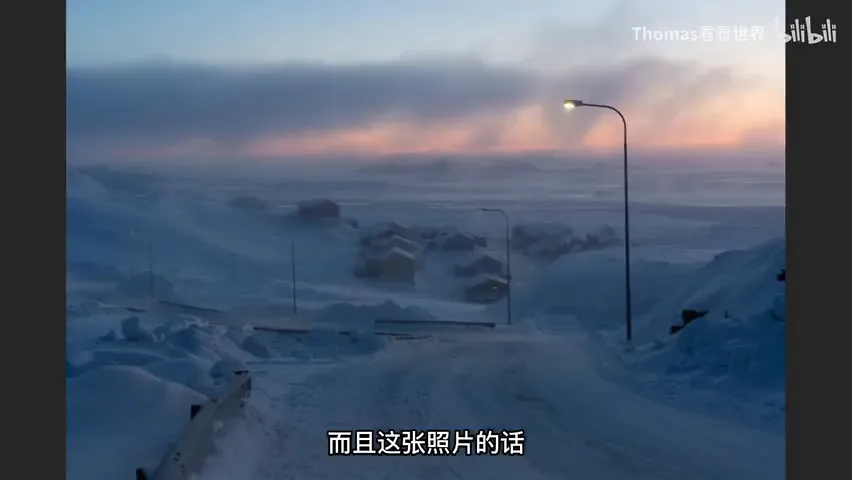
When the backdrop stands still and the foreground moves — people and cars in a street, cloud and water over a mountain — split the capture. In this Greenlandic village: frame one at ISO 800 freezes the passer-by but carries noise and a dull backdrop; frame two drops the ISO for a dreamy 20-second exposure of drifting cloud. The tripod never moved, so blending gives both the decisive instant and the dreamy scene (at 10:23 in the video).
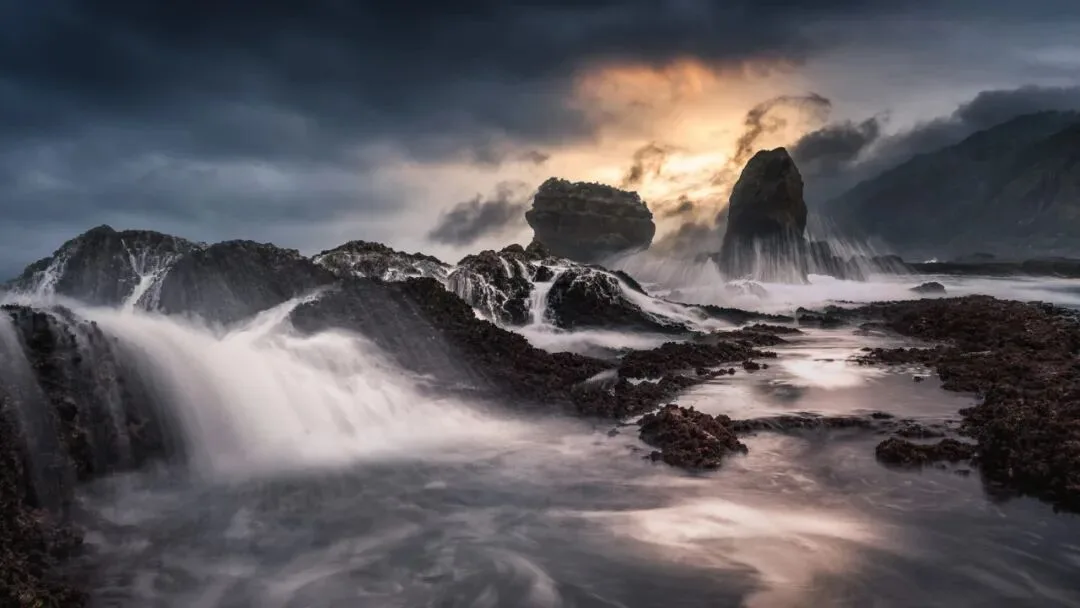
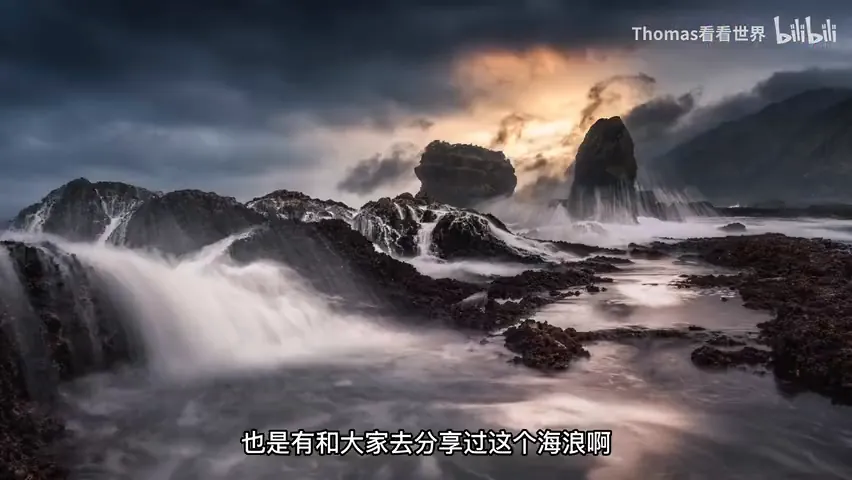
Seascapes are the classic case: the best wave on the left, in the middle and in the back rarely happen at once. Record each at its peak, then merge the three peaks into one frame where every patch of water is perfect (at 11:06 in the video).
05 Noise & Clutter: Two Classic Uses of Stacking
The last category is the most familiar: mean or median stacking to denoise night and low-light frames — search 'stacking' on the homepage for the full Milky Way workflow; and stacking to remove moving clutter: half an hour of continuous frames at a tourist spot, median stack plus layer masks, and the crowds simply vanish — 'How Popular Spots Photograph Empty' covers exactly this (at 11:47 in the video).

Light, trails, sky-ground, motion-still, noise and clutter — the five directions of time blending share one essence: the camera stays put, each frame owns one 'local best', and the merge produces a photo that is best as a whole. Study foreign photographers' tutorials and behind-the-scenes stories and you'll find the technique everywhere (at 12:43 in the video).
1. Definition: keep the composition locked, shoot many frames over time, each frame chasing one local best, and merge them into the best whole; 2. Five directions: light blending (one light pass per frame, fireworks, moving cloud shadows), trail blending (segmented exposures of car and star trails), sky-ground blending (sunset + city lights, stars + foreground shot separately), motion-still blending (high-ISO capture + long-exposure backdrop), and noise/clutter stacking (mean/median); 3. A locked tripod is what makes the merge easy, and segmented exposures forgive far more than one single marathon exposure.
Slides