Photography Tutorial · 2022-08-21
TK Actions Plugin Guide: Luminosity Masks and Output Sharpening
The TK Actions panel is a Photoshop plugin made by Tony Kuyper, who coined the concept of luminosity masks, and it is widely used by professional landscape photographers and enthusiasts alike.
In today's tutorial, Thomas demonstrates the plugin's two core features through several real-world cases: luminosity masks and web output sharpening.
Video
▶ Watch the video tutorial on Bilibili
This is the illustrated companion to the video above. TK Actions is the Photoshop panel built by Tony Kuyper — who originated the luminosity-mask concept — and it is the most frequently updated, best-maintained luminosity masking tool. Using hands-on cases, Thomas demonstrates its two core strengths: the Rapid Mask panel's luminosity masks and the Combo panel's web-output sharpening. The five chapters below turn the operations into step-by-step text with keyframe screenshots you can follow along.
01 Getting to Know TK and the Four-Step Mask Workflow
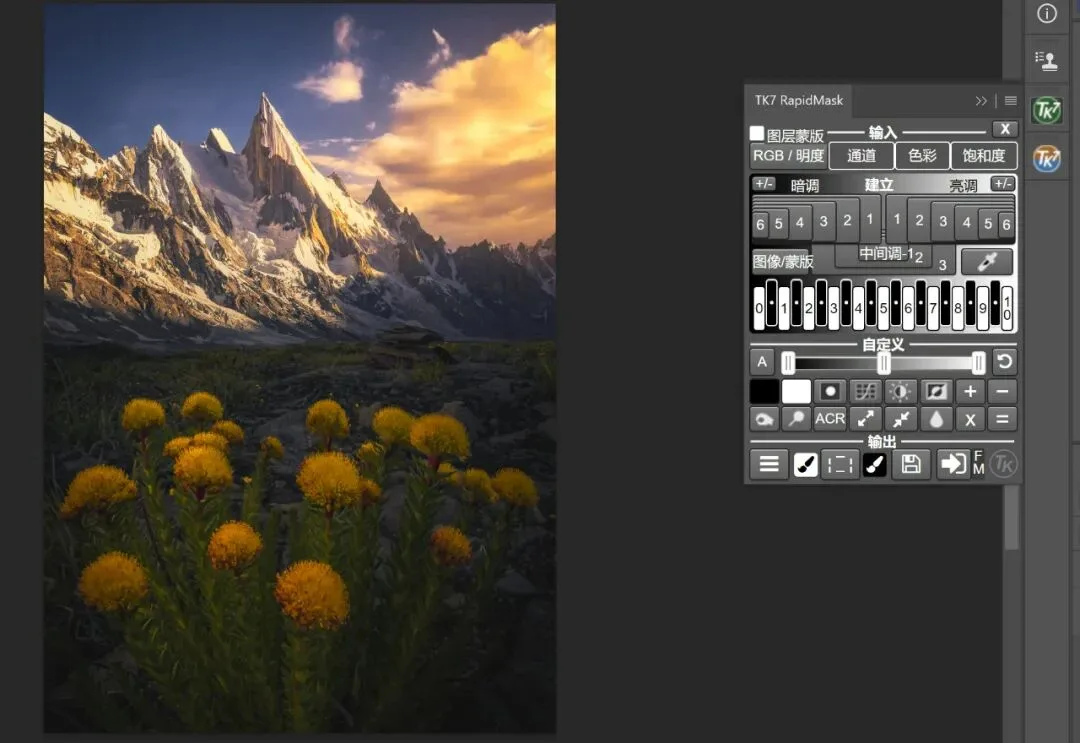
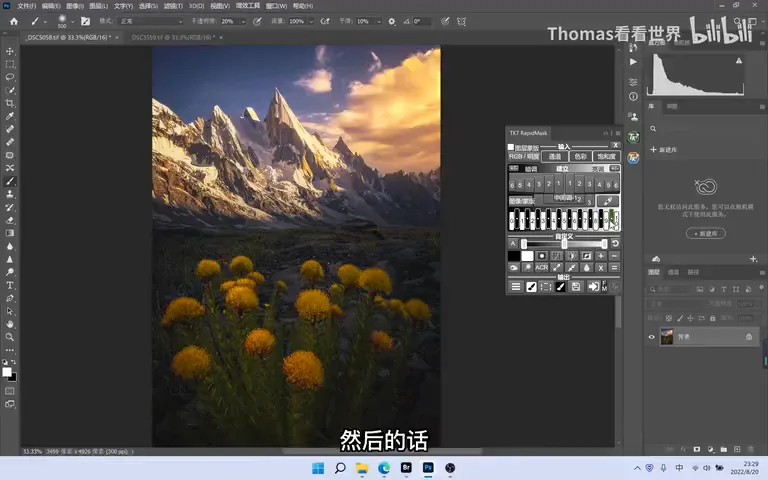
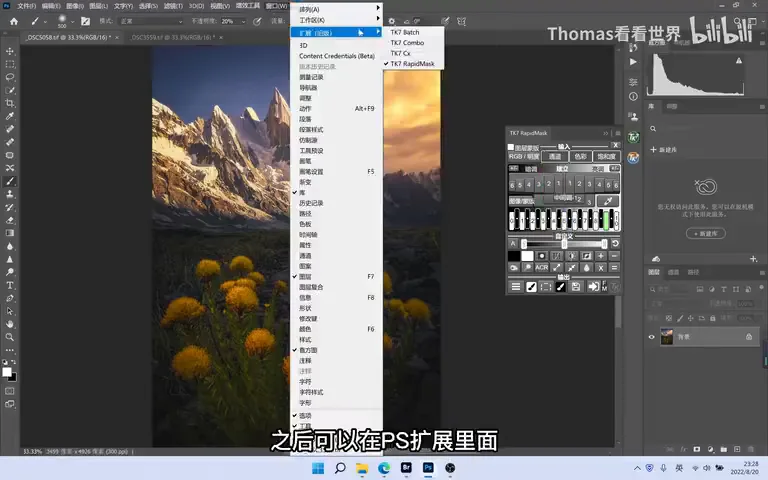
After installing TK Actions, click the panel under Photoshop's Extensions menu and it will stay in your toolbar. The default interface is English; the TK button at the bottom right switches the language (at 0:57 in the video). The suite has four panels crowded with buttons, but Thomas mostly uses just TK Rapid Mask and TK Combo — and only a handful of buttons within them, so the sheer number of controls shouldn't scare off new users.
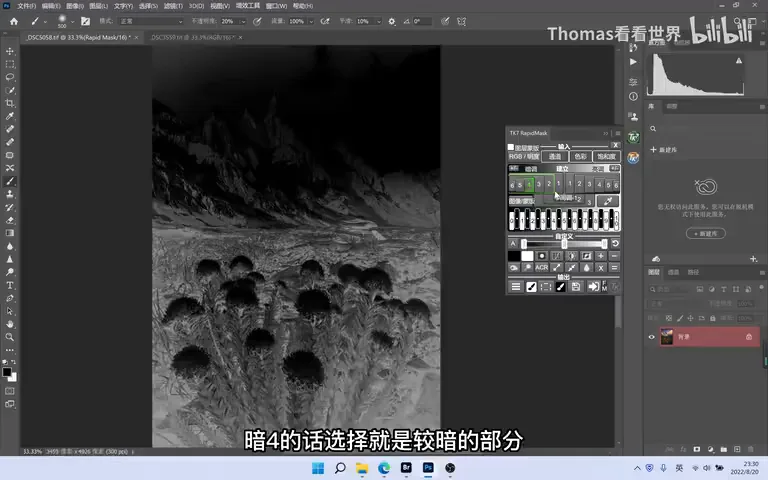
The Rapid Mask workflow has four steps. First, build the base mask: most often from luminosity, but also from any RGB channel or from saturation. Second, pick a zone: Lights 1 through 6 cover the bright side — the higher the number, the narrower and brighter the selection; Darks 1 through 4 work the other way, and midtones can be picked directly. Compared with old-school PS actions, its edge is intuitiveness — imagine the horizontal axis as a histogram and every button's reach is obvious (at 1:53 in the video).
Third, refine: in the Customize module the most useful tool is Levels — if the highlights aren't selected broadly enough, slide the handles to emphasize the zone; there are also an invert tool and add/subtract/intersect buttons for precise mask arithmetic. Fourth, output: Thomas only ever uses the arrow button — it applies the finished mask straight onto the active layer's layer mask (at 2:47 in the video).
02 Case One: Brightening Ice Highlights on an Overlay Layer
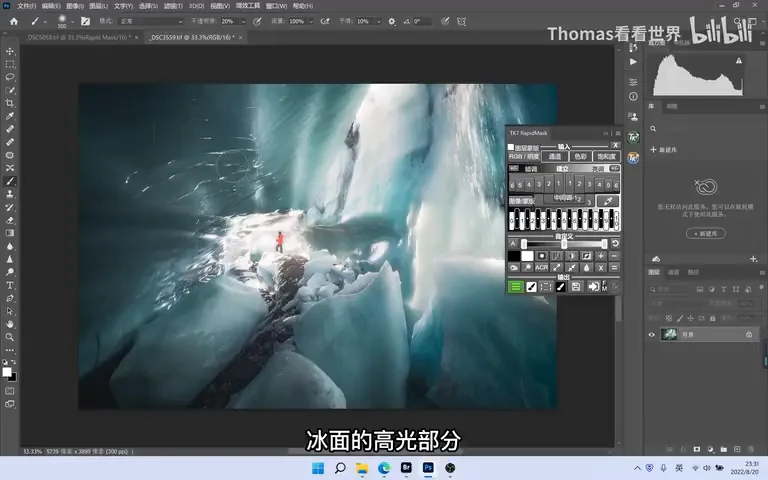
The first case brightens the icy highlights in an ice-cave photo. Create a blank layer, set its blend mode to Overlay, then build the mask: Lights 3 grabs only the brightest highlights, Lights 1 barely separates from the surroundings — for this image Lights 2 is the best pick, giving a brightening zone with a soft transition (at 3:55 in the video).
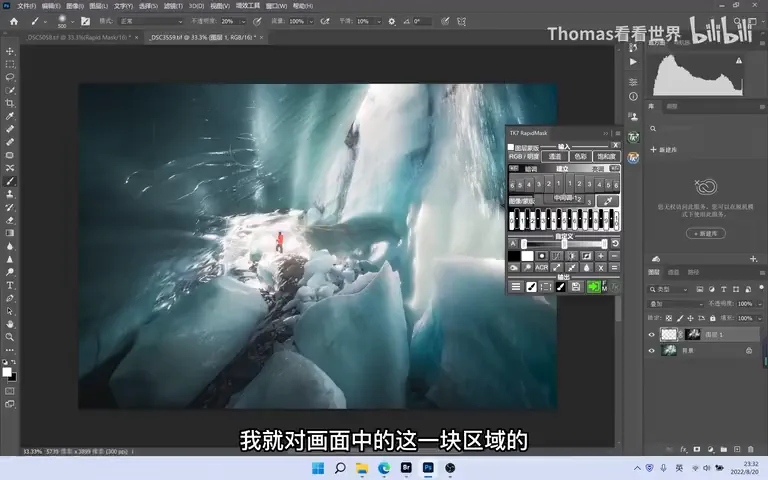
Output the mask with the arrow button, set white as the foreground color at 20% opacity, and simply paint over the ice — only the masked highlights brighten, and the texture of the ice immediately gains punch. This is the classic combo of an overlay layer, a luminosity mask and a low-opacity brush: safe, controllable, and reversible at any time (at 4:40 in the video).
03 Case Two: Add and Subtract — Brighten Without Clipping
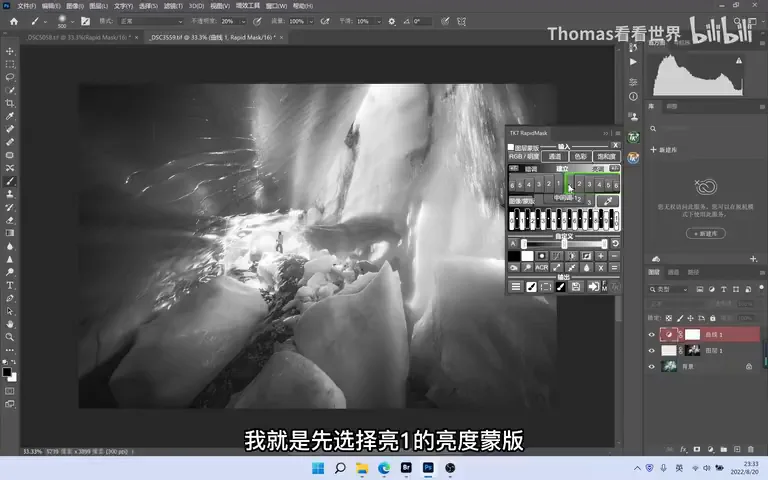
The second case is more representative: brighten the photo and boost its sense of light, without pushing the brightest areas into clipping. Select the Lights 1 mask (the bright side), click minus, then Lights 4 (the blown areas in this image) — the resulting mask covers the highlights but renders the very brightest zones black, as if subtracted. Applied to a Curves layer and pulled up, the photo gains luminosity and a daylight feel while the clipped area doesn't grow at all (at 5:21 in the video).
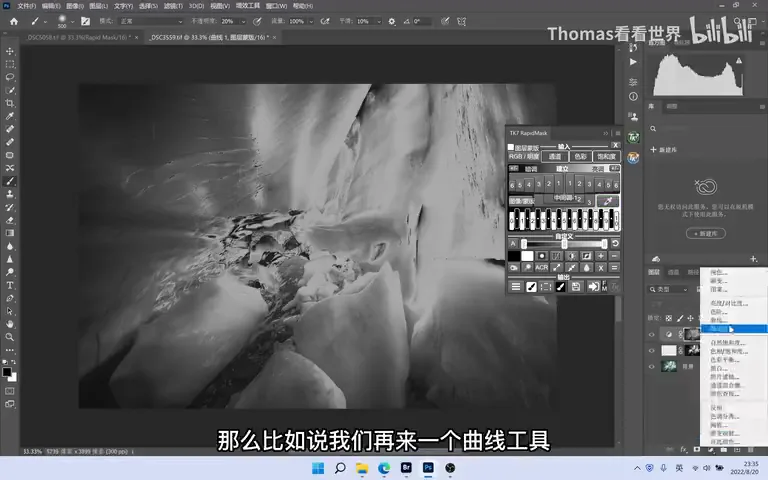
The arithmetic goes further: Lights 1 minus Lights 4 yields exactly the band that is fairly bright but not brightest. Likewise, when an S-curve boosts contrast you usually want it to touch only the midtones — attach a midtones mask and contrast rises while highlights and shadows stay untouched (at 6:49 in the video).
04 Case Three: Channel and Saturation Masks
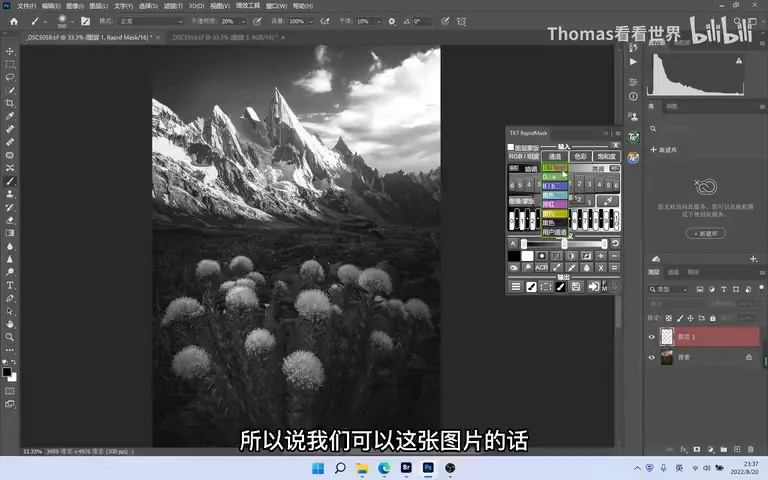
Base masks aren't limited to luminosity. To select the yellow flowers precisely, a luminosity mask works, but a channel works better: yellow flowers are far brighter than the background in the red channel, blend into it in the green, and turn darkest in the blue. Build the mask from the red channel, add a touch of Lights 1 and a Levels tweak, and the flowers come away clean — brush white to brighten them and the background stays untouched (at 7:29 in the video).
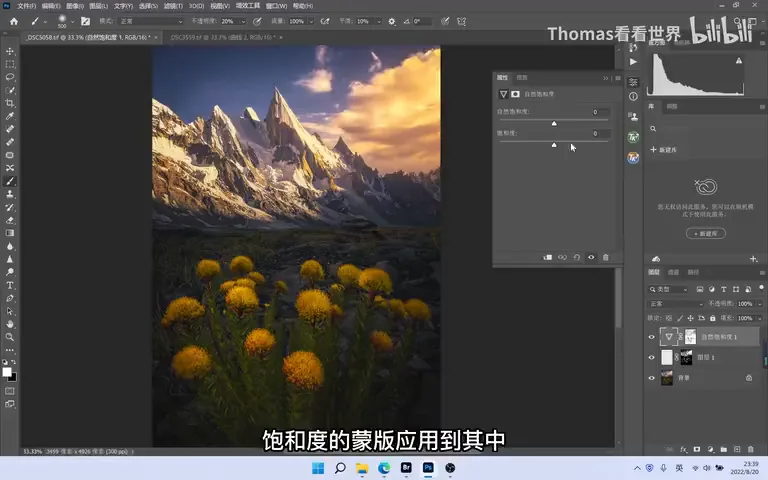
The saturation mask selects by color intensity — the whiter, the more saturated. Before raising vibrance, click invert so the mask covers the least saturated regions: now boosting vibrance barely affects the already-intense flower colors while the grayer purples and greens of the background come up gently — preventing that ever-more-plastic look at its source (at 9:56 in the video).
05 Web-Output Sharpening: Downsize and Sharpen in One Pass
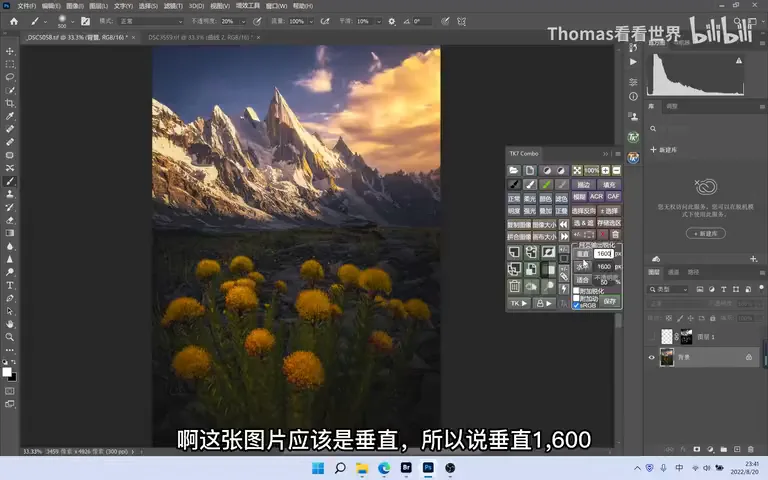
In the Combo panel Thomas uses just one feature — Web Sharpen. Images he posts online are usually 1600-2000 pixels on the long edge: pick portrait or landscape, enter 1600, and the setting is remembered. One click runs a multi-step downsize-and-sharpen algorithm that landscape photographers broadly rate as excellent; the output arrives as a layer group with its own mask — if an edge like the mountains looks oversharpened, just paint it off with a black brush (at 12:22 in the video).
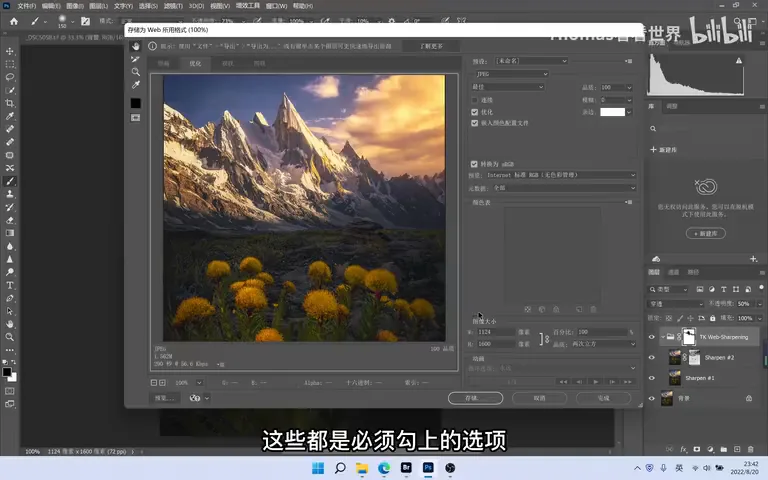
After sharpening, the panel's Save button opens the Save for Web dialog directly. For export, make sure quality is 100, the color profile is embedded, and the conversion to sRGB is checked — the standard trio for web output. Hit Save and the last step from editing to publishing is done (at 13:08 in the video).
1. The four-step mask flow: build from luminosity/channel/saturation → pick Lights-N or Darks-N → refine with Levels → output to a layer mask with the arrow; 2. Afraid of clipping when brightening? Use the arithmetic — Lights 1 minus Lights 4 keeps both the glow and highlight detail; 3. To select color, use channels: red for yellow flowers beats any luminosity mask; 4. Leave web output to Web Sharpen: long edge 1600-2000, the sharpen group ships with a mask, and over-sharpened edges can be painted away anytime.