Photography Tutorial · 2020-08-16
Topaz DeNoise AI Guide: Strong Noise Reduction with Detail Preserved
Thomas Chu Photo
In the article two weeks ago, "Great Shots at ISO 70,000? This Noise Reduction Tech Is Incredible!", wildlife photographer Jeff shared his noise reduction workflow, in which the Topaz DeNoise AI plugin plays the key role.
What makes this plugin so magical, and how do you use it? In this week's tutorial, Thomas explains and demonstrates it in detail.
Video Tutorial
▶ Watch the video tutorial on Bilibili
This is the fully illustrated companion to the video above. Thomas walks through the AI noise-reduction plugin Topaz Denoise AI end to end — purchase and installation, the Camera Raw preparation before denoising, the plugin's modes and sliders, plus advanced options like sharpening, Recover Original Detail and Low Light Mode — with keyframe screenshots for easy follow-along.
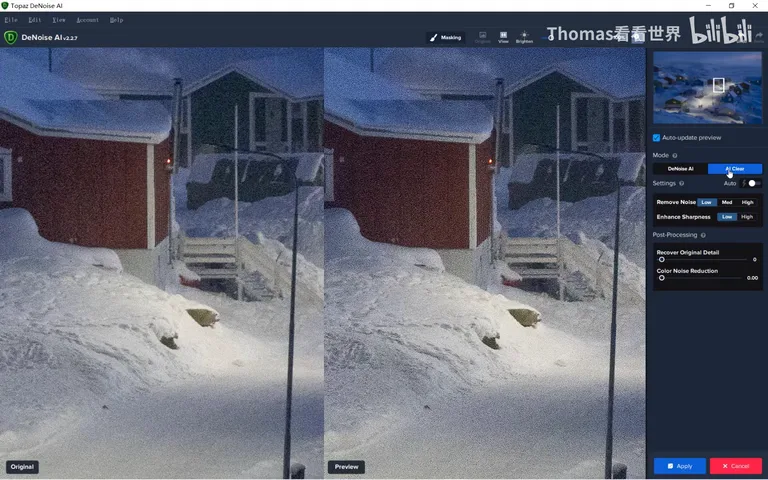
Start with the plugin at a glance: once inside, the right panel holds everything — the Denoise AI / AI Clear modes up top, the Remove Noise and Sharpen sliders plus the Auto analysis button in the middle, and Post Processing and Low Light Mode below (at 5:20 in the video). Each is unpacked below.
01 Getting and Installing: Official Site or Taobao
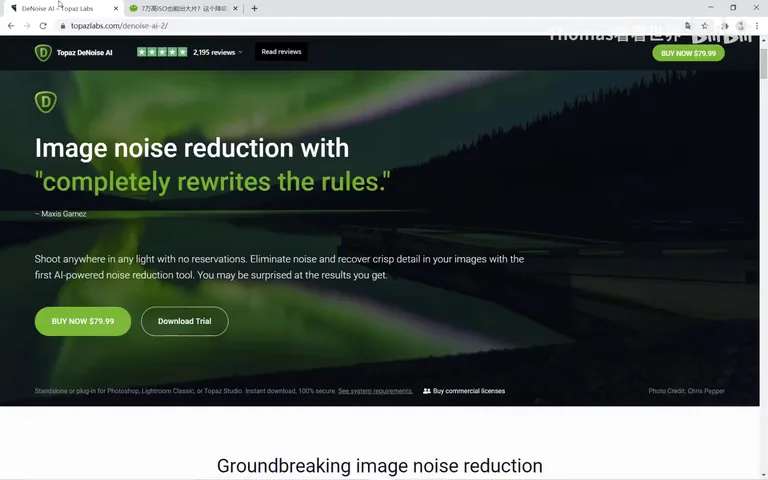
Topaz Denoise AI sells on its official site for $79.9; you can also hit Download Trial for a 30-day free trial (at 0:32 in the video). If the site is hard to reach from your network, localized (or cracked) copies can be found via Taobao and Baidu.
After installation the plugin appears under Photoshop's Filter → Topaz Labs menu, with a standalone program on the desktop as well — though in practice you will almost always call it from inside Photoshop (at 0:51 in the video).
02 Before Denoising: Preparation in Camera Raw
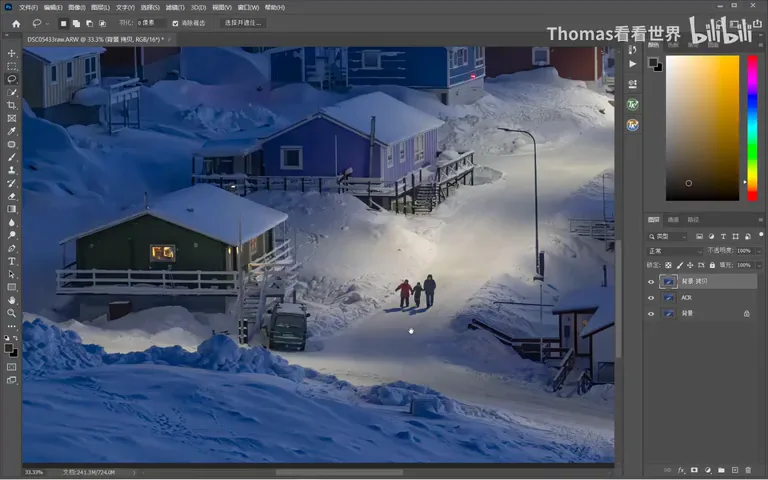
The demo photo was shot at ISO 3200, severely underexposed, at 1/40 s — forced by the need to freeze the person's movement (at 1:04 in the video). Step one before denoising: in Adobe Camera Raw, restore the exposure, lift the shadows and pull the highlights down — only when the dark tones come up do the noisy areas you need to treat become visible (at 1:24-1:41 in the video).
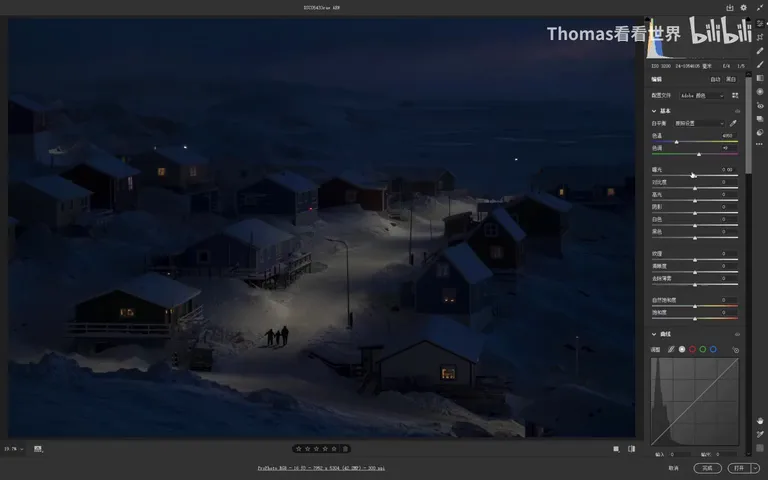
Note that in Camera Raw's Detail panel, Color Noise Reduction defaults to 25 — it quietly removes color noise all the time and does it well, so leave it (at 1:43 in the video). But if a plugin pass is coming, set Luminance Noise Reduction to zero — it would pre-crush the noise with poor detail protection. Another universal rule: denoise first, sharpen last, and in between avoid clarity, spot removal and similar moves that can amplify noise (at 2:33-2:58 in the video).
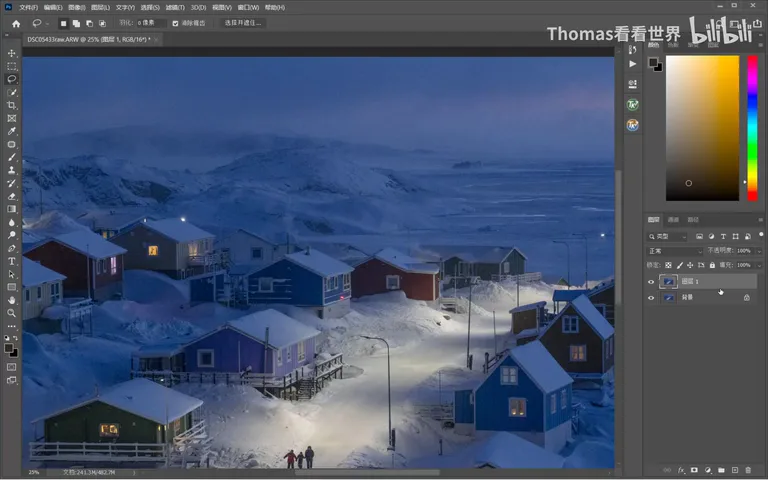
How good is Camera Raw's built-in denoise? Thomas duplicated the layer with Ctrl+J for a comparison: with Noise Reduction maxed, plenty of noise survives and starts clumping; dragging Detail further left reduces noise but the license plate becomes unreadable and the snow turns to mush — the baseline for the Topaz comparison later (at 3:17-4:10 in the video).
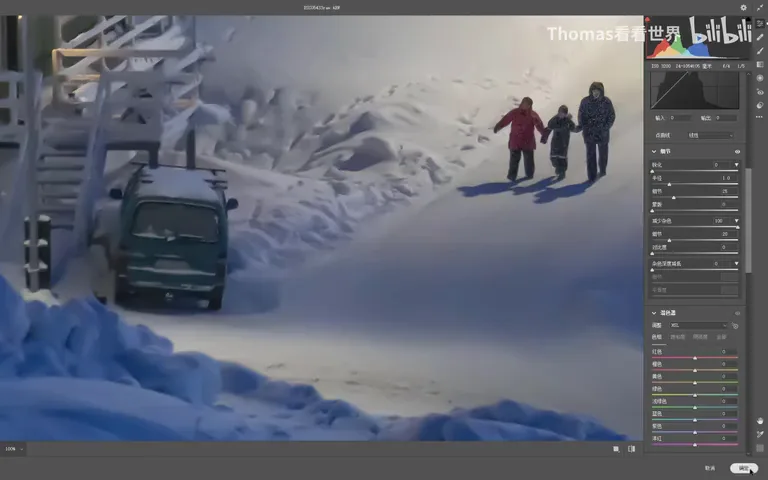
03 Inside the Plugin: Modes, Sliders and Auto
Before the real denoise, duplicate the layer — the plugin applies directly to the active one (at 4:11 in the video). Then enter the plugin via Filter → Topaz Labs → Denoise AI. Once the photo loads, Remove Noise and Sharpen both default to 15, which rarely suits the image, so adjust each one (at 4:30-4:48 in the video).
Mode offers Denoise AI and AI Clear (at 4:49 in the video). Prefer Denoise AI per the official description — a better model that keeps more detail while denoising; but it can fail outright on certain images, in which case switch to AI Clear — a more general model with so-so detail retention and occasional smearing reminiscent of Camera Raw (at 5:01-5:39 in the video).
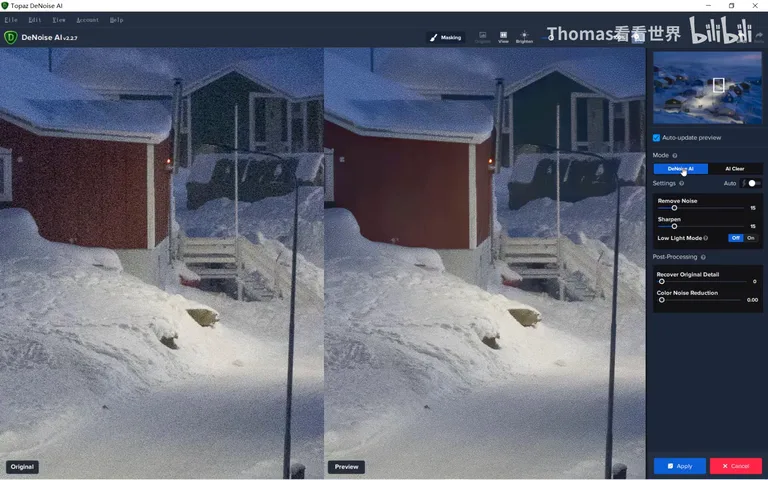
The heart is two sliders: Remove Noise, harder to the right; and Sharpen, compensating the sharpness lost to denoising (at 5:40-6:06 in the video). But usually just pick Auto: the software feeds the photo into a deep-learning-trained algorithm that recognizes scene patterns and separates detail to keep from noise to remove. Here Auto suggested 46 noise / 35 sharpen — and the numbers differ for every photo (at 6:19-6:49 in the video).
The result is startling: the license plate's noise vanishes while the characters regain real detail (at 6:51 in the video); on the person's down jacket, reflections, folds and even stripes are recognized and kept, and the eyes, nose and mouth largely restored (at 7:22-7:46 in the video). It works region by region — guarding detail where there is plenty, denoising hard where there is little — exactly what ordinary denoisers cannot do (at 7:51-8:00 in the video).
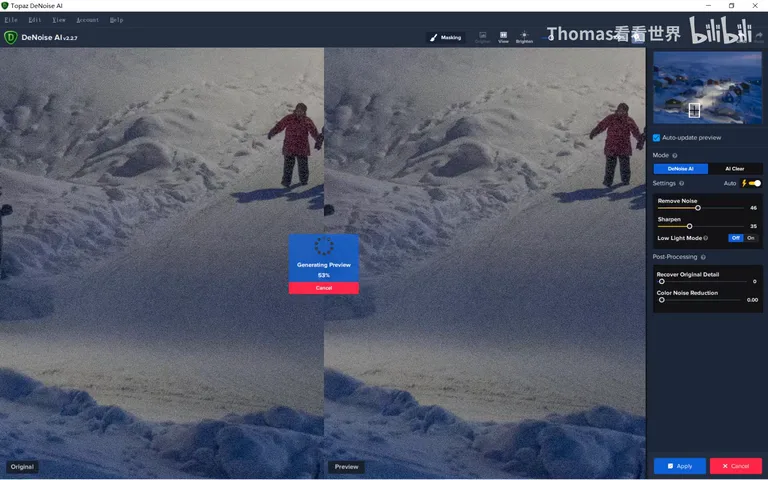
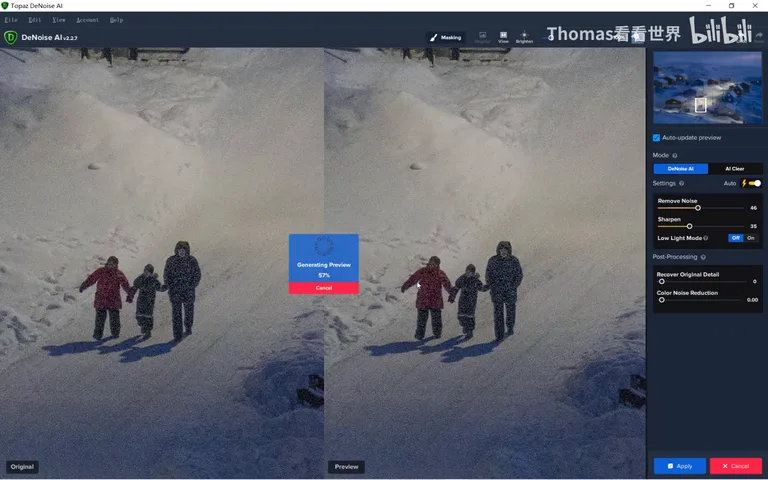
04 Fine-Tuning: Sharpen, Recover Detail, Low Light
After Auto you can still fine-tune: if the denoise is too aggressive and sharpness suffers, raise Sharpen, which controls edge sharpening against the blur denoising brings (at 8:02-8:25 in the video). Under Post Processing sits Recovery Original Detail: push the slider and original detail — along with some noise — is mixed back into the image (at 8:26-8:49 in the video).
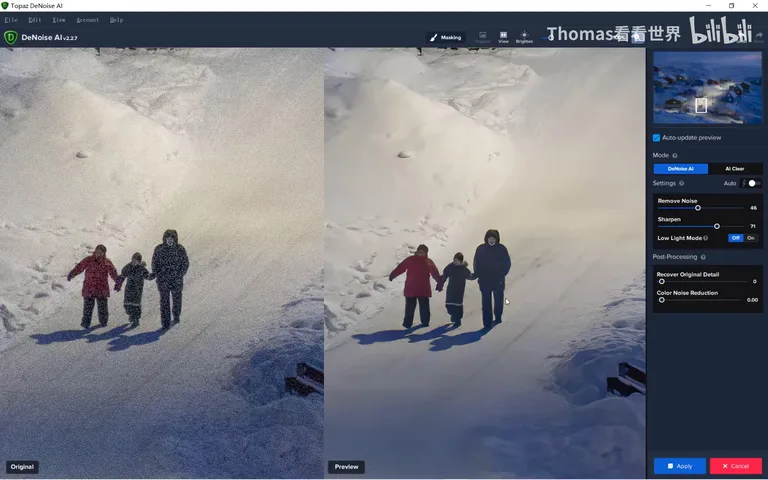
Keep the two apart: Sharpen strengthens edges to counter denoise blur; Recover Original Detail re-mixes original noise and texture, giving the photo more feel — at the cost of some noise (at 8:52-9:20 in the video). Thomas habitually mixes a little back — Topaz can be so clean that a grain-free result looks artificial; and moderate noise actually smooths color, blends detail and eases banding (at 9:21-9:56 in the video).
The plugin also offers Color Noise Reduction and Low Light Mode, both for extreme low-light captures — especially straight-out-of-camera JPEGs from phones at night, whose shadows bristle with multicolored speckle; enabling Low Light Mode calls a dedicated model for exactly that (at 9:58-10:30 in the video). But go easy on Color Noise Reduction: it dulls color richness, and on astro photos it can wipe out the Milky Way's hues and faint nebulae (at 10:34-10:52 in the video).
Click Apply at the bottom right and the deep-learning engine runs over the whole frame (at 10:54 in the video). The final comparison: after Camera Raw the noise is still a disaster, smeary, with edges badly degraded and the jacket half-treated; Topaz Denoise AI even recovers the characters on the license plate — a difference like night and day (at 11:02-11:40 in the video). Thomas closes by thanking Jeff, the wildlife photographer who first shared the plugin in his workflow (at 11:48 in the video).
1. In Camera Raw, restore exposure and lift shadows first, and zero out noise reduction — denoise is the first step of editing, sharpening the last; 2. Prefer the Denoise AI model, falling back to AI Clear when it fails on a particular image; 3. Let Auto set the numbers, then fine-tune edges and texture with Sharpen and Recovery Original Detail; 4. Mixing back a touch of original detail and grain reads more natural; enable Low Light Mode for dark JPEGs straight from camera, and go easy on Color Noise Reduction with astro photos.